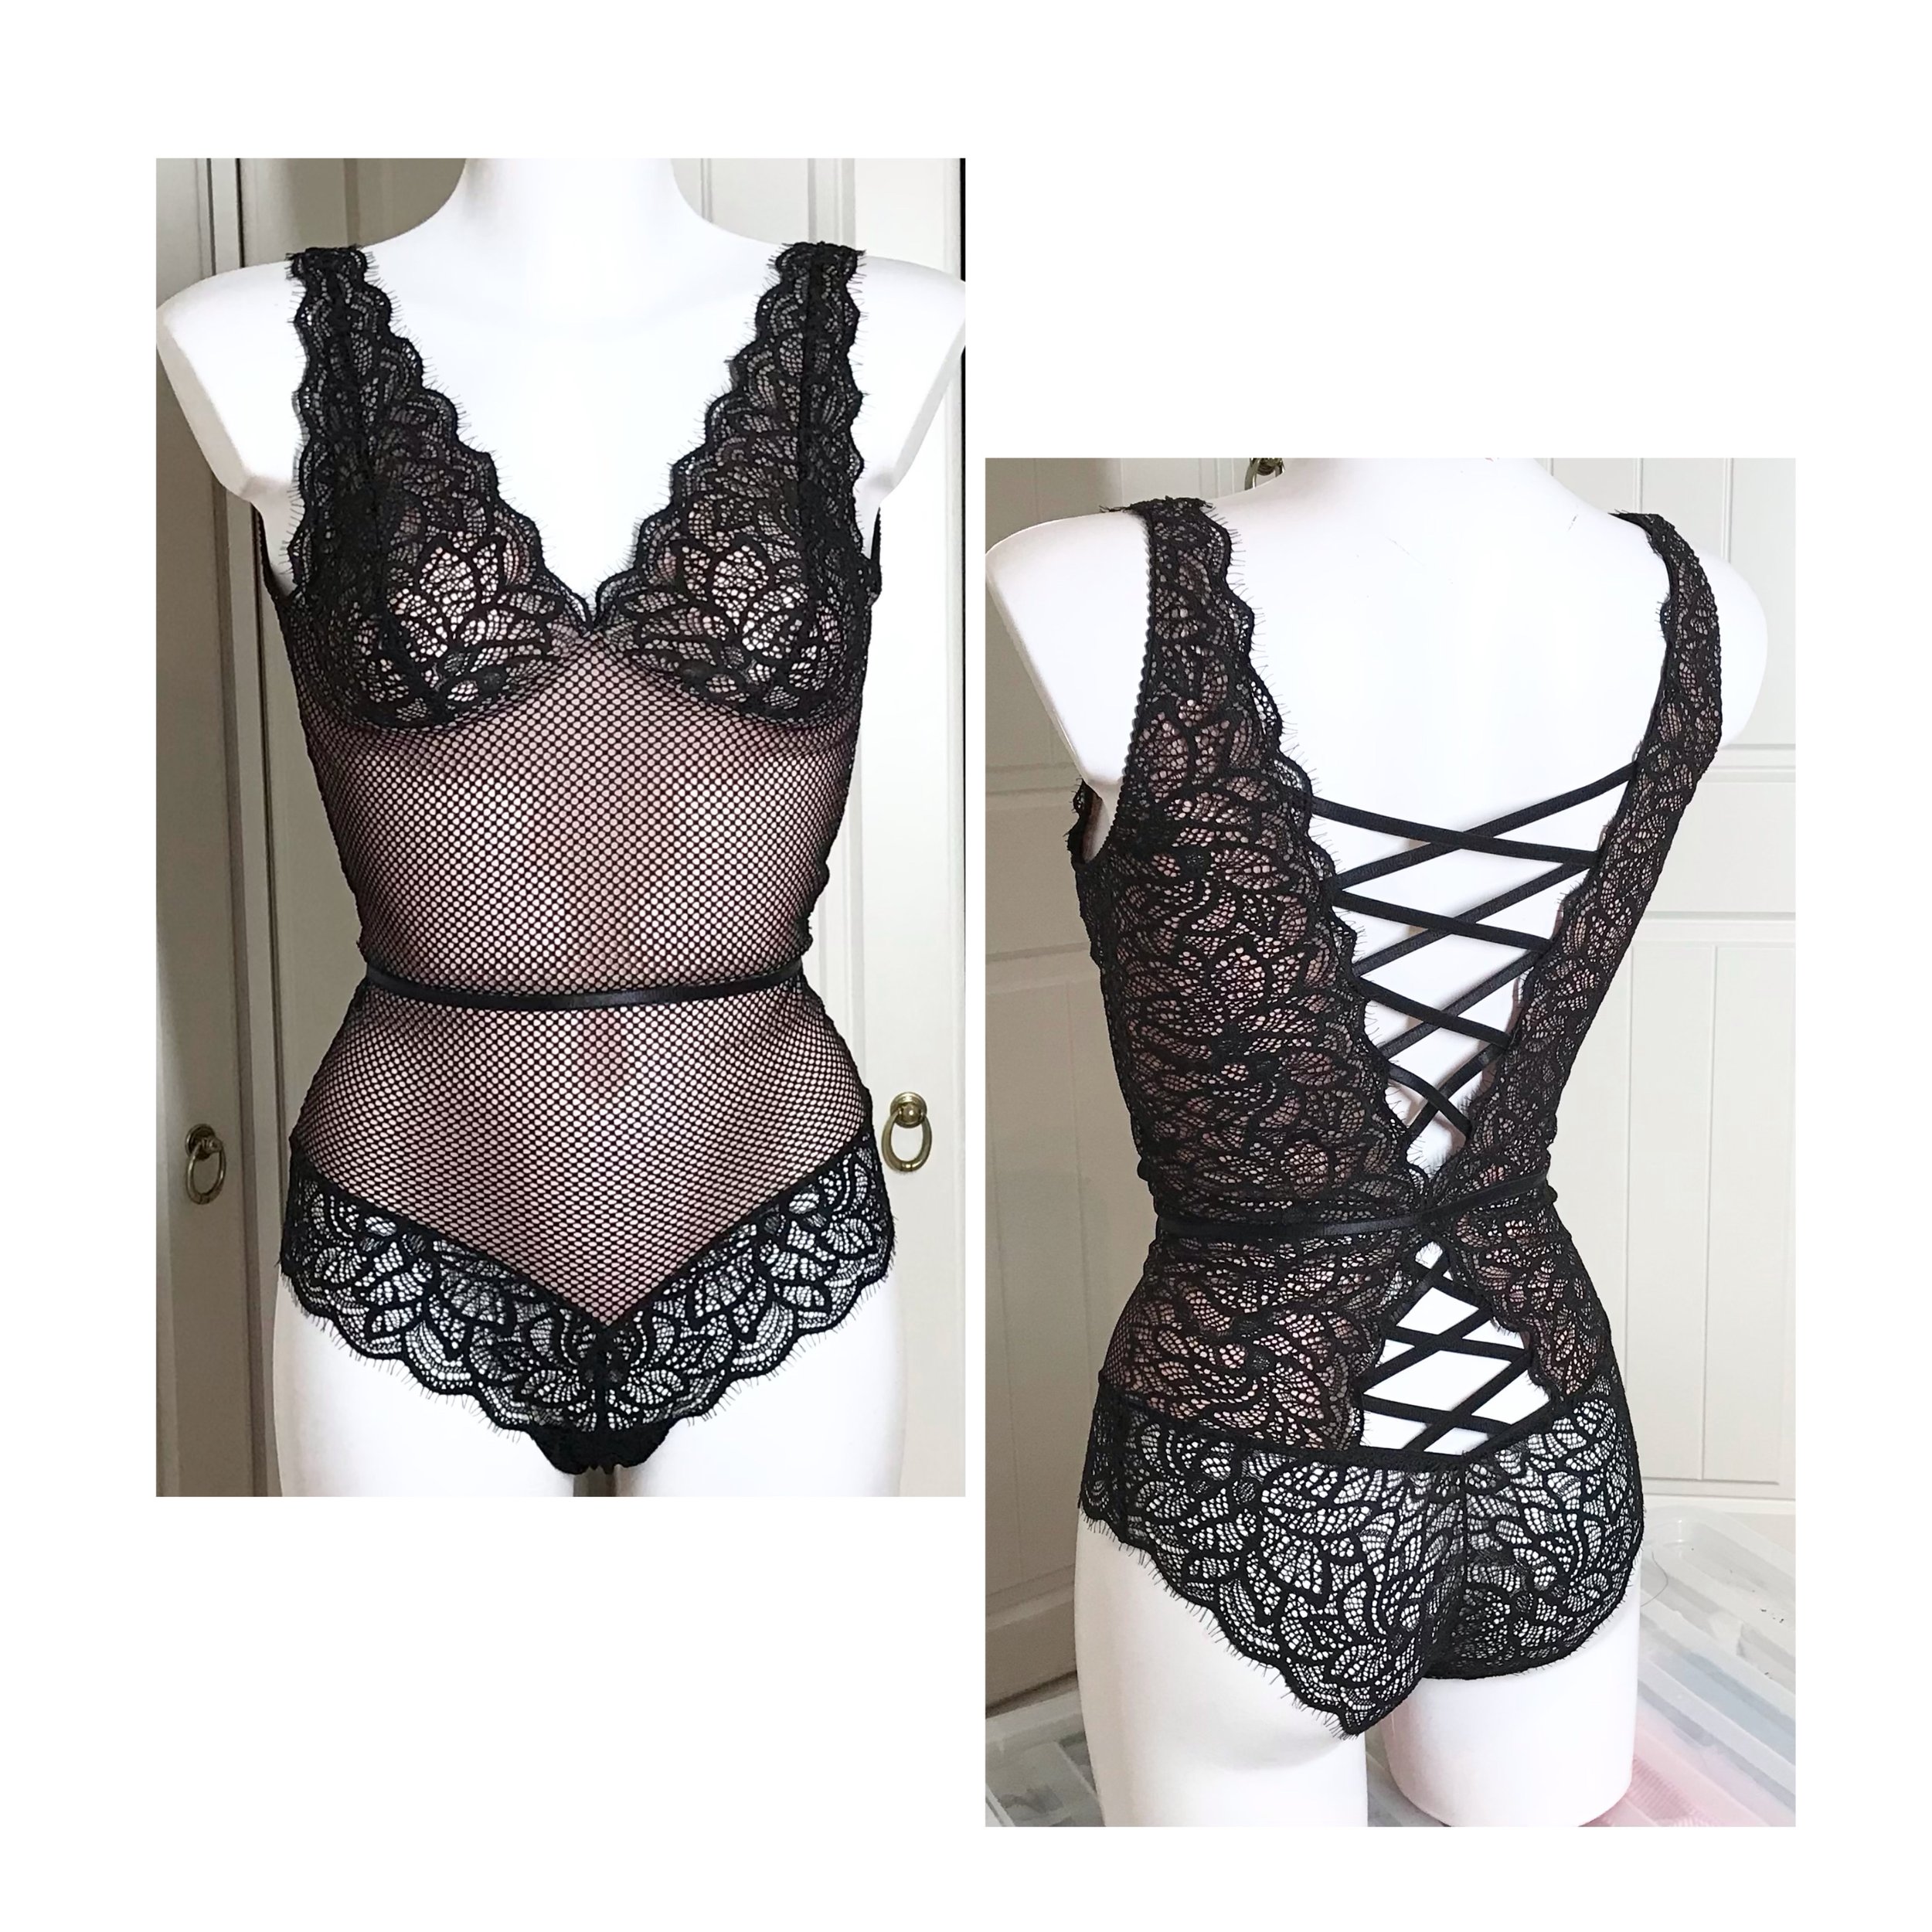
It's All About the Back Bodysuit

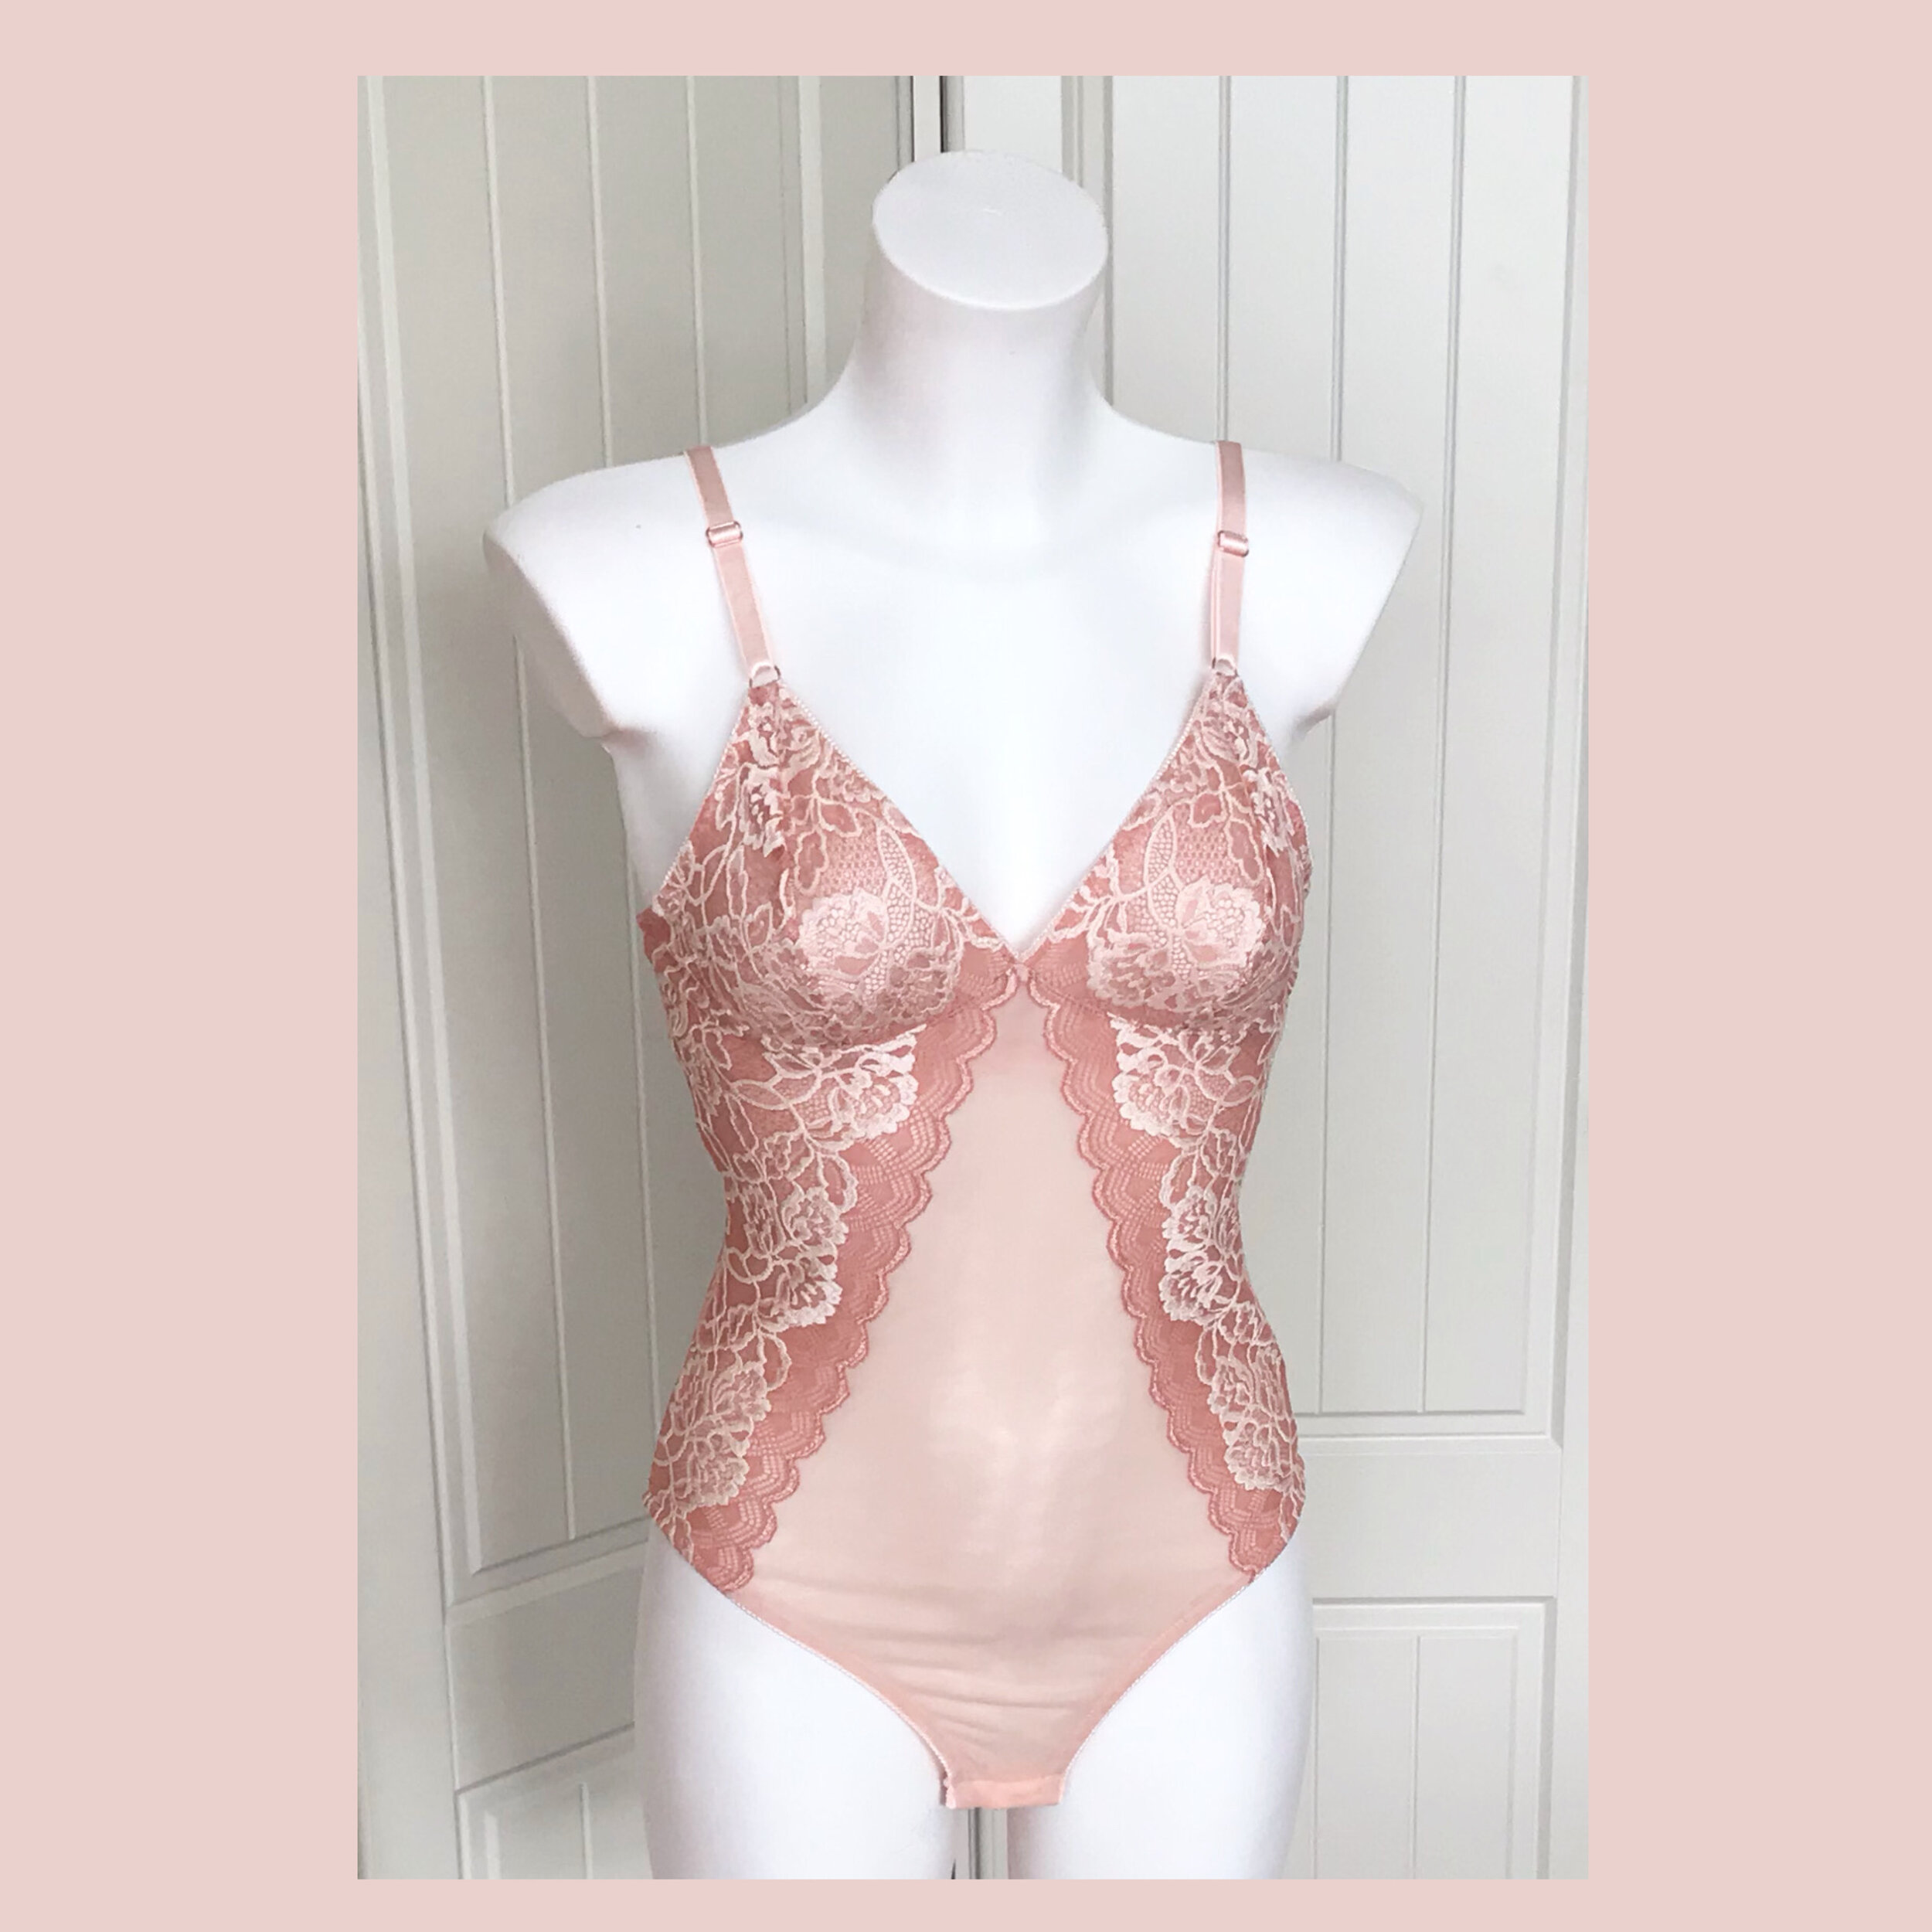
It’s been such a long time since the last post but life has changed so much. The first part of the year was taken up with preparing my International Bra Sewing Bee classes and then I was busy getting ready for the birth of my granddaughter. It meant I didn’t have much time to make much for myself but I did manage to try some new patterns as well as make some lingerie suitable for life on the road in the motorhome, where we spend most of our time walking and cycling once we arrive at a site. No wild camping for me! I did get chance to set myself a challenge of recreating the look of a ready to wear bodysuit that I really loved.

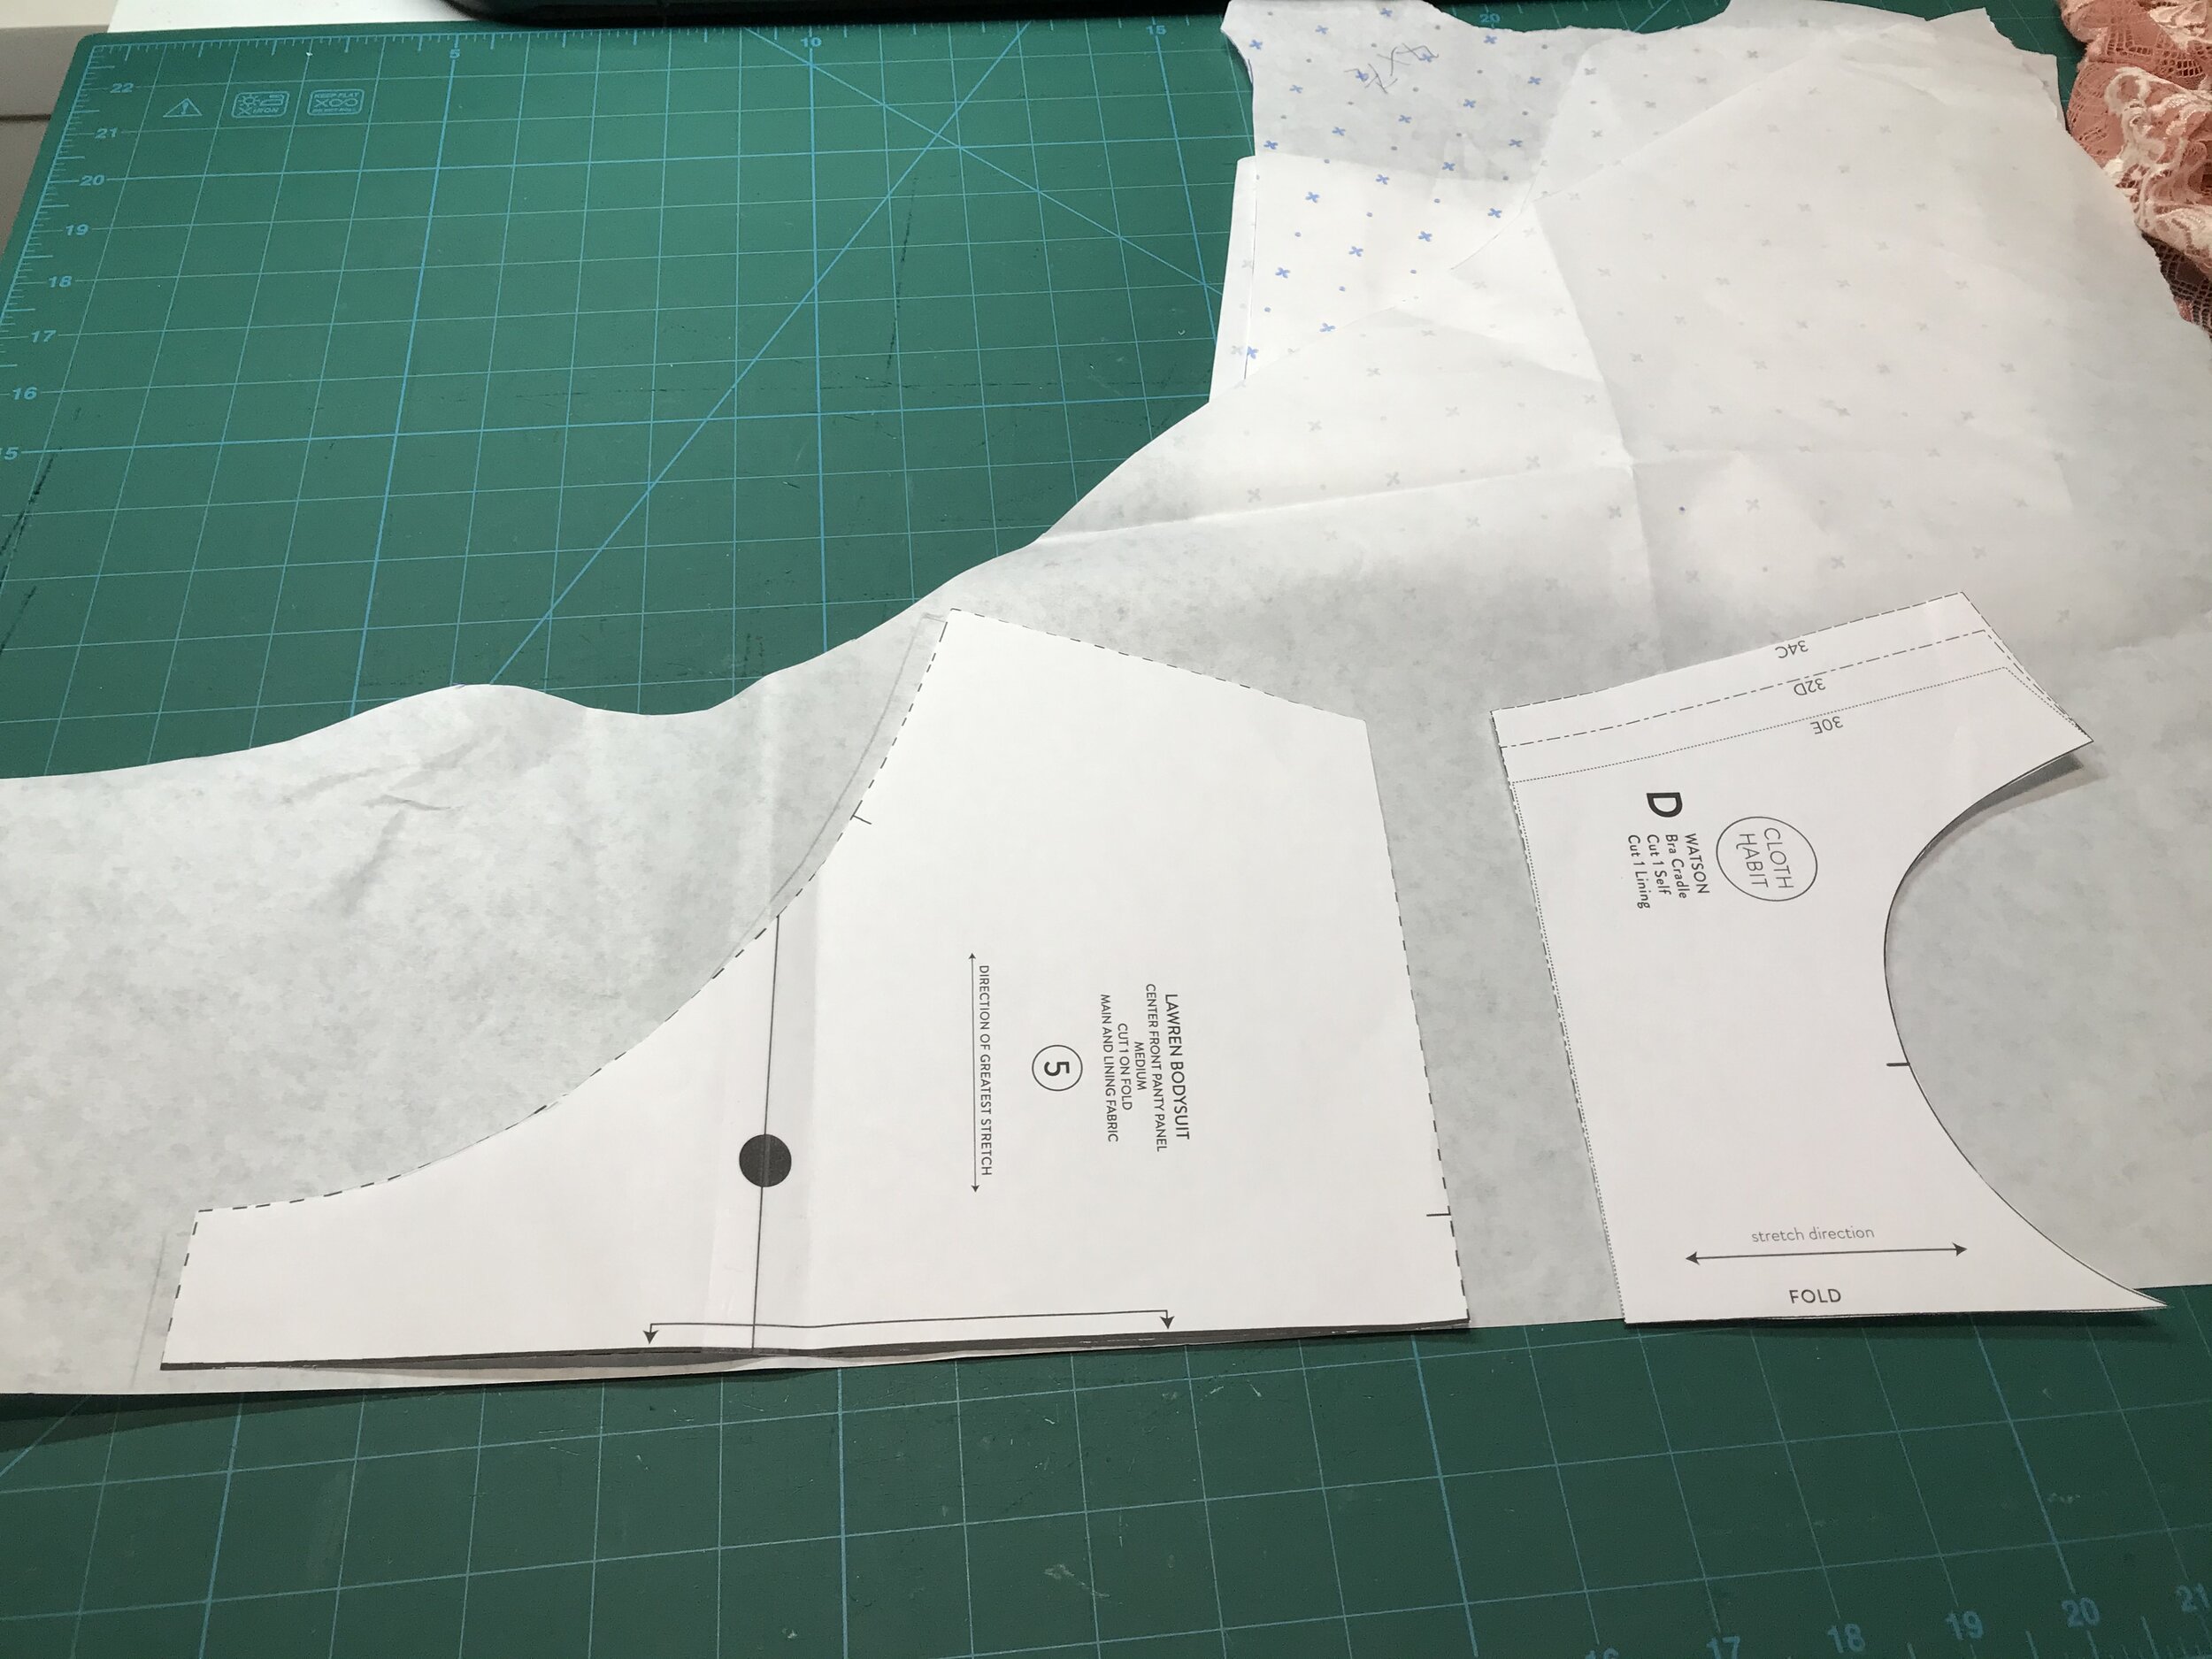
Trying to recreate the look of RTW is what I love doing. It does take a lot of effort but is so worthwhile. With something like this I tend to start with patterns that I know fit and combine these with some hacking and drafting. So, the starting point for this was the Studio Costura Eva panties which are high waisted with a bikini cut on the leg openings.

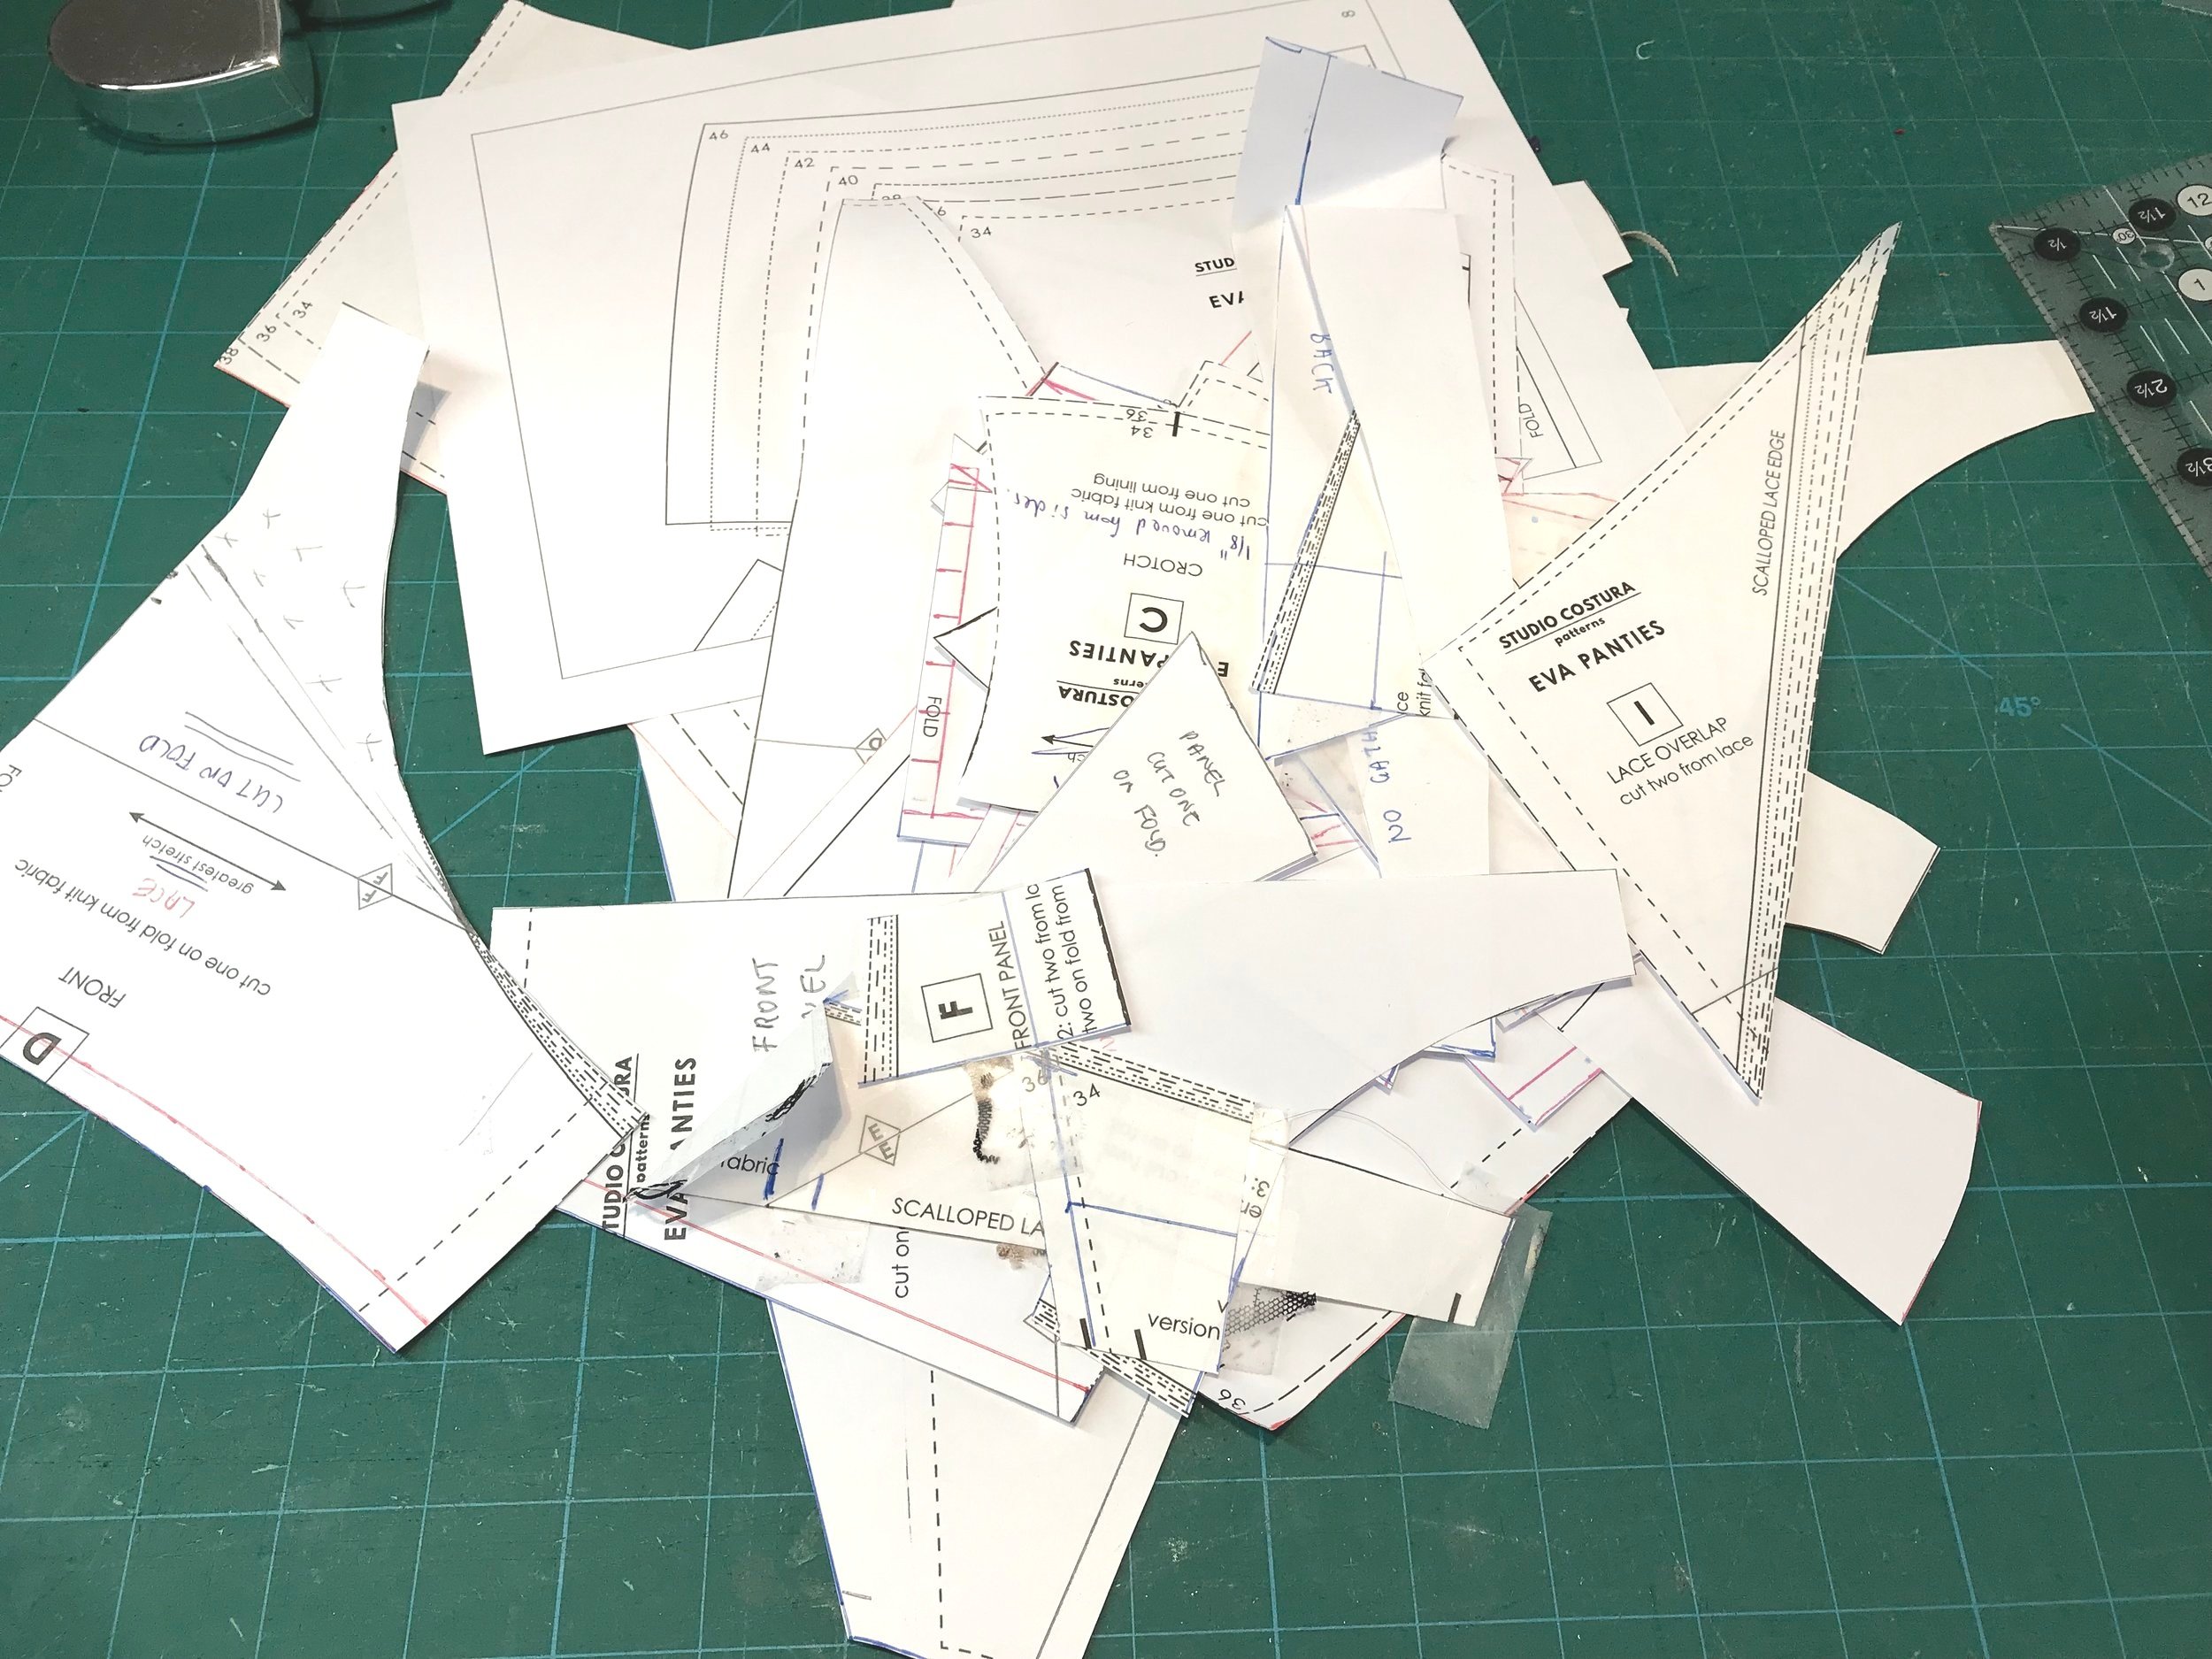
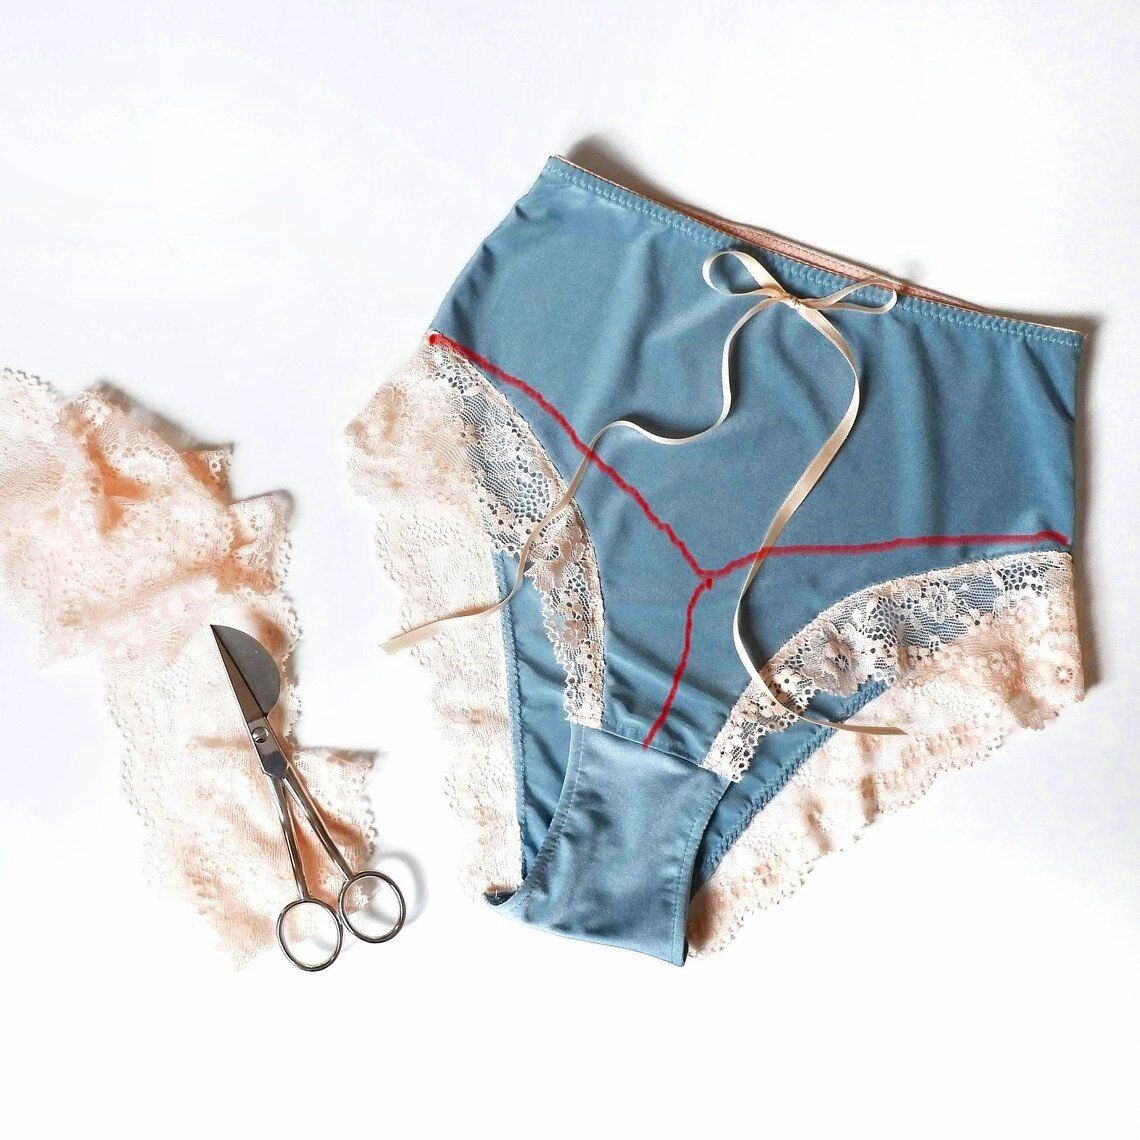
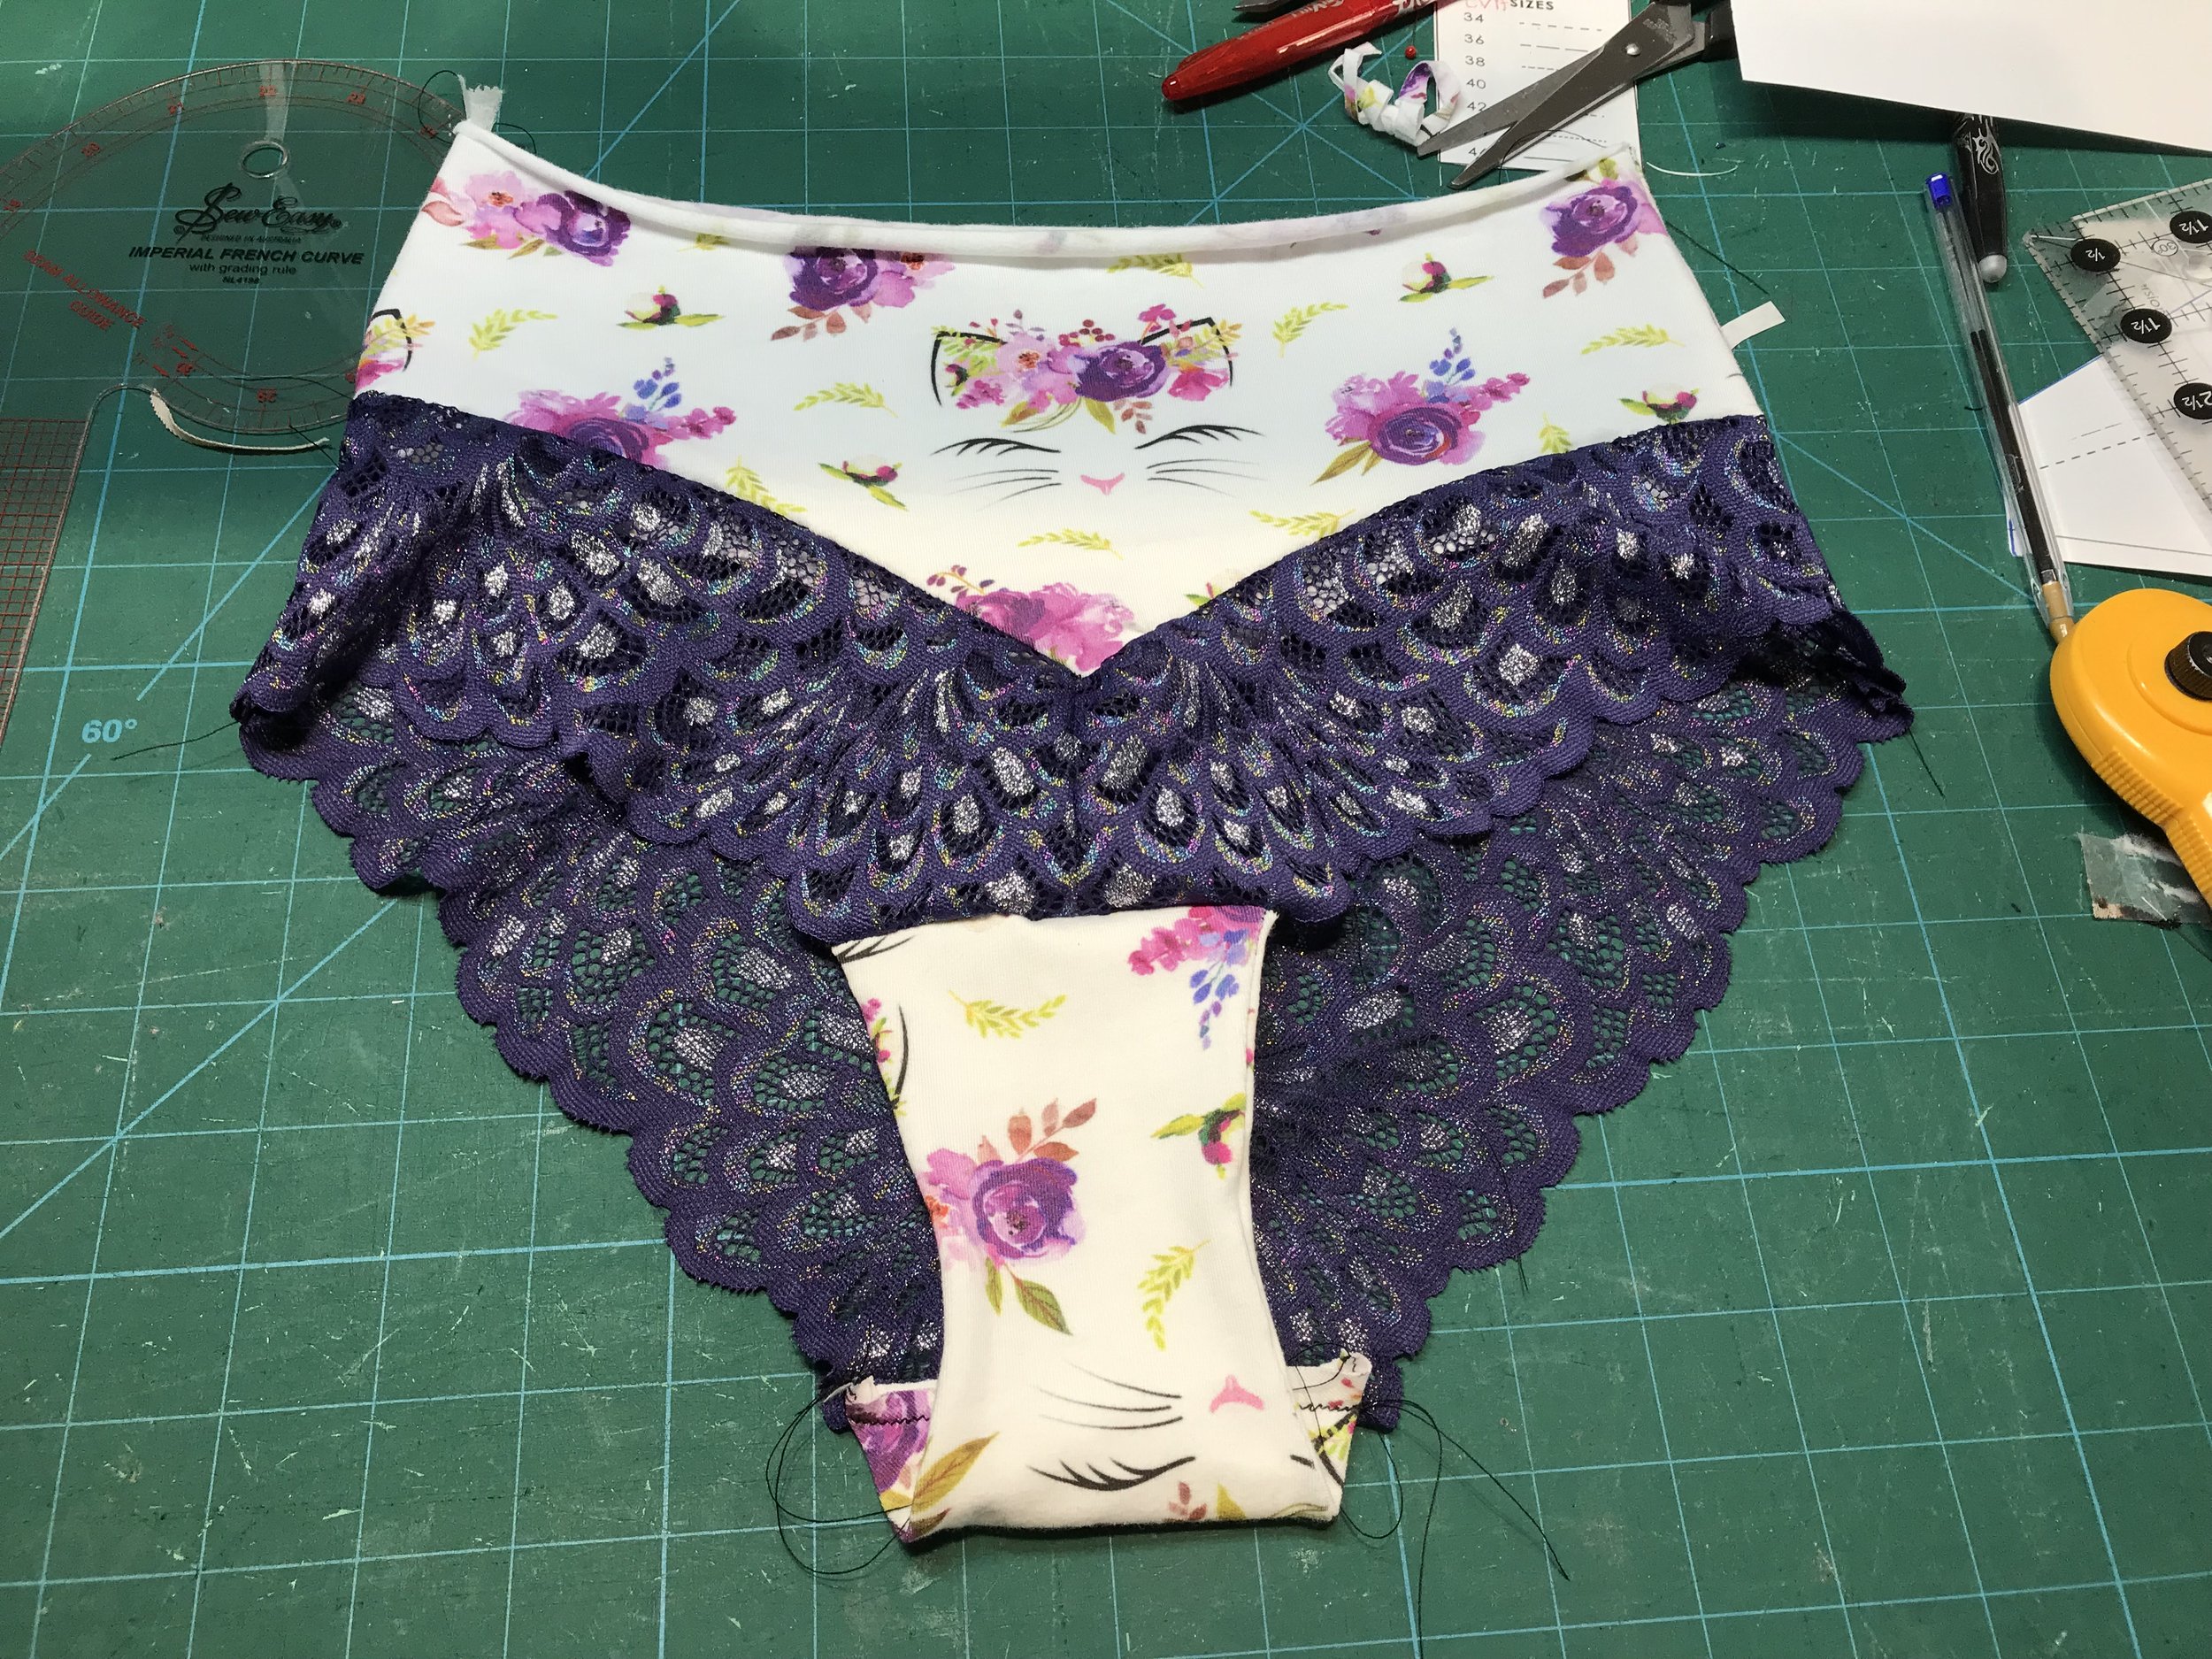
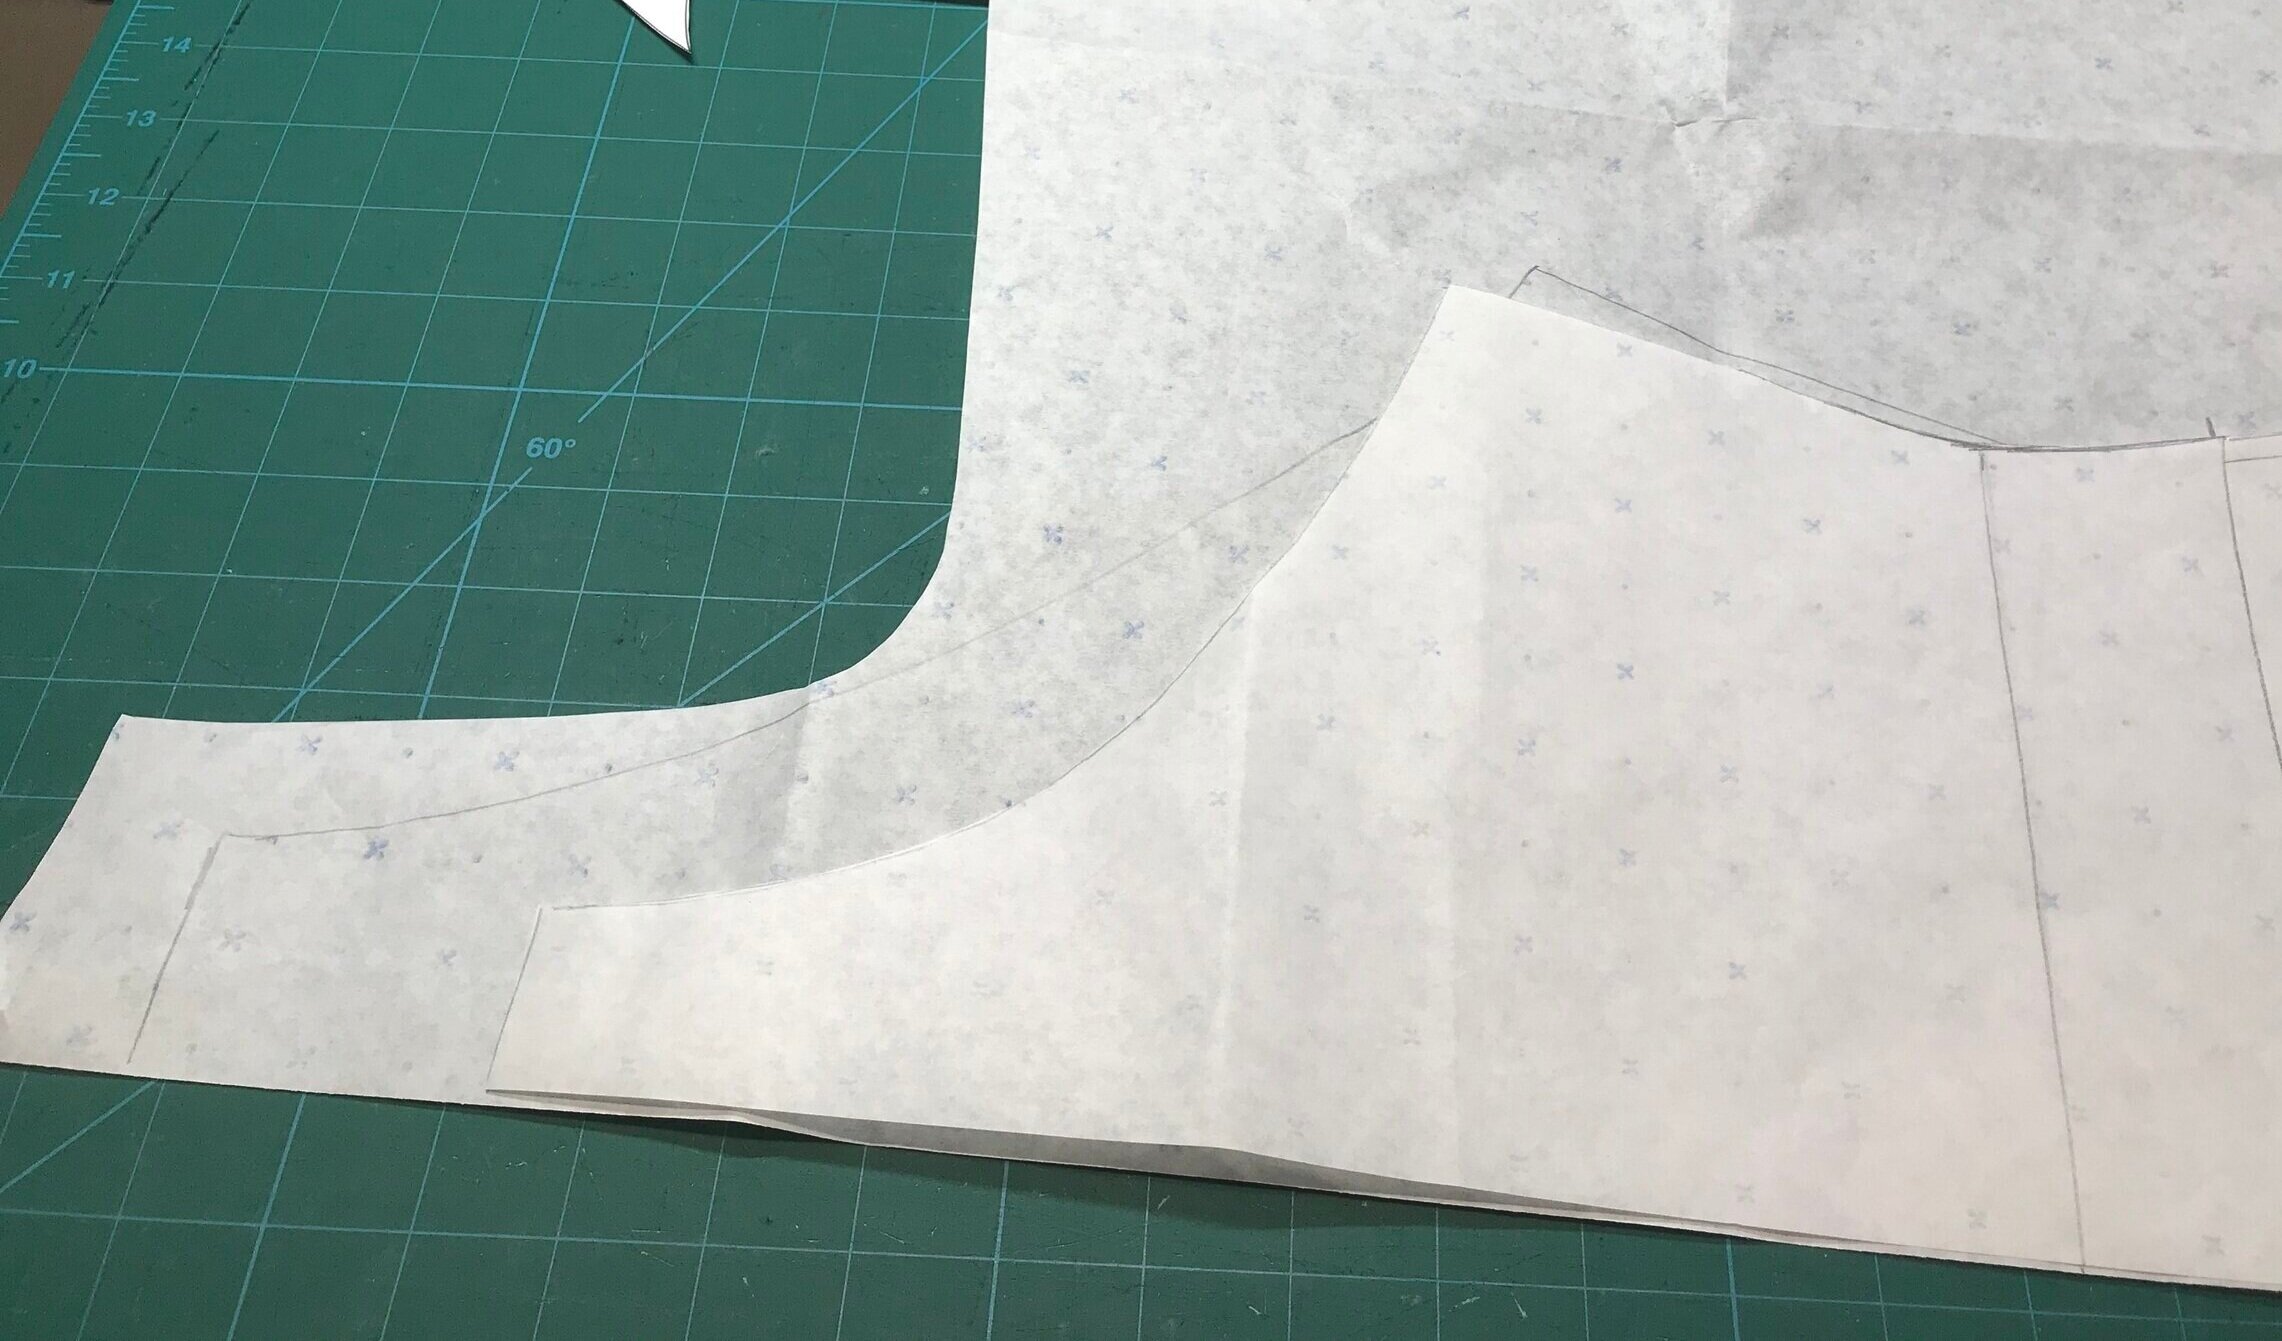
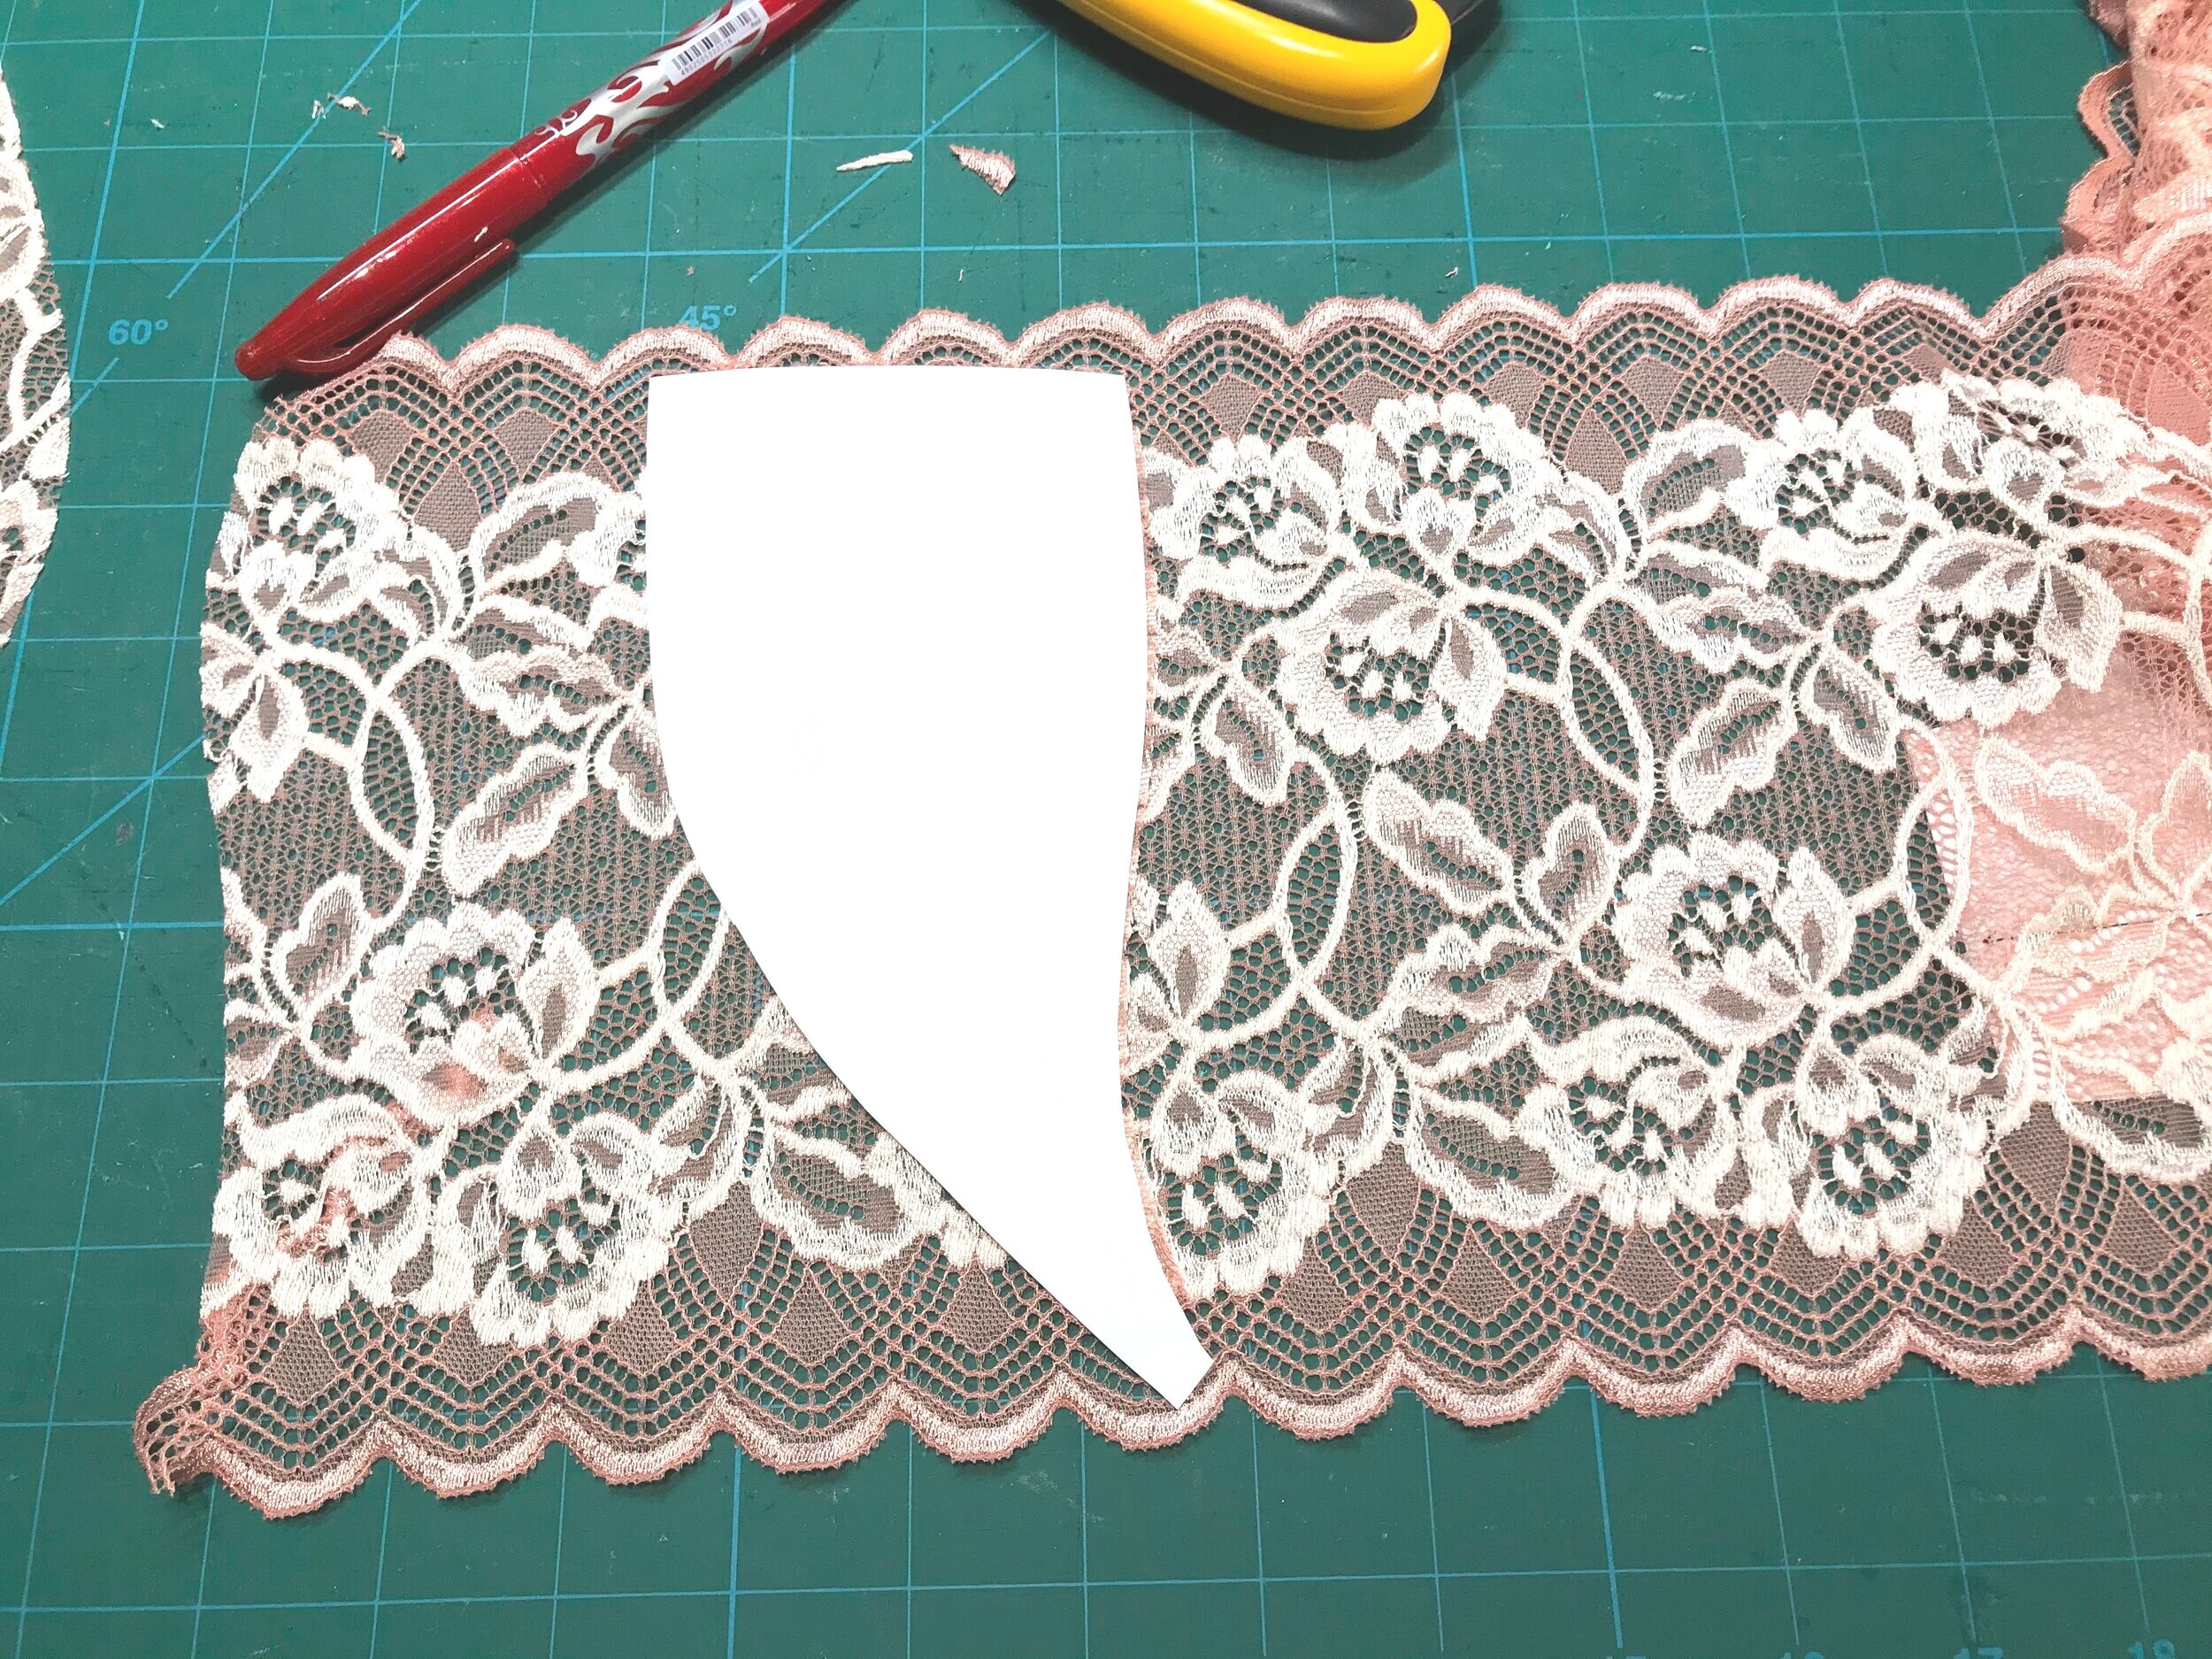
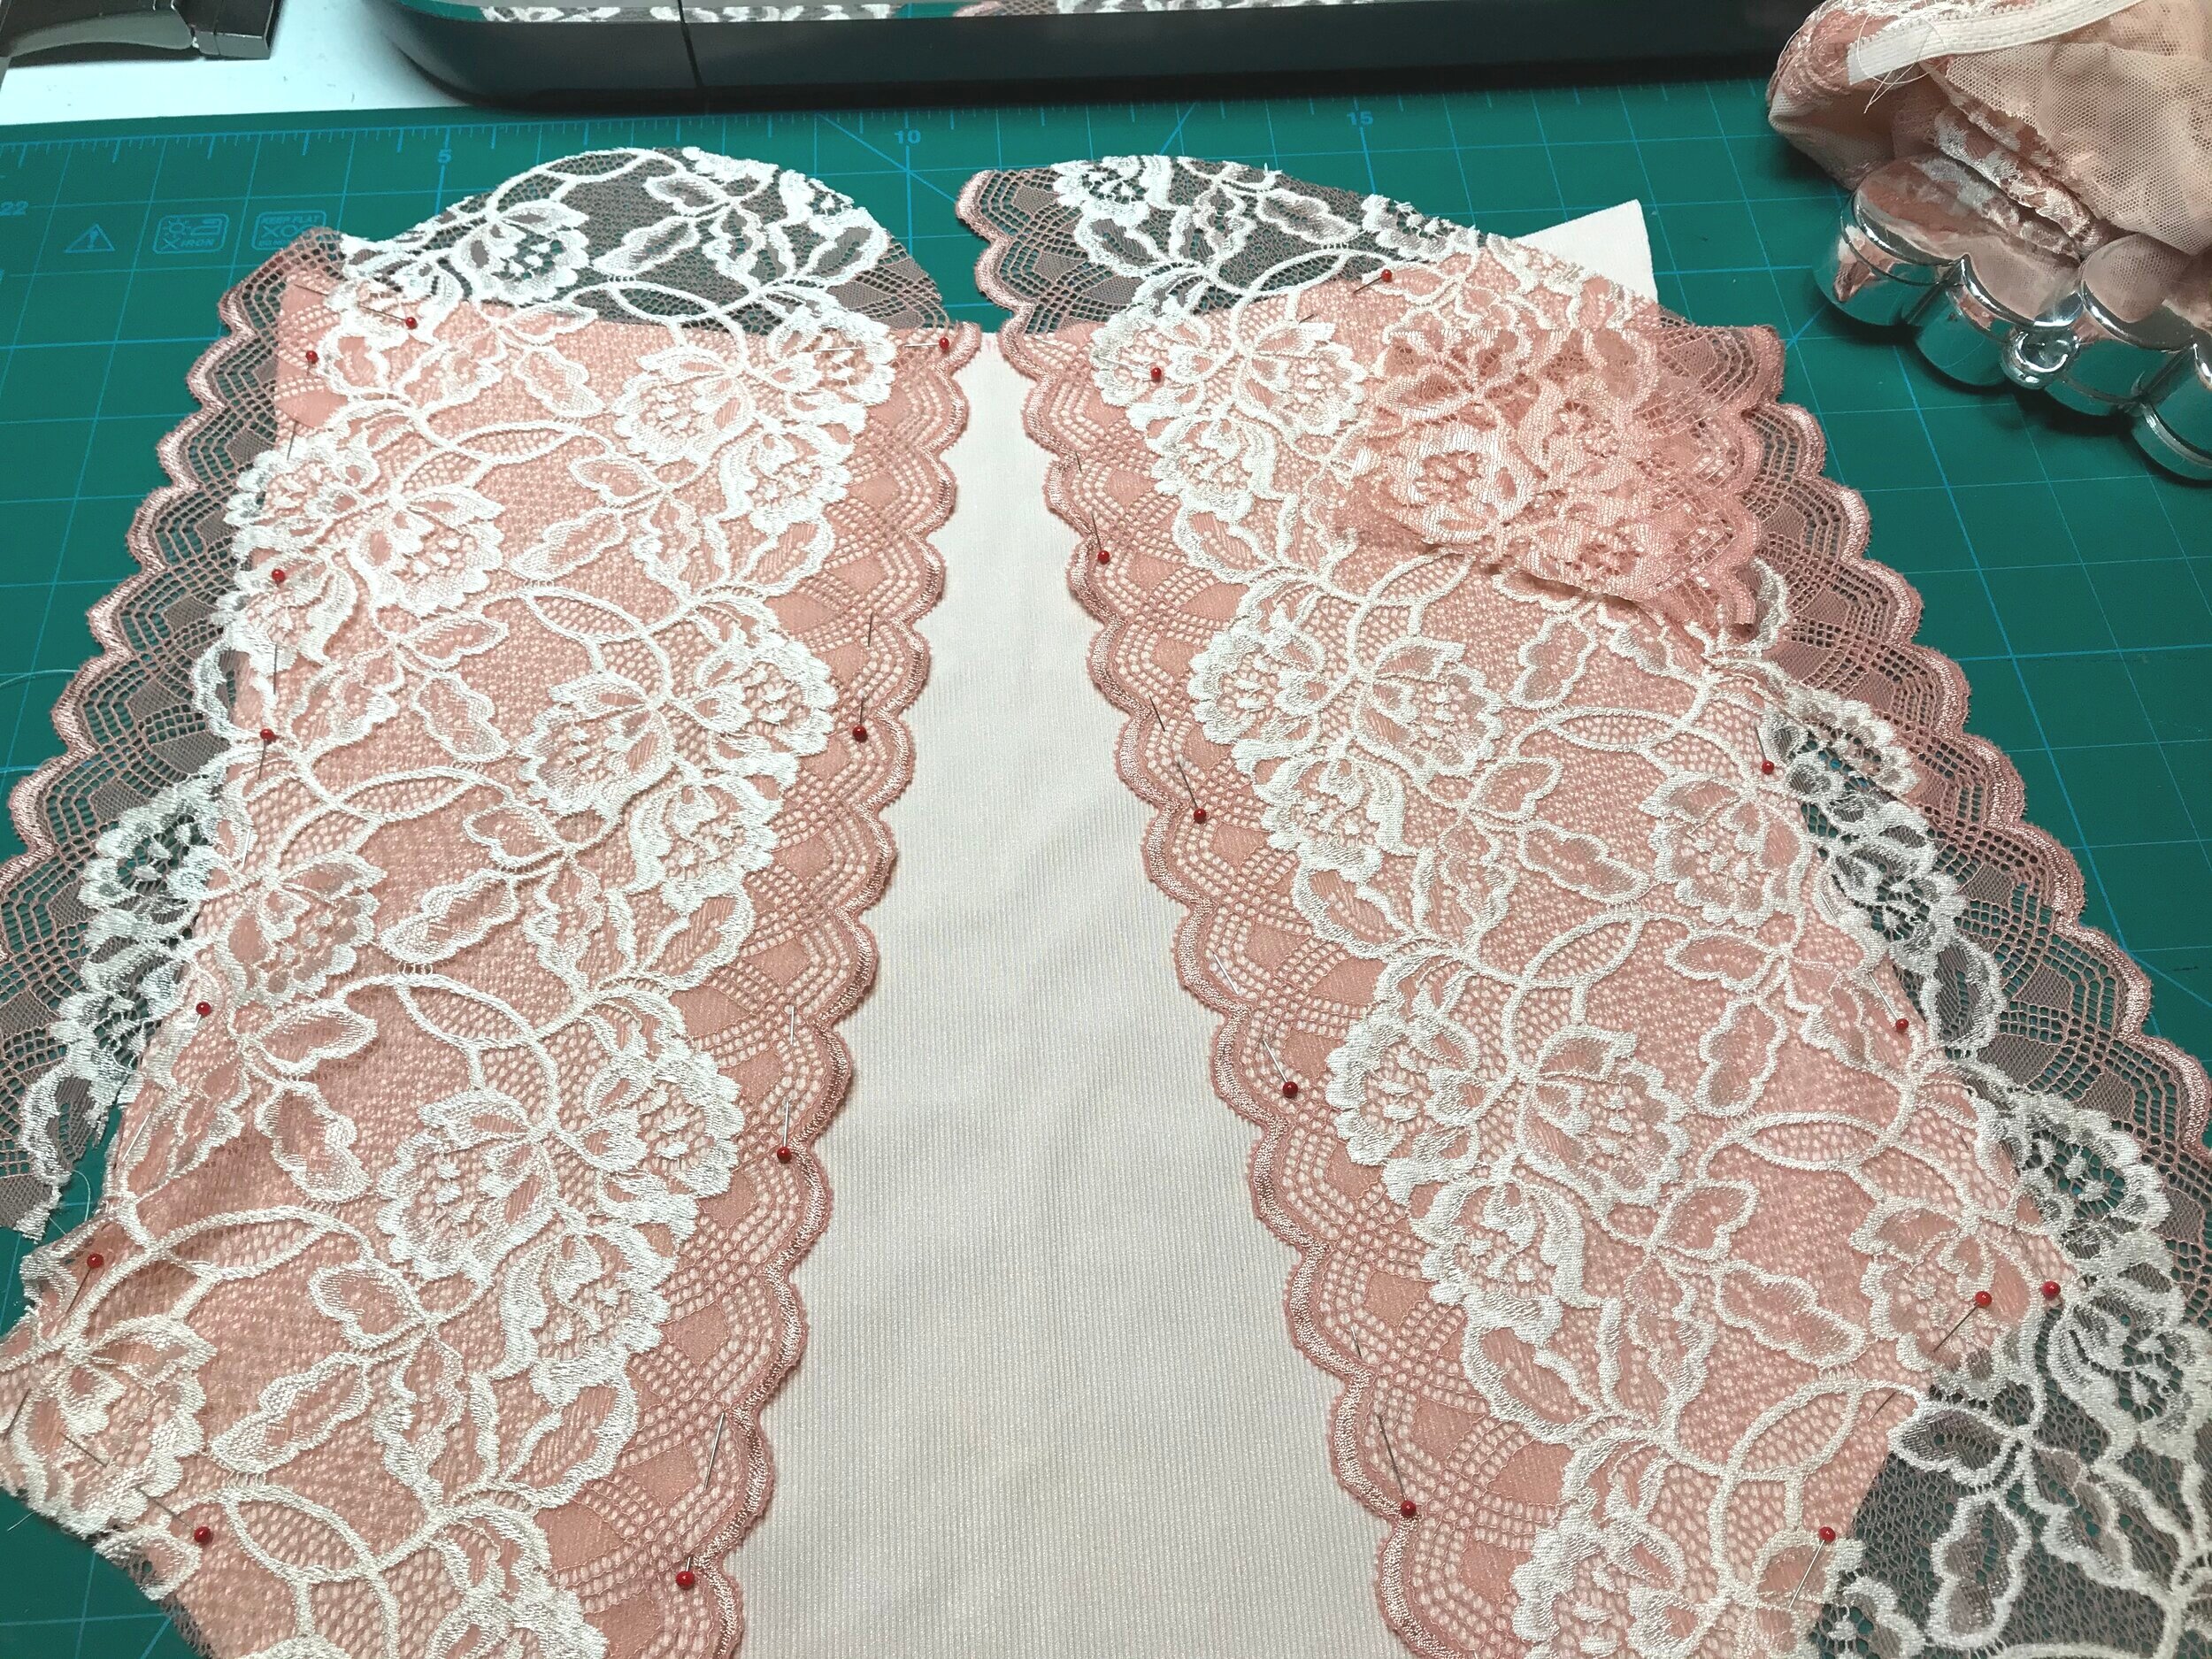
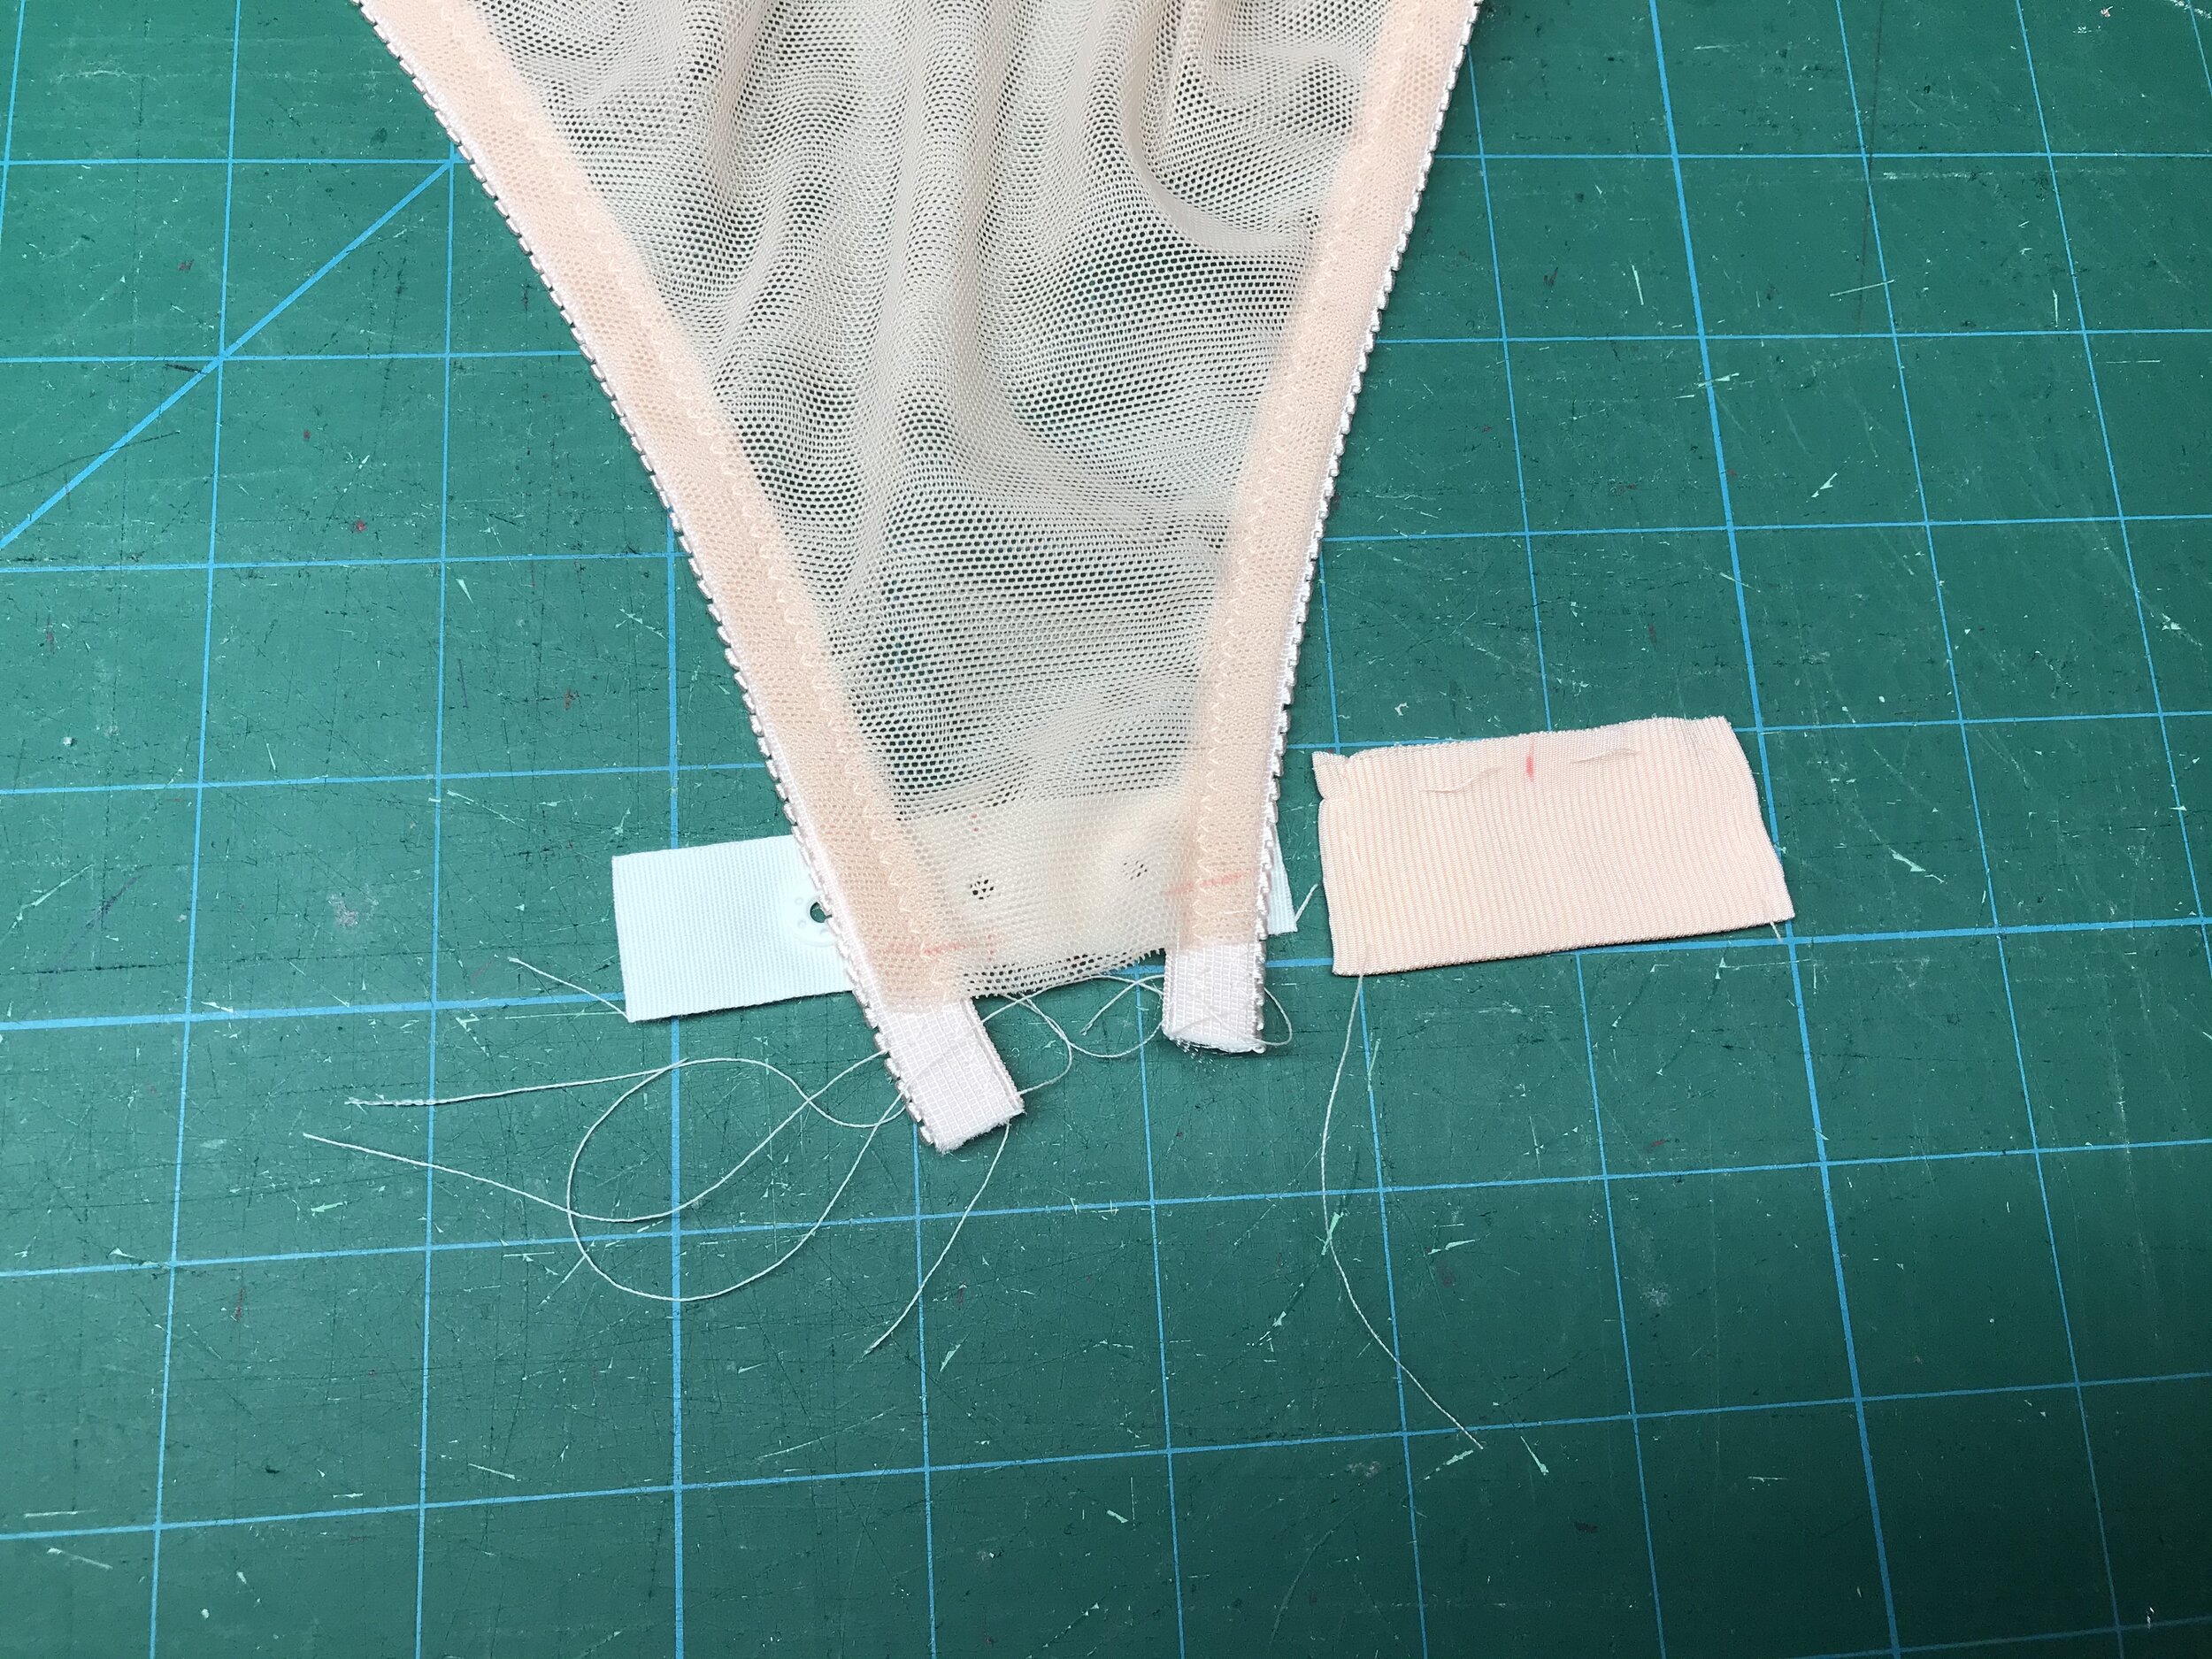
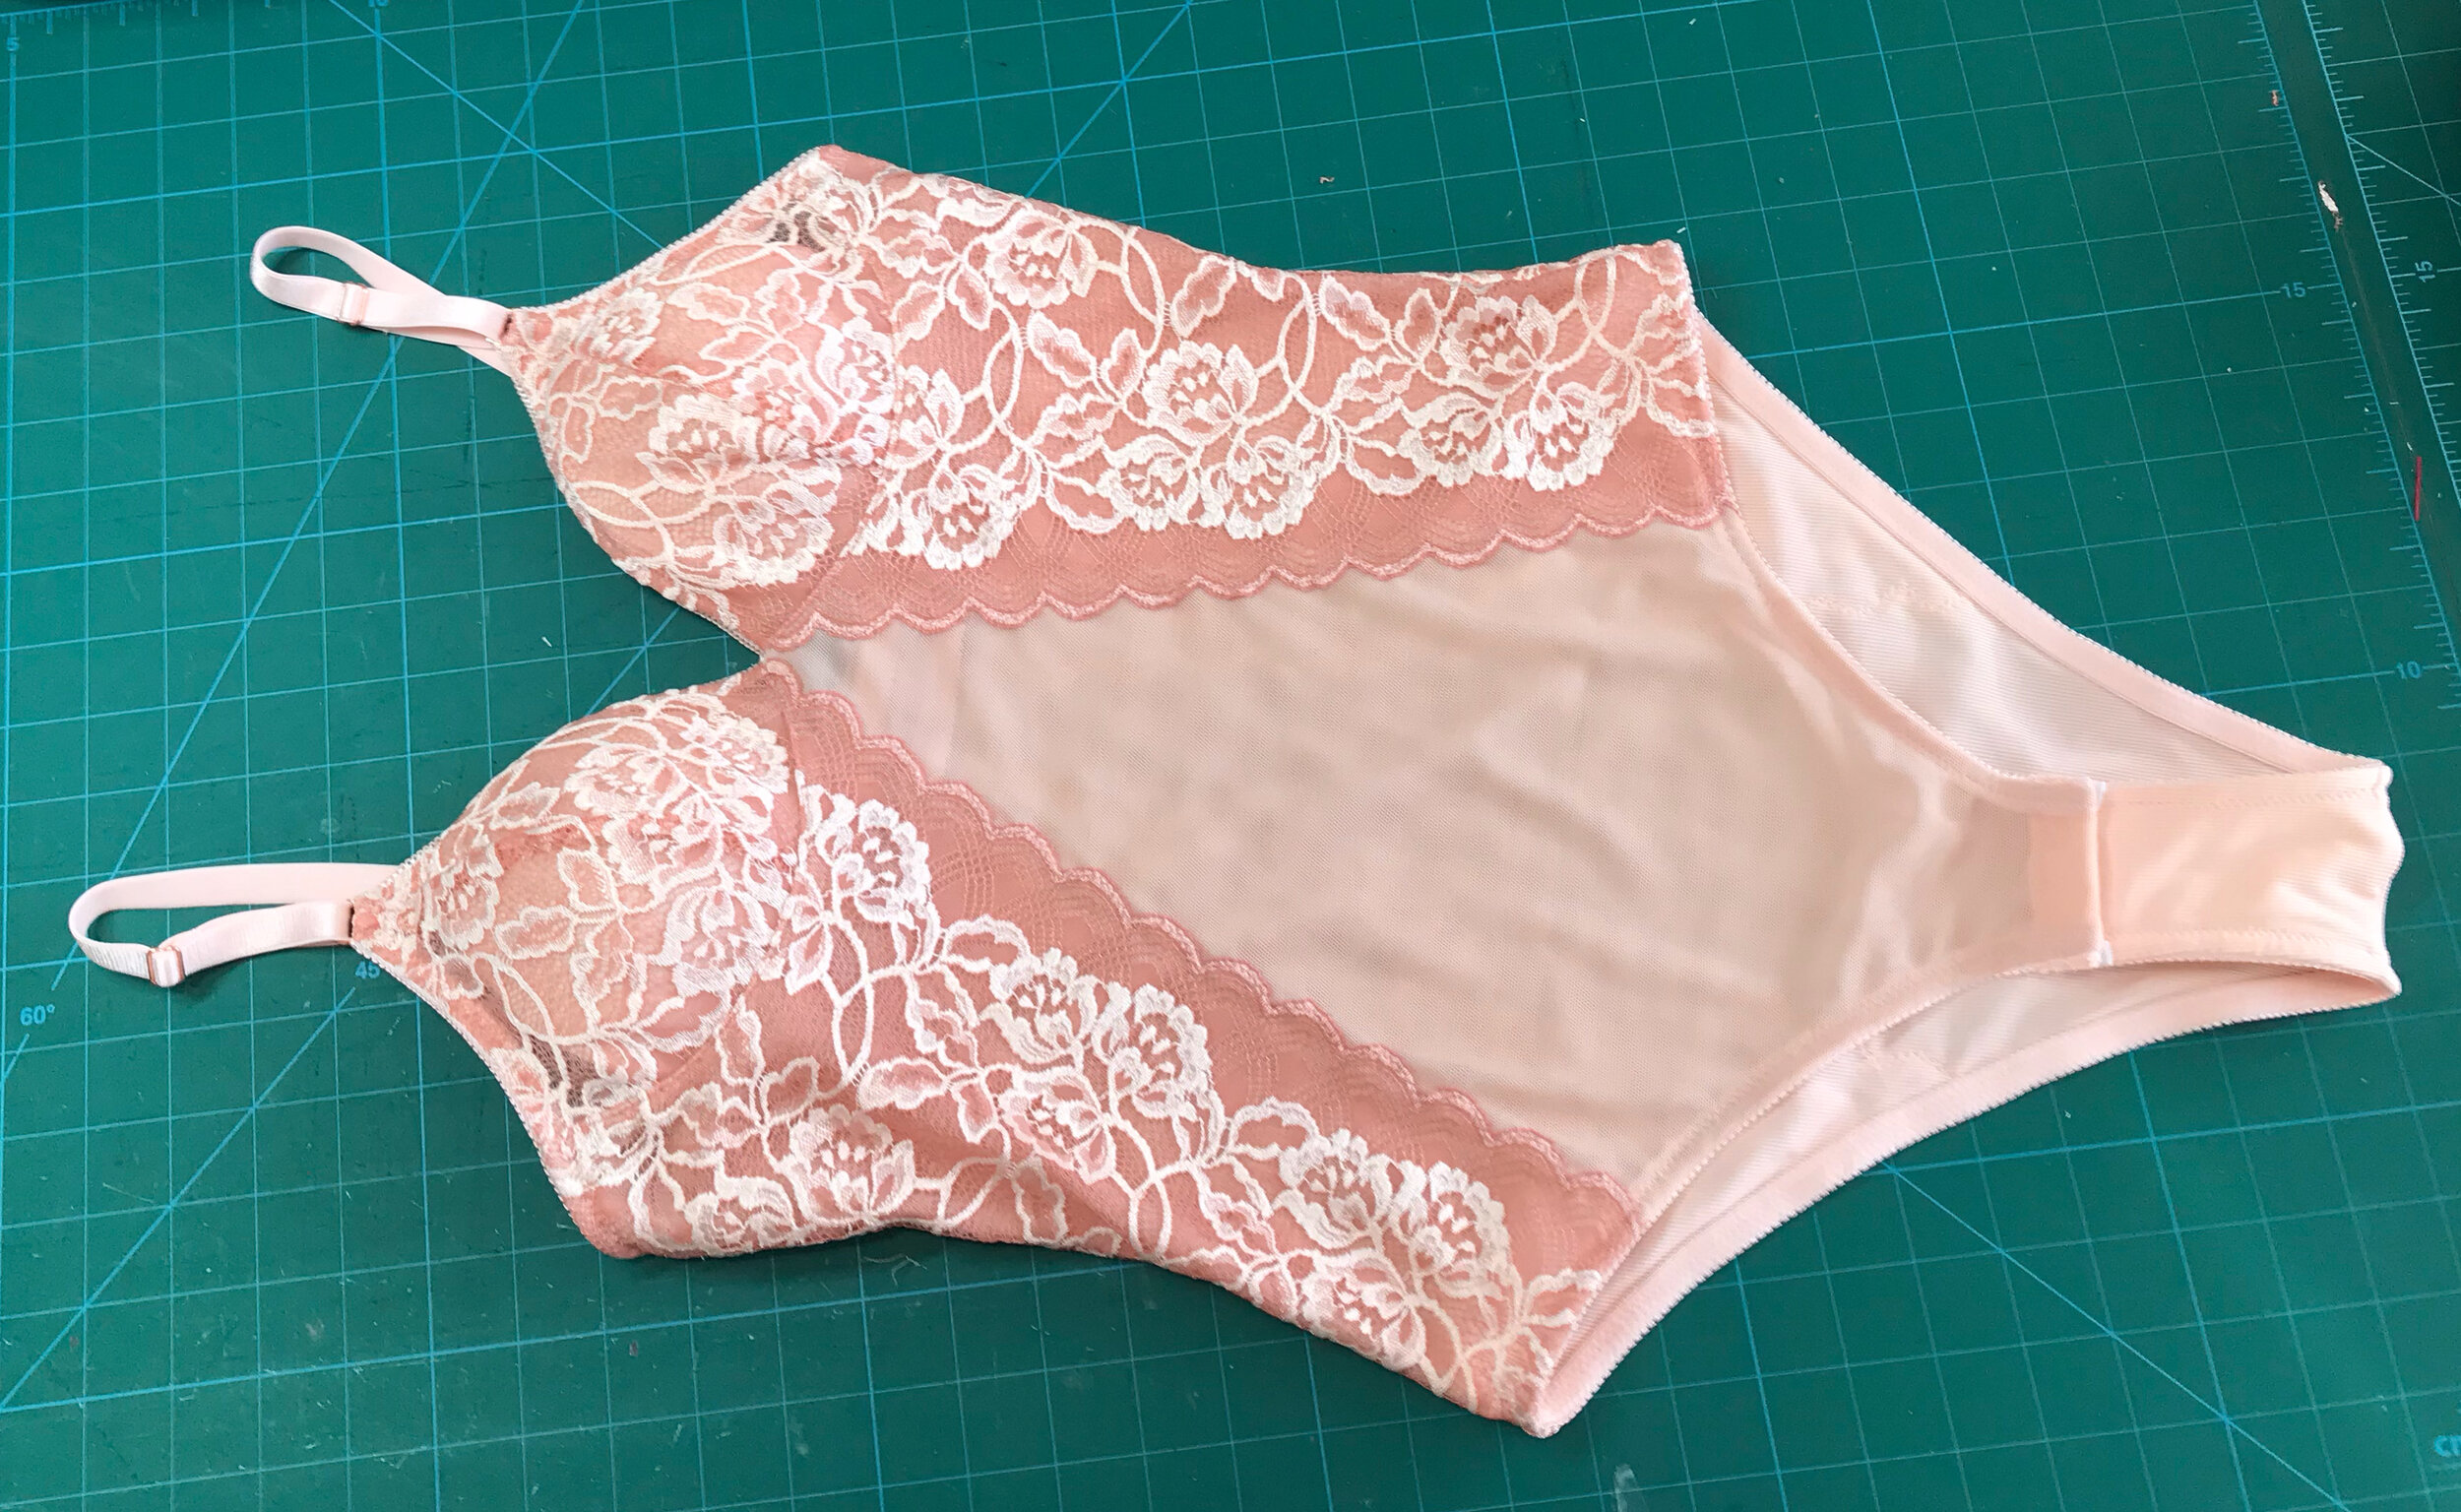
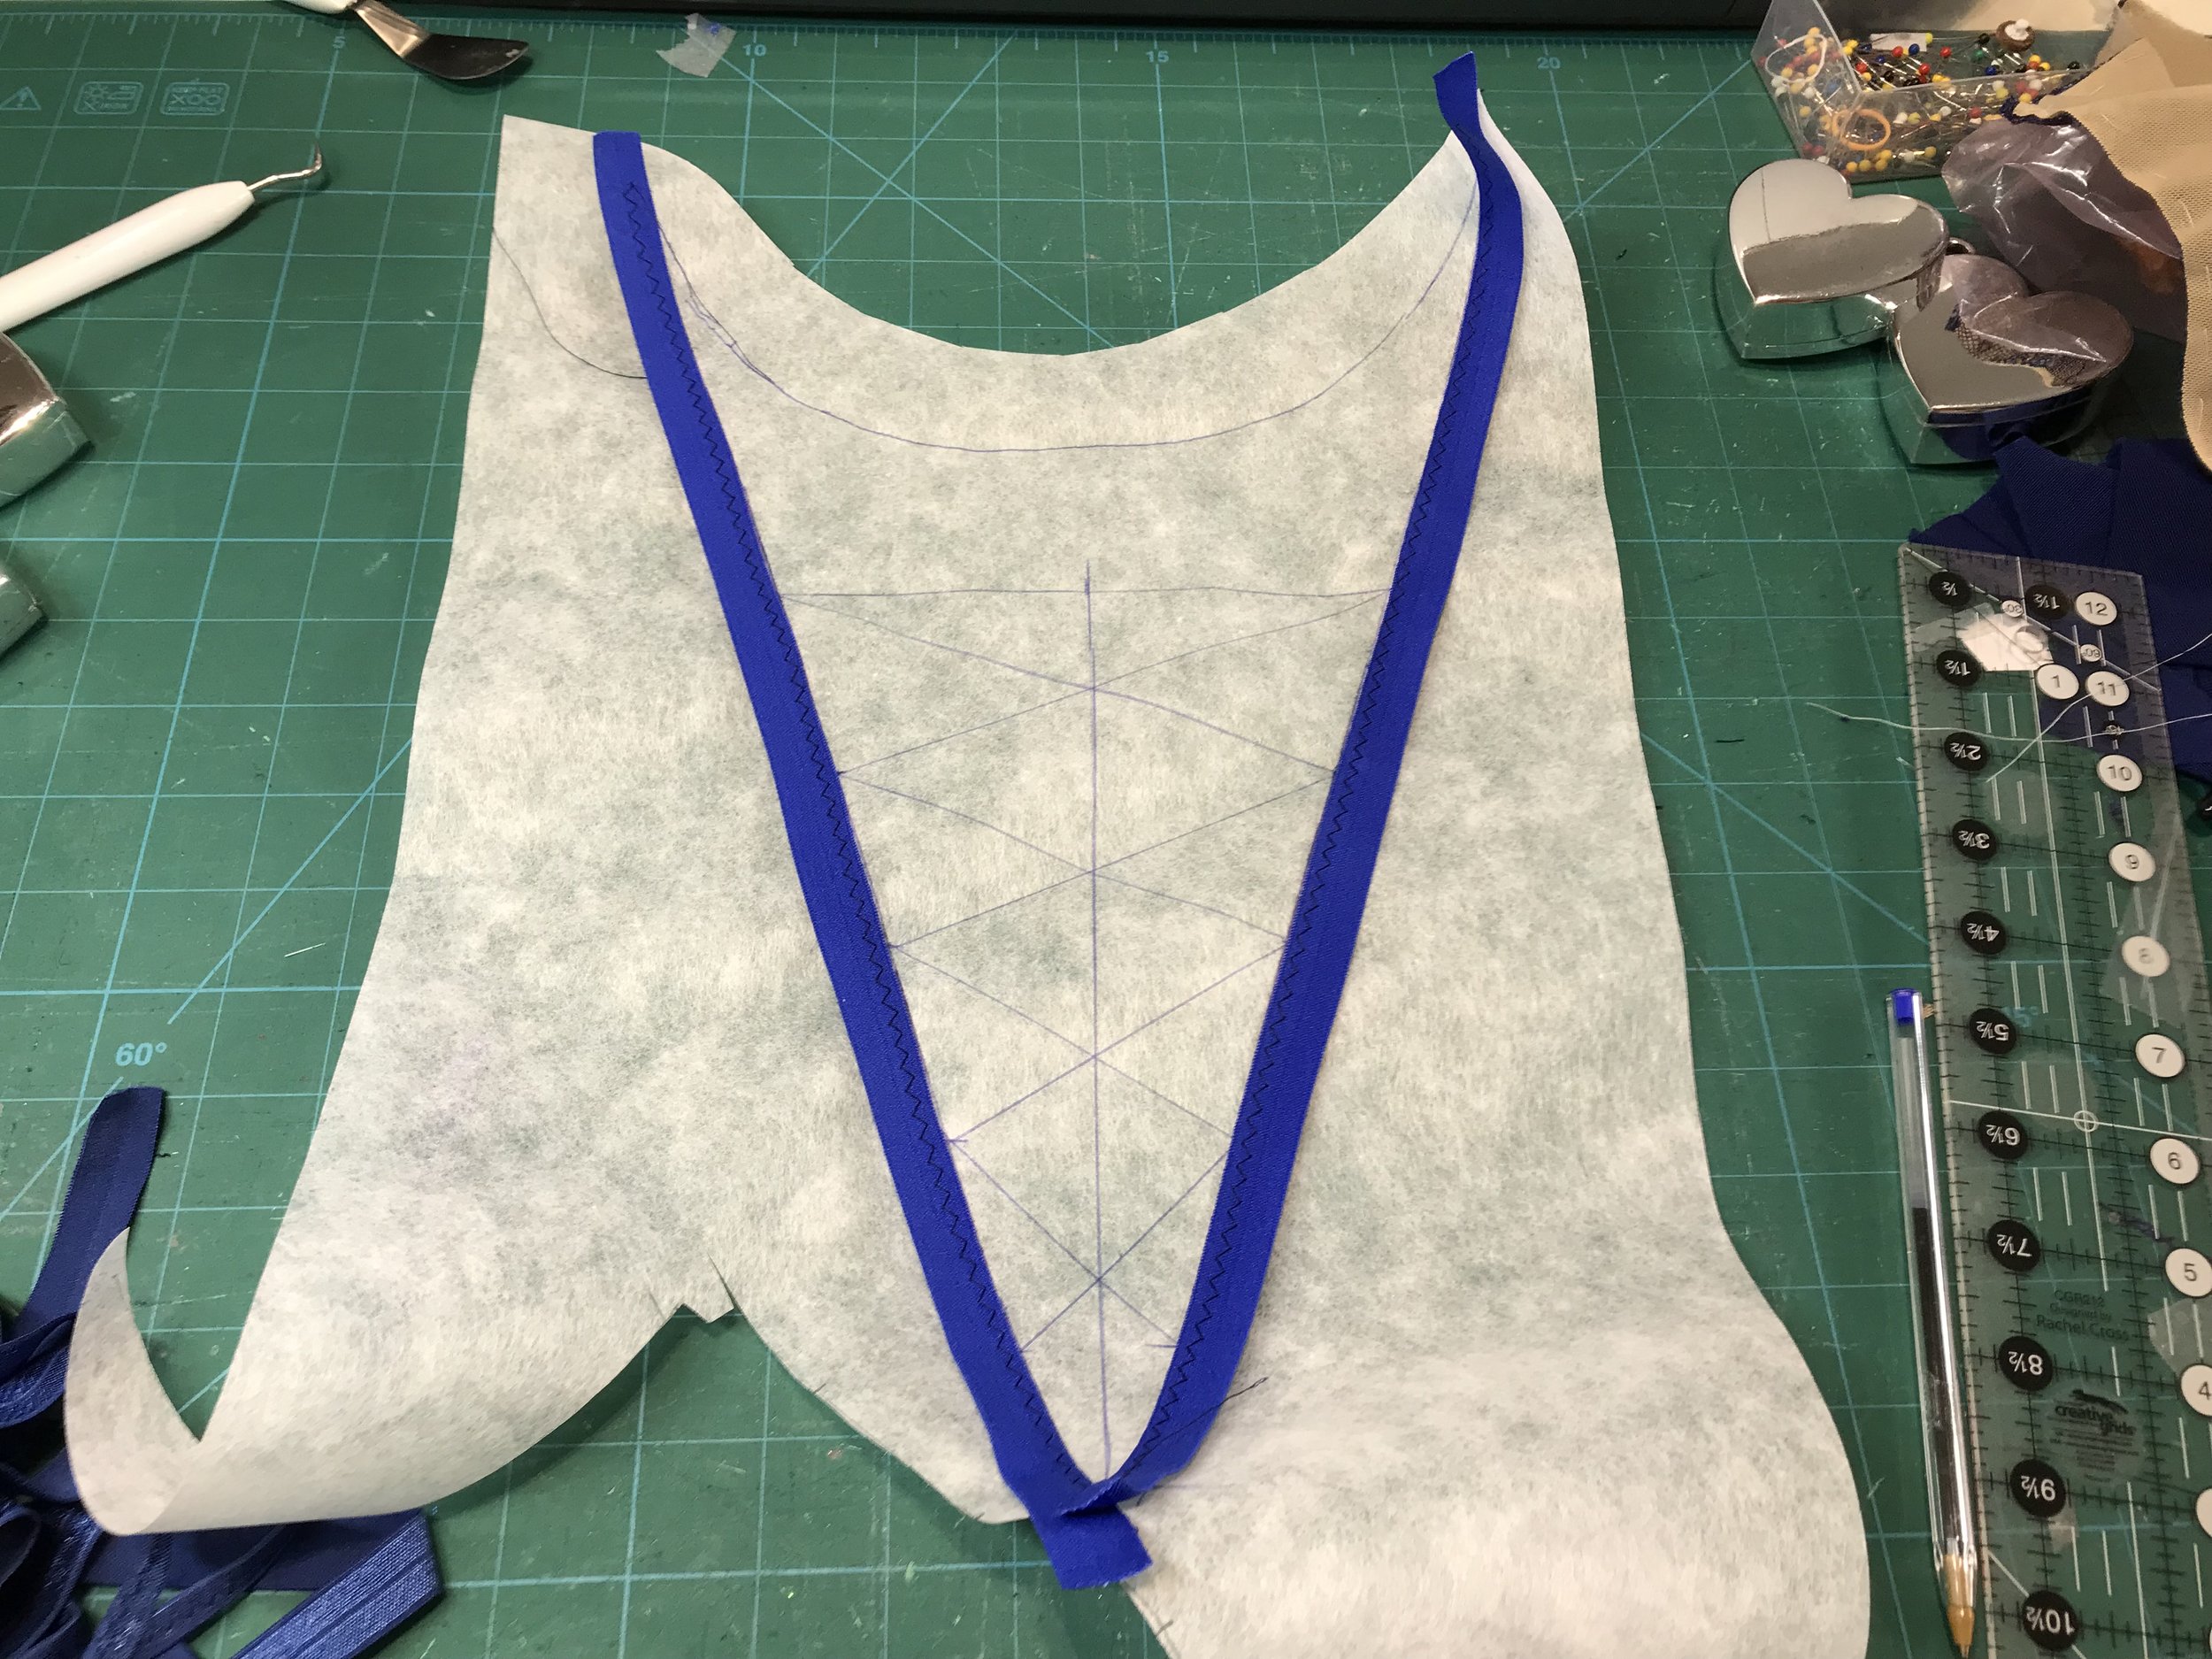
As you can see from the picture I have hacked this pattern a few times! Rather than have the lace go into the gusset I wanted to create a V as in the RTW. This involves adding the leg bands back to the main pattern and deciding on the shape. For the front I followed the line of the RTW. For the back I tried on a previous make and decided where I wanted the strapping to finish and this would determine the back lace pieces. For the test make I made up a solid front and back in jersey and once I had got the fit right I worked out the strapping.

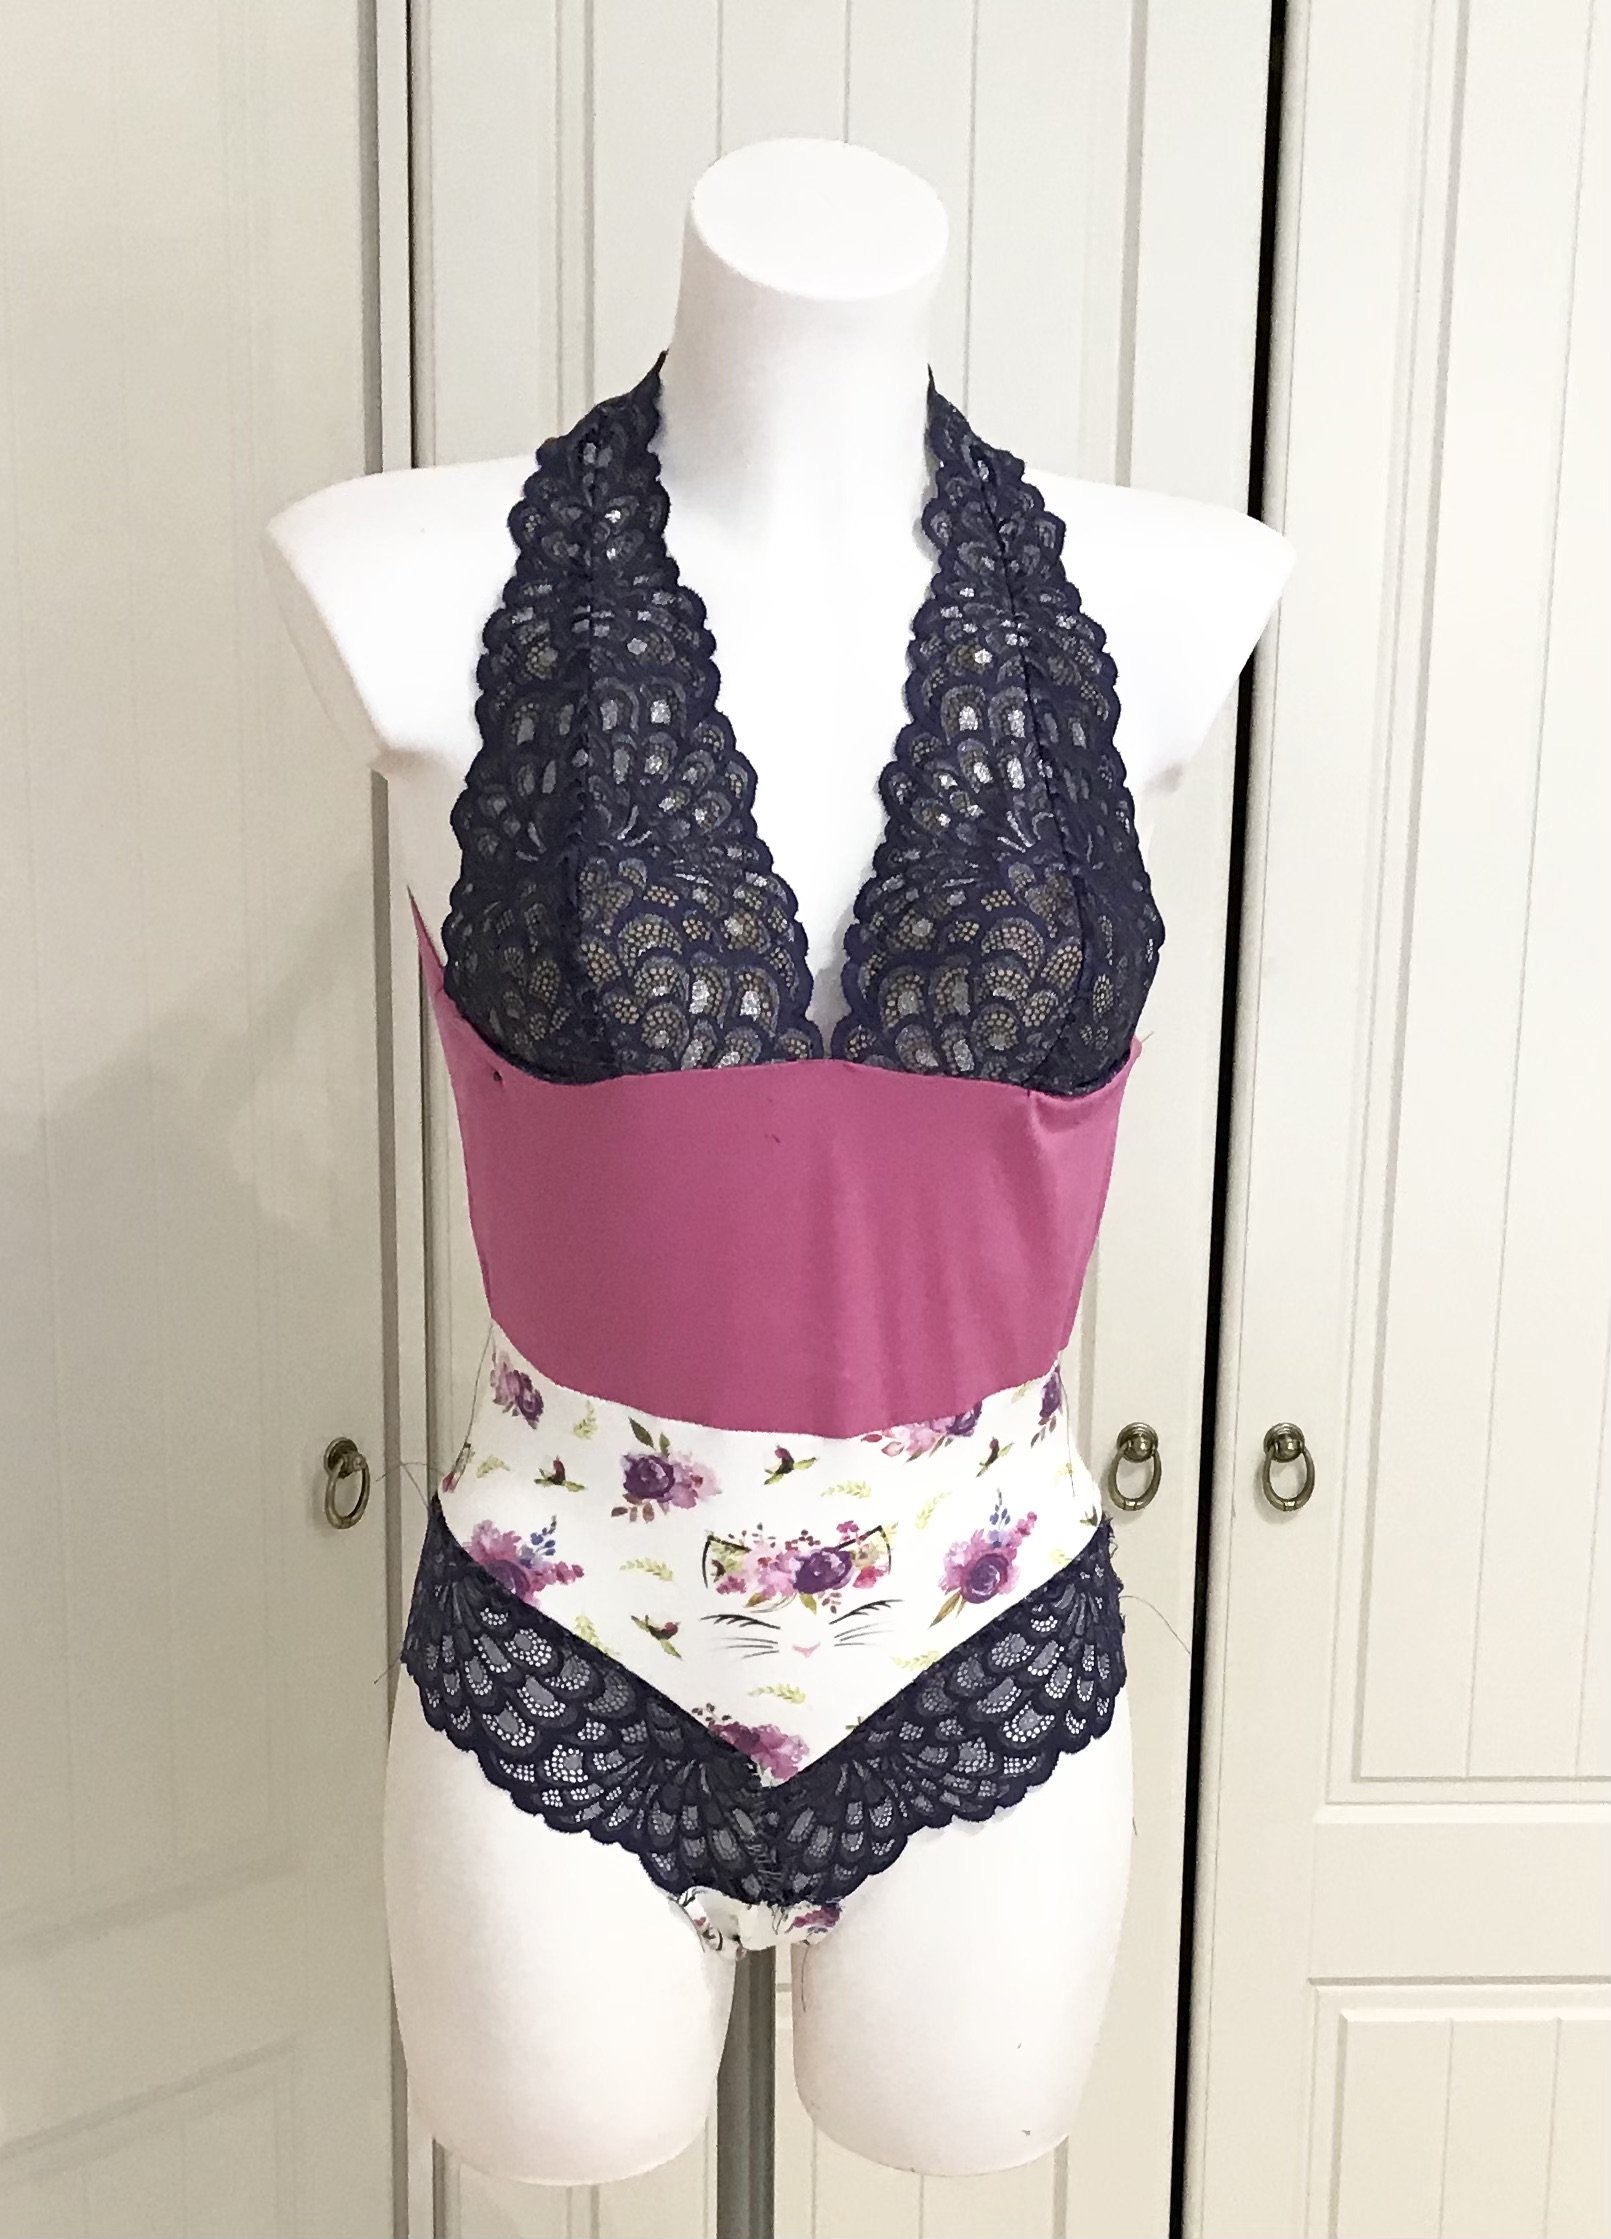
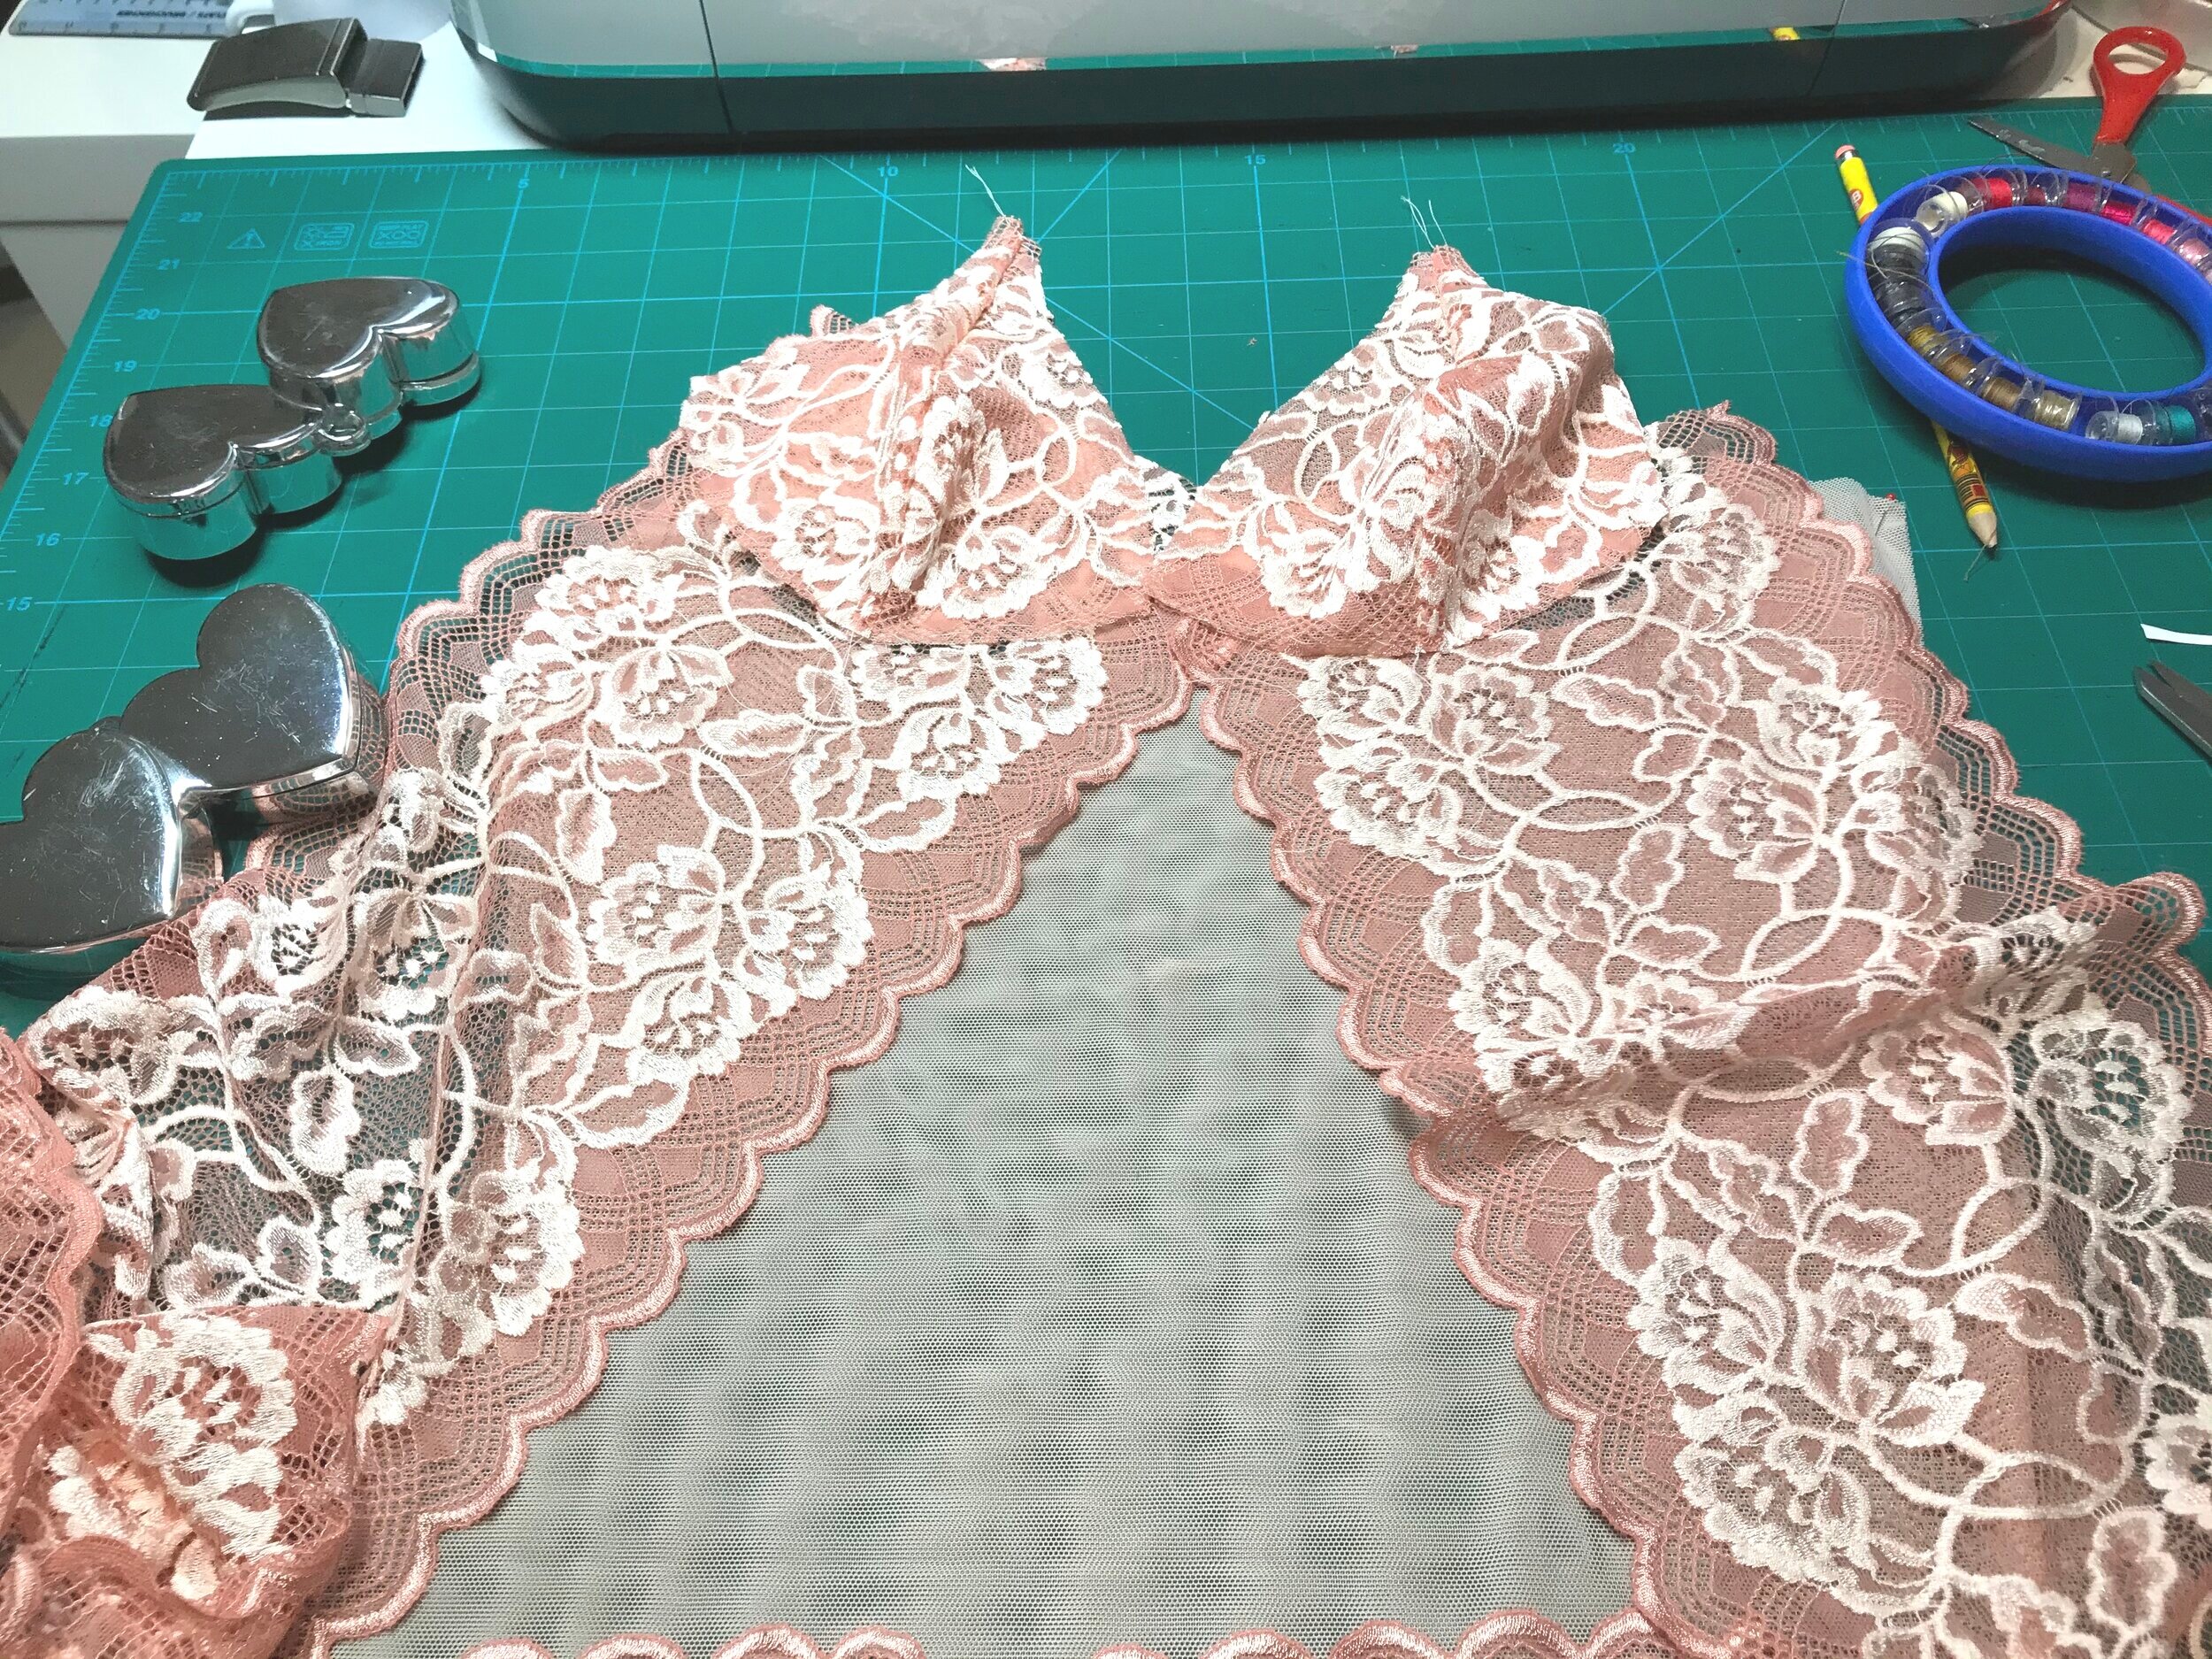
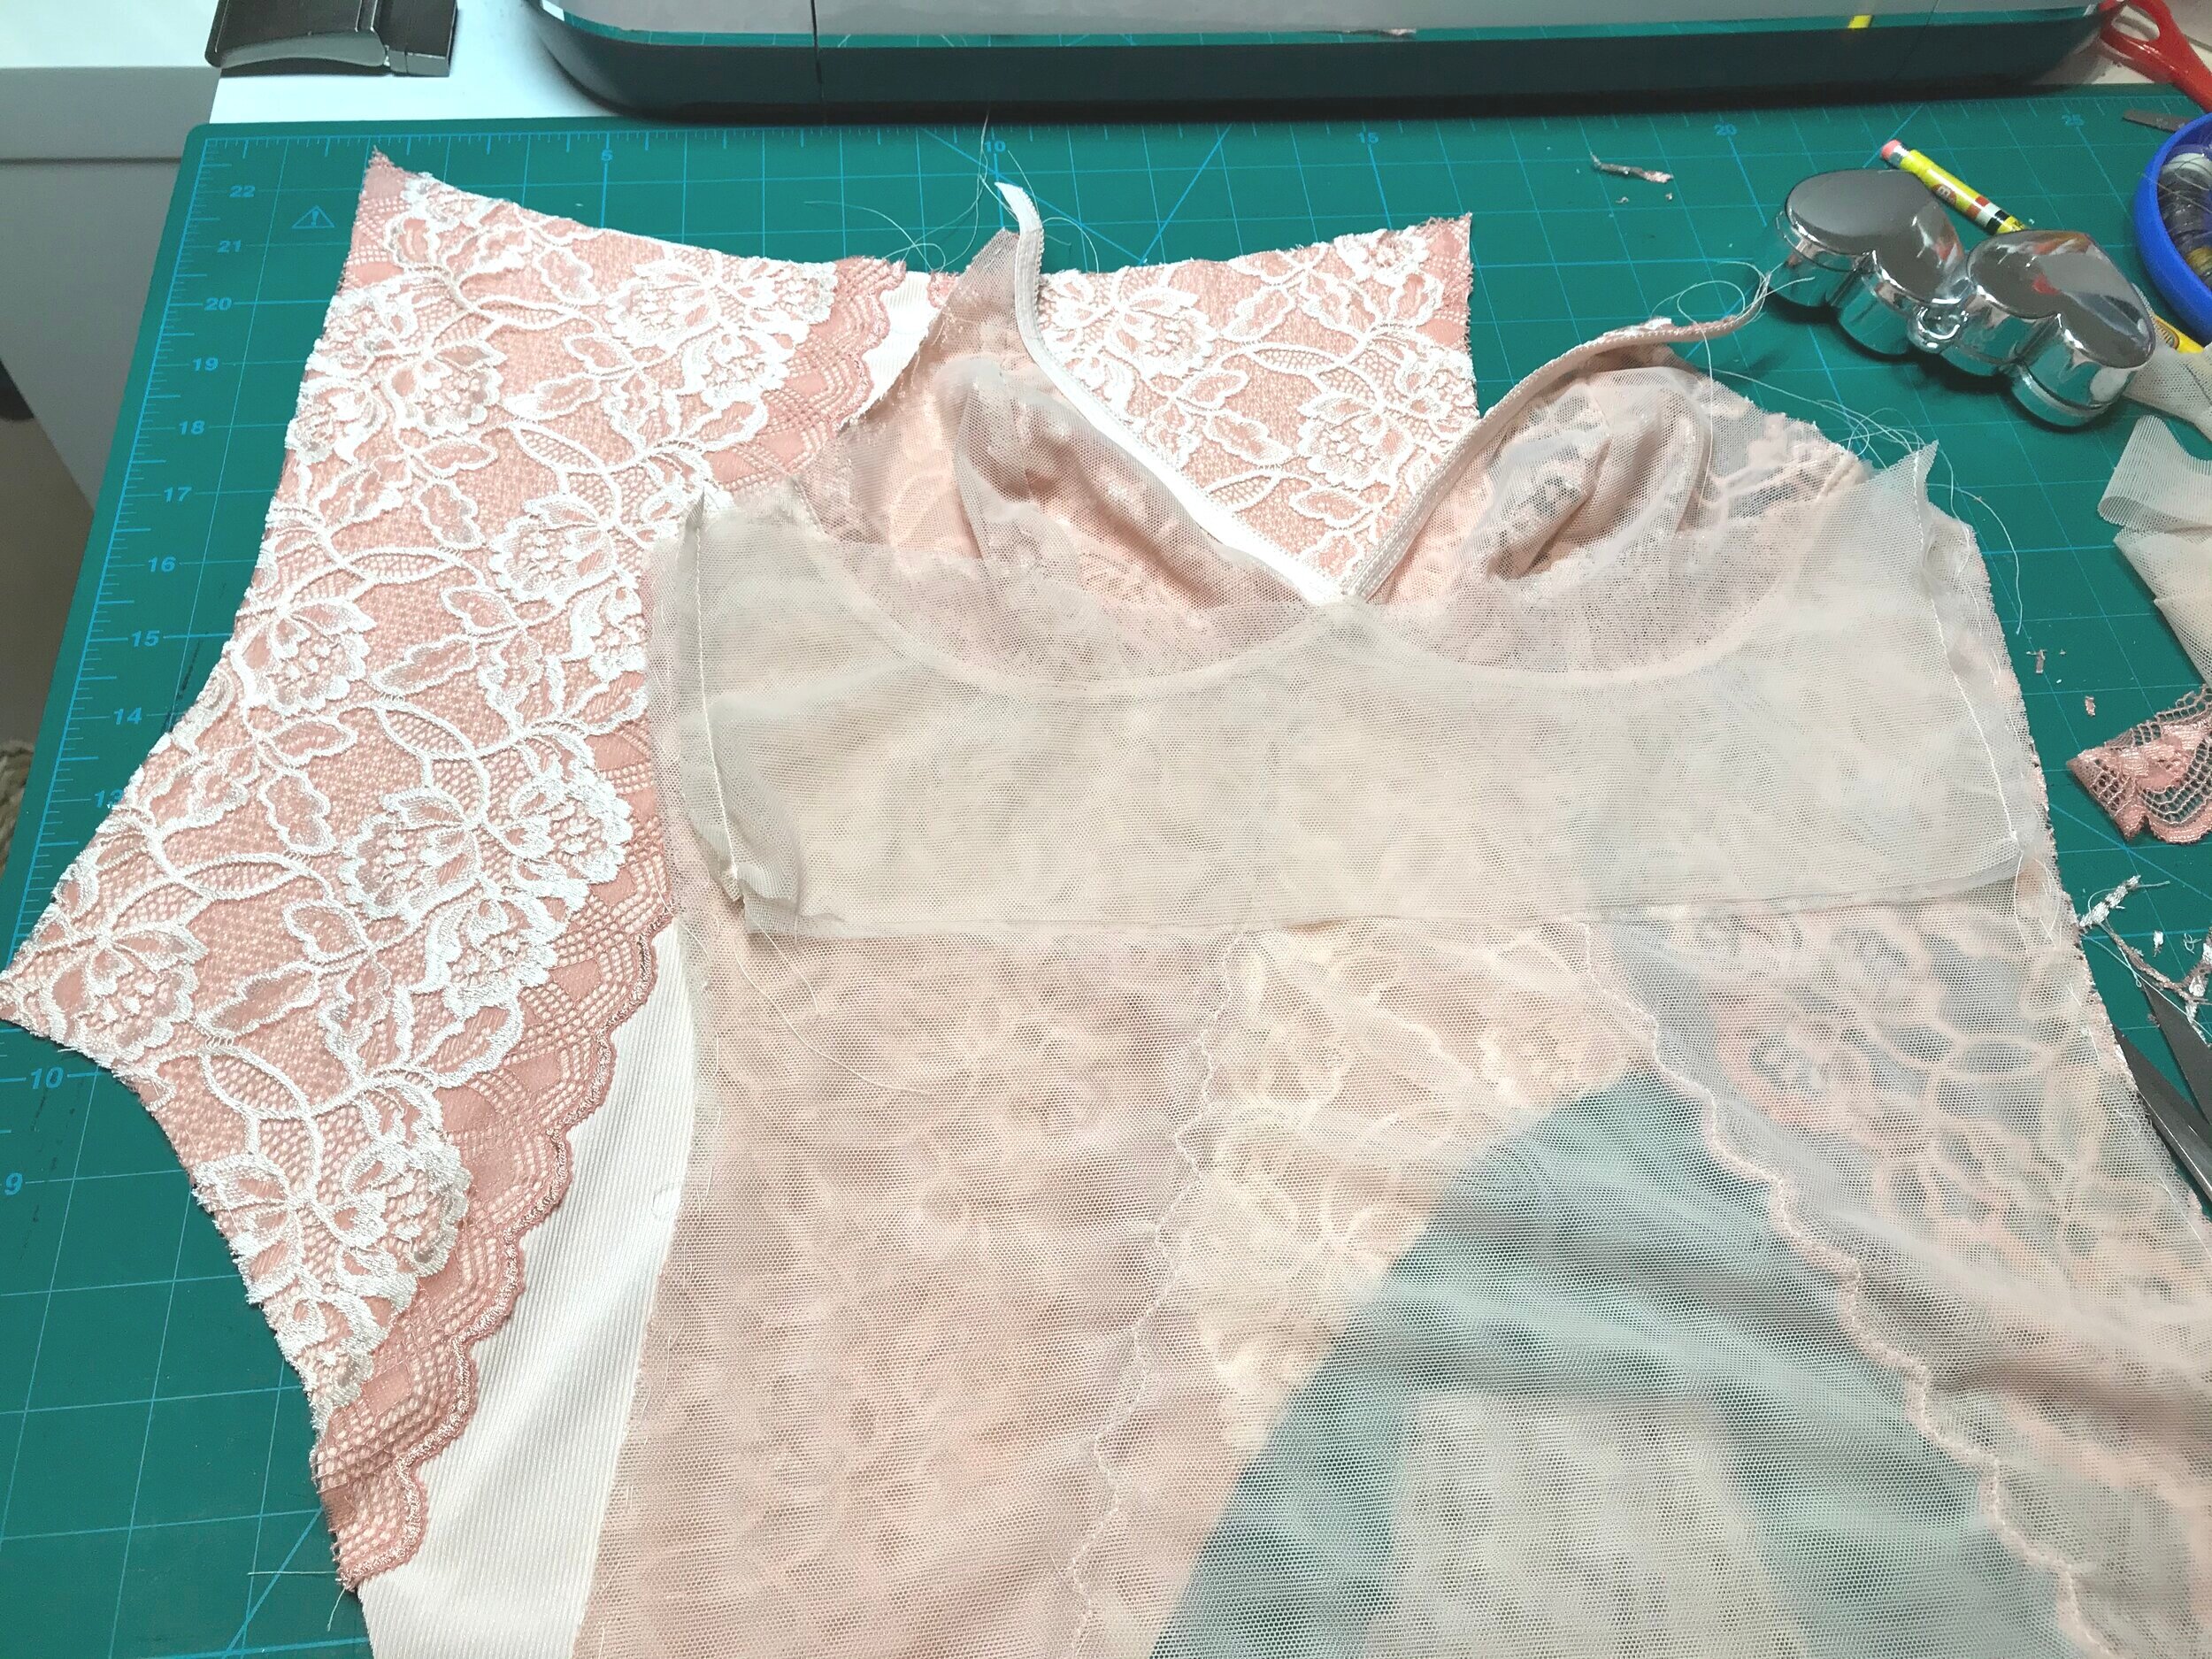
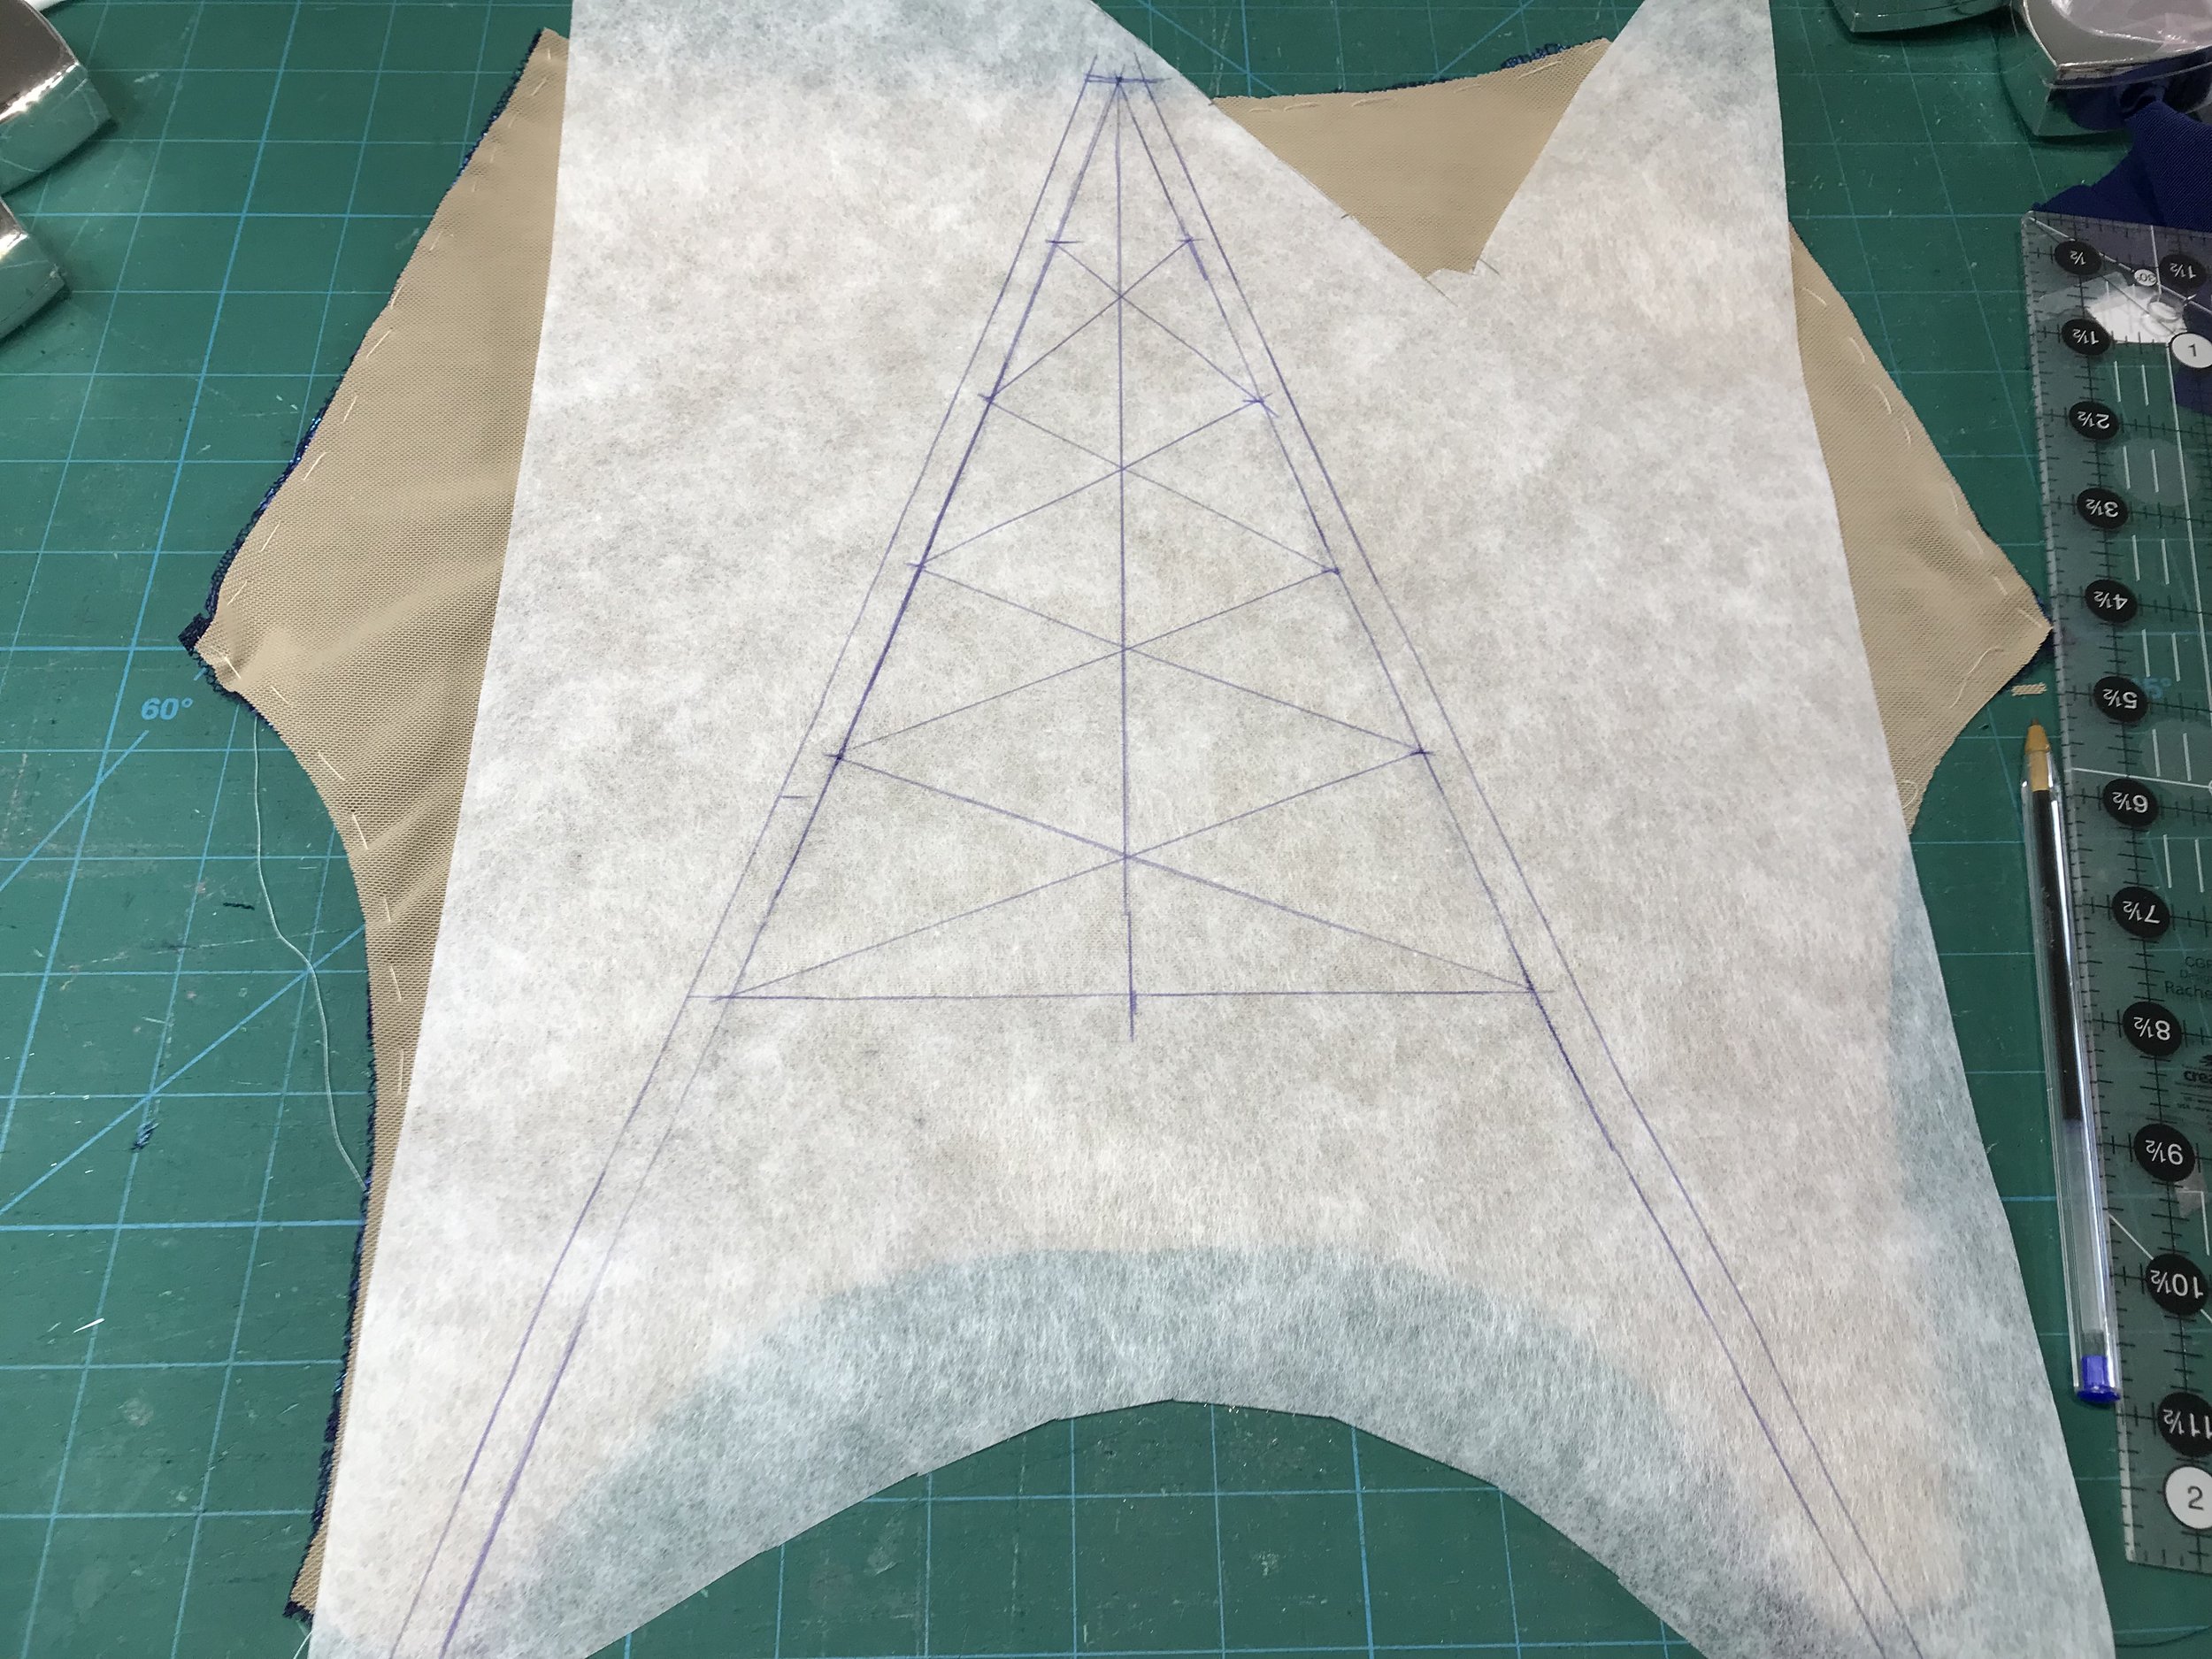
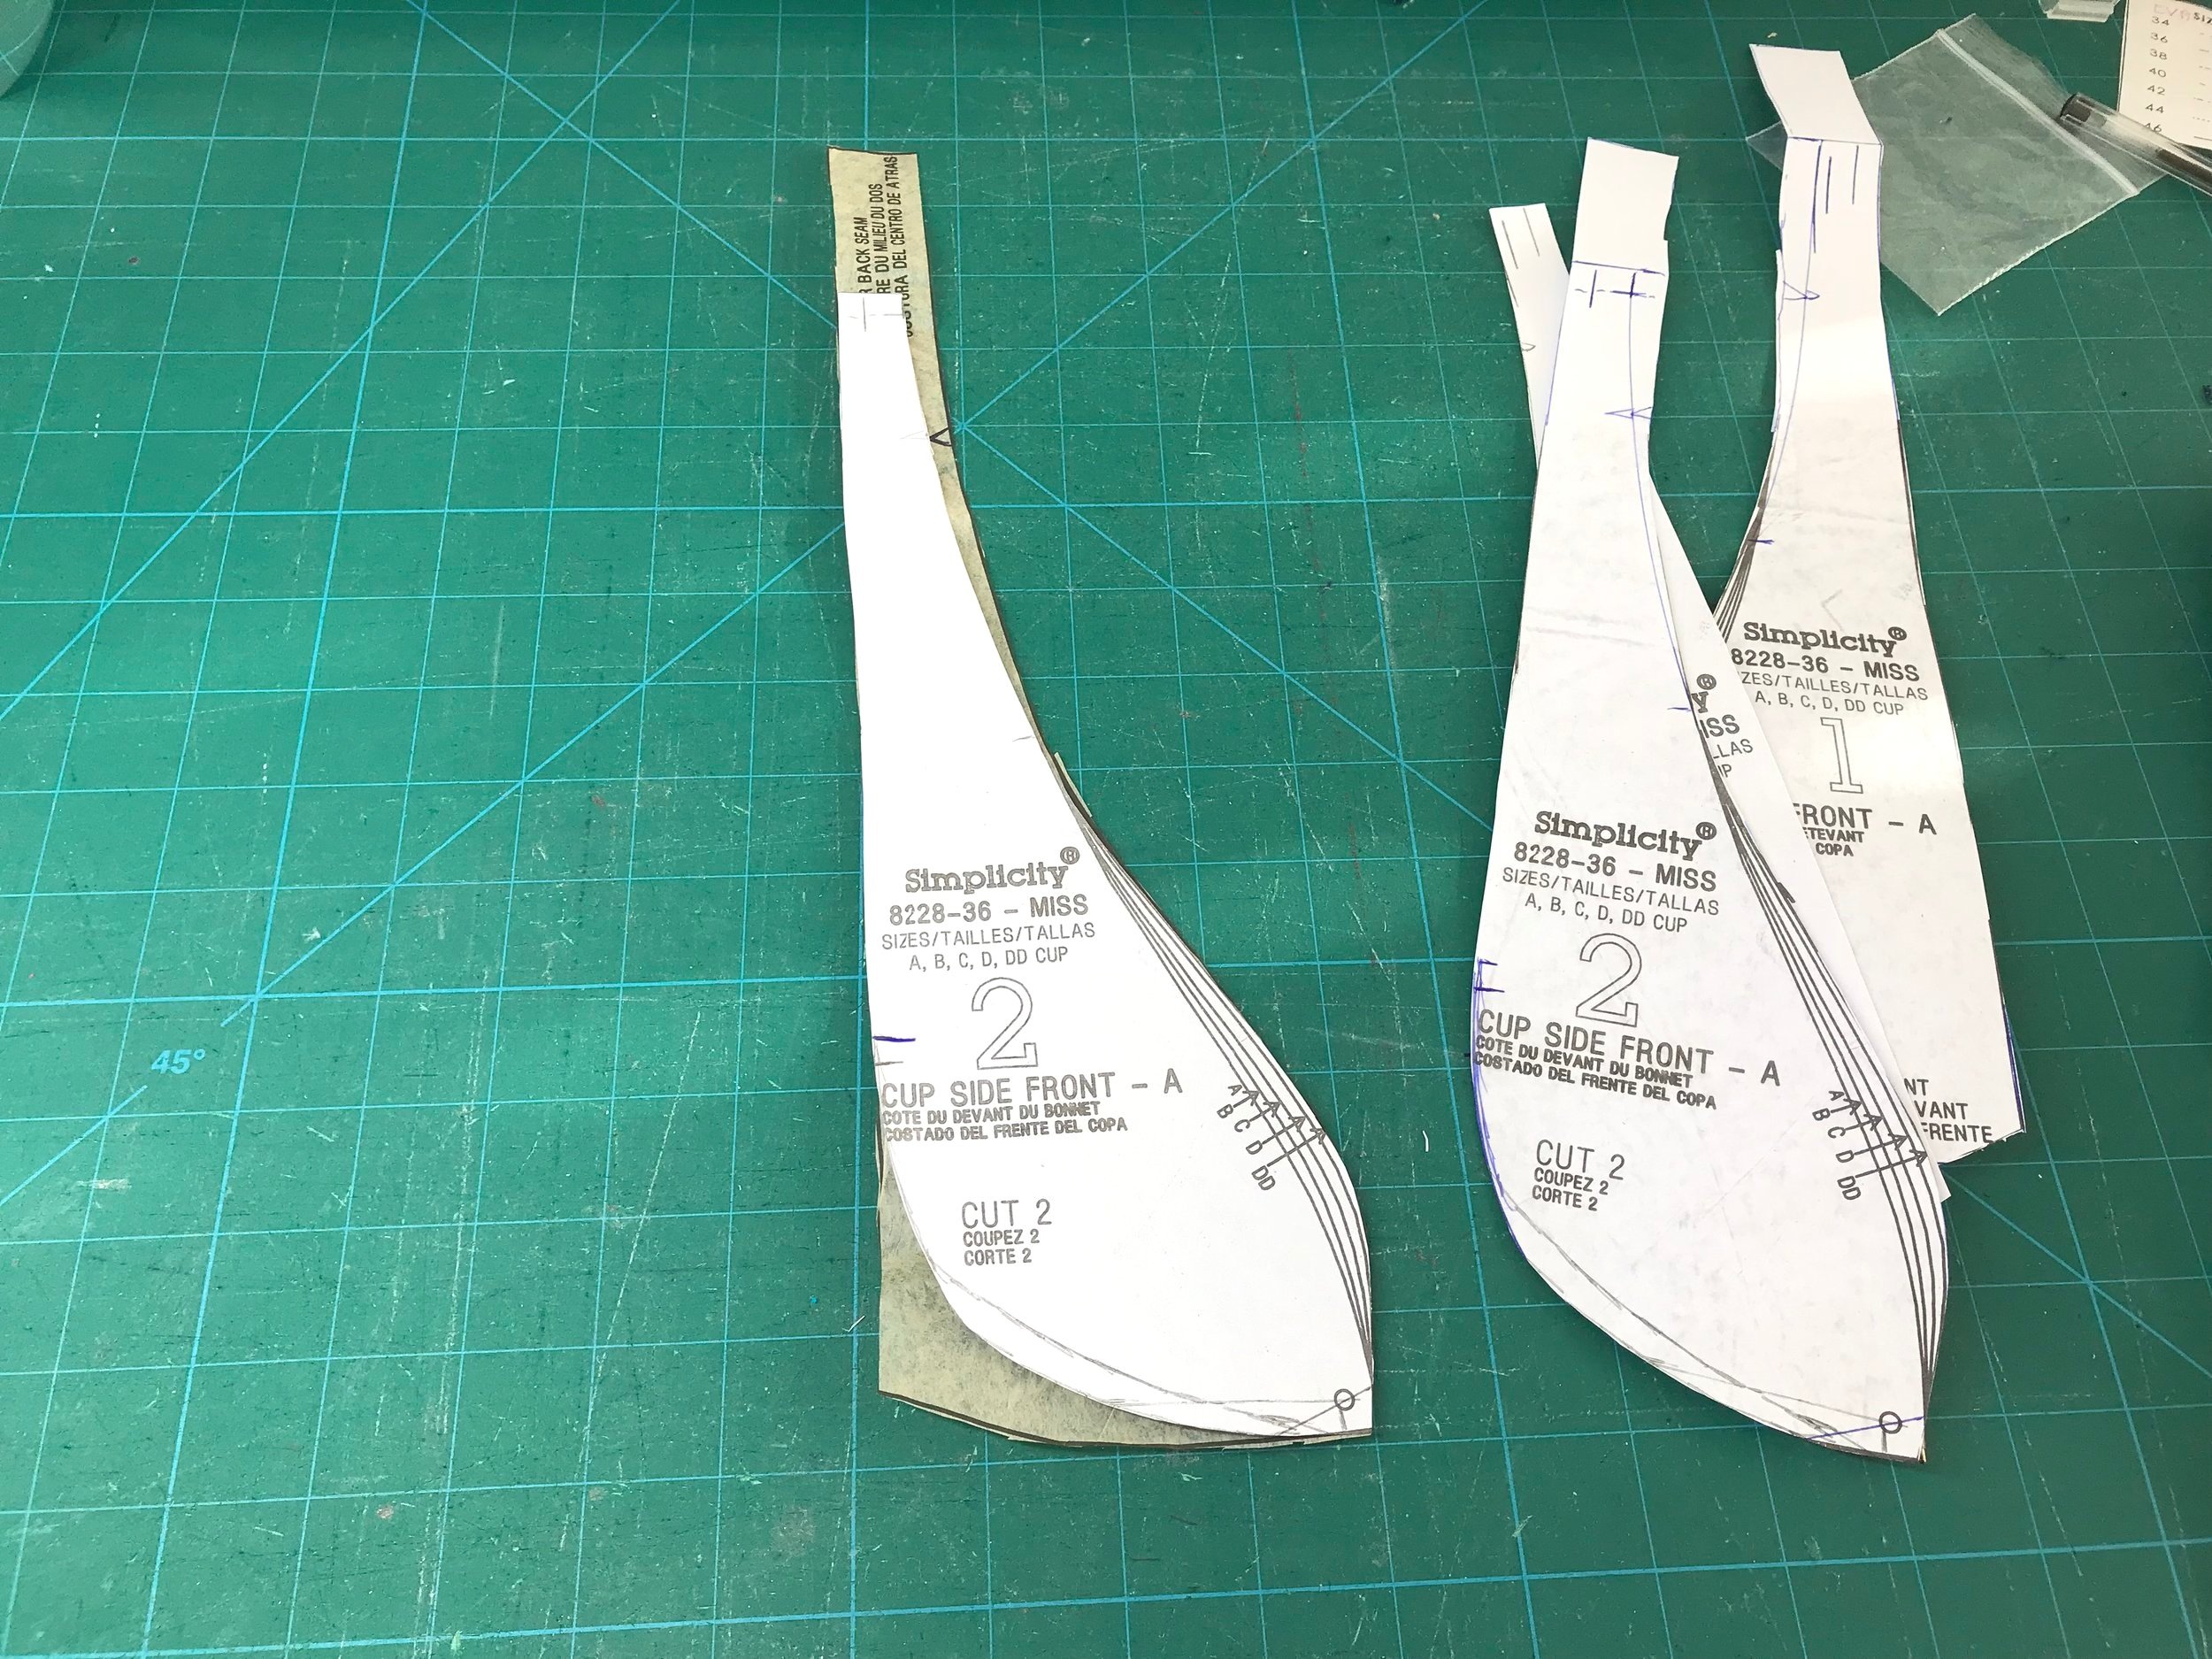
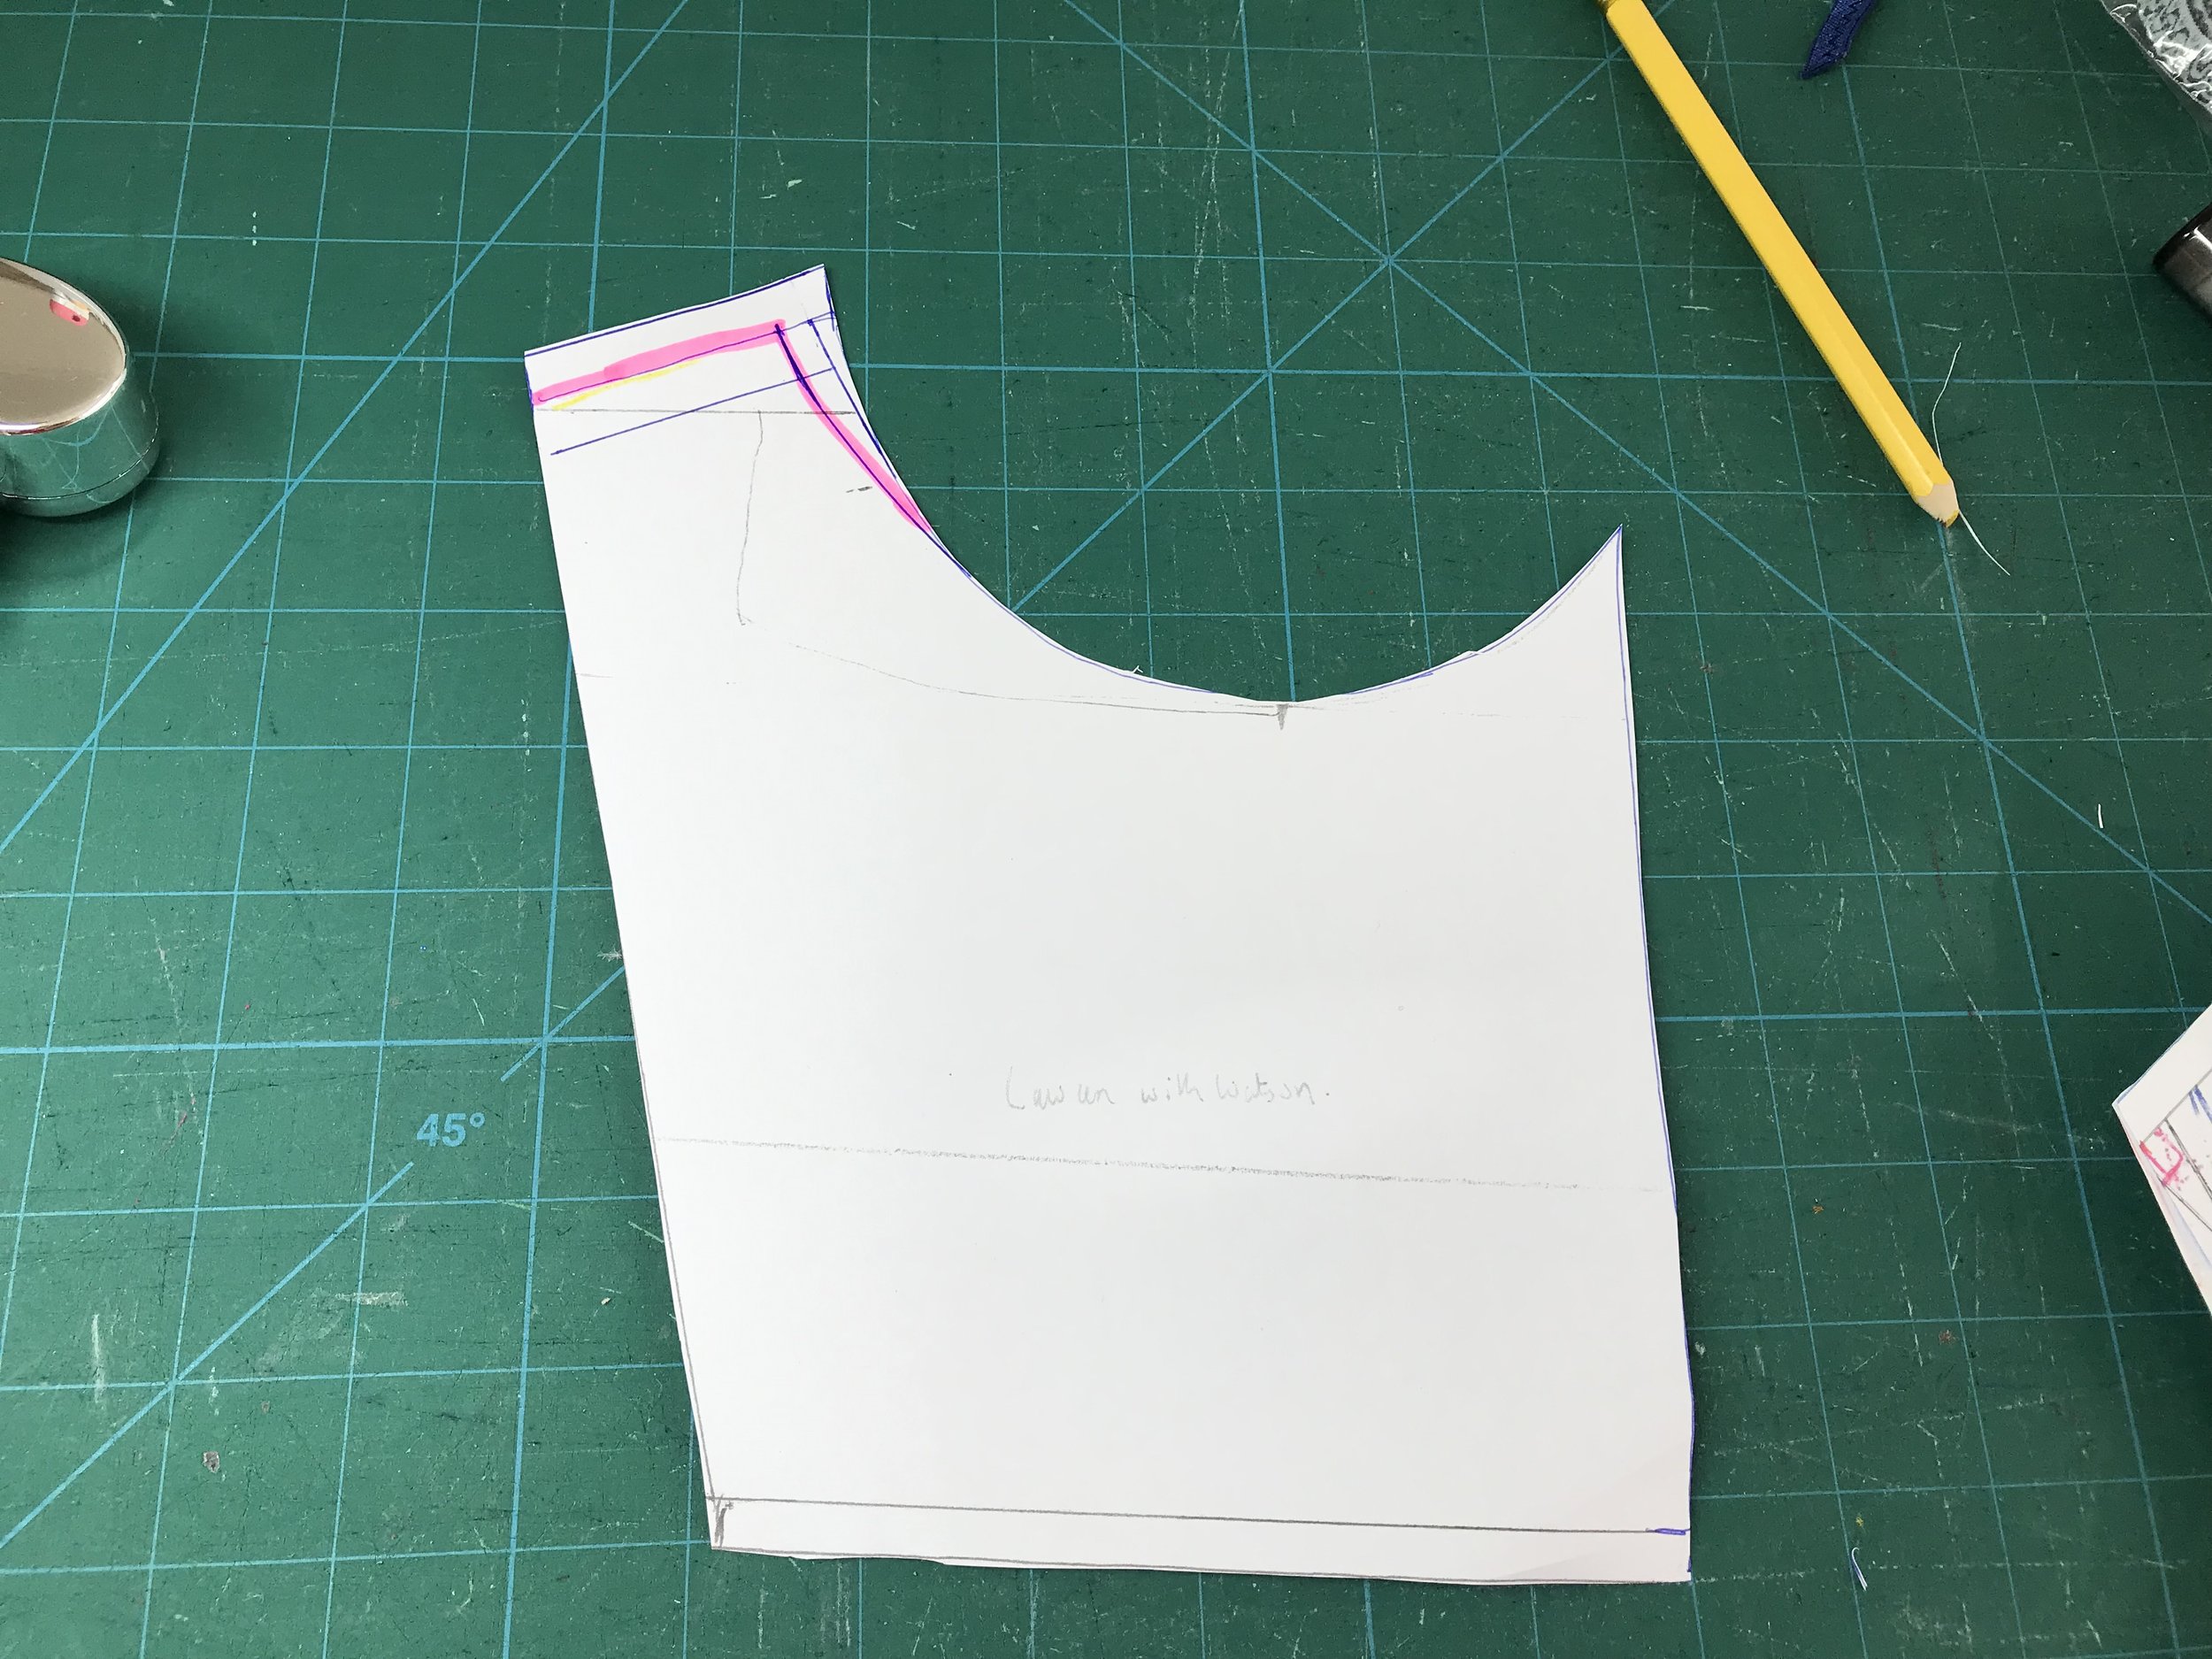
Then I moved on to the cups. The RTW has a triangular cup. I thought of a couple of options, the Emerald Erin Jordy bralette and the Madalynne Simplicity 8228. I decided to use the 8228 as this already had an all lace front and I thought it would need less adjusting. I extended the frame down to the waist. For the back I started with the Madalynne Lawren Bodysuit. I put it all together so I could try it on and see how it fit.

For a first fit it was actually pretty good. The cups fit well but were too wide at the shoulder for the look I wanted. Also the triangular shape didn’t provide enough support as I wanted this to be wearable. So I needed to create some shaping to the side of the cup. It was hard to assess the fit of the back as I had slashed to to the waist. So I swapped this out for a solid back.

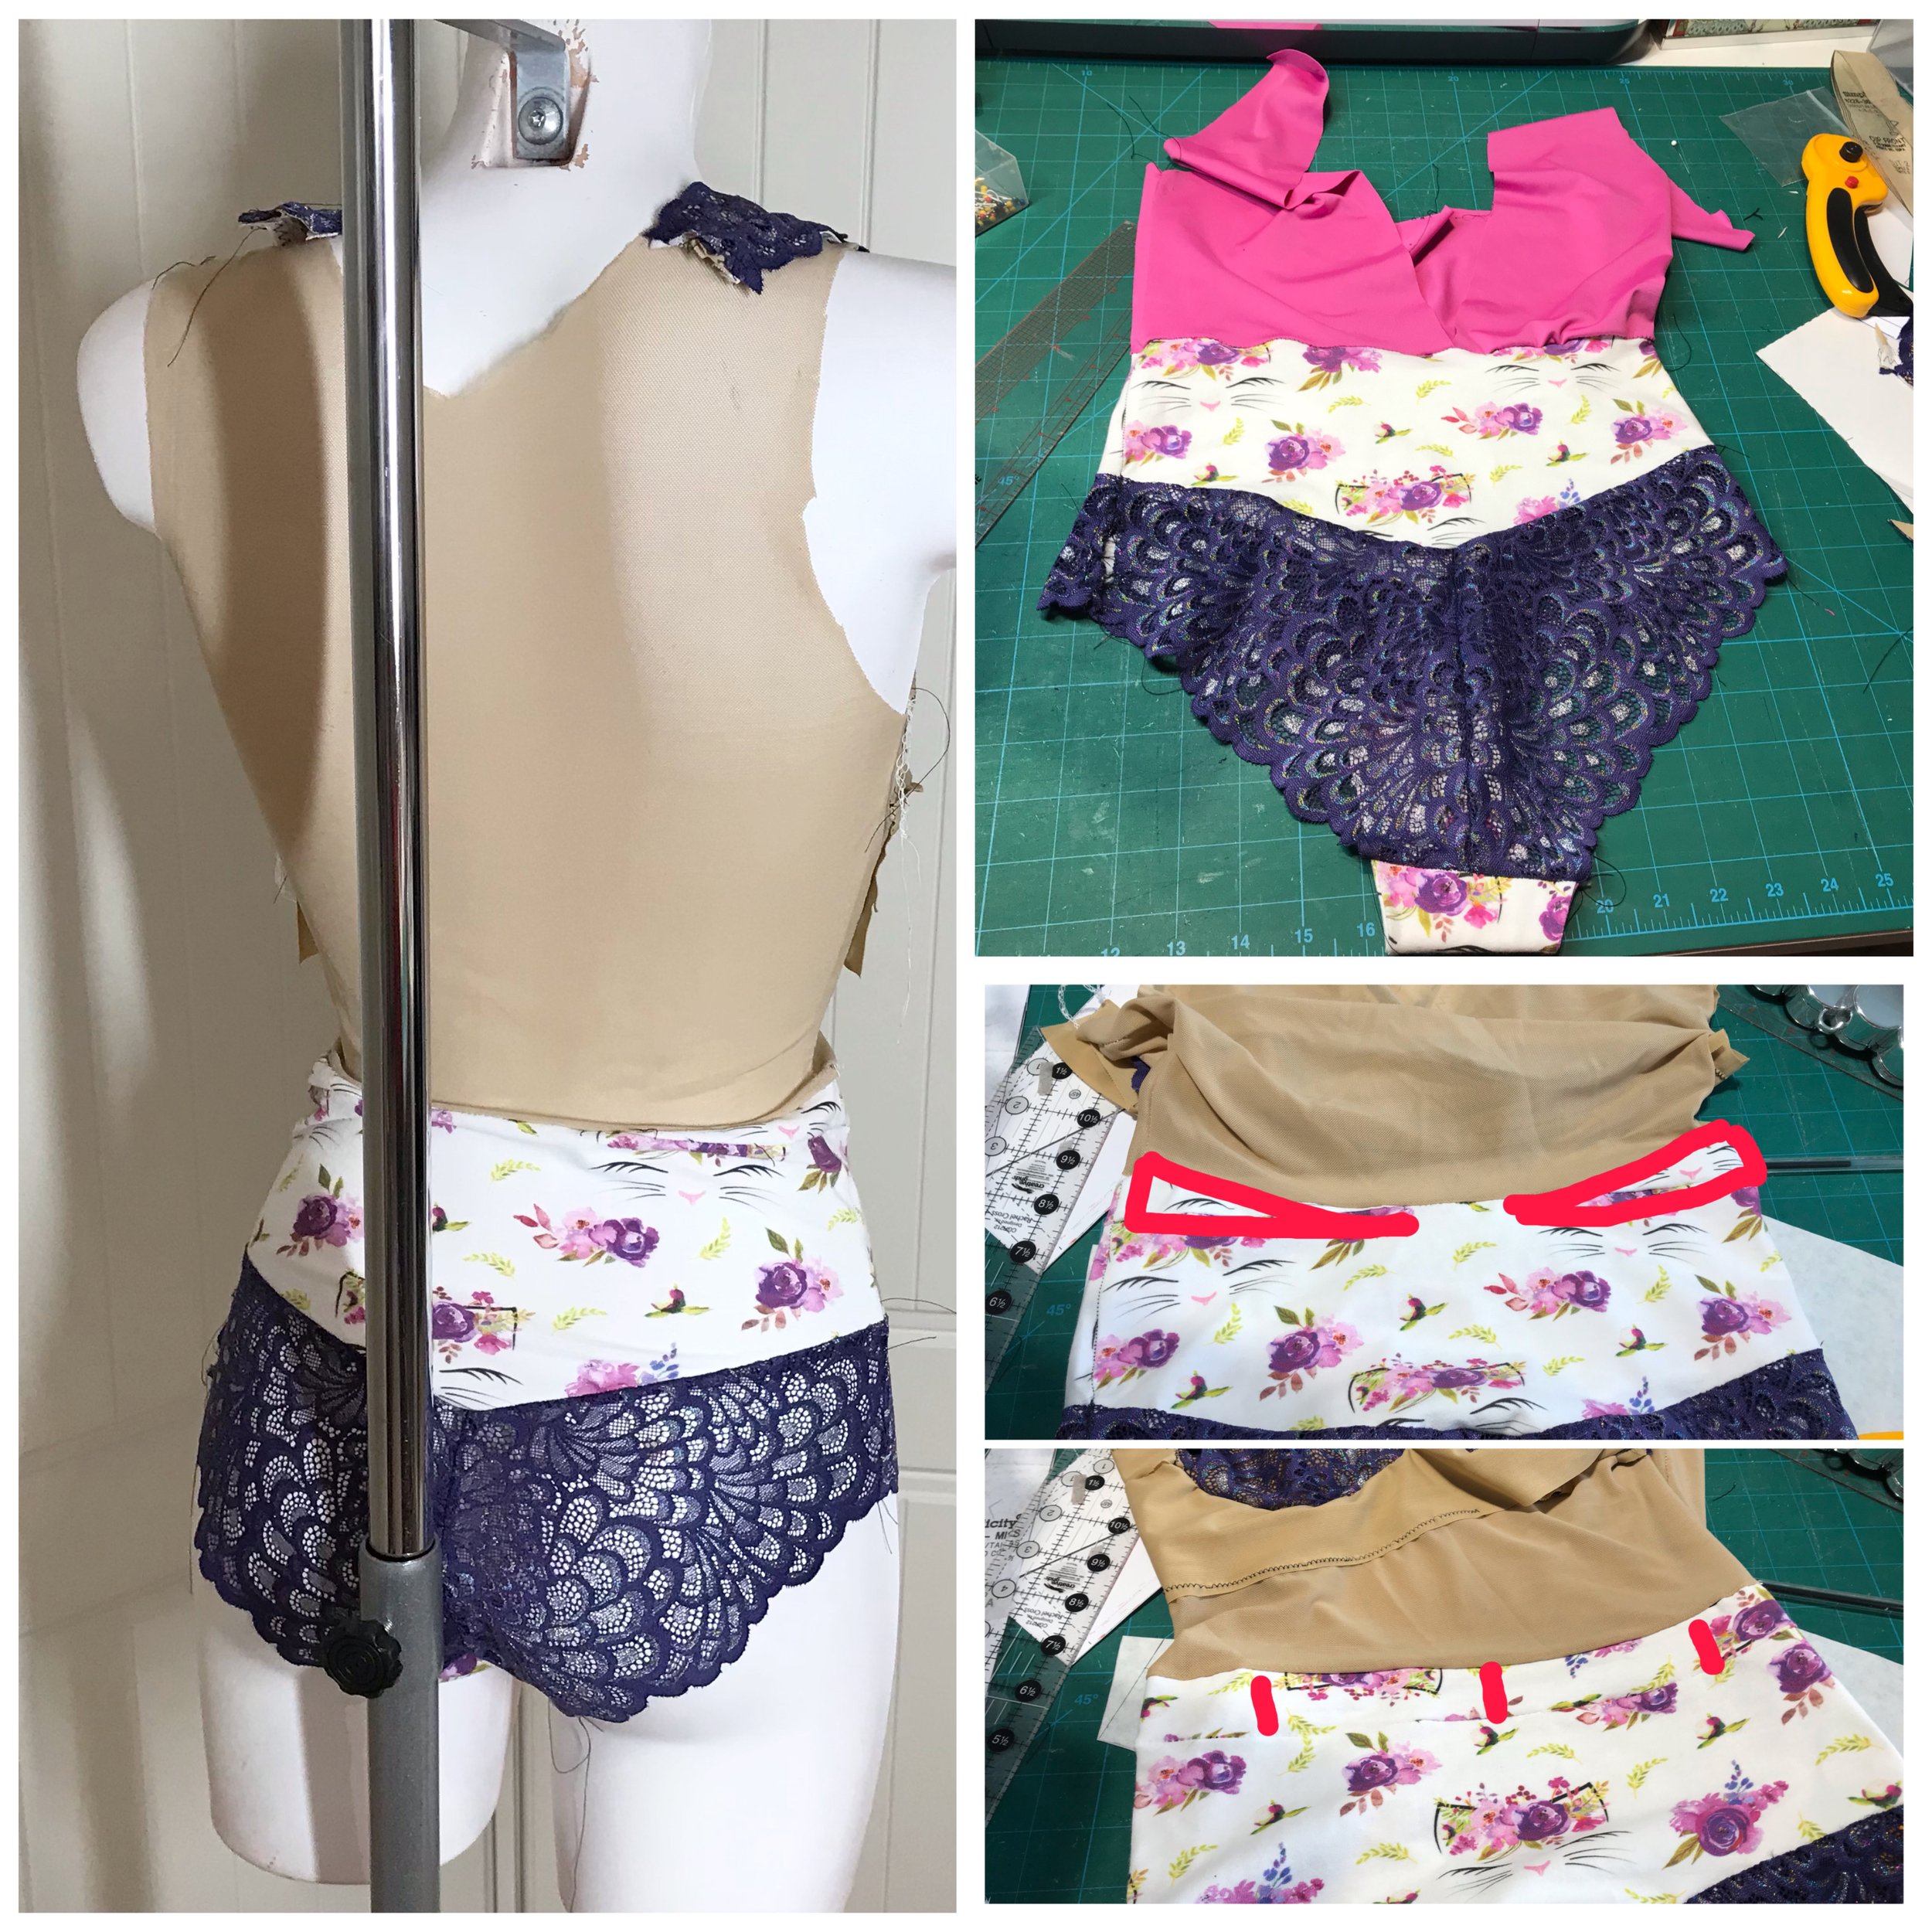
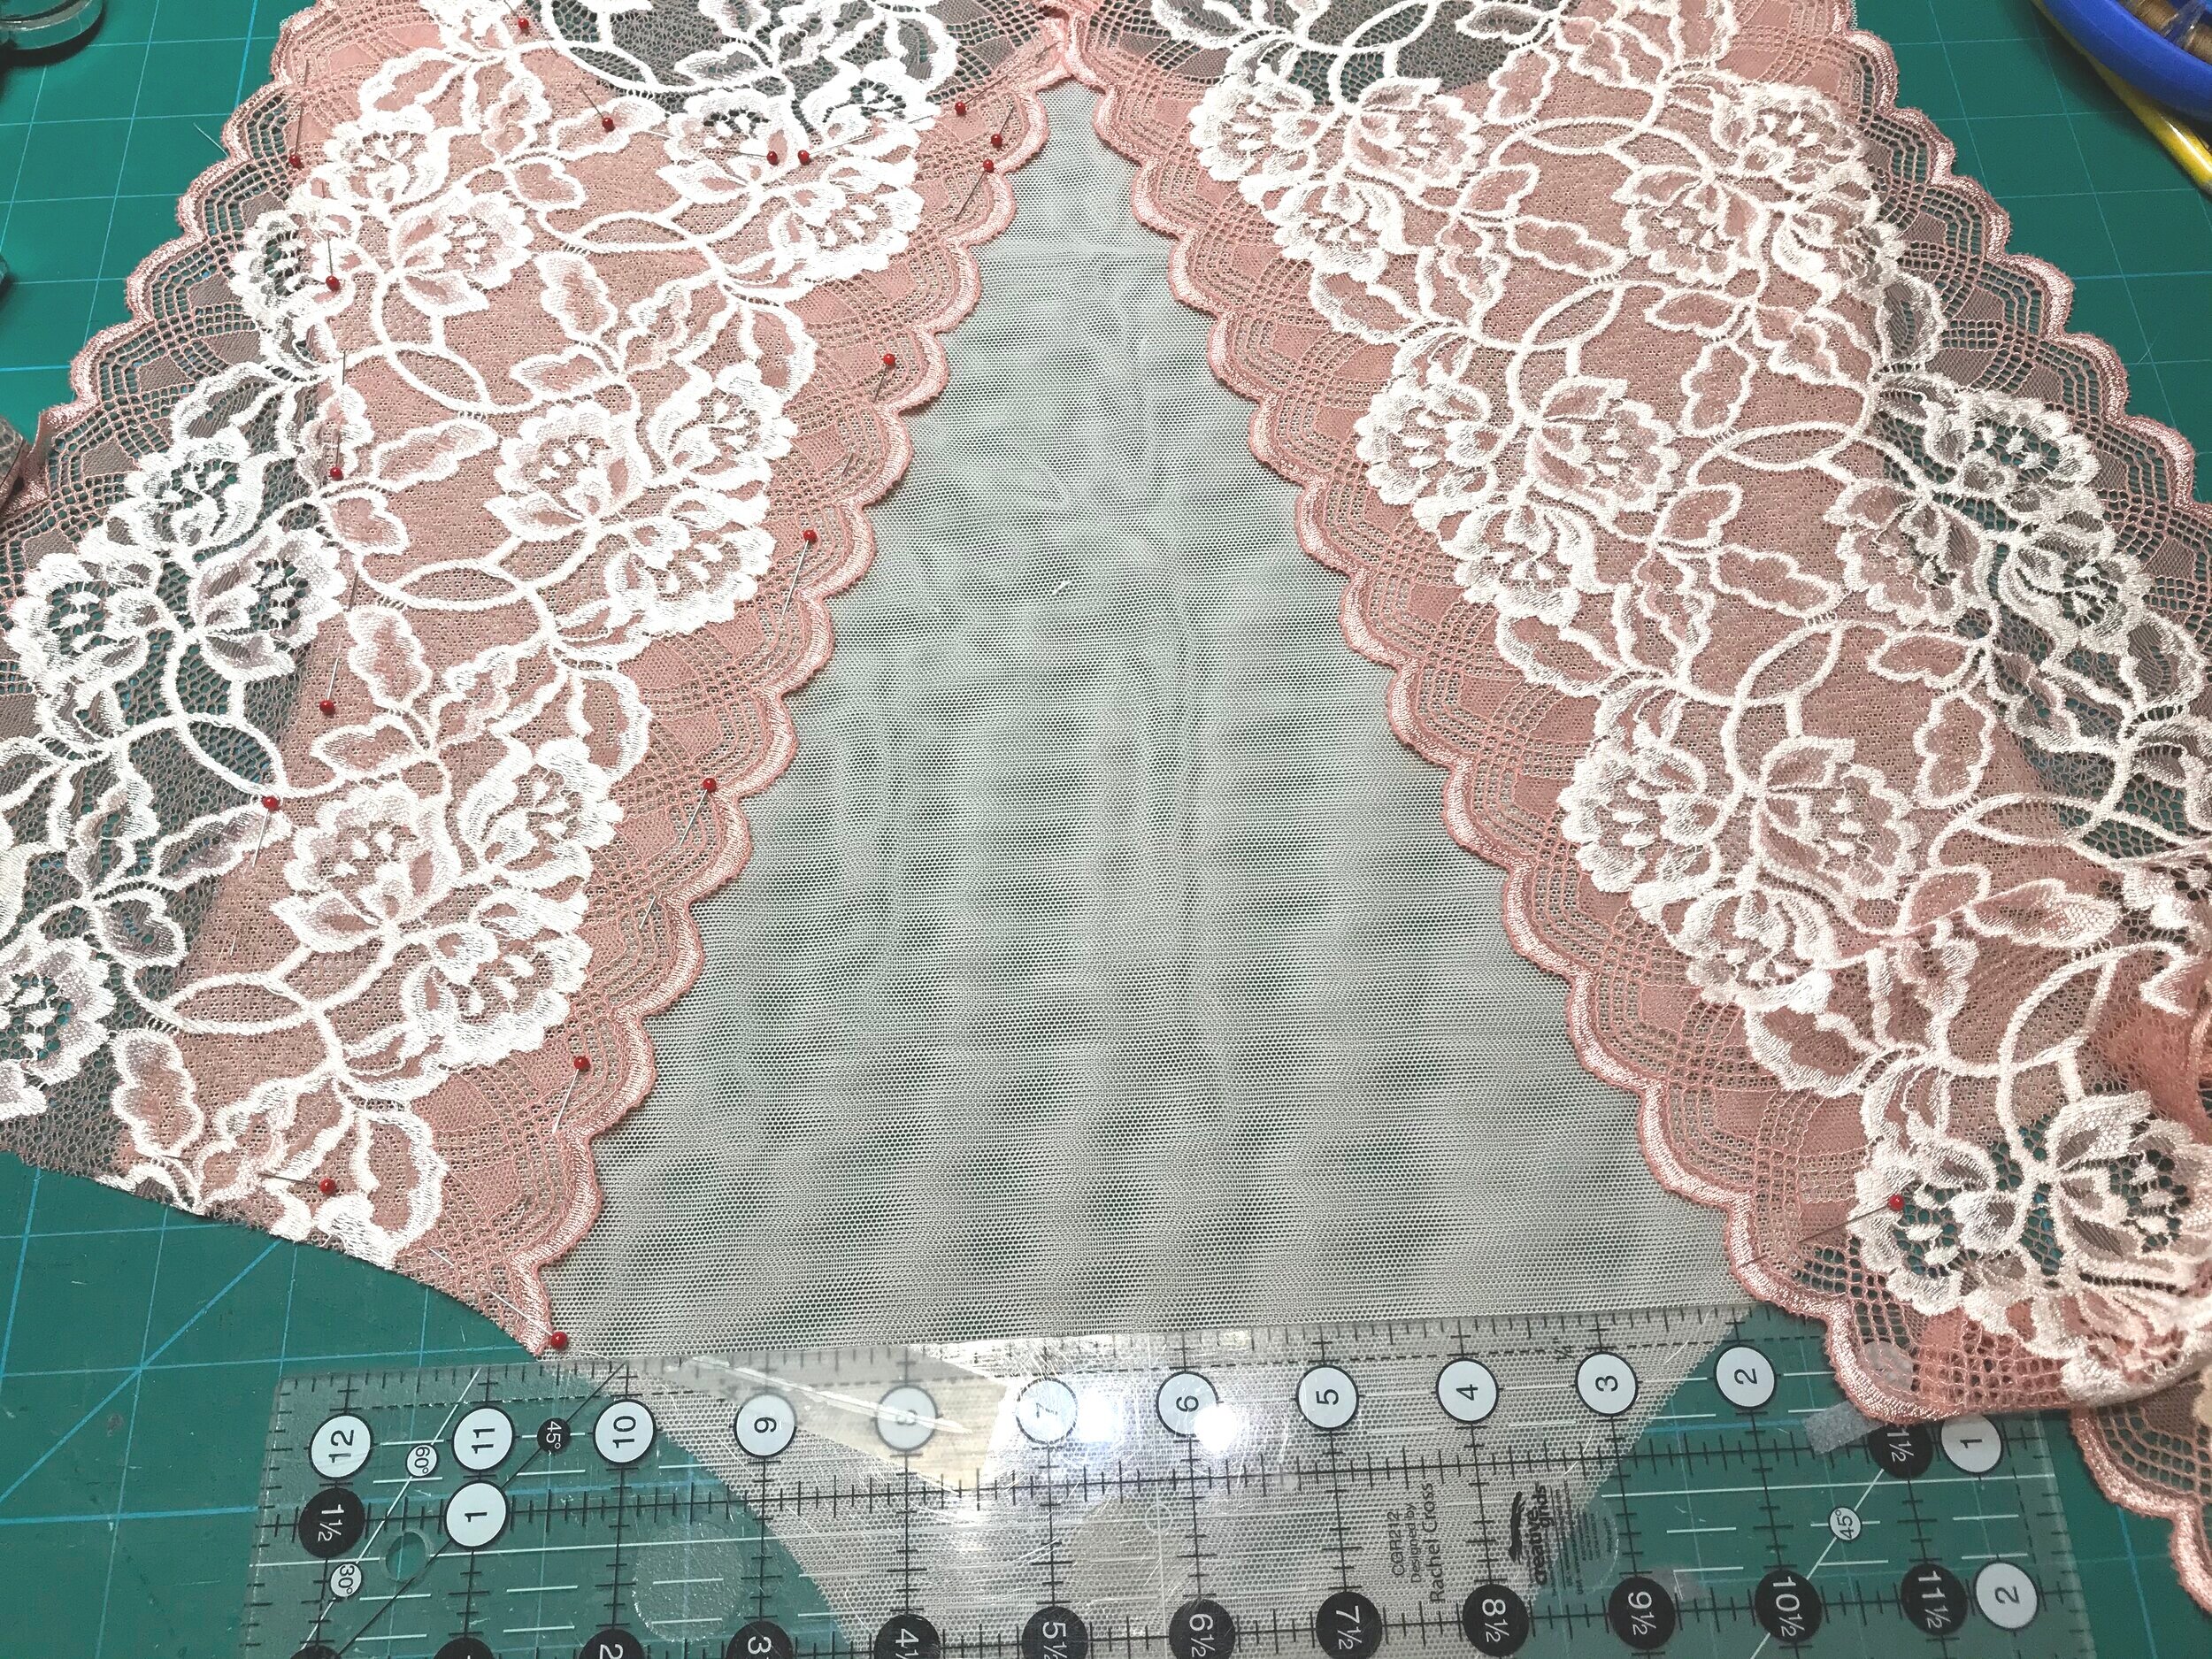
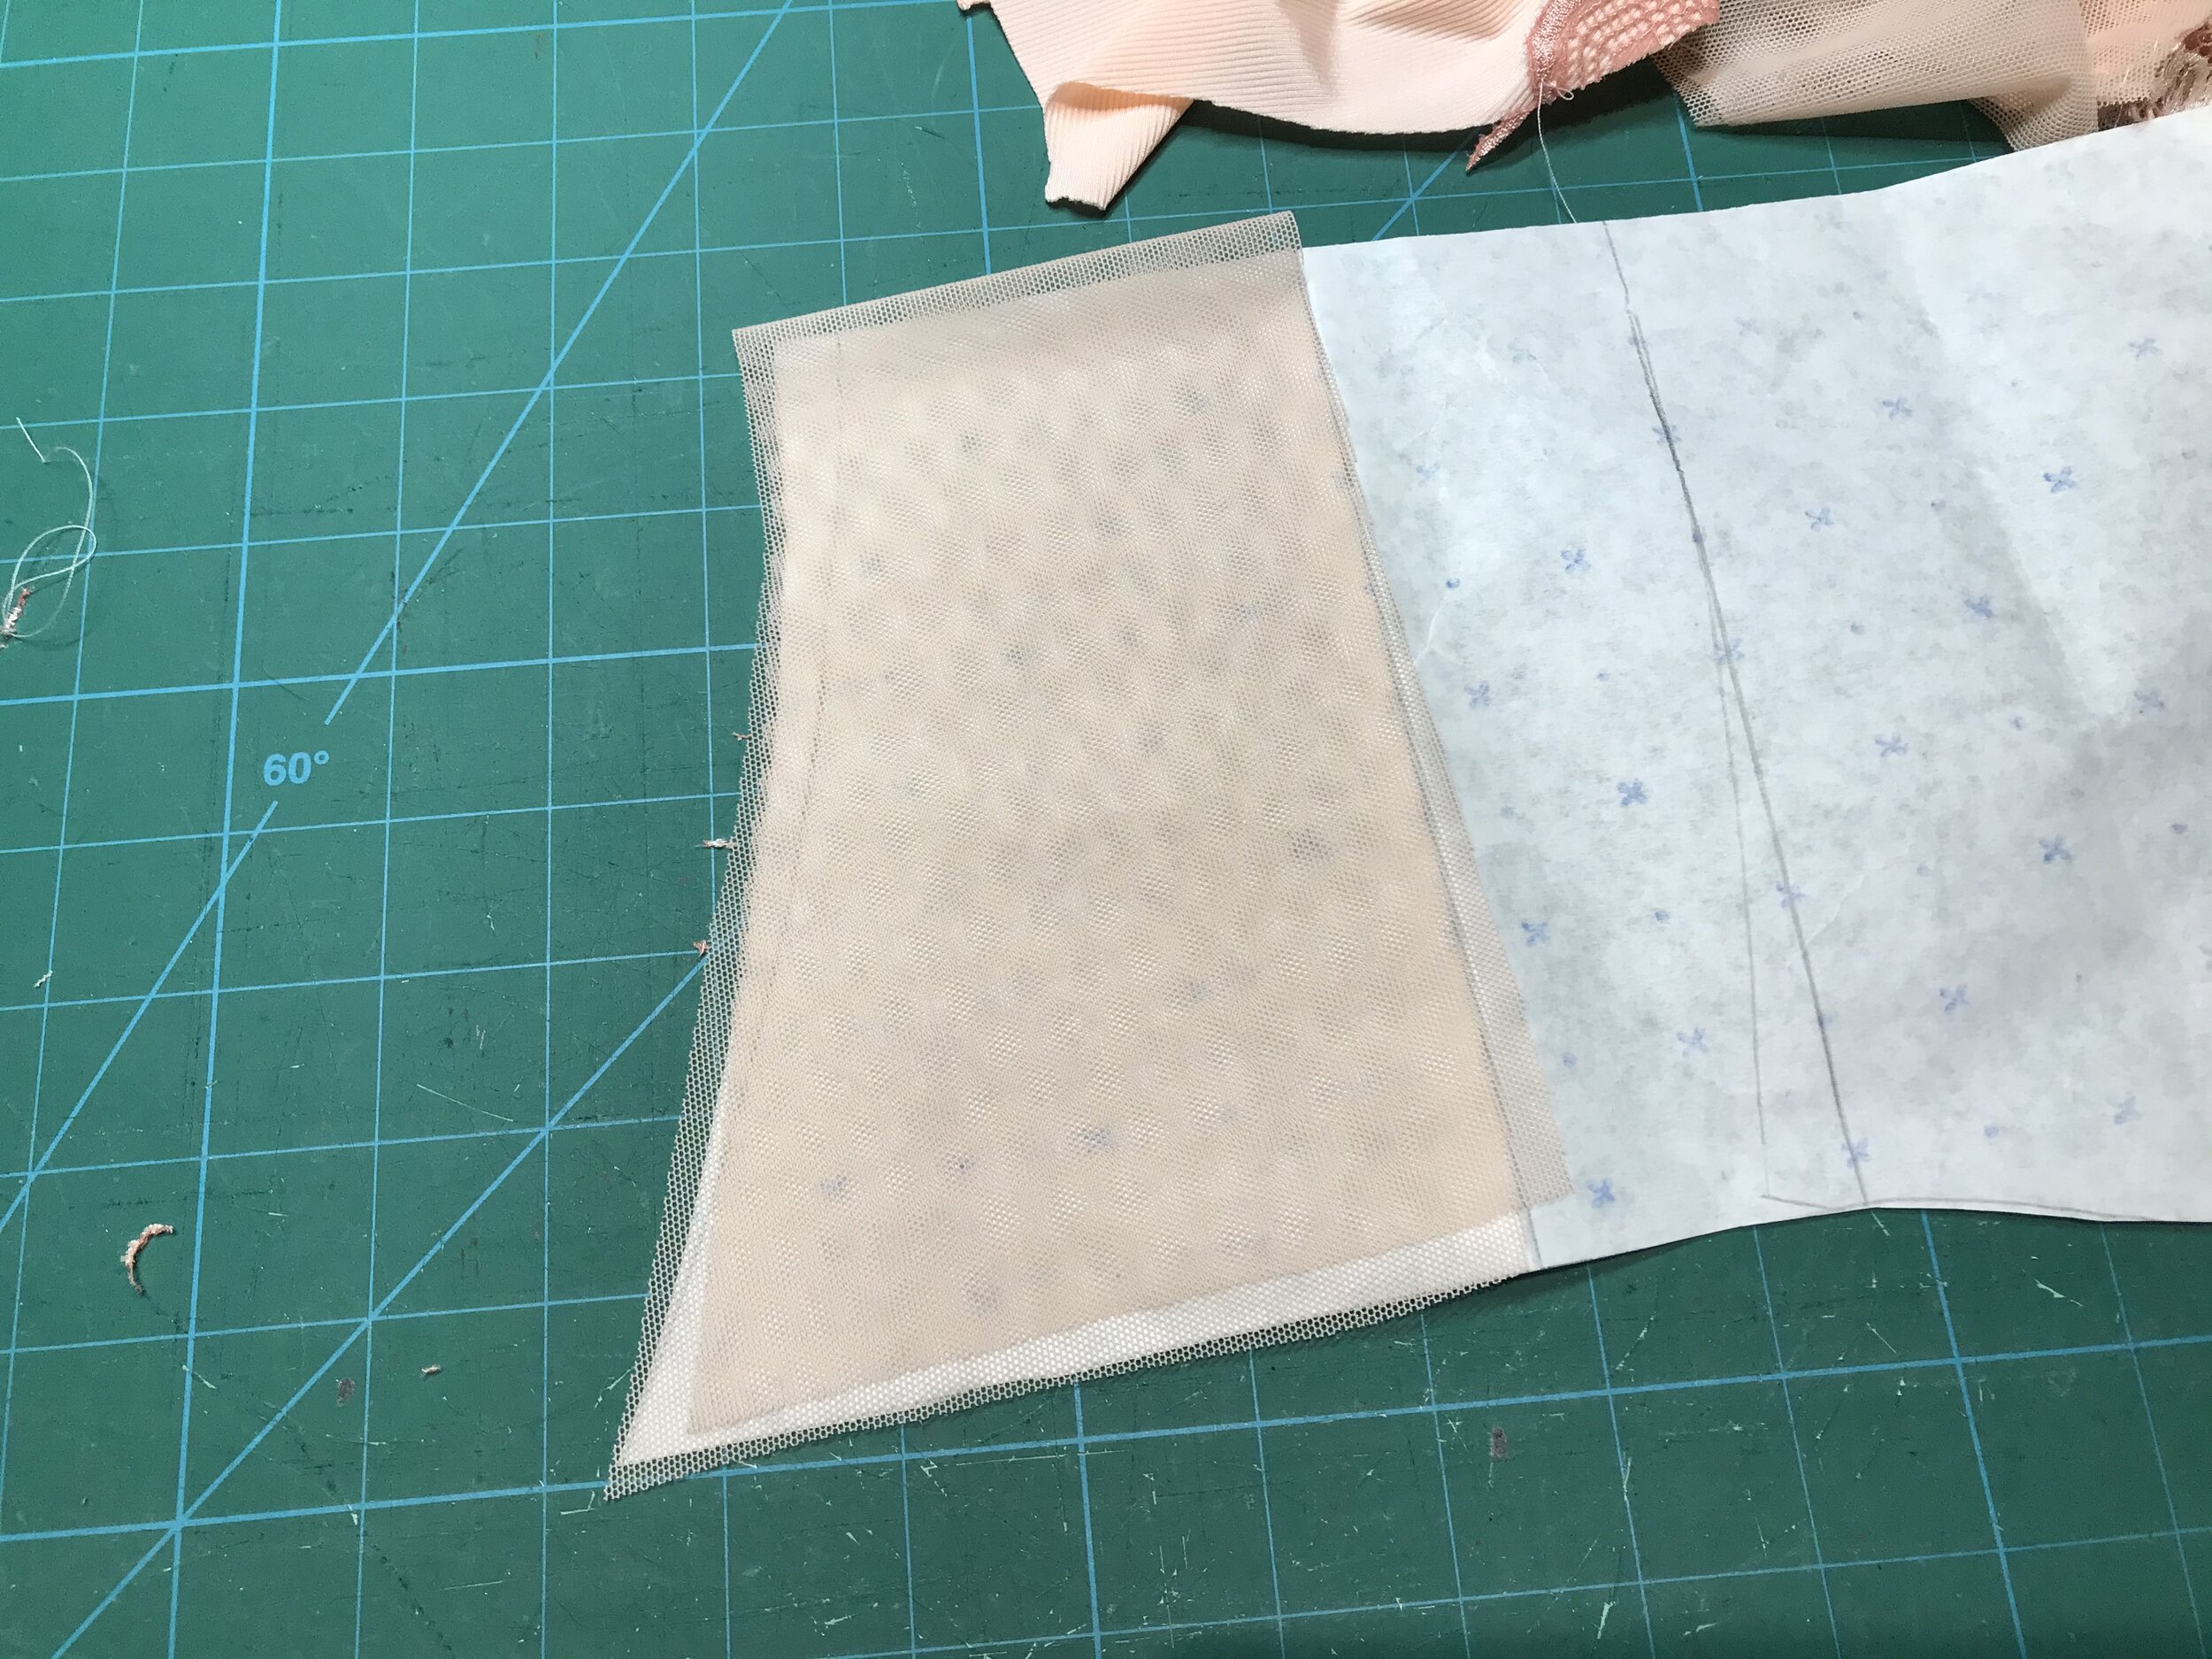
Unlike the RTW, which sits above, I wanted my make to sit on my natural waist. To fit in length I needed to add a wedge all across the front and blend from the side to nothing at the centre back.

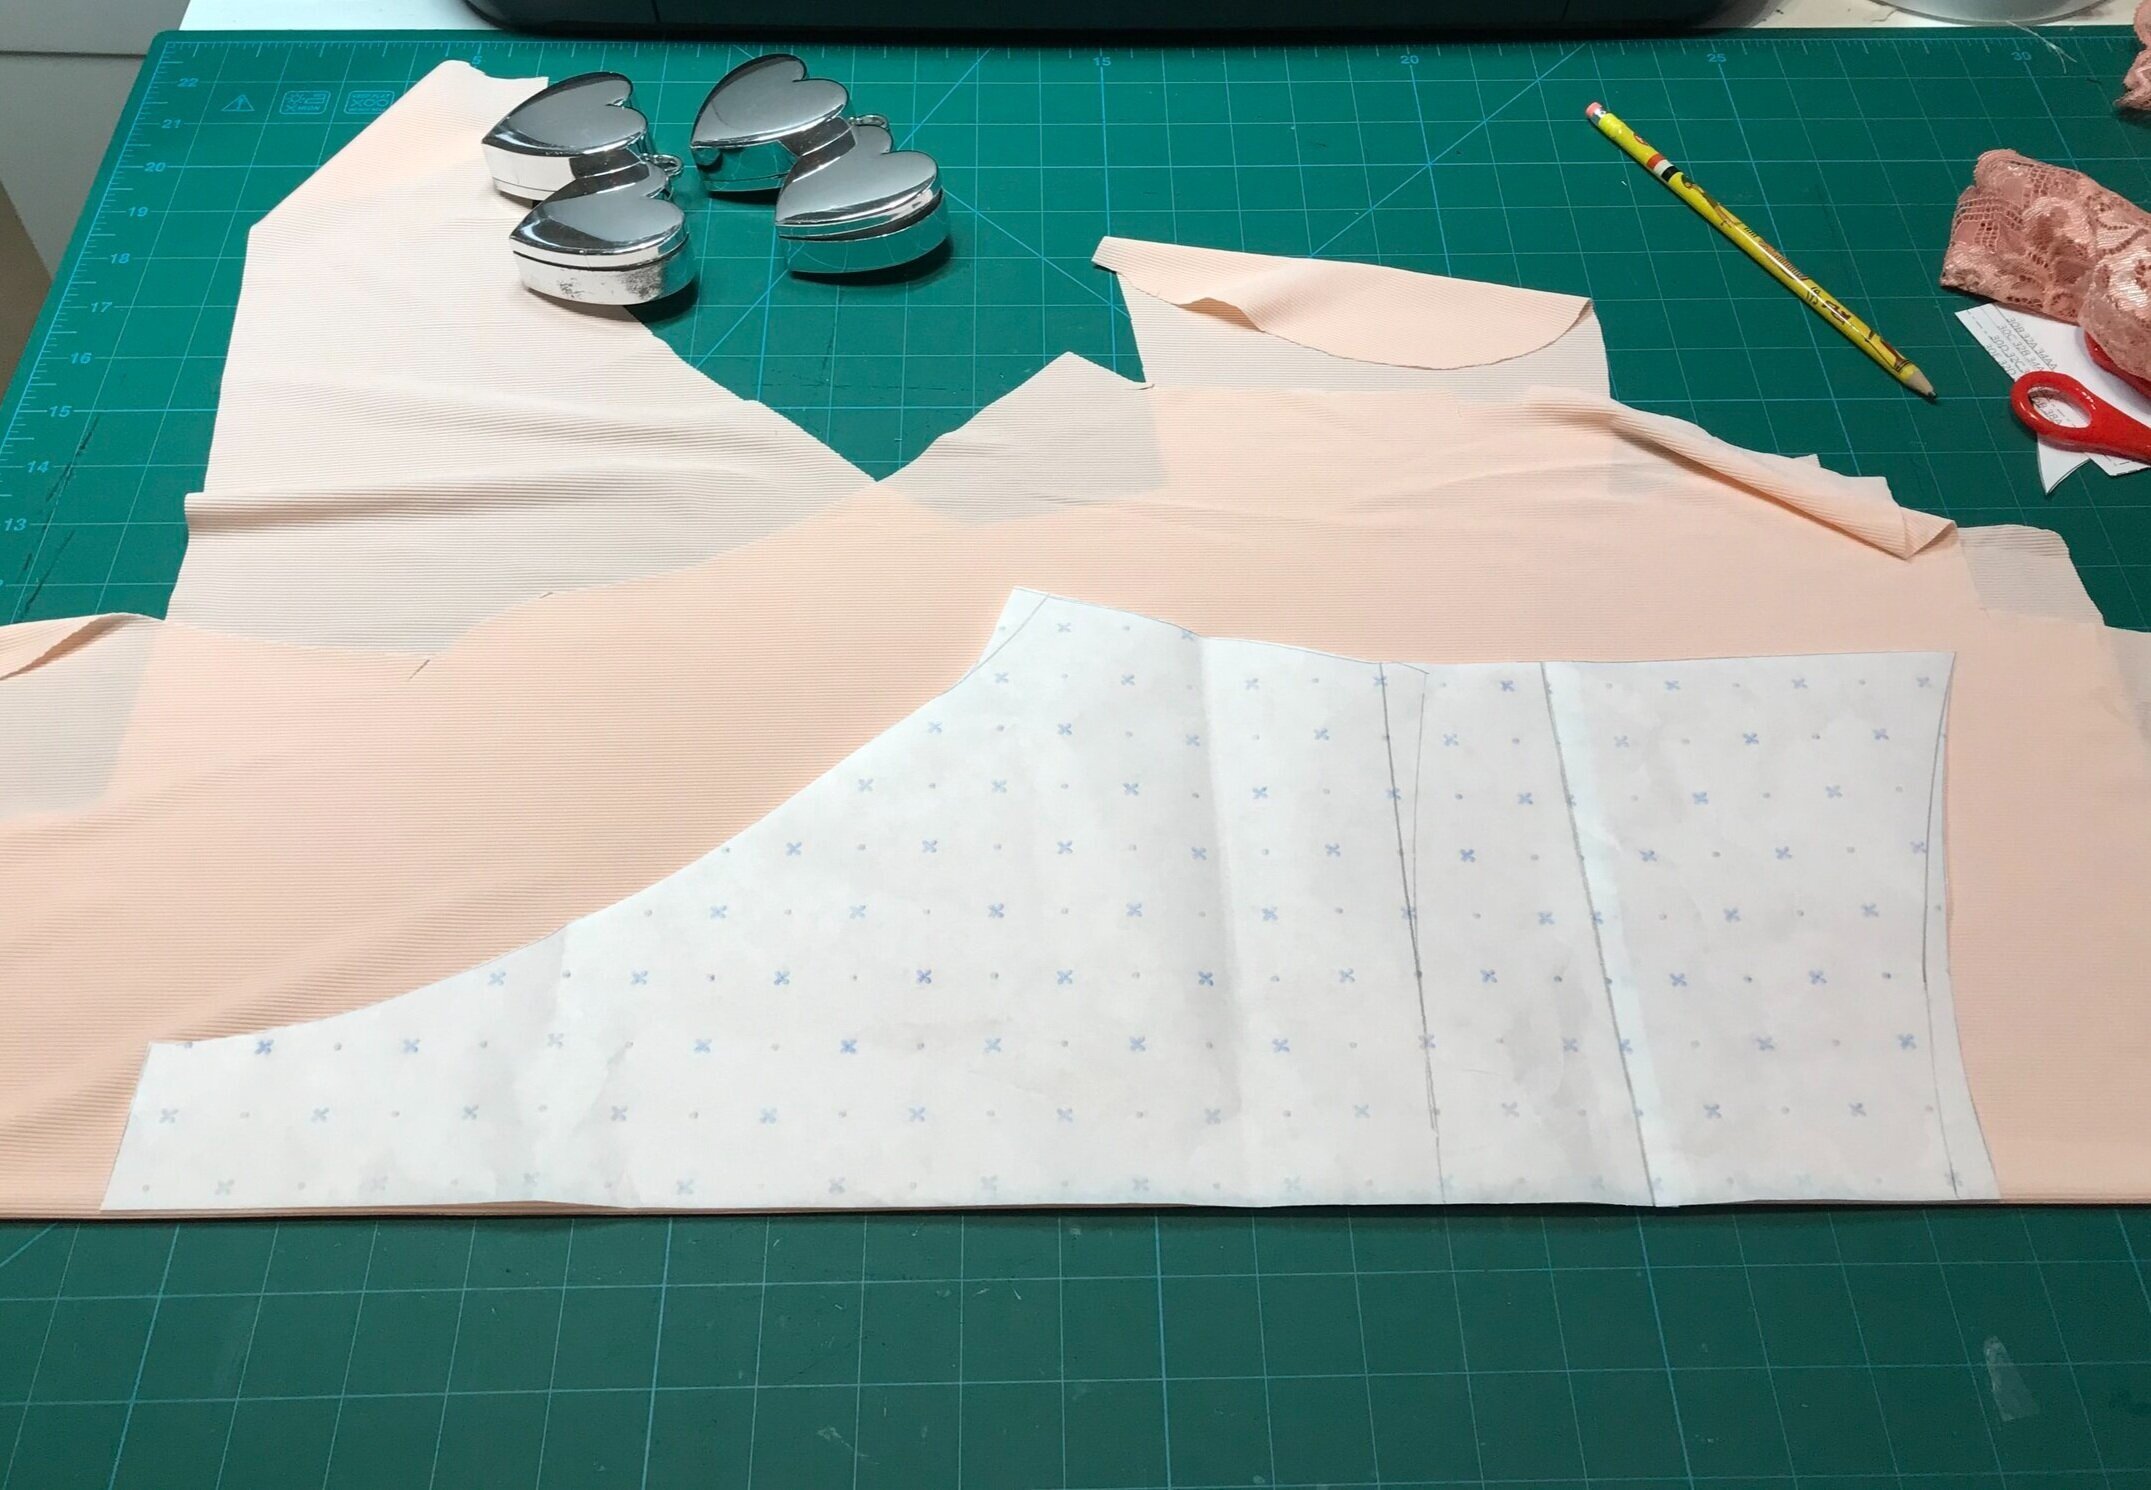
So with these adjustments done I was ready to try out the pattern pieces and think about the strapping. I wasn’t ready to use my chosen fabrics so I found a long length of navy stretch lace and lightweight lycra so it would give a better idea of how it would look made up rather than the scraps I had used on the first version. If it all worked I would have something that was wearable.

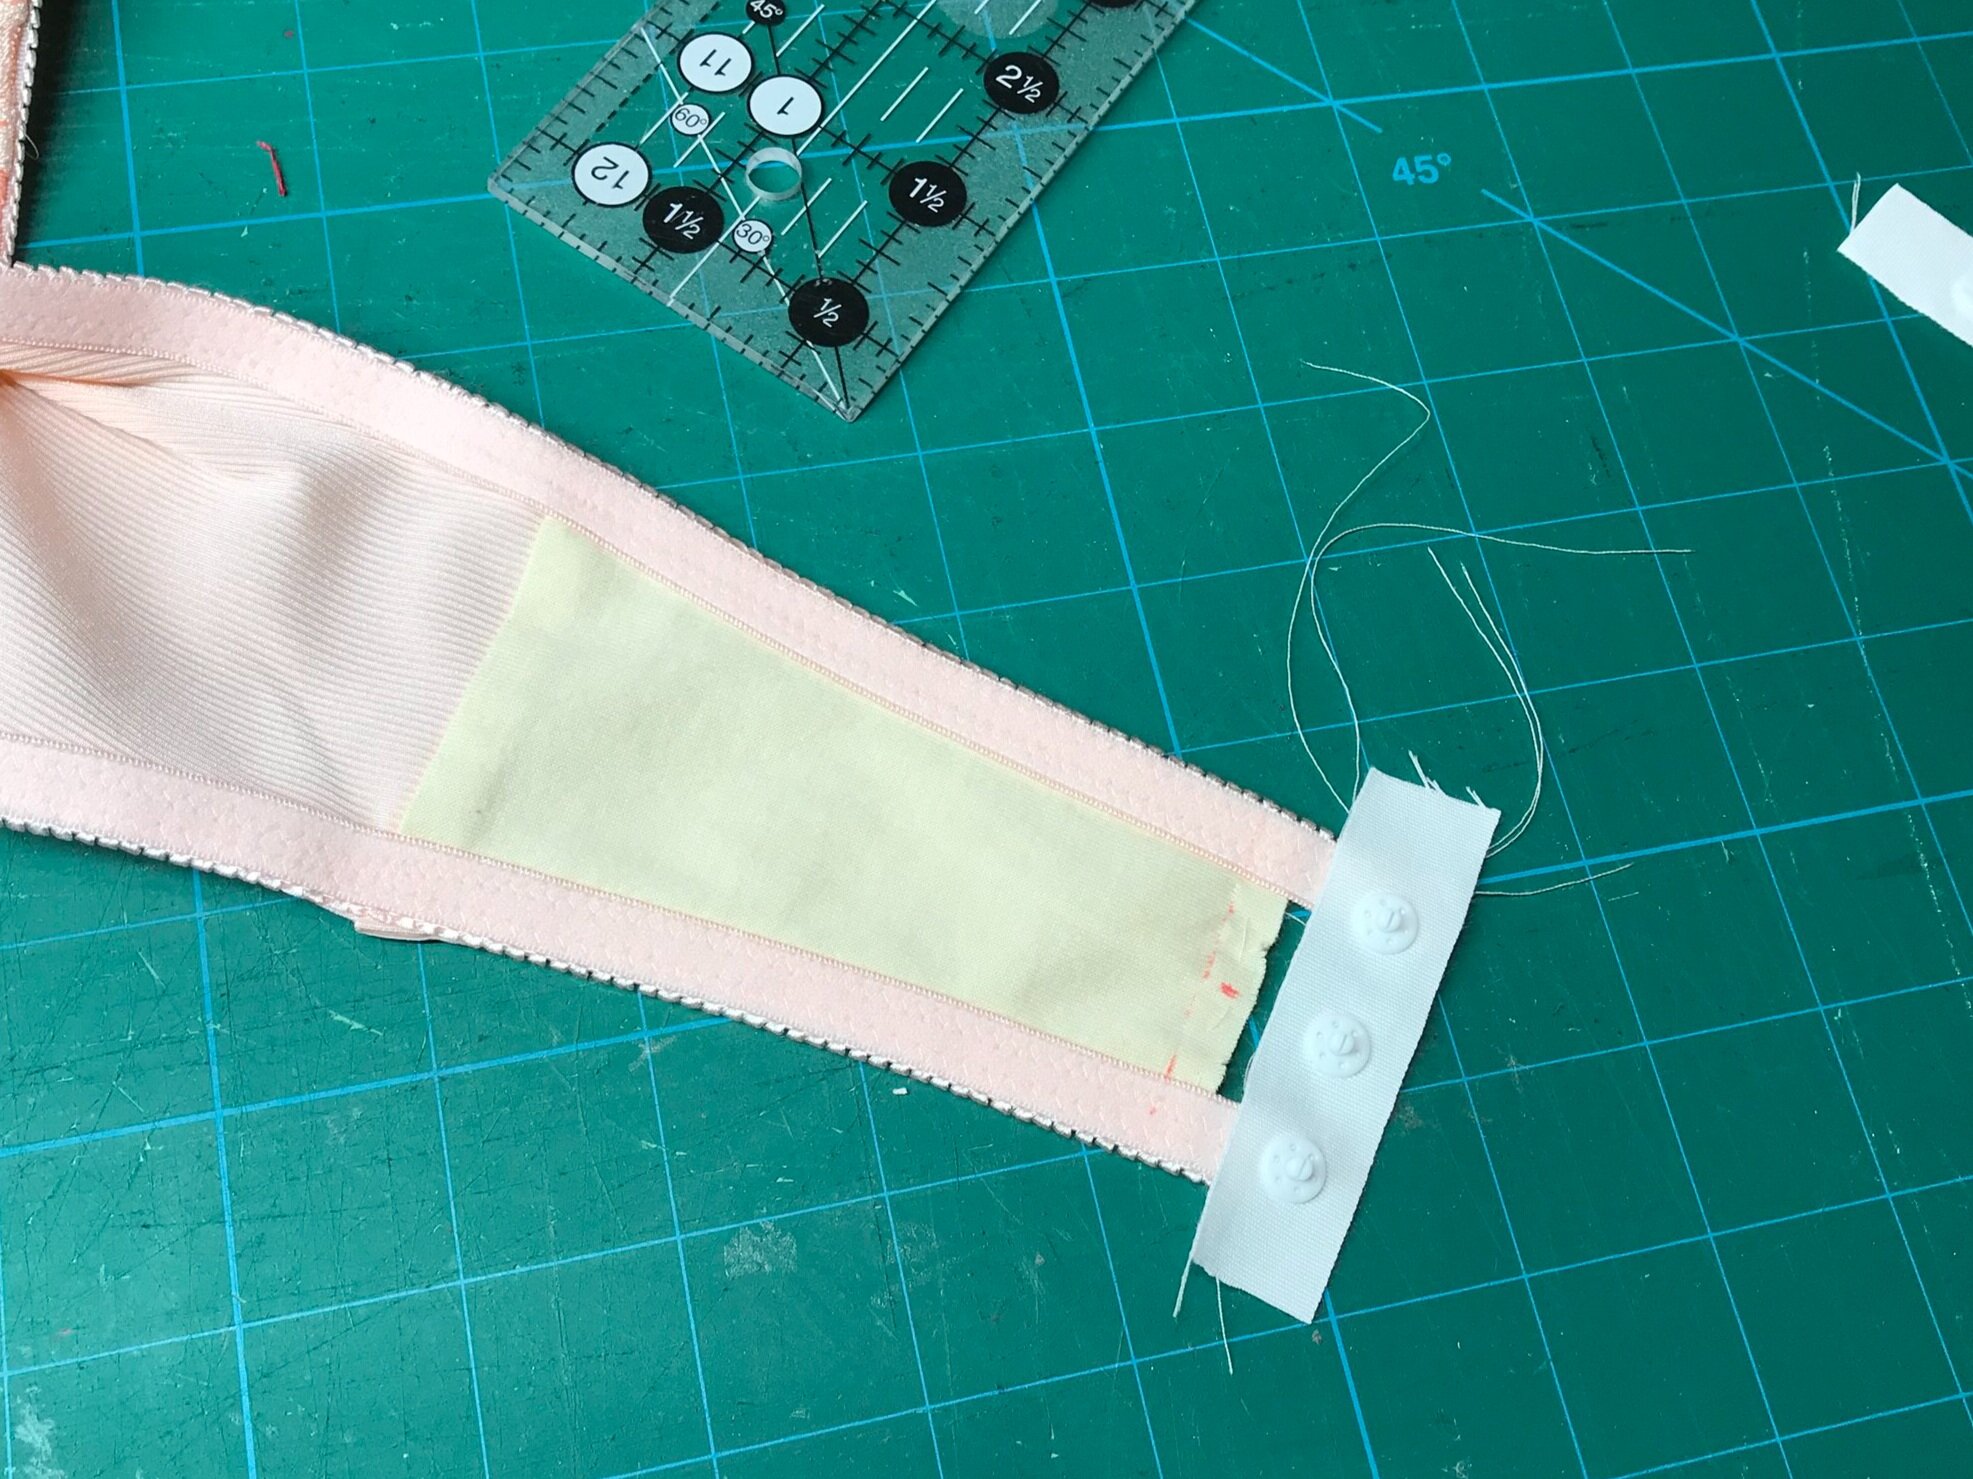
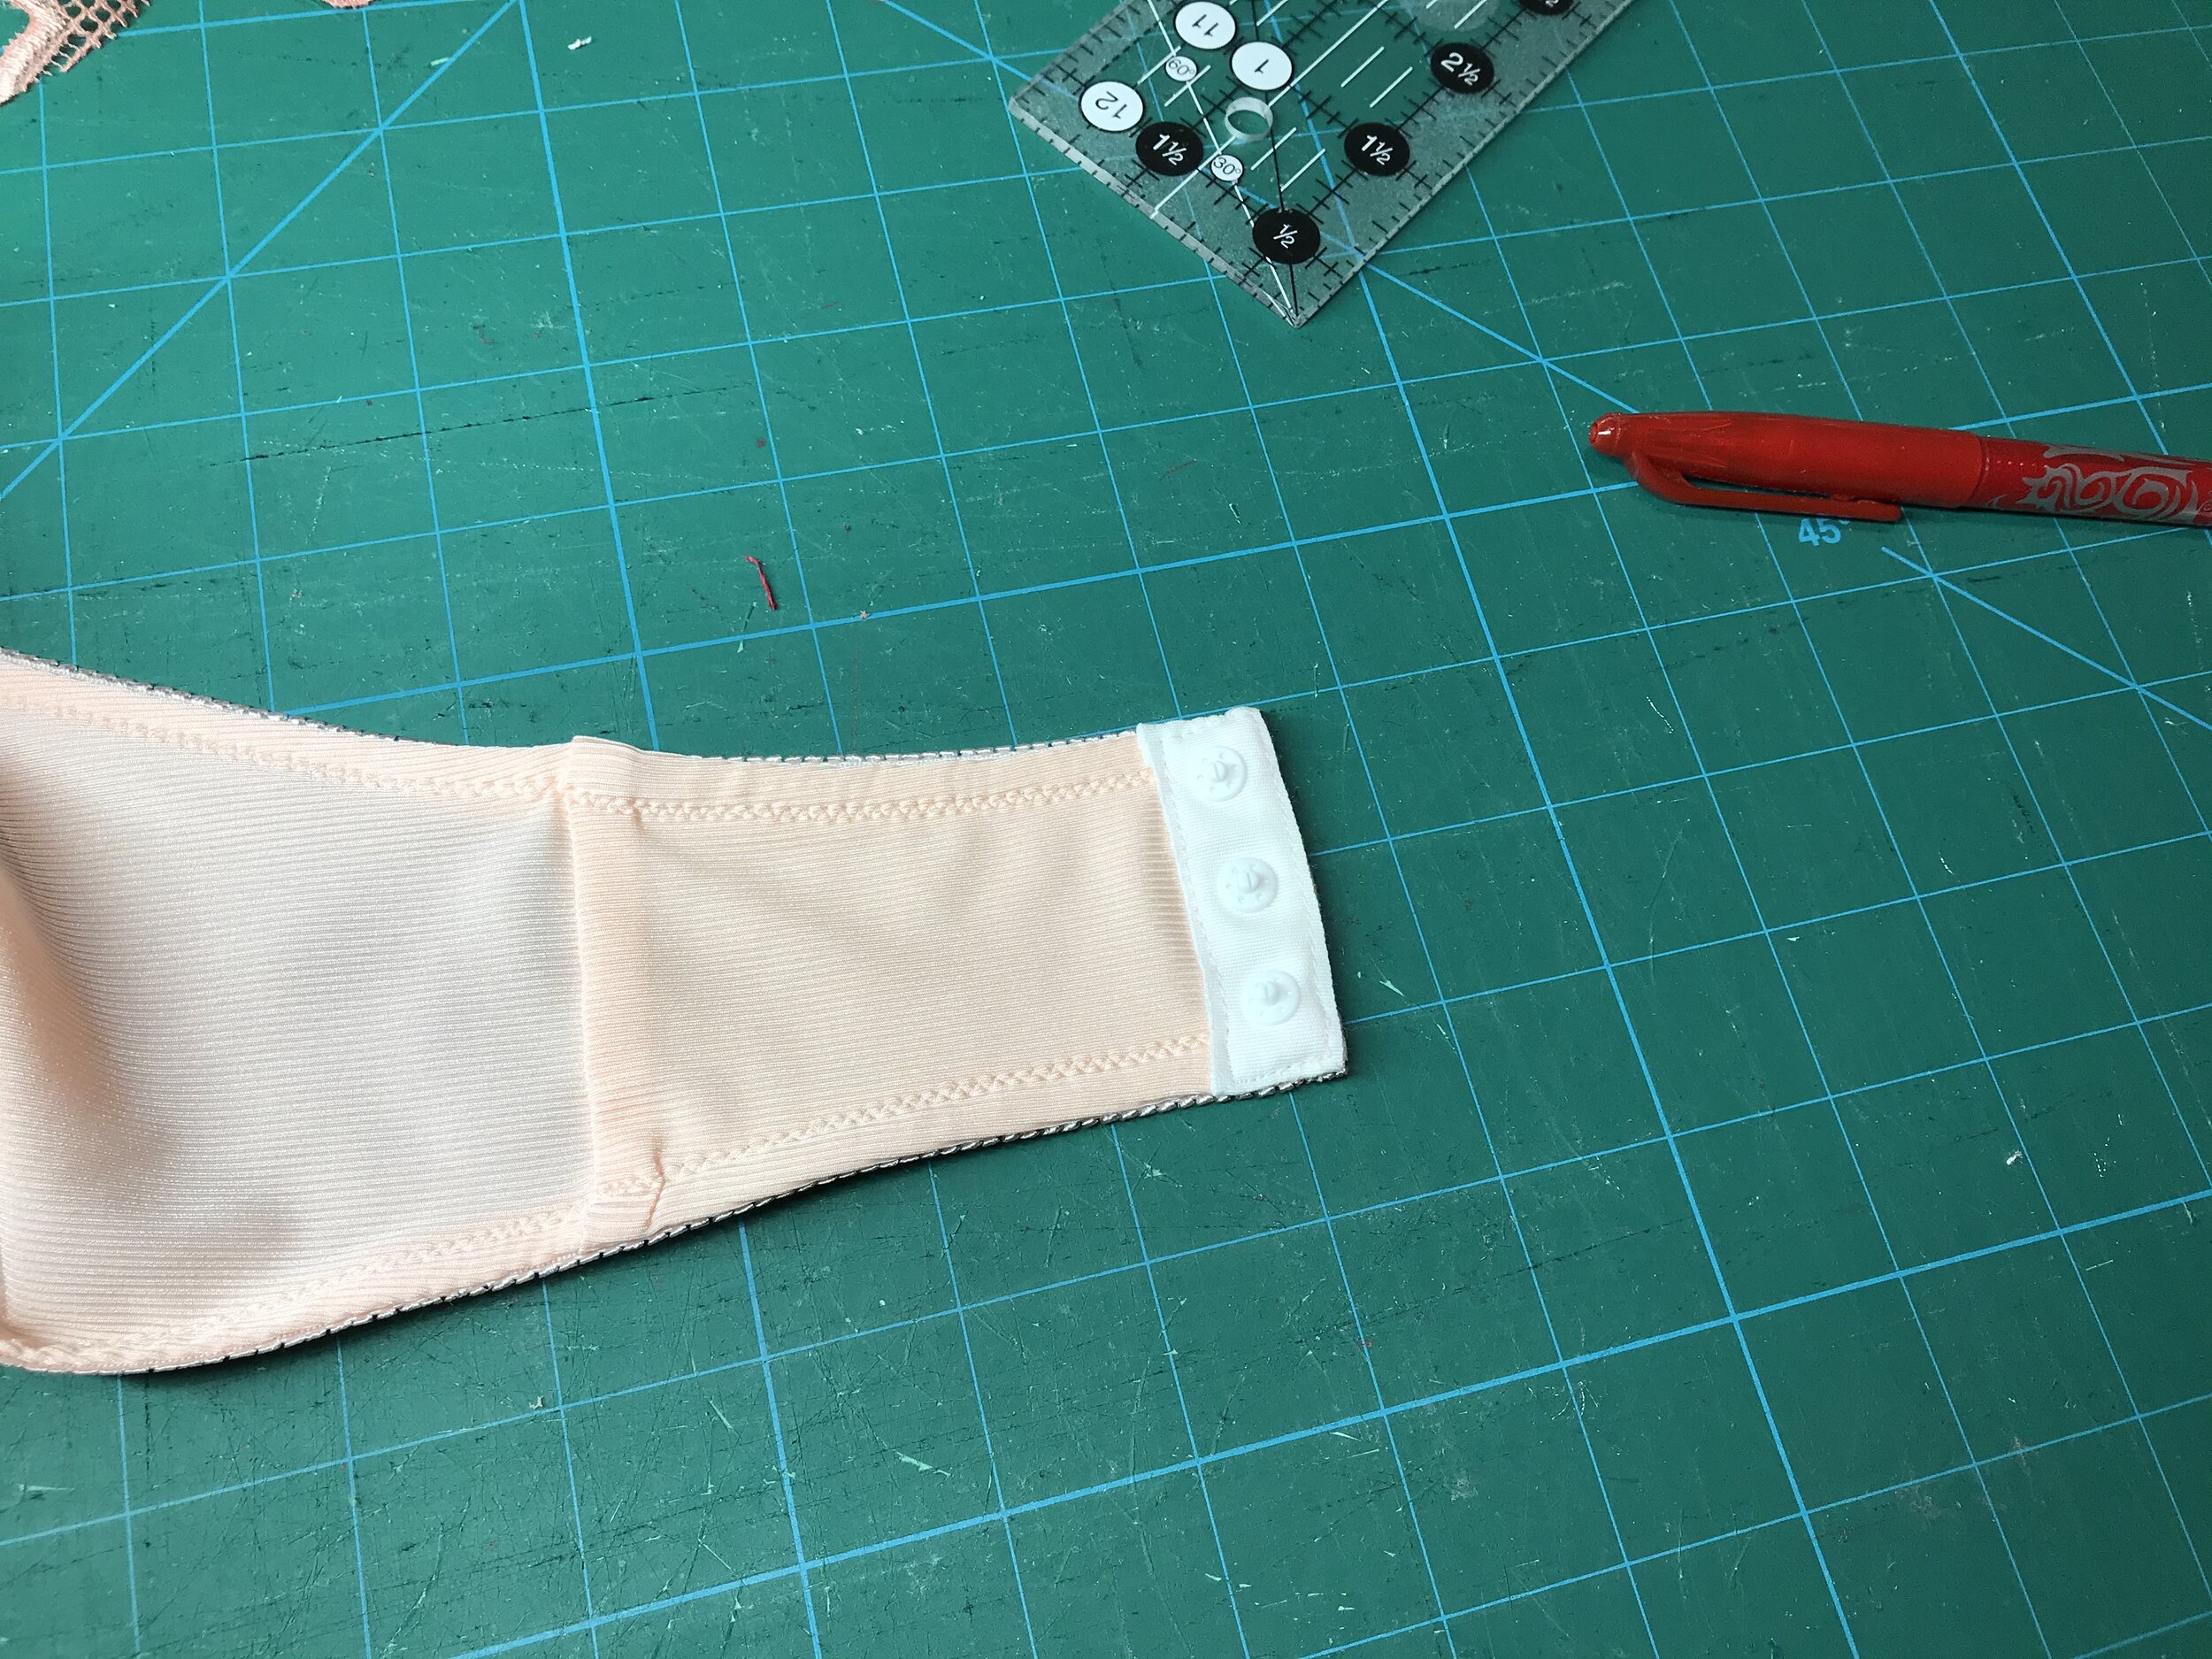
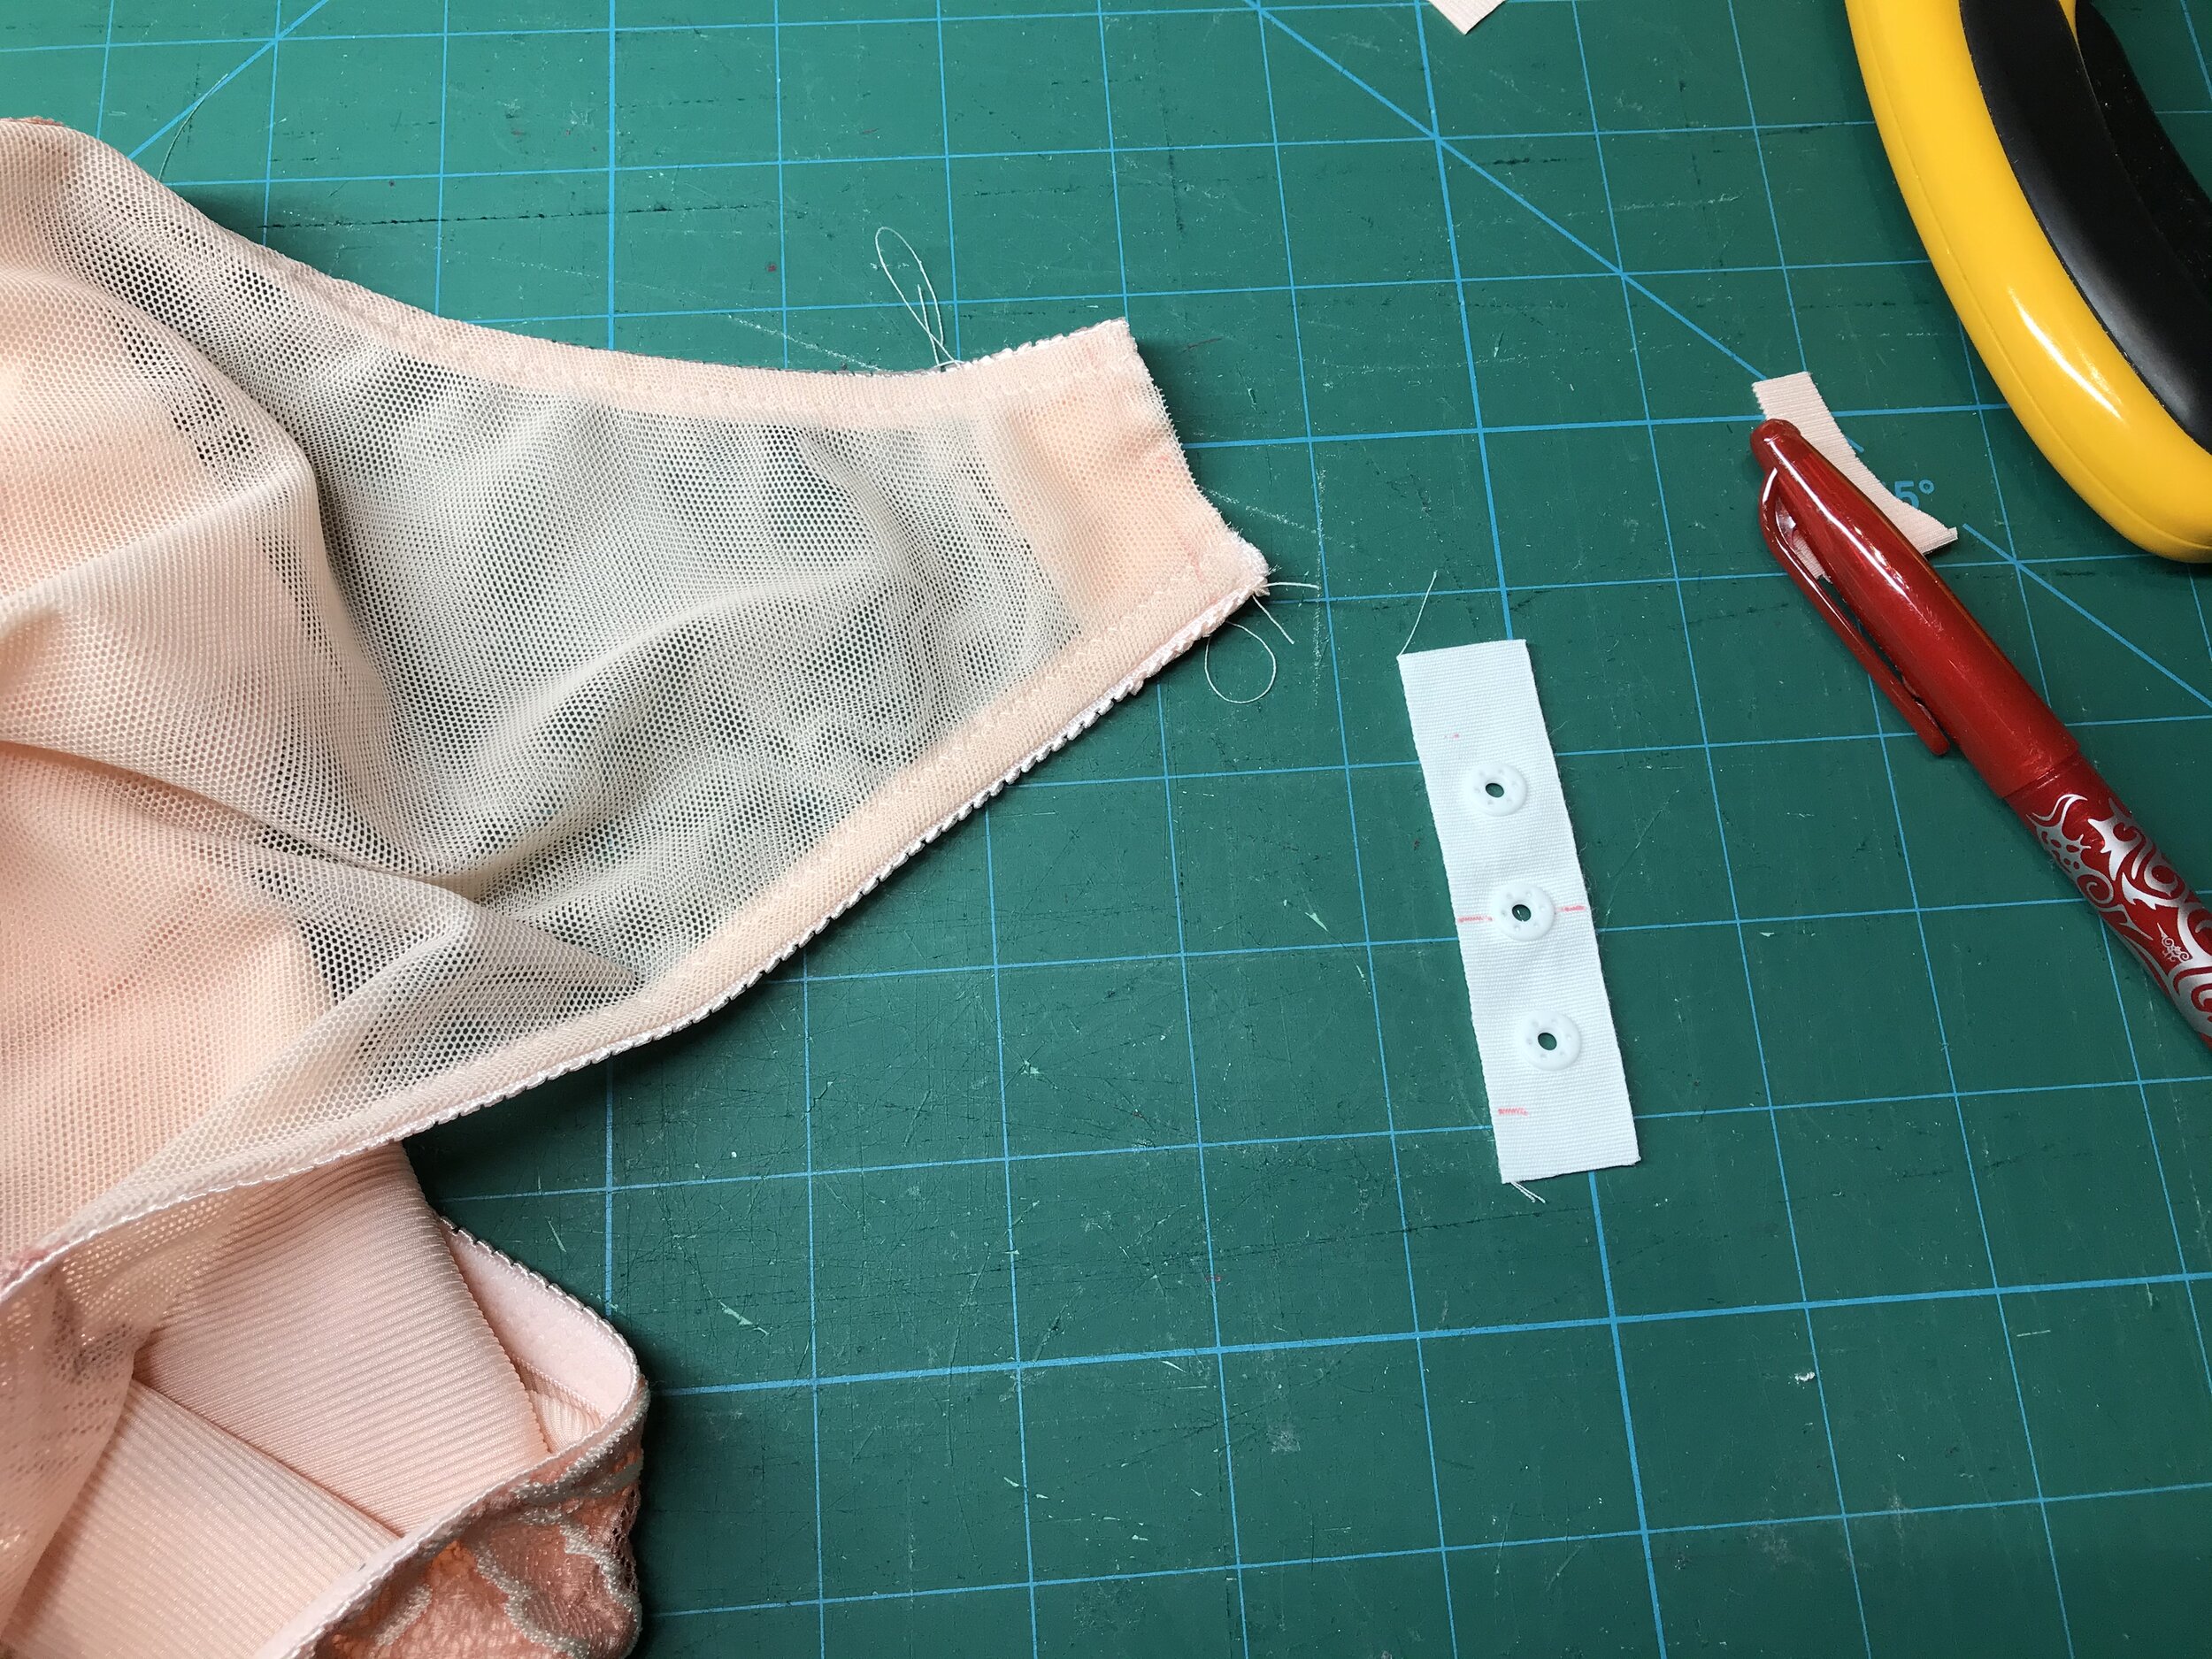
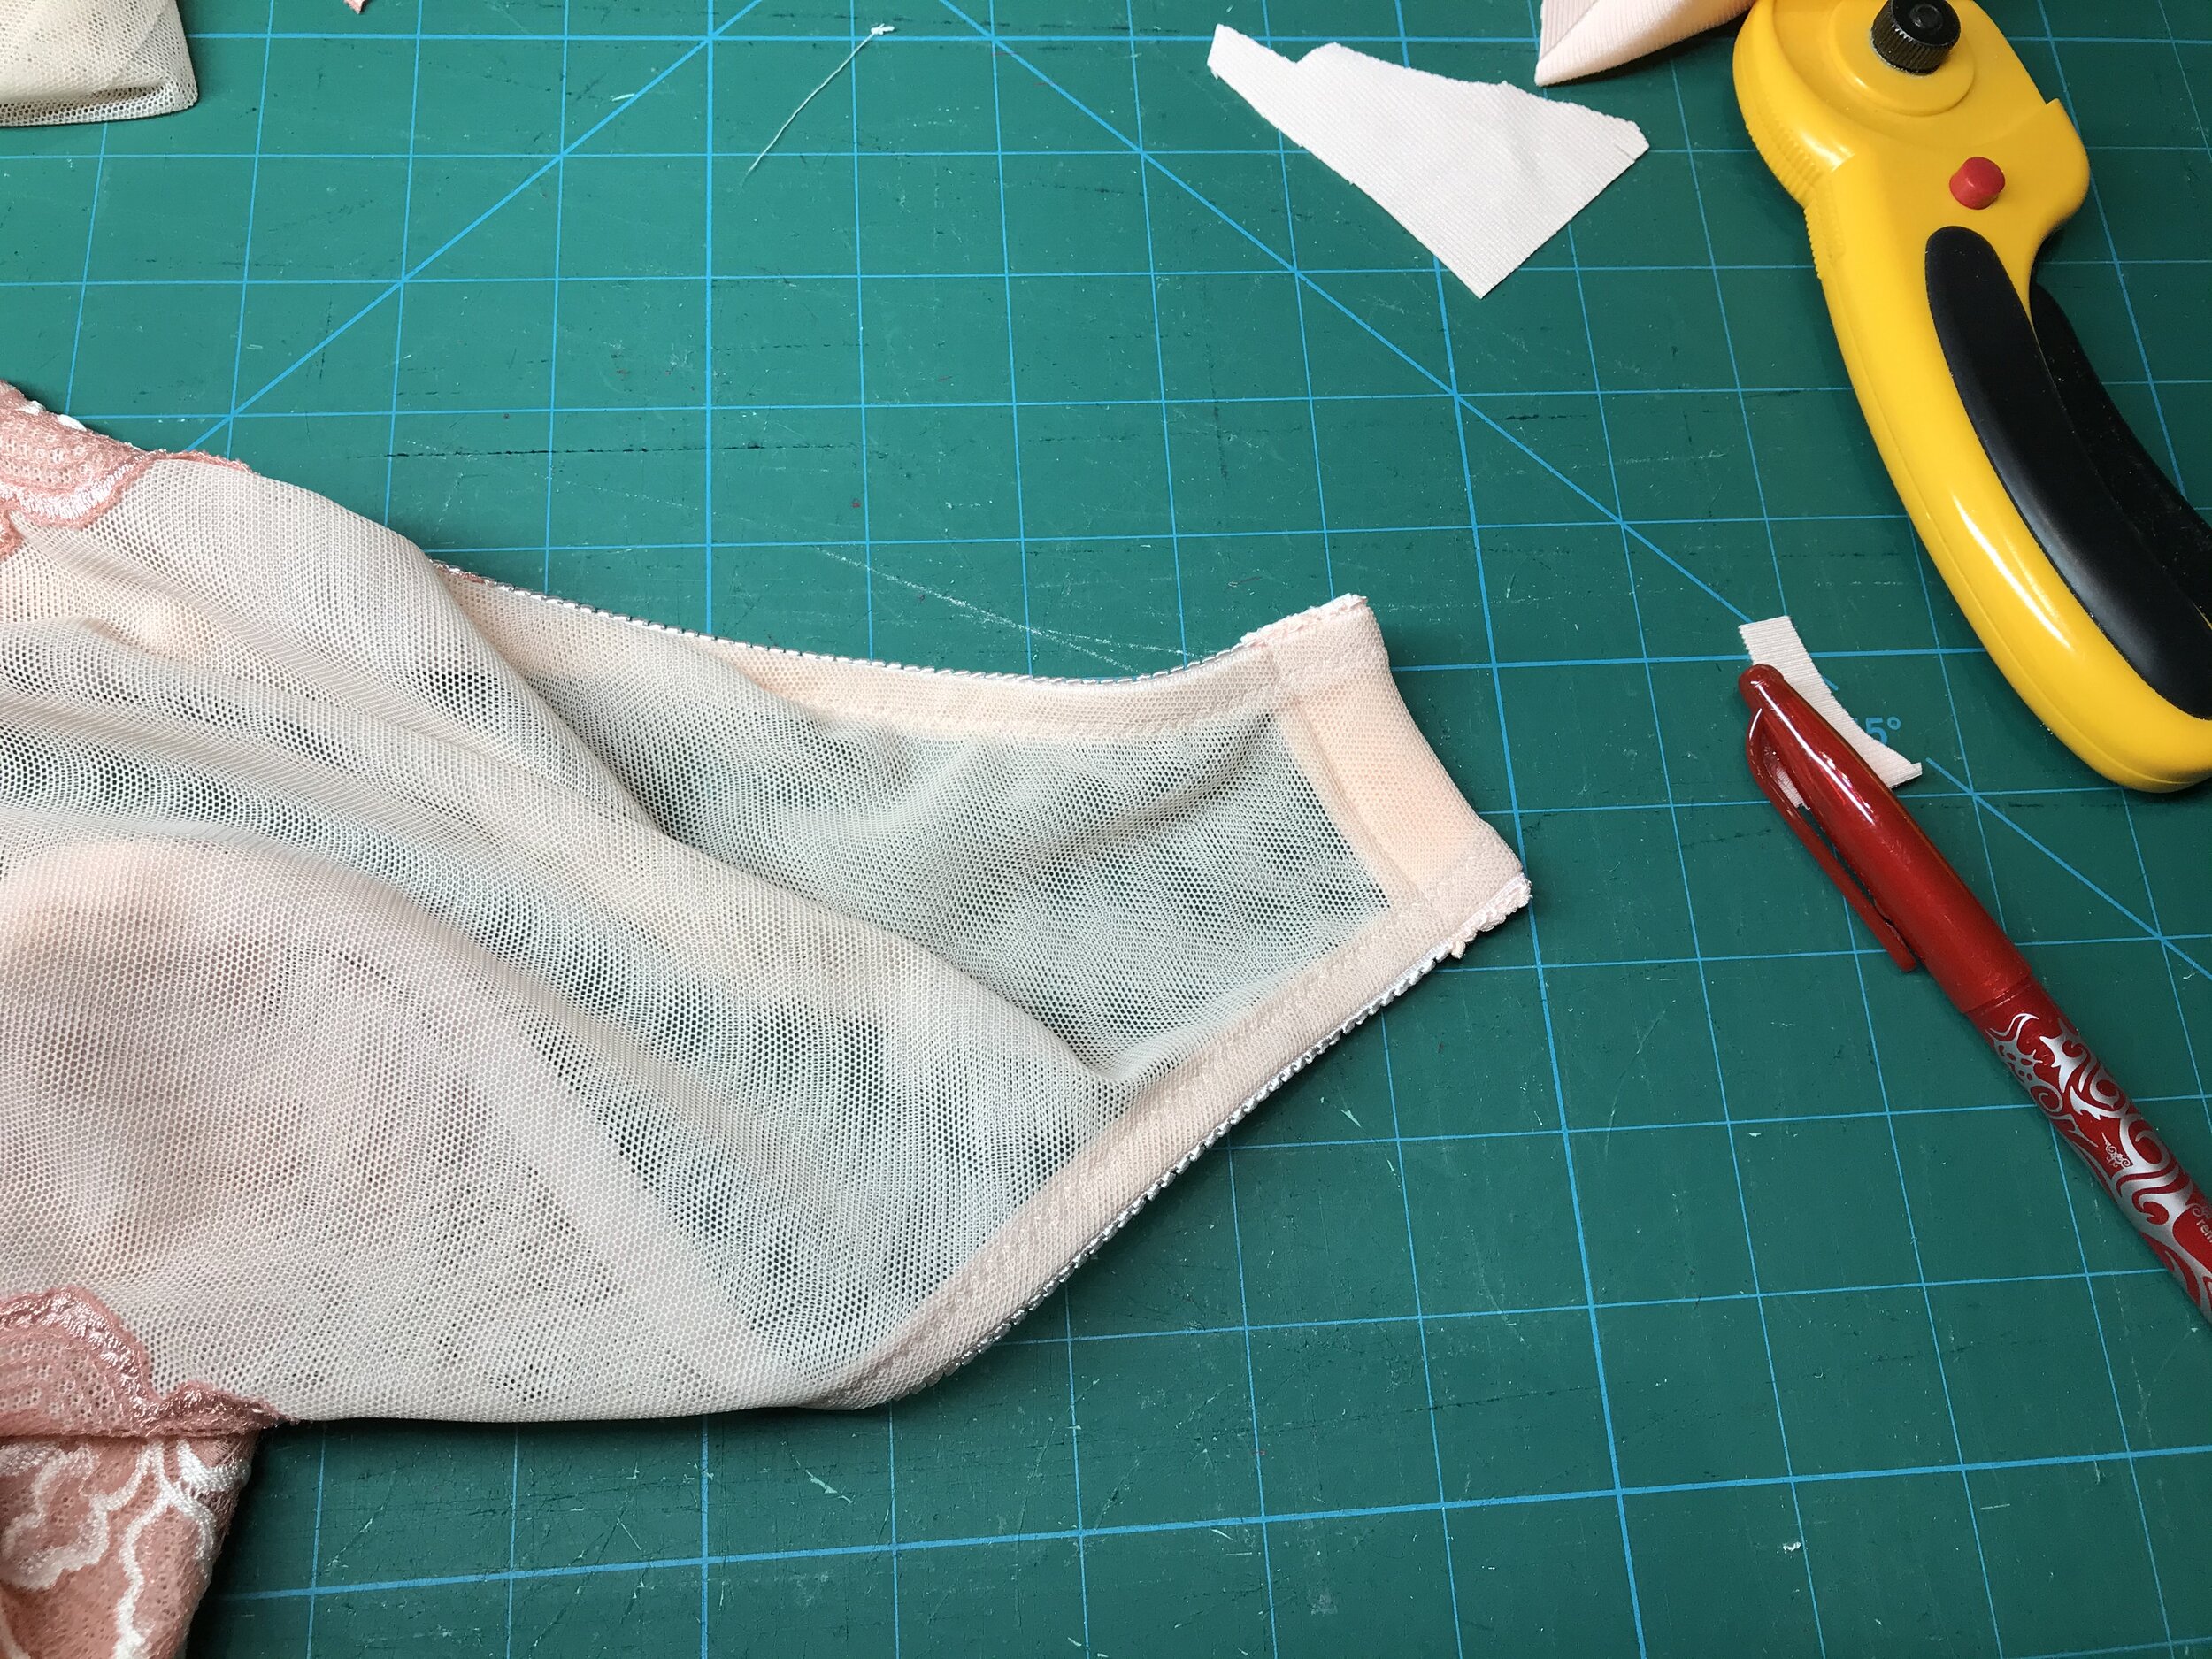
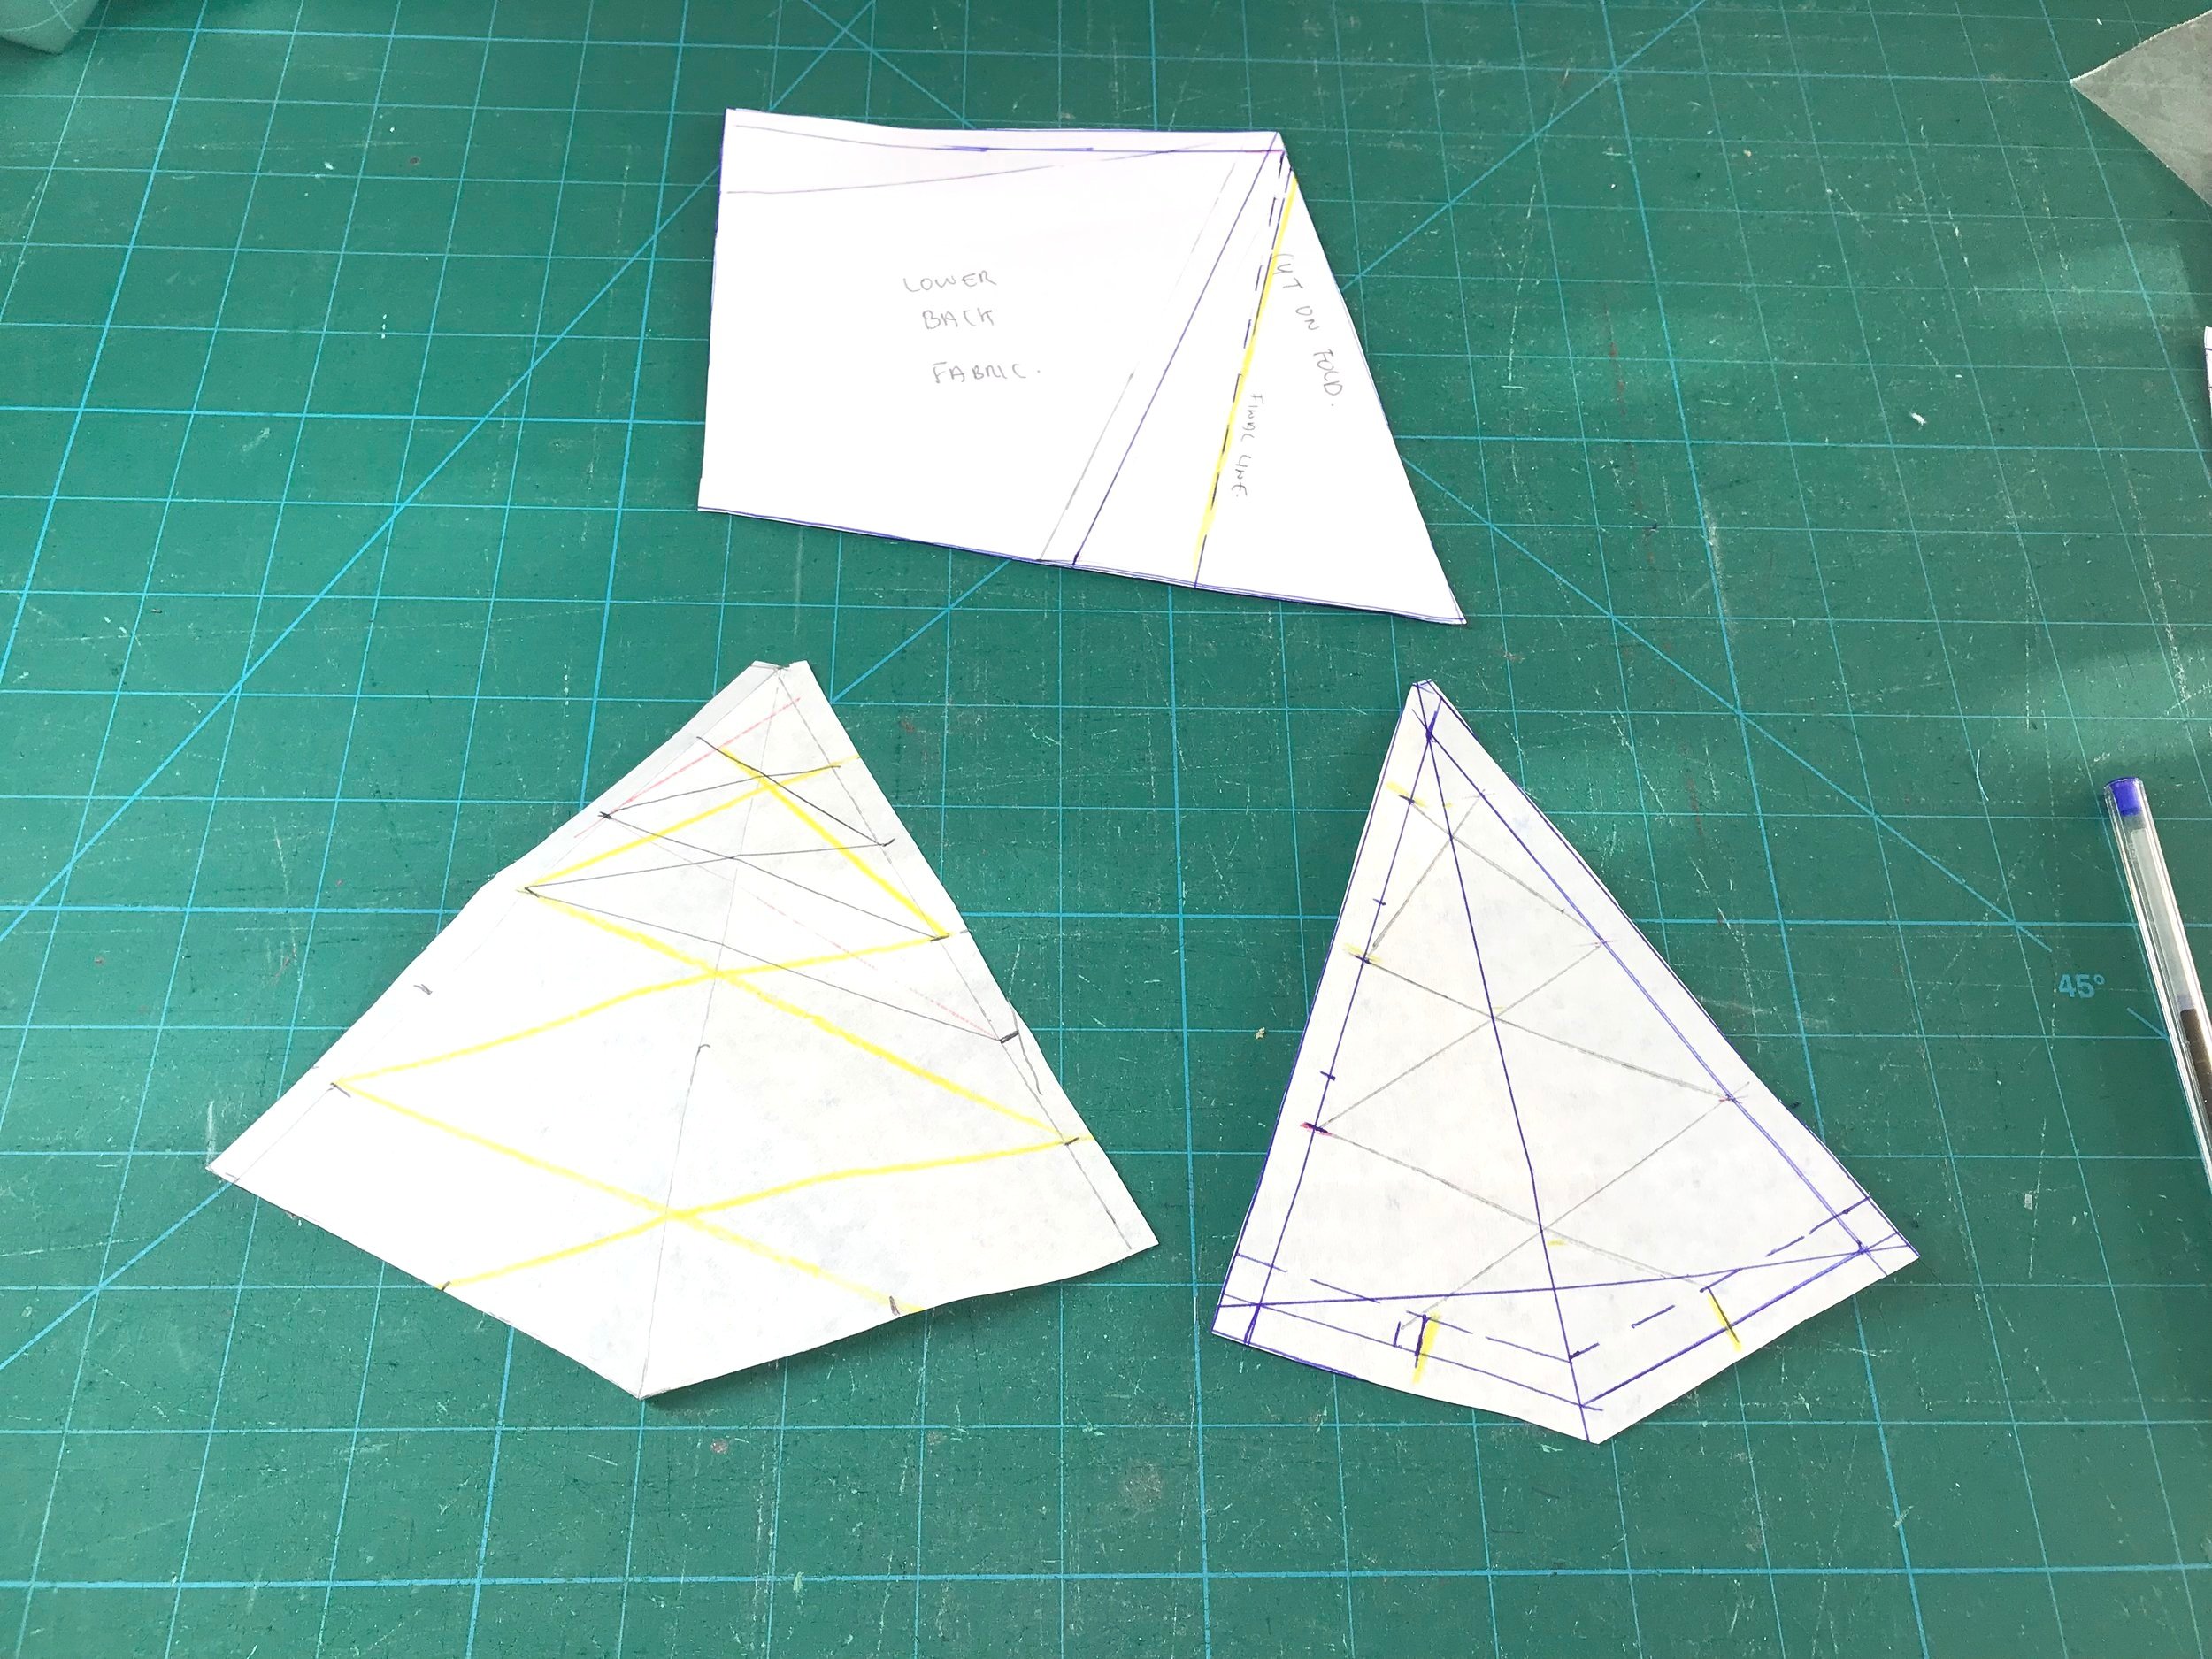
A lot of RTW have really messy strapping on the inside. I wanted something neat and tidy that wouldn’t irritate my skin. Using a method I have used before I played around with the placement for both the top and bottom back. I then drew this on tear away stabiliser. I stitched down the open fold over elastic on the seam allowance.

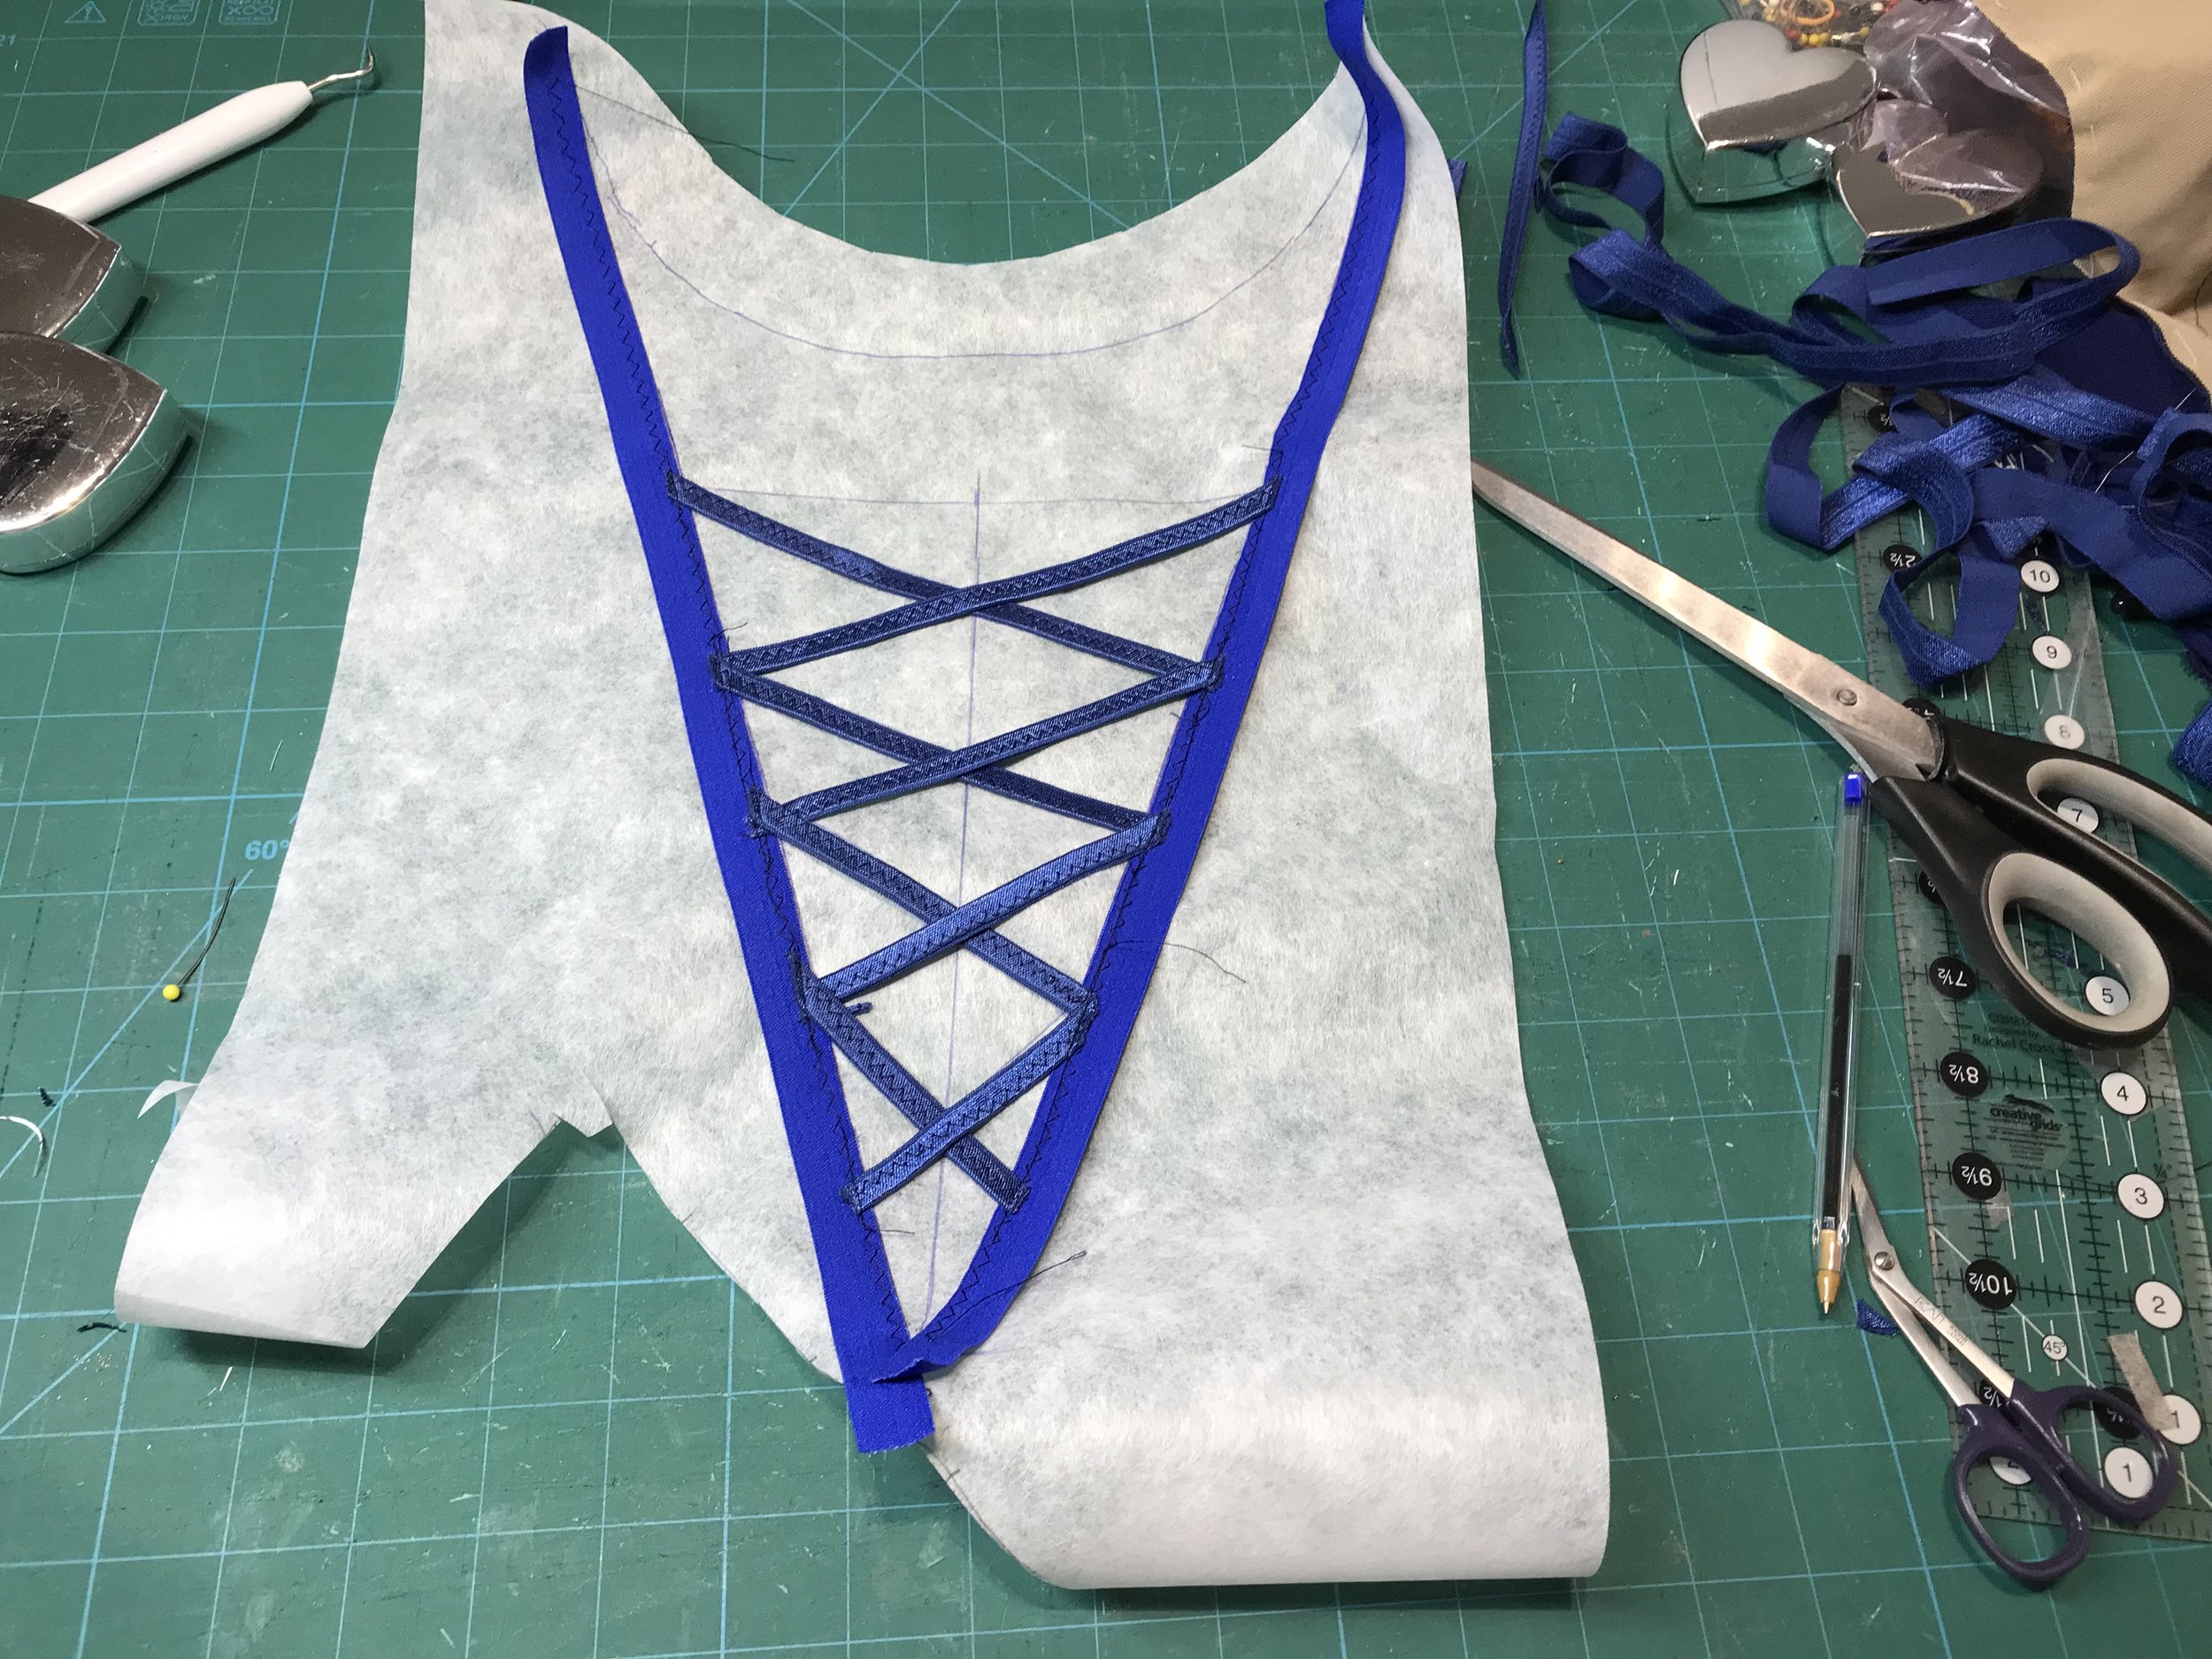
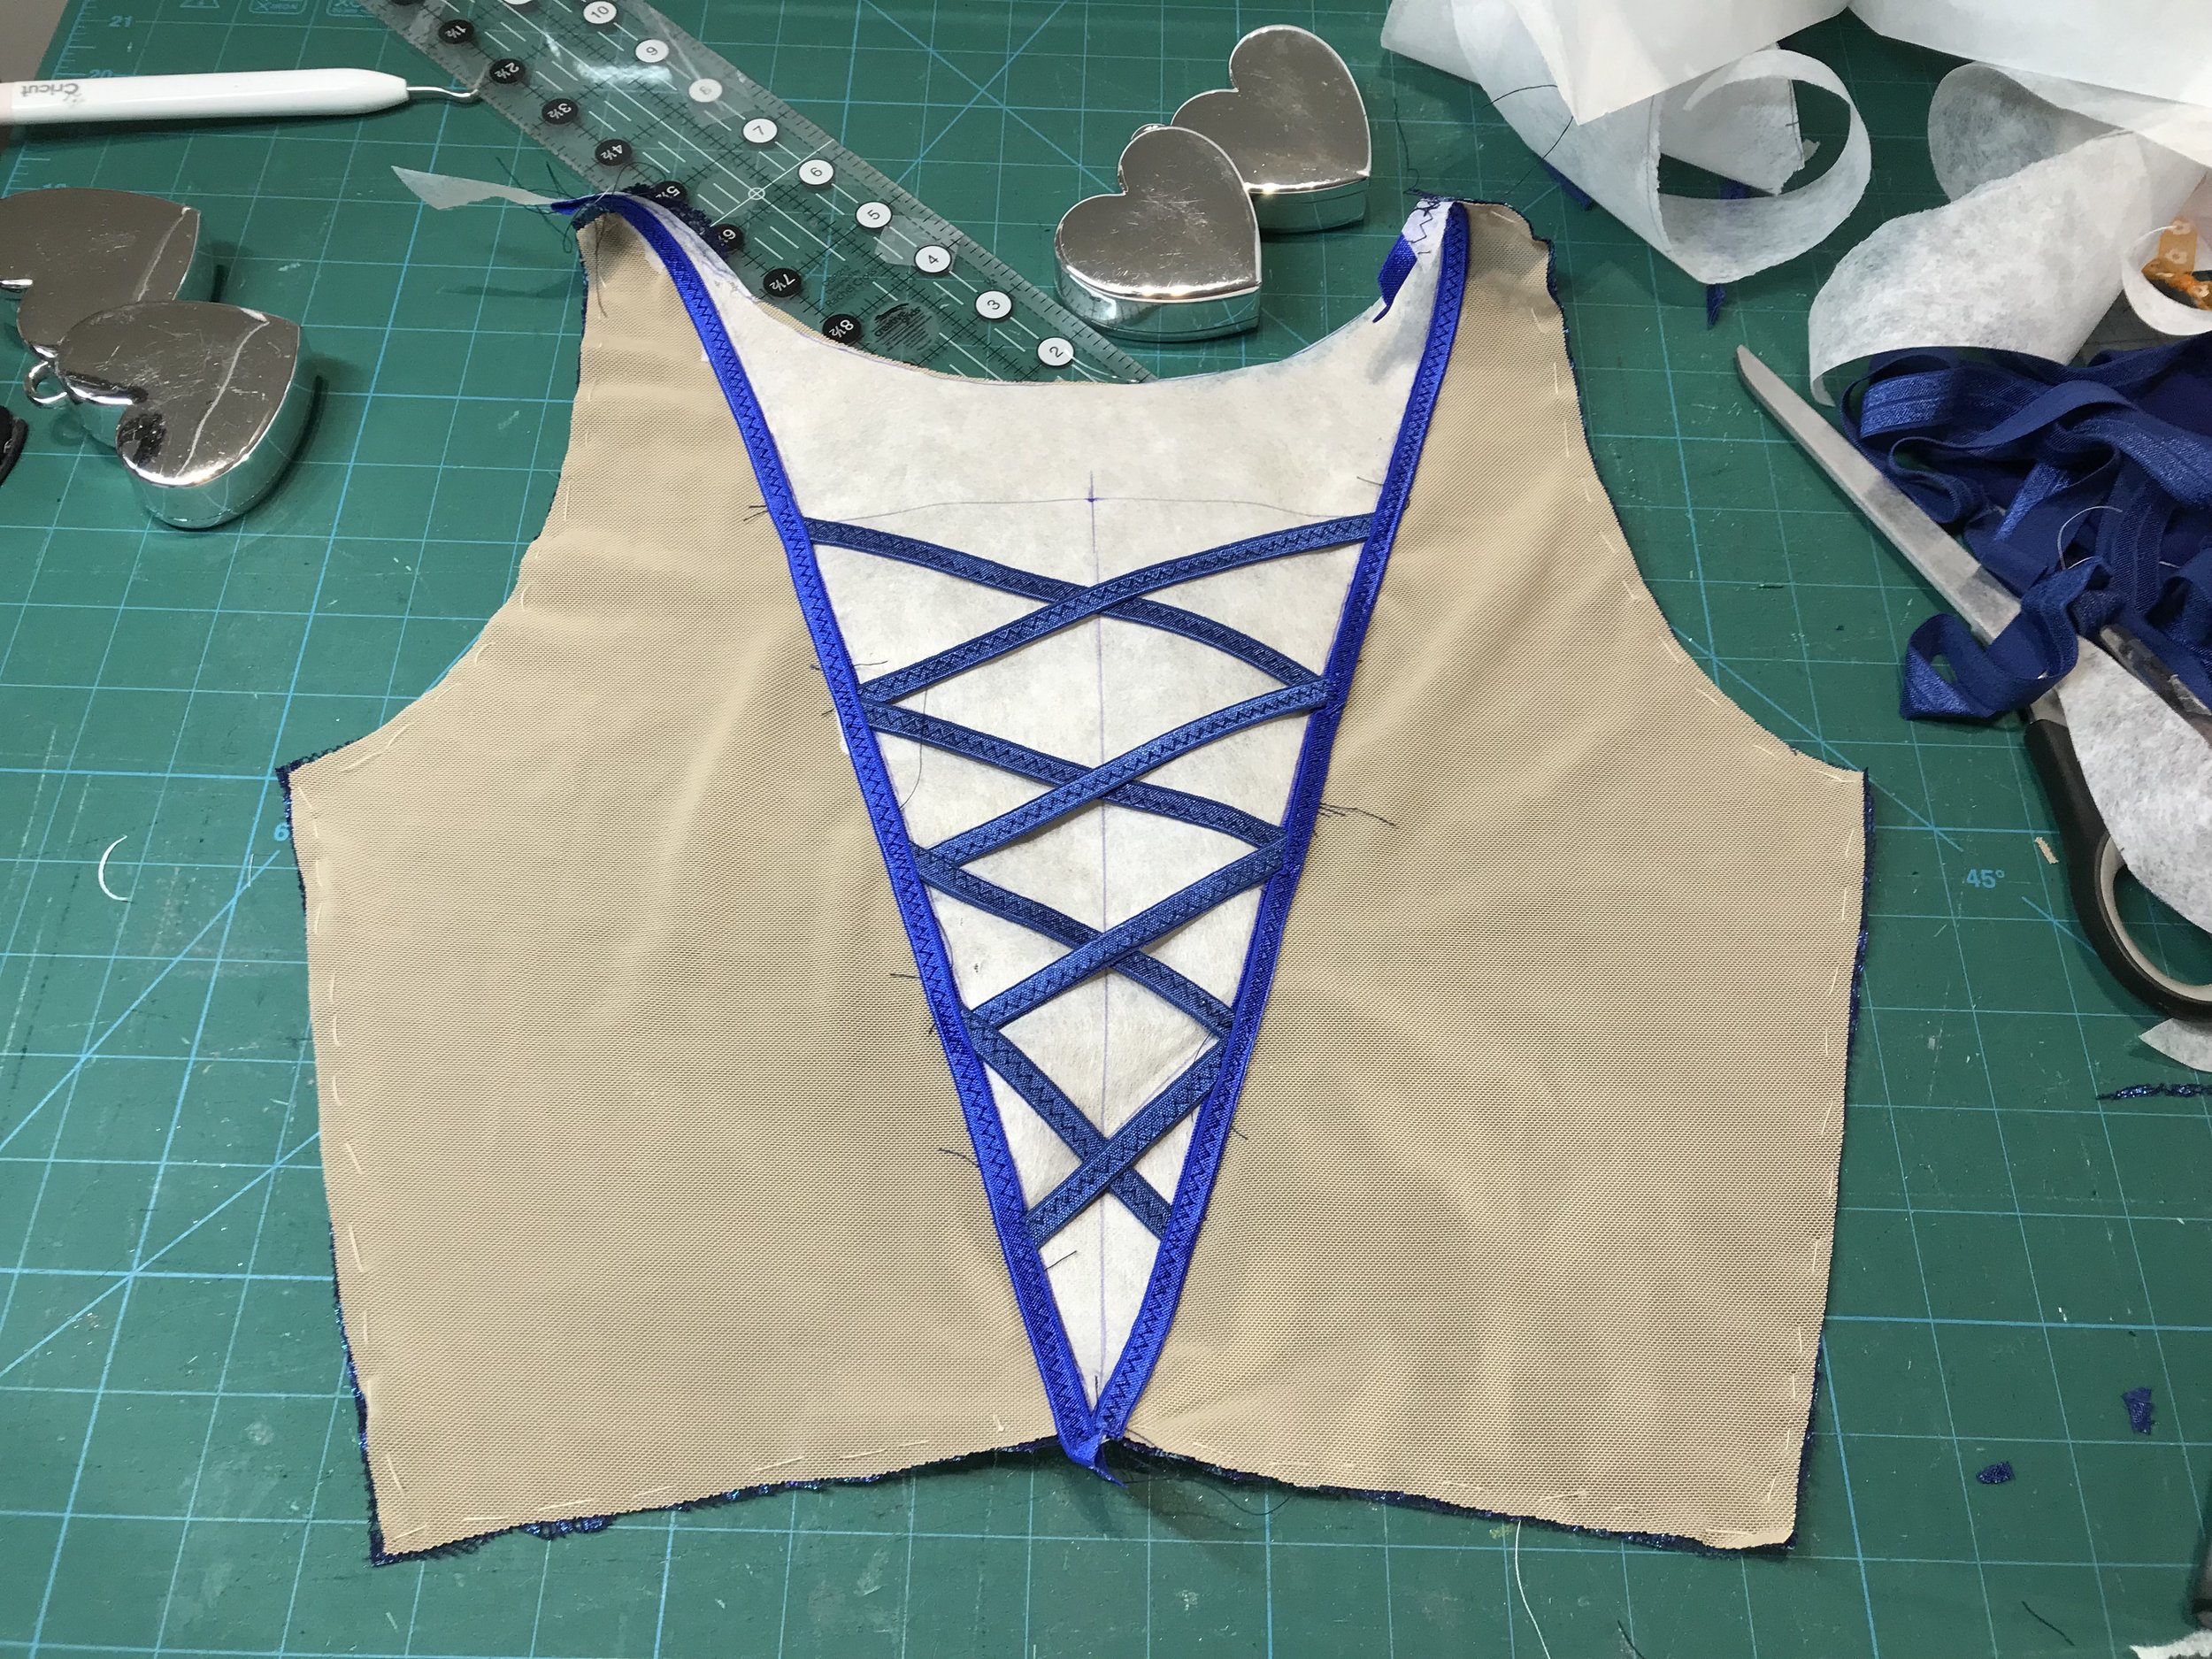
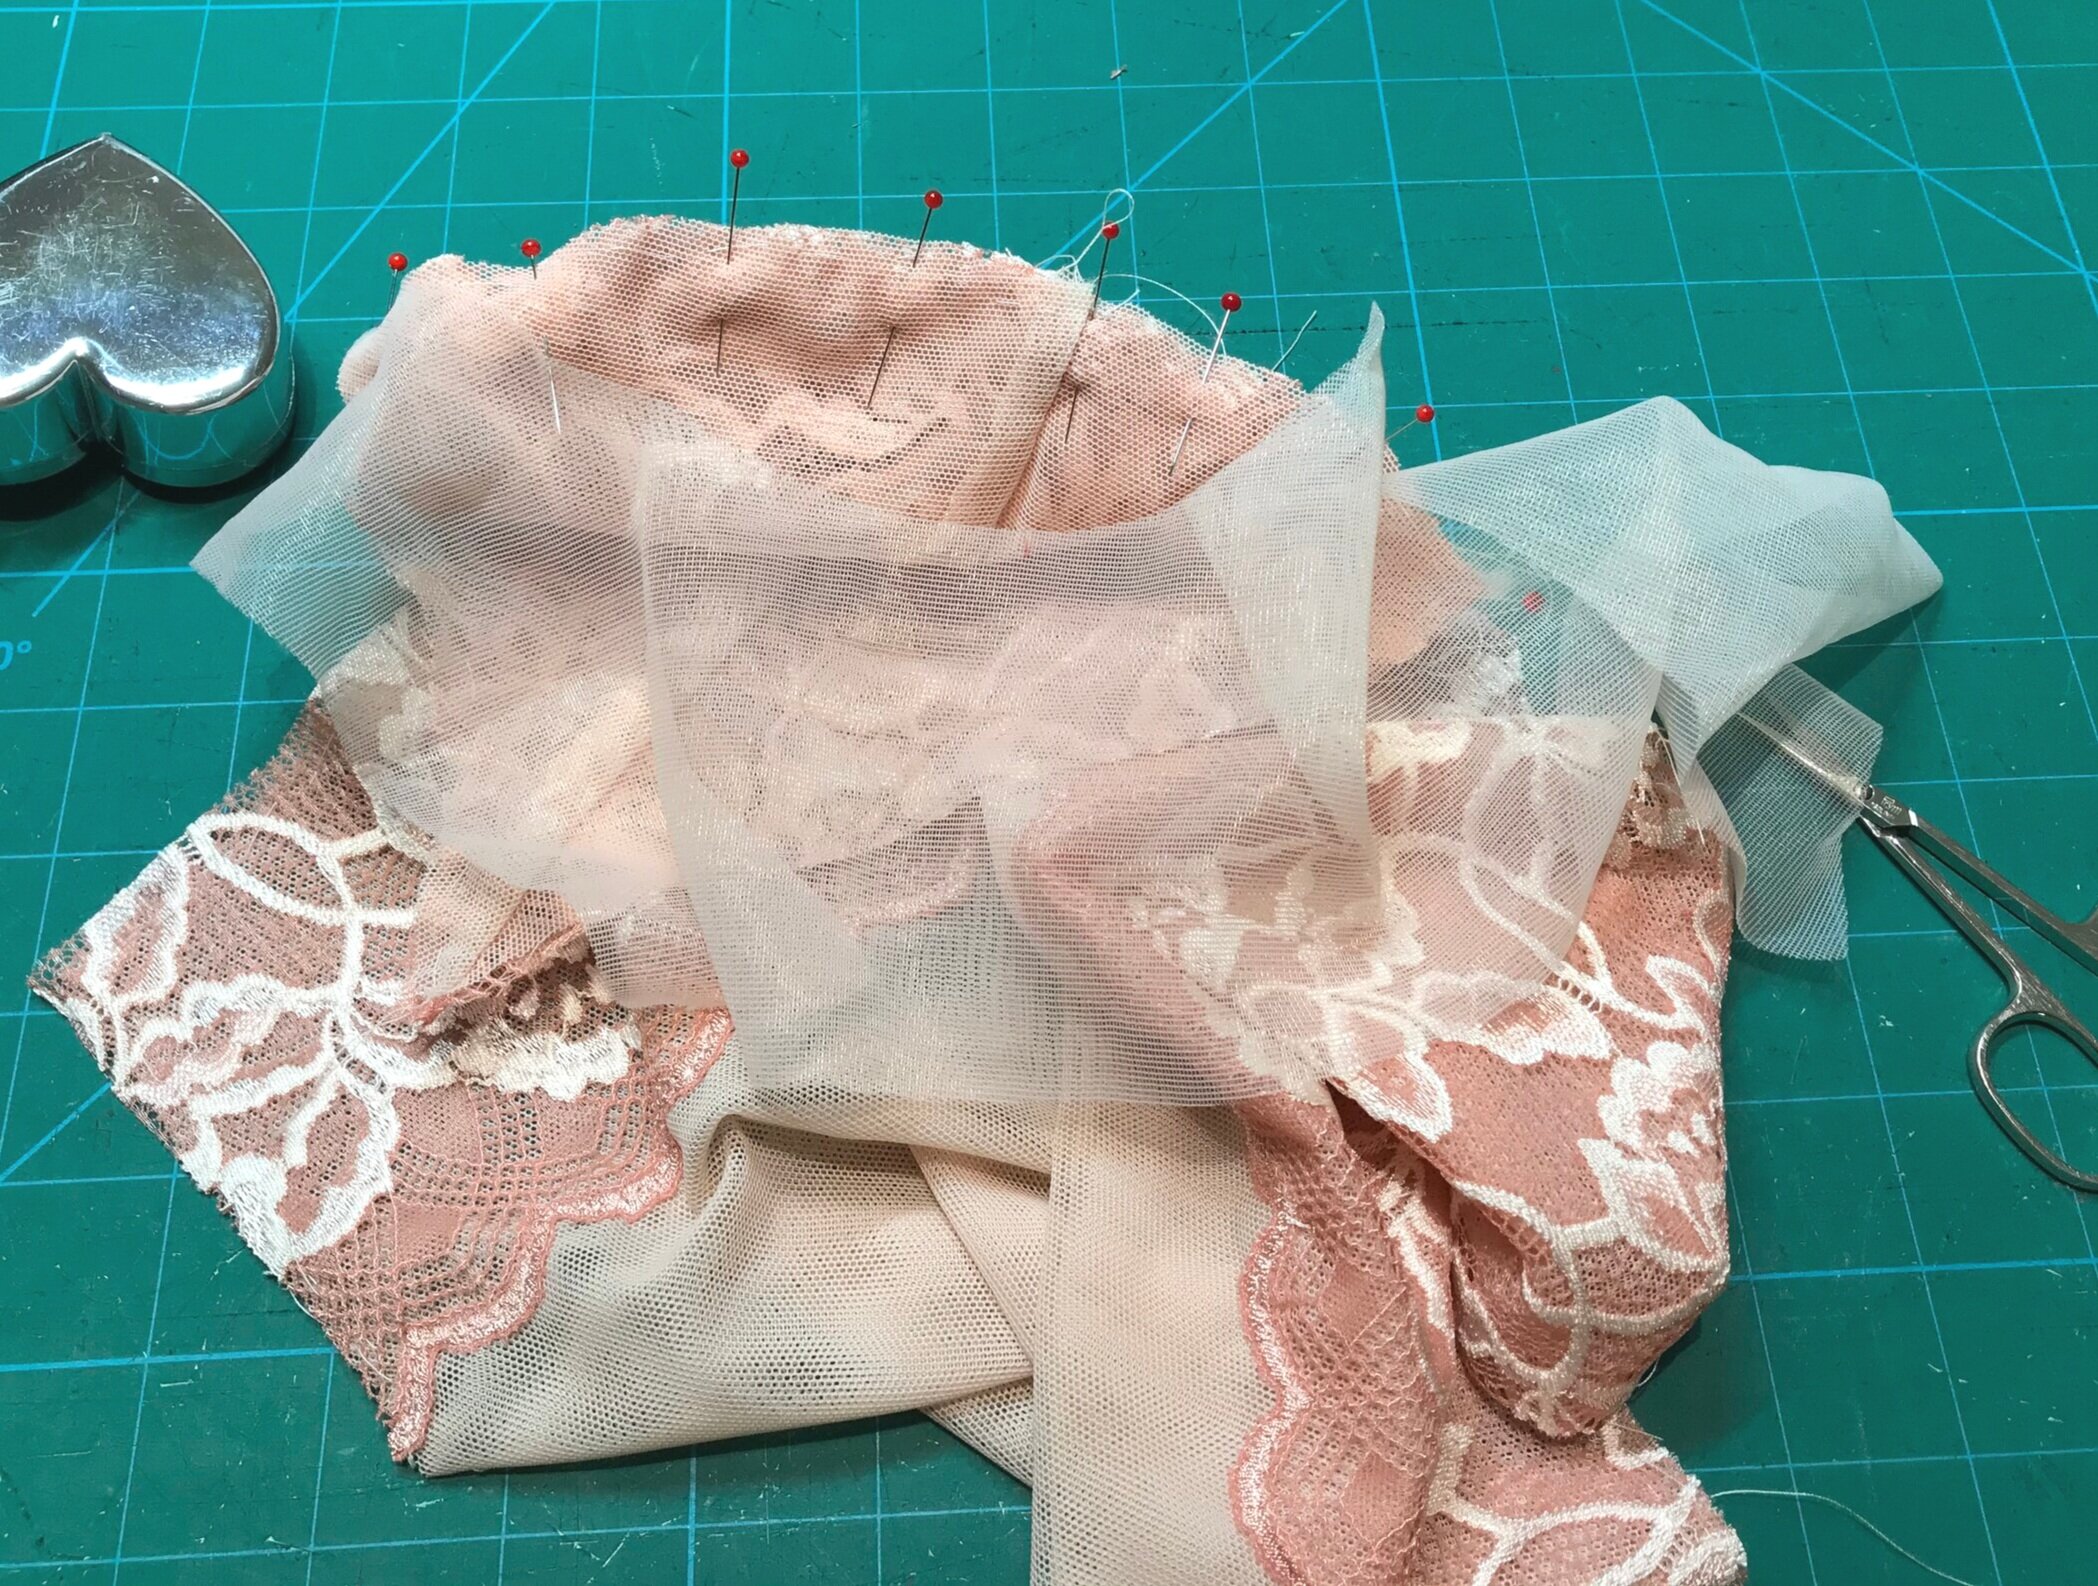
Then I added the strapping, stitching down under the fold line. This was then ready to transfer to my back fabric pieces. I then folded the fold over elastic down to encase the strapping. Then, I just had to tear away the stabiliser to reveal an open back.

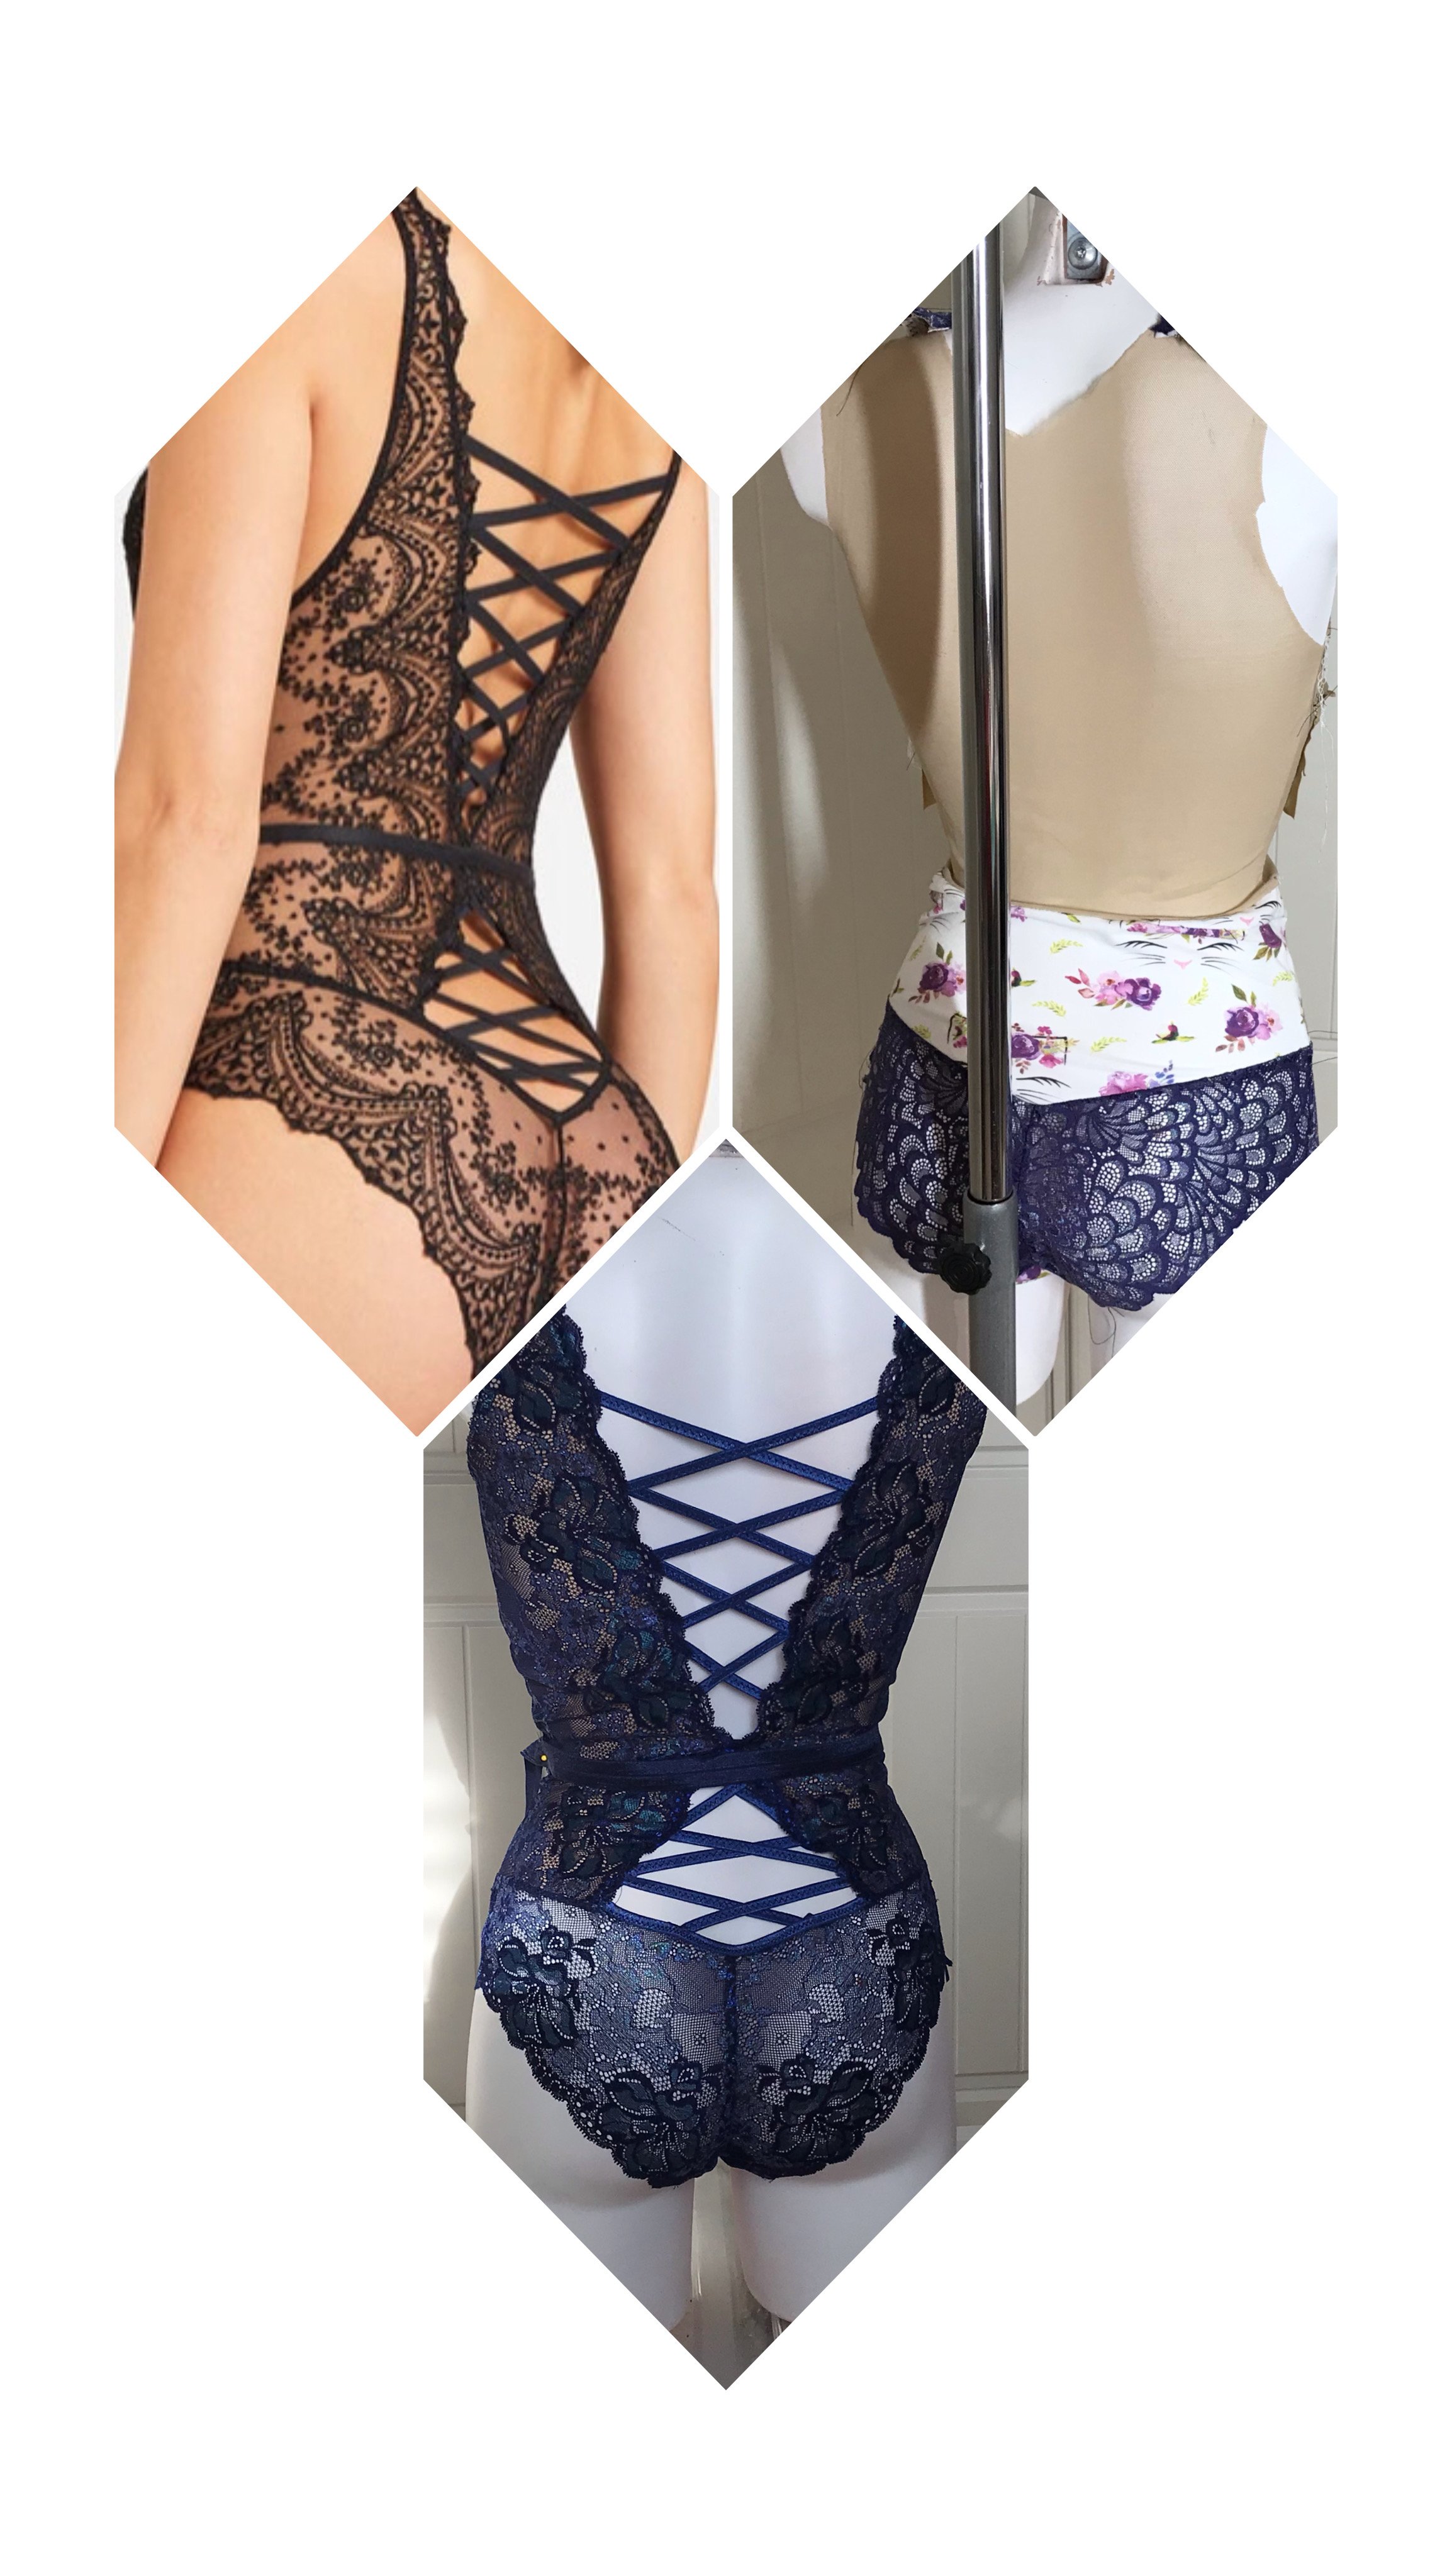
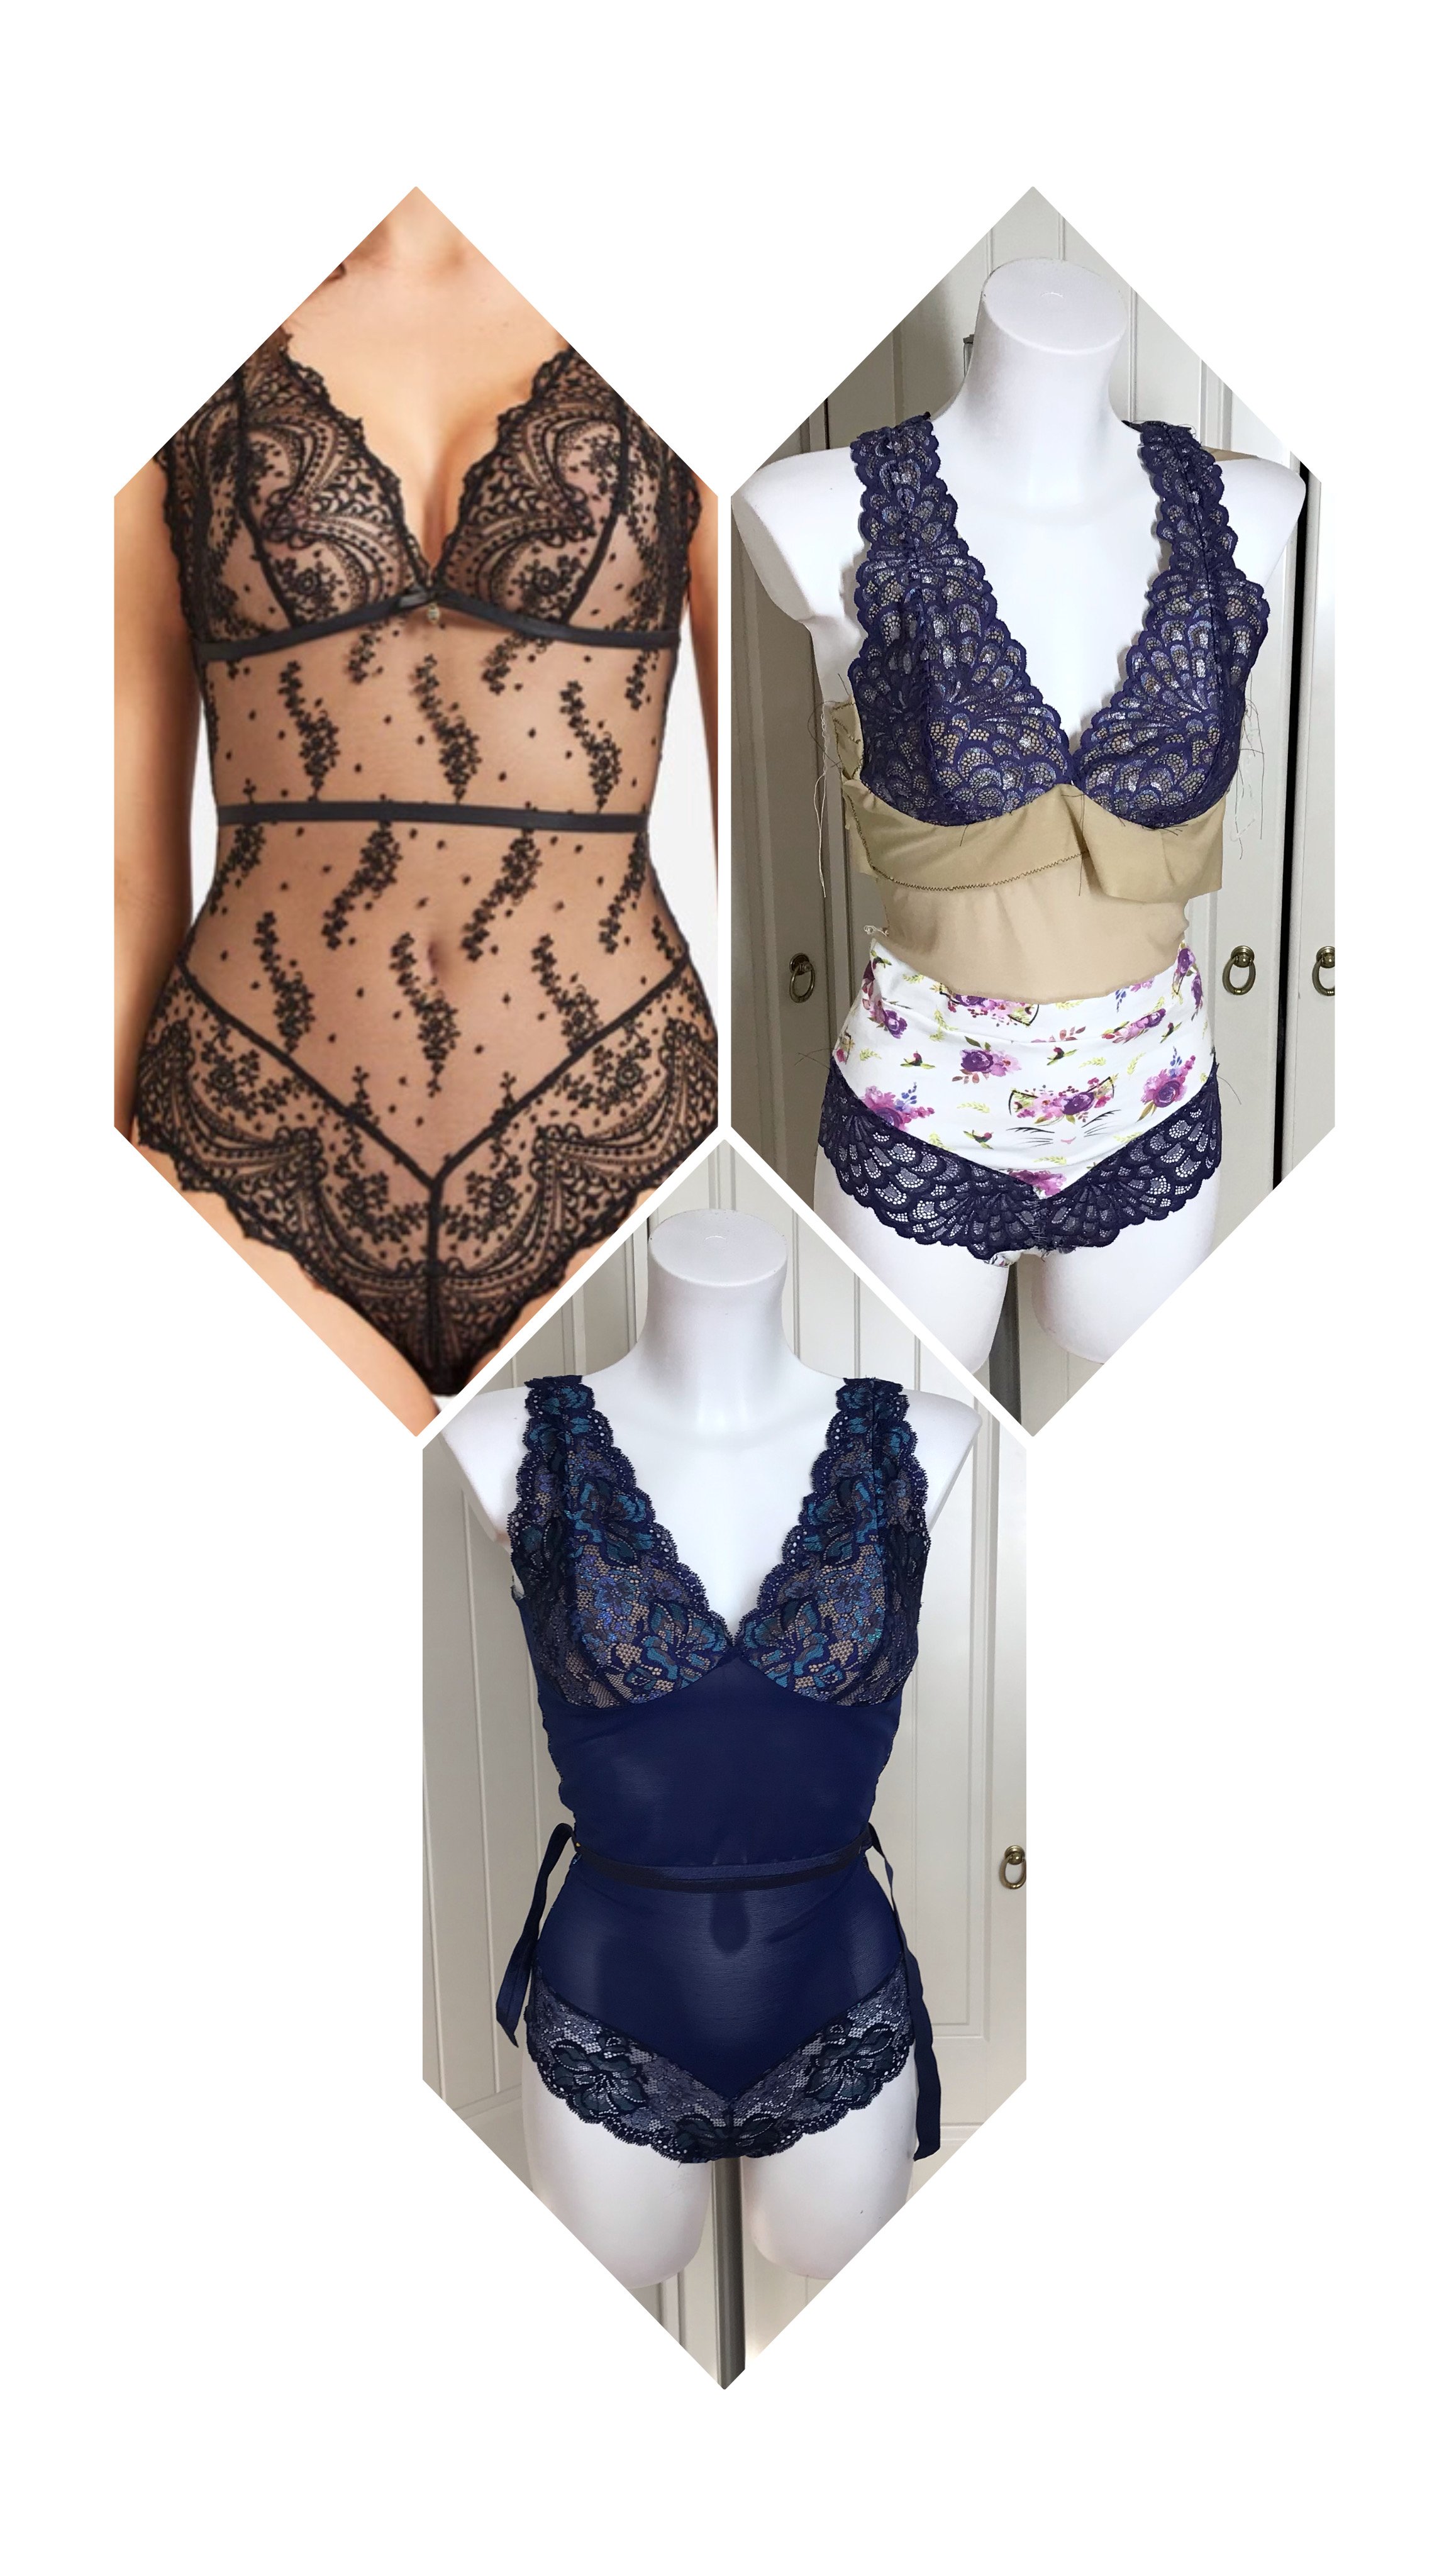
Top Left RTW, Top Right First Draft, Bottom Second Draft

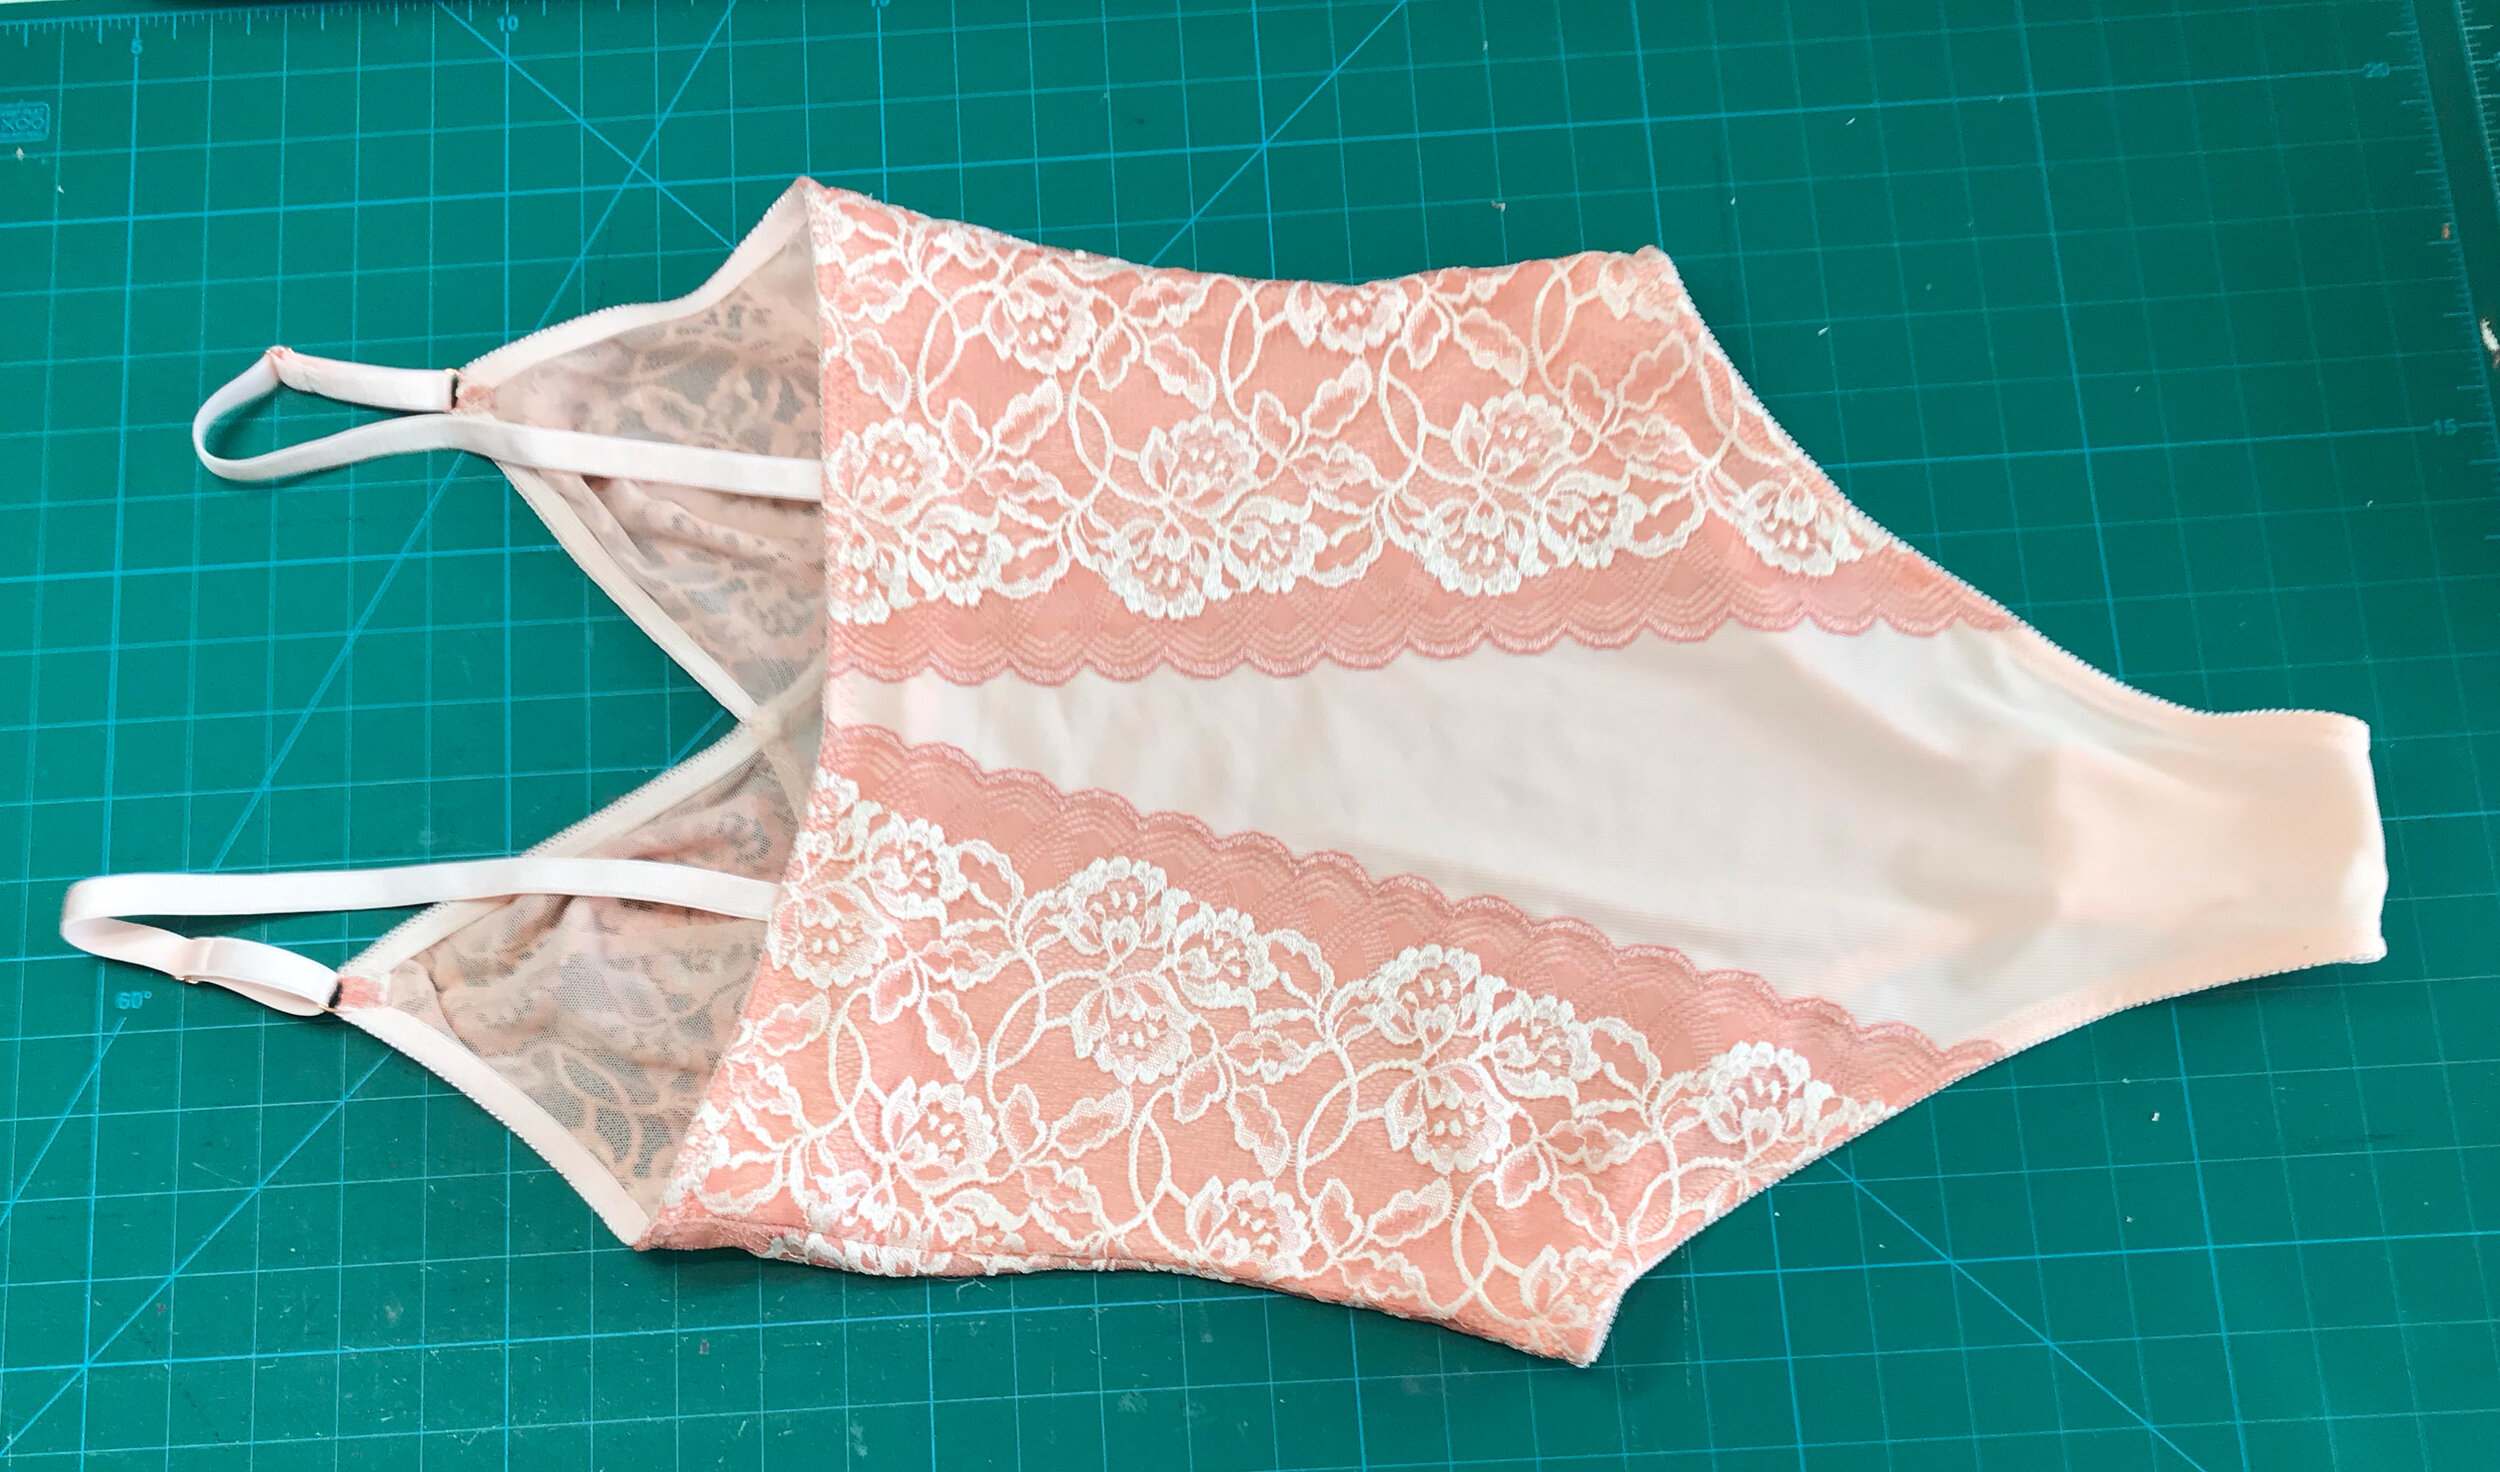
So although very wearable I still needed to tweak a little. The lace cups were still too wide at the shoulder so I blended down to allow just for the width of the elastic on both neck and armhole edges and reduced the width of the back to match. I had over adjusted the frame so I moved out the seam leaving the cup the same size. The back top strapping was perfect but I needed to narrow the bottom section for a better fit. So now I had all my pieces ready for the actual make..

I had been keeping the eyelash lace and open mesh from Madalynne for something special and I thought this would be the perfect match. Next I had to decide on the lining fabric. The beautifully soft antique rose mesh from Small Bobbins looked perfect. For the strapping I used some narrow matt strap from Bratastic. Photographed on the white dress form doesn’t do it justice. Next to the skin the bodysuit looks amazing.

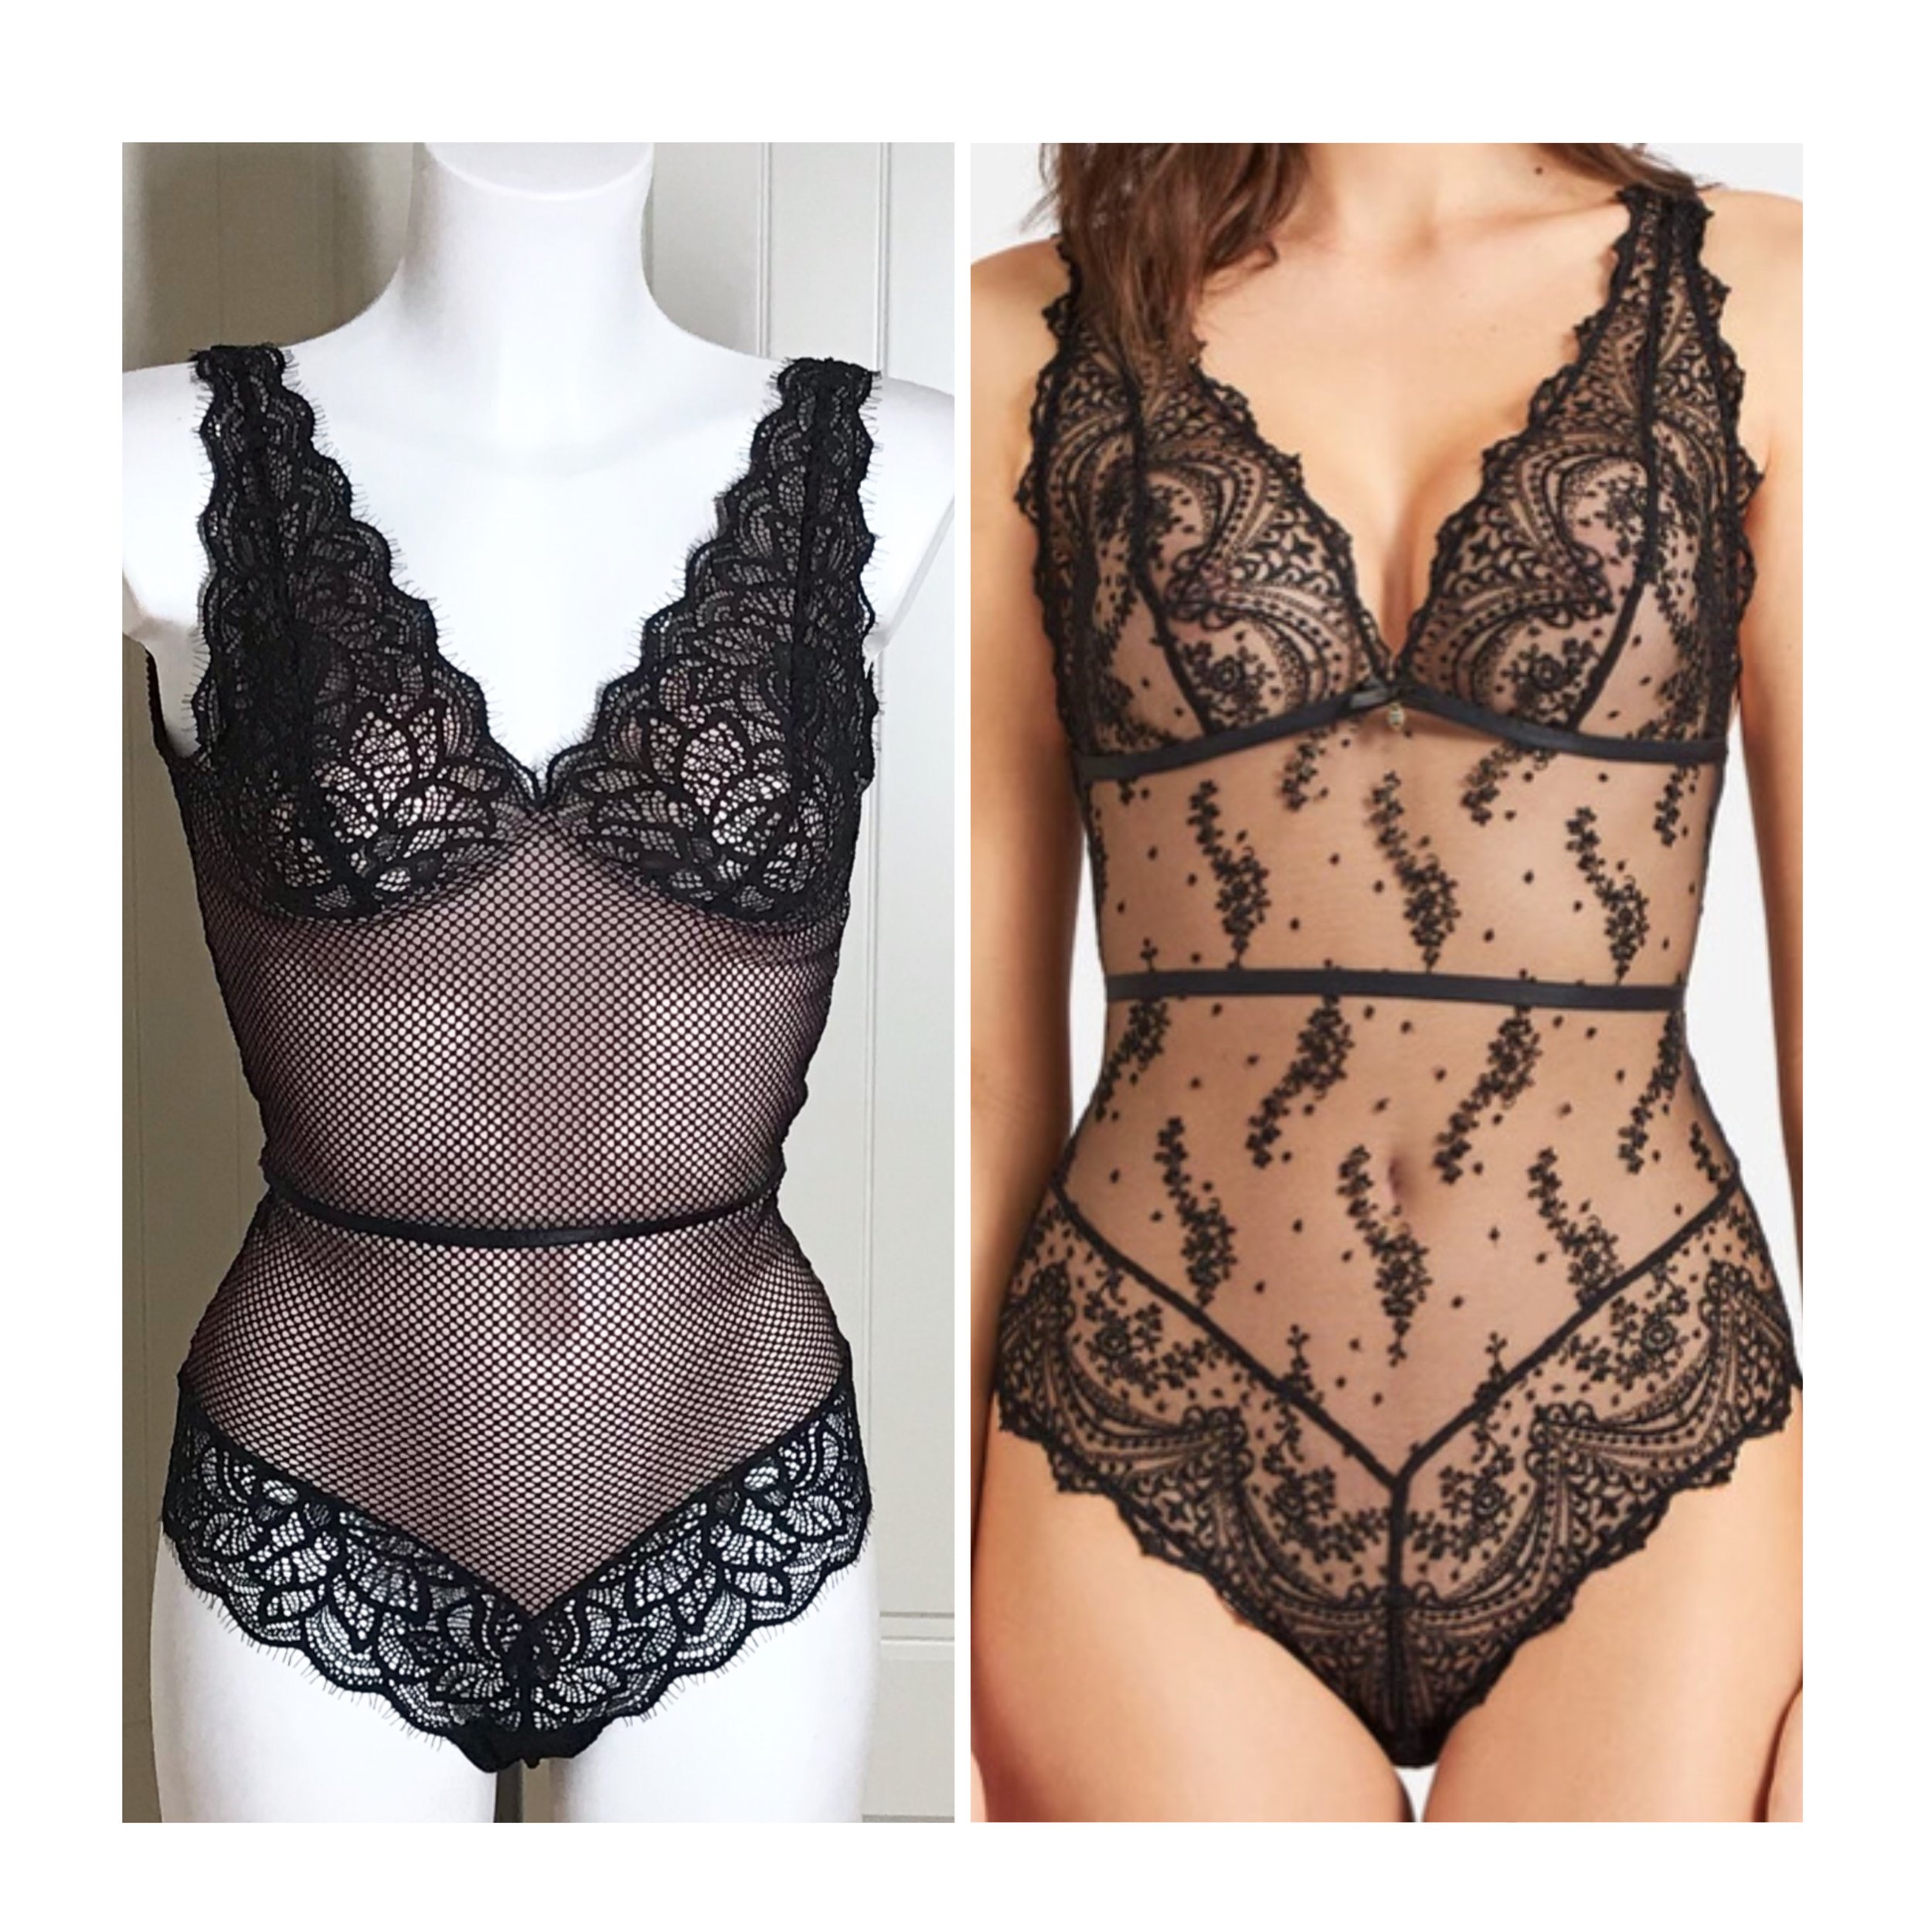
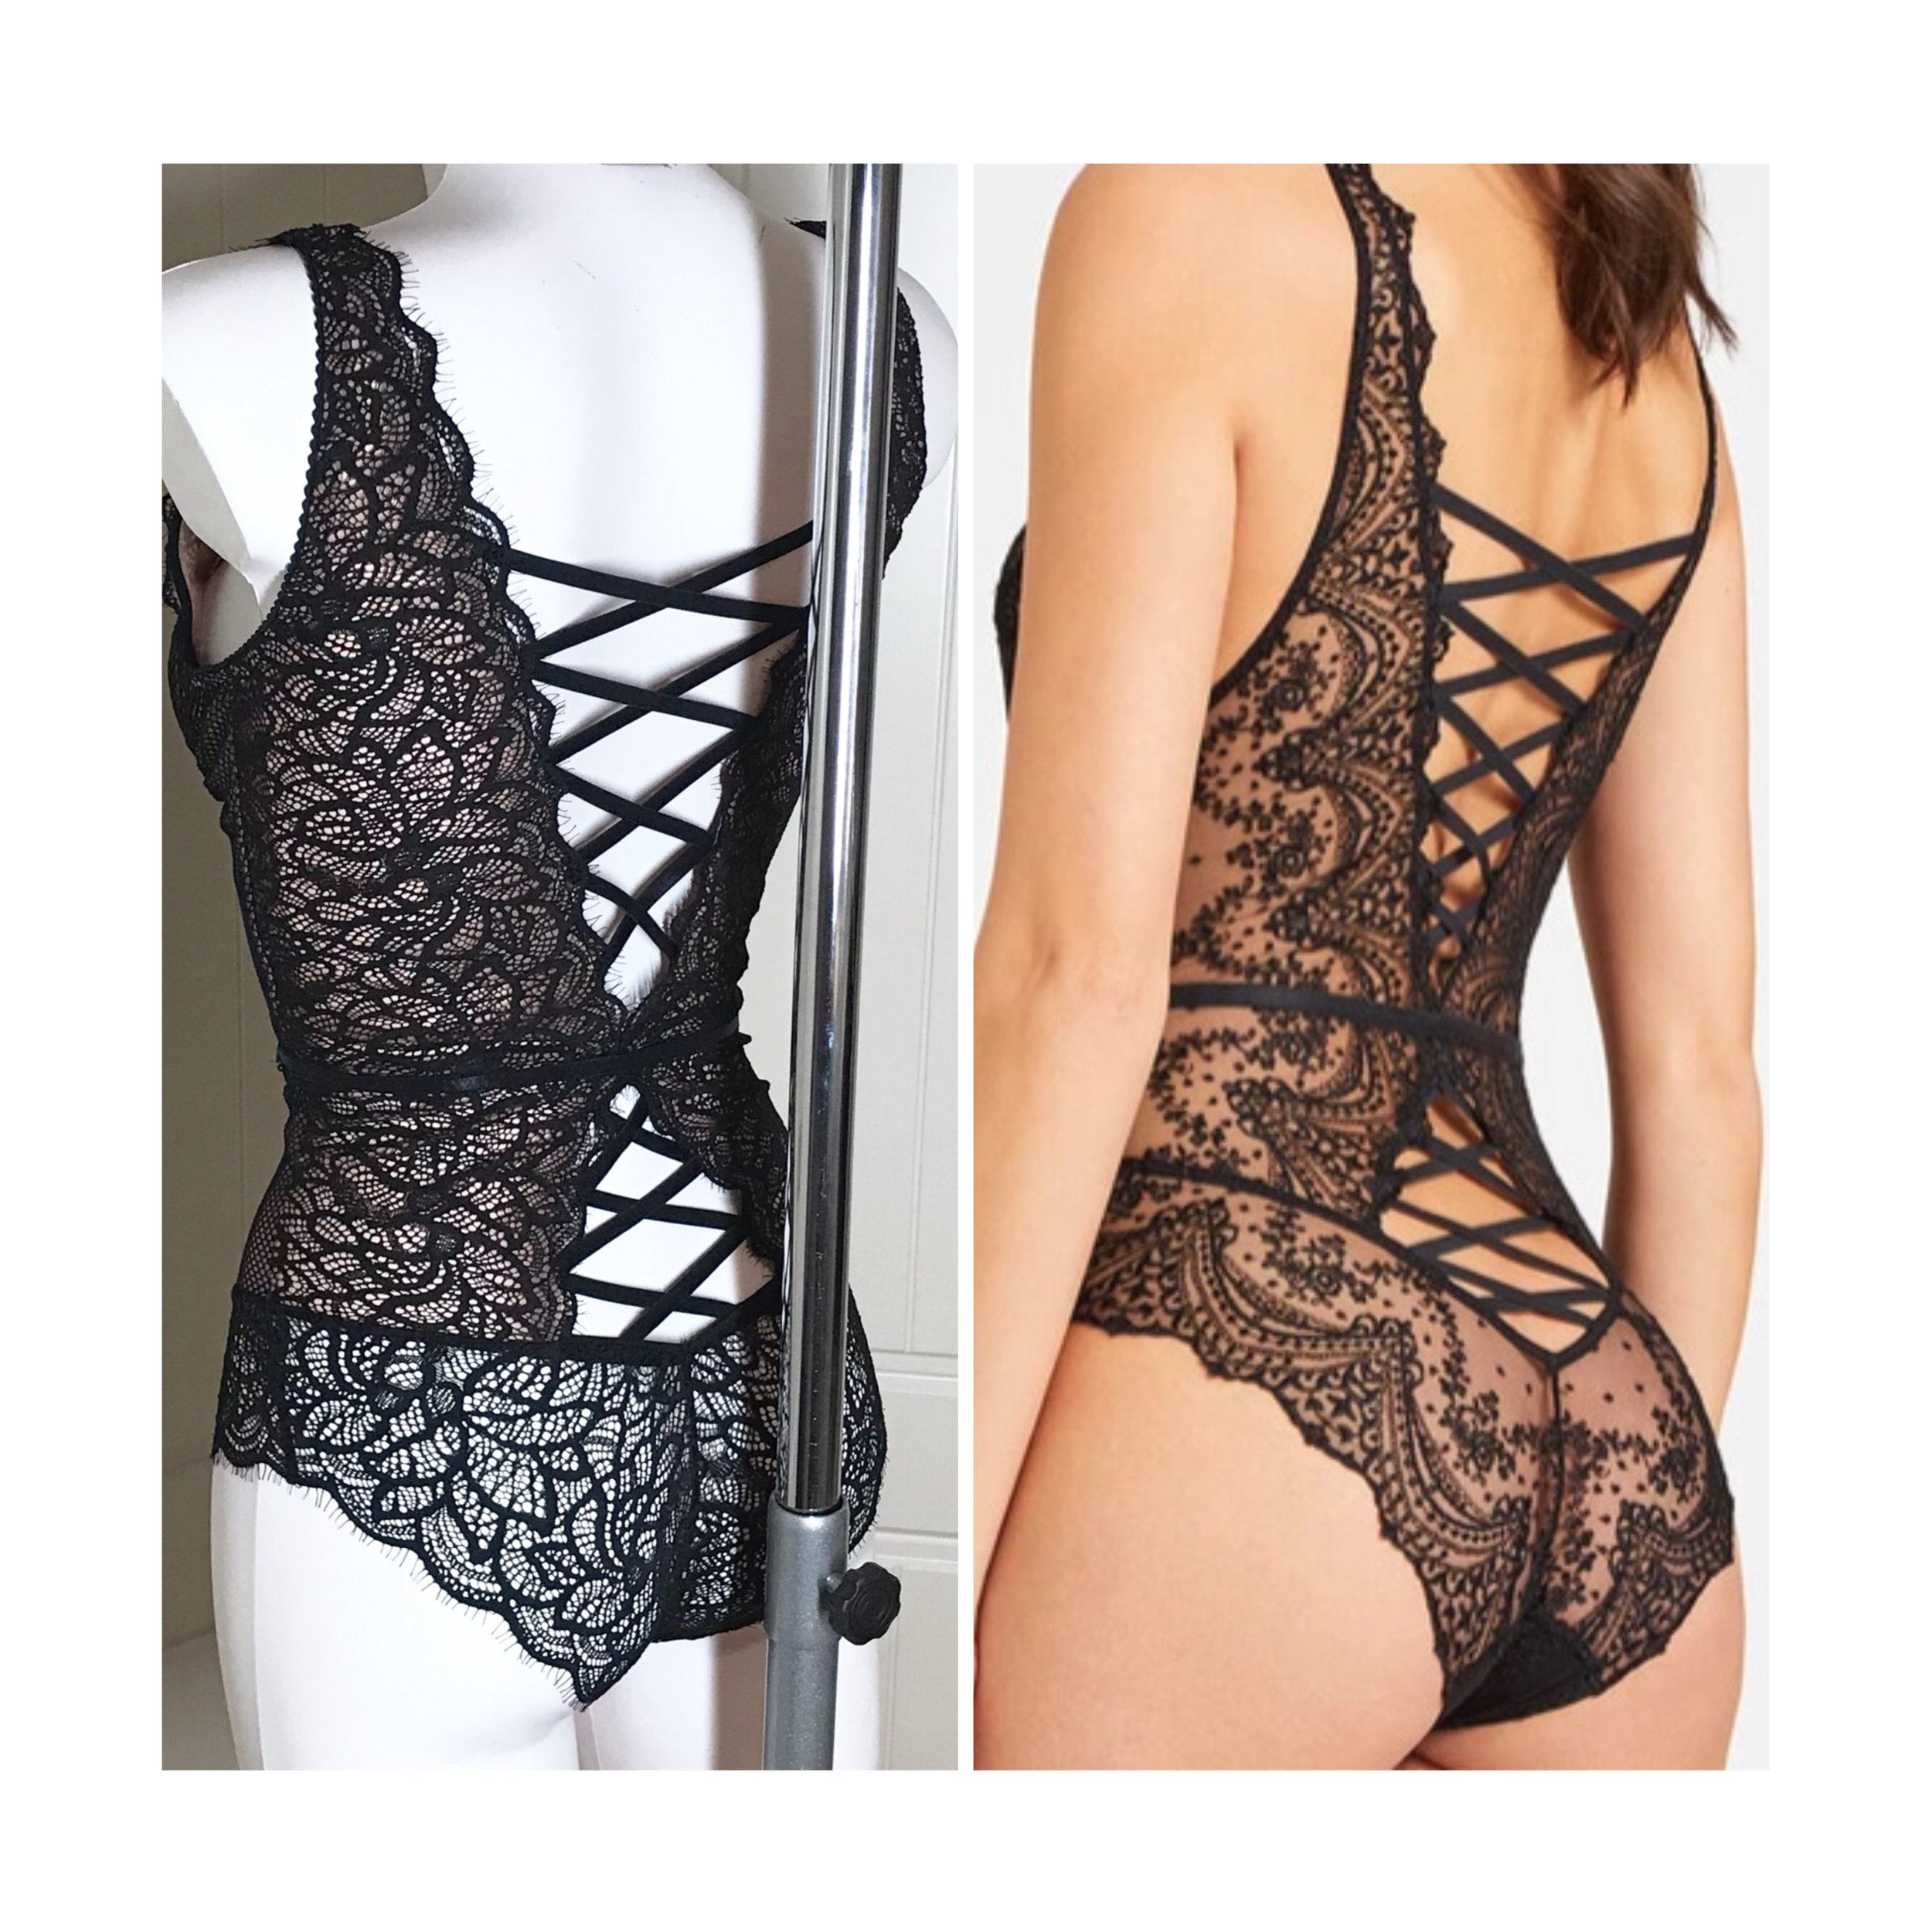
This is one of my favourite makes. Not only does it recreate the inspirational look but fits perfectly as it is made to my exact measurements. Now to the next challenge, whatever it may be.

Pattern hack perfection - Madalynne Lawren Bodysuit with Cloth Habit Watson Bra

184FAE45-82BB-4DA0-83F4-F1609CCF9E01.JPEG

Still going with the Bra-A-Week Challenge I thought I would try something different with the very beautiful lace bralette kit I had from Tailor Made for my November #TMCollaBRAtory. Ying’s kits are always very generous so, fresh from testing Madalynne’s Lawren, I hoped there would be enough to make some sort of bodysuit.

There wasn’t enough for the bodice so thought I would use the Cloth Habit Watson bra as the plunging neckline and stretch cups should work well in a body suit. As with many of my makes the detail came as I went along.

The first step was to draft the pattern pieces. I put on one of the longline versions of the Watson I had made. Then I tied a piece of elastic around my waist and asked my husband to measure the distance from the bottom of the band to the elastic. I traced off the Lawren front panty piece. From the waist line I added the 2” needed, taking into account the allowance for the fold back of the band elastic, and then placed the frame piece on this line. After I graded from a medium waist to small hips I used a curved ruler to smooth from the cradle to the waist and then the leg line.

For the back piece I traced off the Lawren, added the 2” again and then placed the back band on this line at the side seam. From the side I used the curved ruler to draw a line to the centre back. Then I used the front piece to reshape the back piece to match at the sideseam.

Now I had my pattern pieces I could decide how to use the fabric and lace. I wanted two layers of mesh for the front but this wouldn’t leave enough for the back so I looked in my stash and found this beautiful ribbing fabric from a previous #tmcollabratory which was just enough for the back.

Next I made the cups. The lace was just wide enough to have the stretch in the right direction. I knew I wanted the lace starting from the centre so it flowed seamlessly from the cup but the actual placement was decided by the width of the lace. If you look at the middle picture you can see the corner missing from the top right. I worked out what would be caught in the seam and armhole elastic. I made sure the lace hit the leg line at the same point.

IMG_4996.jpg

With the lace stitched to the front piece I could attach the cups. I cut out the frame in sheer lining and enclosed the cups between this and the front, topstitching down through all layers to flatten and keep in place.

Then I moved on to the back. I placed the lace the same as the front. Again I was a little corner short but this time it was too big to be caught in the seam.

I found a scrap of lace that matched and placed underneath. I used a small zigzag to attach and then cut back to stitching. Before attaching the front and back I cut out a back band from mesh that I attached to the sheer lining. This was so I didn’t have to attach band elastic to the sheer front. Once I had sewn the side seams I basted all the layers together so they didn’t slide around when I attached the top elastic.

IMG_5030.jpg

The idea was to not see the bottom band elastic so I attached as close to the cup as I could using the widest three step zigzag on my machine and trimmed the lining back to the stitching. For stability I made the straps long enough to attach to the bottom band and stitched through all layers to prevent the mesh from rolling when putting on. The stitching is not noticeable on the lace back. it all worked out really well. A good colour match thread does help.

I finished the leg with just elastic as I had no more lace left and I think the design suited a clean finish. The only item I had to add to the kit was some snap tape which had just arrived in my Madalynne order. For the back you attach to the gusset lining on the 1/4” line, fold to the right side, tuck in the sides and sew along the opposite edge.

For the front you attach to the right side and tuck to the wrong side. The issue for me is that you would see the snap tape through the sheer front. So I cut a piece of a folded piece of rib fabric the same width and deep enough for the folded back tape. I attached to the wrong side of the front with raw edges together. The sides are covered by the tucked in tape.

And to finish I thought would include some close ups of the finished bodysuit. Even starting with two great patterns that fit well I was still overwhelmed by how gorgeous this looks. Got so many ideas for more!

Pattern Testing and new patterns - Bodysuits and Bralettes

As soon as I saw the PUG Diamond Bustier I knew I had to make one. Over the years I have tried a variety of RTW strapless bras and never found one that was either comfortable or a flattering fit so I was keen to try making my own. After success with this I thought it was time to try the Esplanade - the only Orange Lingerie pattern I haven’t made. So here are my two beauties.

Read More