Pattern hack perfection - Madalynne Lawren Bodysuit with Cloth Habit Watson Bra
Still going with the Bra-A-Week Challenge I thought I would try something different with the very beautiful lace bralette kit I had from Tailor Made for my November #TMCollaBRAtory. Ying’s kits are always very generous so, fresh from testing Madalynne’s Lawren, I hoped there would be enough to make some sort of bodysuit.
There wasn’t enough for the bodice so thought I would use the Cloth Habit Watson bra as the plunging neckline and stretch cups should work well in a body suit. As with many of my makes the detail came as I went along.
The first step was to draft the pattern pieces. I put on one of the longline versions of the Watson I had made. Then I tied a piece of elastic around my waist and asked my husband to measure the distance from the bottom of the band to the elastic. I traced off the Lawren front panty piece. From the waist line I added the 2” needed, taking into account the allowance for the fold back of the band elastic, and then placed the frame piece on this line. After I graded from a medium waist to small hips I used a curved ruler to smooth from the cradle to the waist and then the leg line.
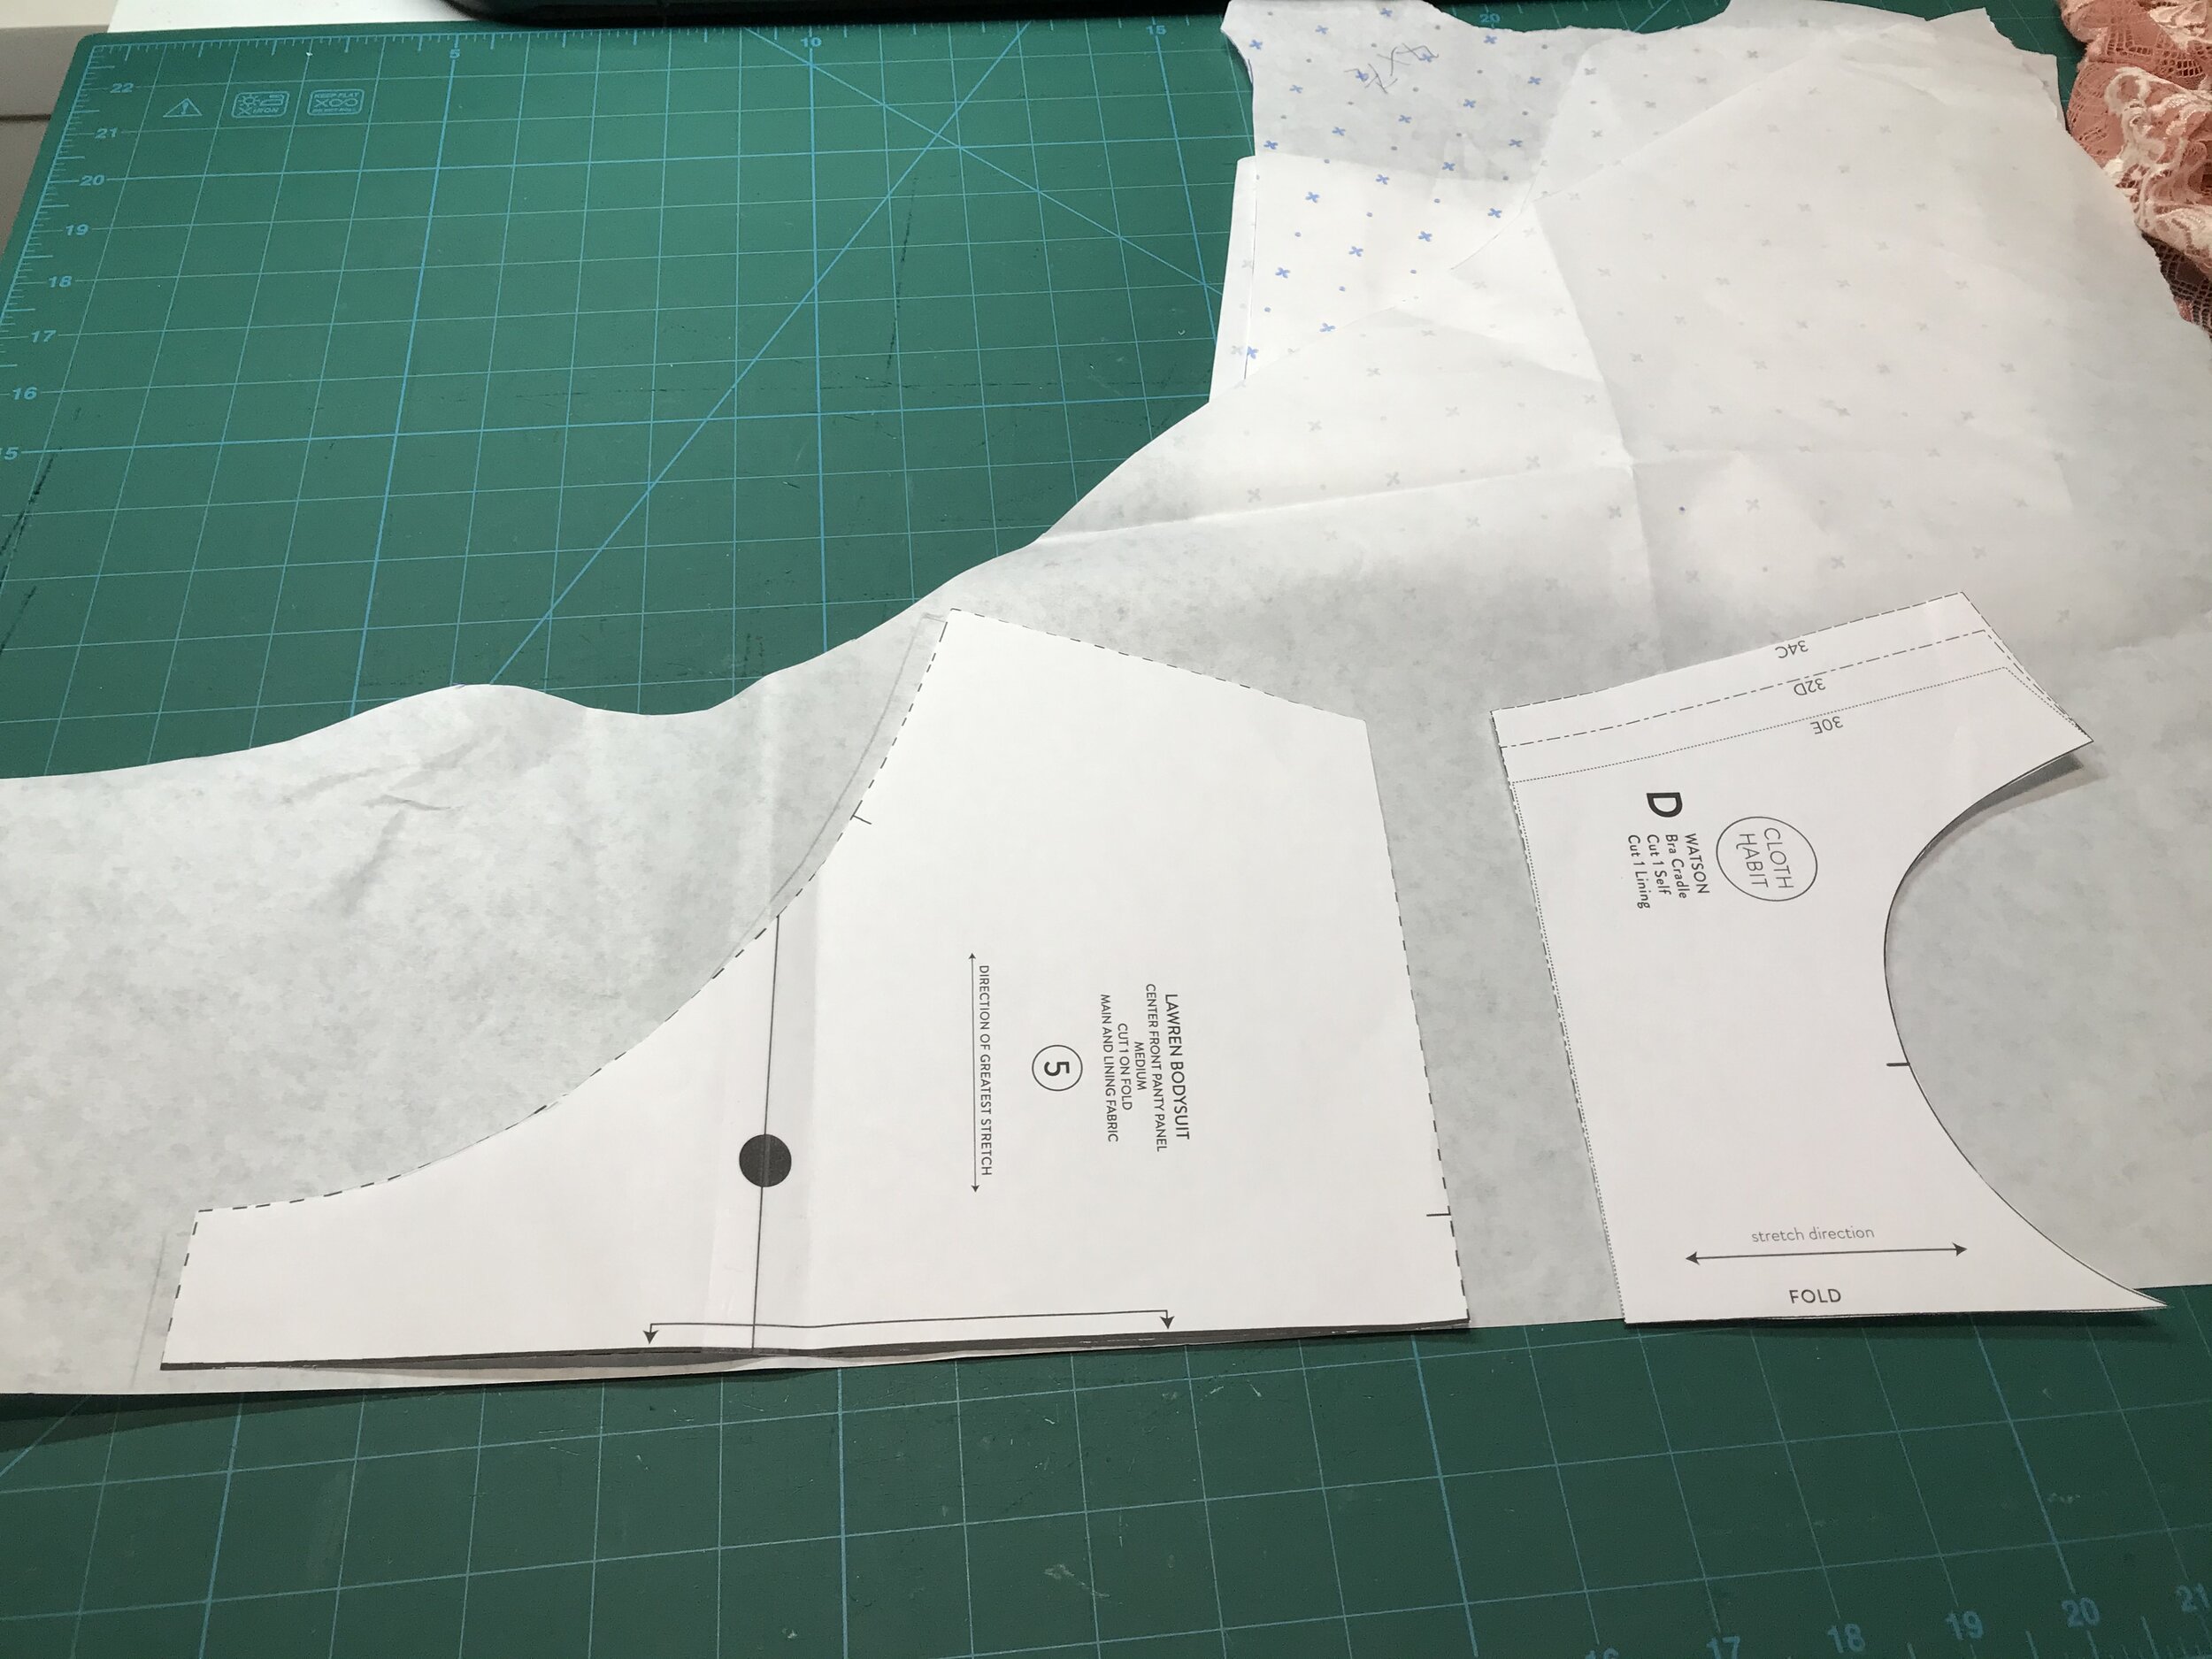
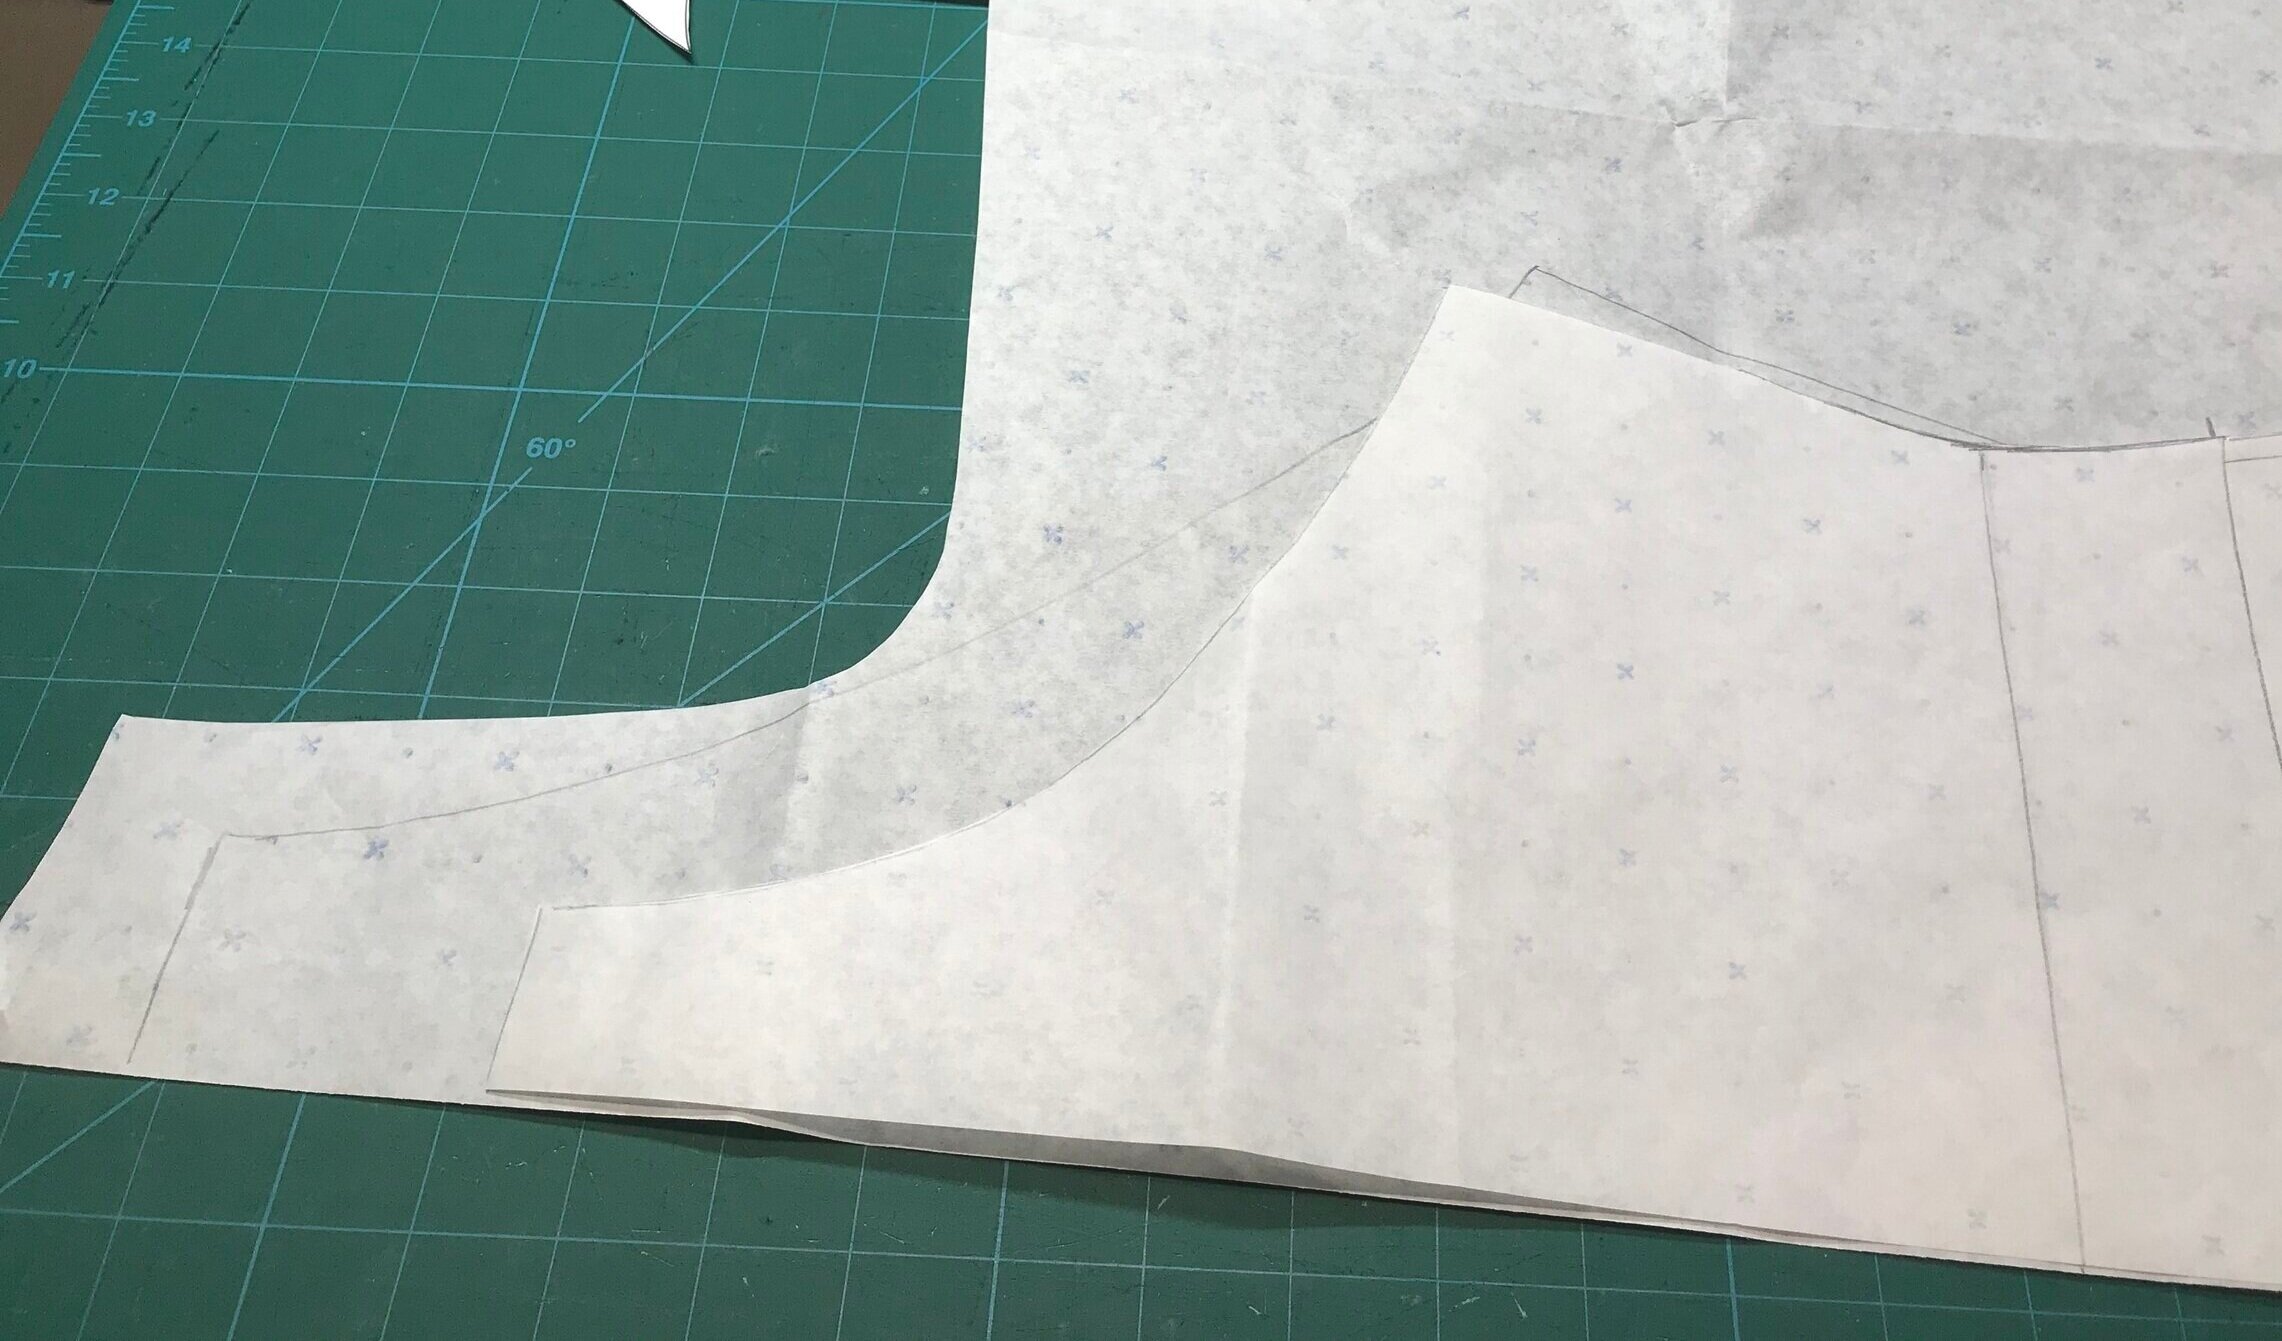
For the back piece I traced off the Lawren, added the 2” again and then placed the back band on this line at the side seam. From the side I used the curved ruler to draw a line to the centre back. Then I used the front piece to reshape the back piece to match at the sideseam.
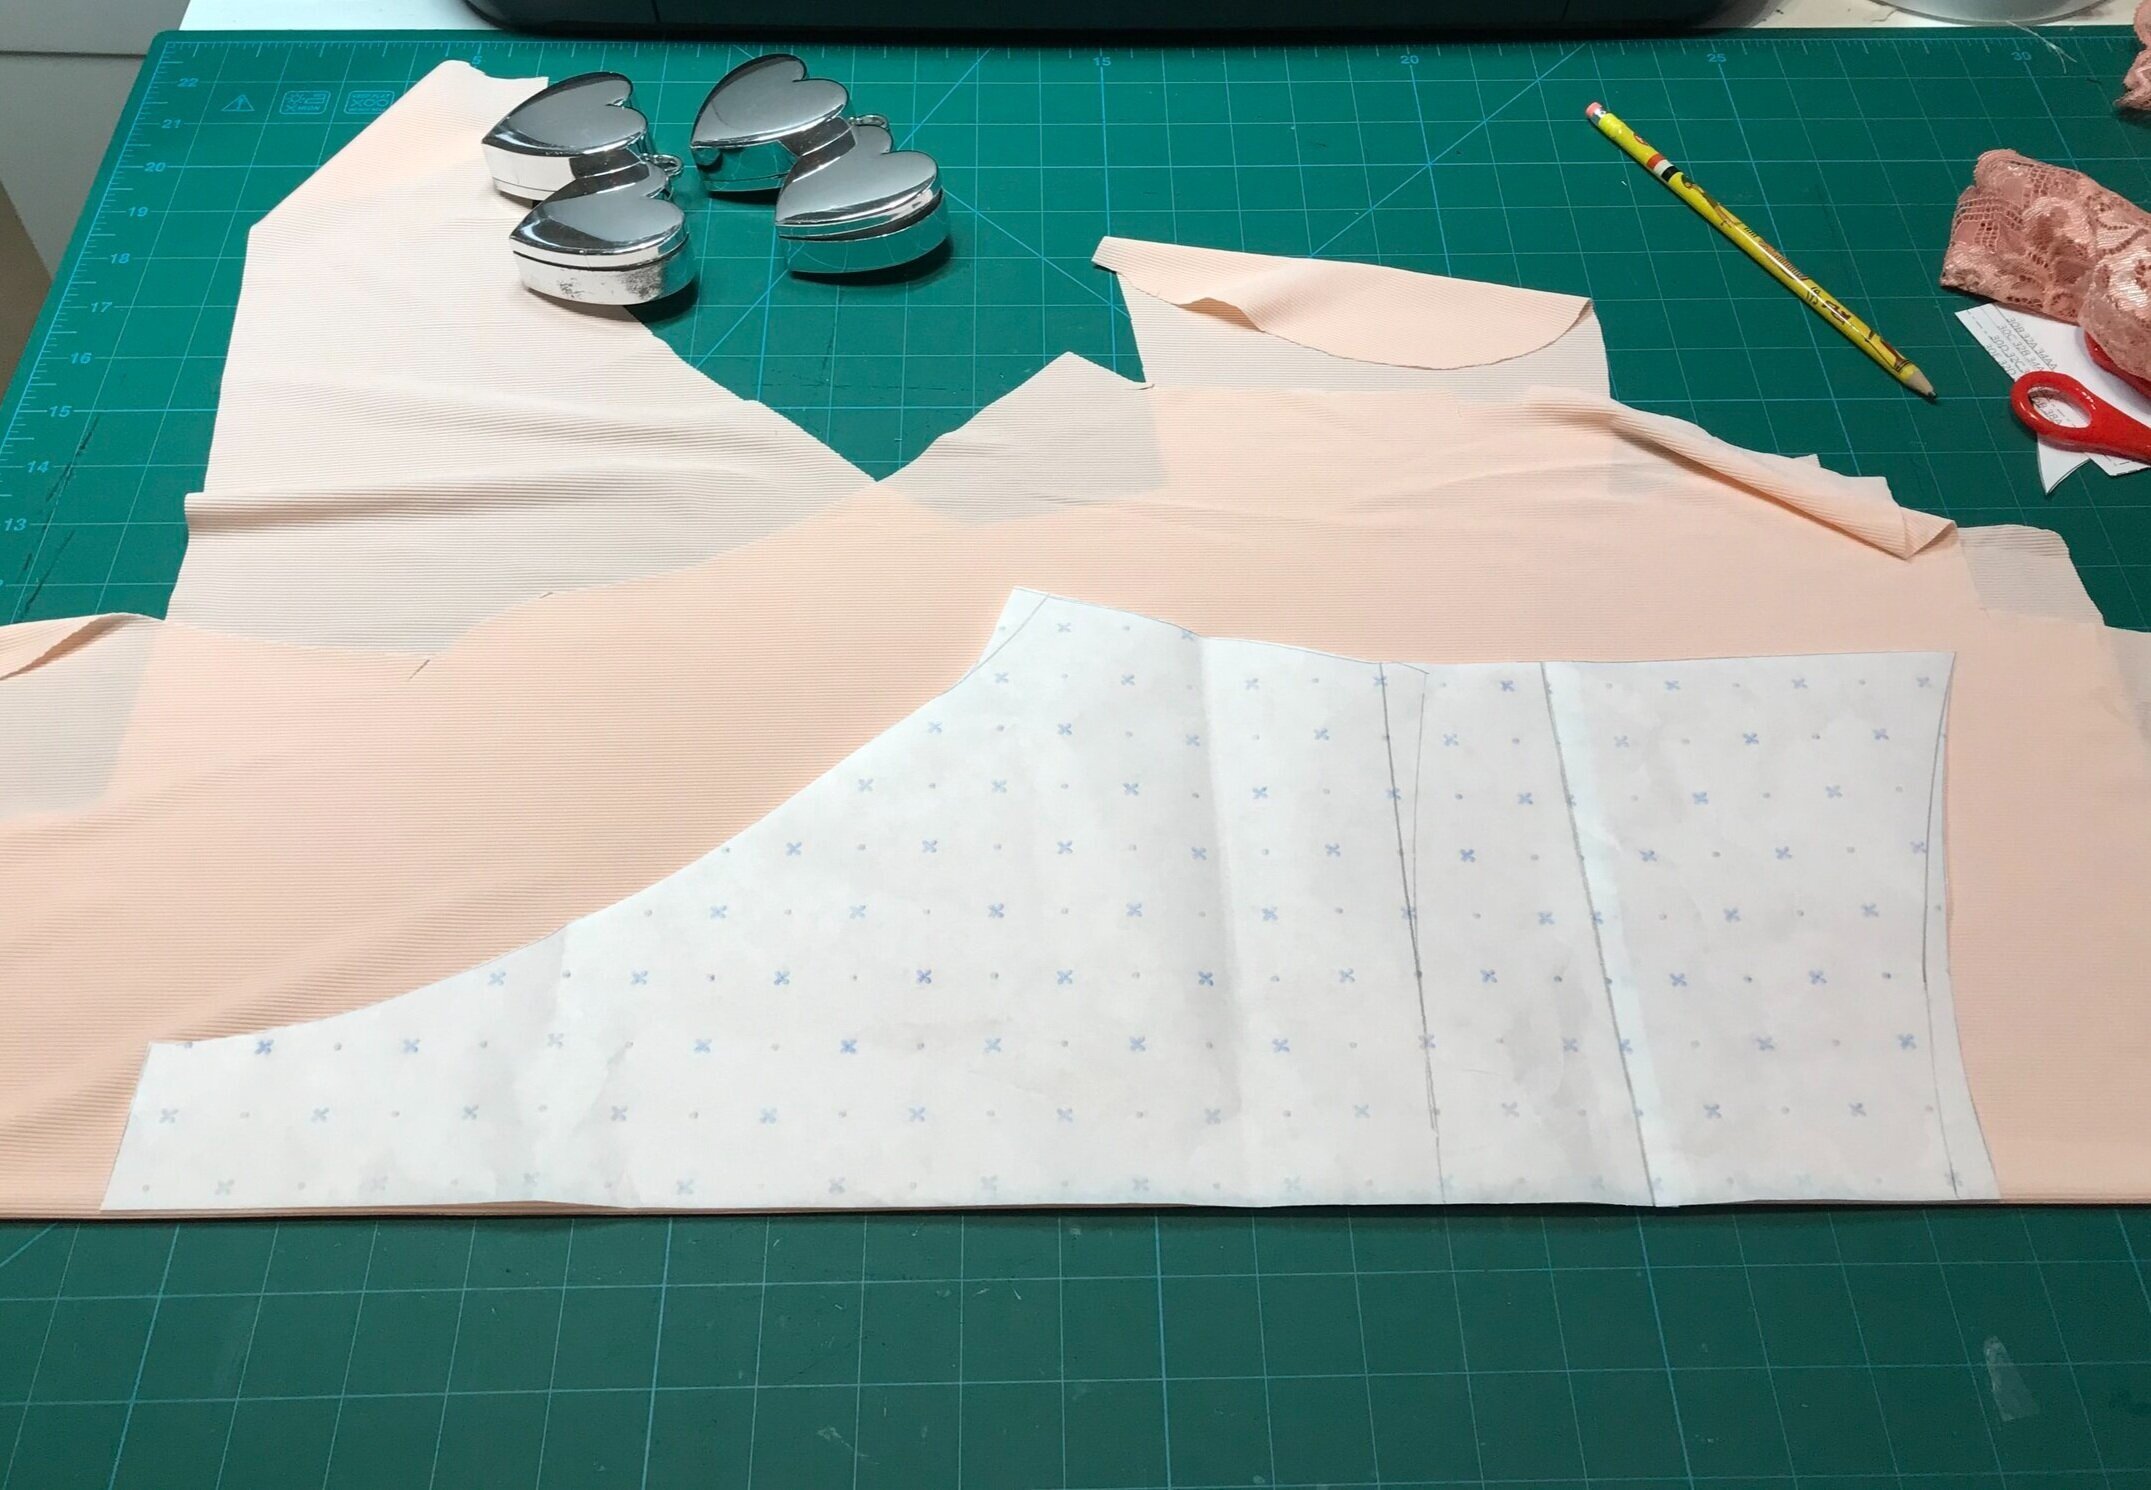
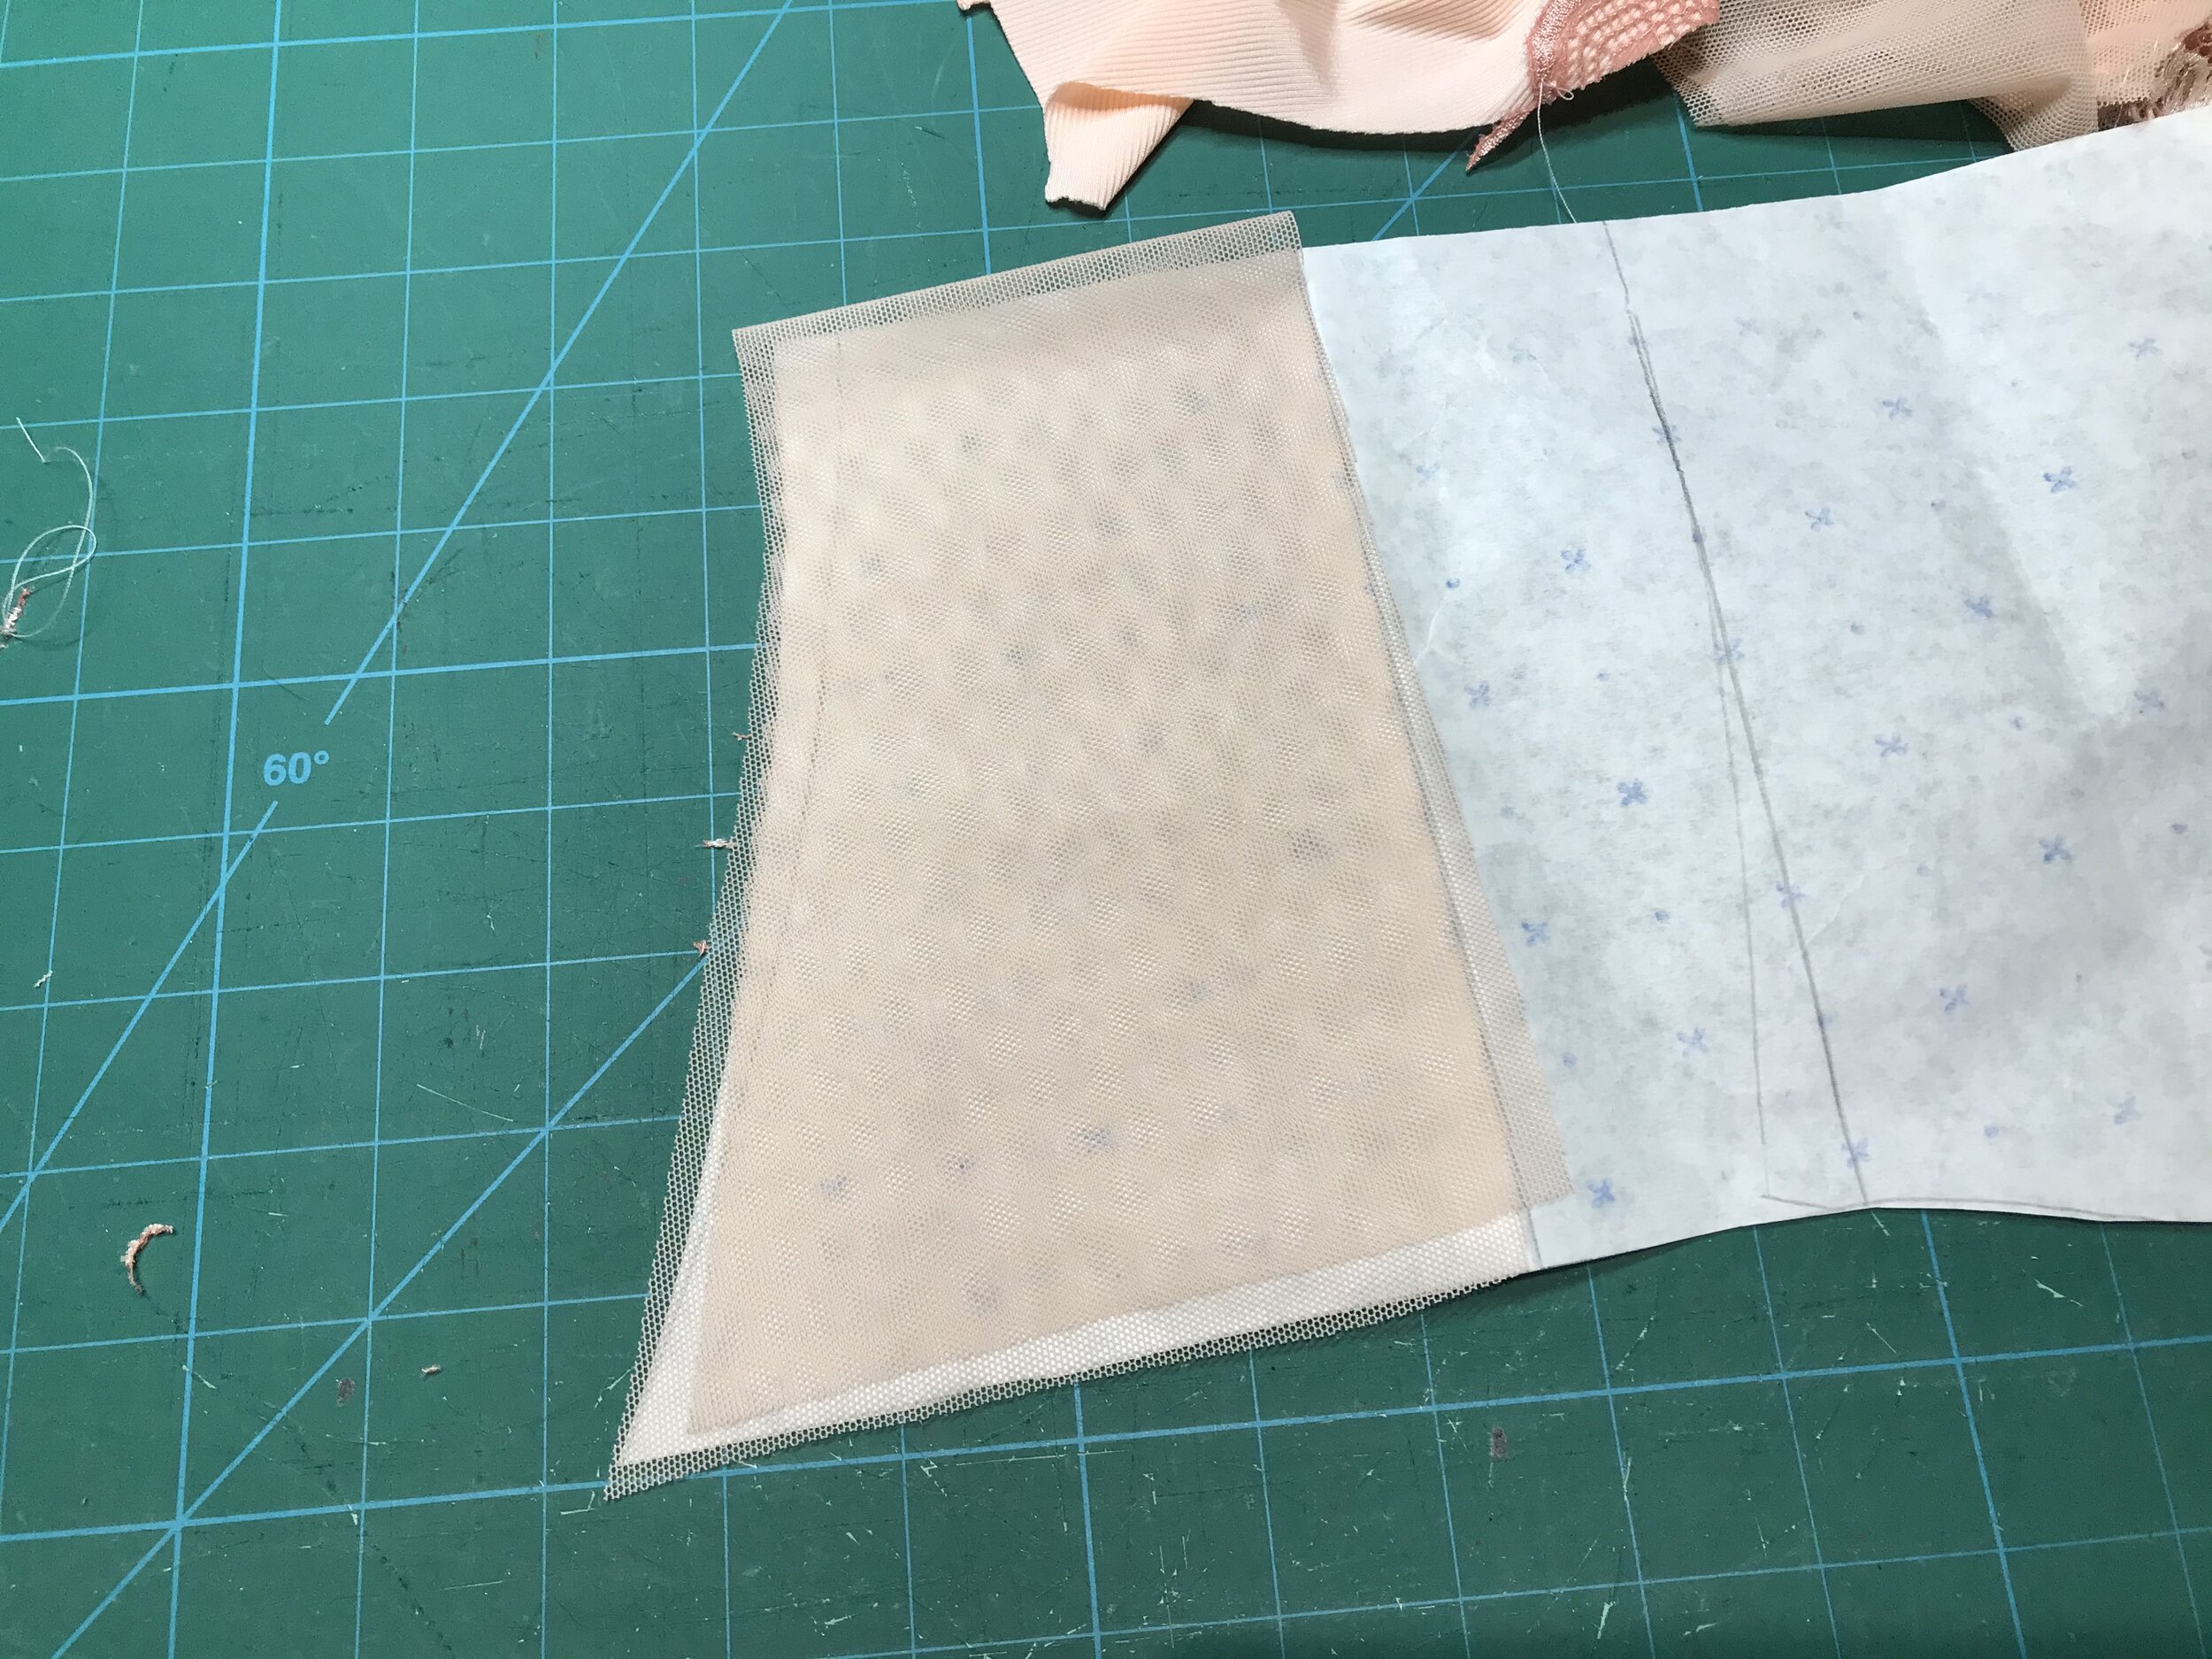
Now I had my pattern pieces I could decide how to use the fabric and lace. I wanted two layers of mesh for the front but this wouldn’t leave enough for the back so I looked in my stash and found this beautiful ribbing fabric from a previous #tmcollabratory which was just enough for the back.
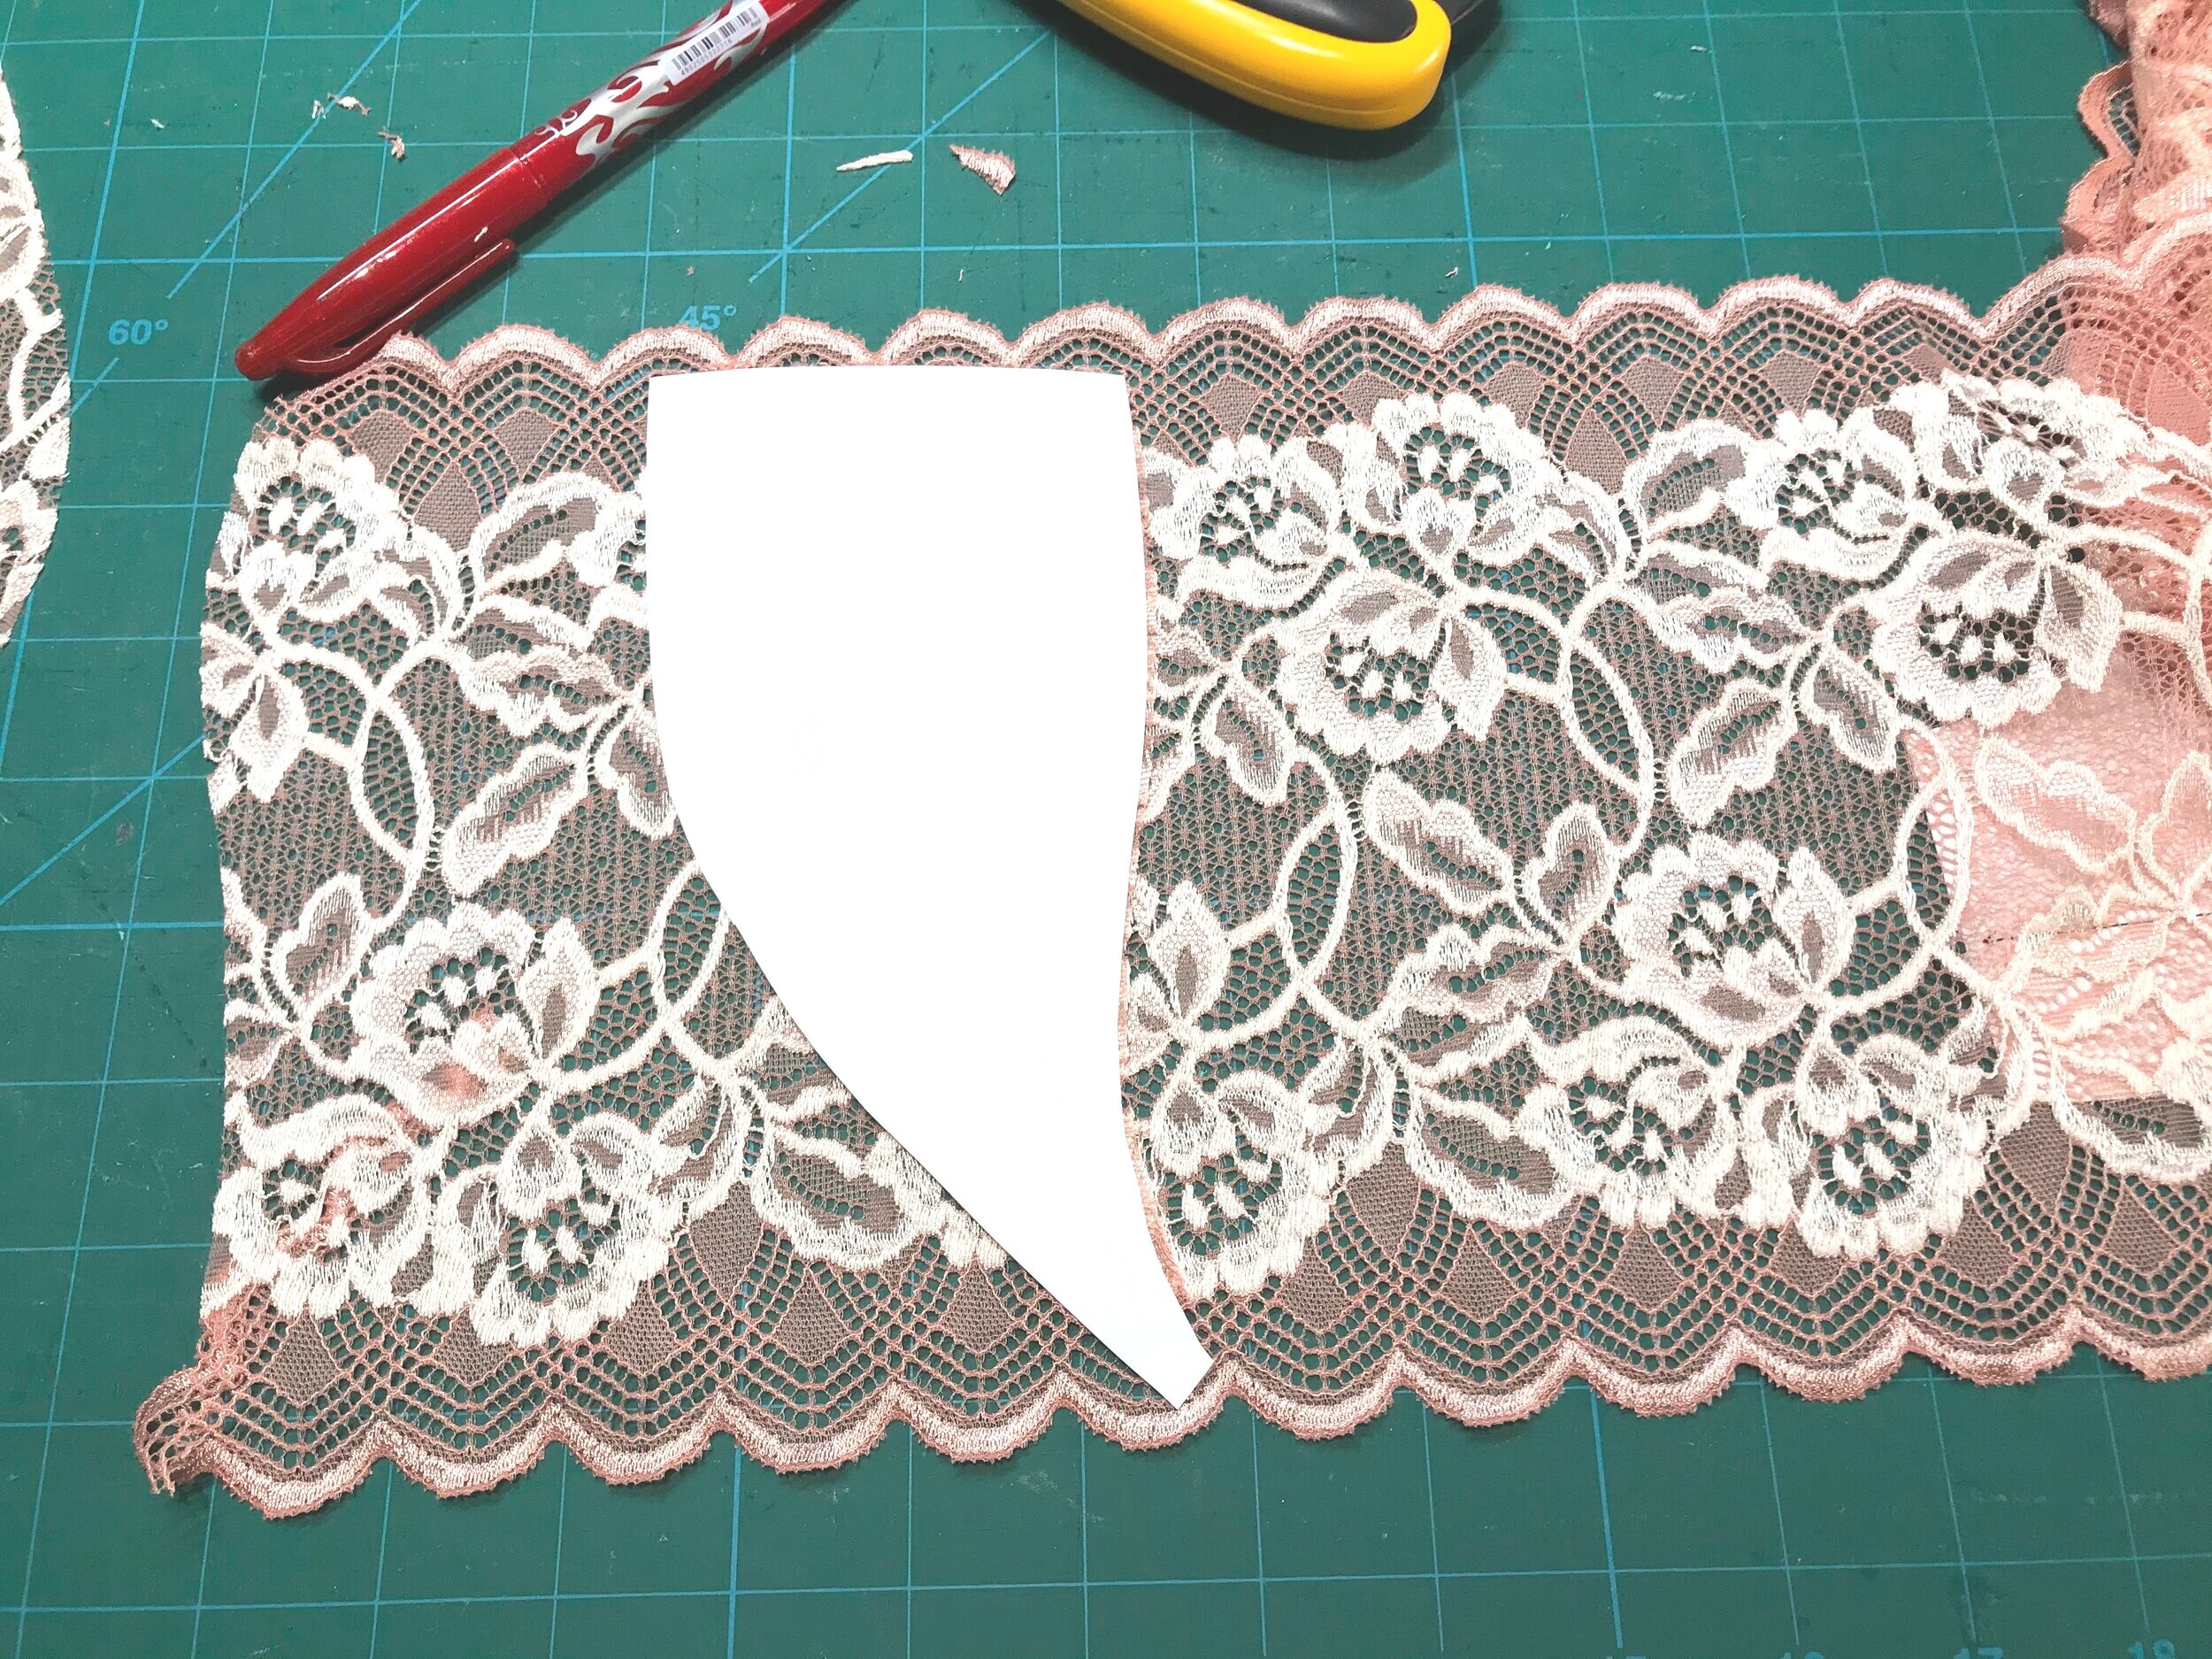
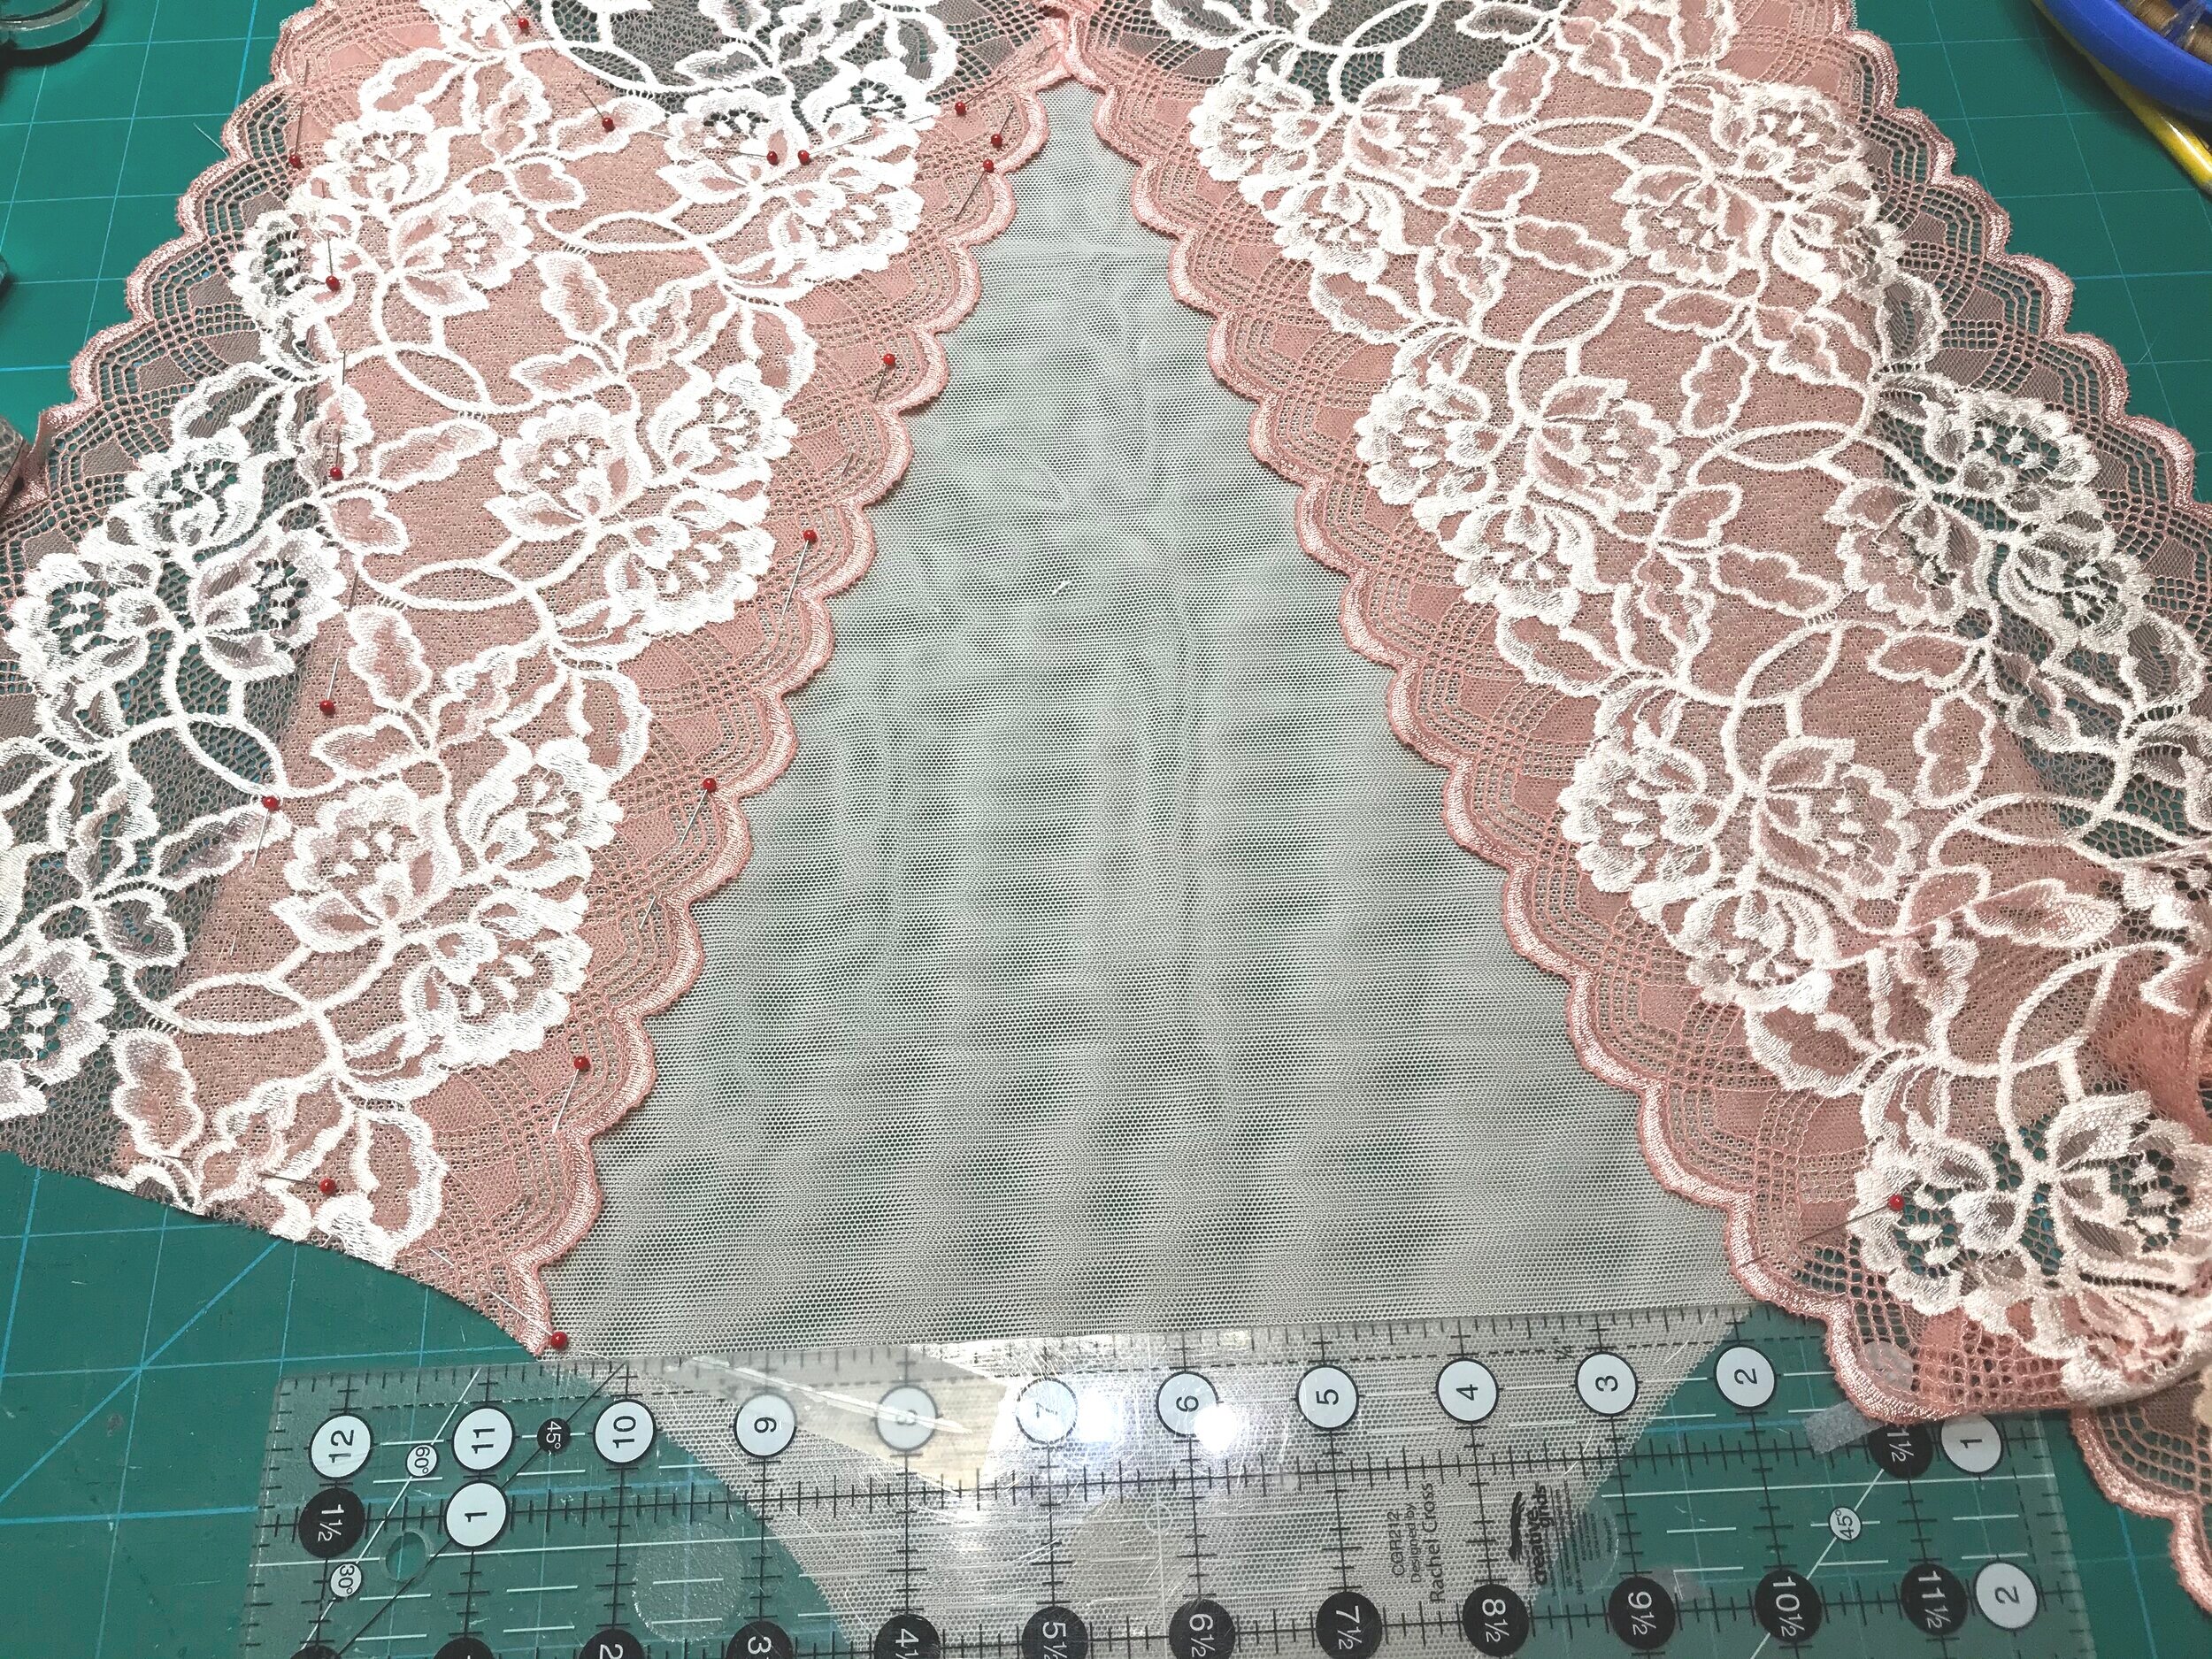
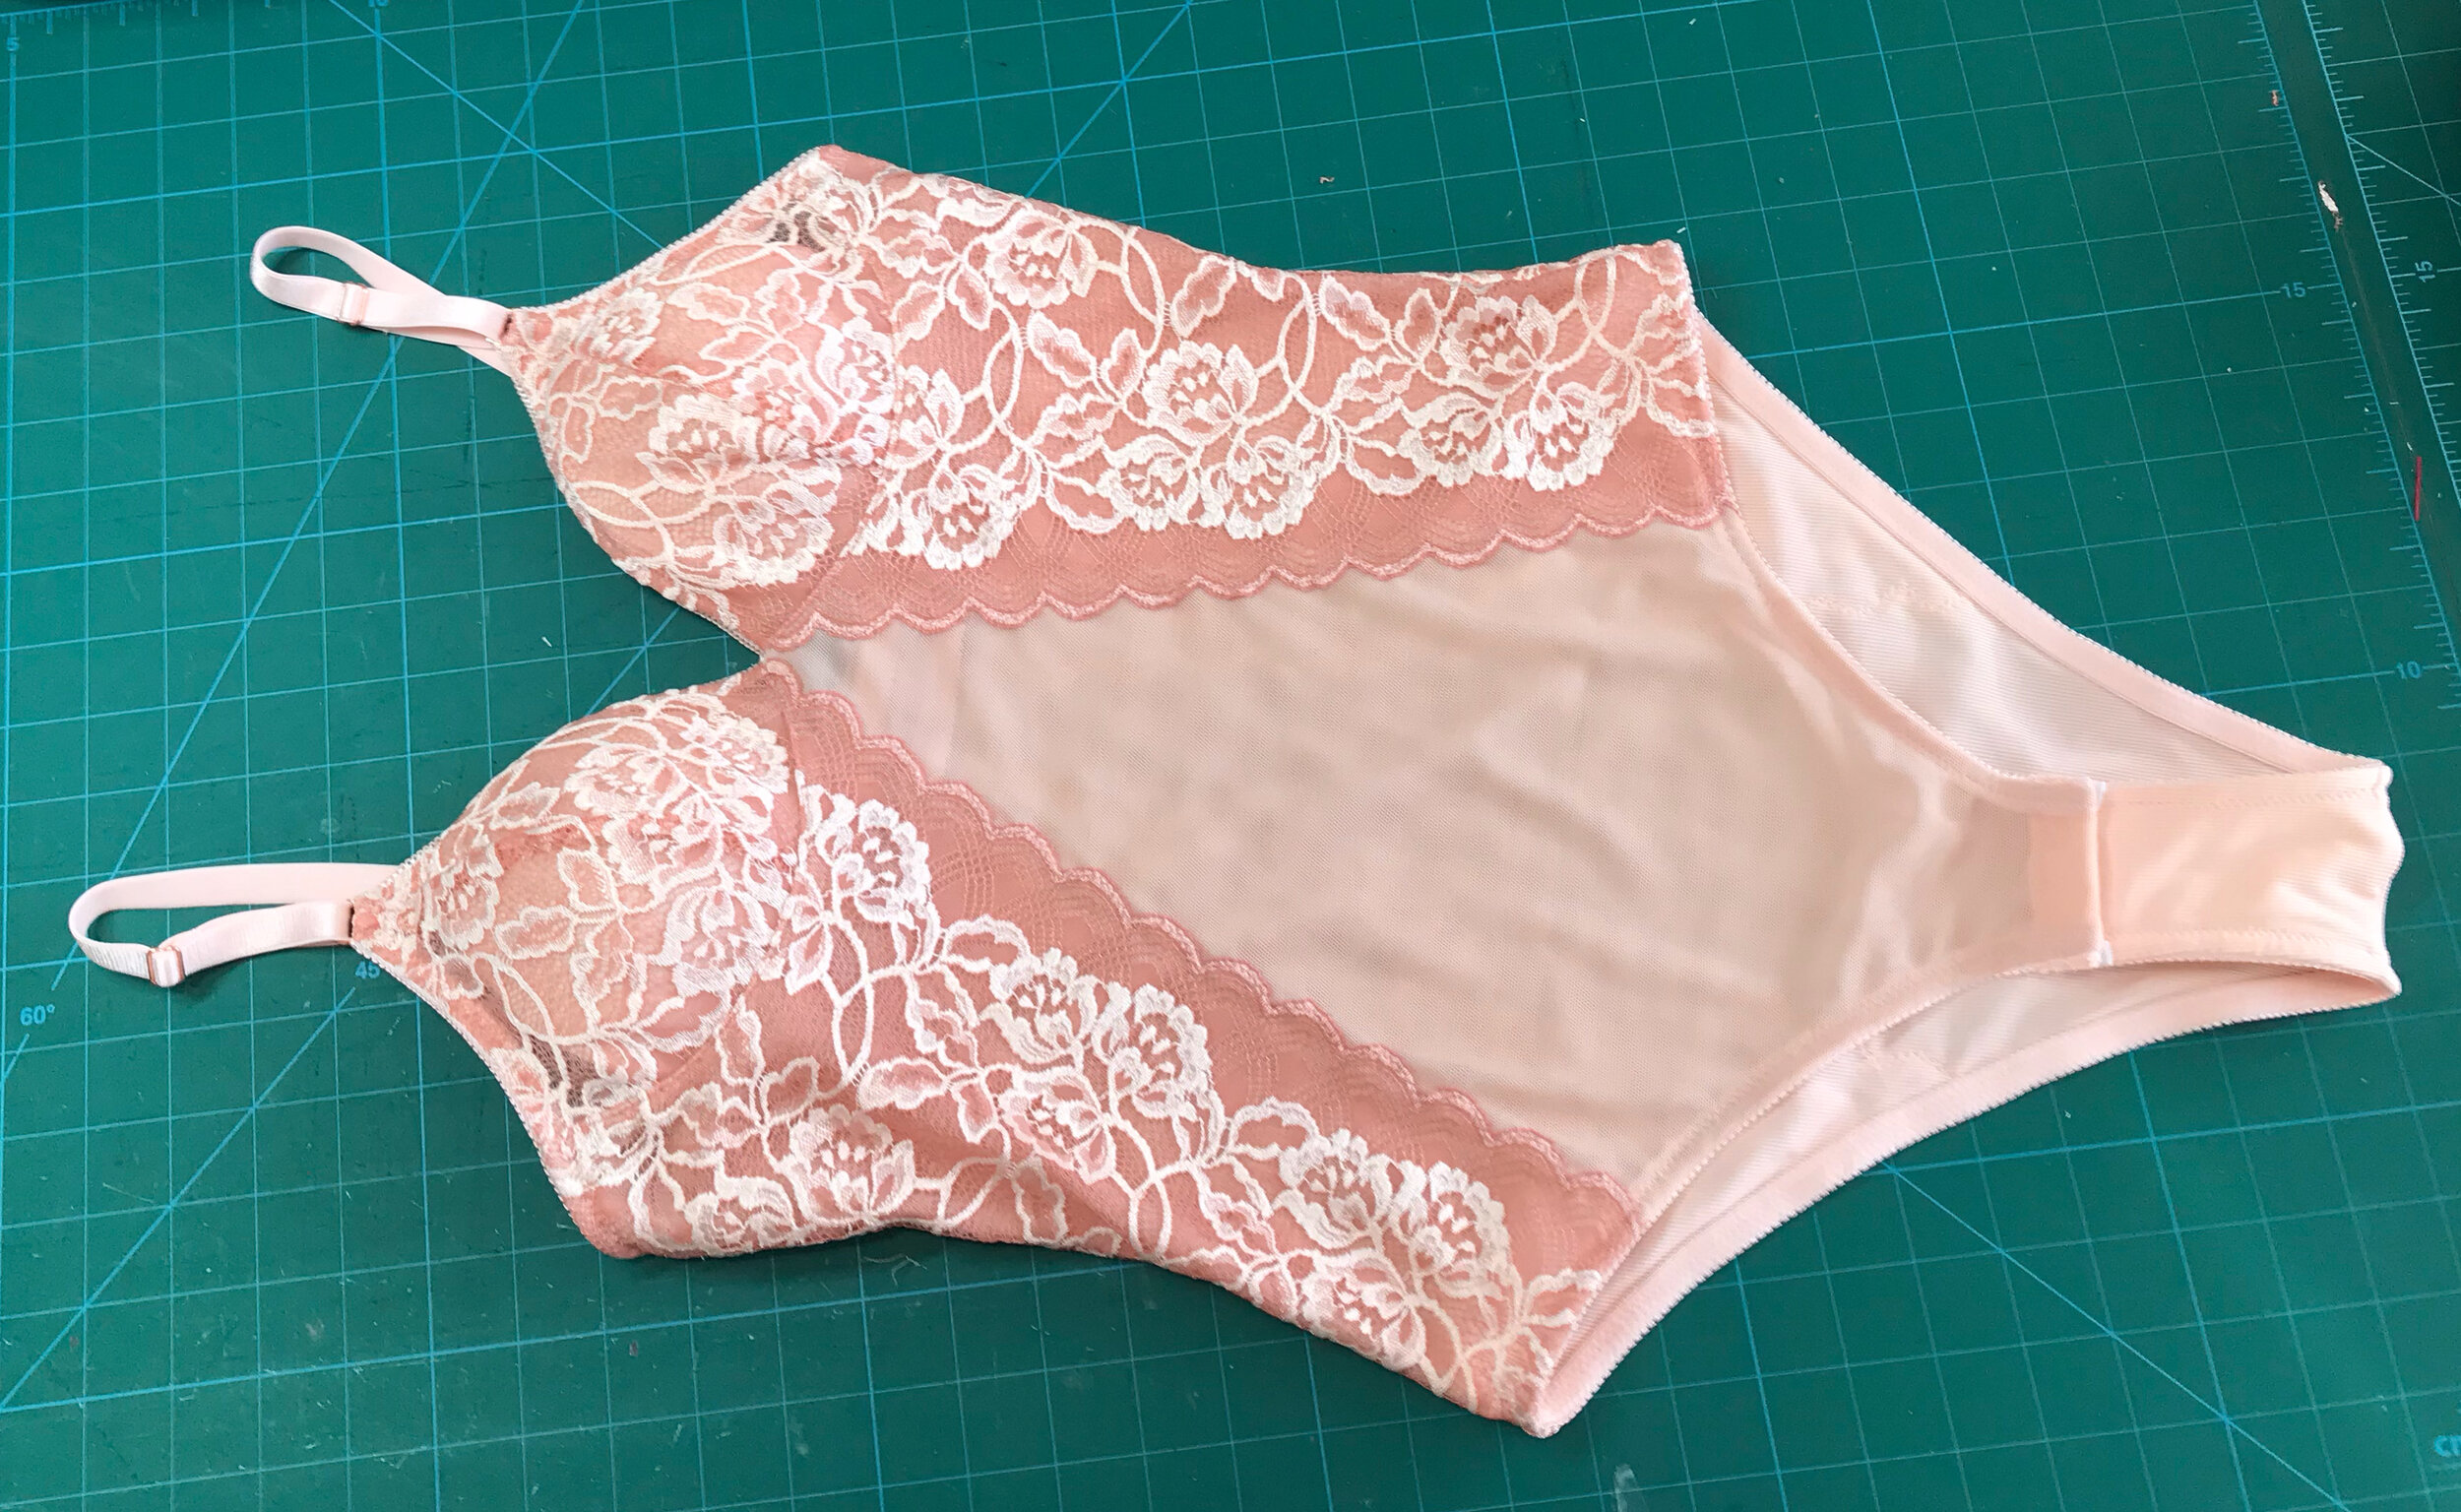
Next I made the cups. The lace was just wide enough to have the stretch in the right direction. I knew I wanted the lace starting from the centre so it flowed seamlessly from the cup but the actual placement was decided by the width of the lace. If you look at the middle picture you can see the corner missing from the top right. I worked out what would be caught in the seam and armhole elastic. I made sure the lace hit the leg line at the same point.
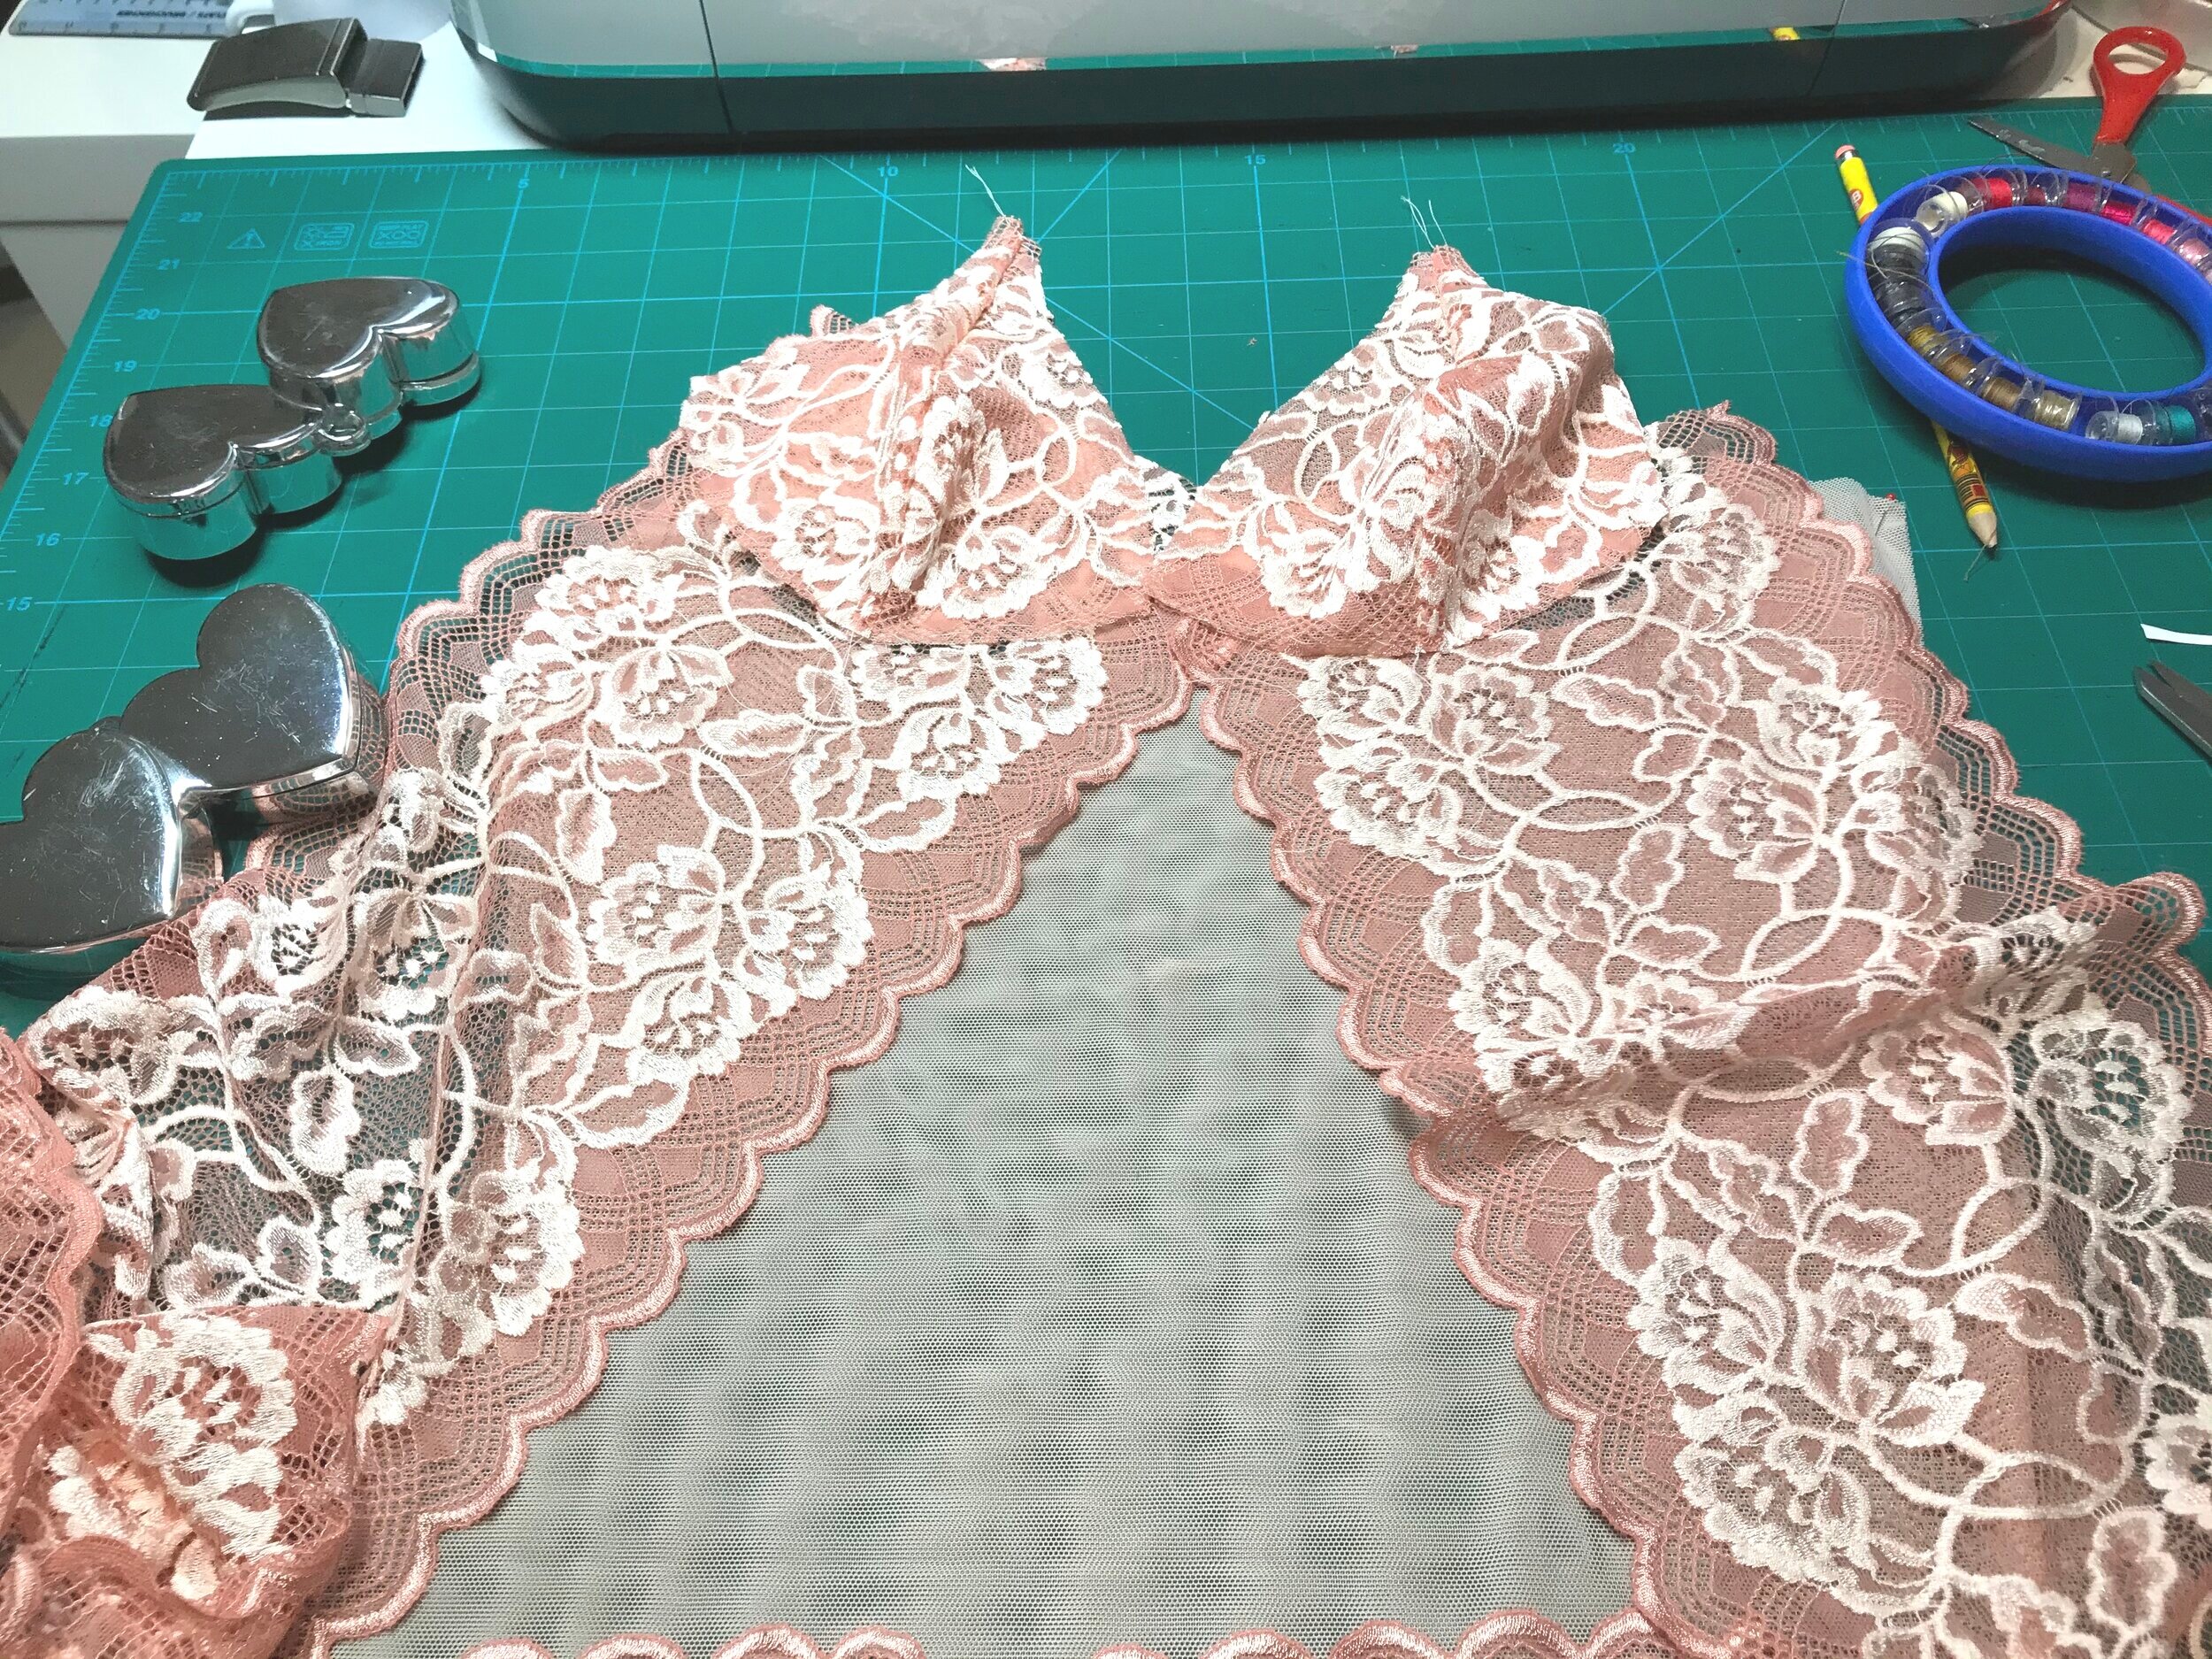
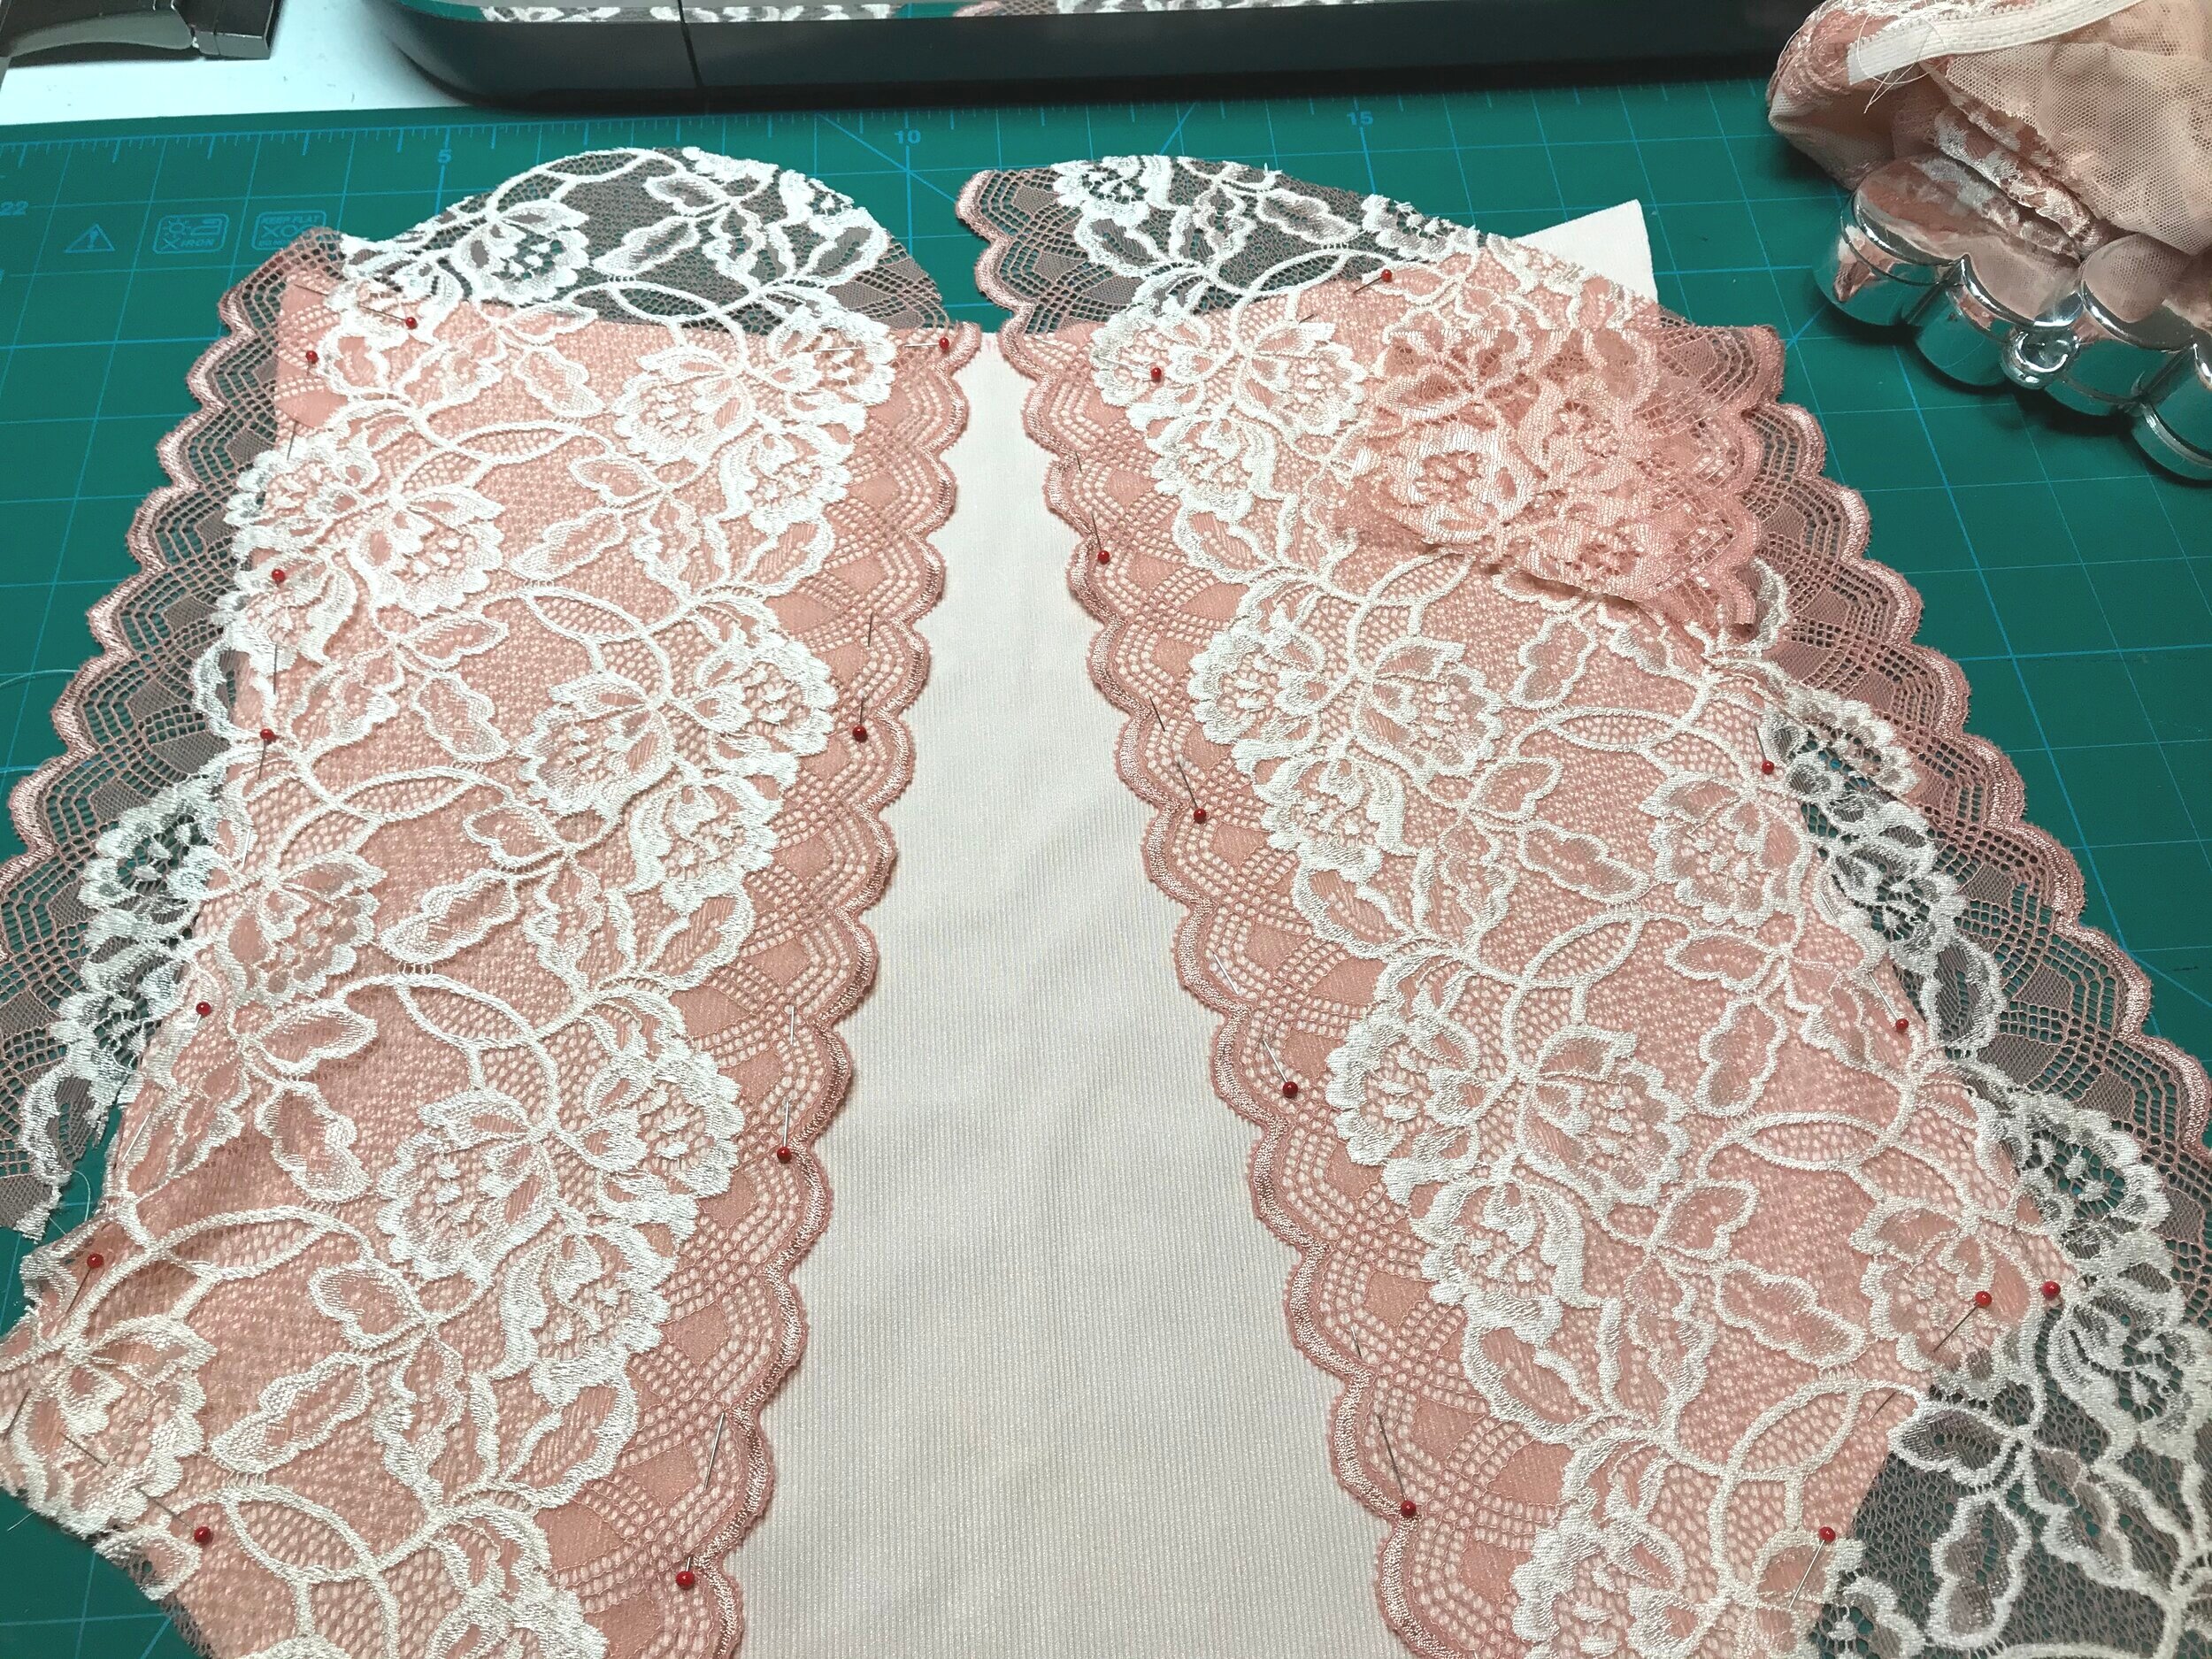
With the lace stitched to the front piece I could attach the cups. I cut out the frame in sheer lining and enclosed the cups between this and the front, topstitching down through all layers to flatten and keep in place.
Then I moved on to the back. I placed the lace the same as the front. Again I was a little corner short but this time it was too big to be caught in the seam.

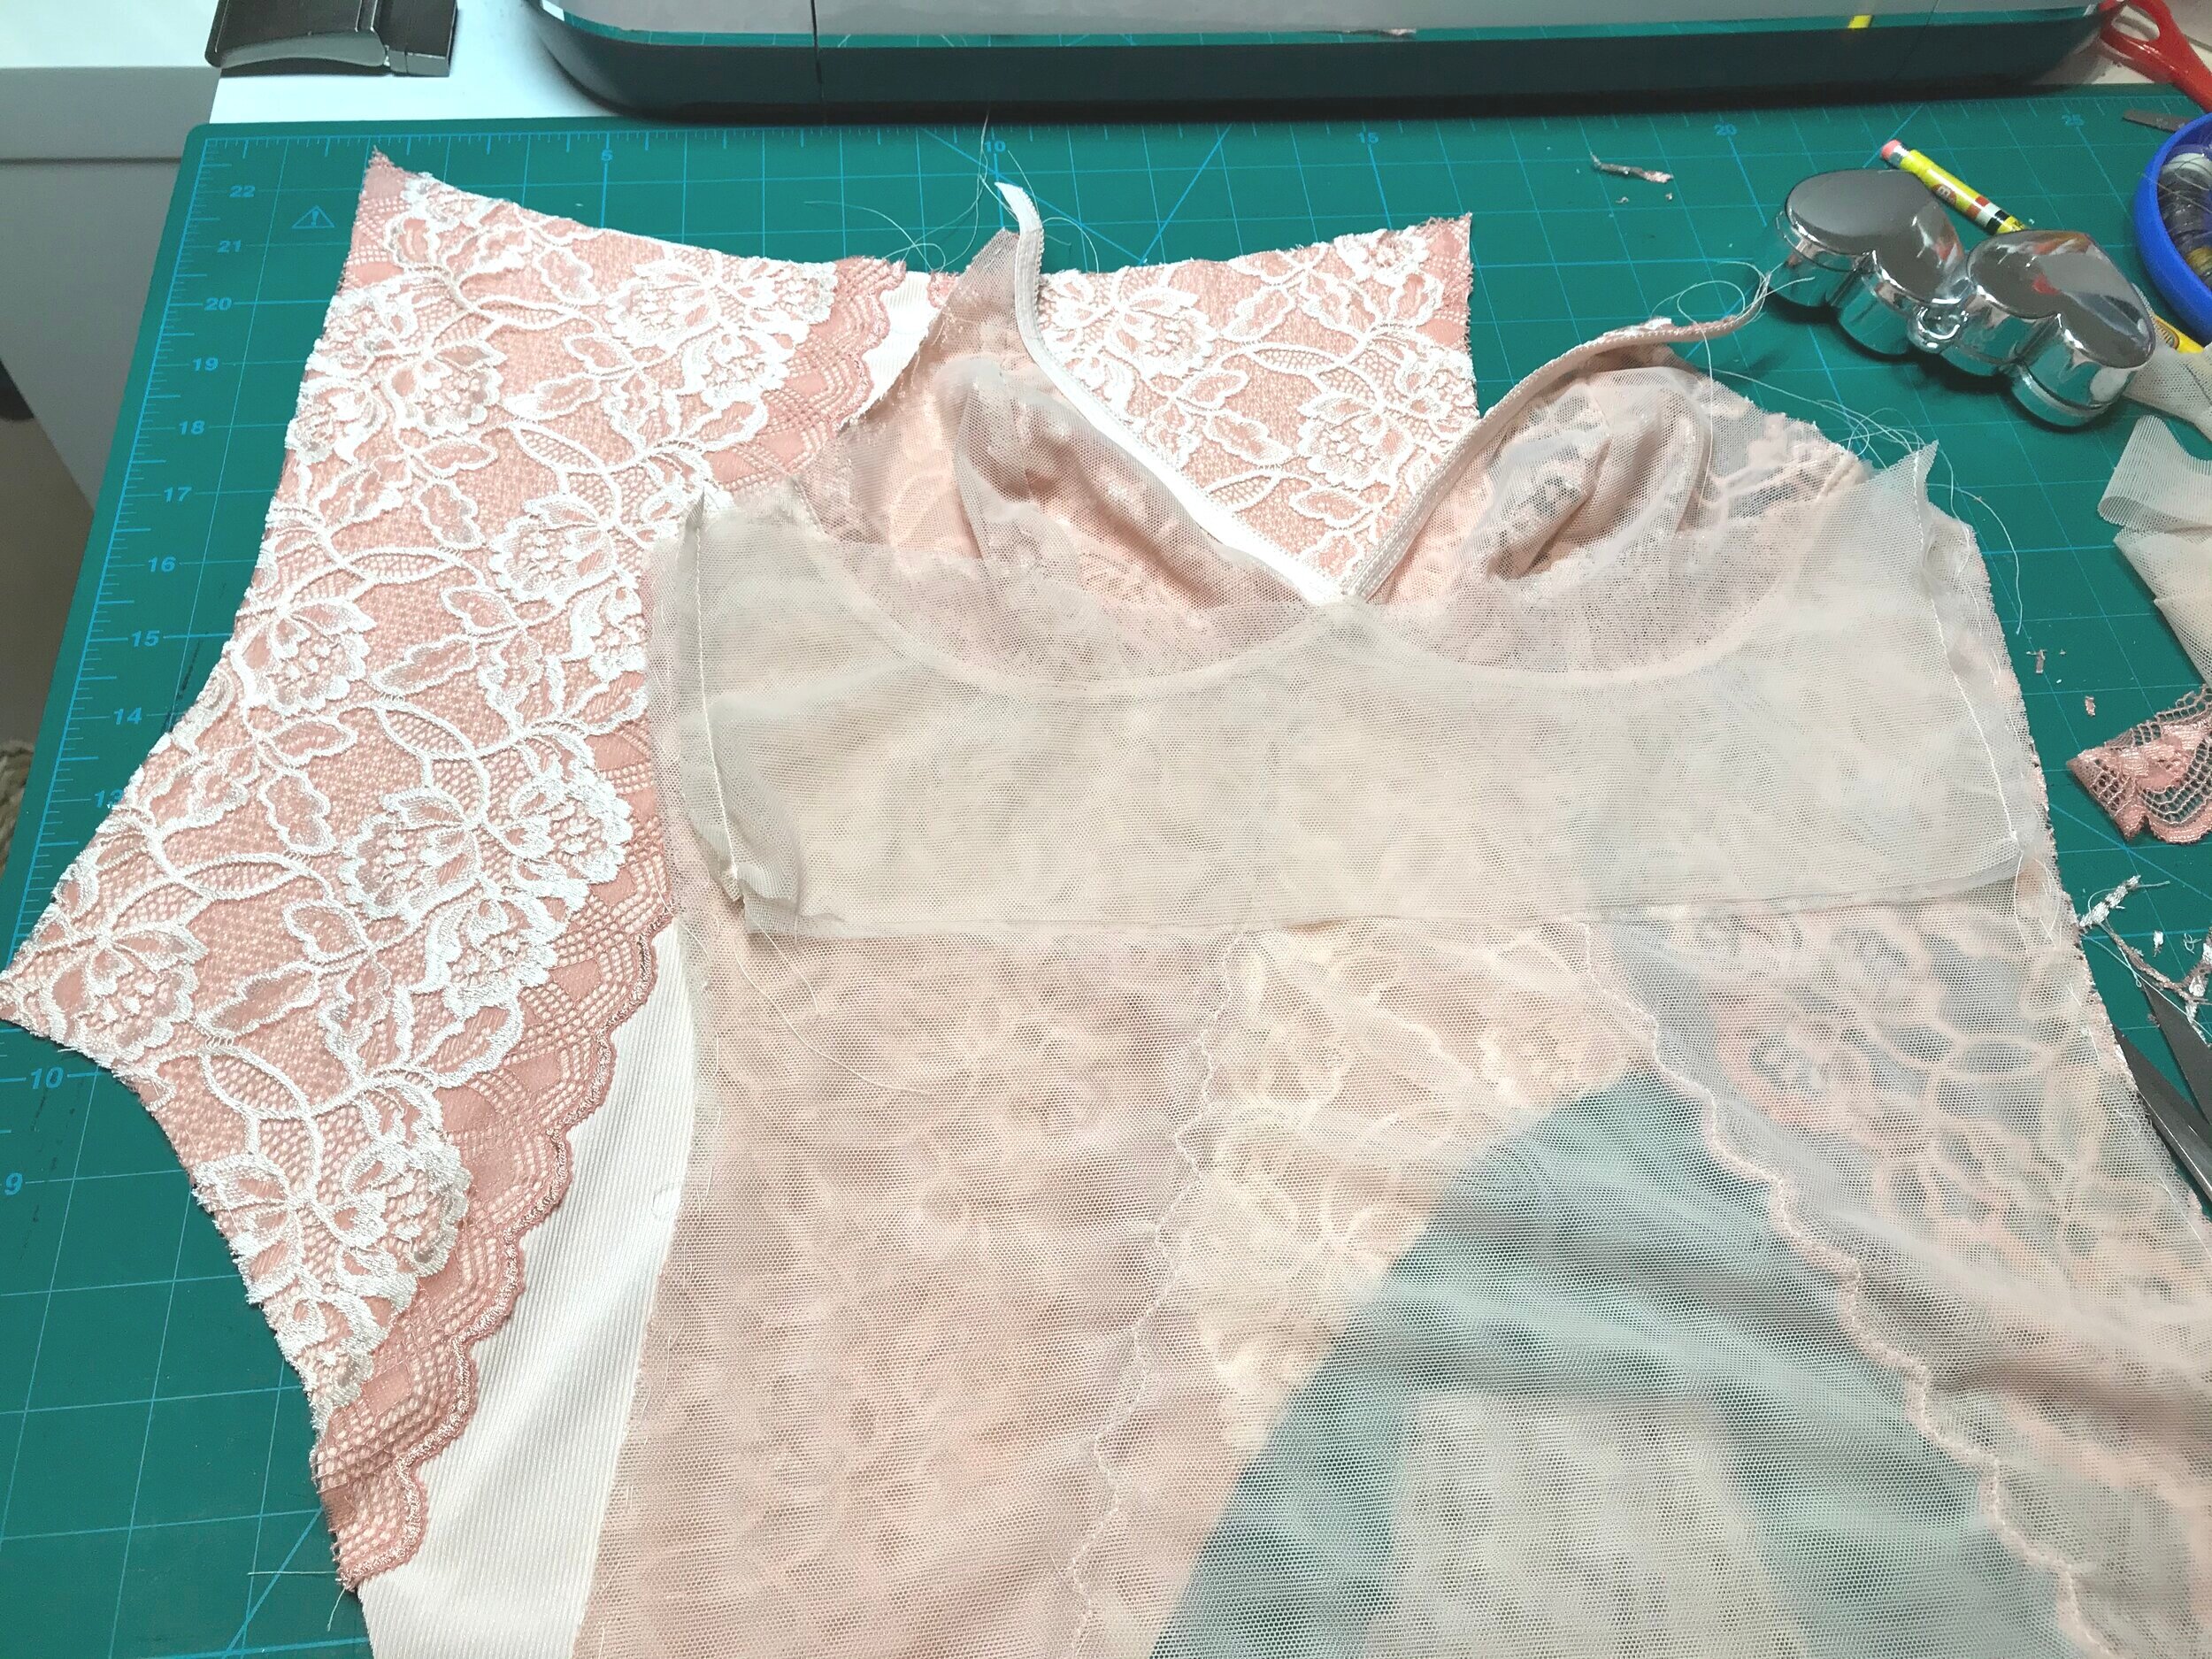
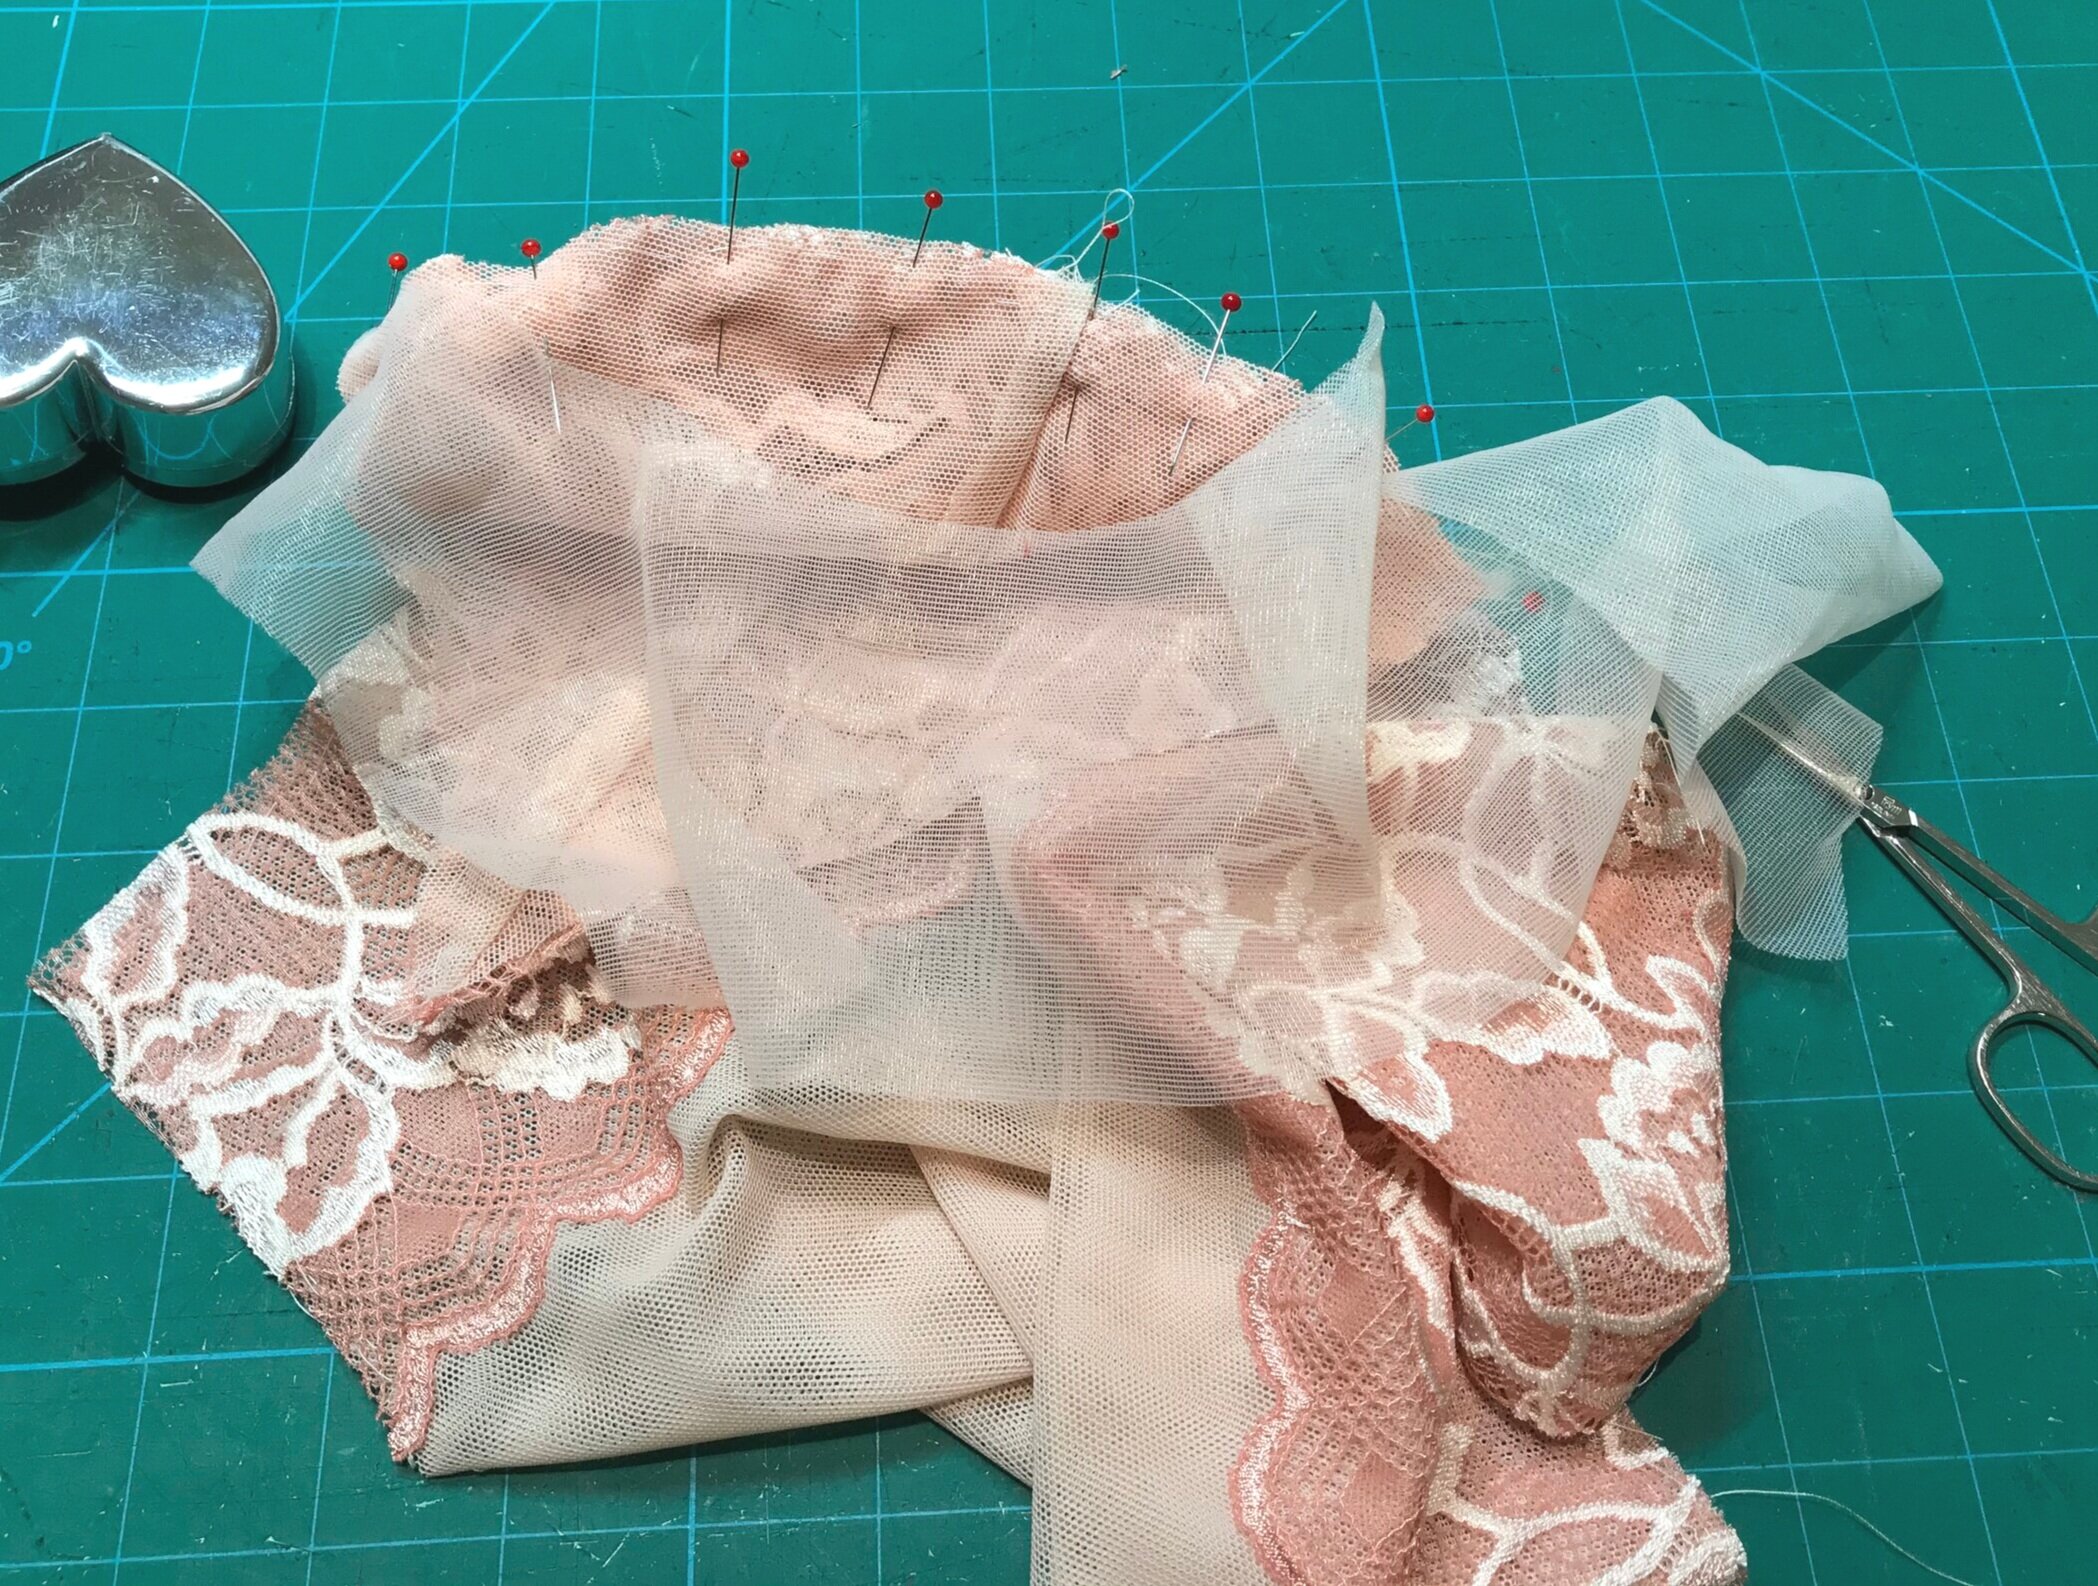
I found a scrap of lace that matched and placed underneath. I used a small zigzag to attach and then cut back to stitching. Before attaching the front and back I cut out a back band from mesh that I attached to the sheer lining. This was so I didn’t have to attach band elastic to the sheer front. Once I had sewn the side seams I basted all the layers together so they didn’t slide around when I attached the top elastic.

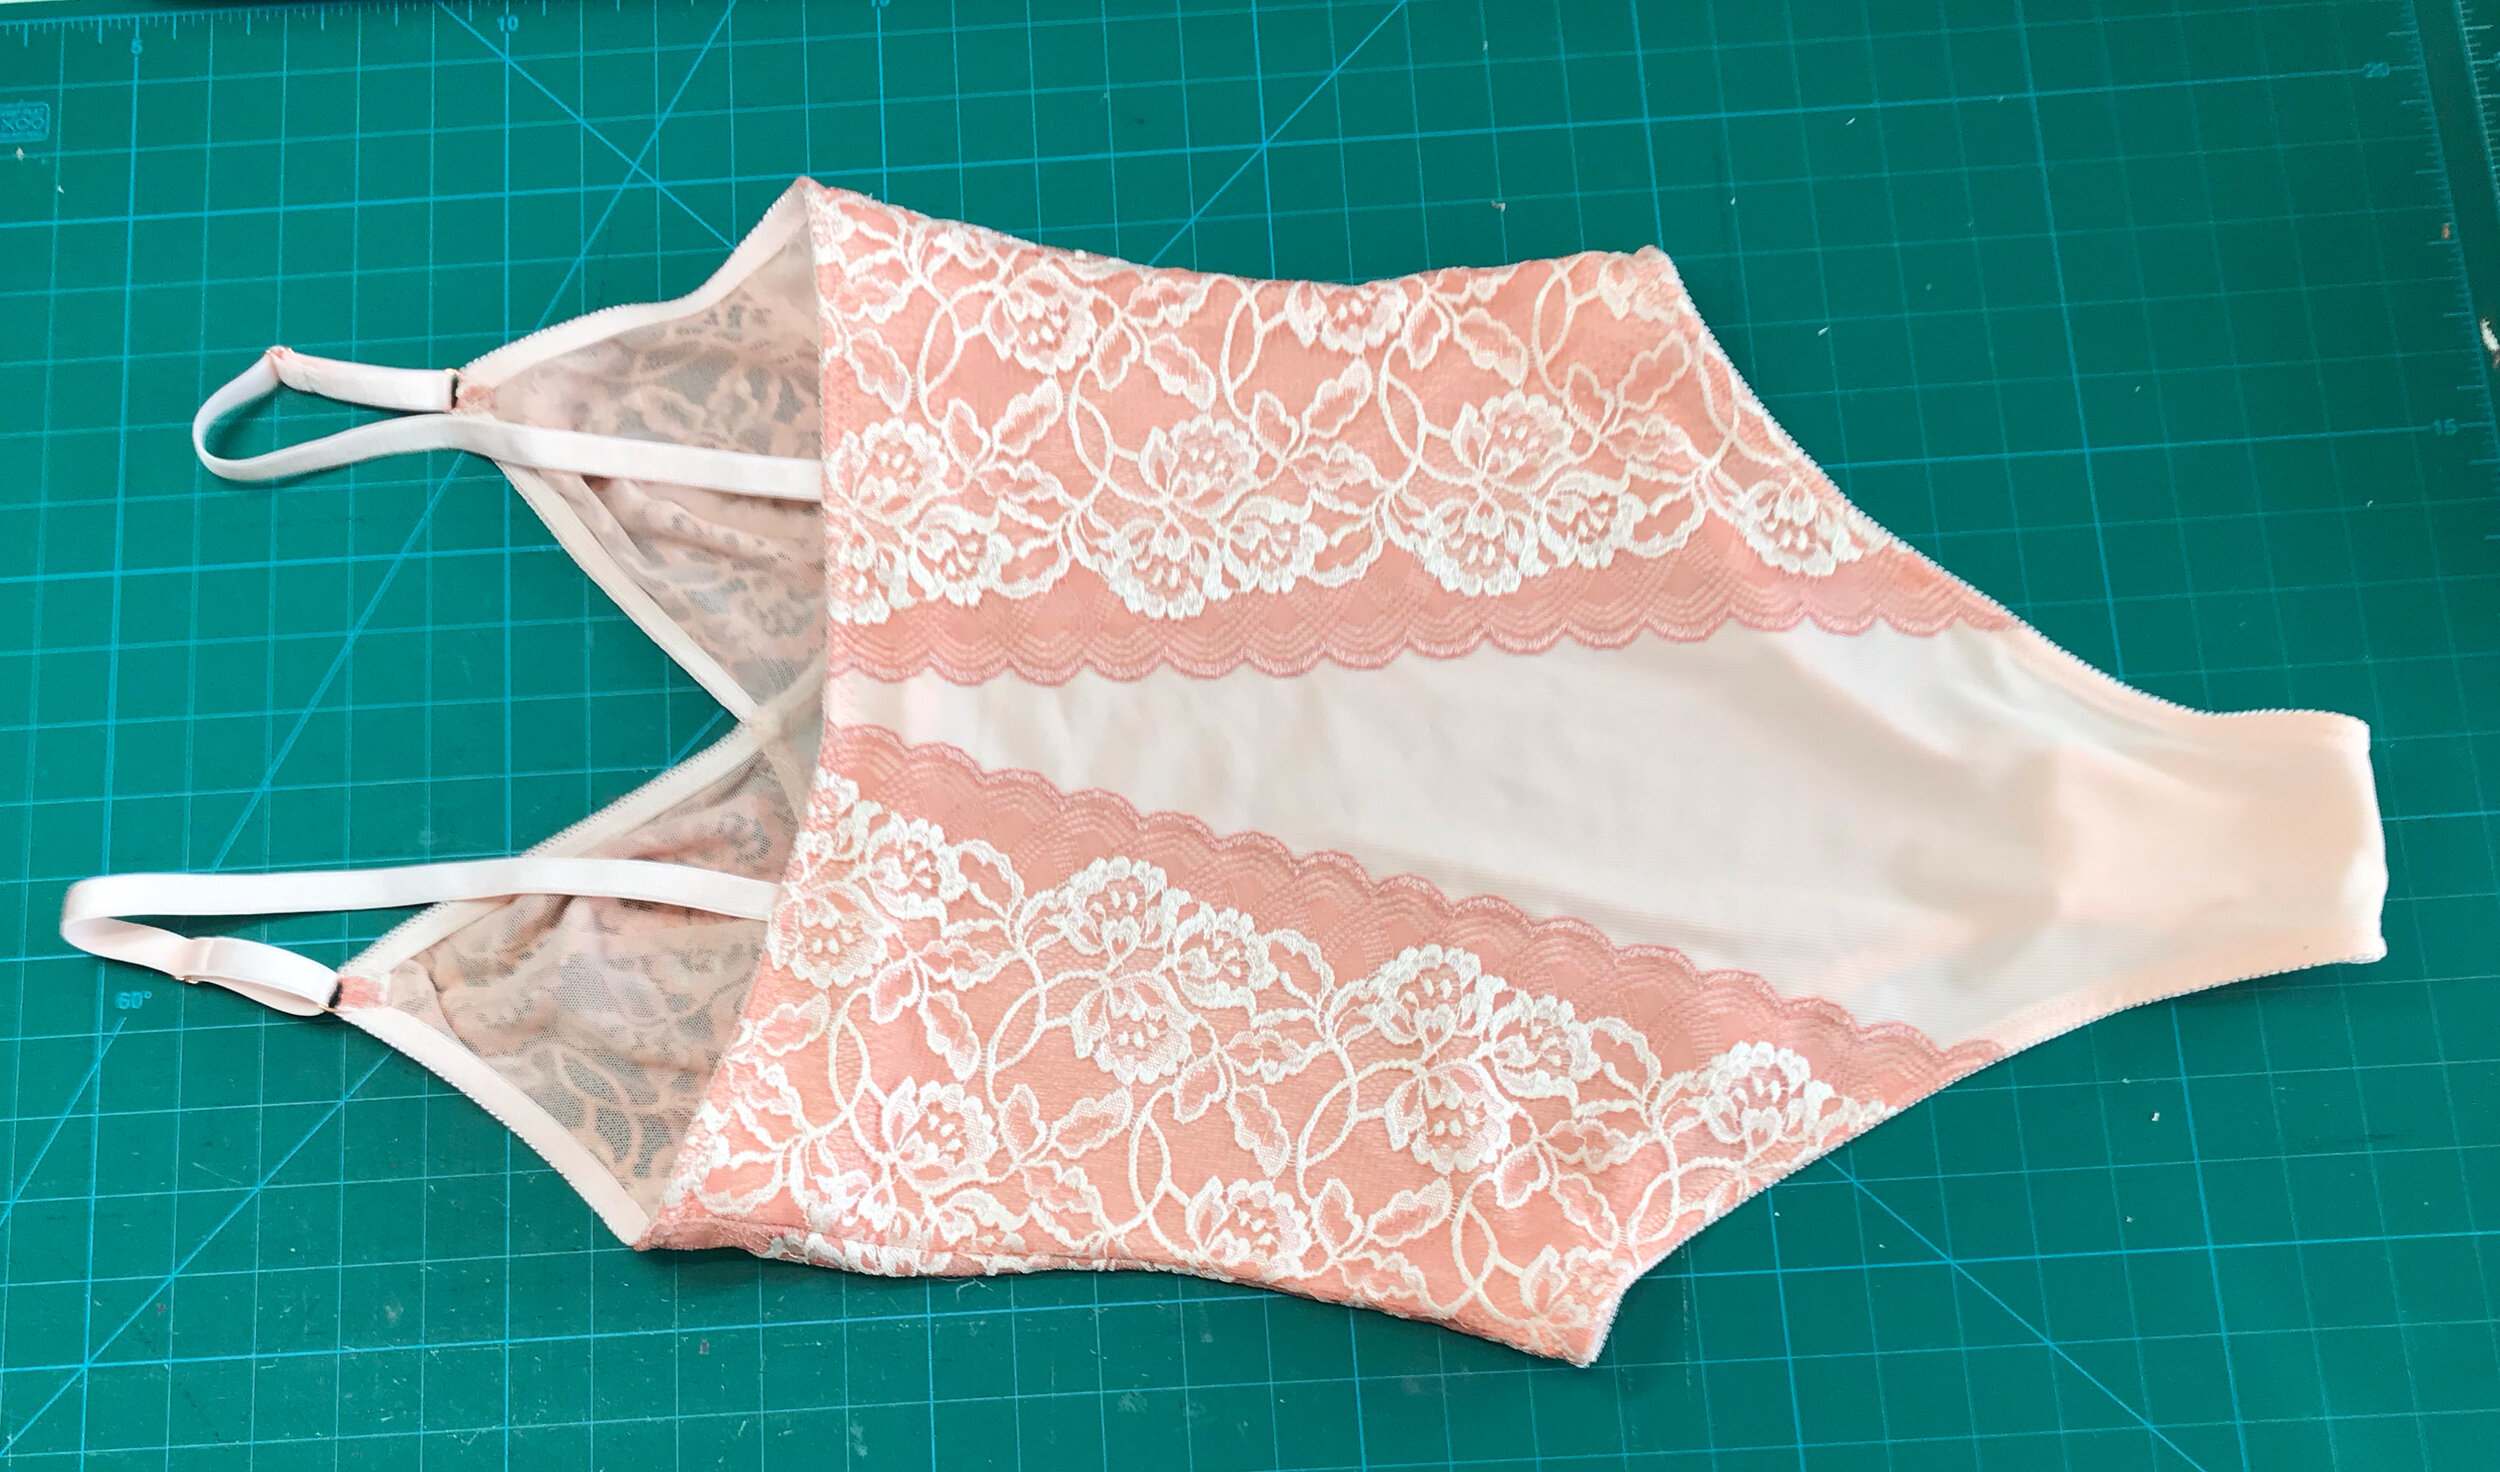
The idea was to not see the bottom band elastic so I attached as close to the cup as I could using the widest three step zigzag on my machine and trimmed the lining back to the stitching. For stability I made the straps long enough to attach to the bottom band and stitched through all layers to prevent the mesh from rolling when putting on. The stitching is not noticeable on the lace back. it all worked out really well. A good colour match thread does help.
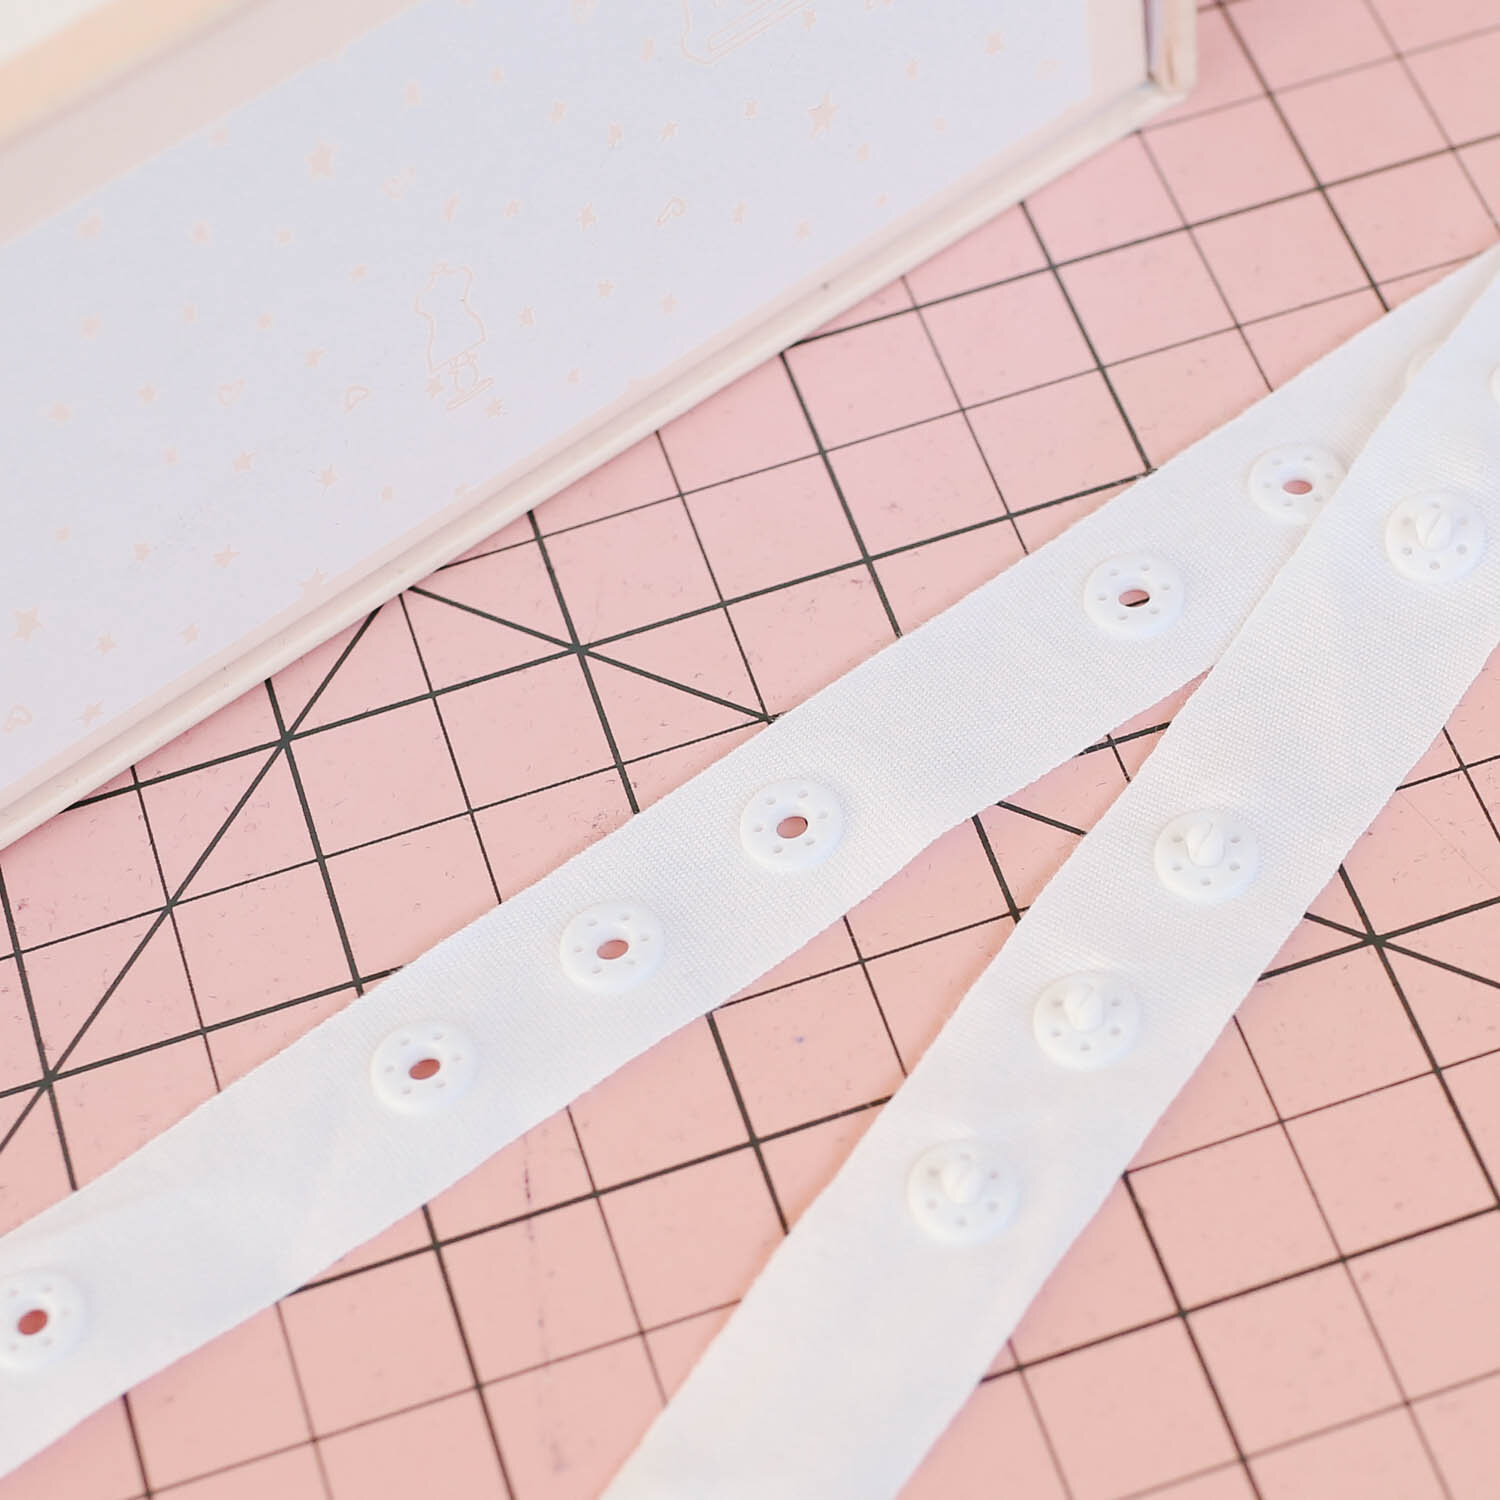
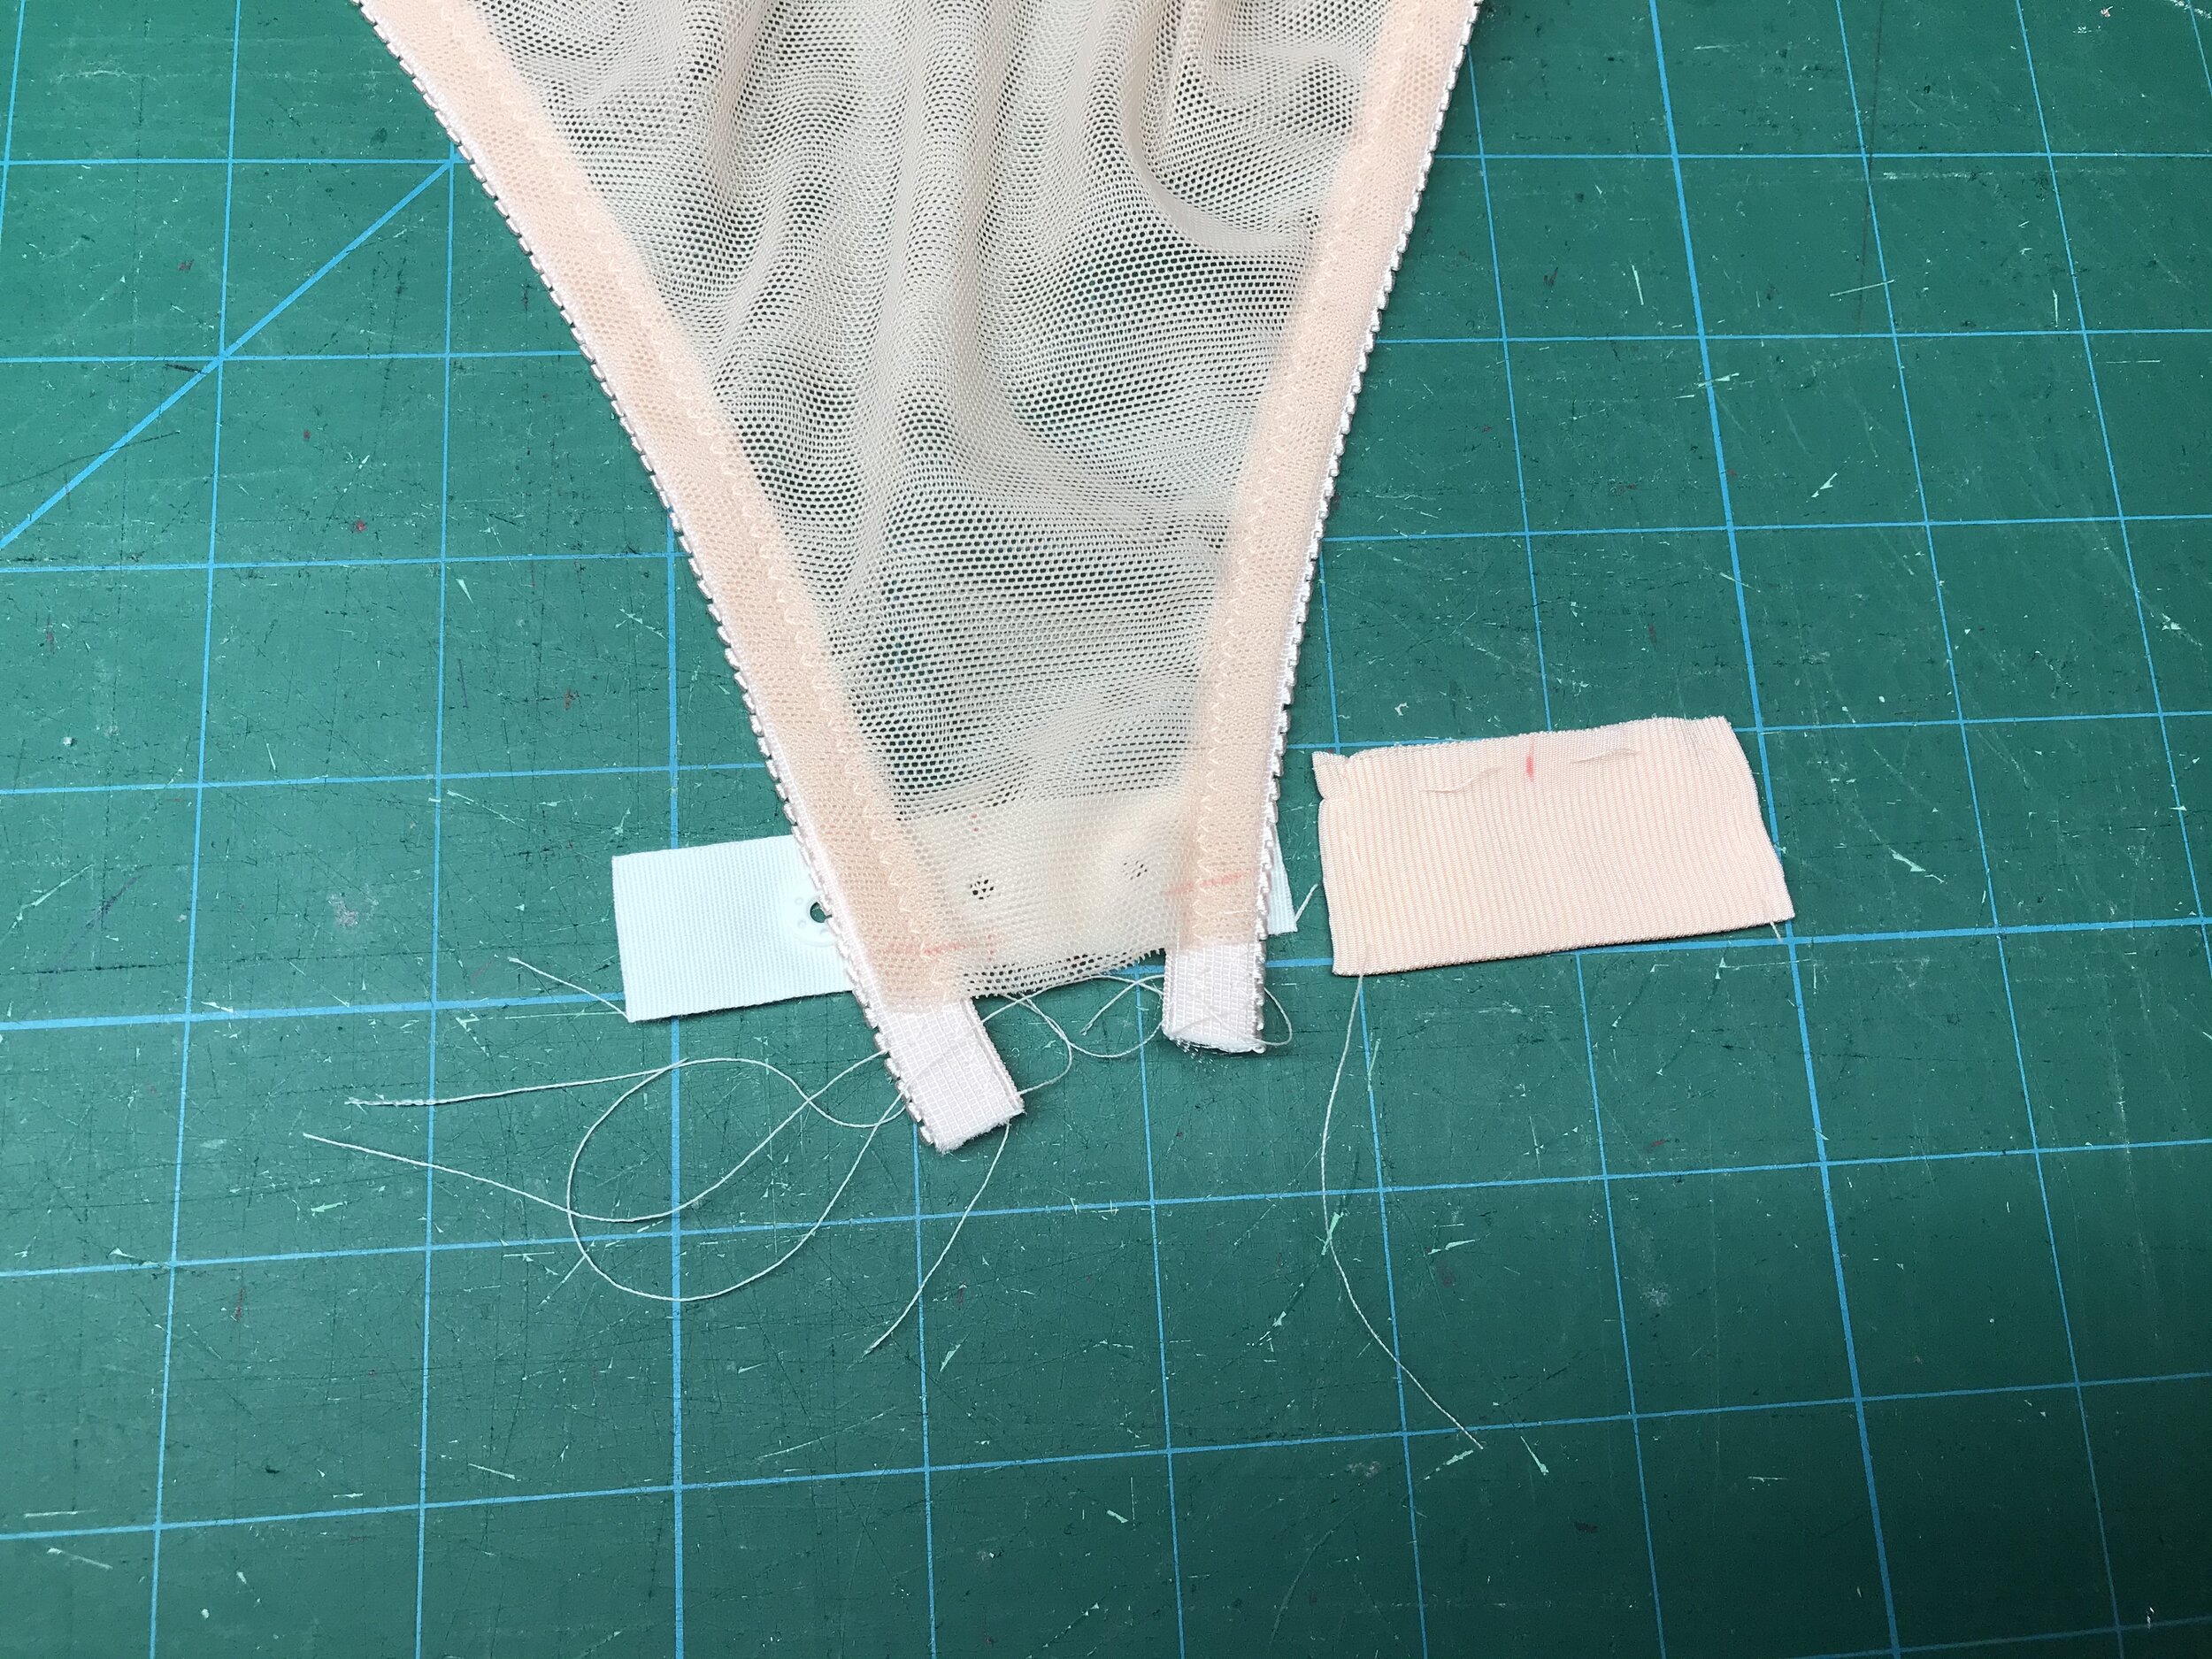
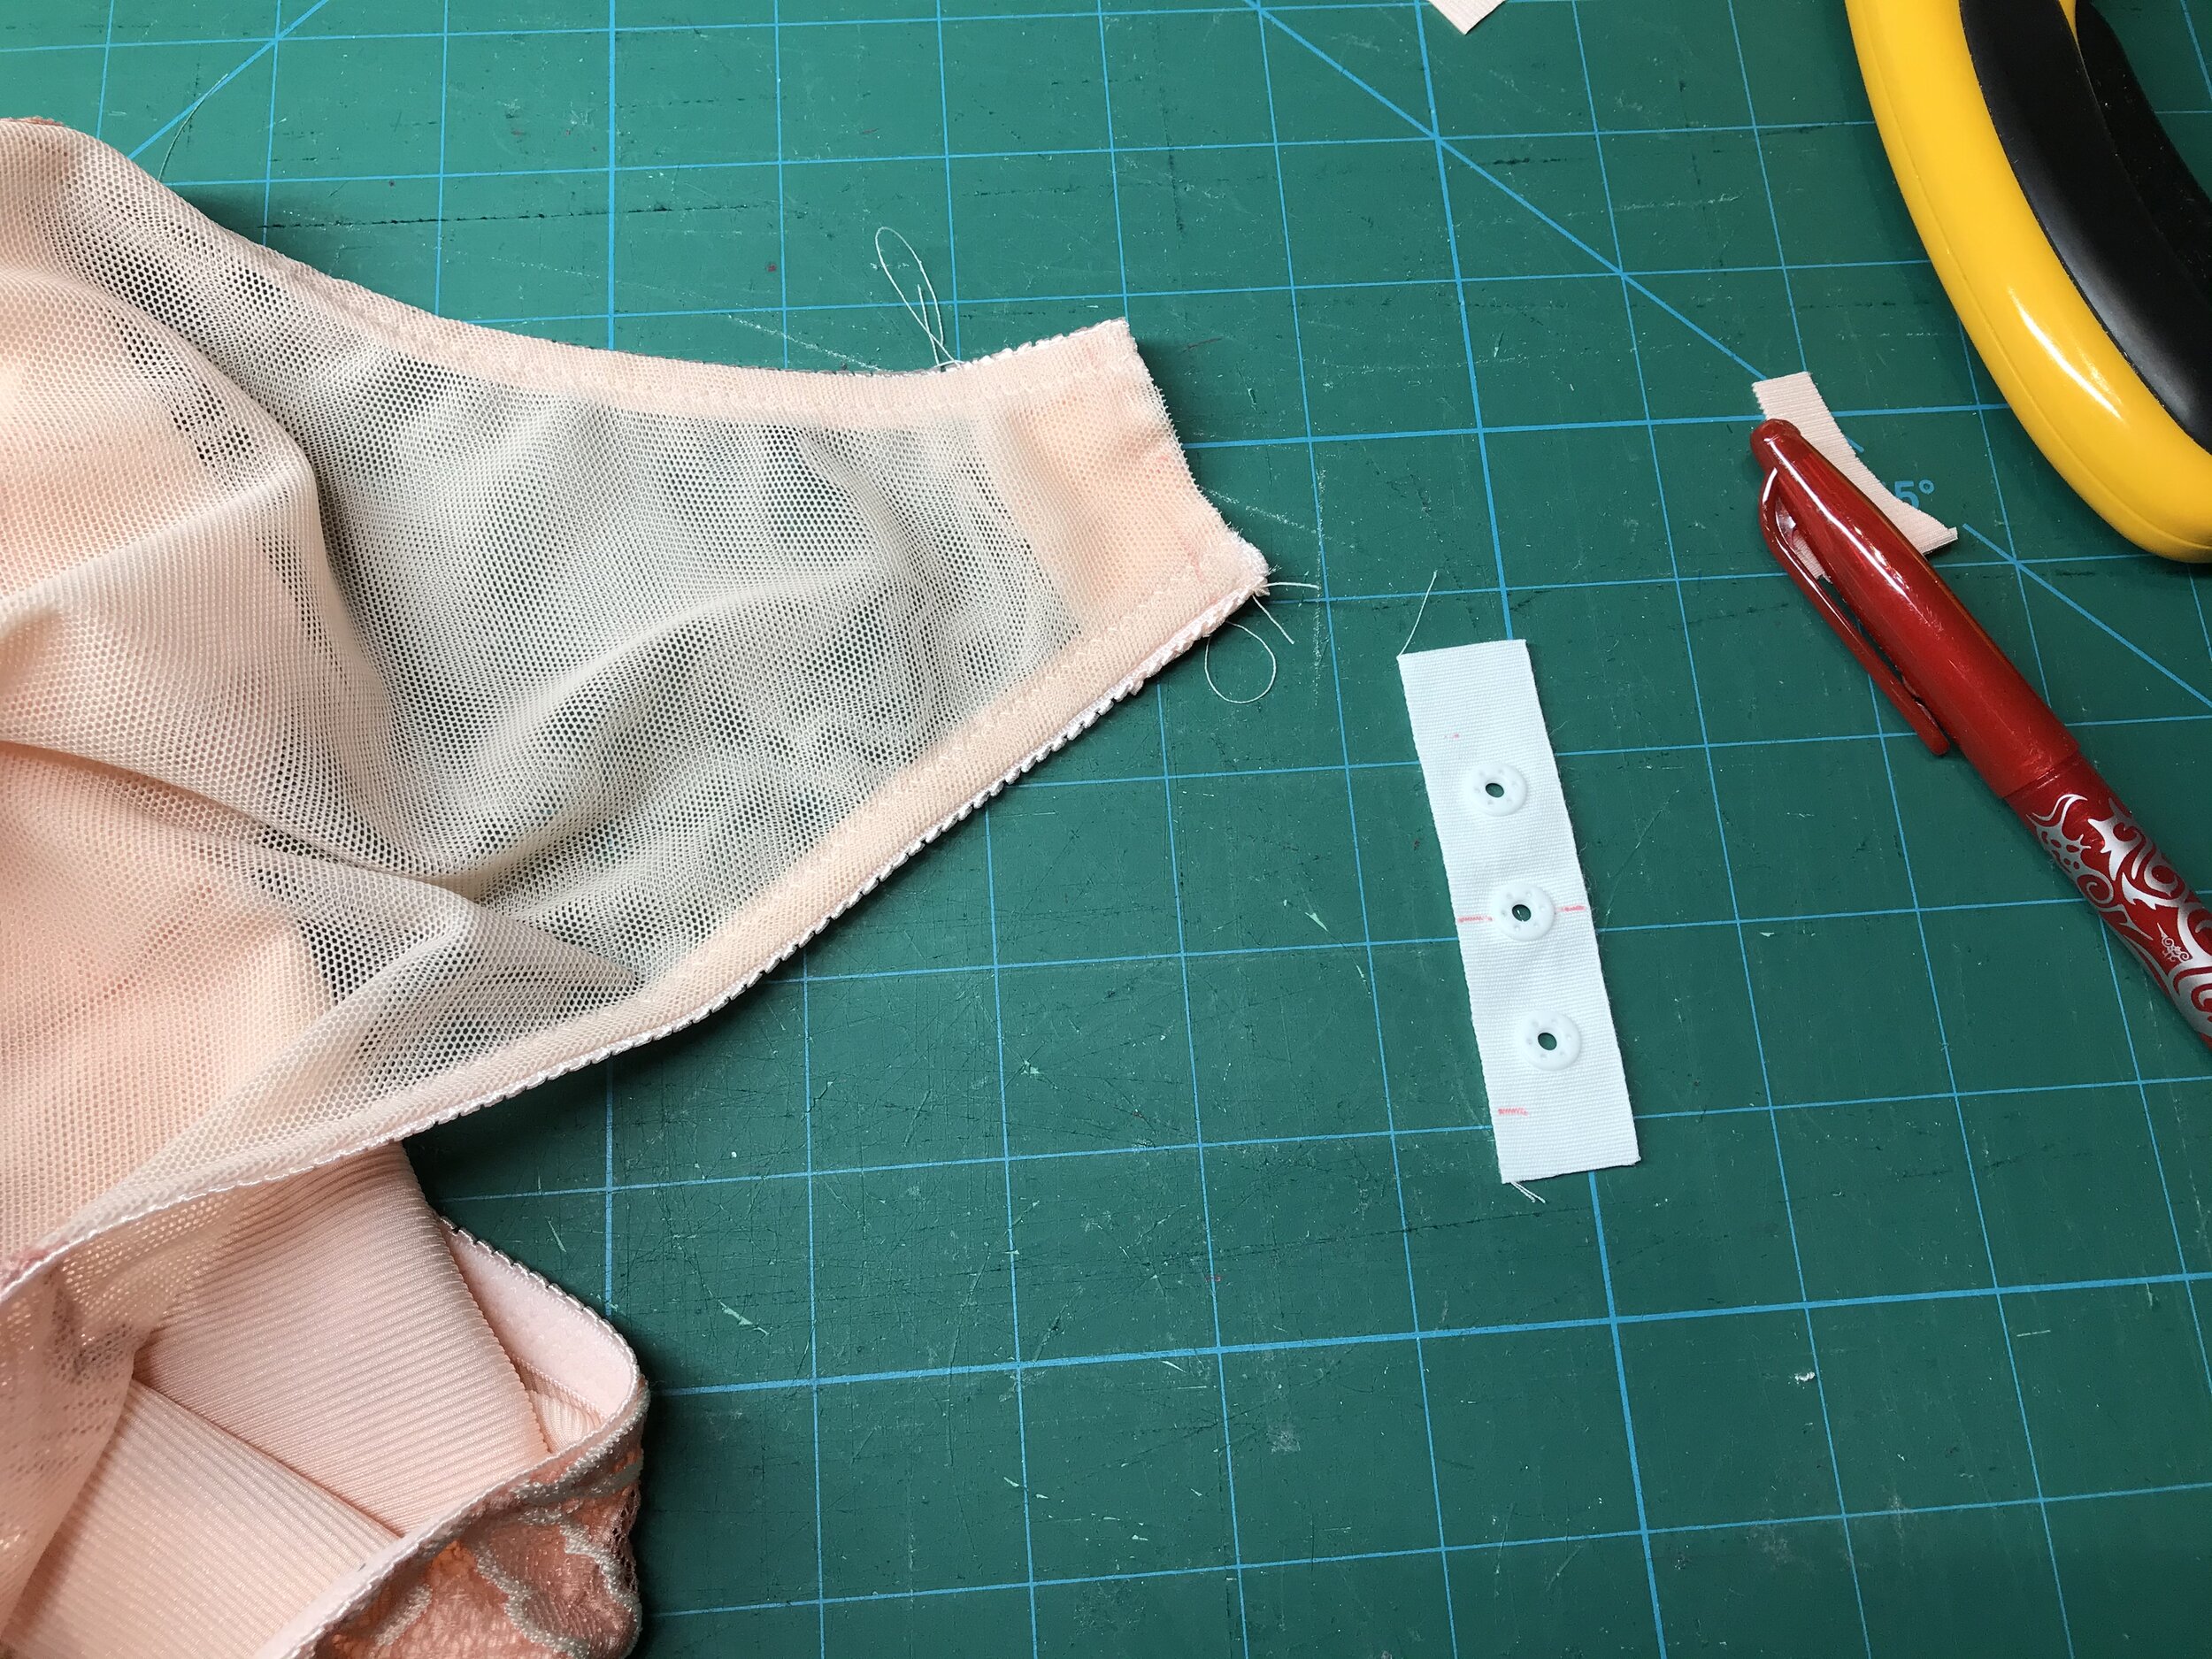
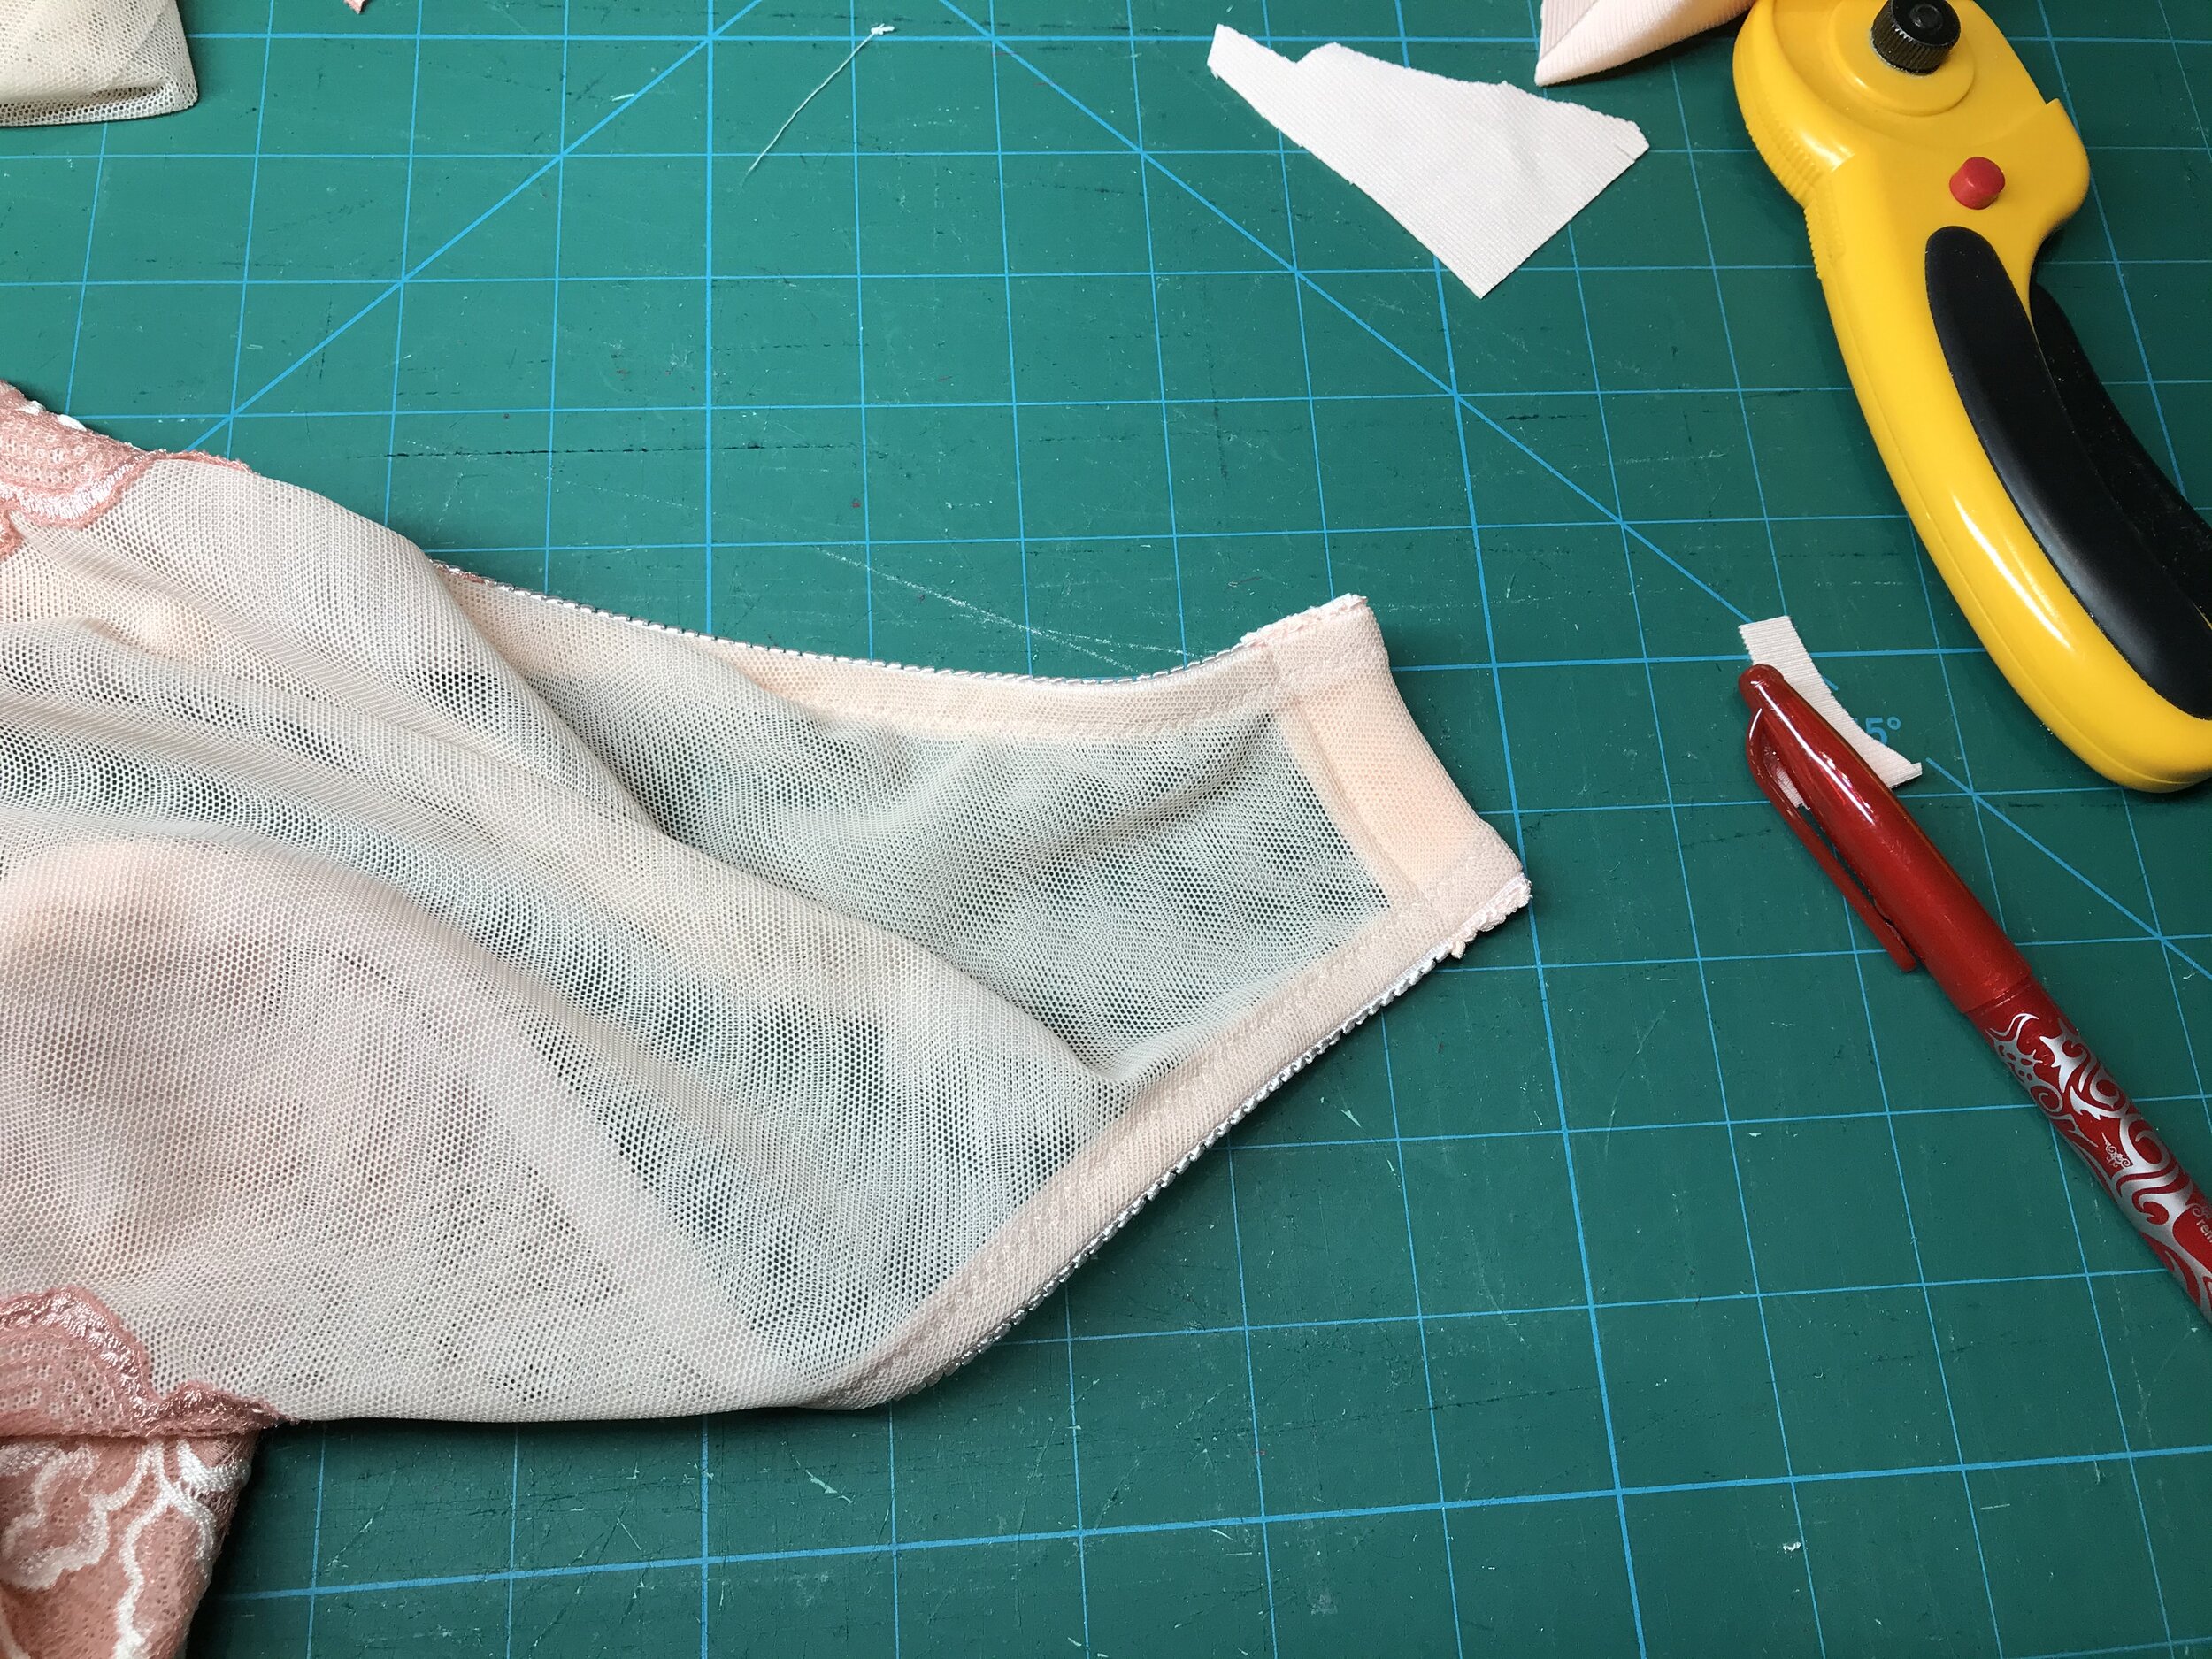
I finished the leg with just elastic as I had no more lace left and I think the design suited a clean finish. The only item I had to add to the kit was some snap tape which had just arrived in my Madalynne order. For the back you attach to the gusset lining on the 1/4” line, fold to the right side, tuck in the sides and sew along the opposite edge.
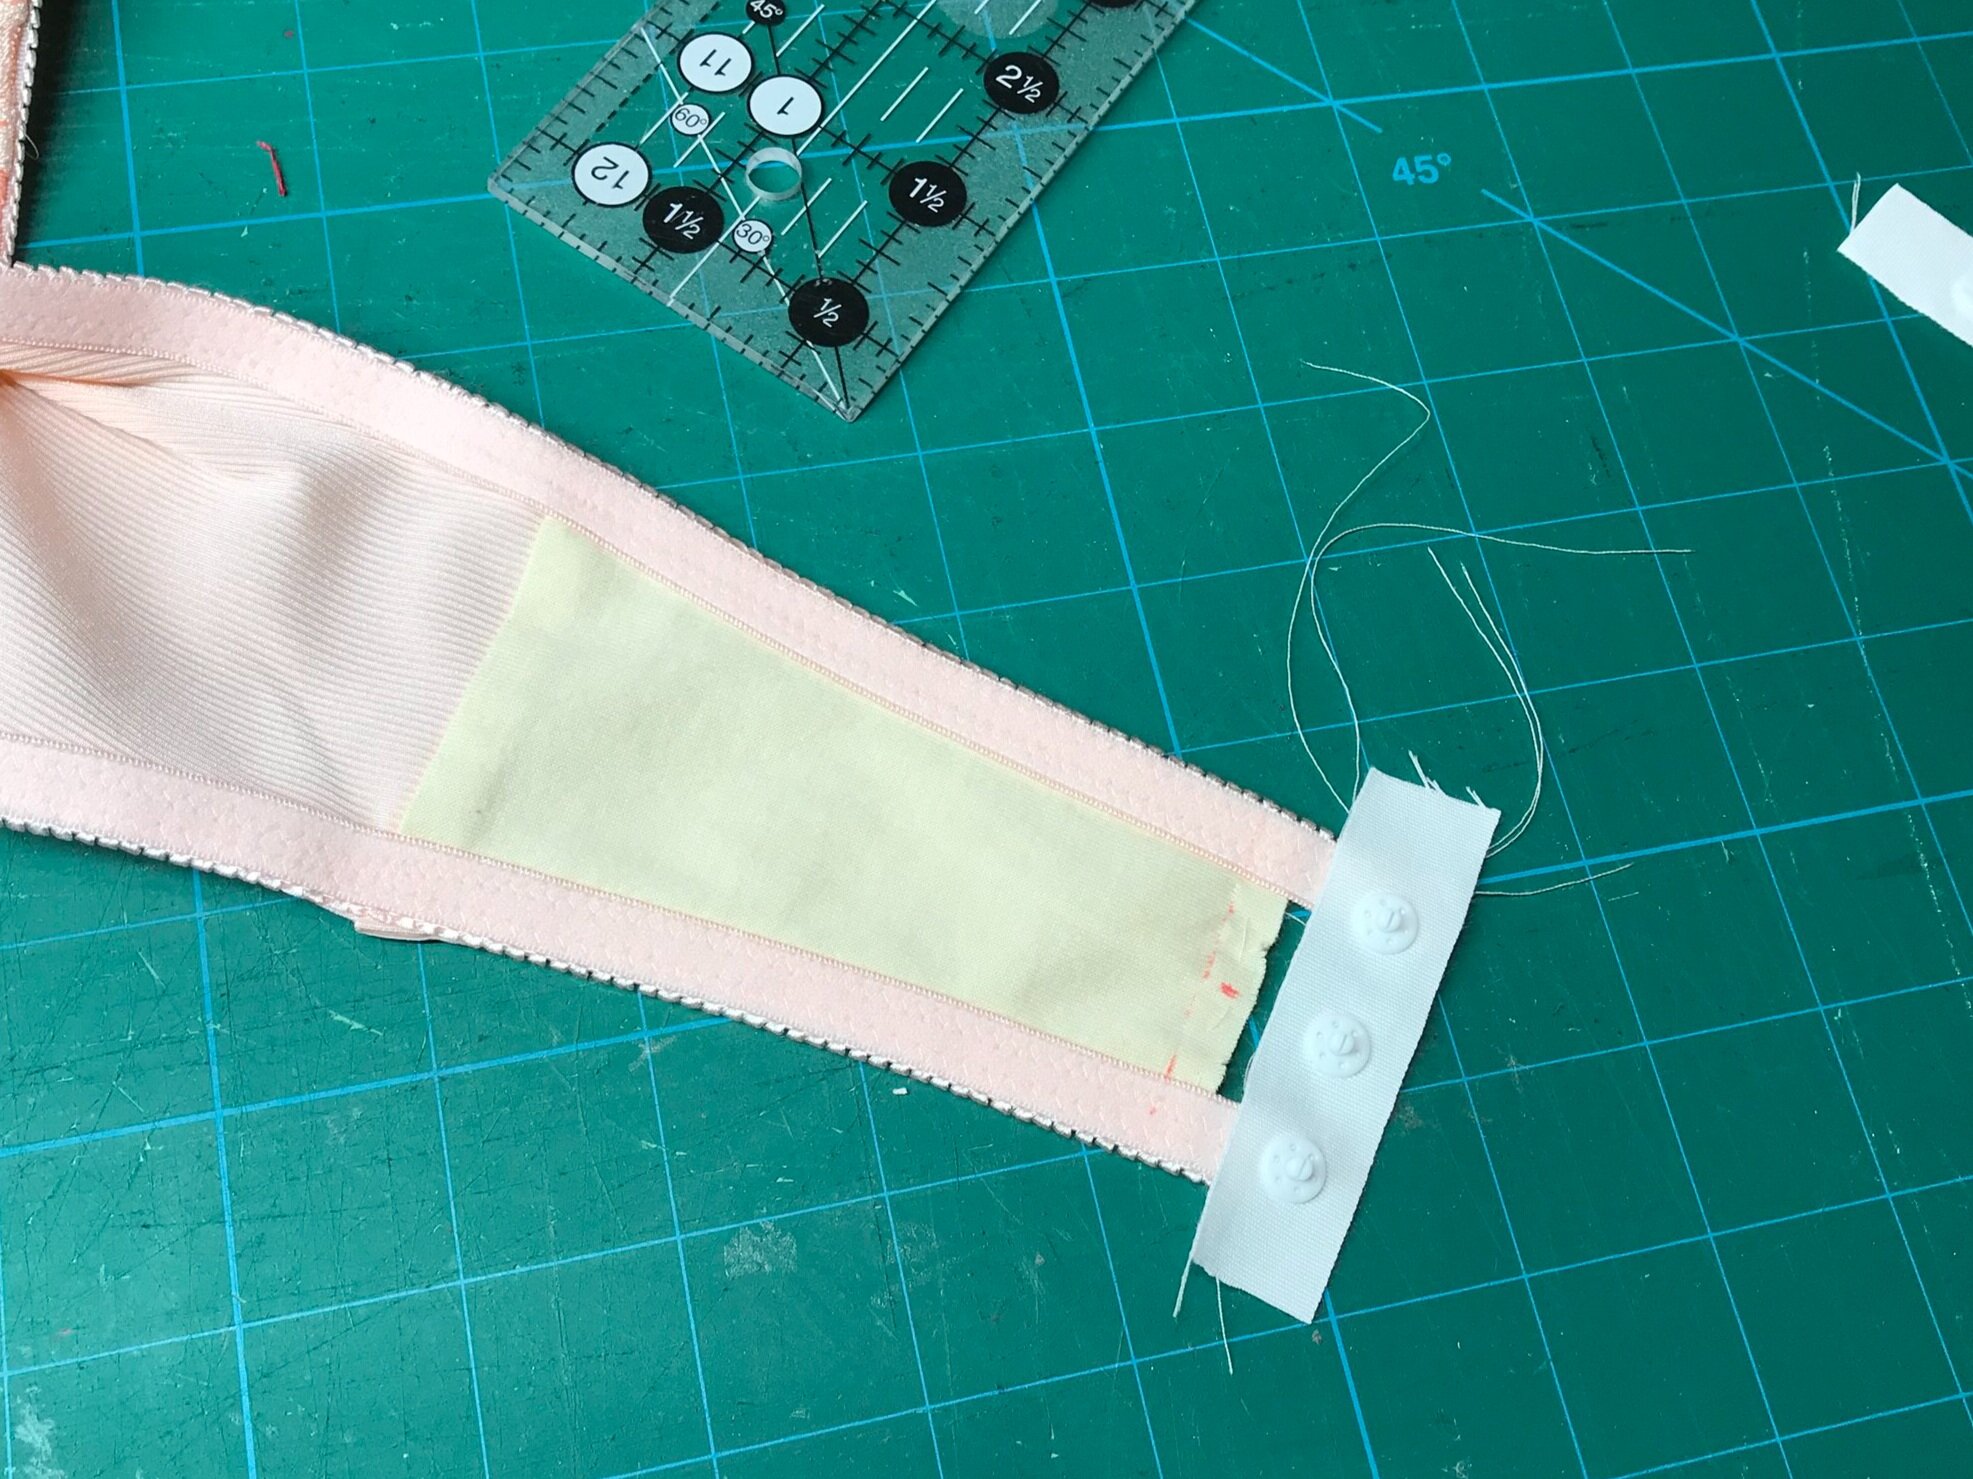
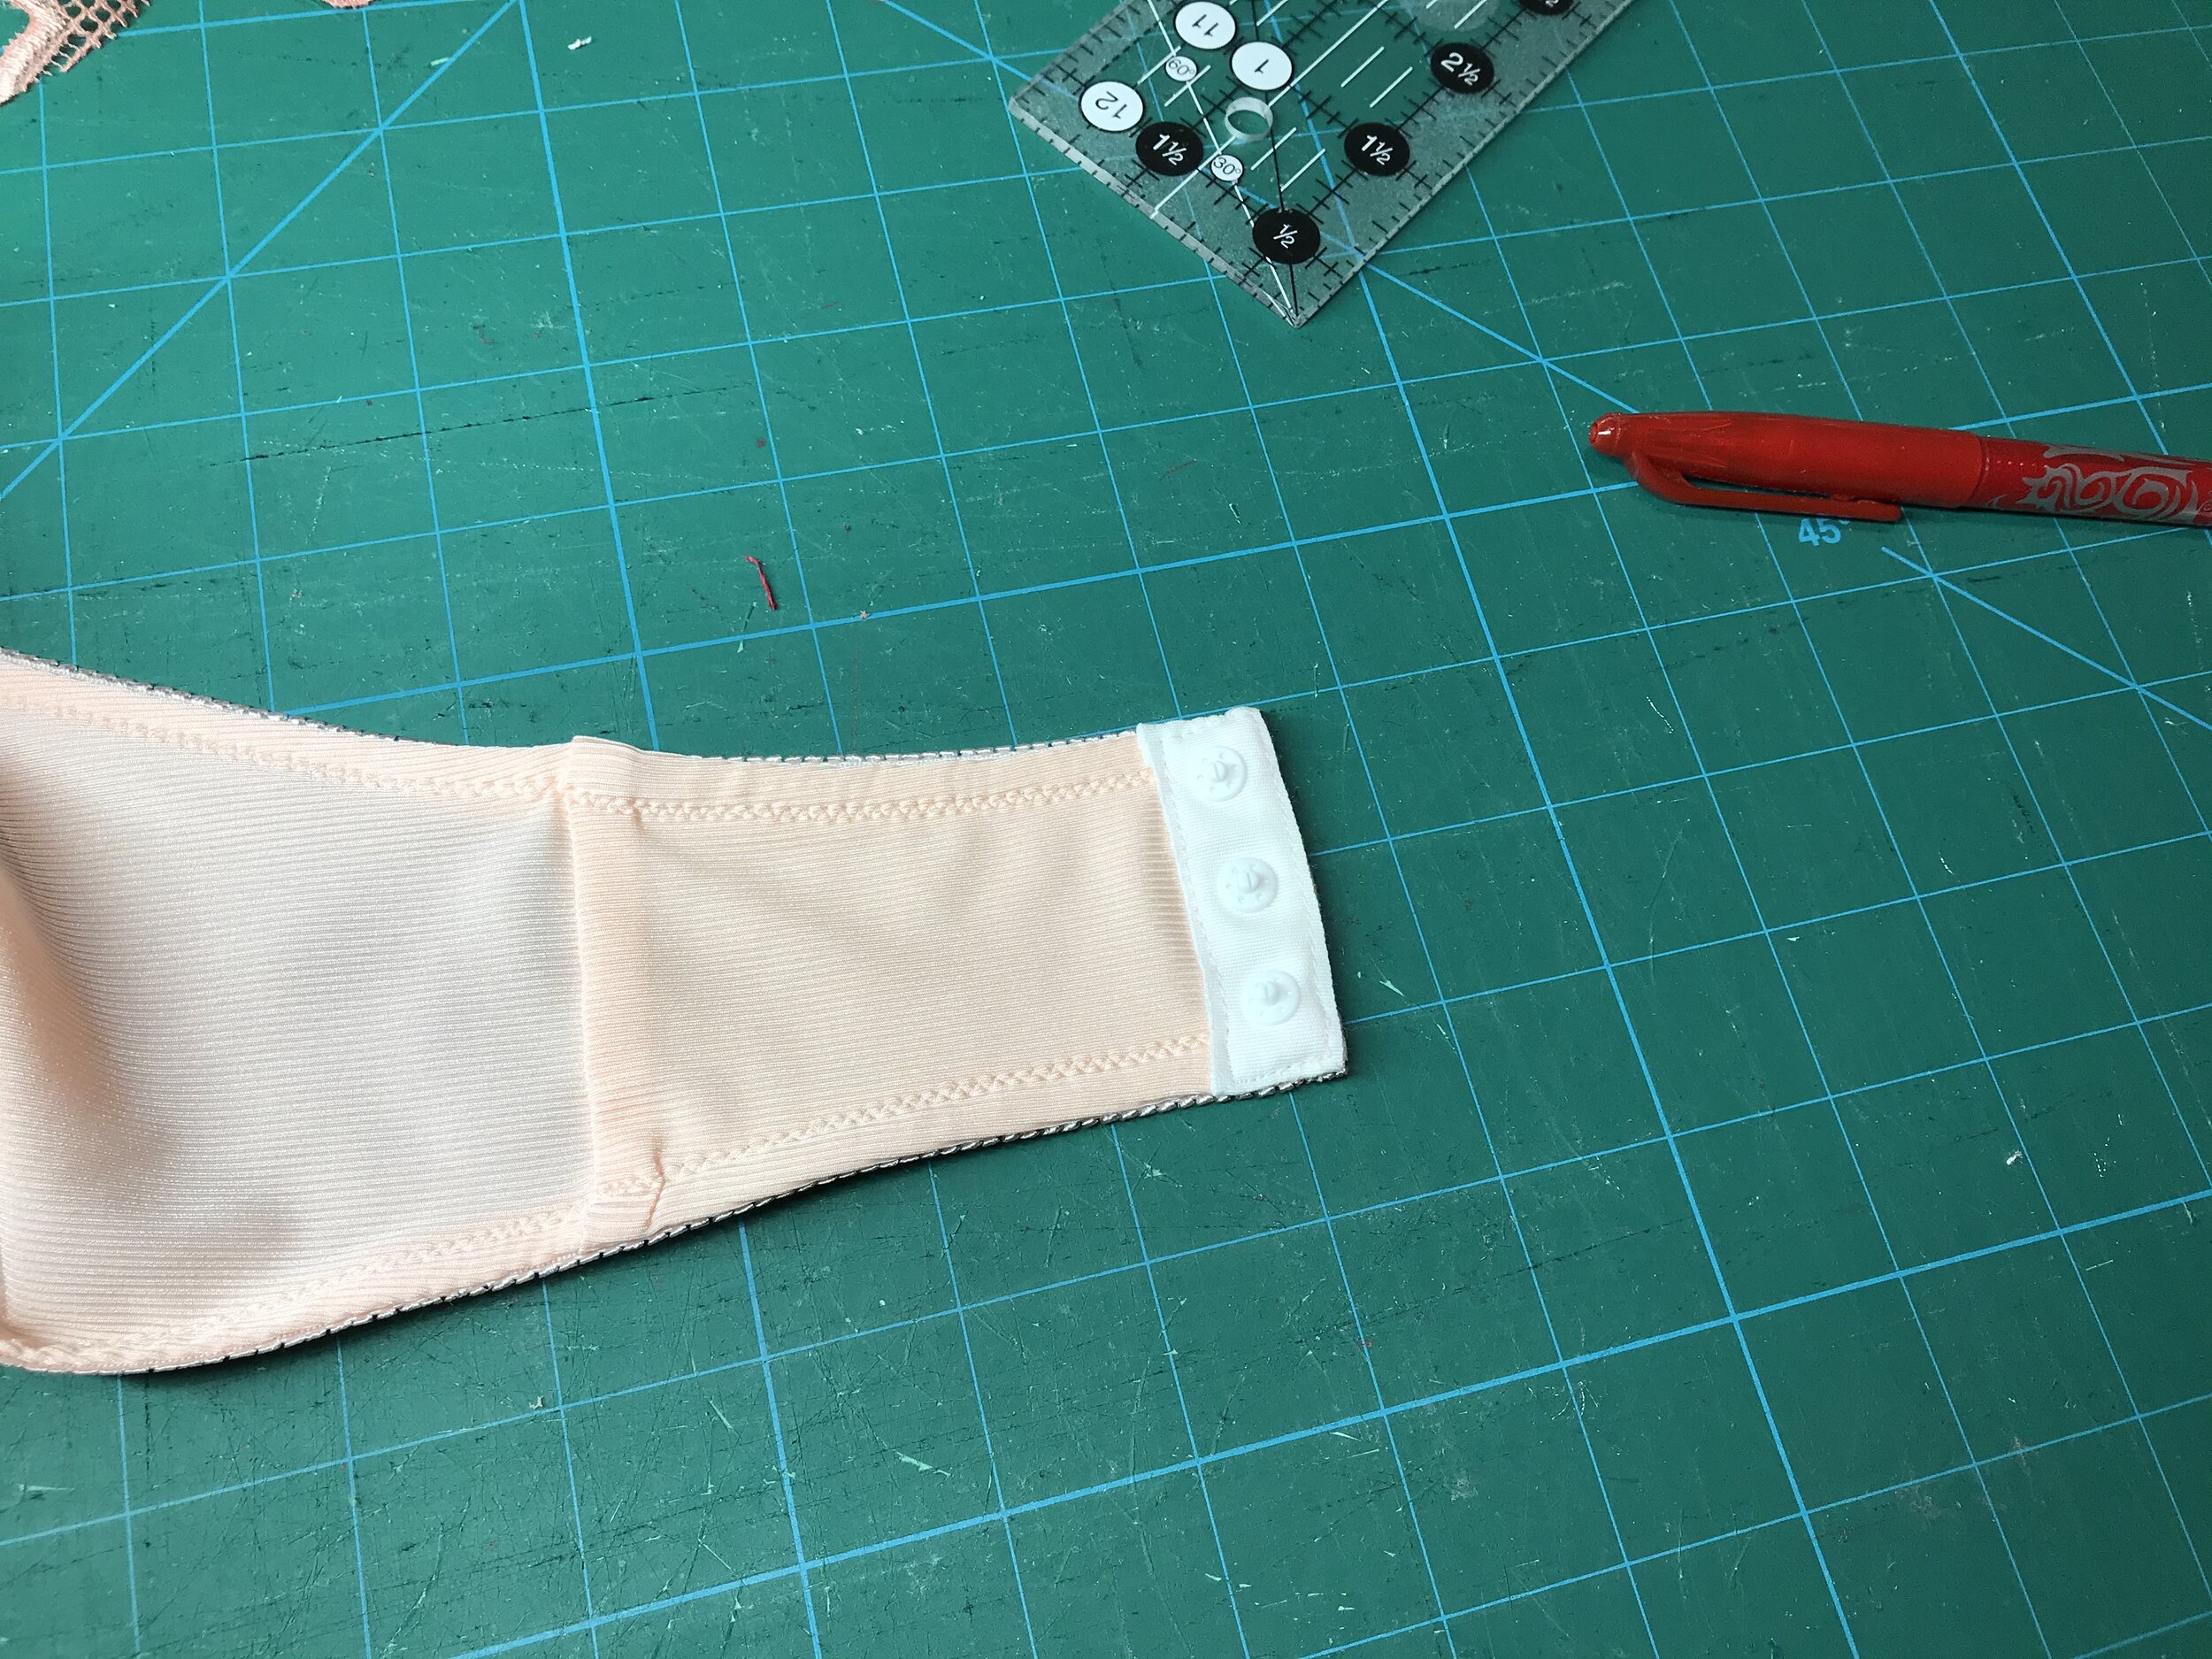
For the front you attach to the right side and tuck to the wrong side. The issue for me is that you would see the snap tape through the sheer front. So I cut a piece of a folded piece of rib fabric the same width and deep enough for the folded back tape. I attached to the wrong side of the front with raw edges together. The sides are covered by the tucked in tape.
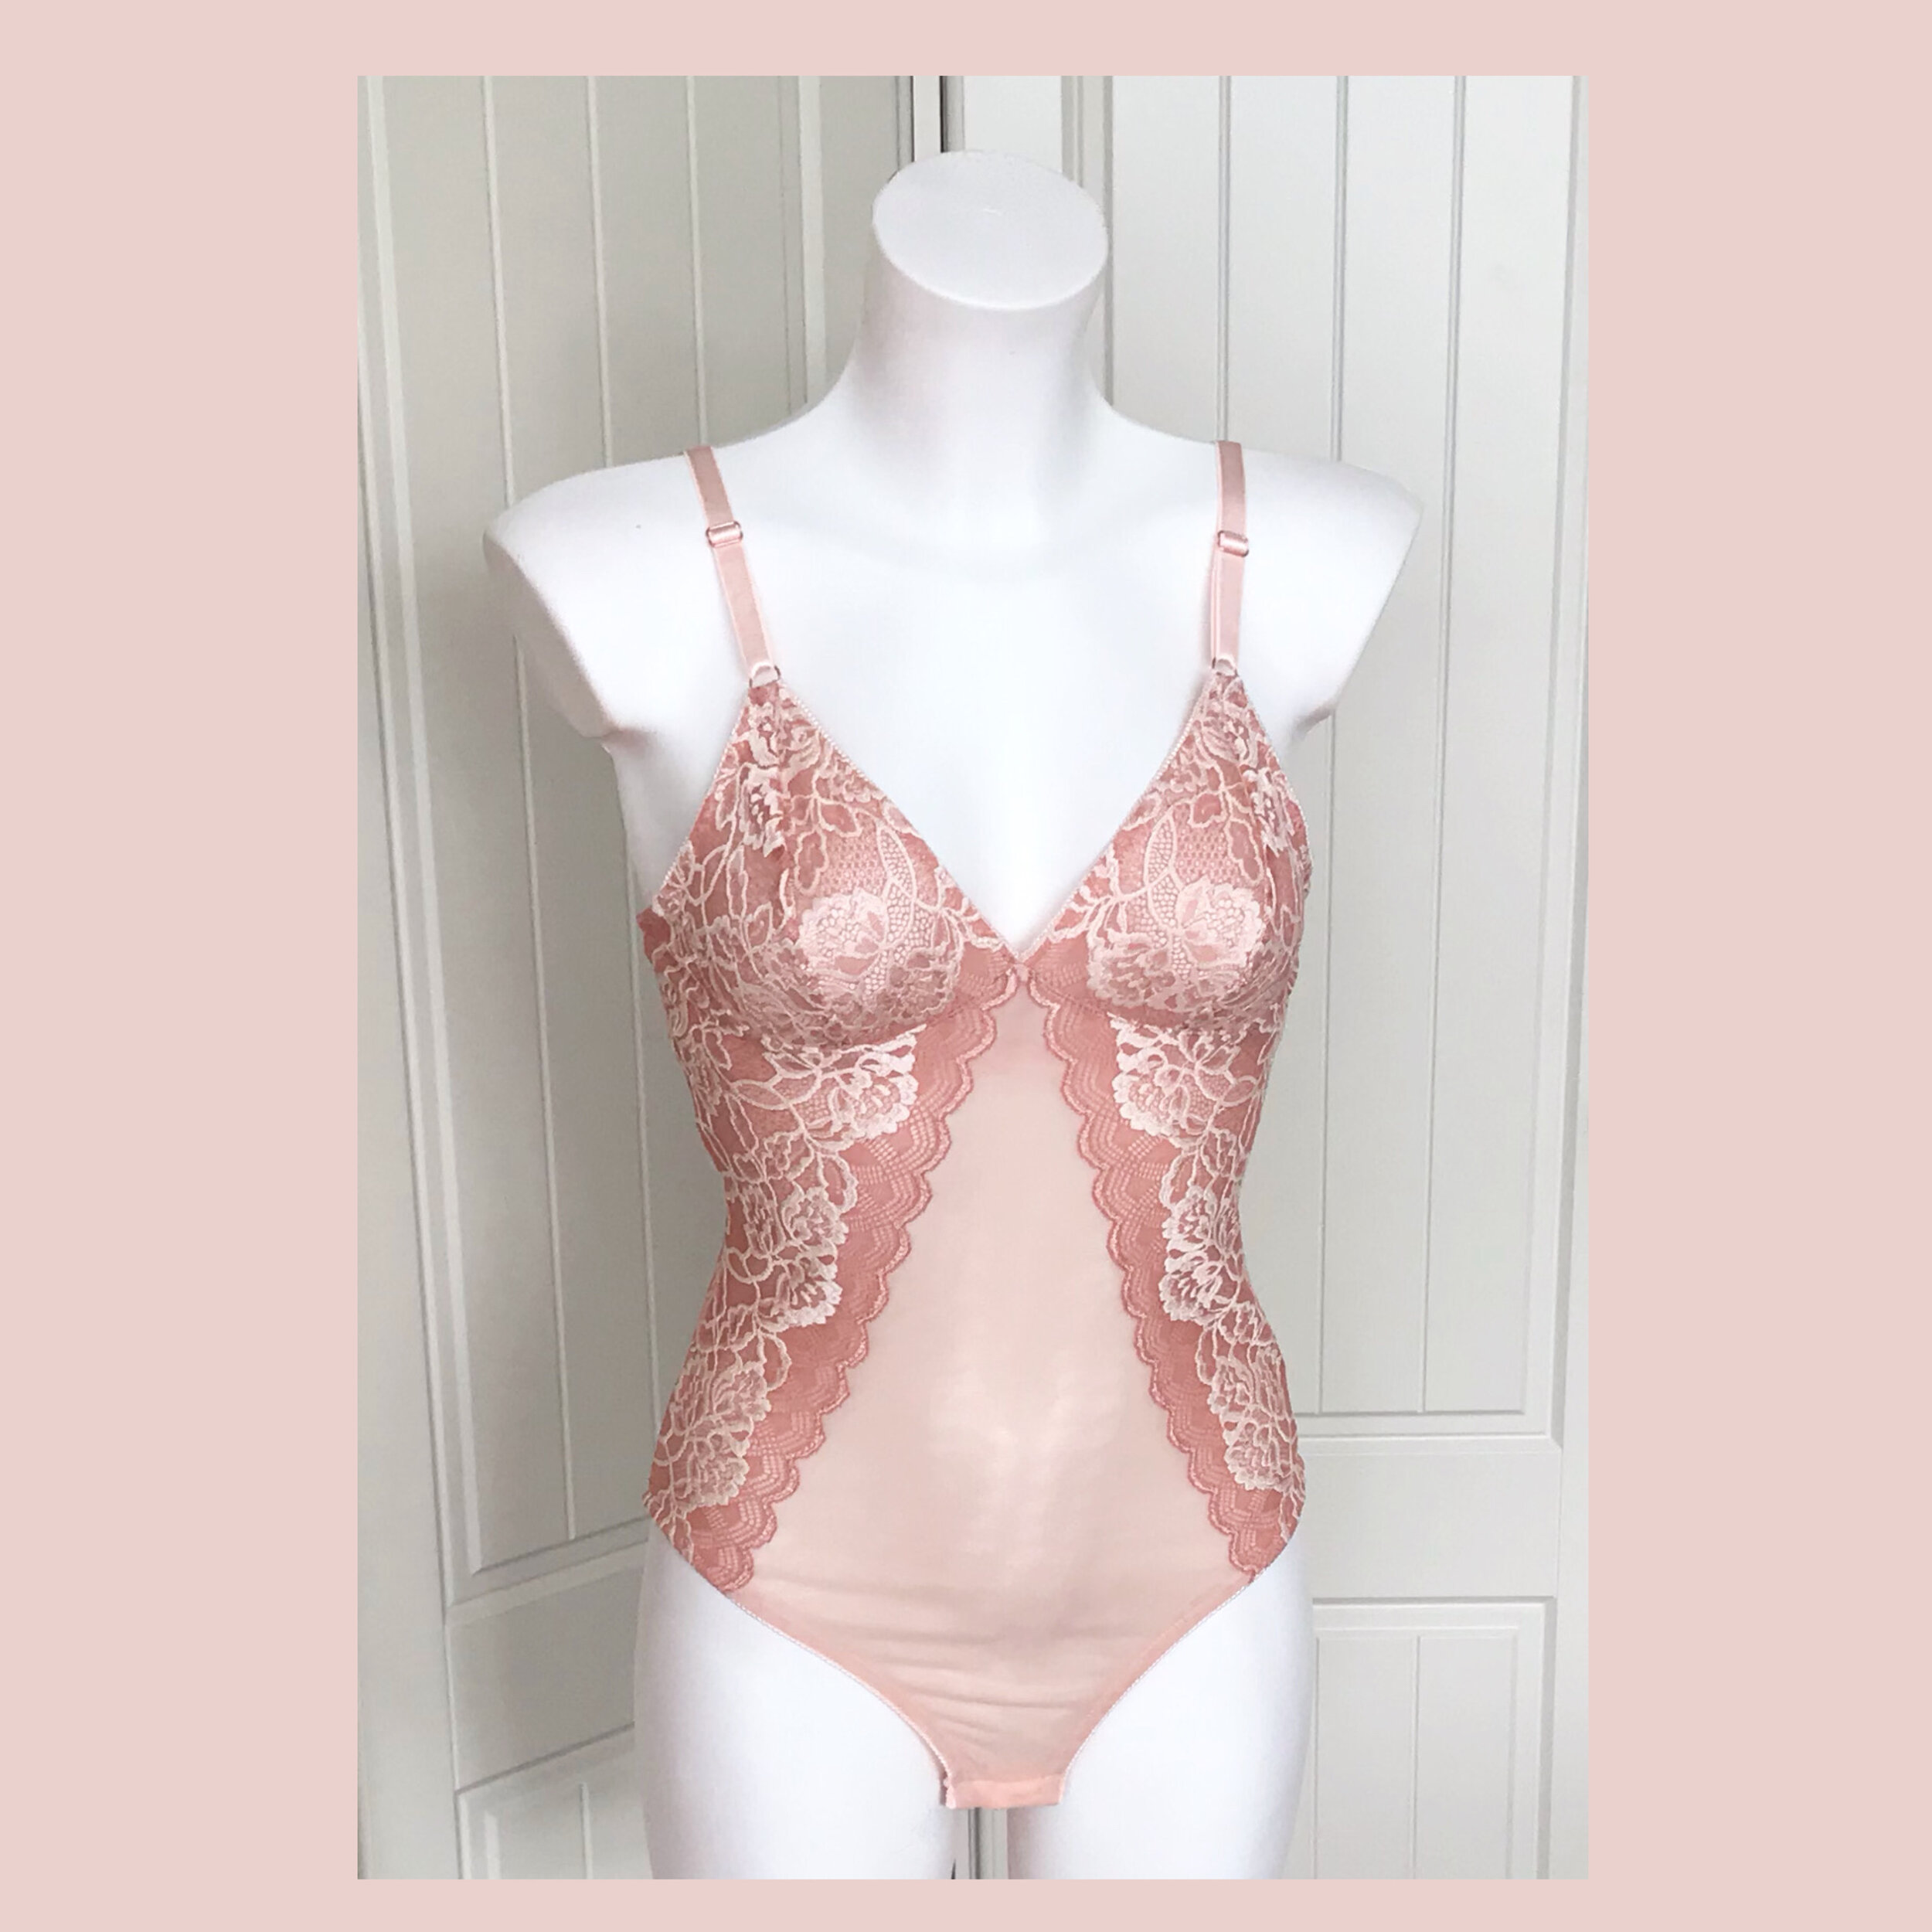
And to finish I thought would include some close ups of the finished bodysuit. Even starting with two great patterns that fit well I was still overwhelmed by how gorgeous this looks. Got so many ideas for more!