Pattern Testing and new patterns - Bodysuits and Bralettes
I love trying new patterns so I get really excited to be asked to pattern test. Even better when it is a stunning bodysuit - the Madalynne Intimates Lawren. The description is an ultra femme, form-fitting, semi-sheer lace bodysuit with cap sleeves, princess seams and a waist seam to accommodate difference bust sizes and torso lengths. Well I was blown away!

This is made using a kit provided by Madalynne after I made a test version. I would definitely recommend a test make as there are so many variables with a bodysuit but don’t be put off if you need to make alterations to the pattern as it is designed to make this as easy as possible. Madalynne has set up a Facebook group to share ideas and answer questions as well as tutorials relating to size and fit.
My measurements indicated I needed a large bodice with e/f cup, medium waist and small hips. Looking at the pattern pieces I decided to try a straight medium with the c/d cup for the test make. At 5ft 6” I am in the height range and roughly a balanced torso so for my test I made this up without any torso adjustments.
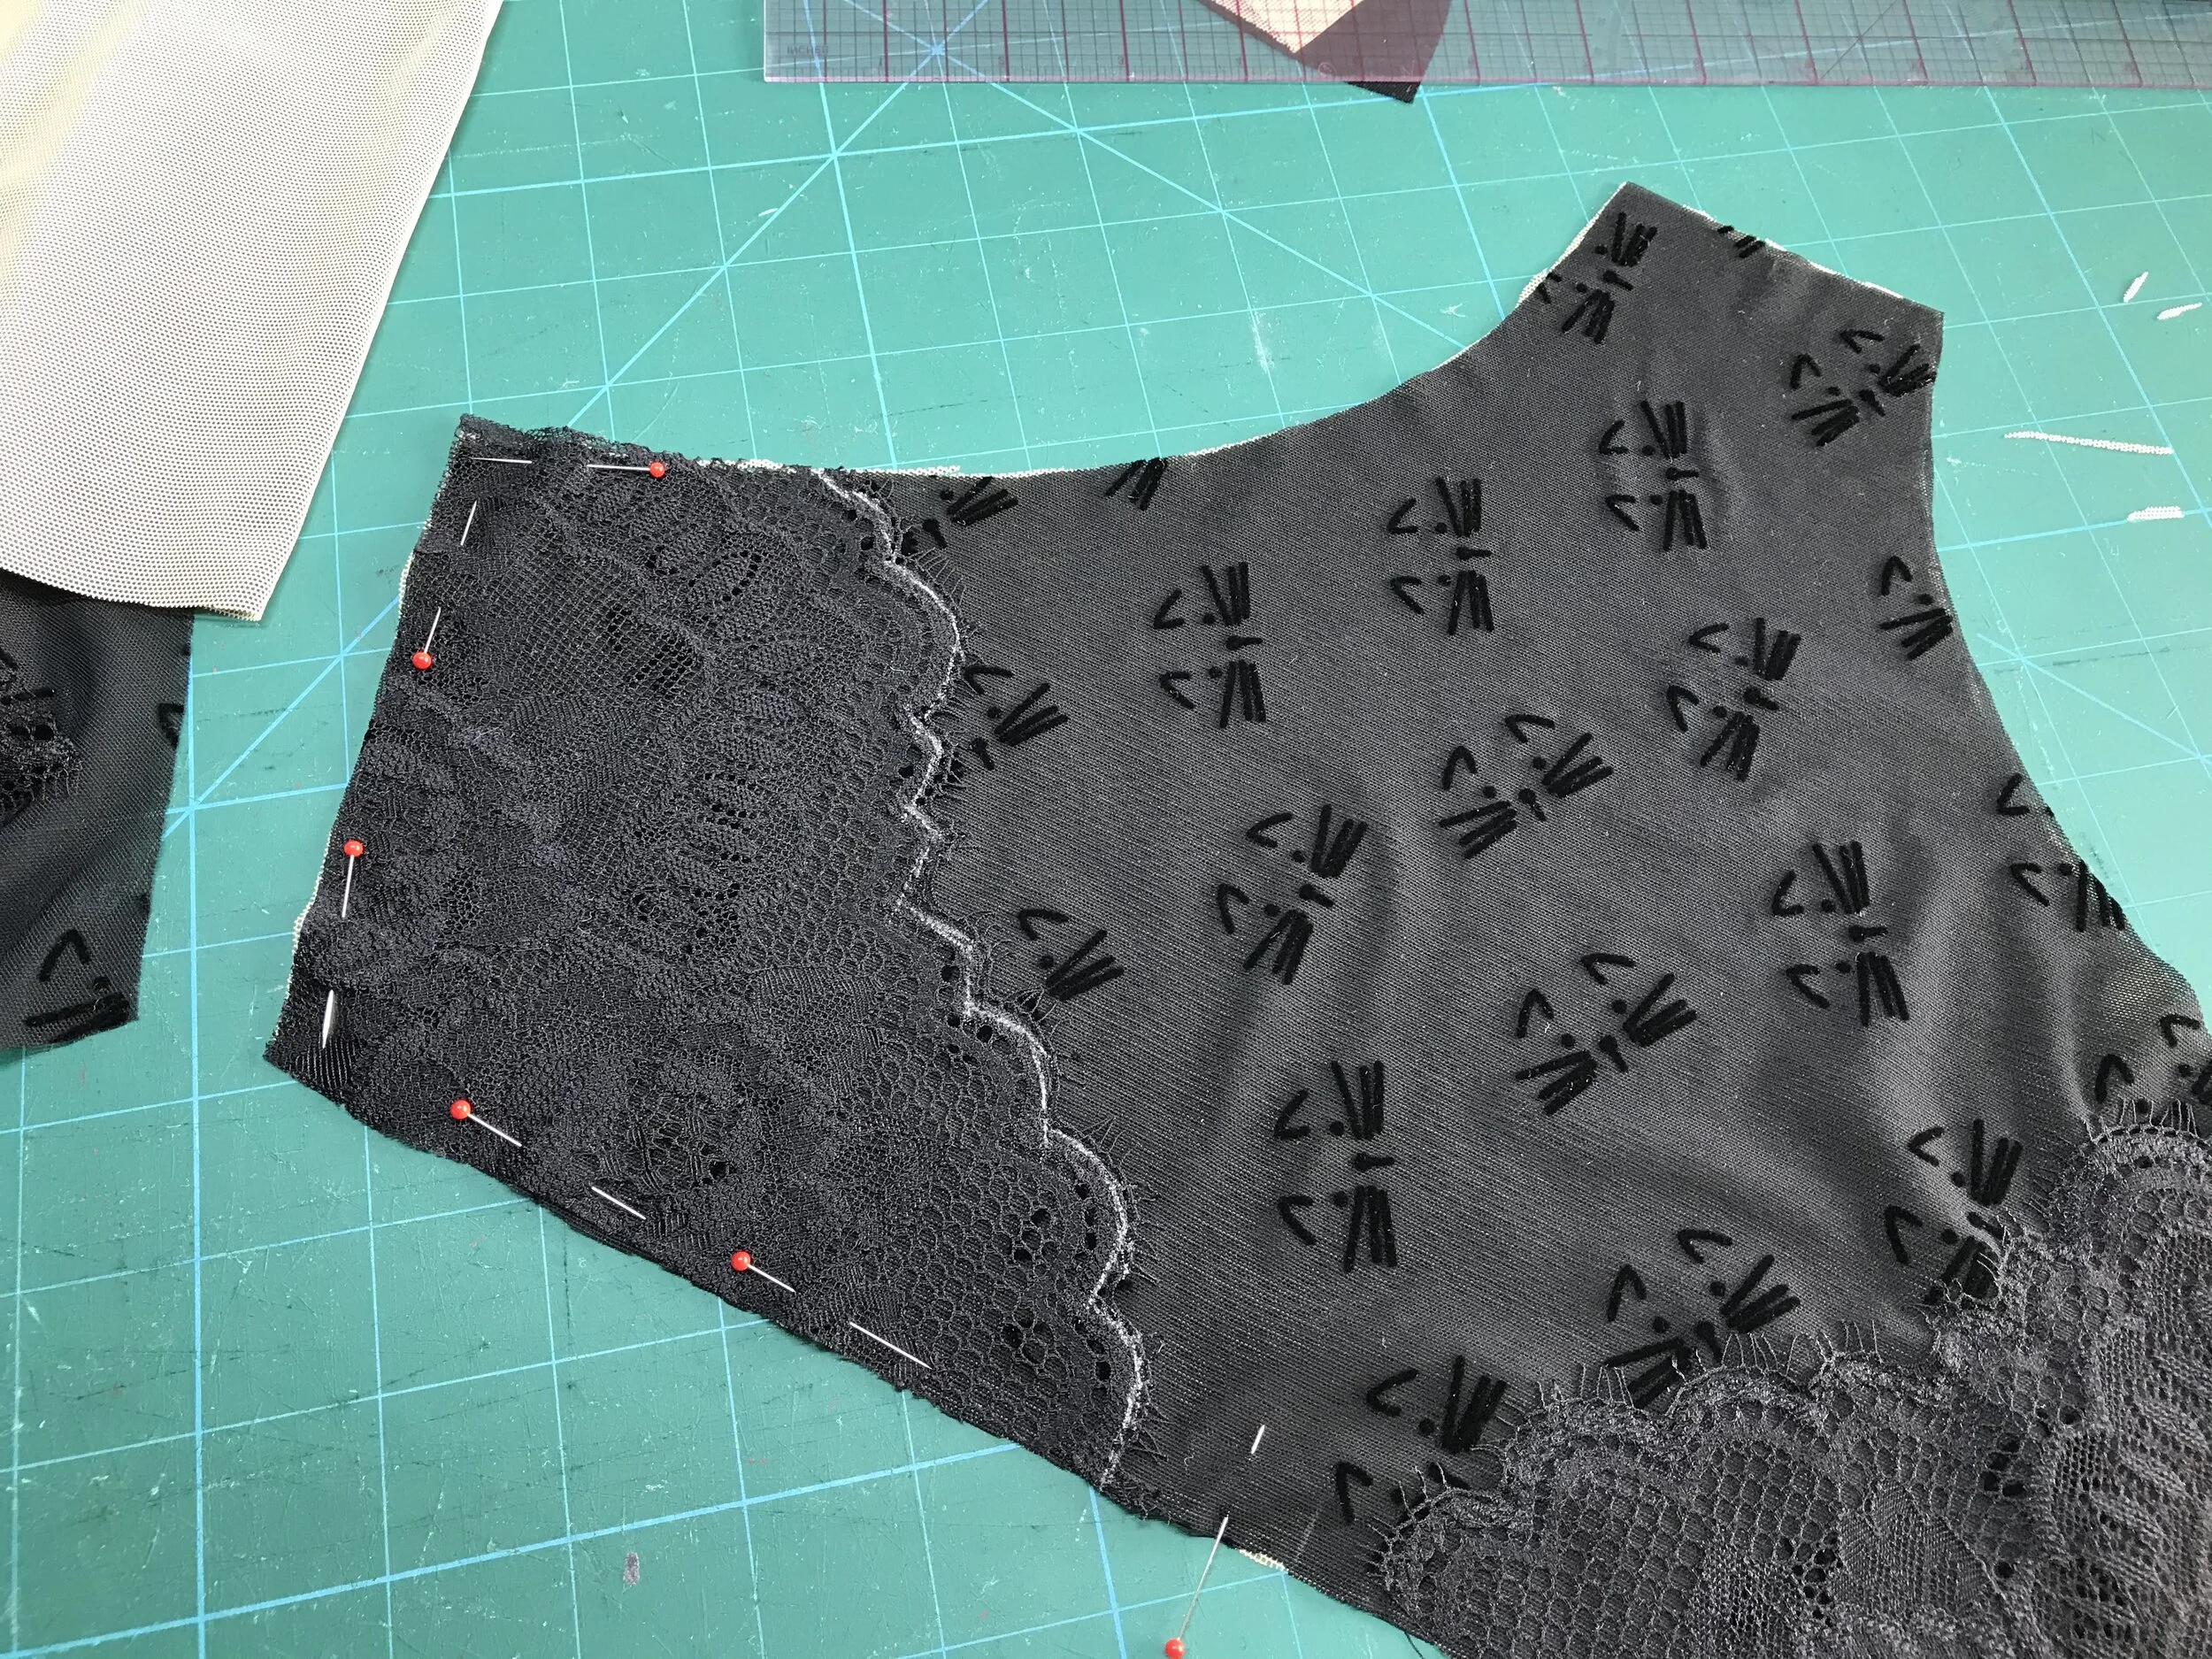
The beauty of this pattern is that you can play around with fabrics and lace placements especially for the test make. You do need quite wide lace for the bodice side panels but I didn’t have any lace wide enough so omitted these. I also didn’t have enough of the main fabric so instead I used a stretch lace fabric for the back bodice.

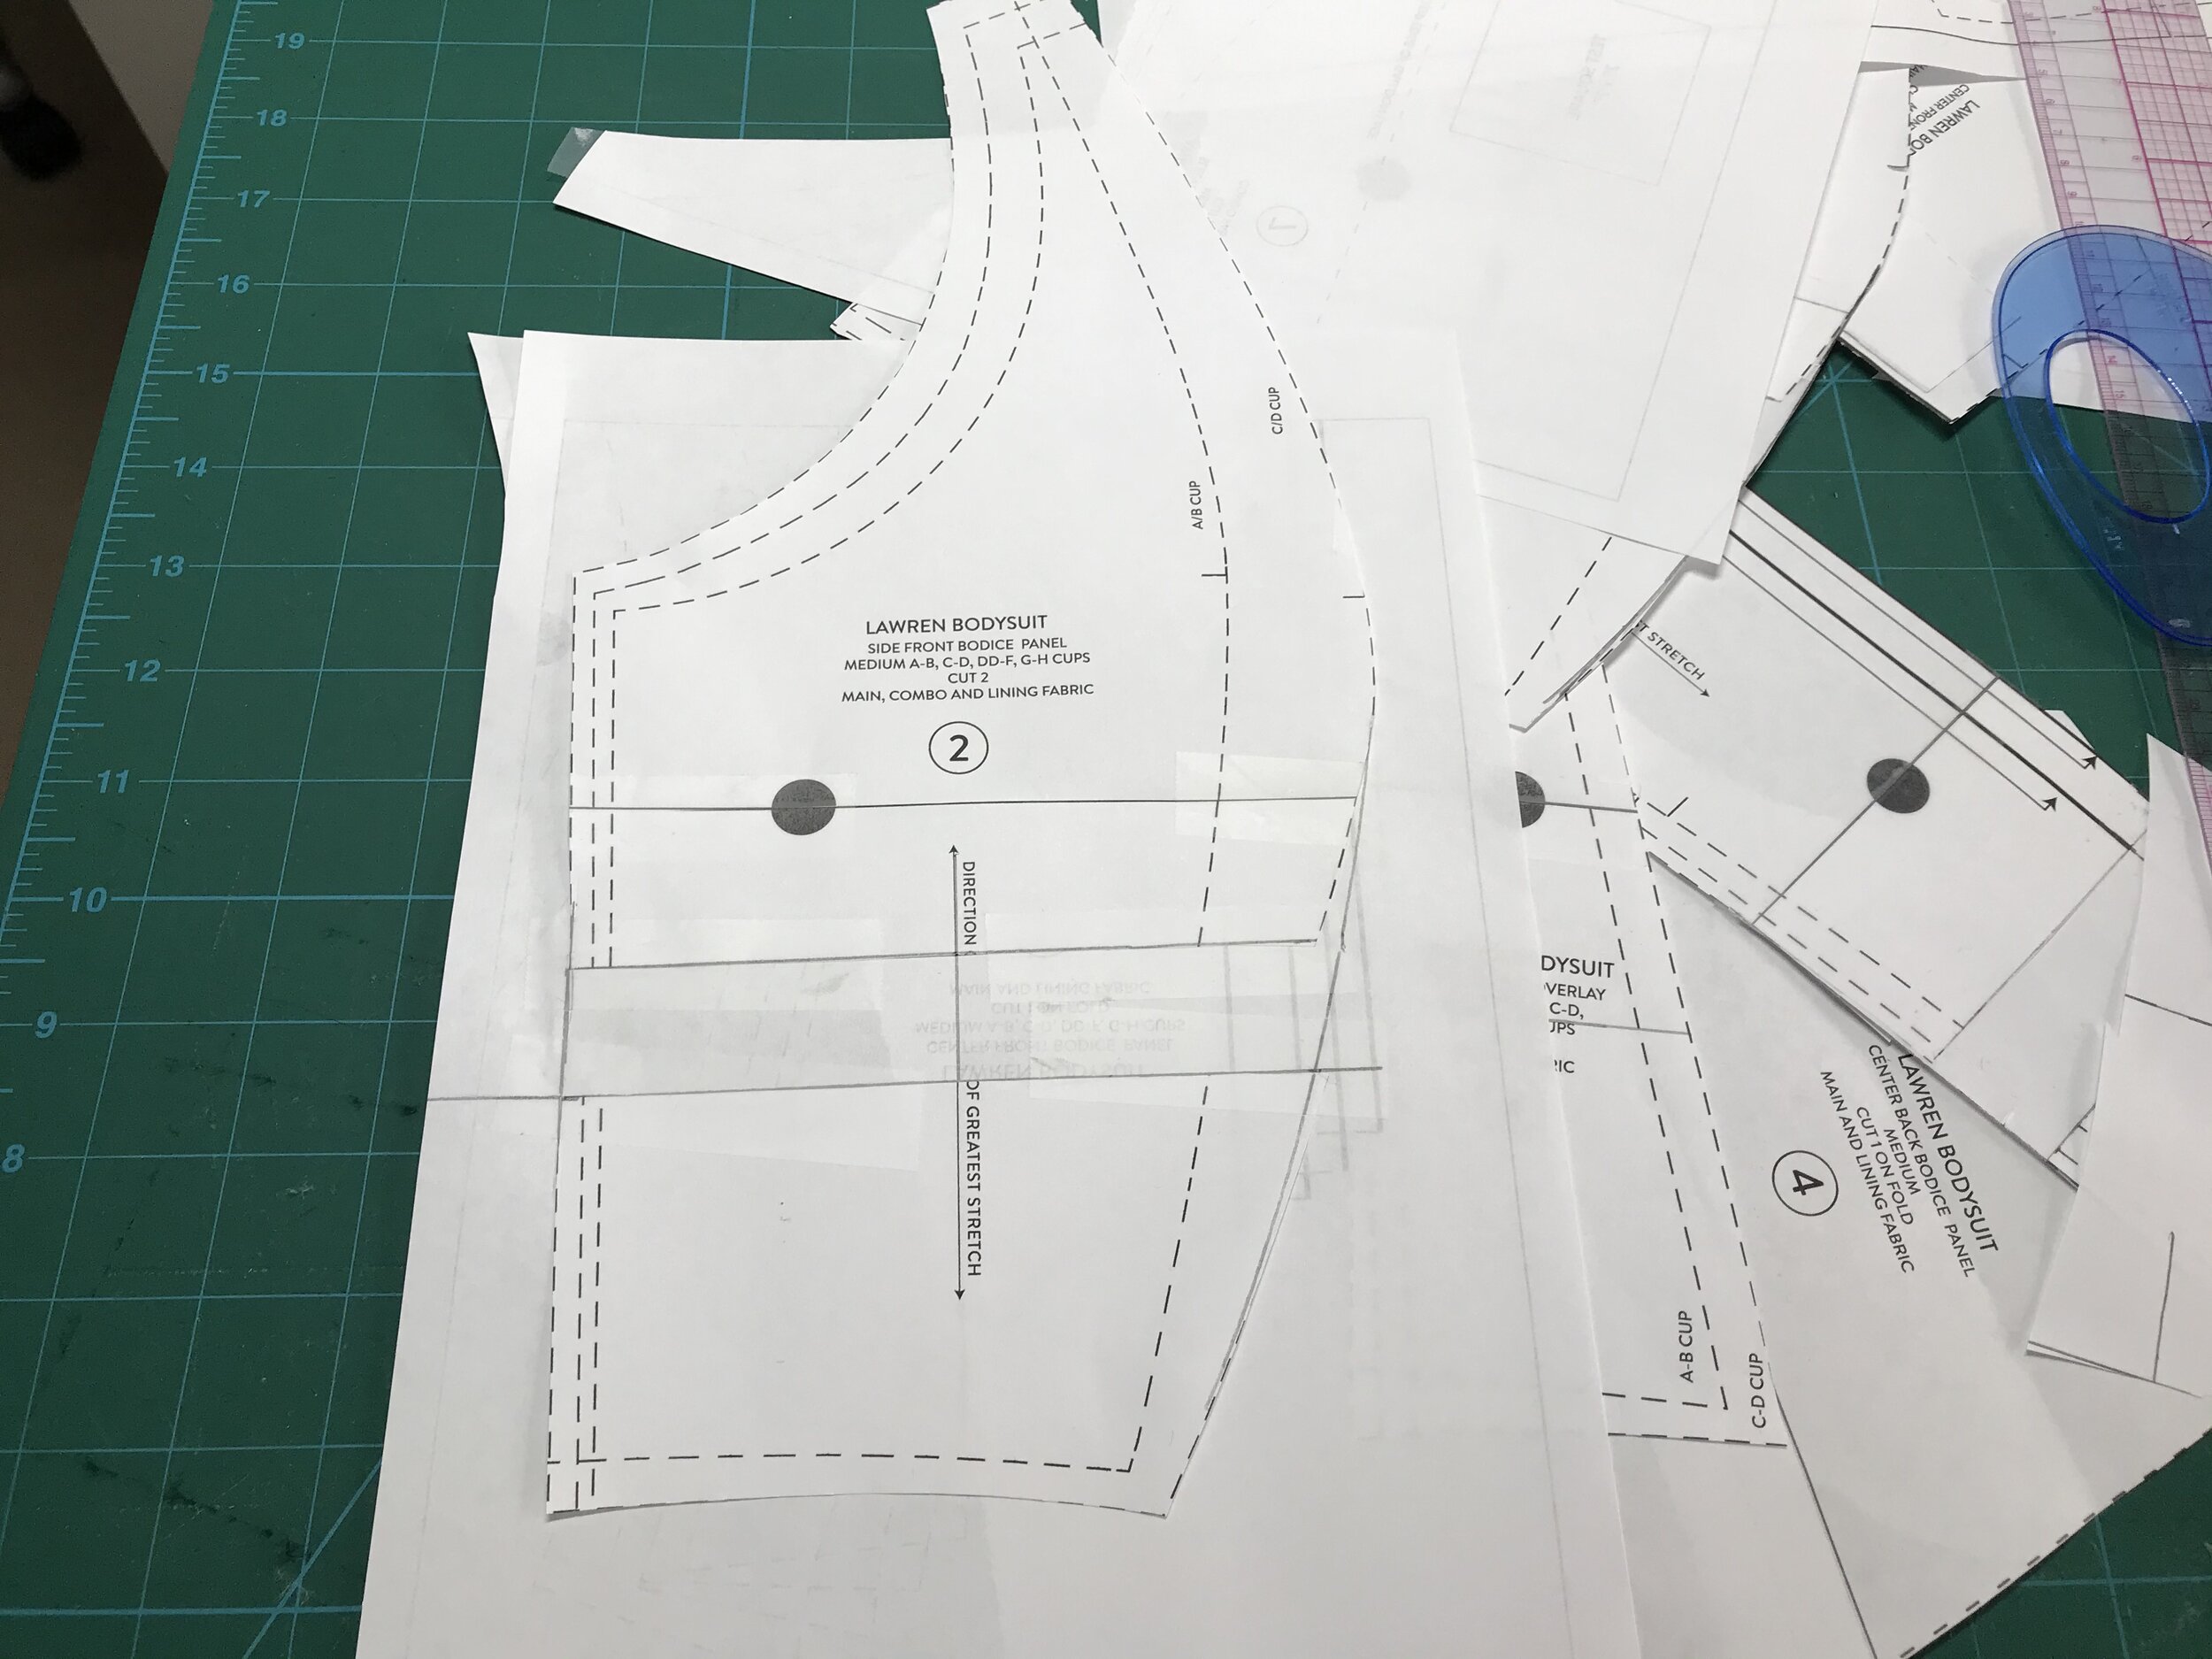
It fit perfectly except it was too short in the bodice. As it fit comfortably around the arms and bust I knew to adjust below this. With the body suit on I tied a piece of elastic around my natural waist and got my helper to measure the distant between the waist seam and the elastic. The adjustment has to be made to the centre front, side and back pieces.
I did this by drawing two parallel lines 1” apart, the adjustment I needed, on a piece of paper wider than the pattern piece. I cut my pattern piece perpendicular to the DOGS and aligned the bottom piece on the lower horizontal line. I drew a line up from the DOGS and then placed the top piece on the upper horizontal line lining up the DOGS line. Then using a curved ruler I smoothed between the two pieces ensuring it fit the front panel piece (truing).
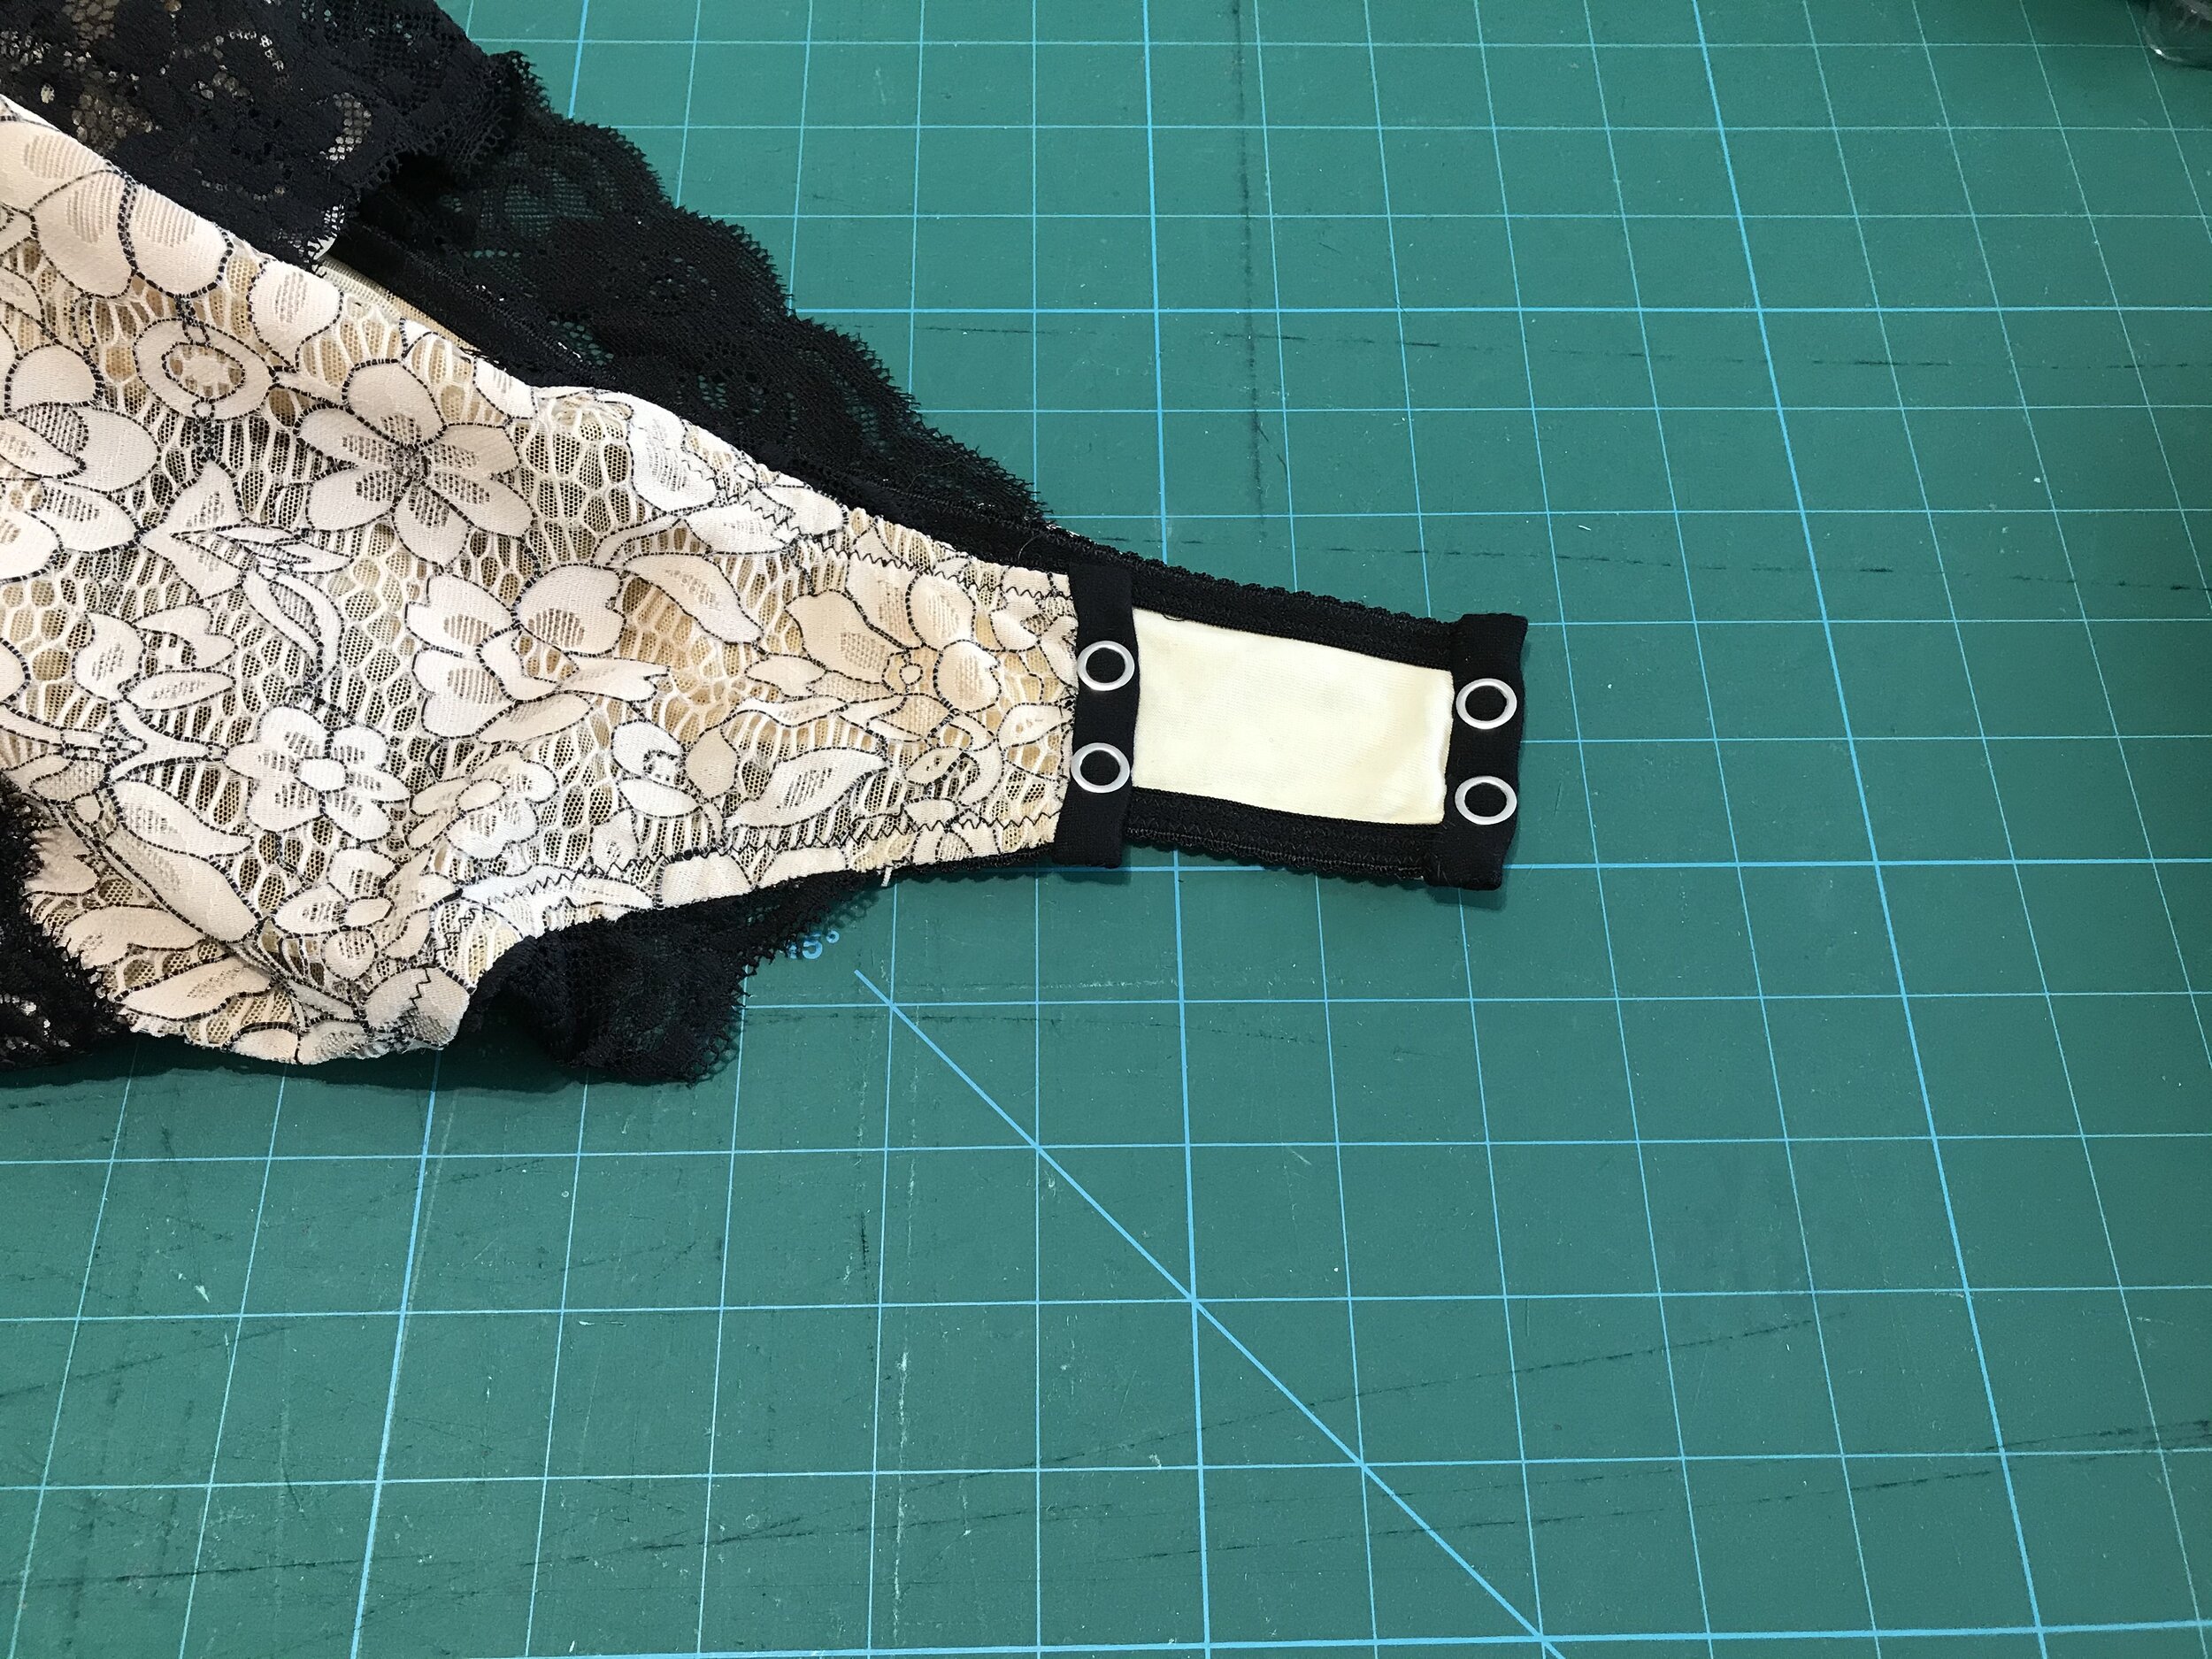
I followed the instructions for both makes. When making the kit version I did struggle to see the edge of the lace. So I drew around the edge with chalk which really helped. The bodysuit can be made with or without the snap closure but I chose to use for both makes. I didn’t have any tape so I made my own using stabilised bamboo jersey. For the test I used Prym jersey fasteners which are metal and for the kit I used plastic. I would recommend three rather than the two used for the test version.

I absolutely love this pattern and have a cream and rose kit on order as well as snap tape in black and white. I thought I would also mention the great size range with four cup sizes for each size.
Another perfect fit was the Bratobe Forme bralette which I also had the opportunity to test. I sent six measurements and was given a custom fit pattern. I tested in a gorgeous stretch dot lace from Tailormade and just had to make a set when it fitted so perfectly.
As the bralette is all lace I wanted to use as much as this as possible for the underwear but as it can’t be mirrored I didn’t want to use my usual patterns. I often just make up as go along and decided use the Orange Lingerie Montgomery as a base.
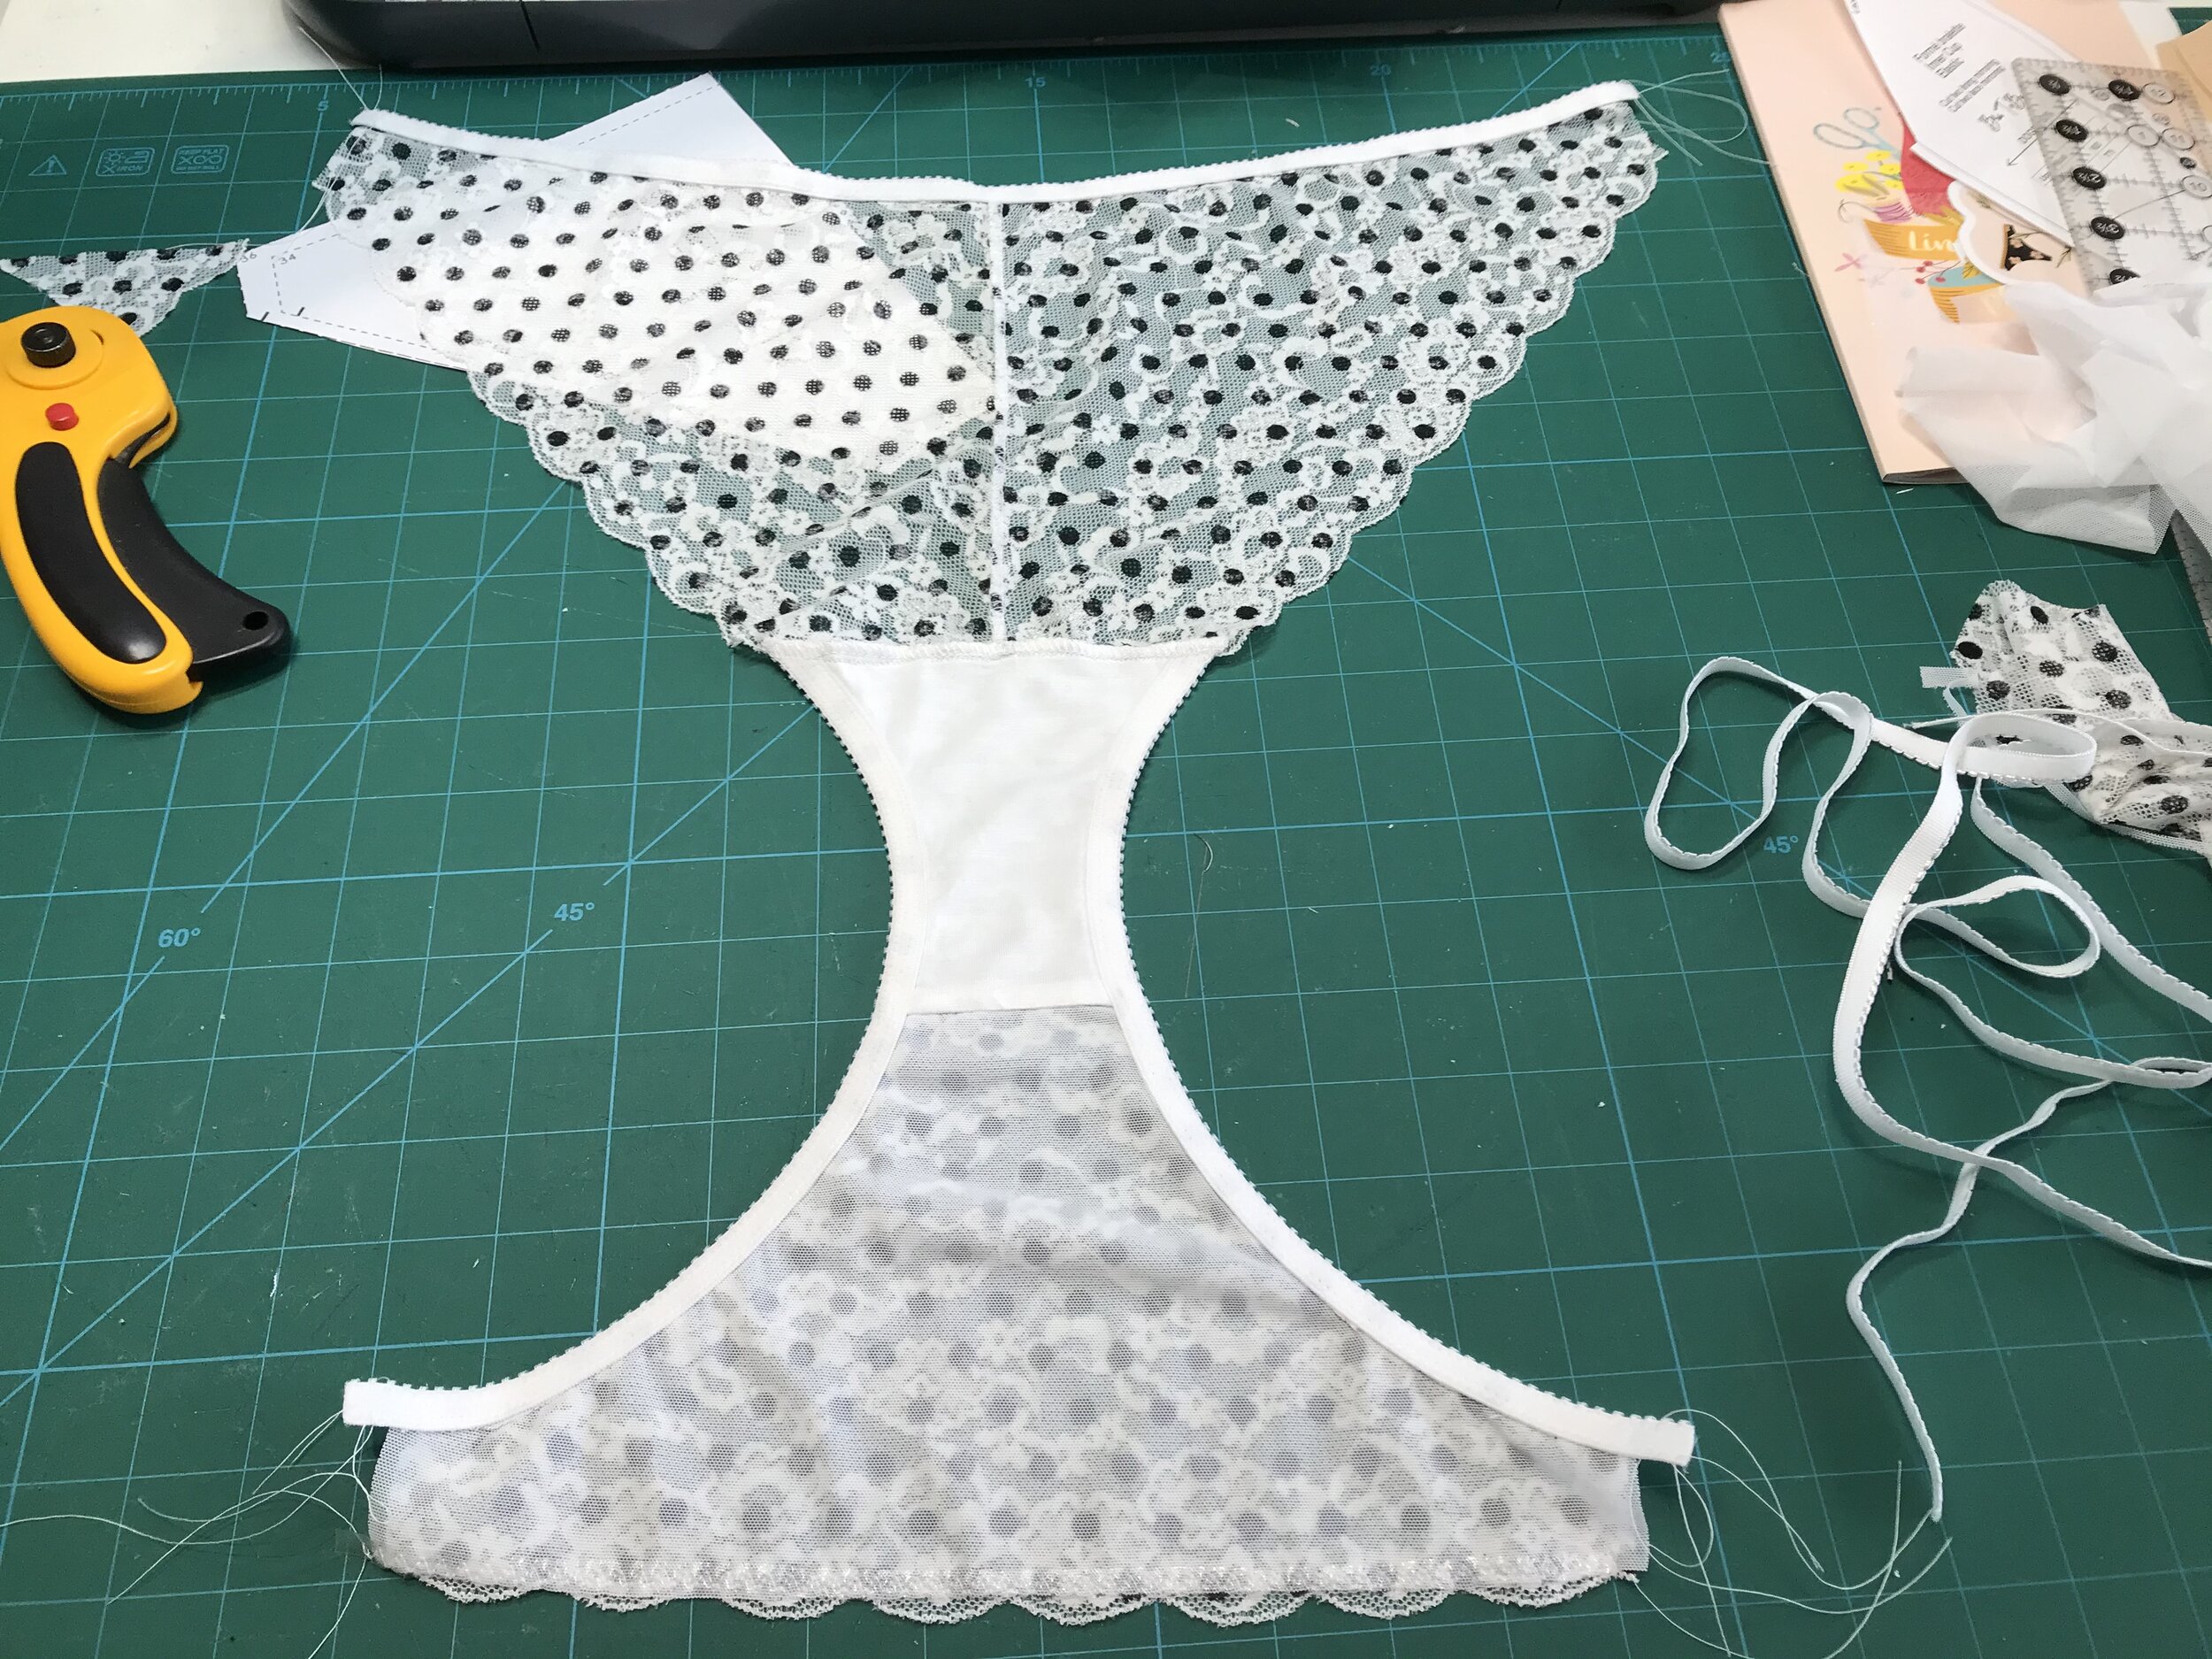
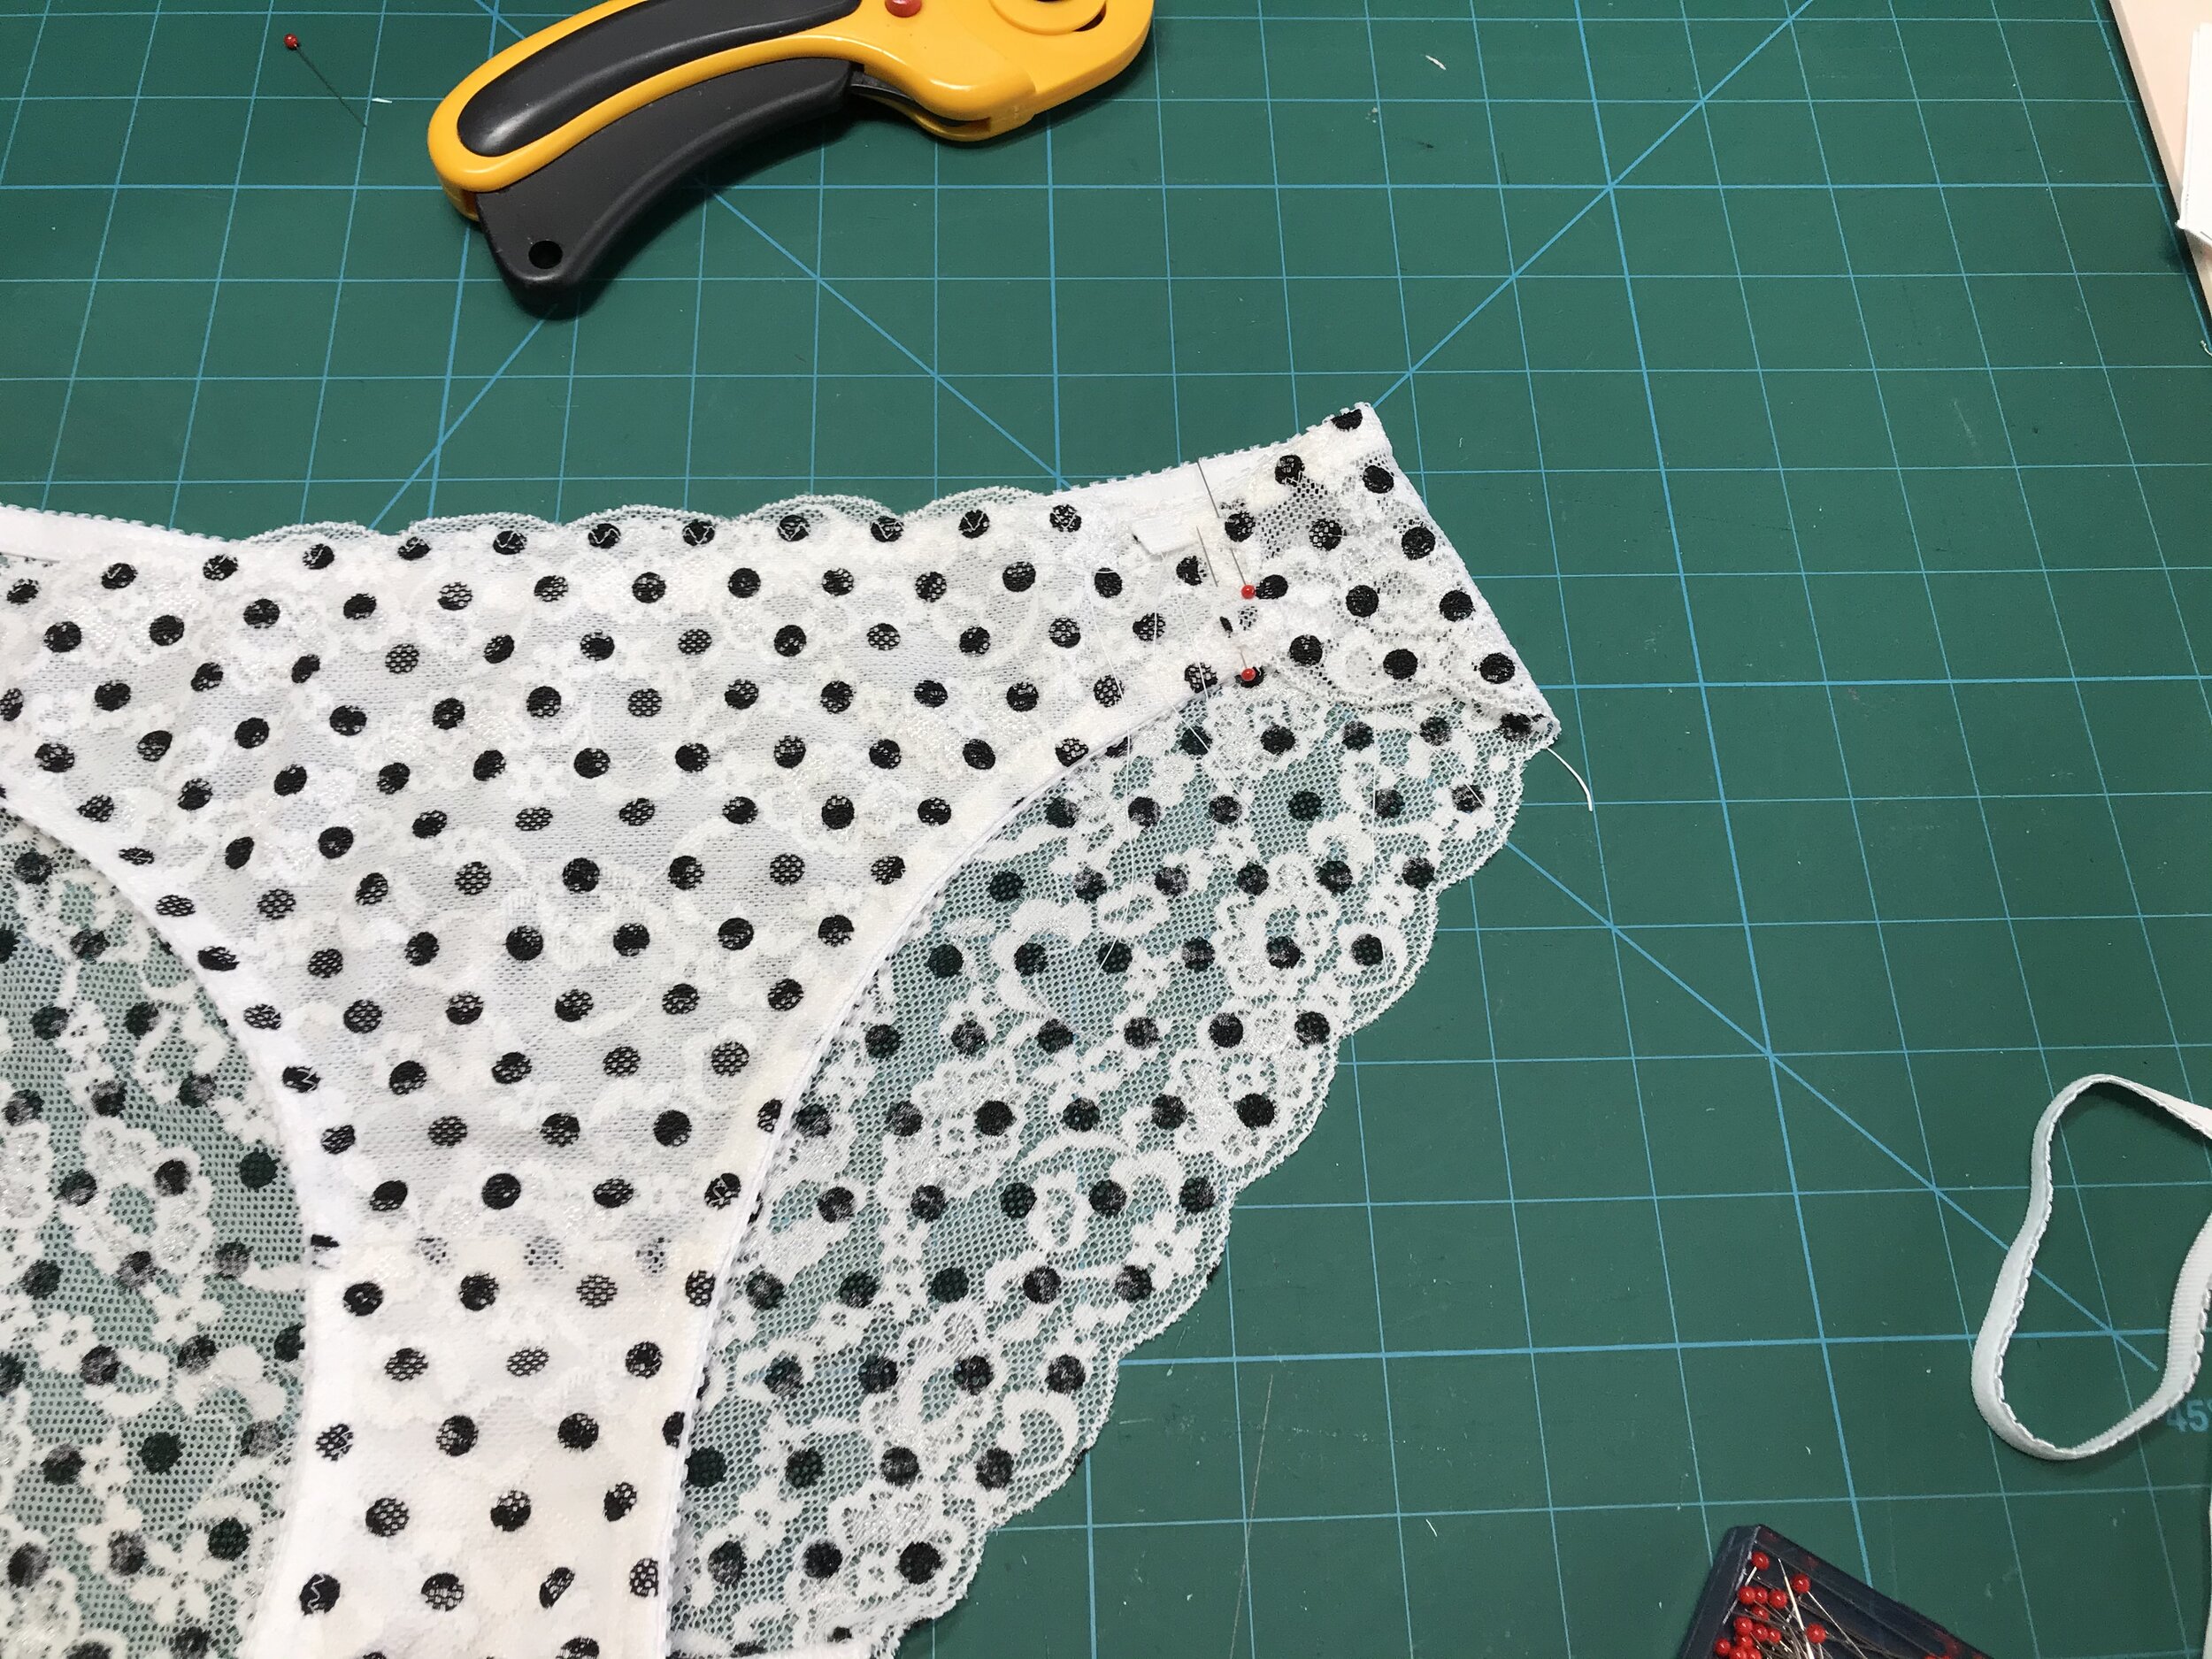
I made the front as normal. For the back I folded the pattern piece in half at the leg line and used this as a pattern piece placing the scallop edge of my lace on this line. I attached to the front at the gusset and used pins to mark where I wanted the side piece. Then I traced off the portion of the back that I wanted to use for the sides and I doubled the length of this piece so I could gather into the side seams.
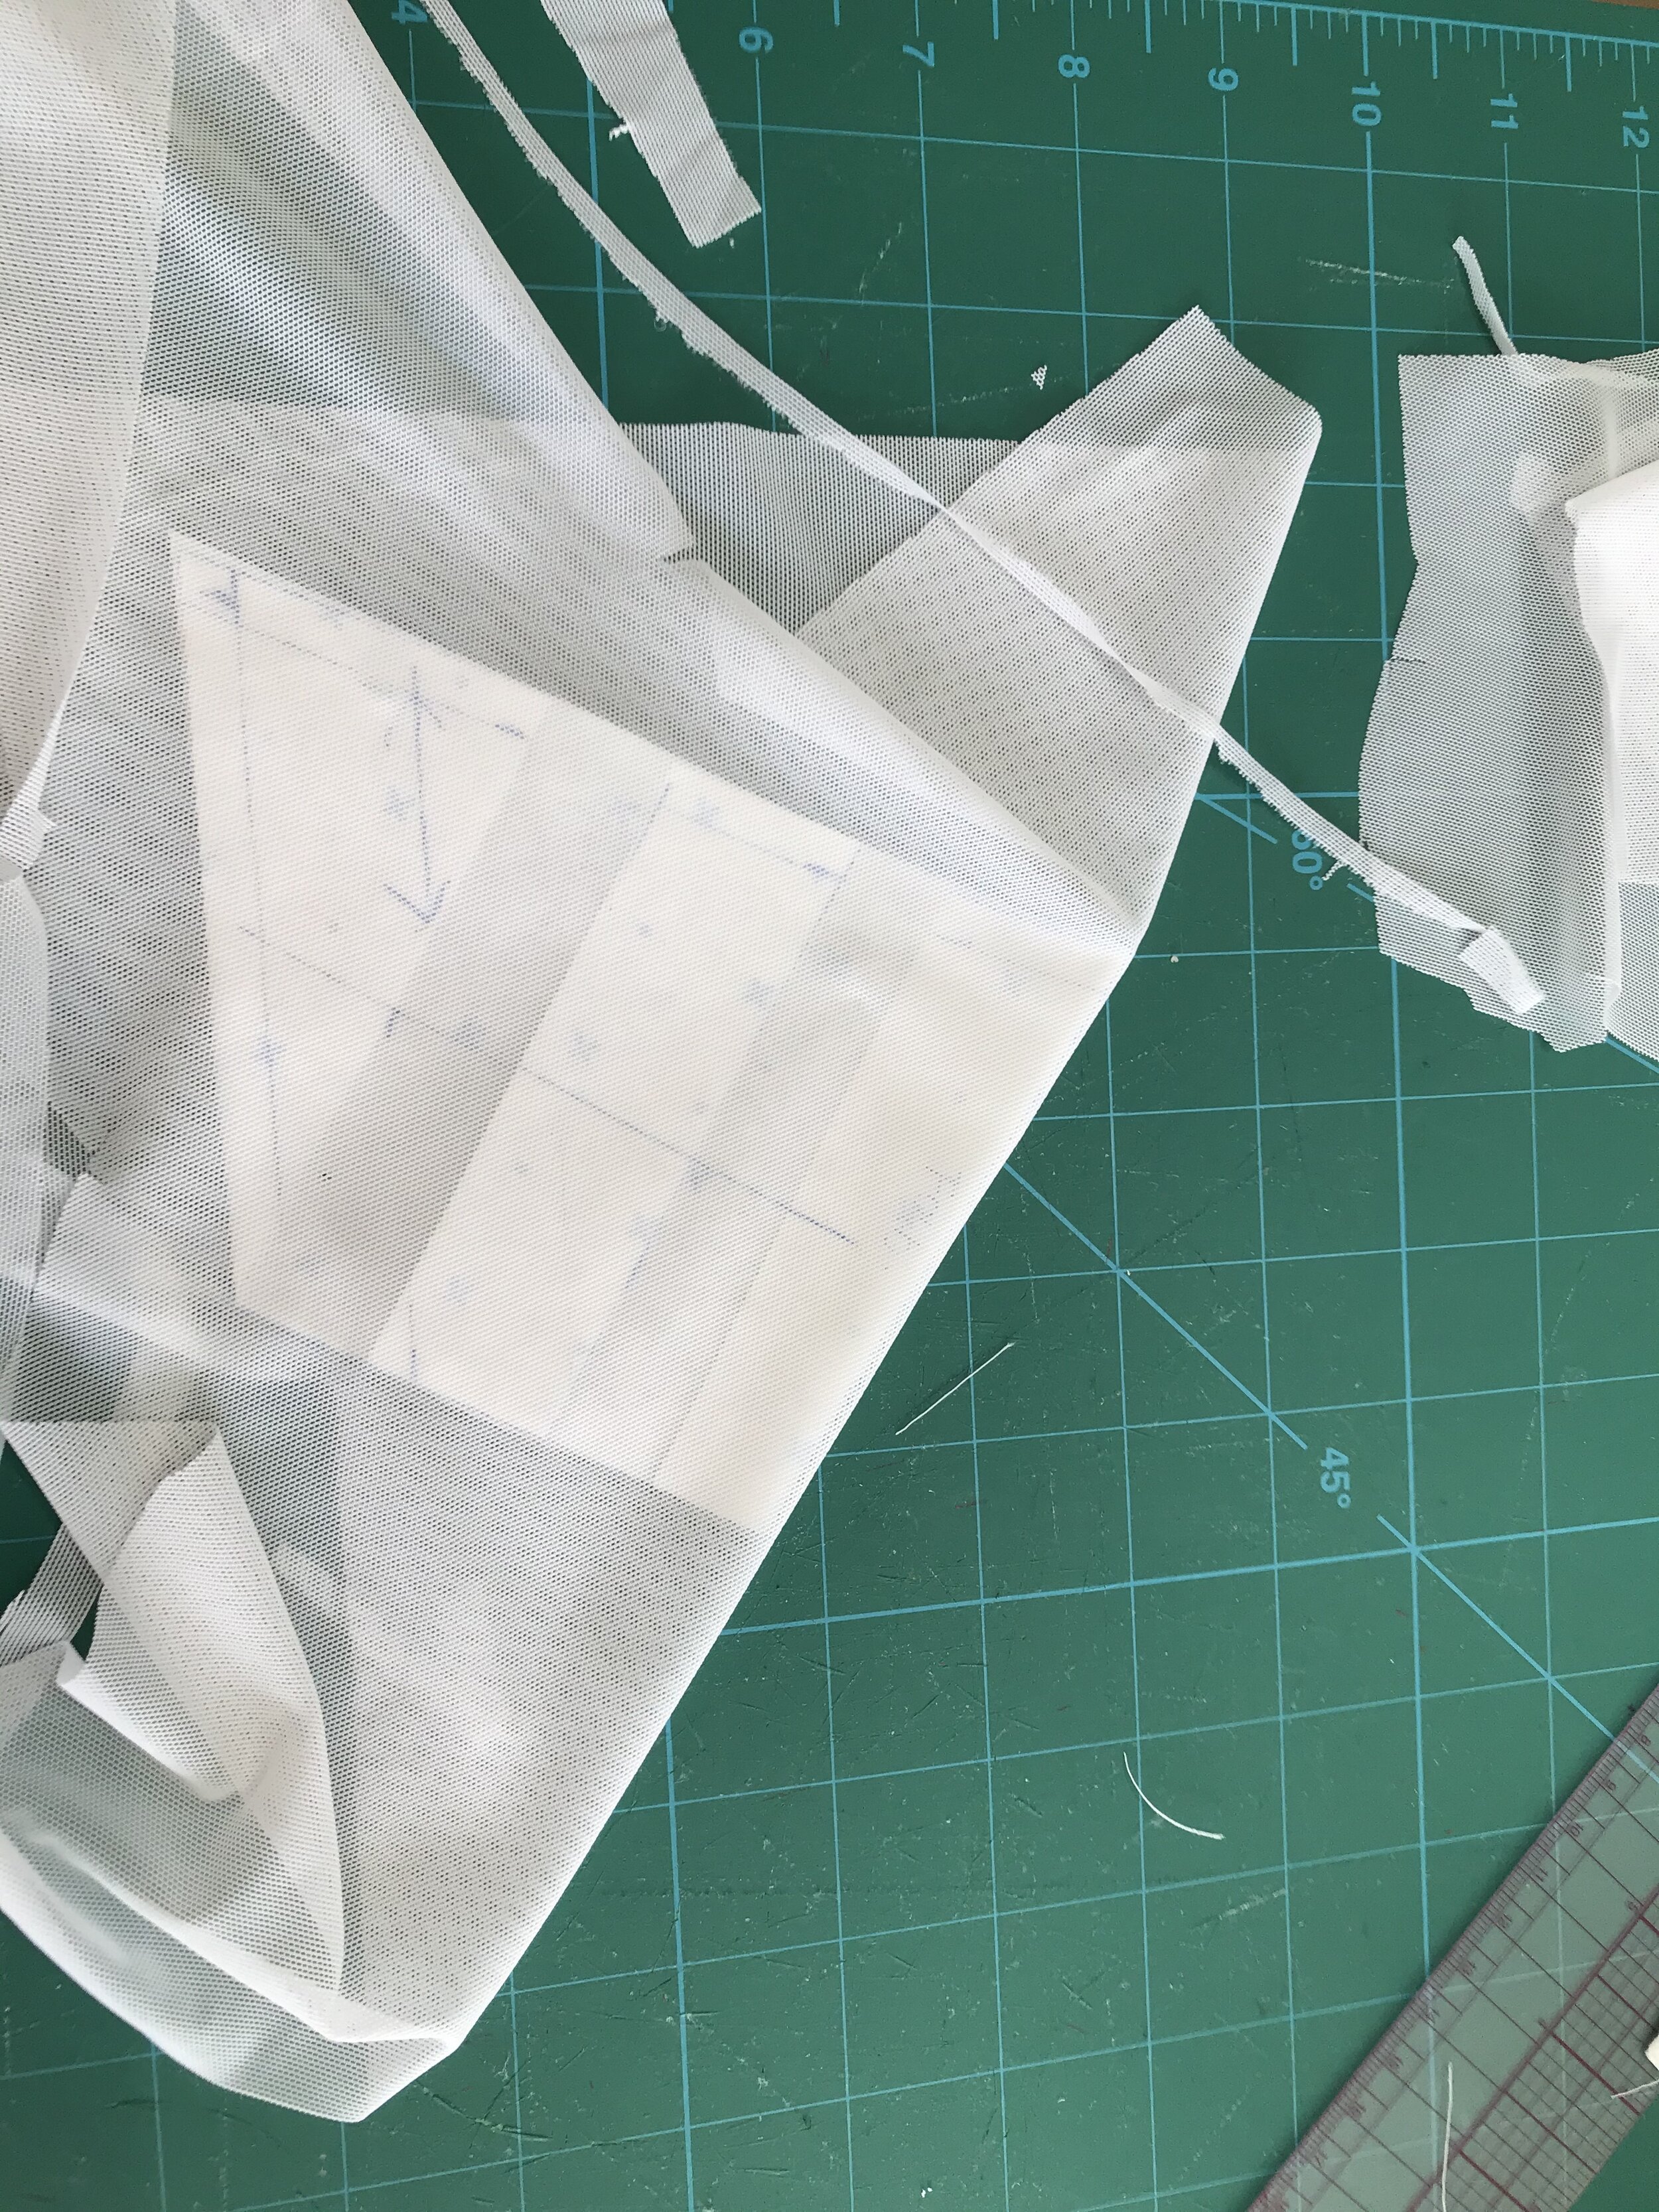
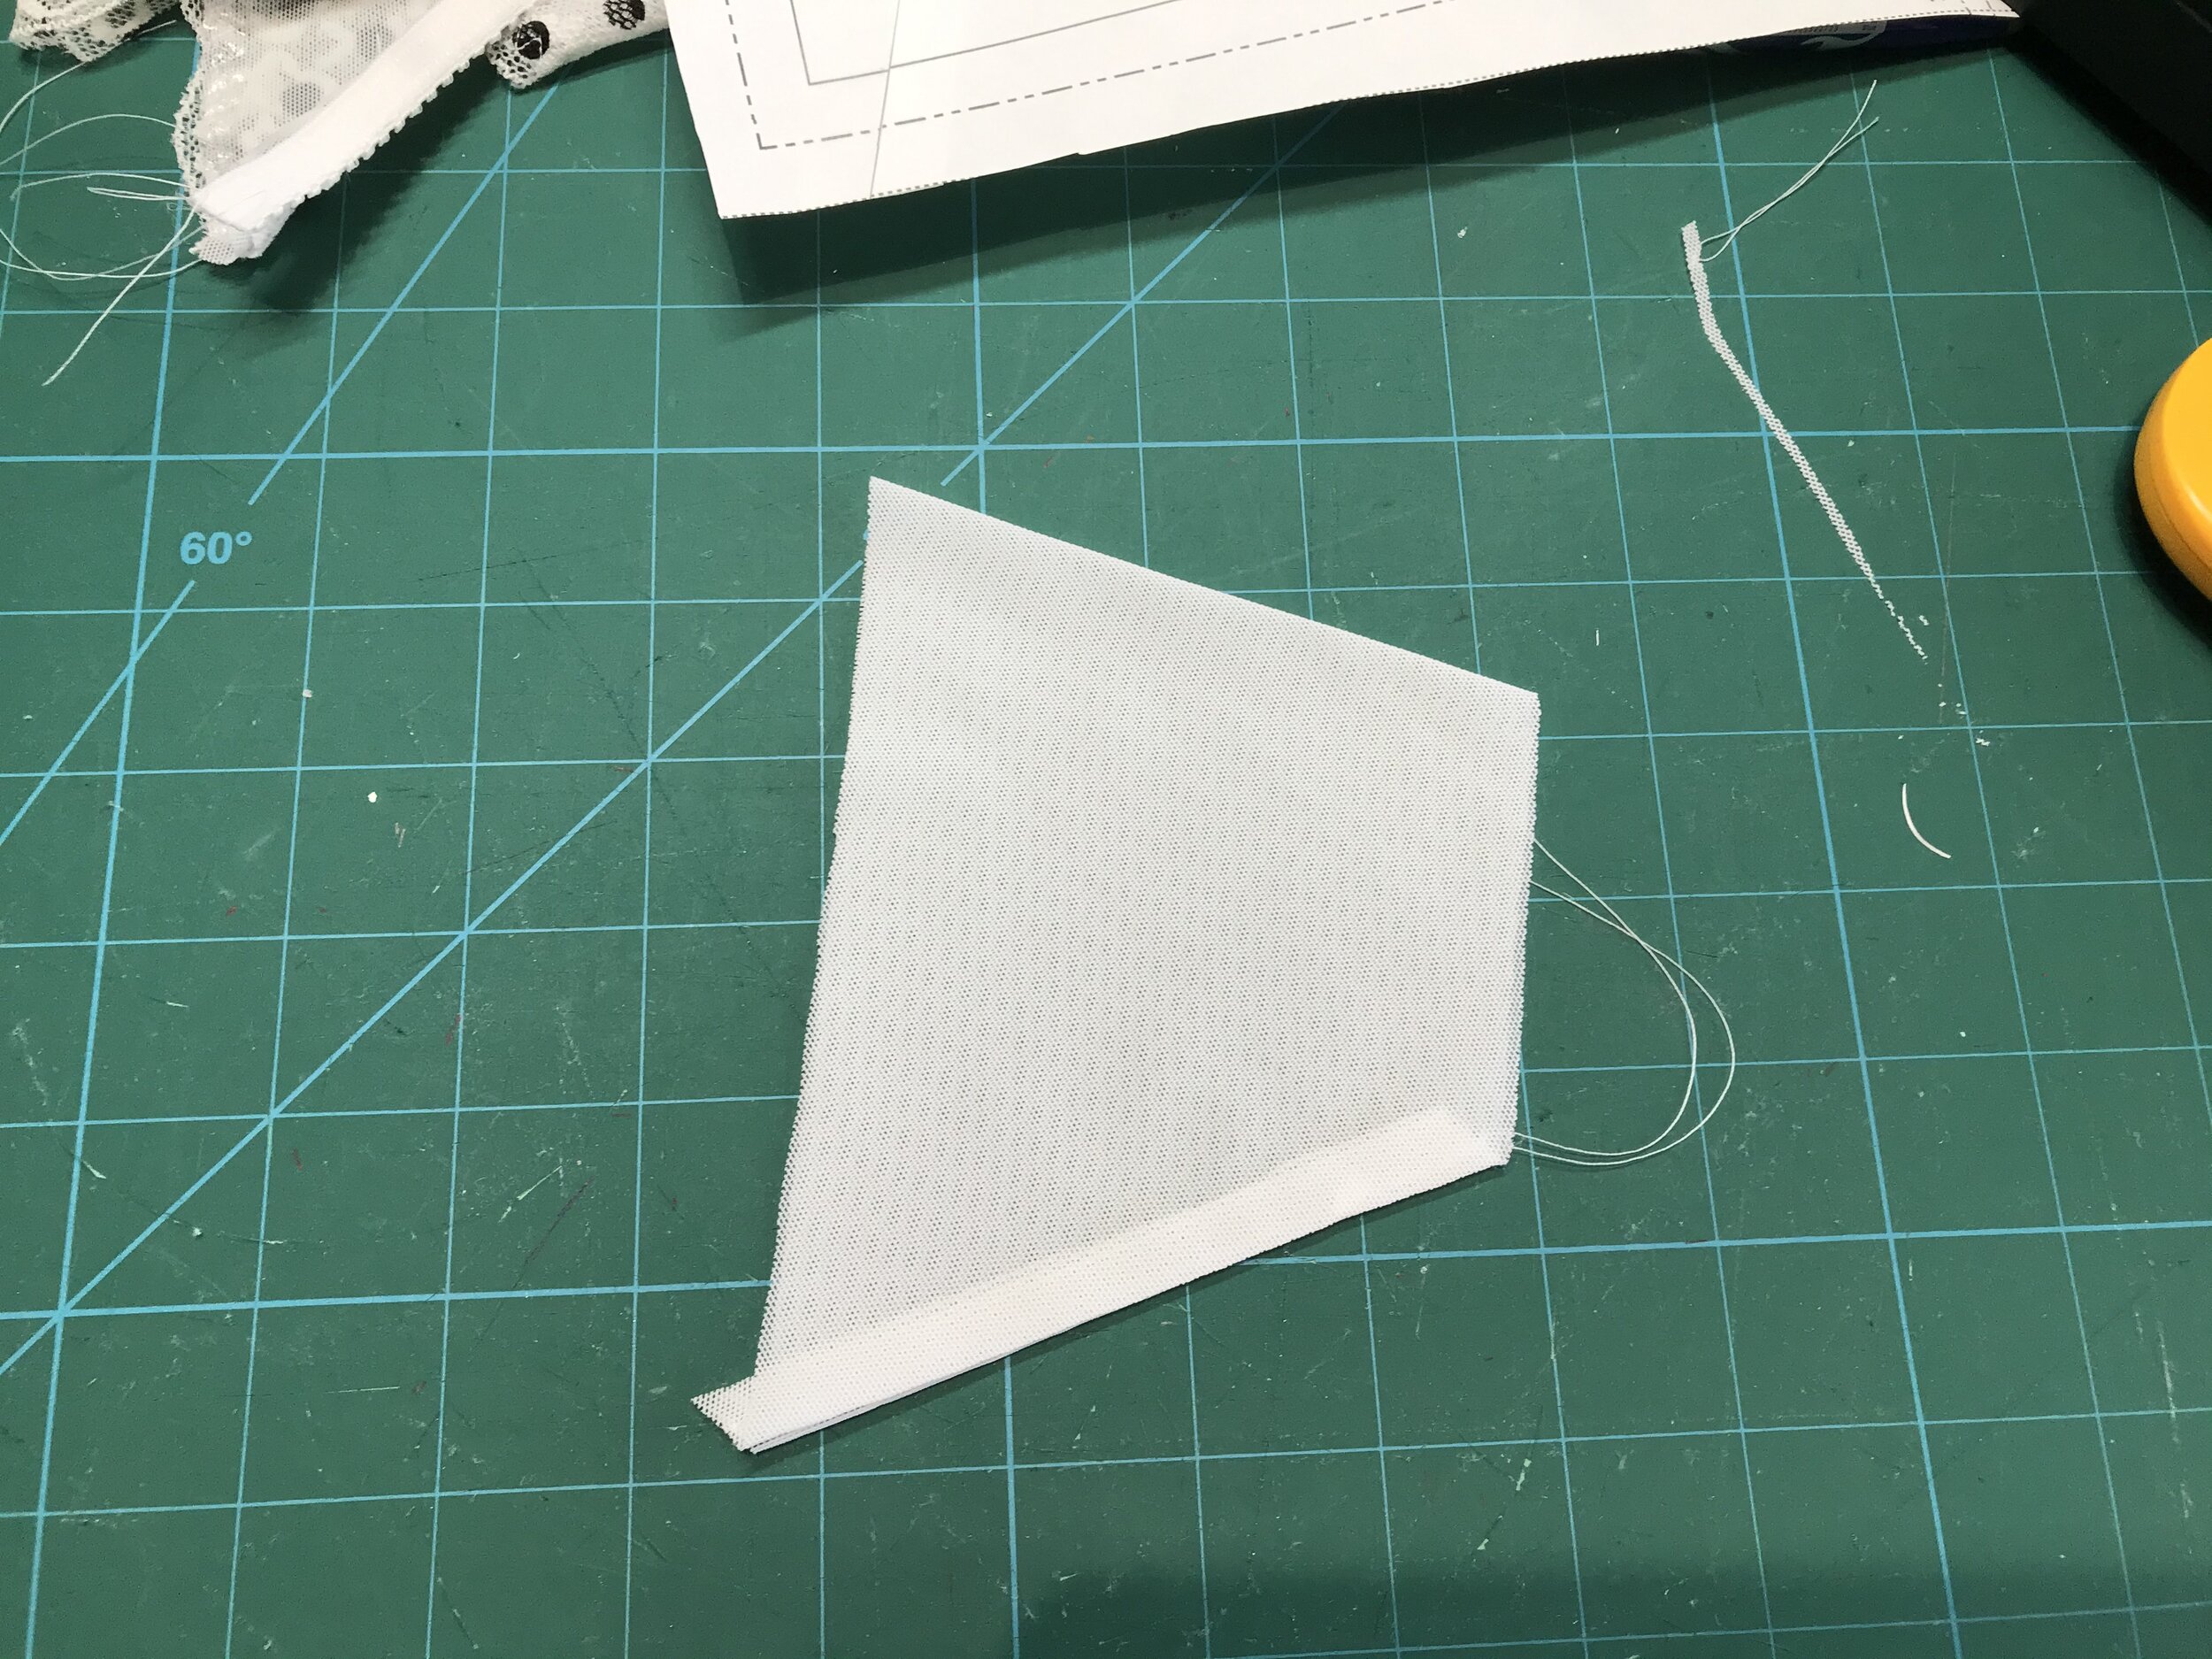
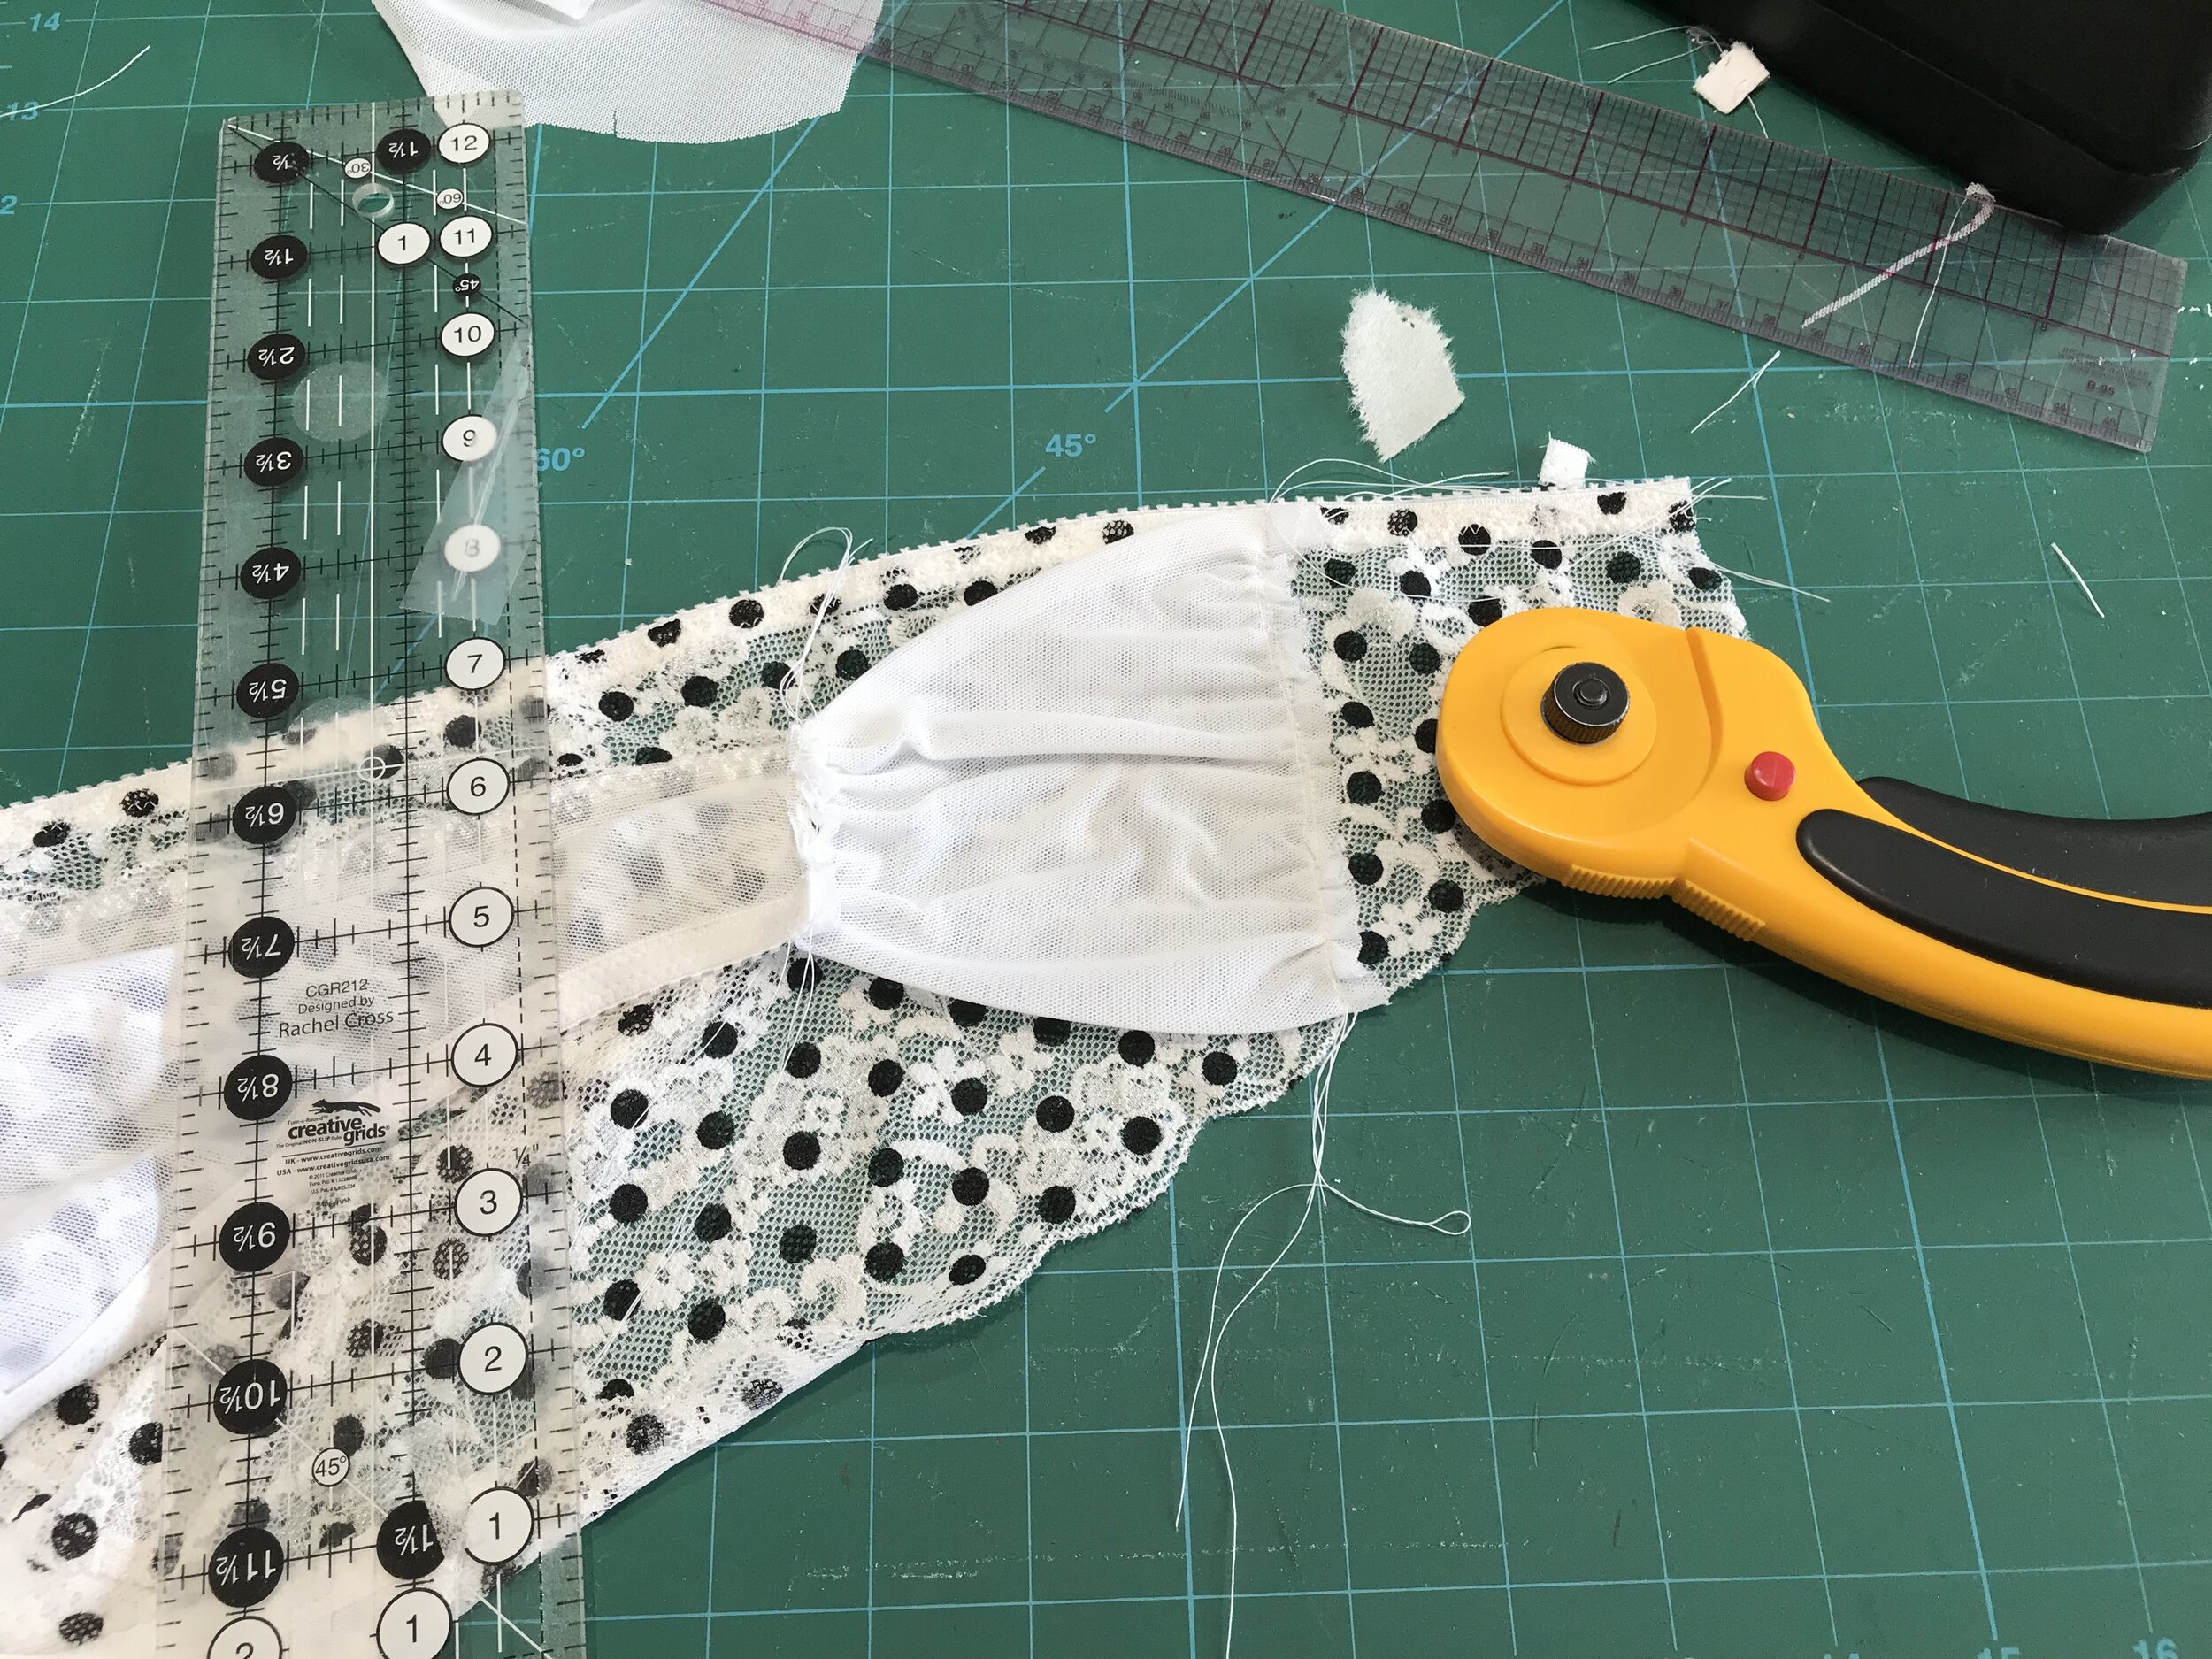
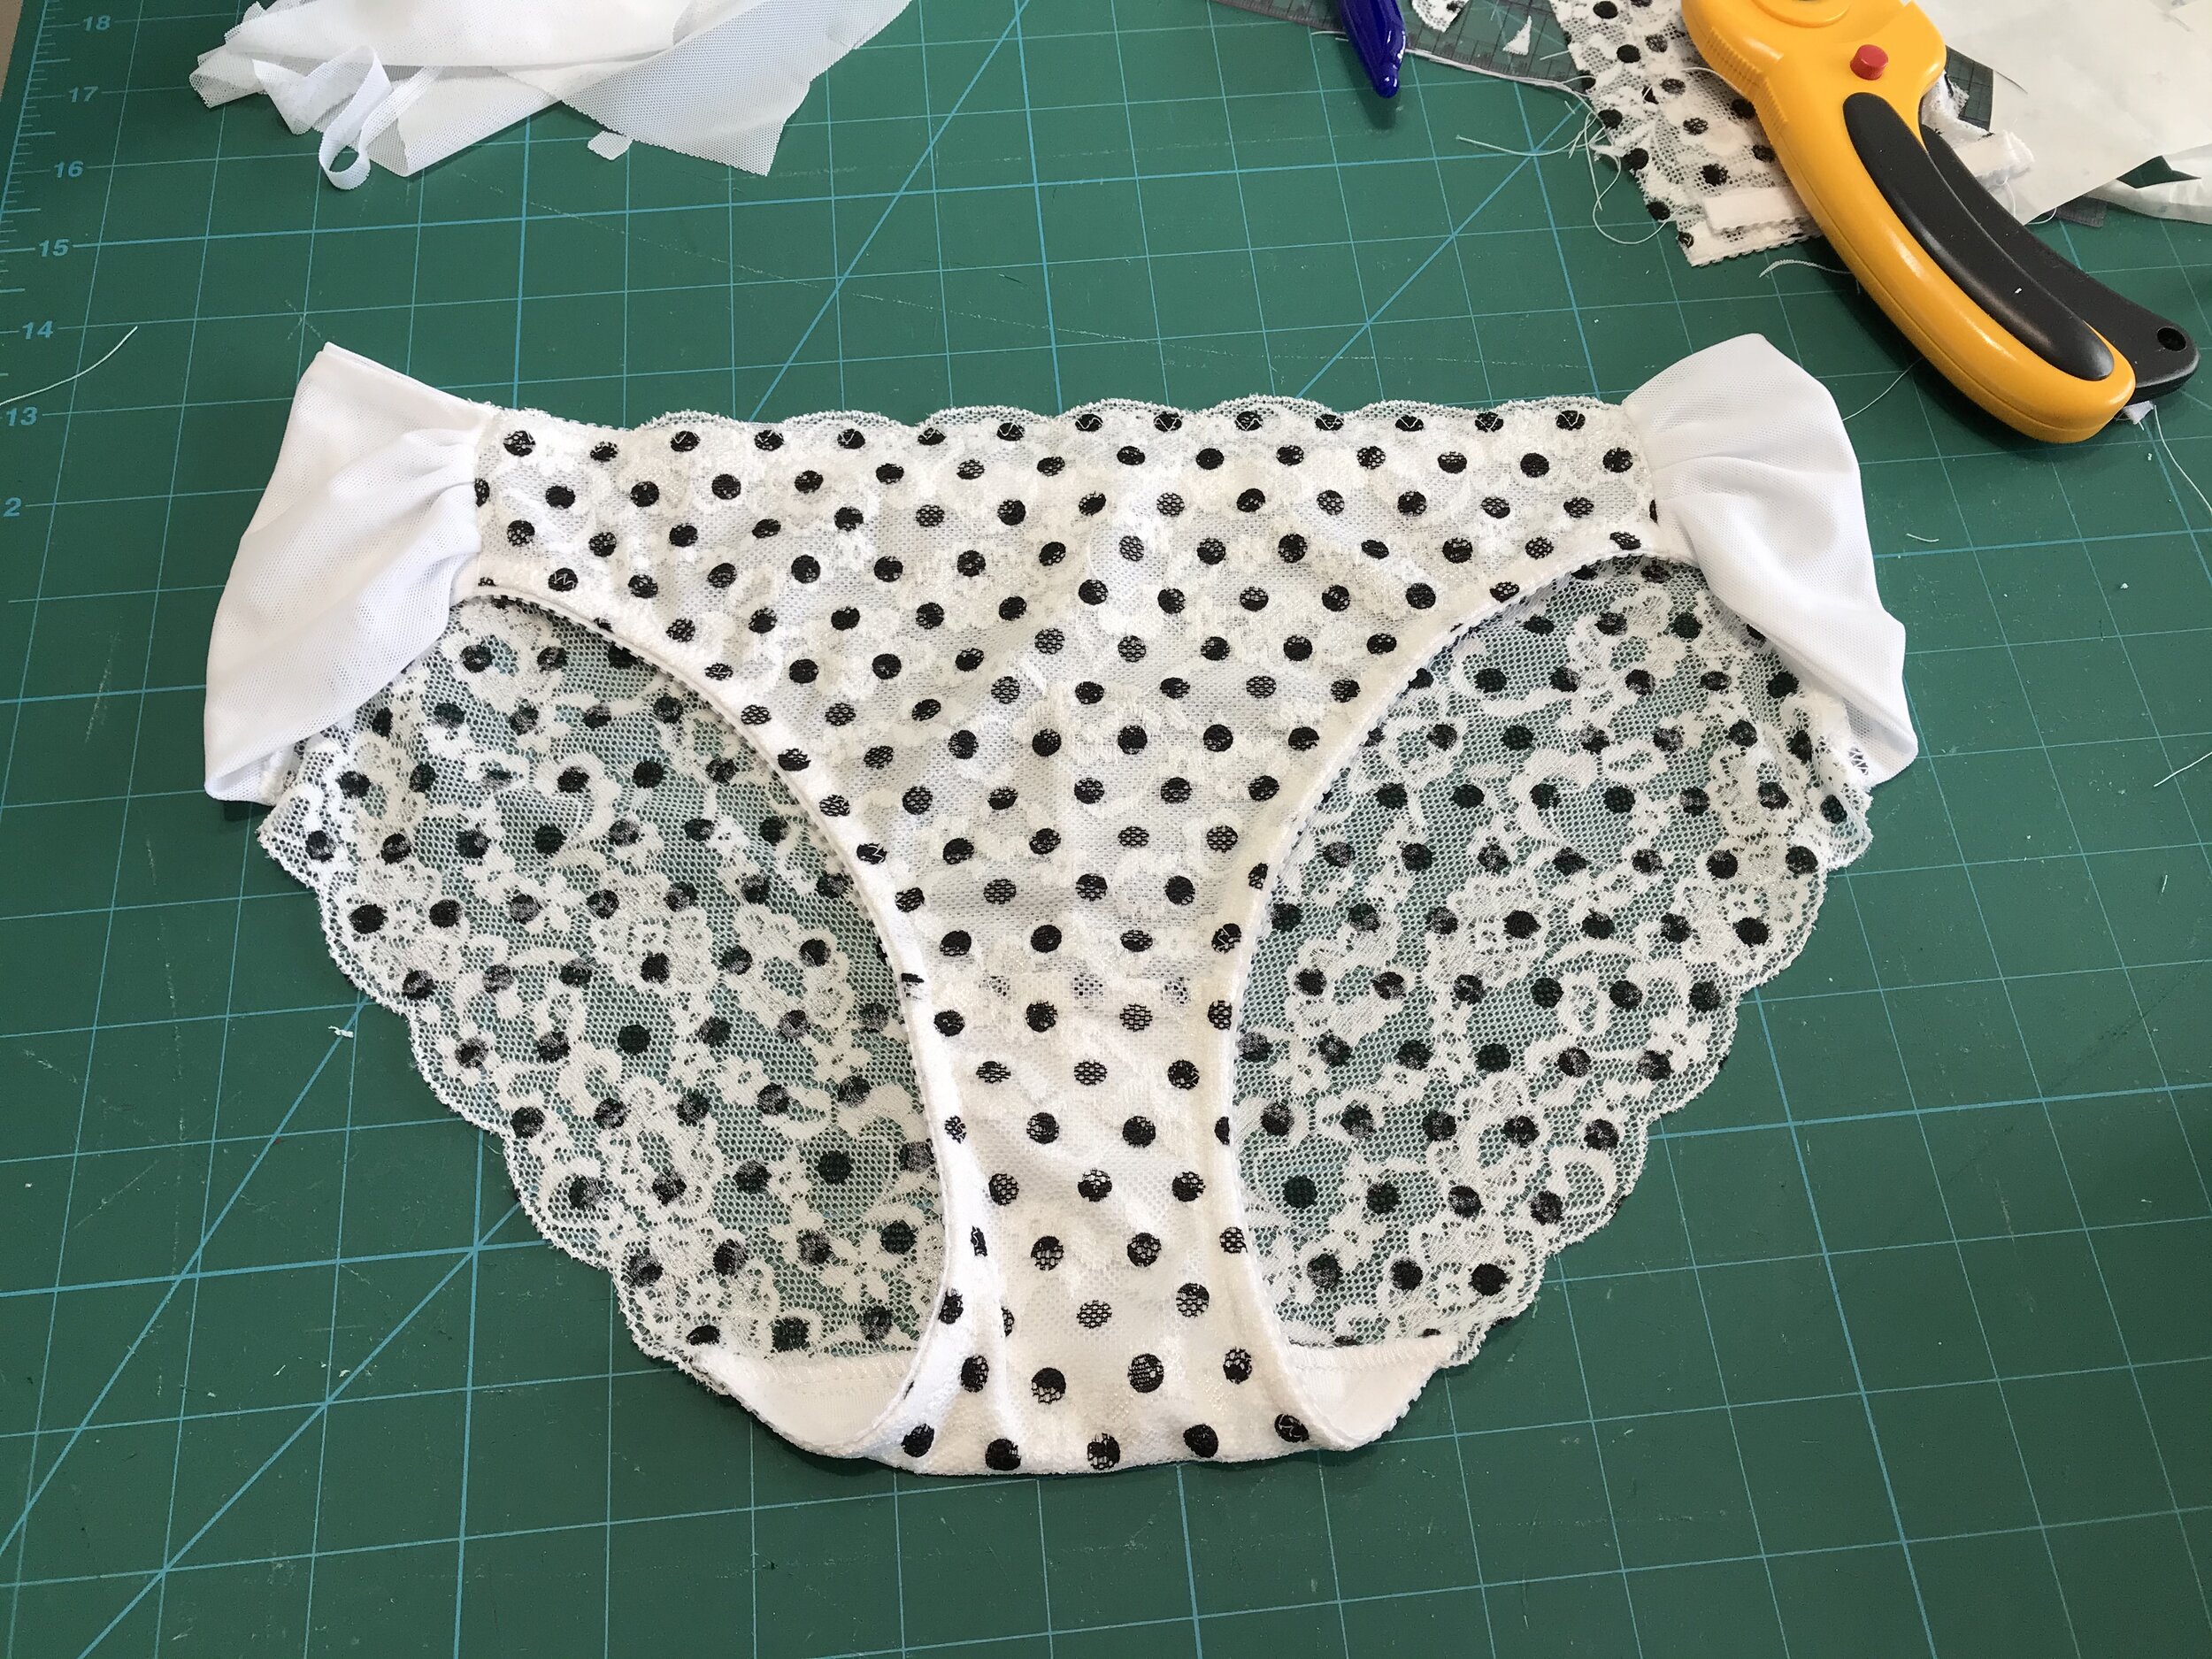
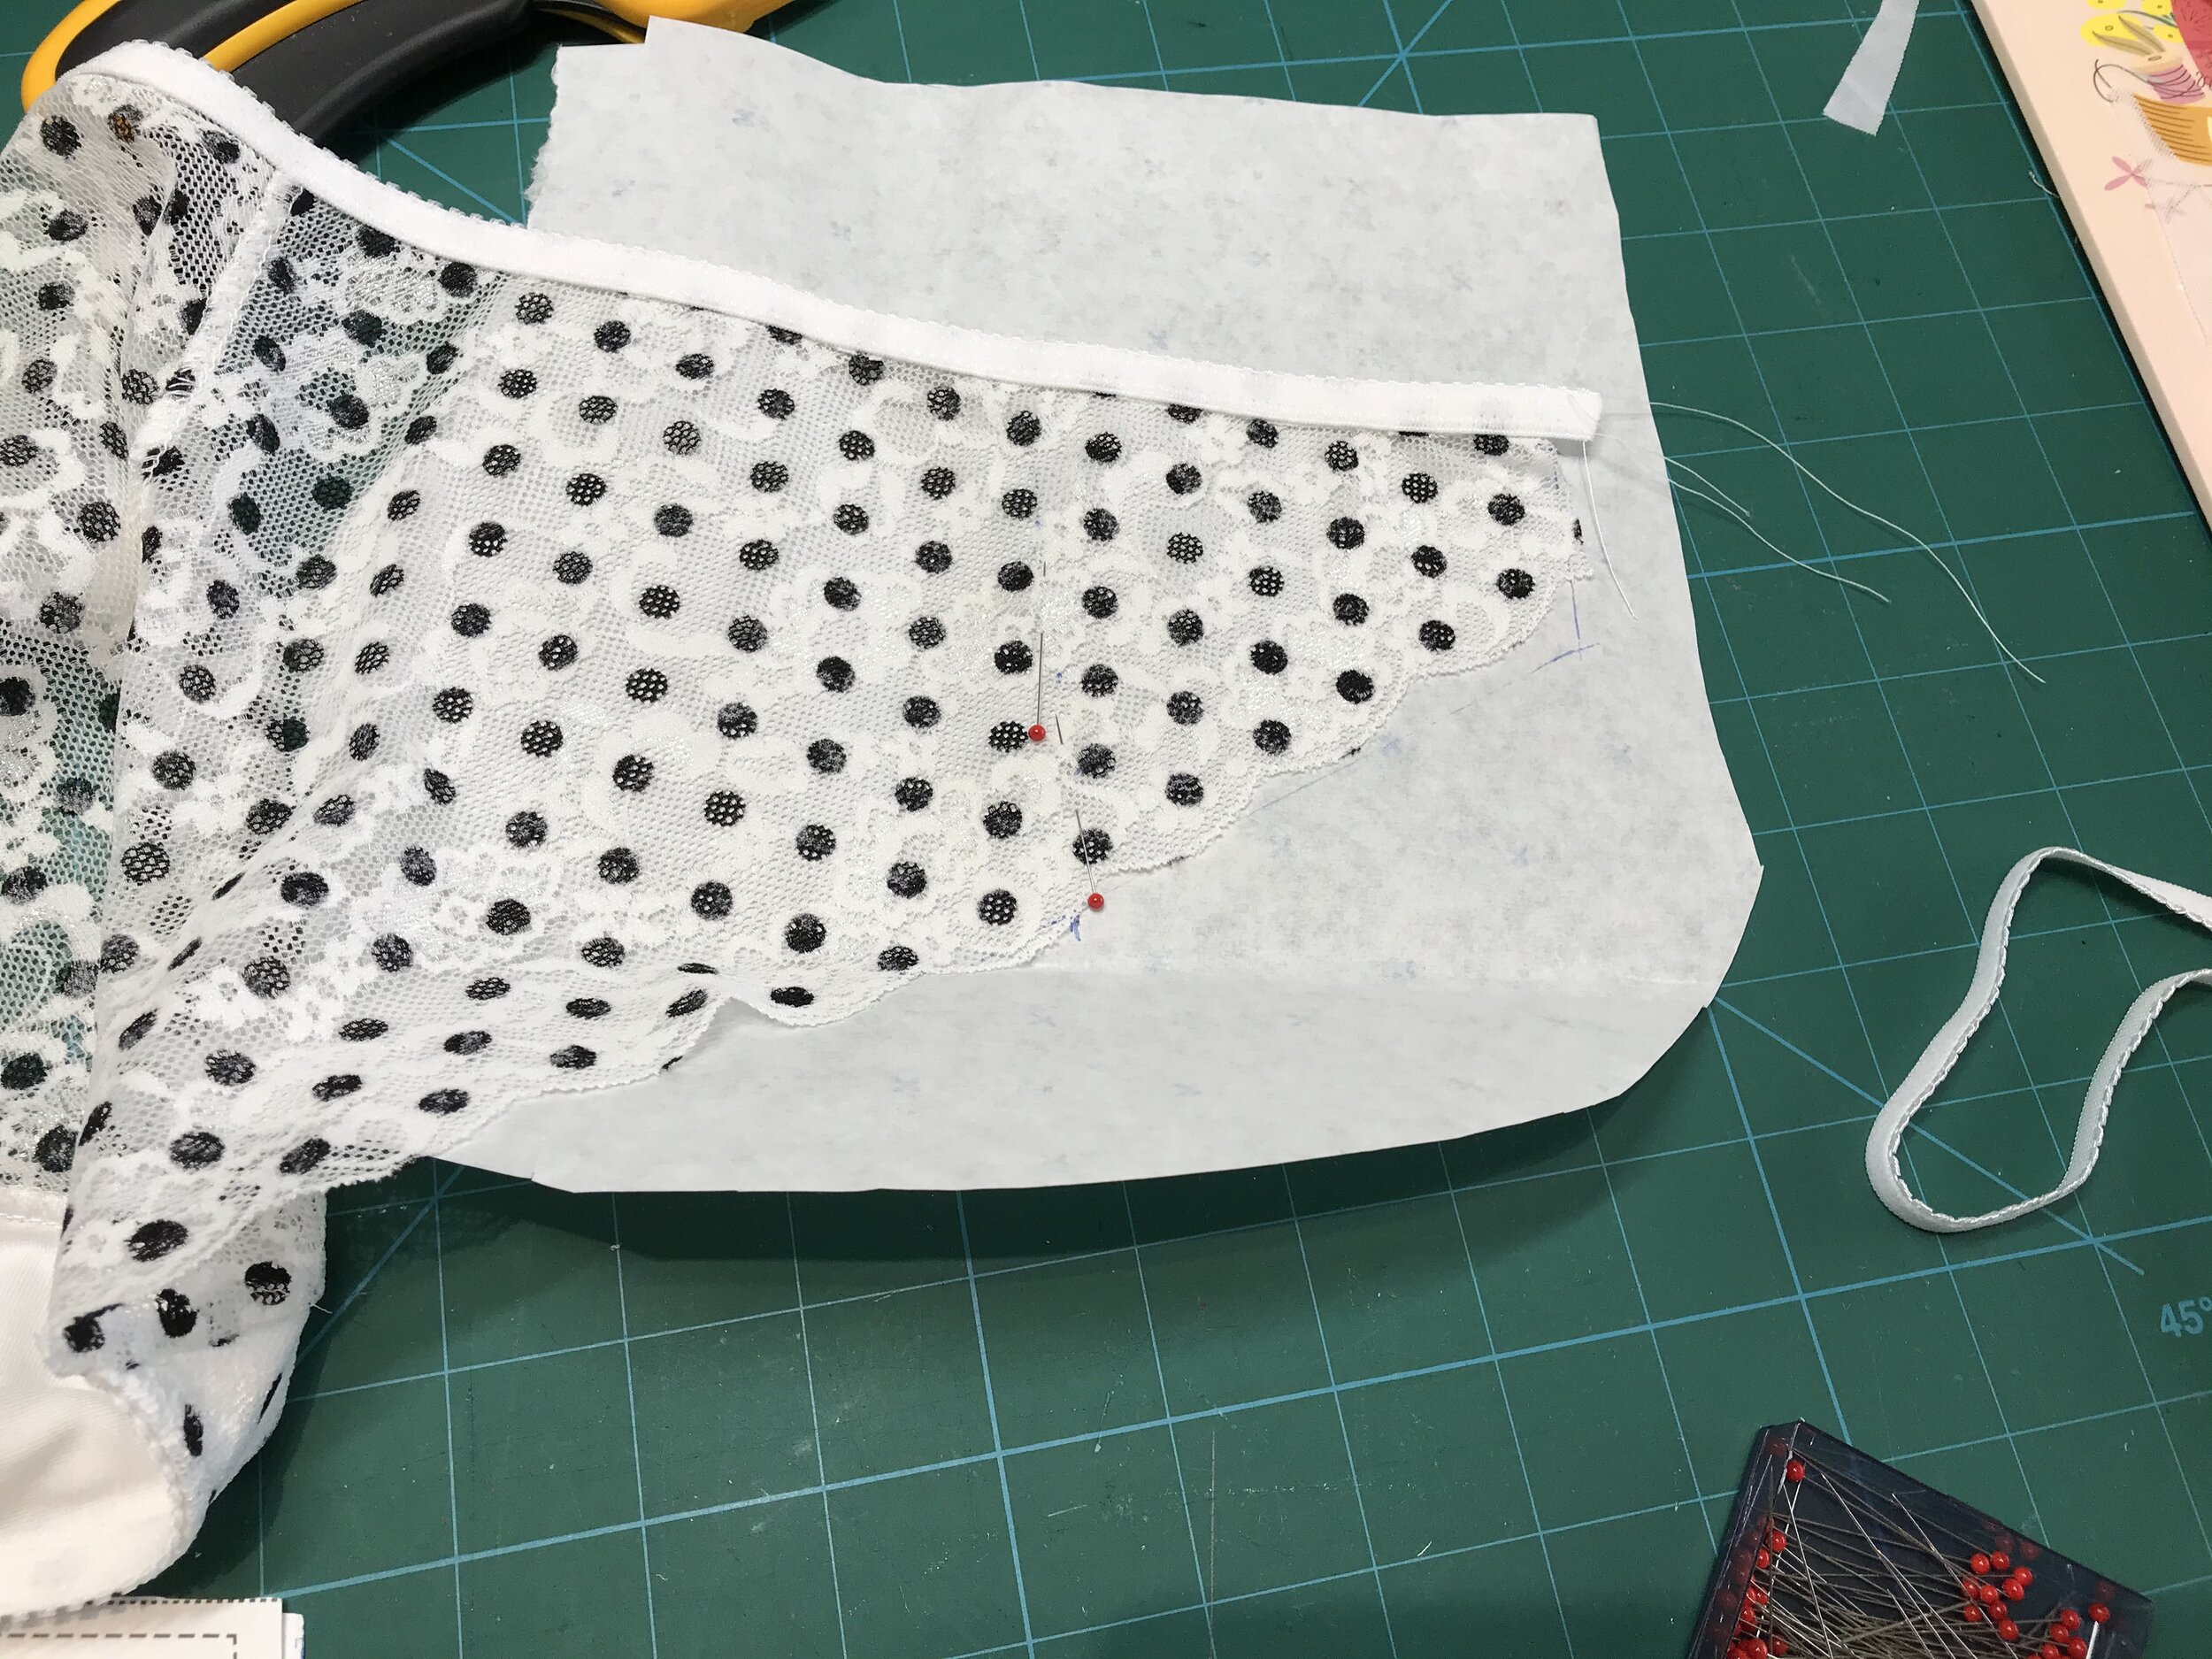
To cut the mesh out I placed the pattern piece between folded mesh to stop it slipping around, stitched the bottom edges together and turned the right way. Next I attached this to the front and then to the back piece where I thought it needed to be. I then tried this on before cutting off the the original side seam. Perfect! The lace gives the set a light and modern feel. I also have this lace in black with a white spot which I will share later.
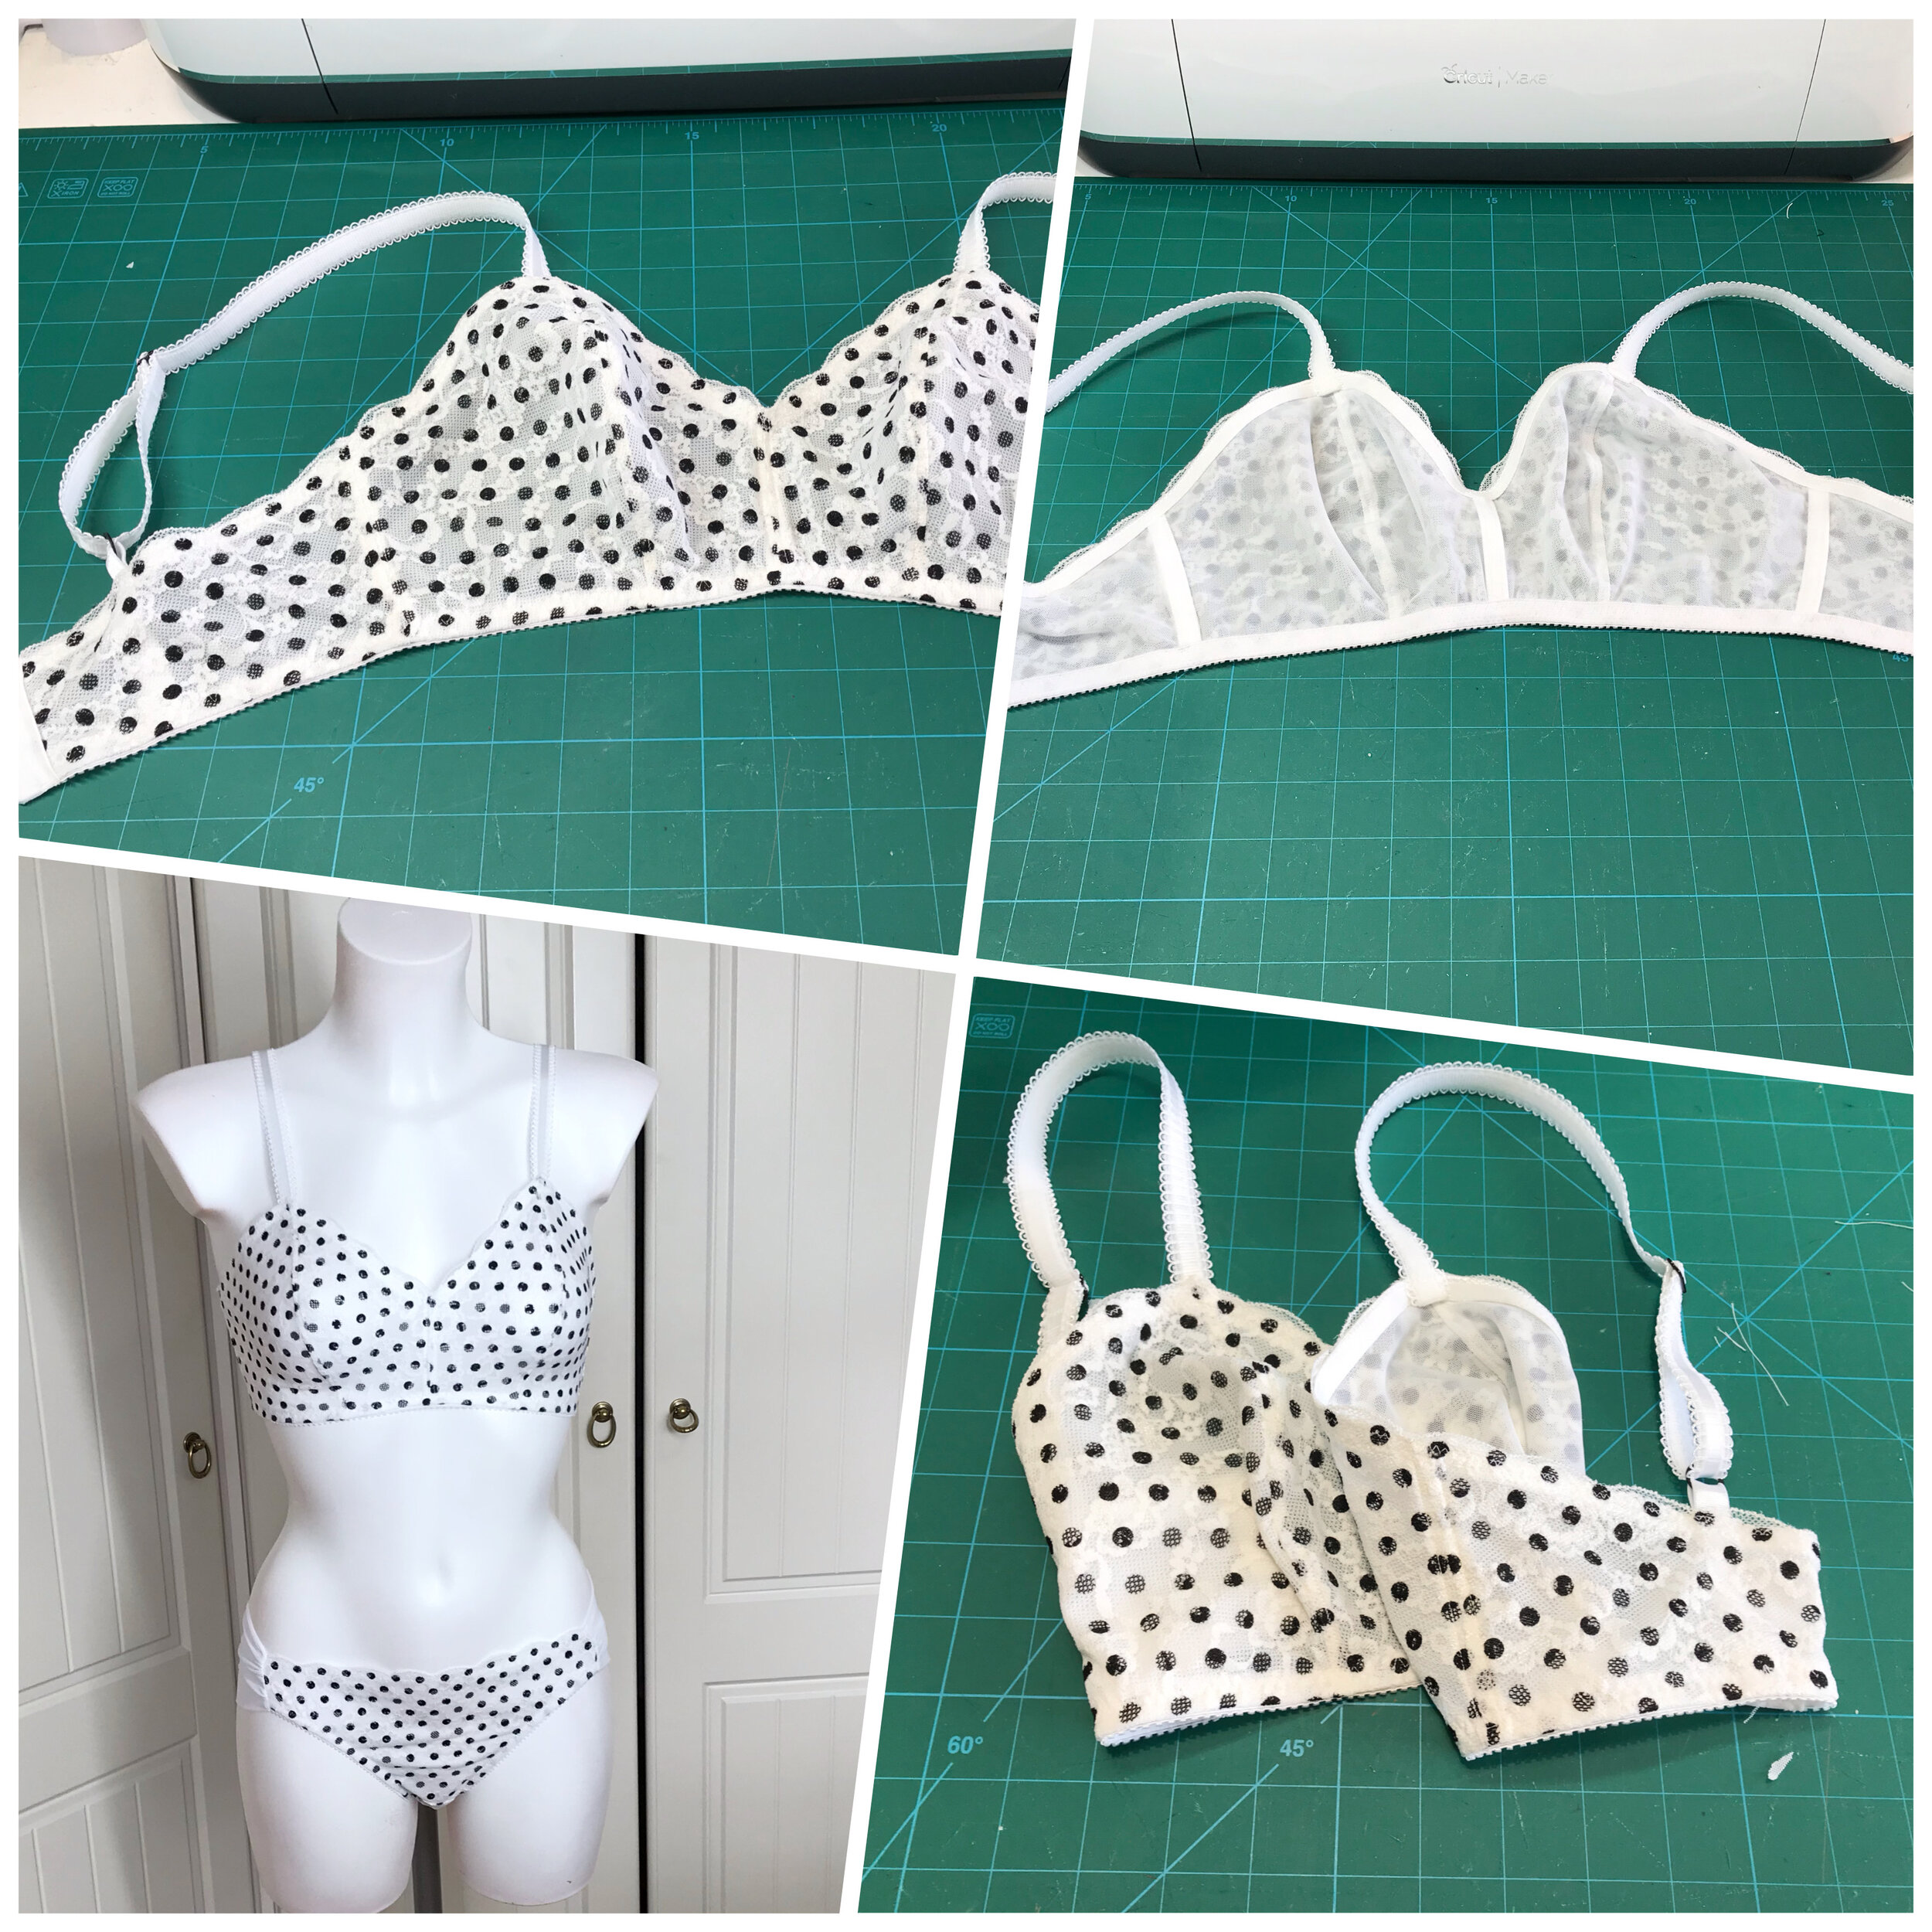
And to finish I have another perfect project to share. I had seen some fantastic makes of the newly released The Lingerie Formula Forget-Me-Not bralette and panty and I definitely wanted to try them. I thought it was one pattern but they are actually two separate patterns.

For the bralette you have to add seam allowances and the width of your elastic for the band and armhole. I used some dot stretch mesh, again from Madalynne and, not in the pattern, I lined with super soft micro mesh from Emerald Erin. As well as lining the lace front I added a strip of clear elastic to the scallop edge. As I was using a lining I could enclose the centre front in the side pieces. I also enclosed the strap elastic into the bottom band elastic.

Seam allowances are included for the panty pattern. I did have some issue with the pattern pieces as the front piece was not the same width as the back for the seam and the gusset was a different width than the front so I had to adjust each piece. A bit fiddly to attach fold over elastic to the small pieces of mesh but well worth the effort. I didn’t have any narrow strap elastic so I used the same elastic as the bralette and made two straps each side rather than the three of the pattern. I also eliminated the rings from the back as I thought this would be more comfortable. For me these straps sit perfectly on my hips so not only beautiful but a comfortable fit. What more can you ask!