Sheer Black Set With Attitude
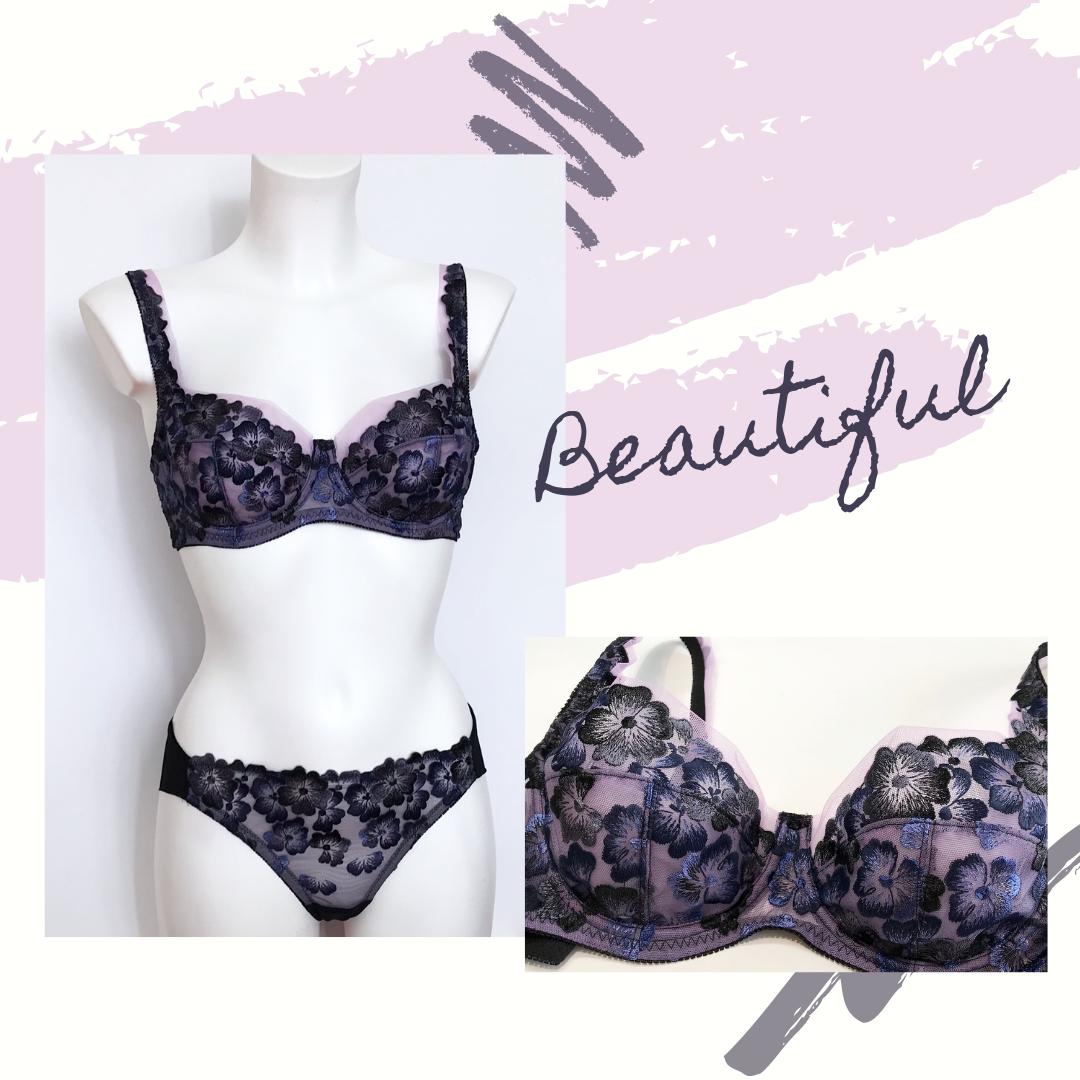
I’ve been doing so much testing I decided it was time to give myself a new challenge and keep myself occupied until our next trip in the motorhome. Some interesting rtw designs popped up on my feed that I really liked the look of so I decided to have a go at replicating the look and feel of one particular set.
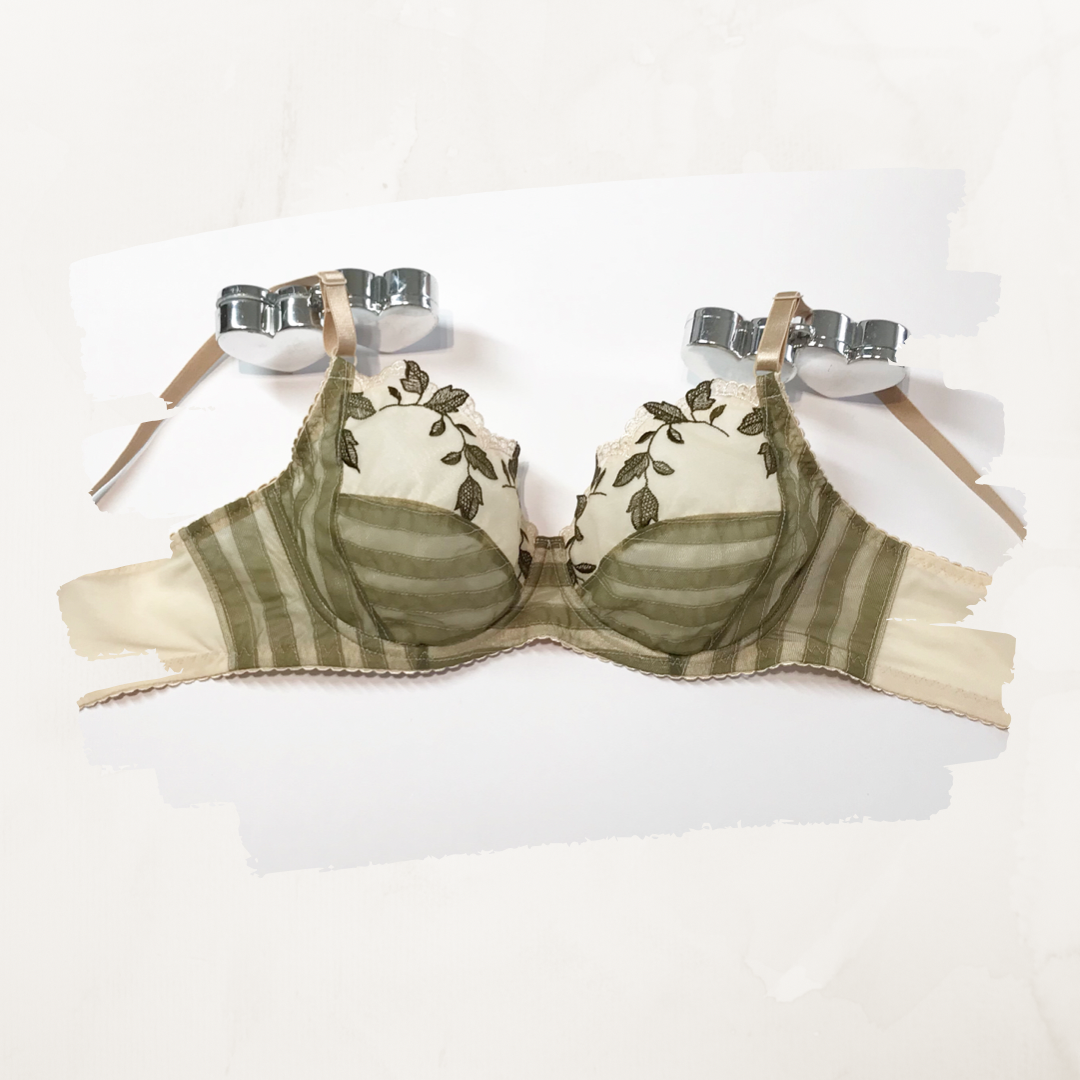
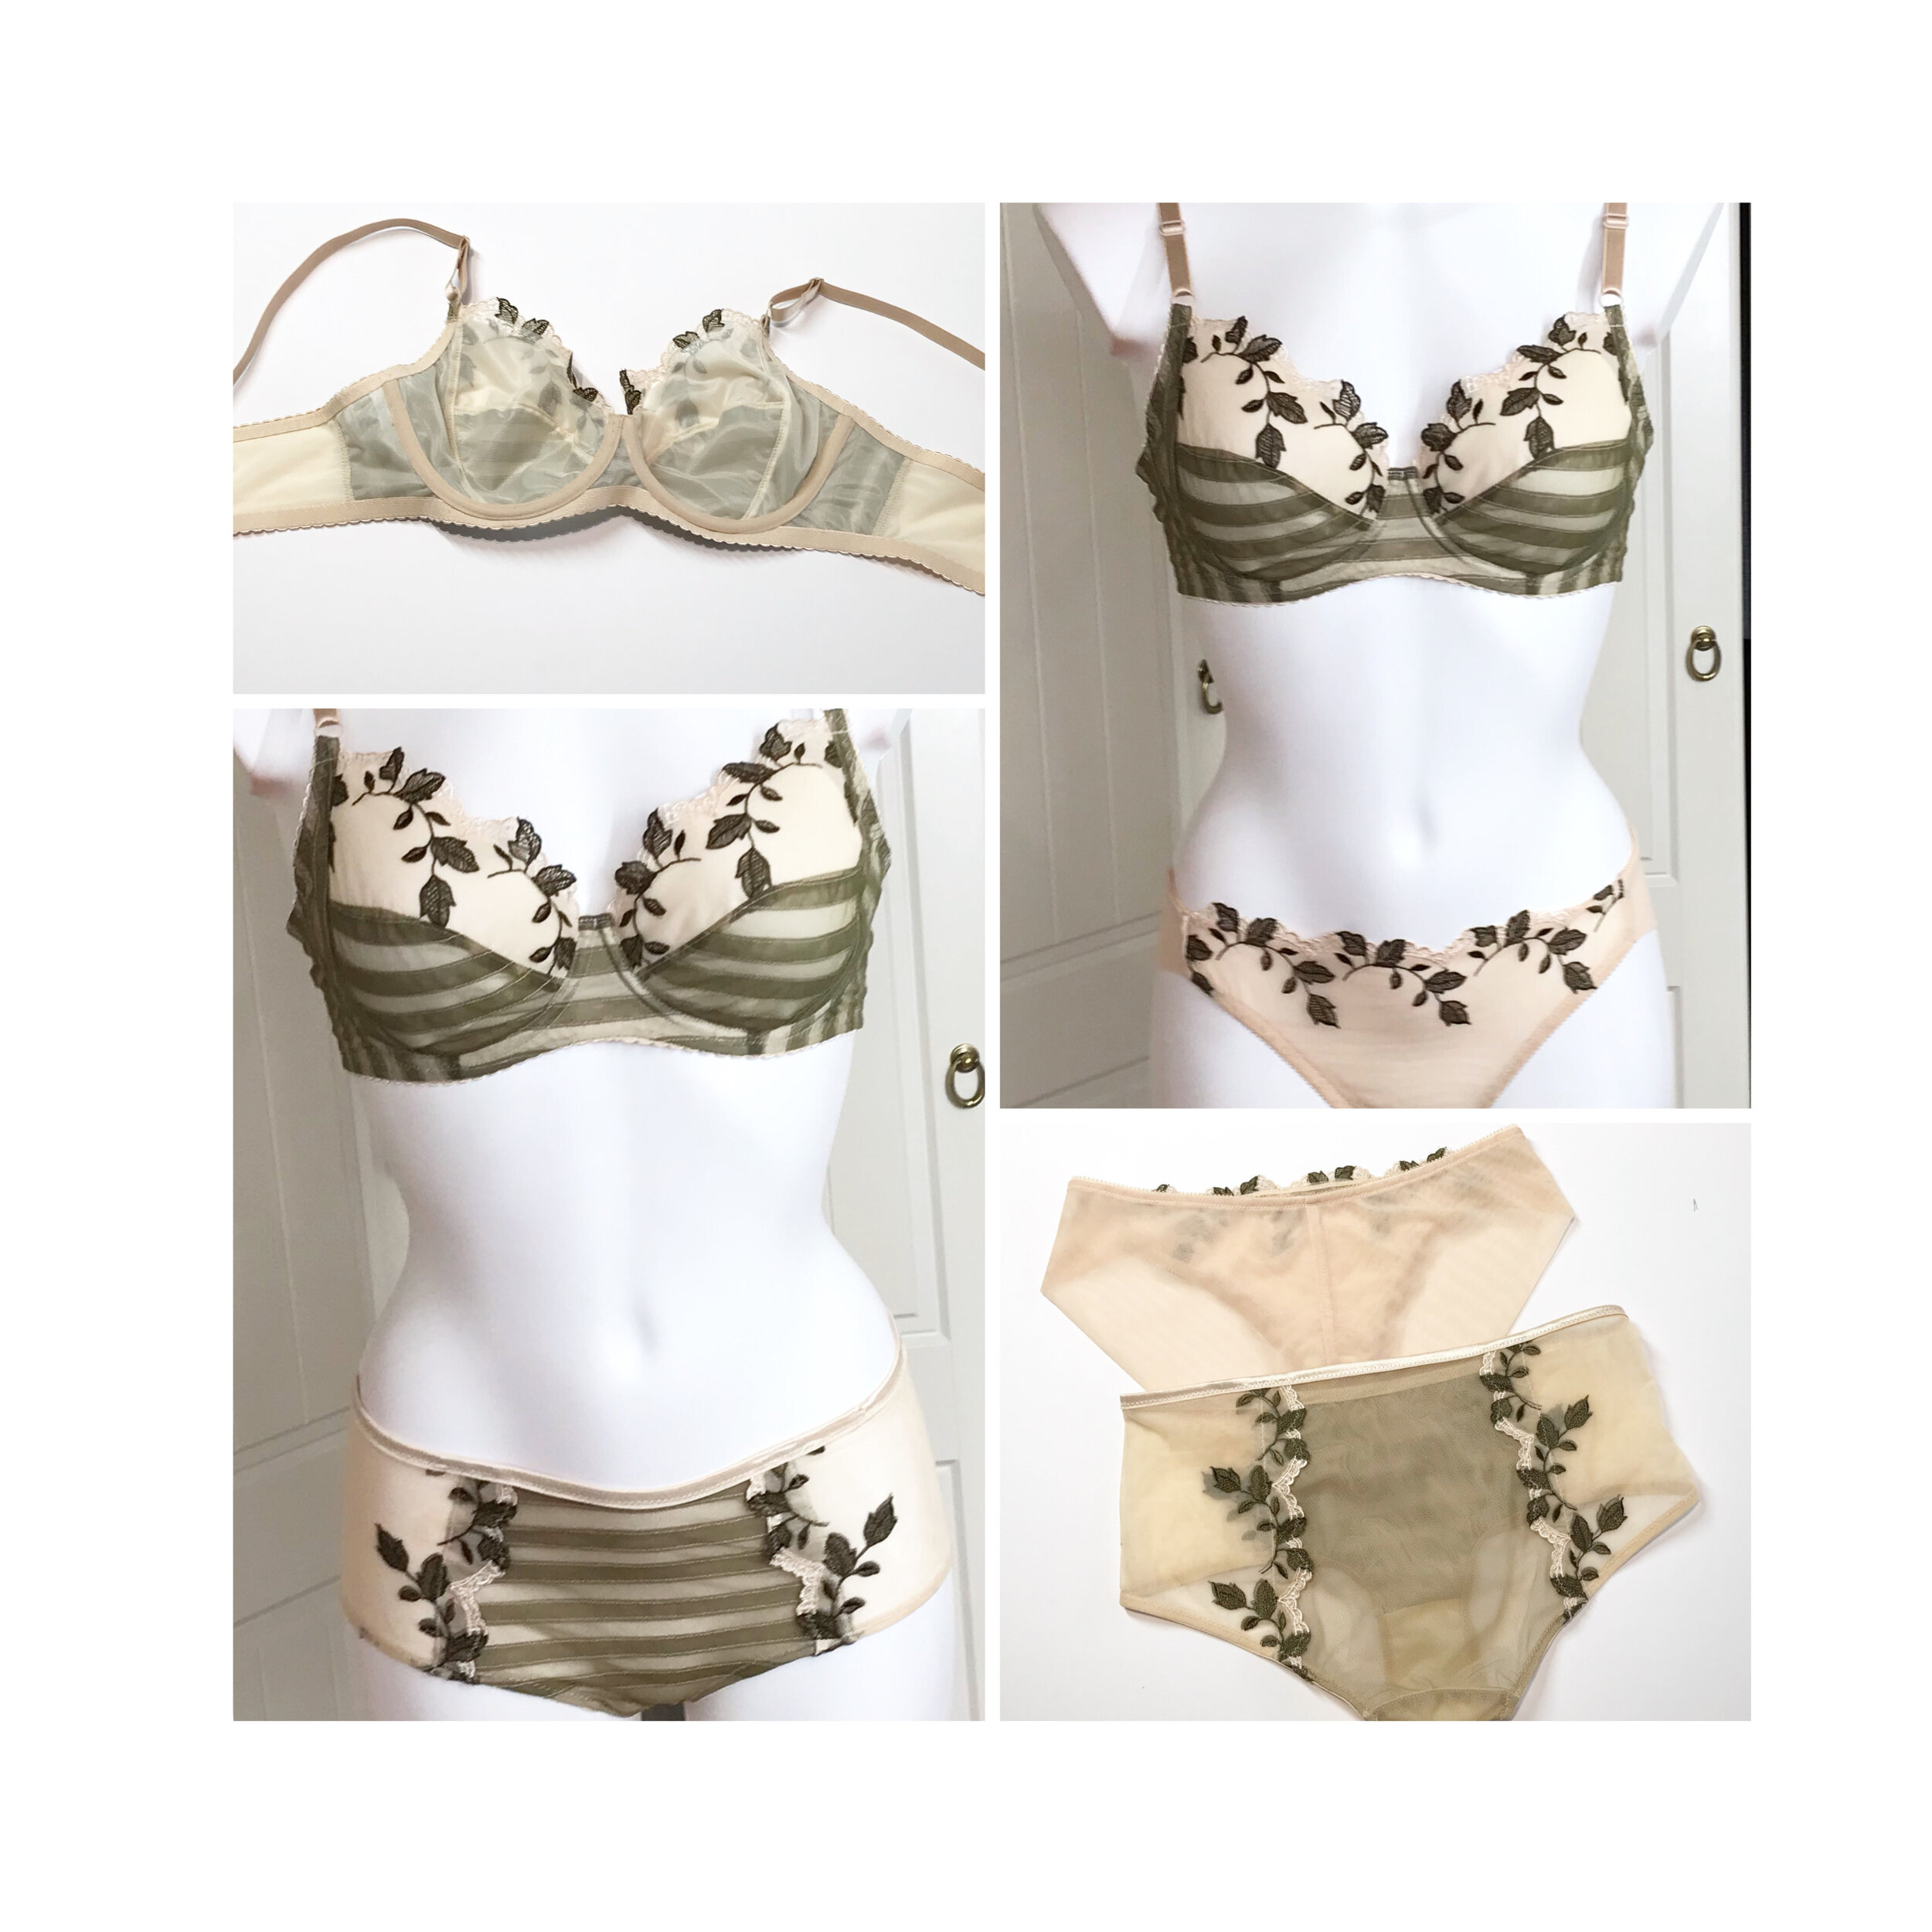
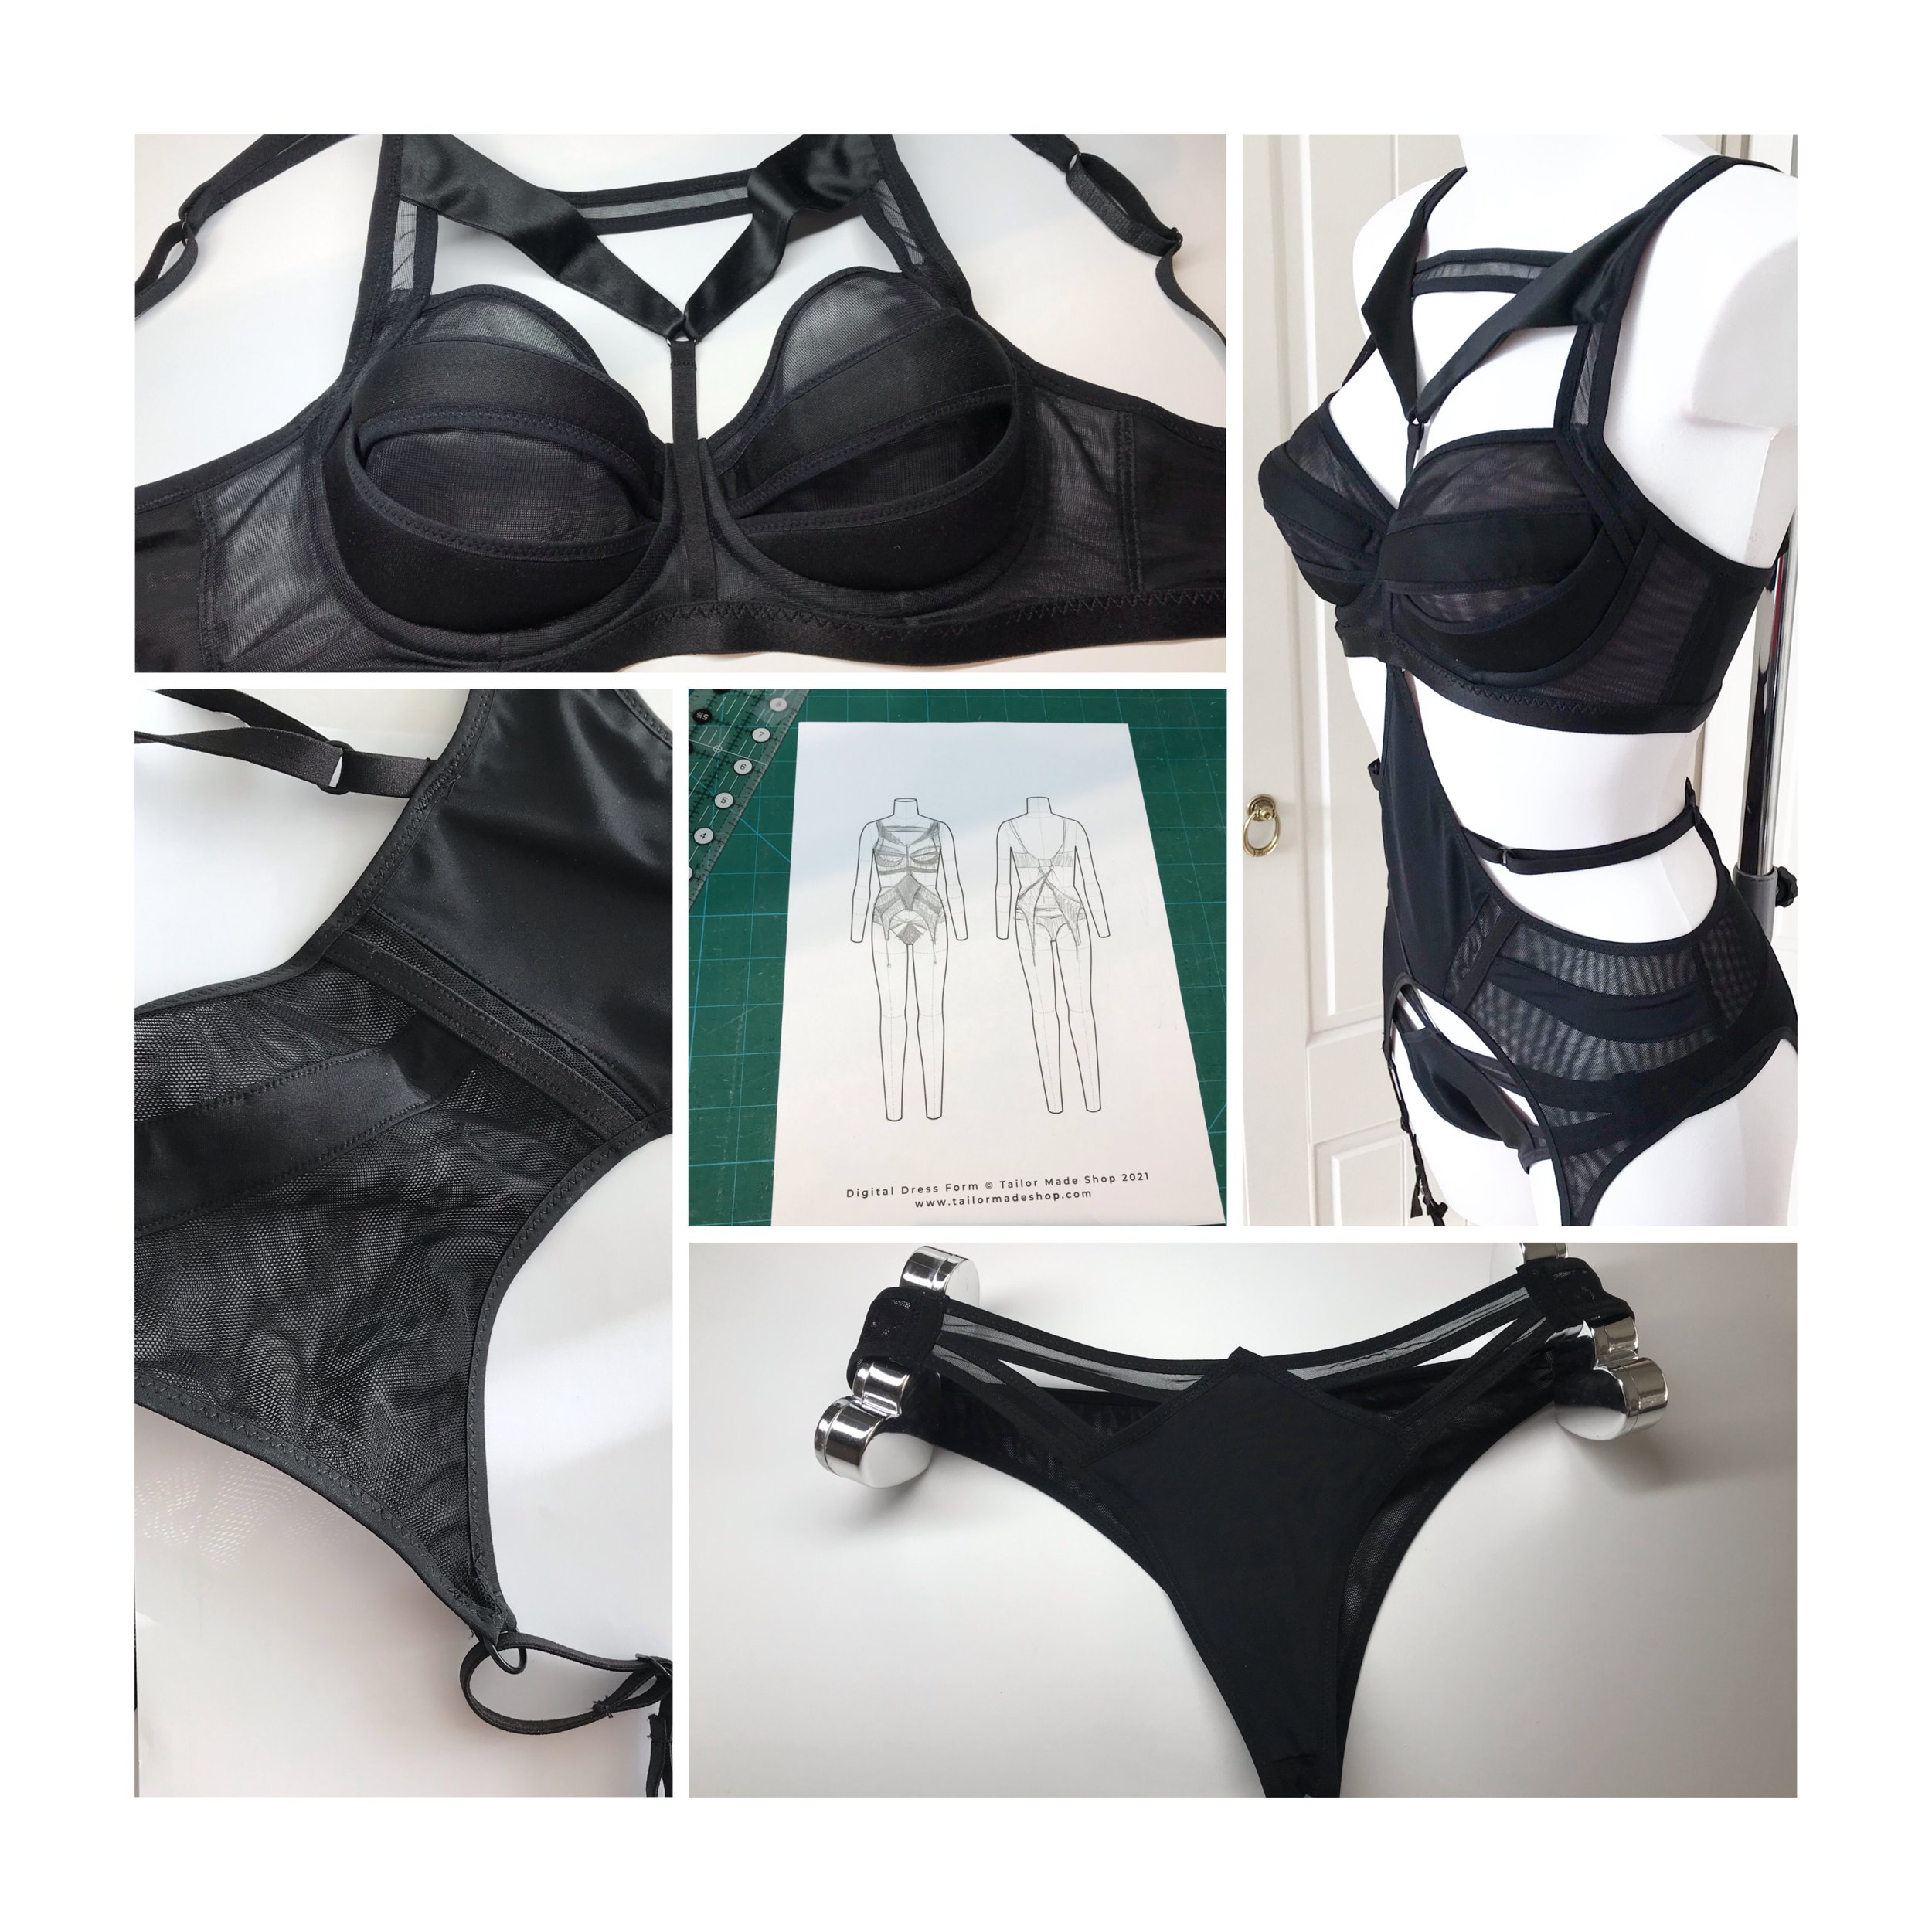
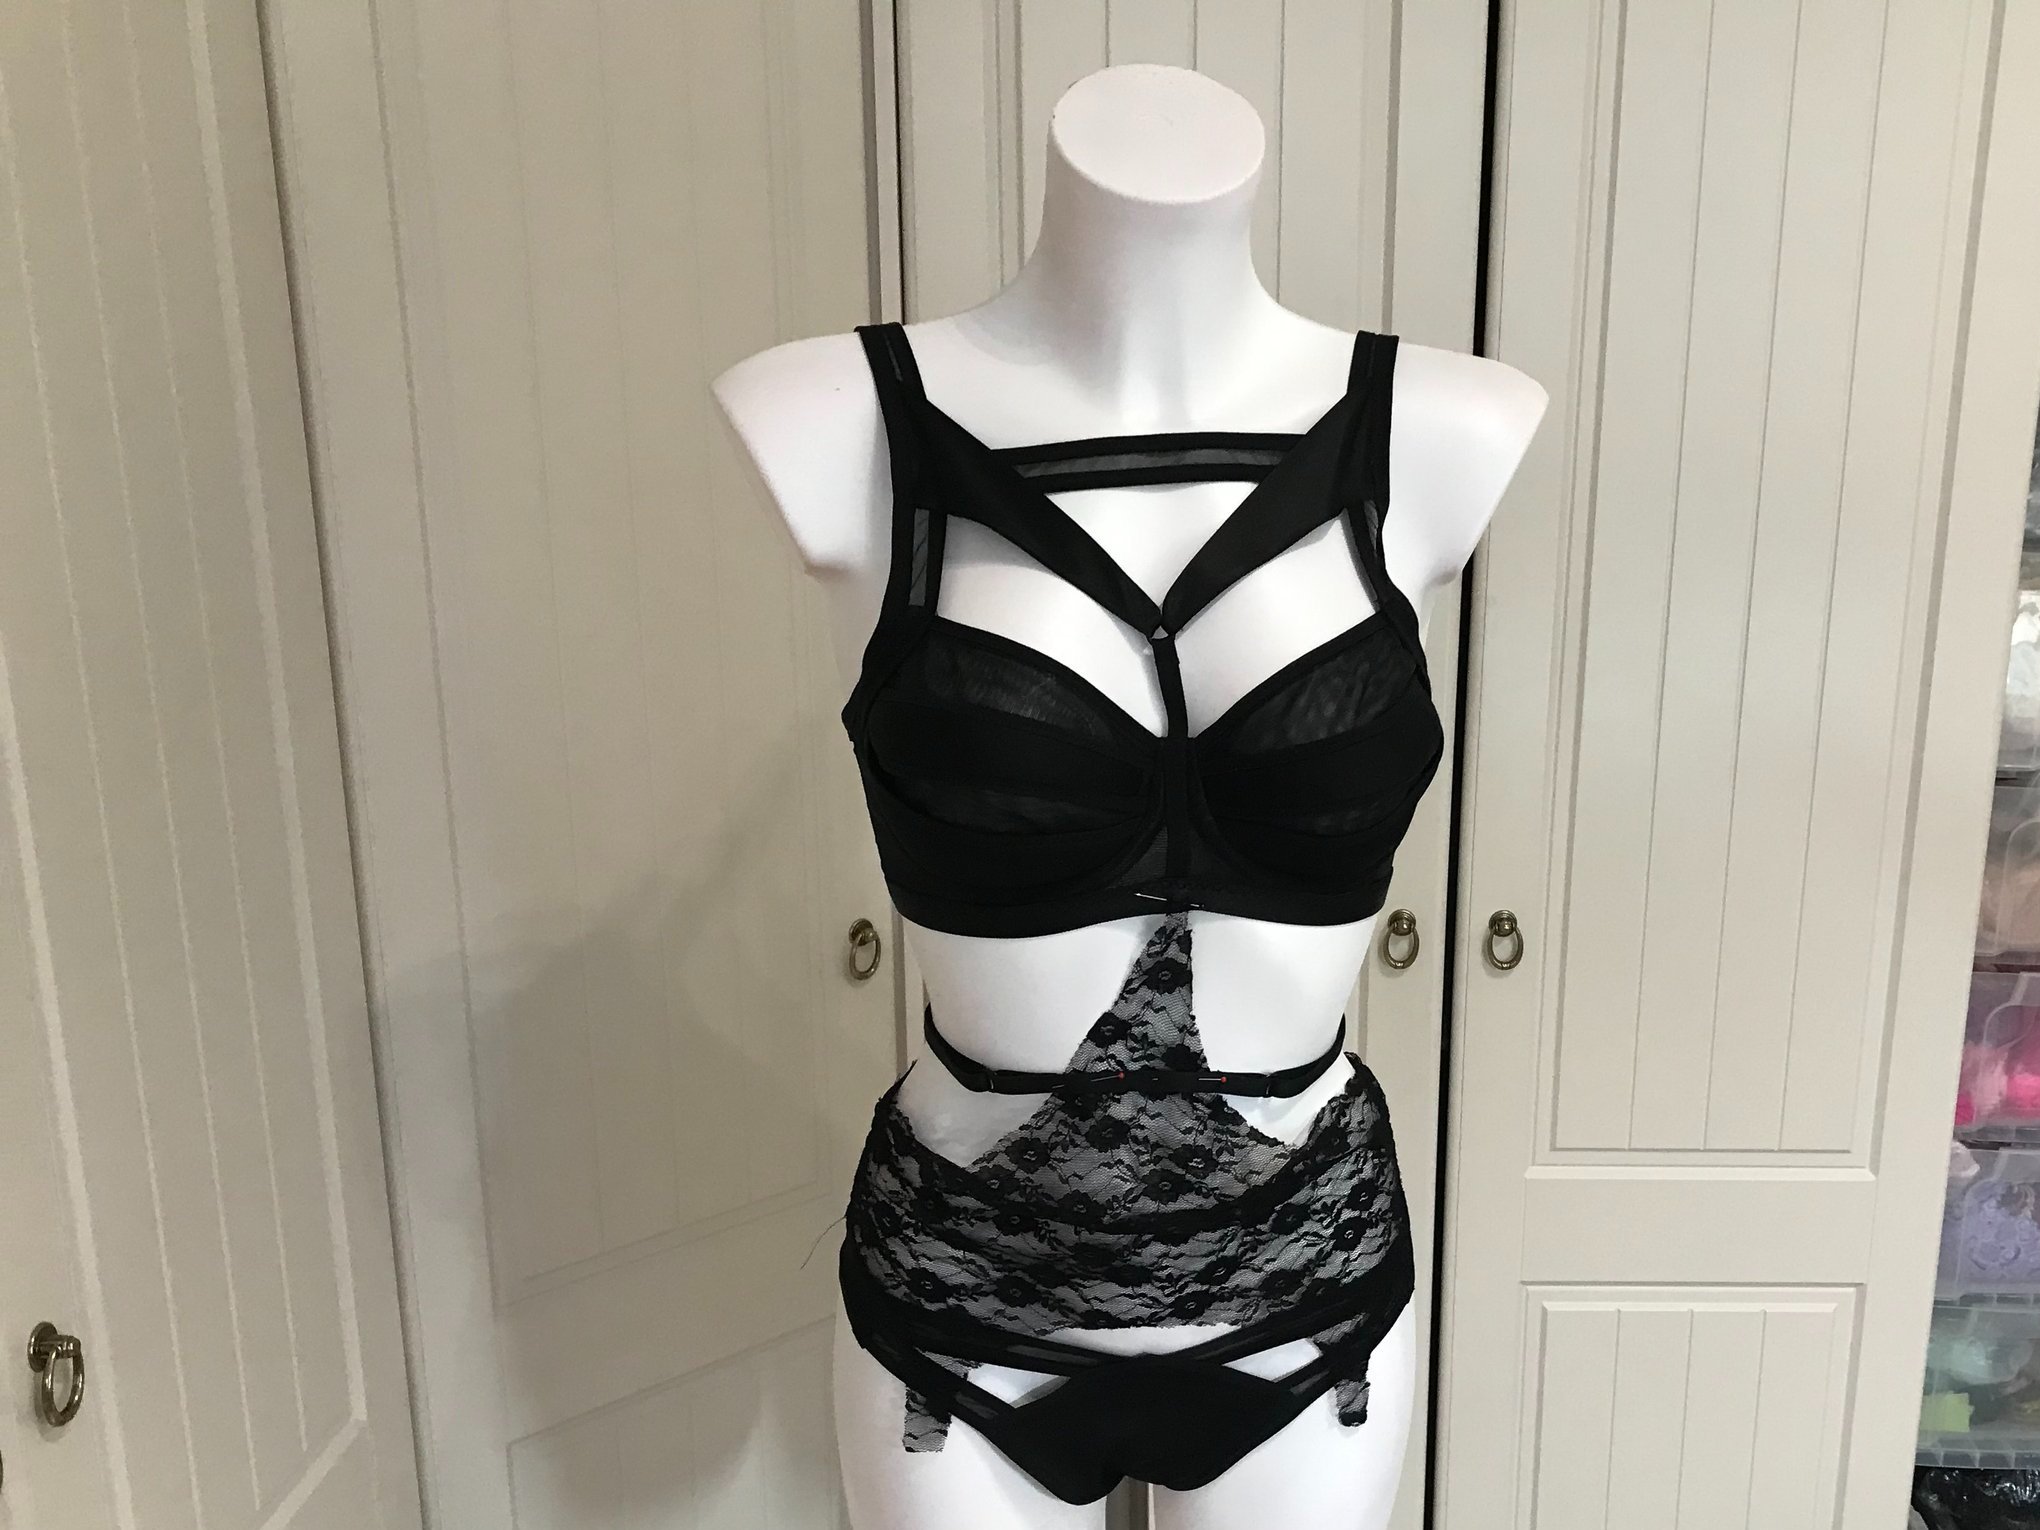
So here is my finished set. Read on if you want to see how I achieved this.
I started with the bra and it was quite a long process to come up with the pattern pieces so I’ve put this initial part in the following short video.
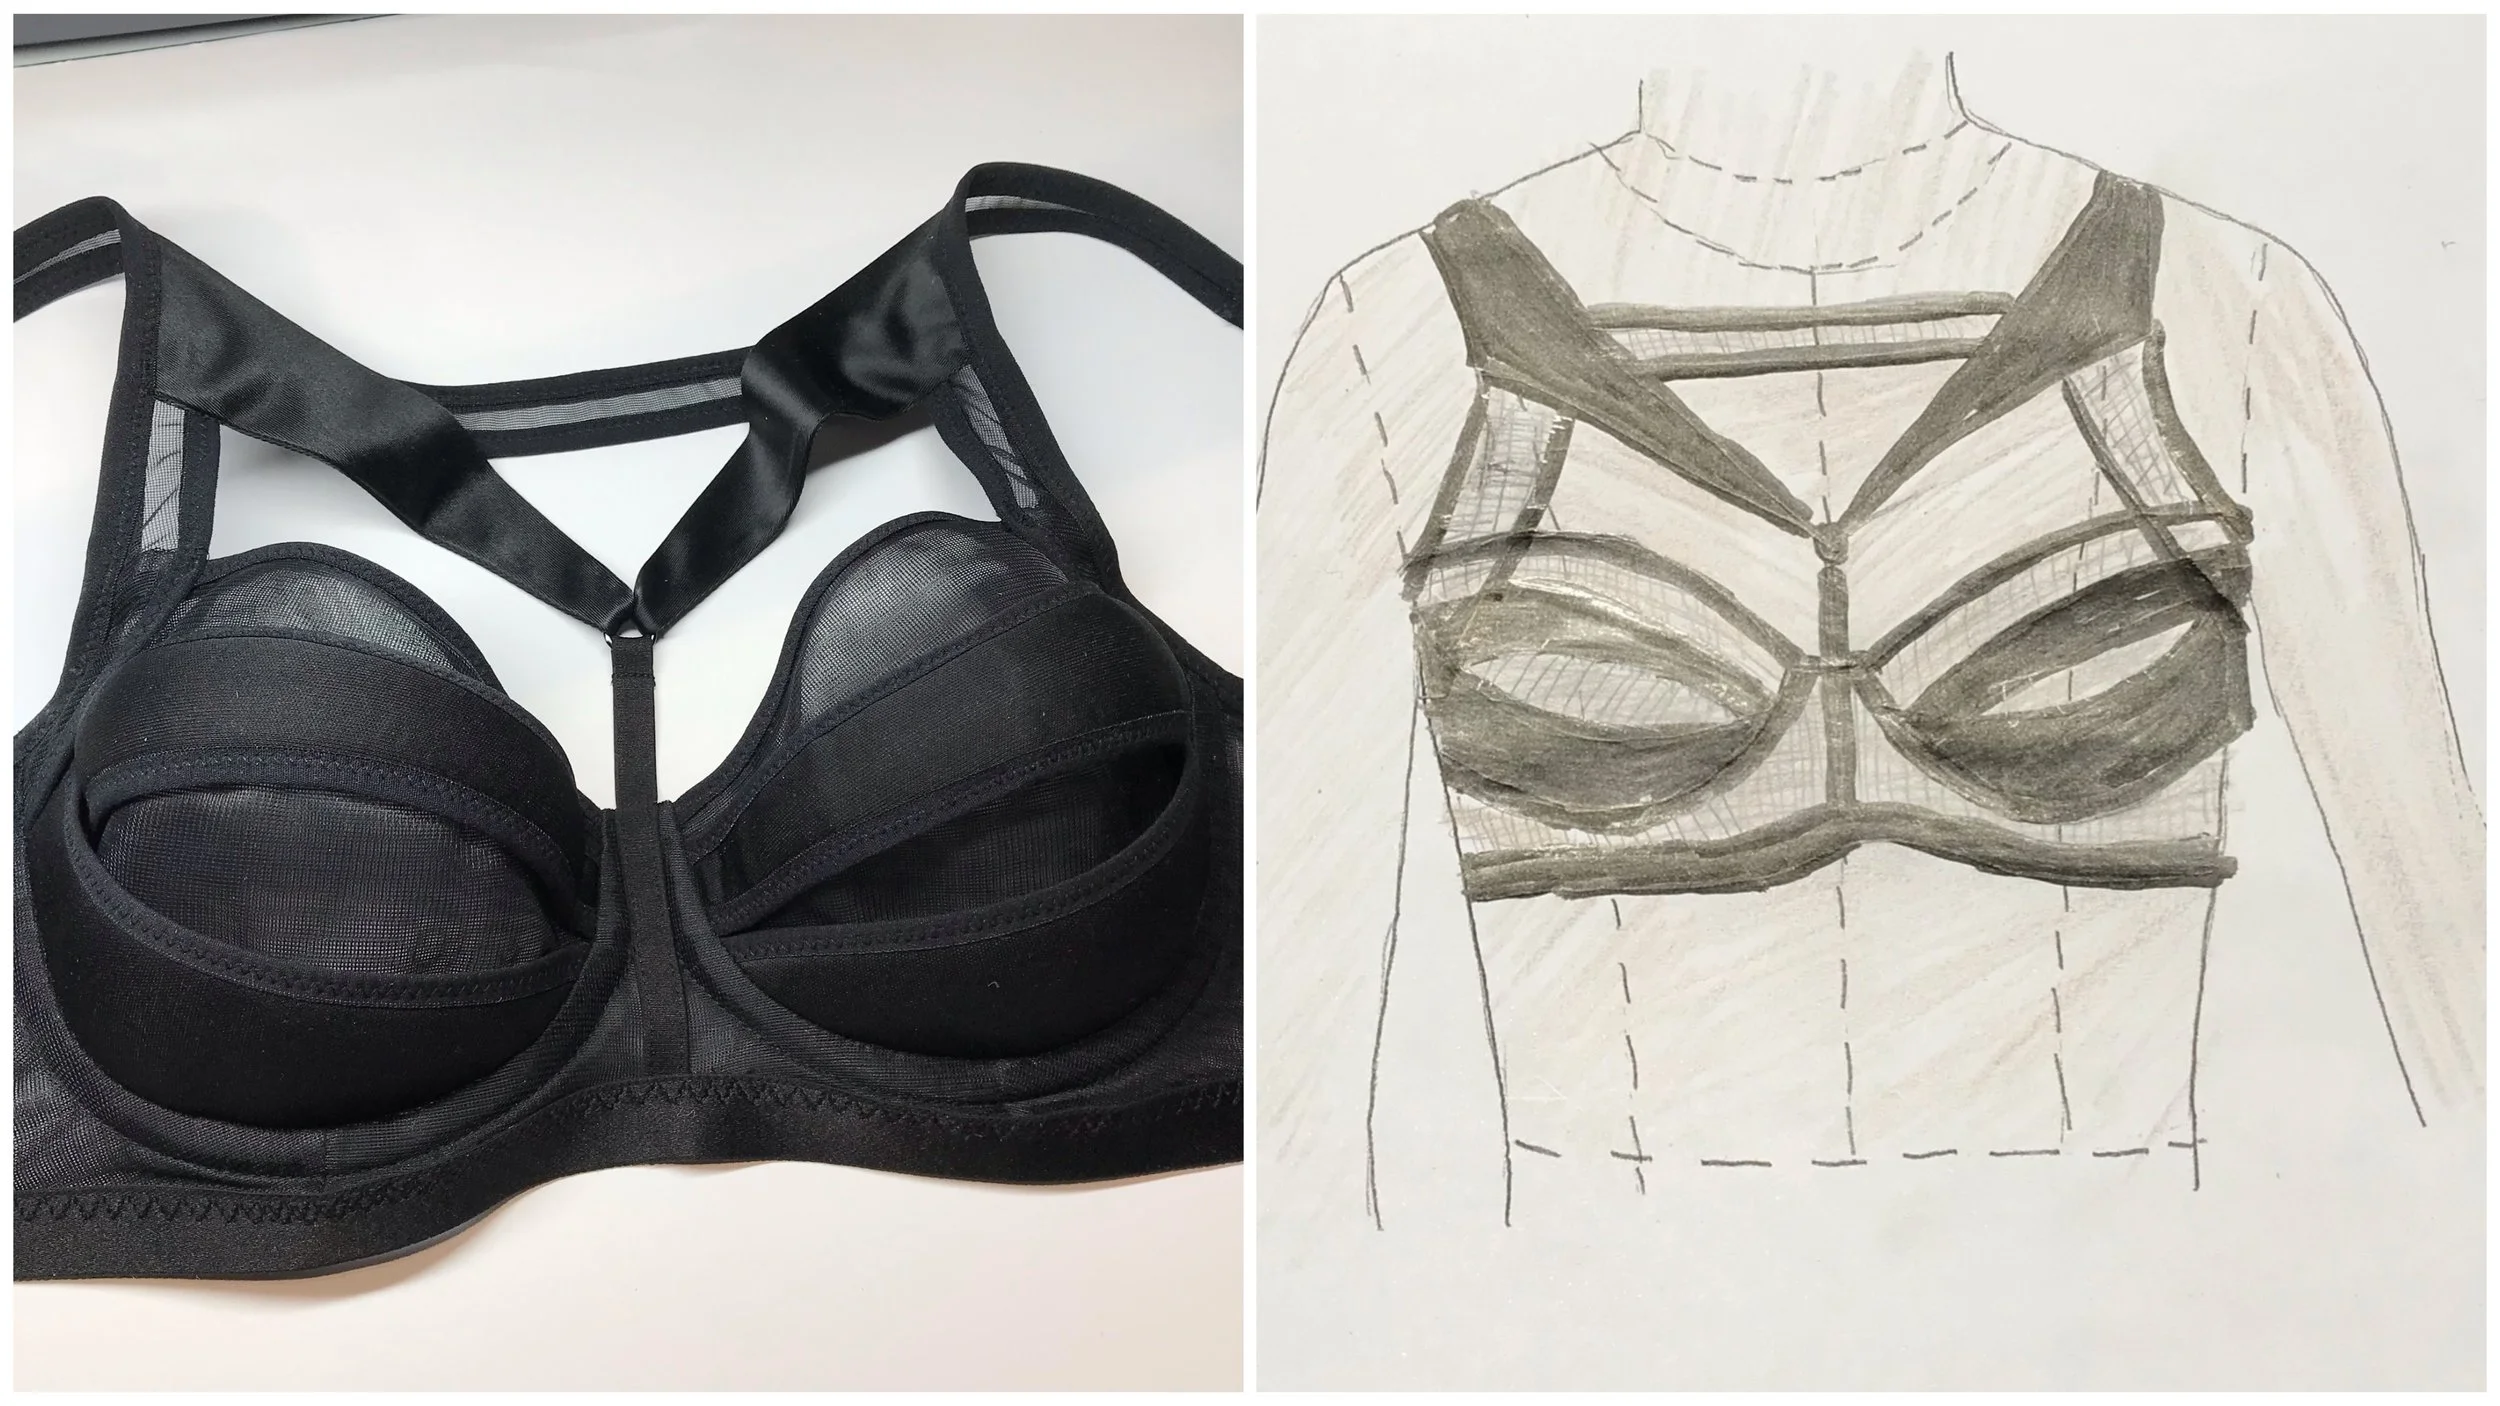
Bra design from sketch to pattern pieces including test make.
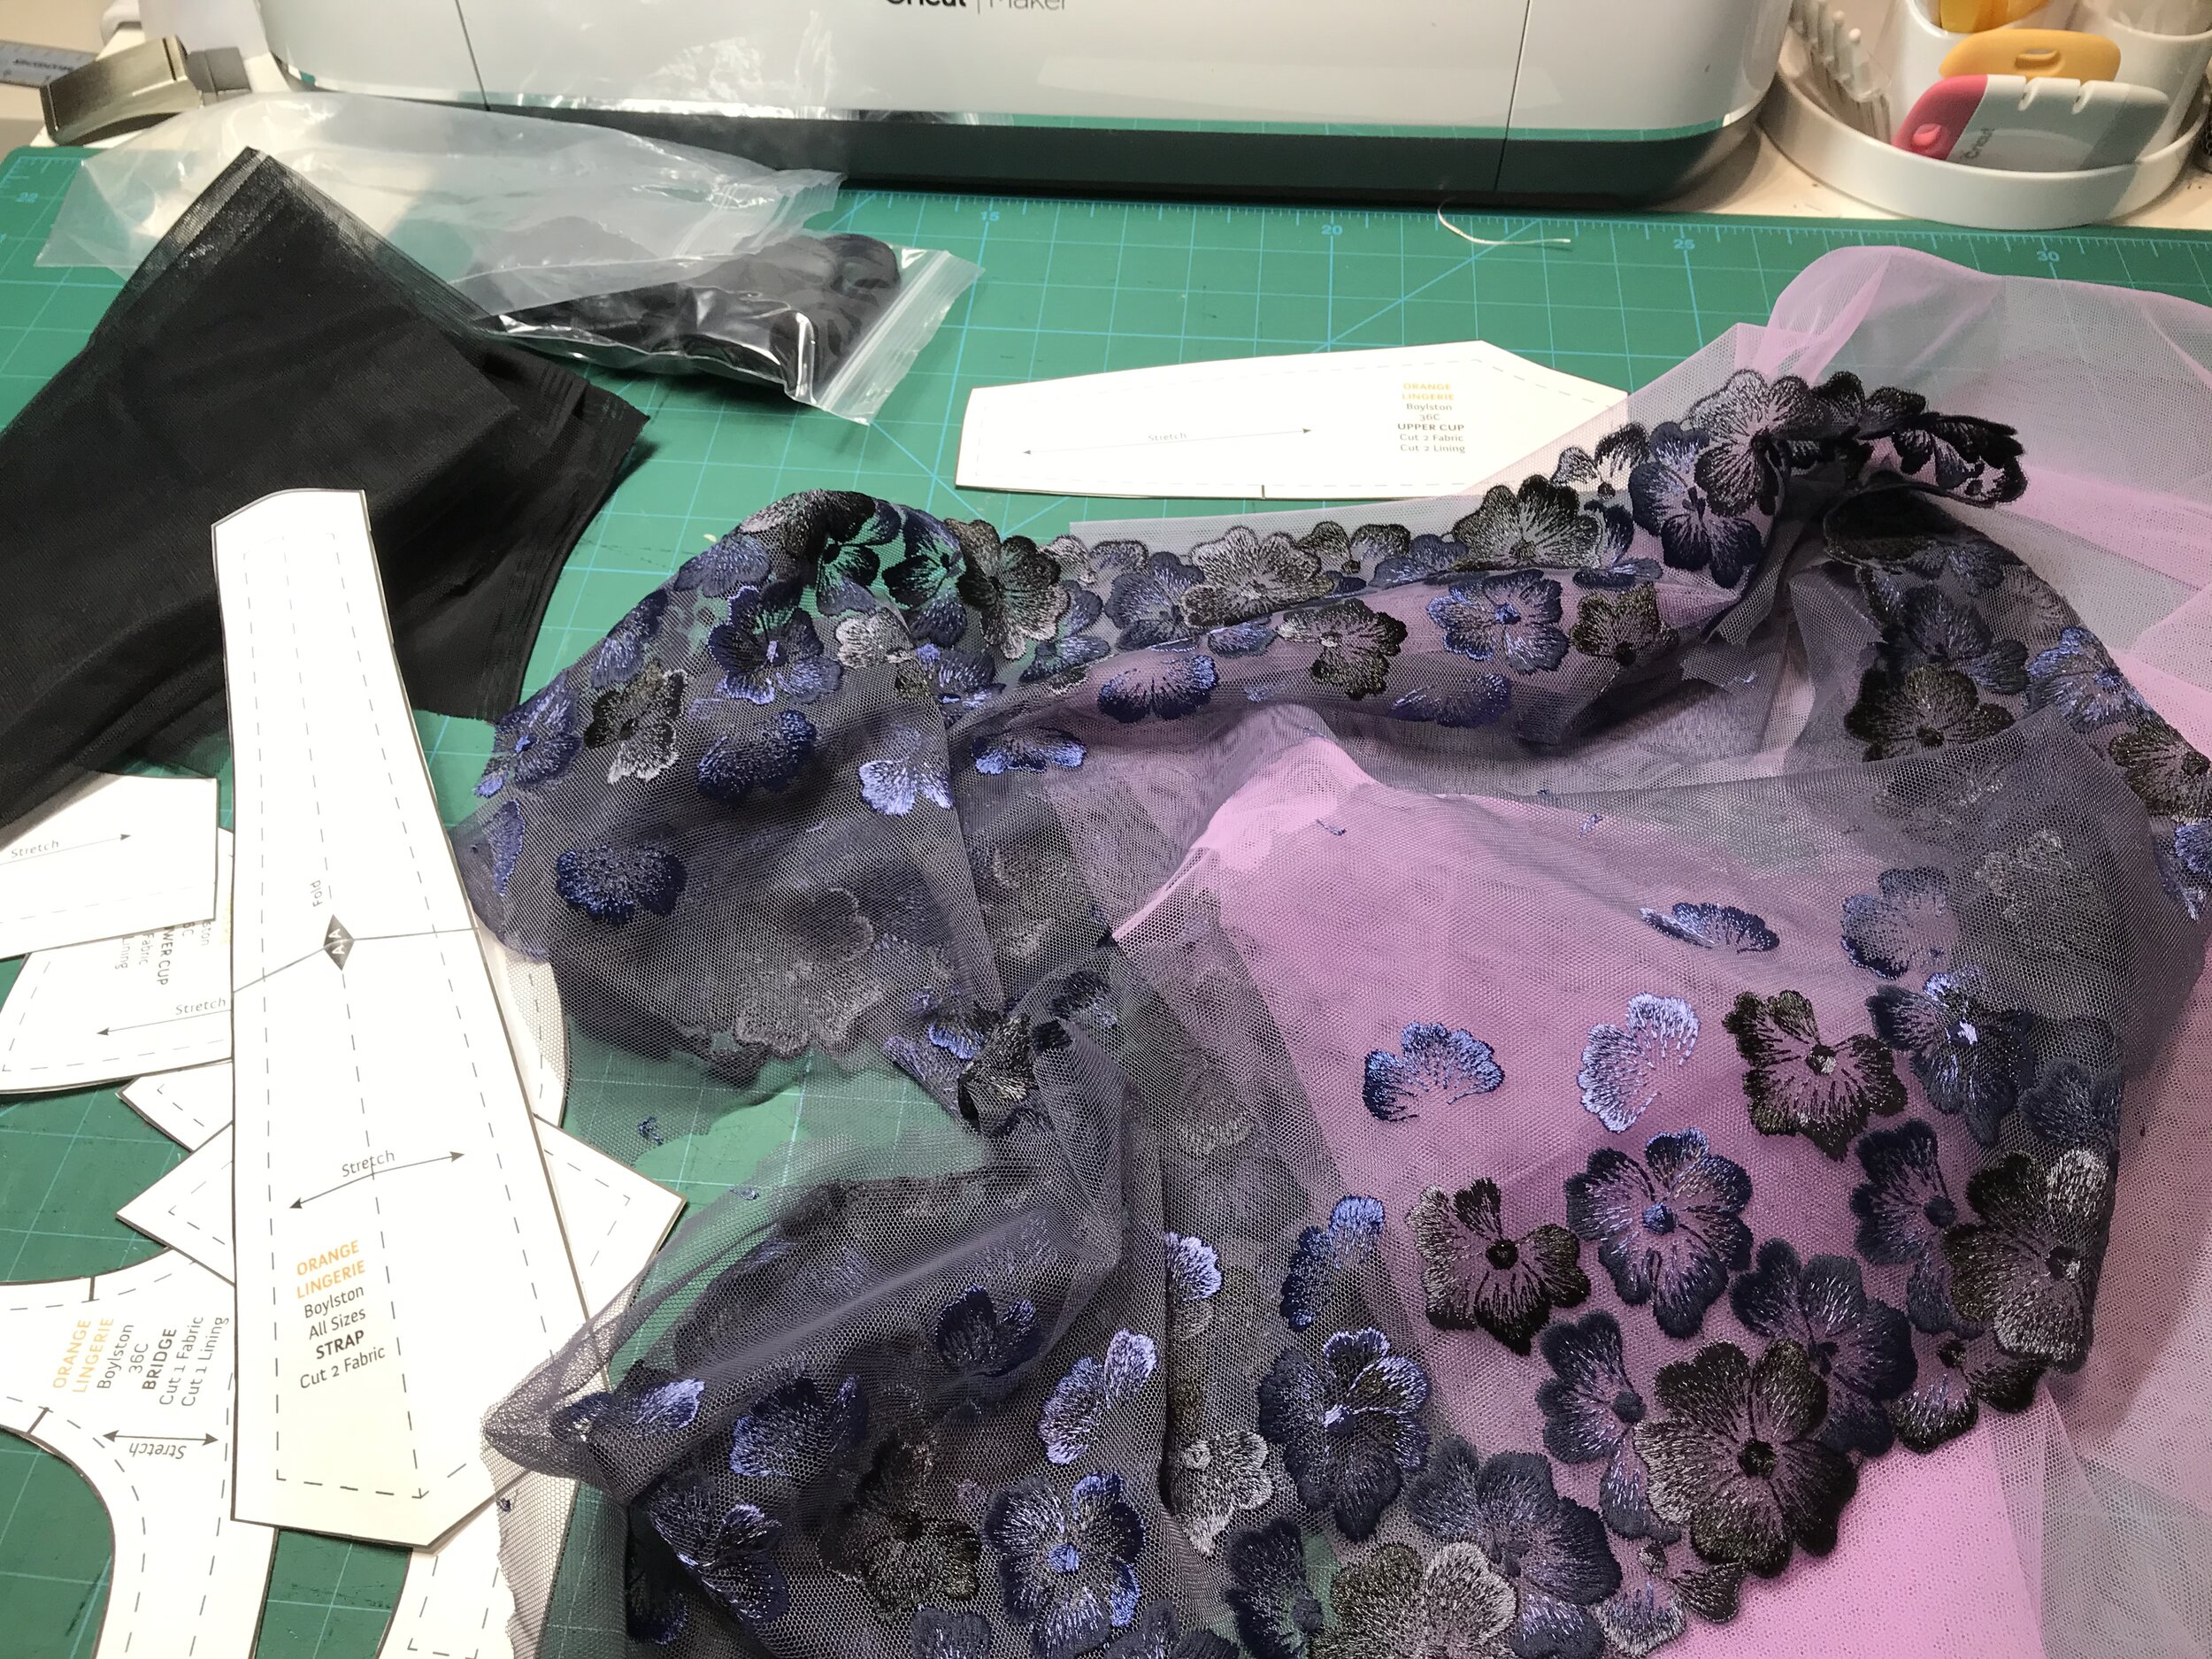
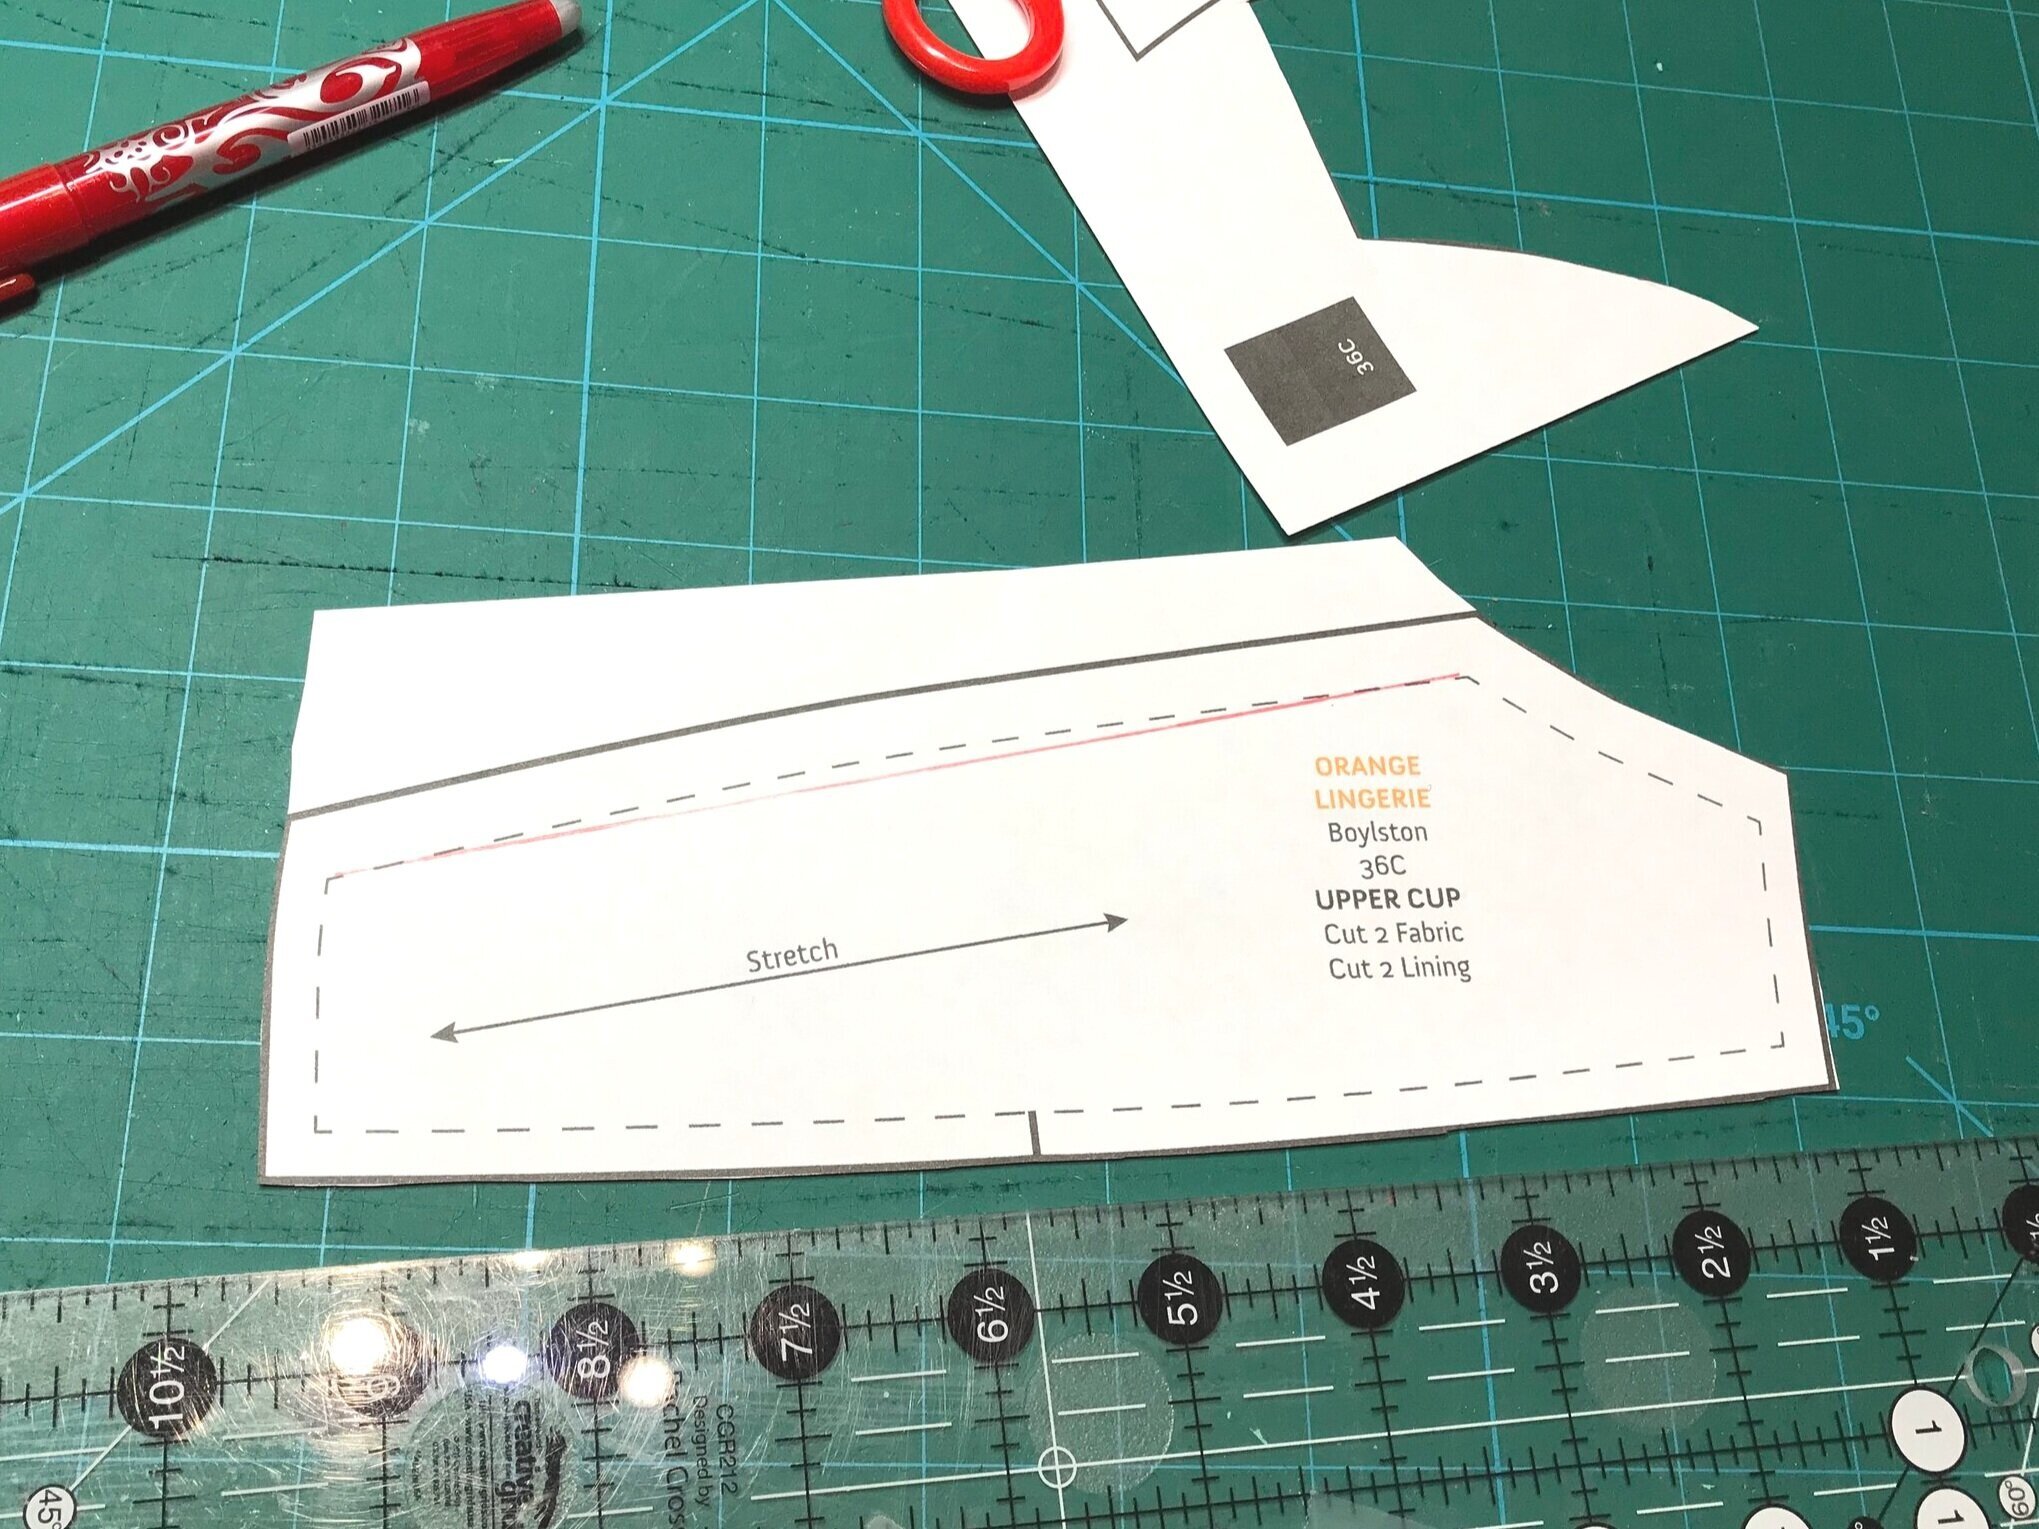
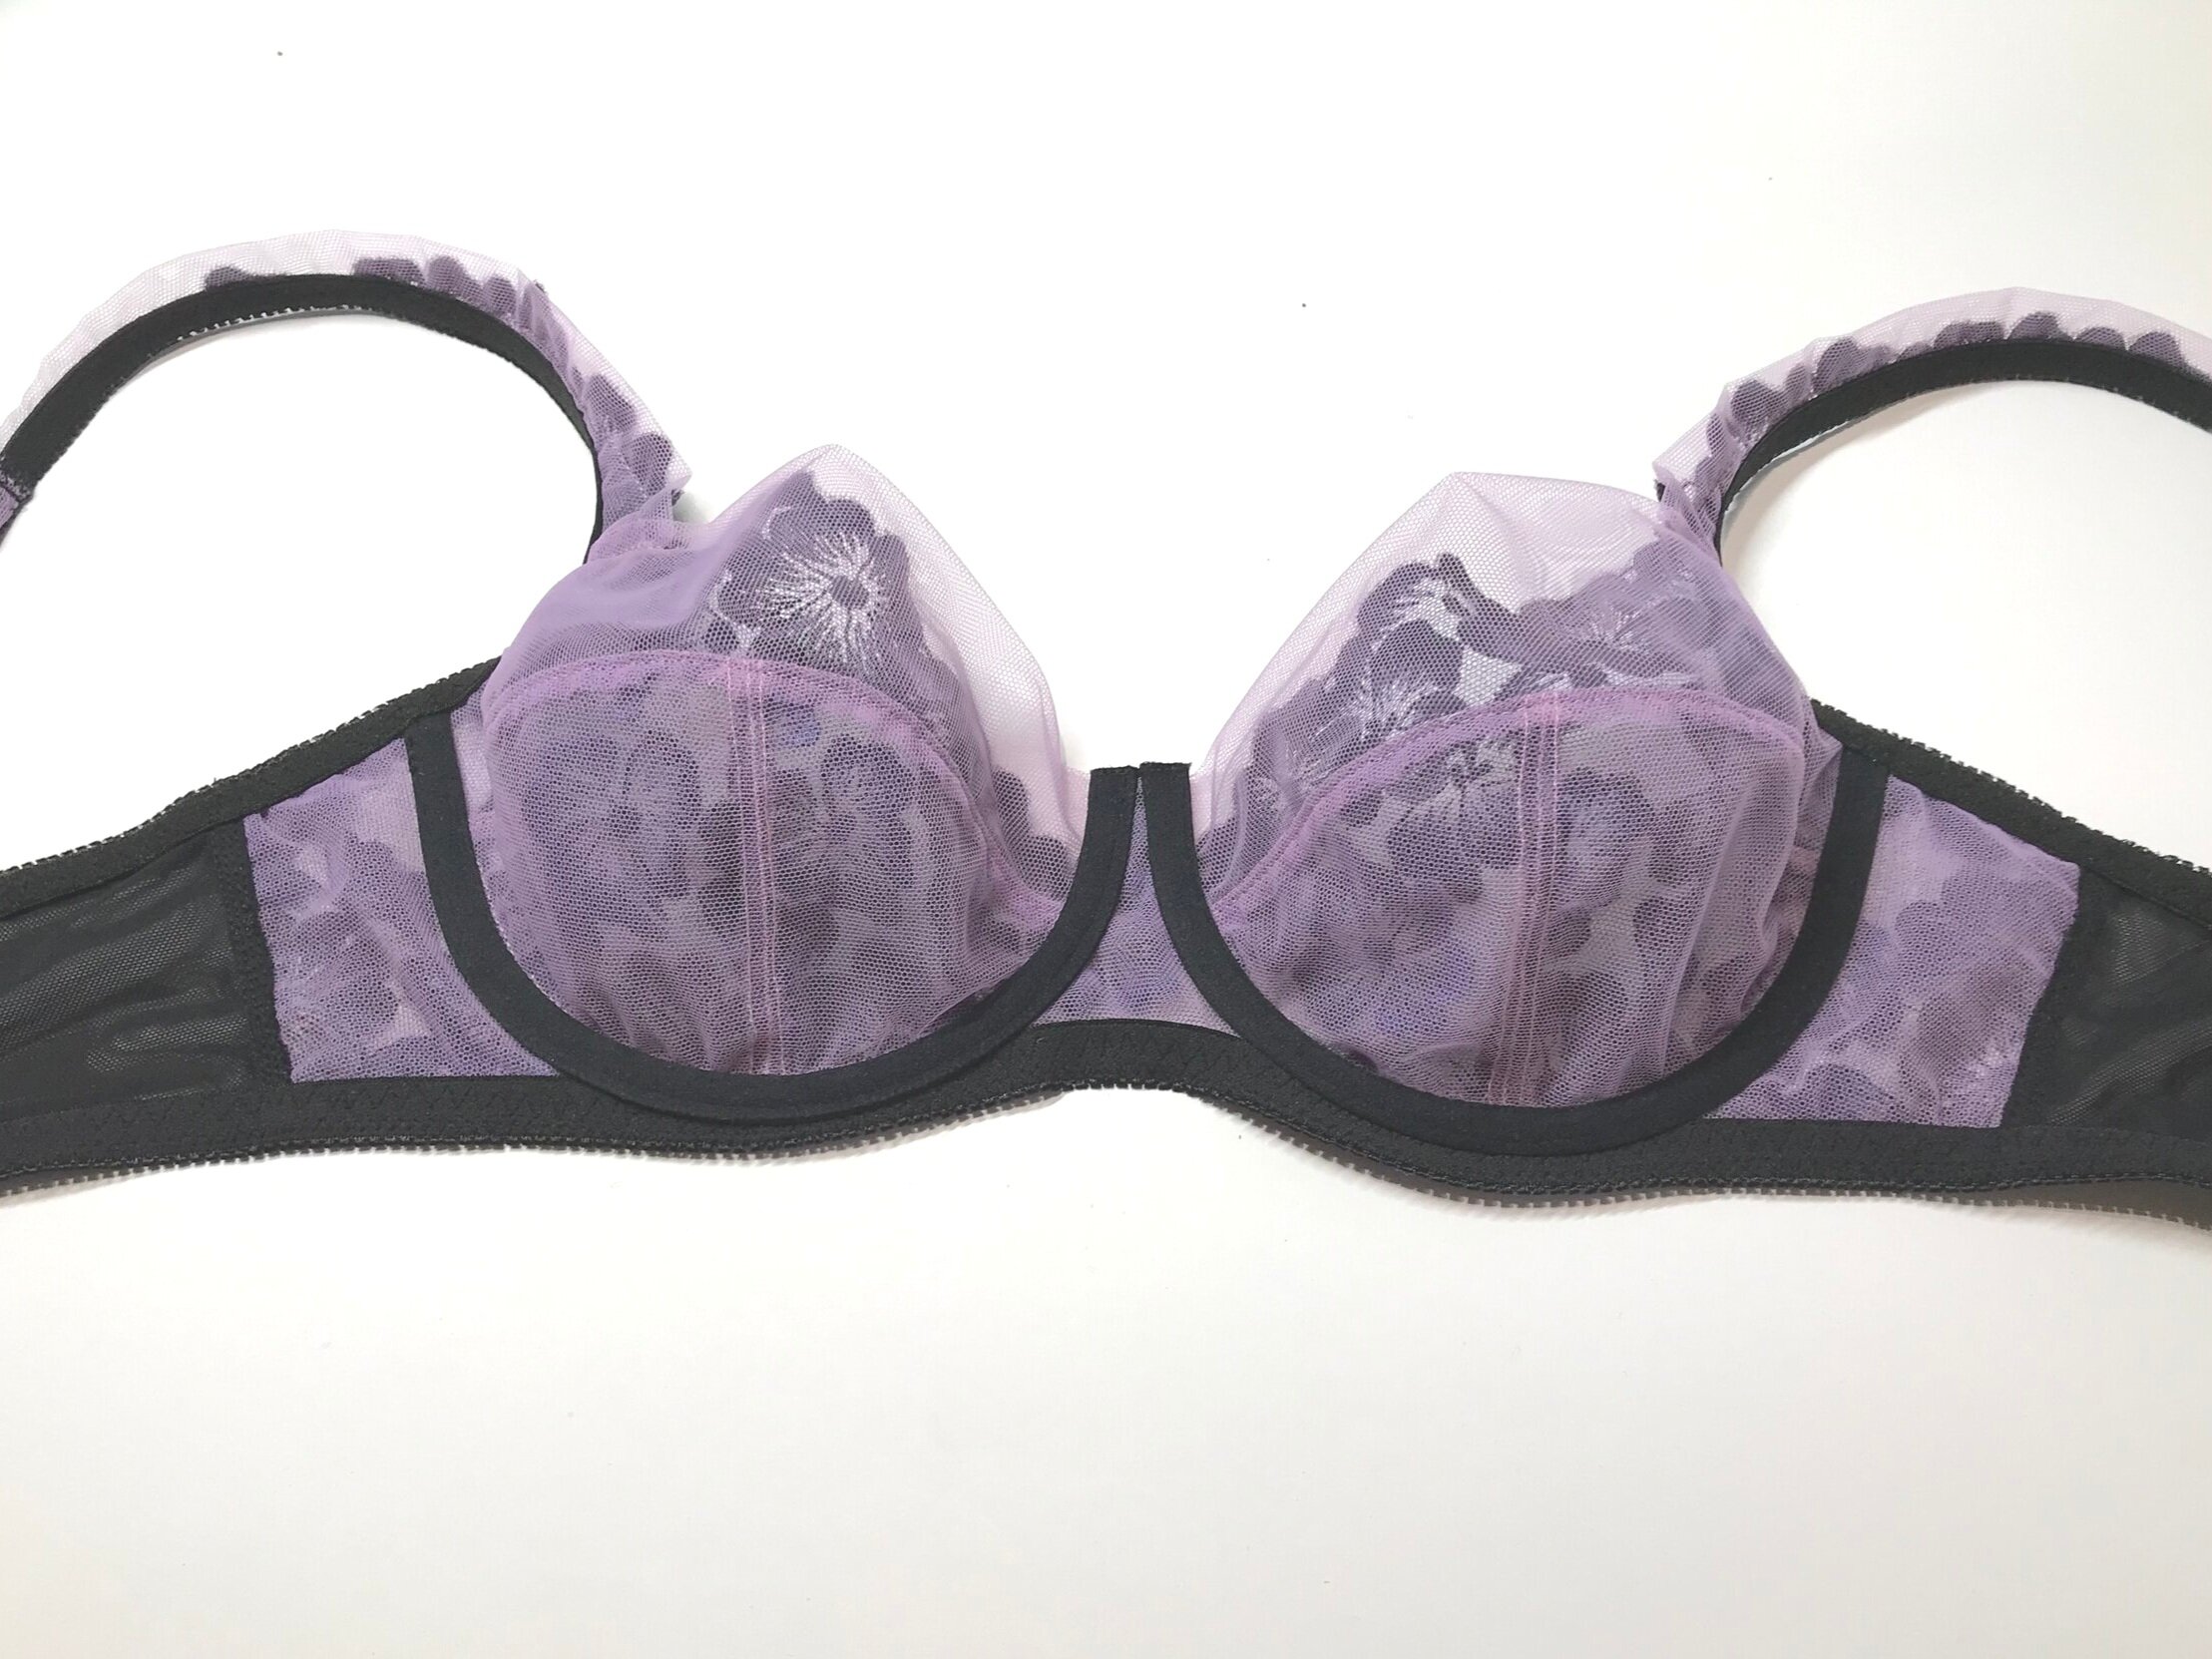
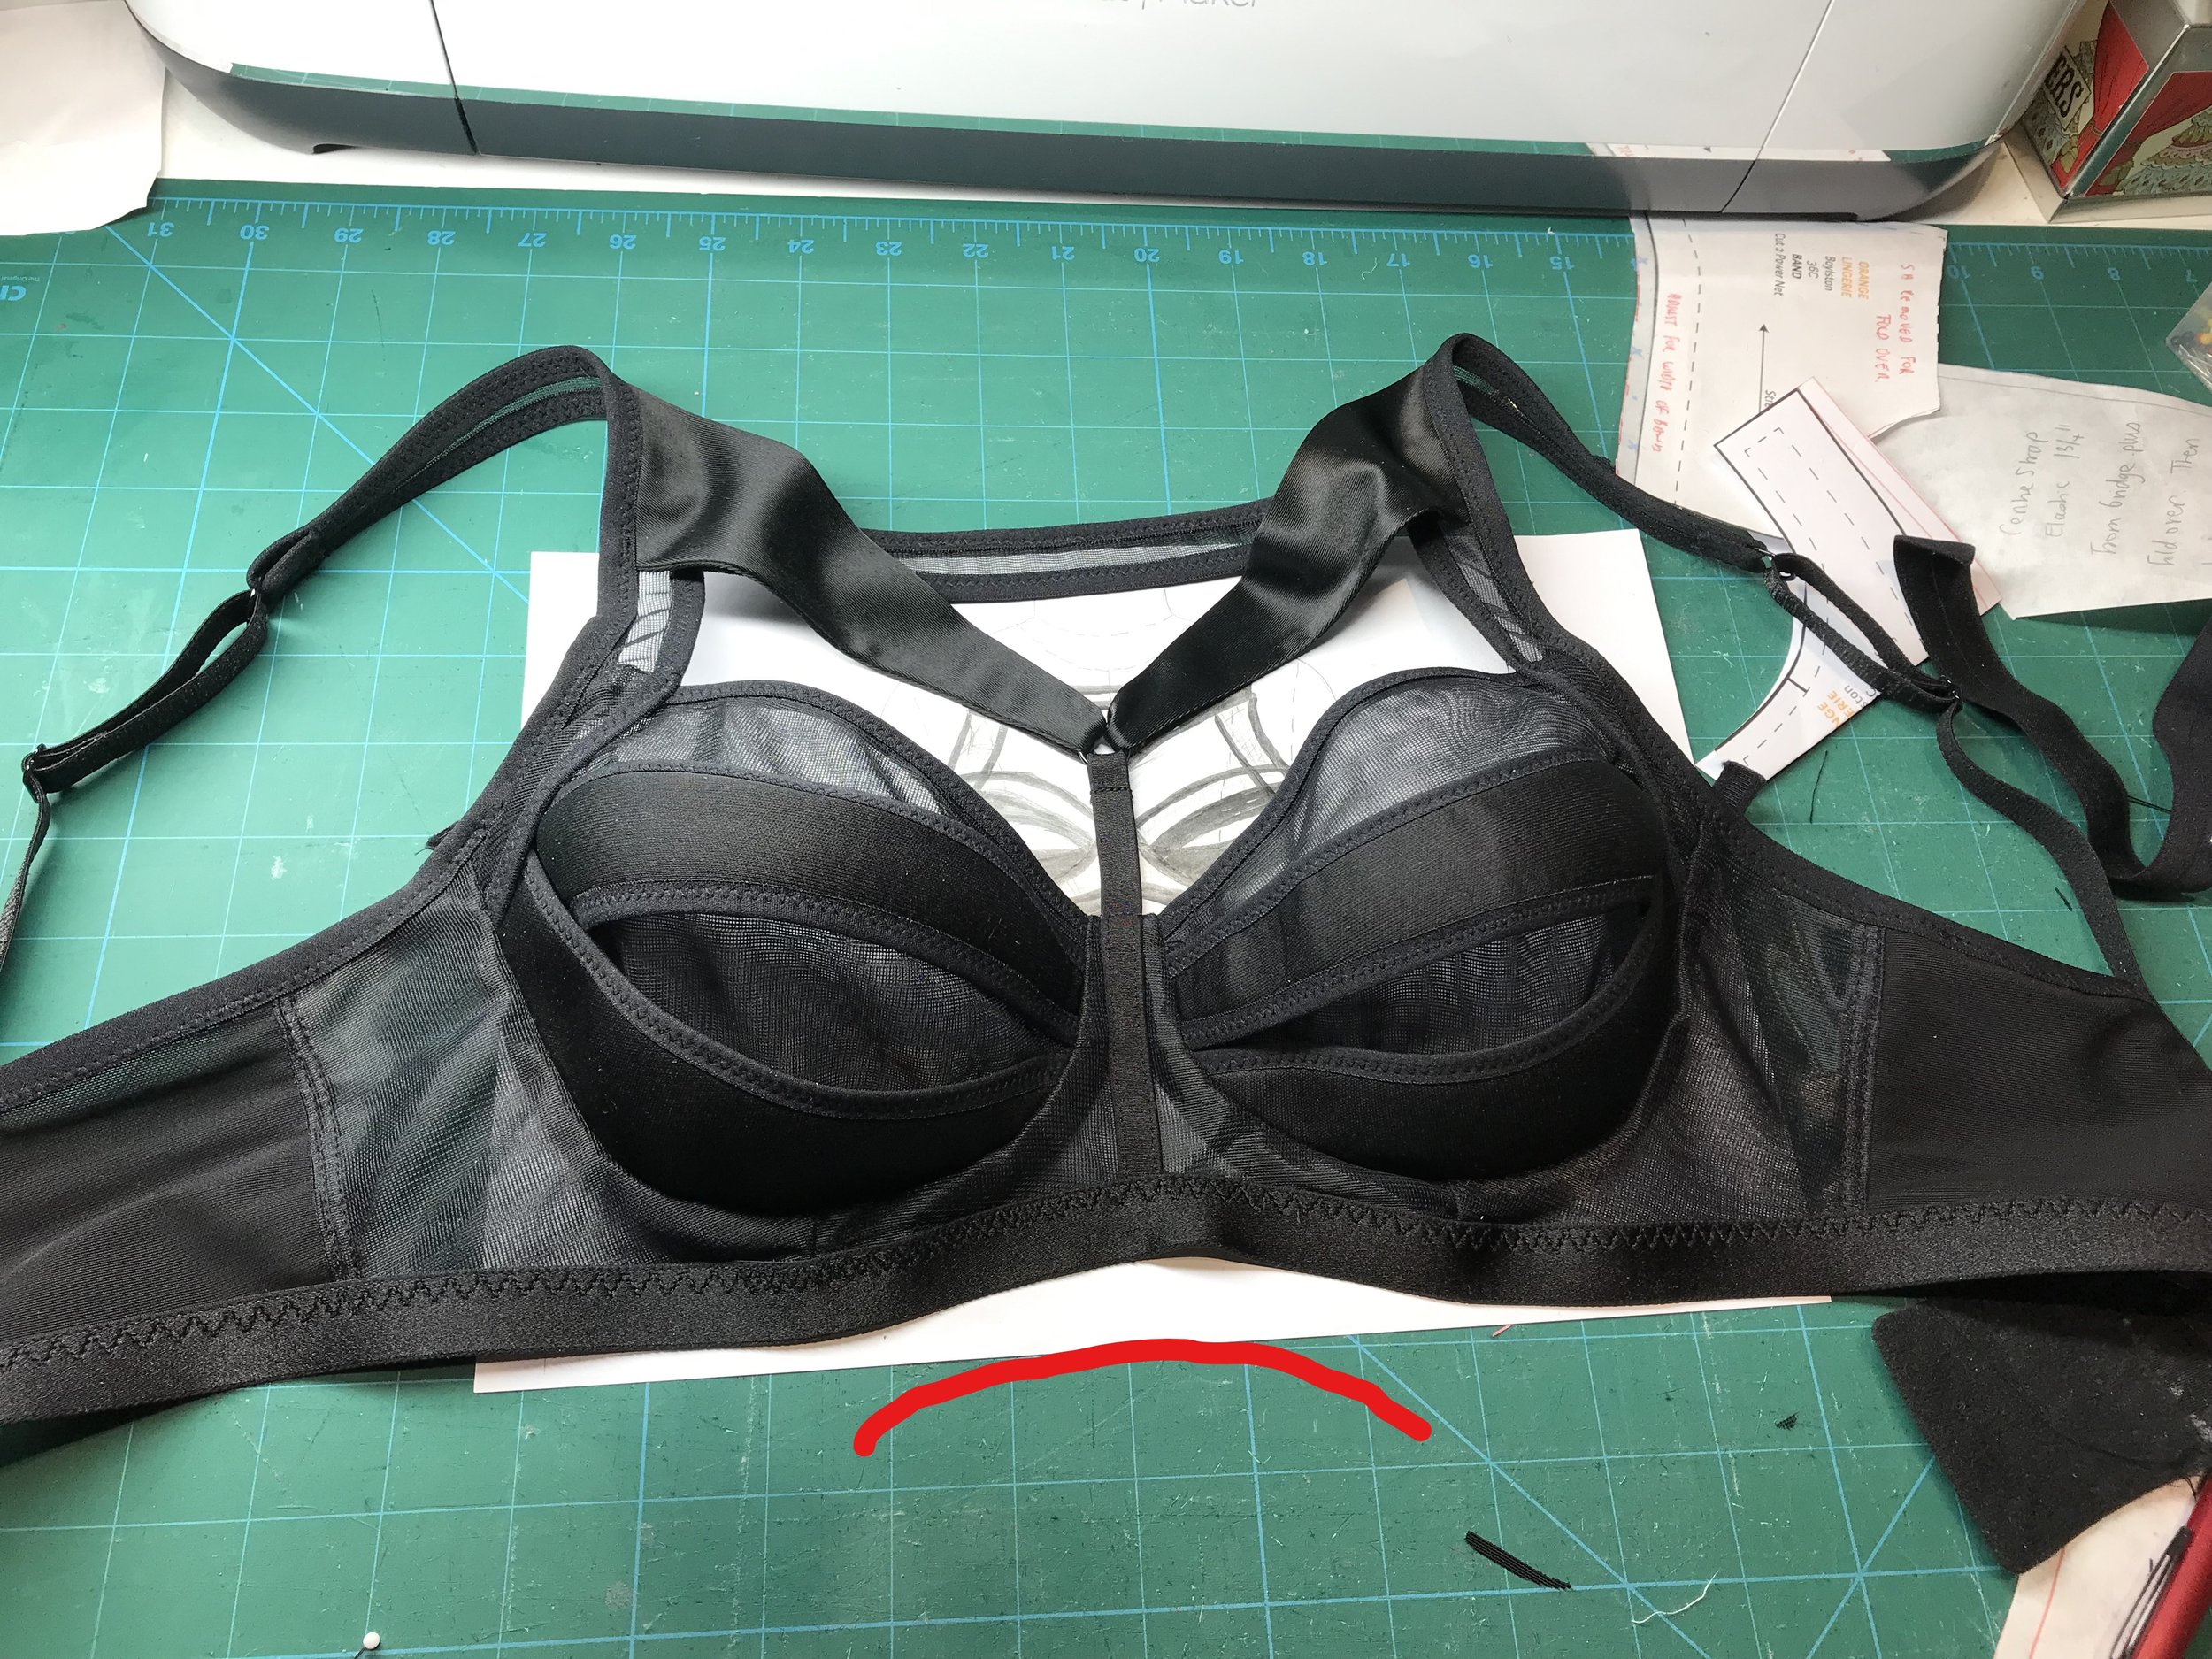
Using the drafted pattern pieces together with the adjusted pieces from the Orange Lingerie Boylston I made up all the separate elements. As with the test I used two layers of sheer cup lining for the cup and frame and a single layer for the straps. To achieve the desired sleek look I used a matt fold over elastic from Bratastic Fabrics. I was then ready to put together the cups.
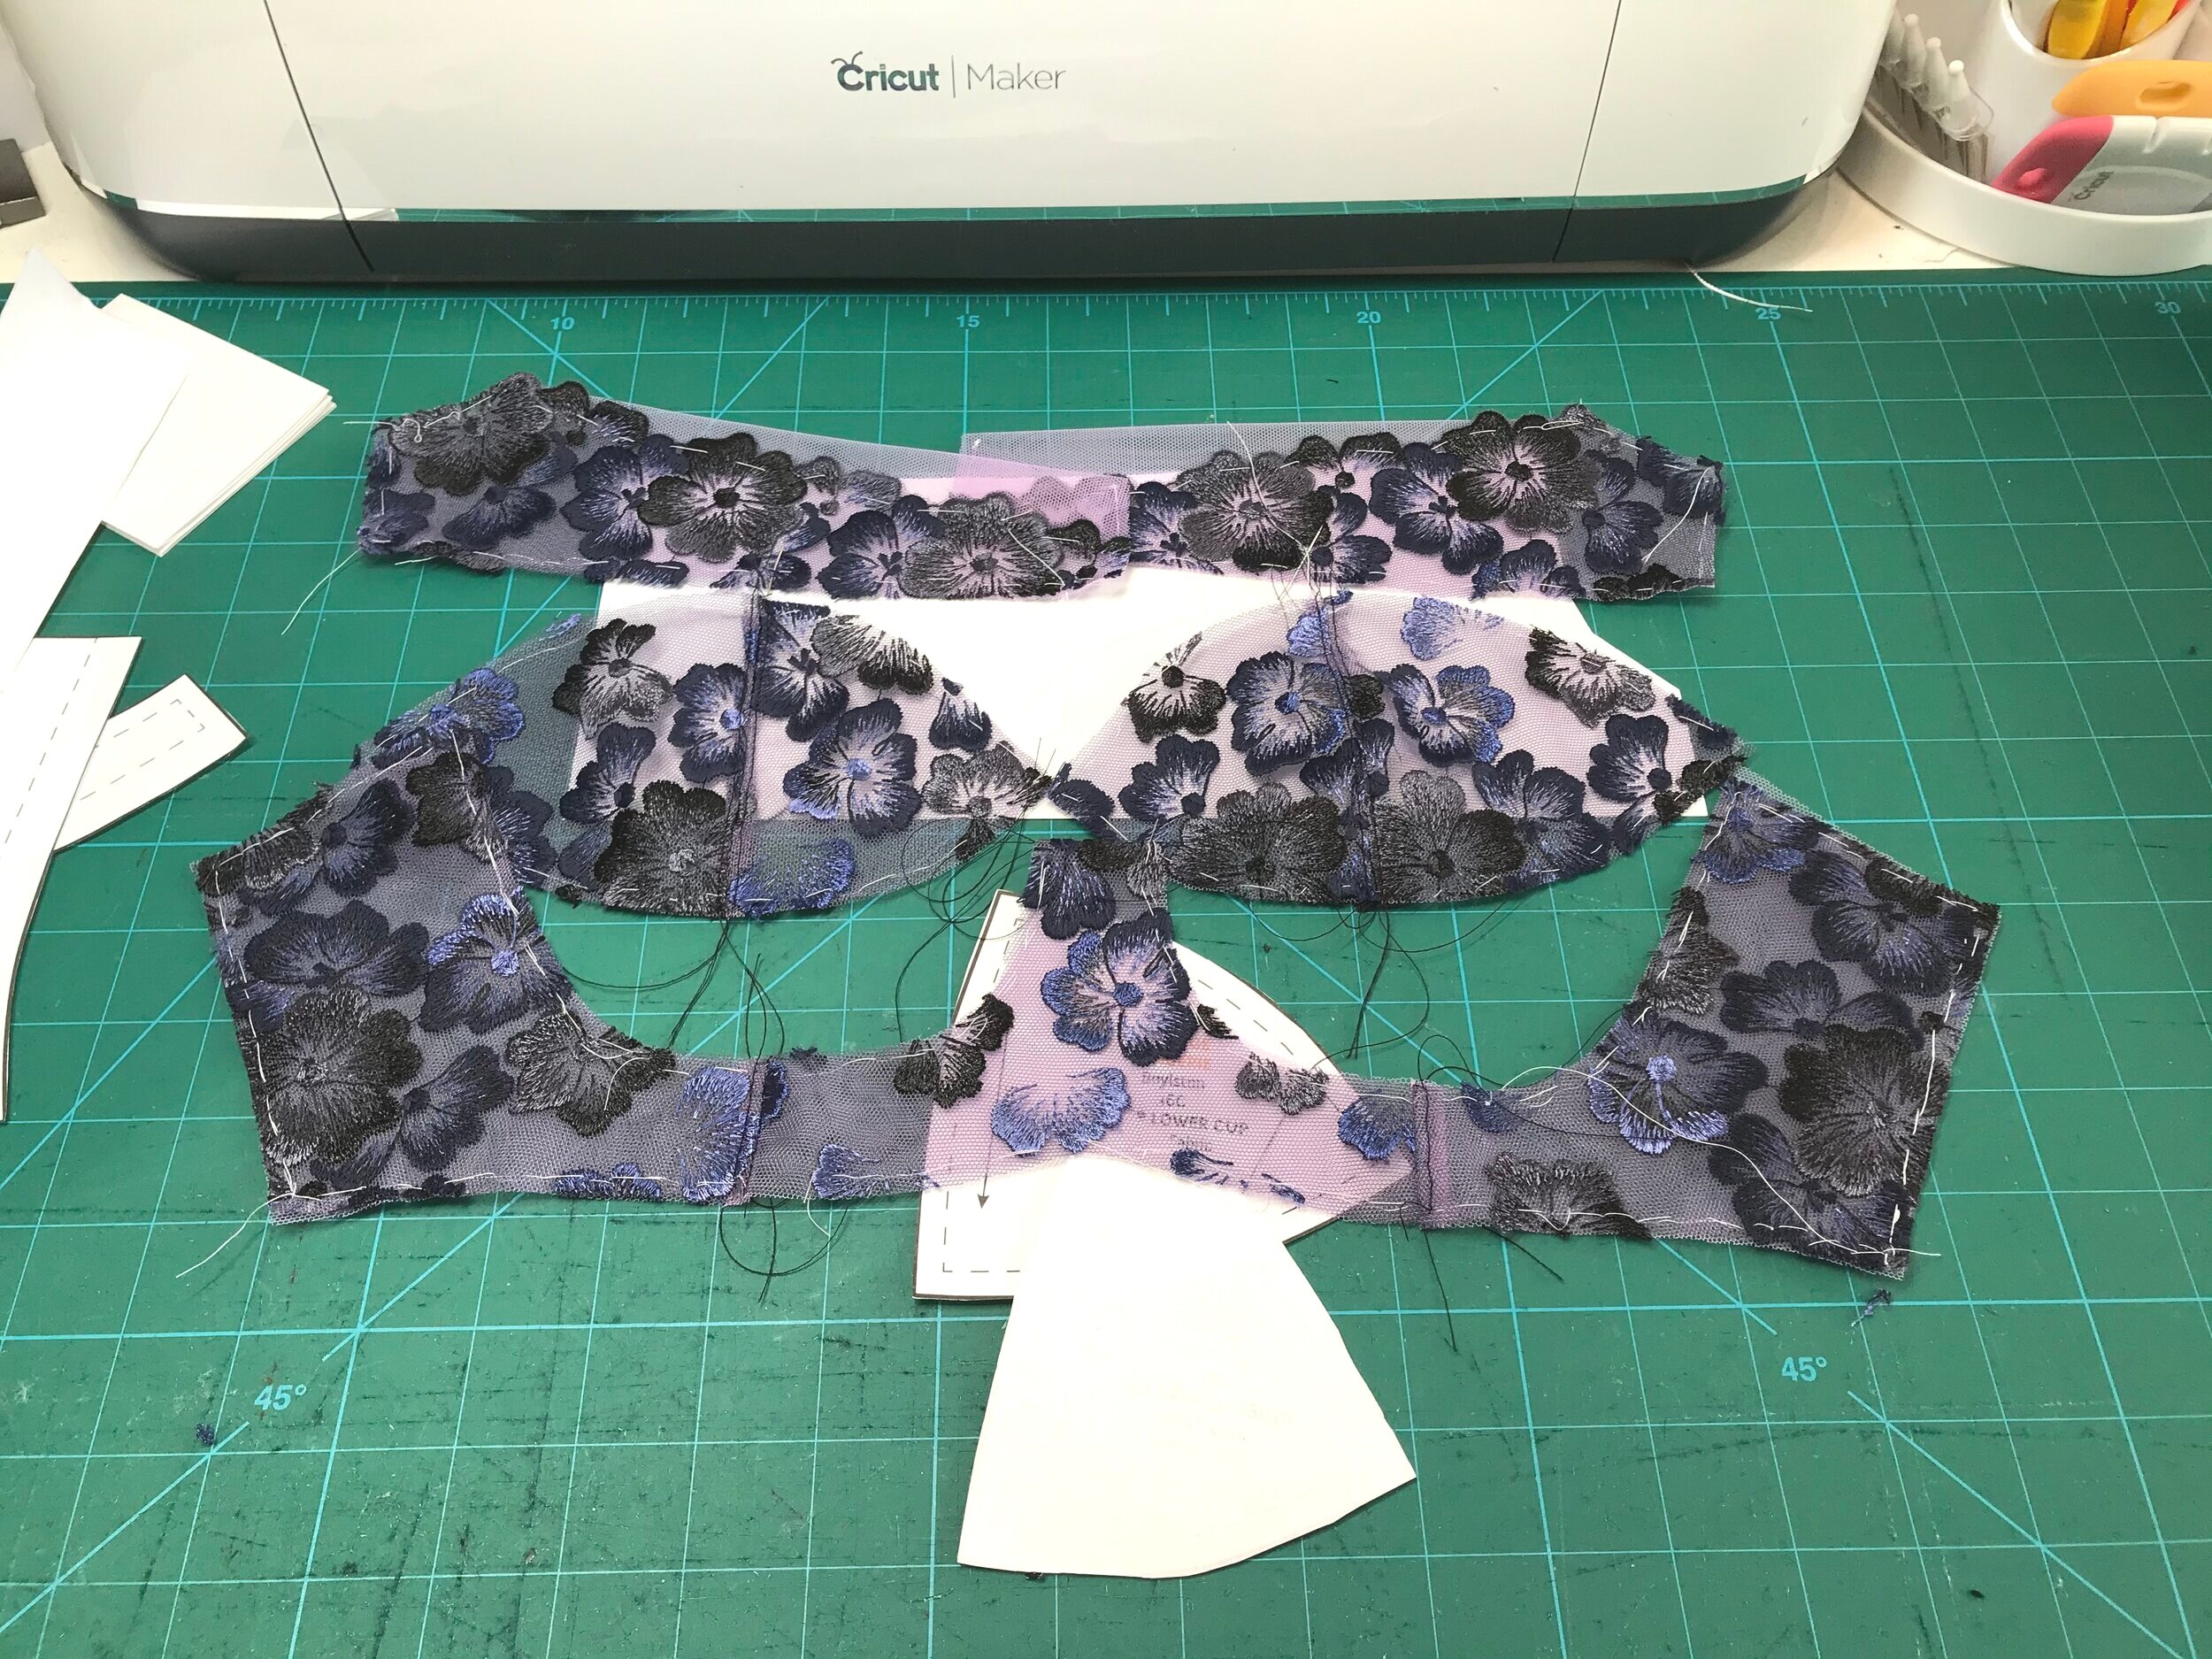
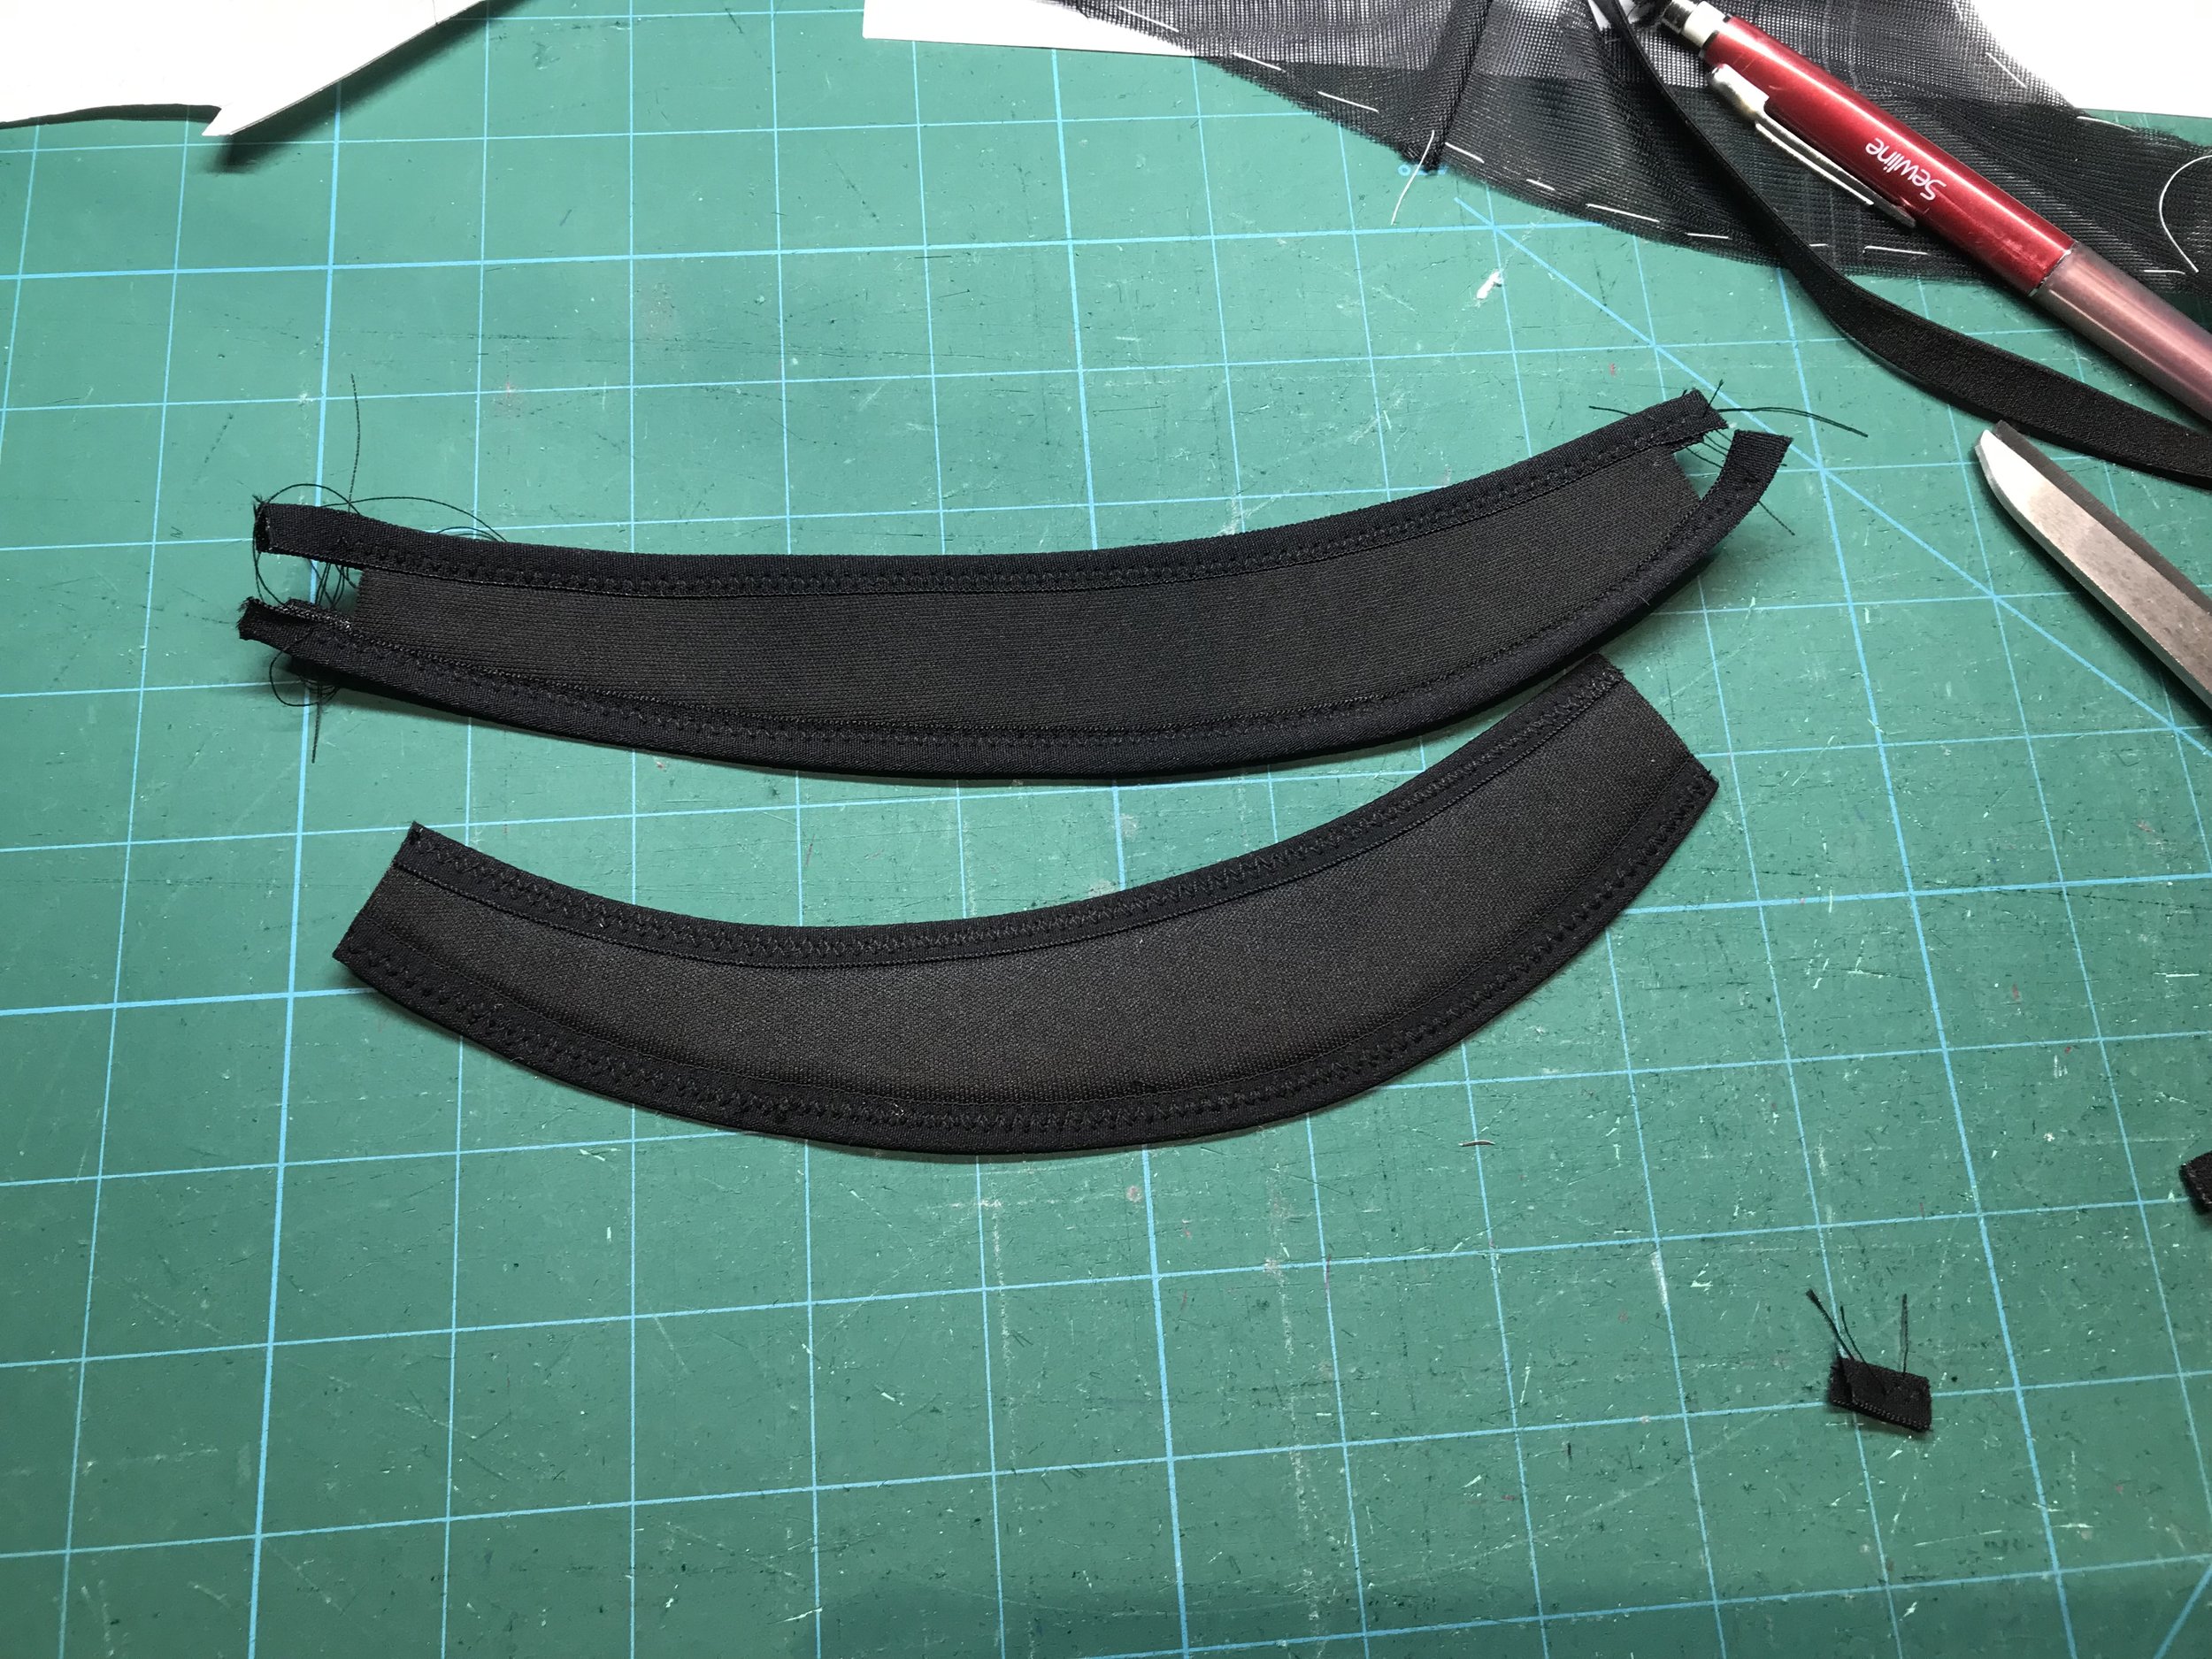
The quarter foam cup was perfect but the middle section just didn’t sit right. The problem was that the black foam had far more stretch than the beige I had used in the test. The middle picture shows the piece cut with the stretch horizontally on the bottom. The straighter piece is cut with the stretch in the opposite direction but applying the fold over elastic in the same direction top and bottom, so as not to distort, but I didn’t keep enough tension. To correct this I had to undo the bottom fold over elastic and apply as I normally would.

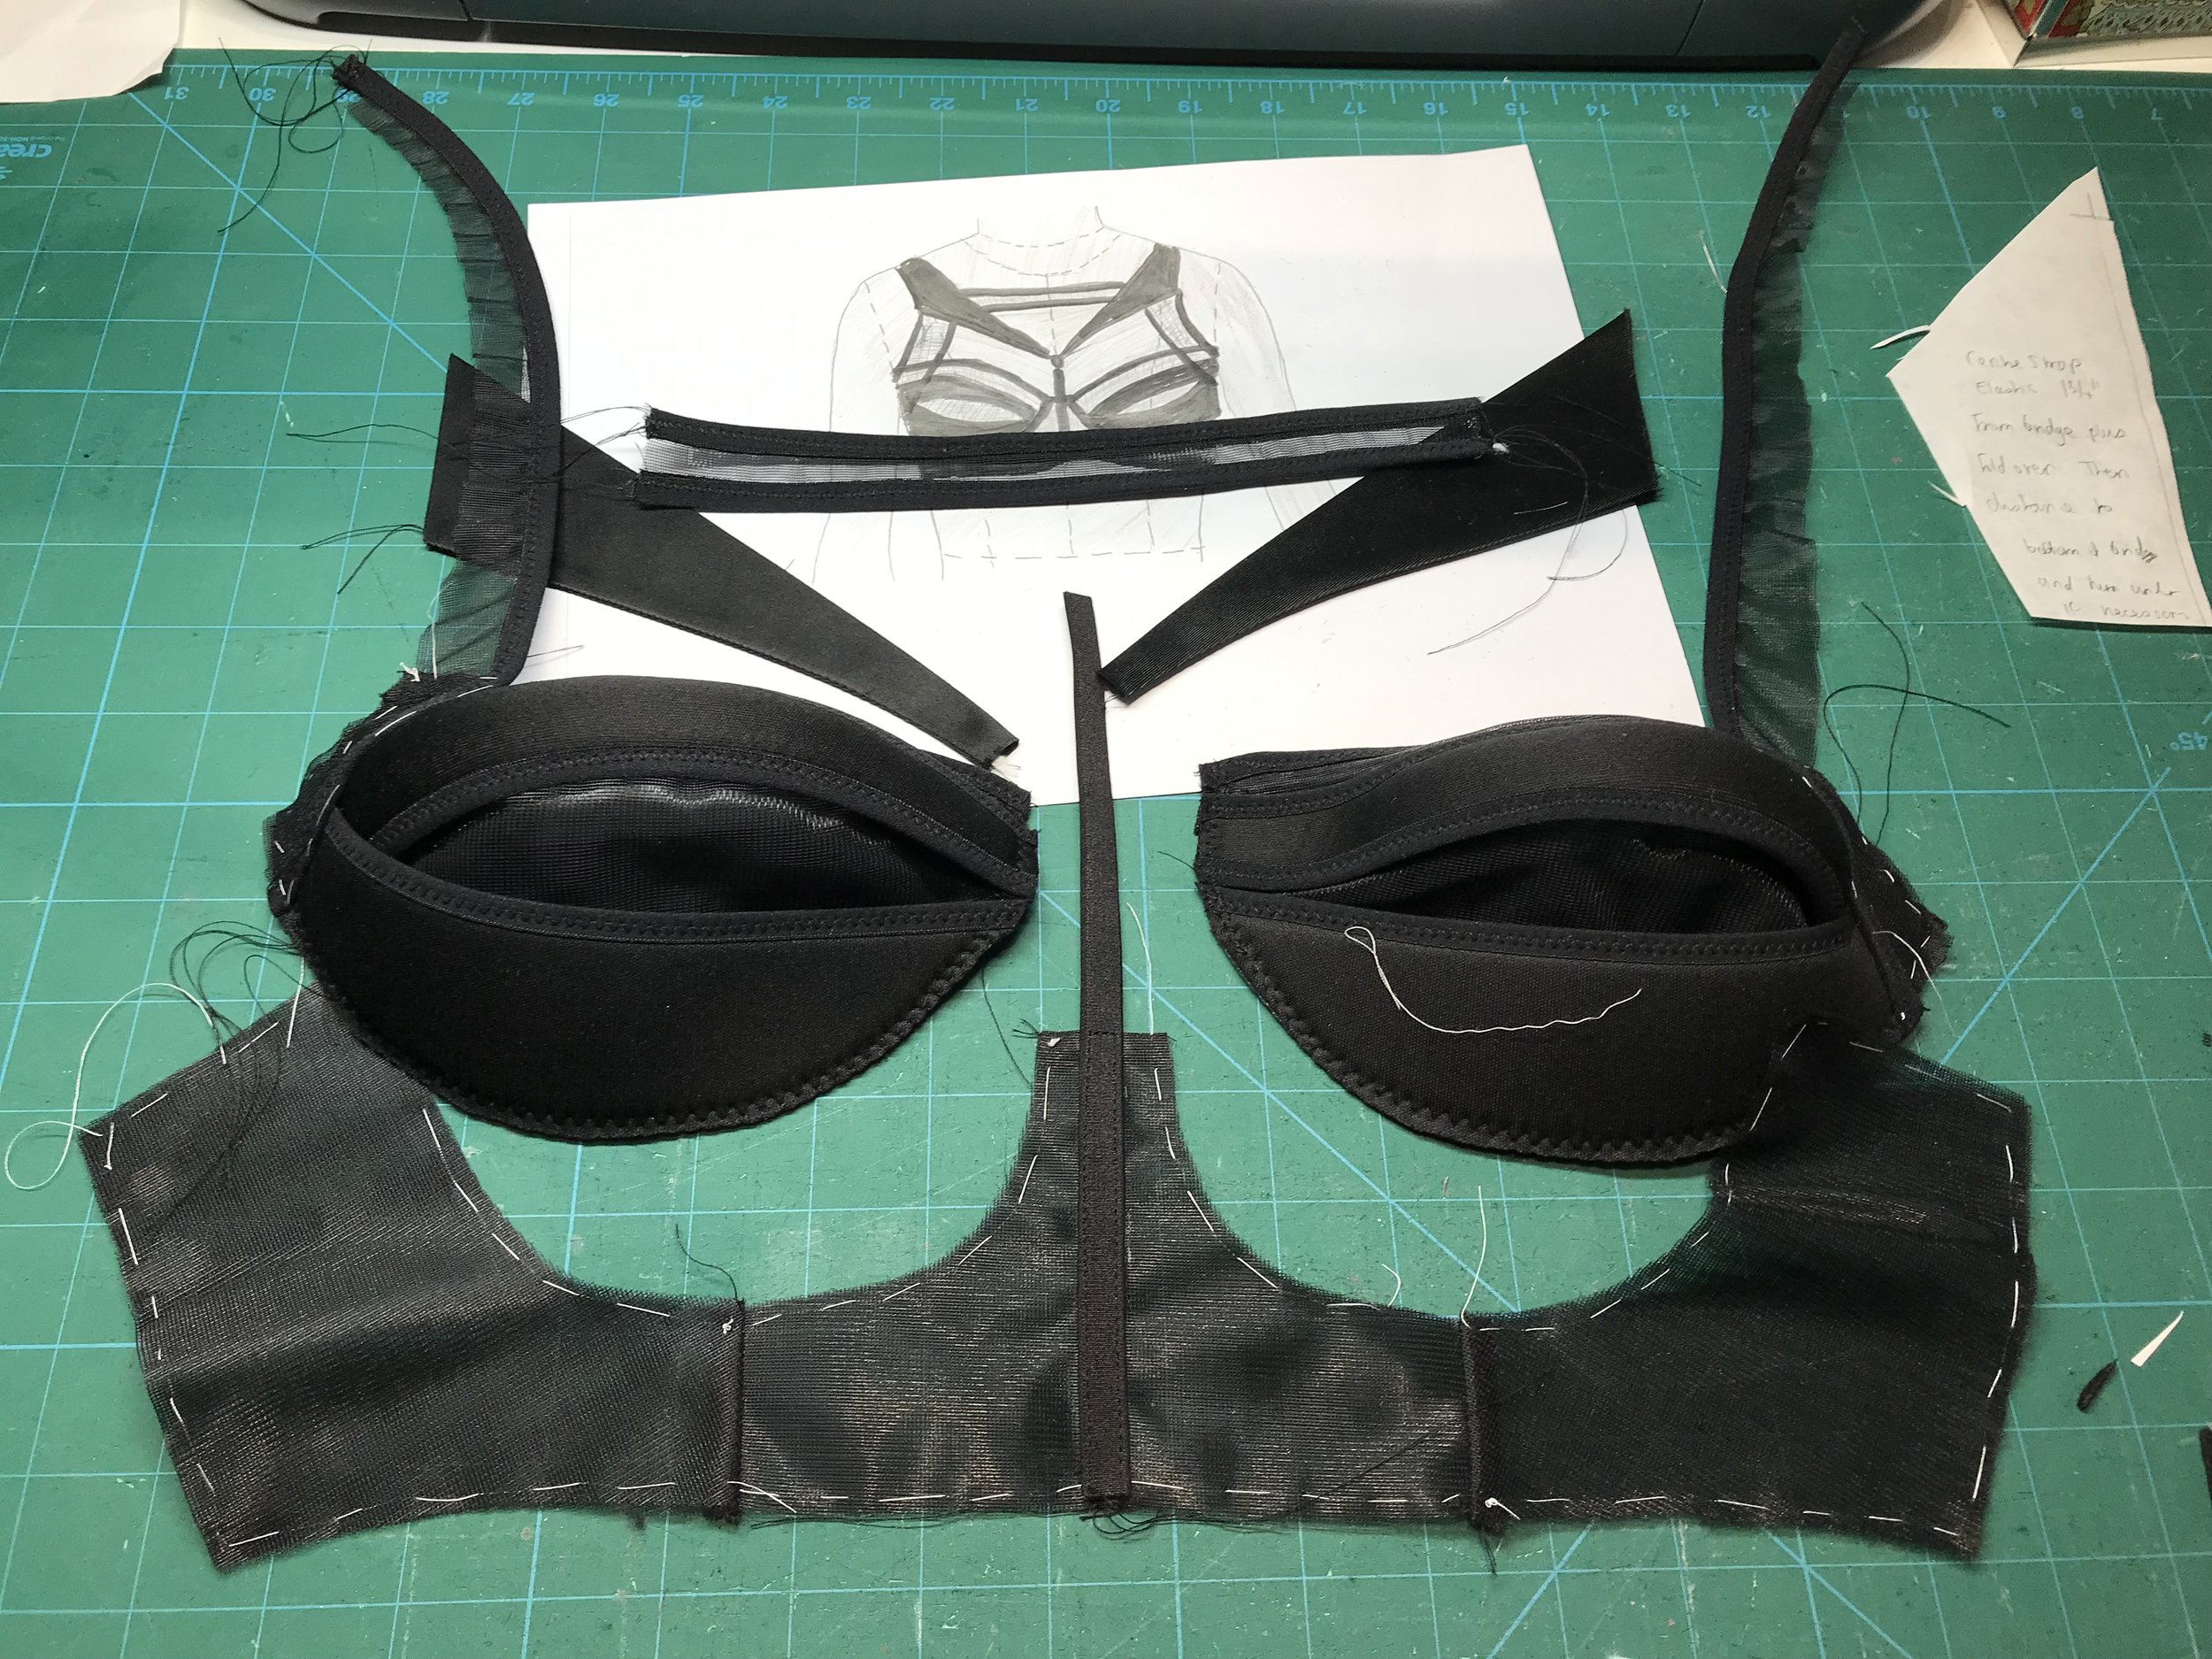
With the middle piece now correct I could attach the long strap piece, to which I had already applied the fold over elastic, to the inside edge. I then inserted the cups into the frame and attached the back bands. Unlike my test make I straightened off the bridge but once I was in a position to try on the strap elastic I had used for bottom did not have enough stretch to be comfortable so I separated the elastic from the bridge and raised as far as I could to its original shape.
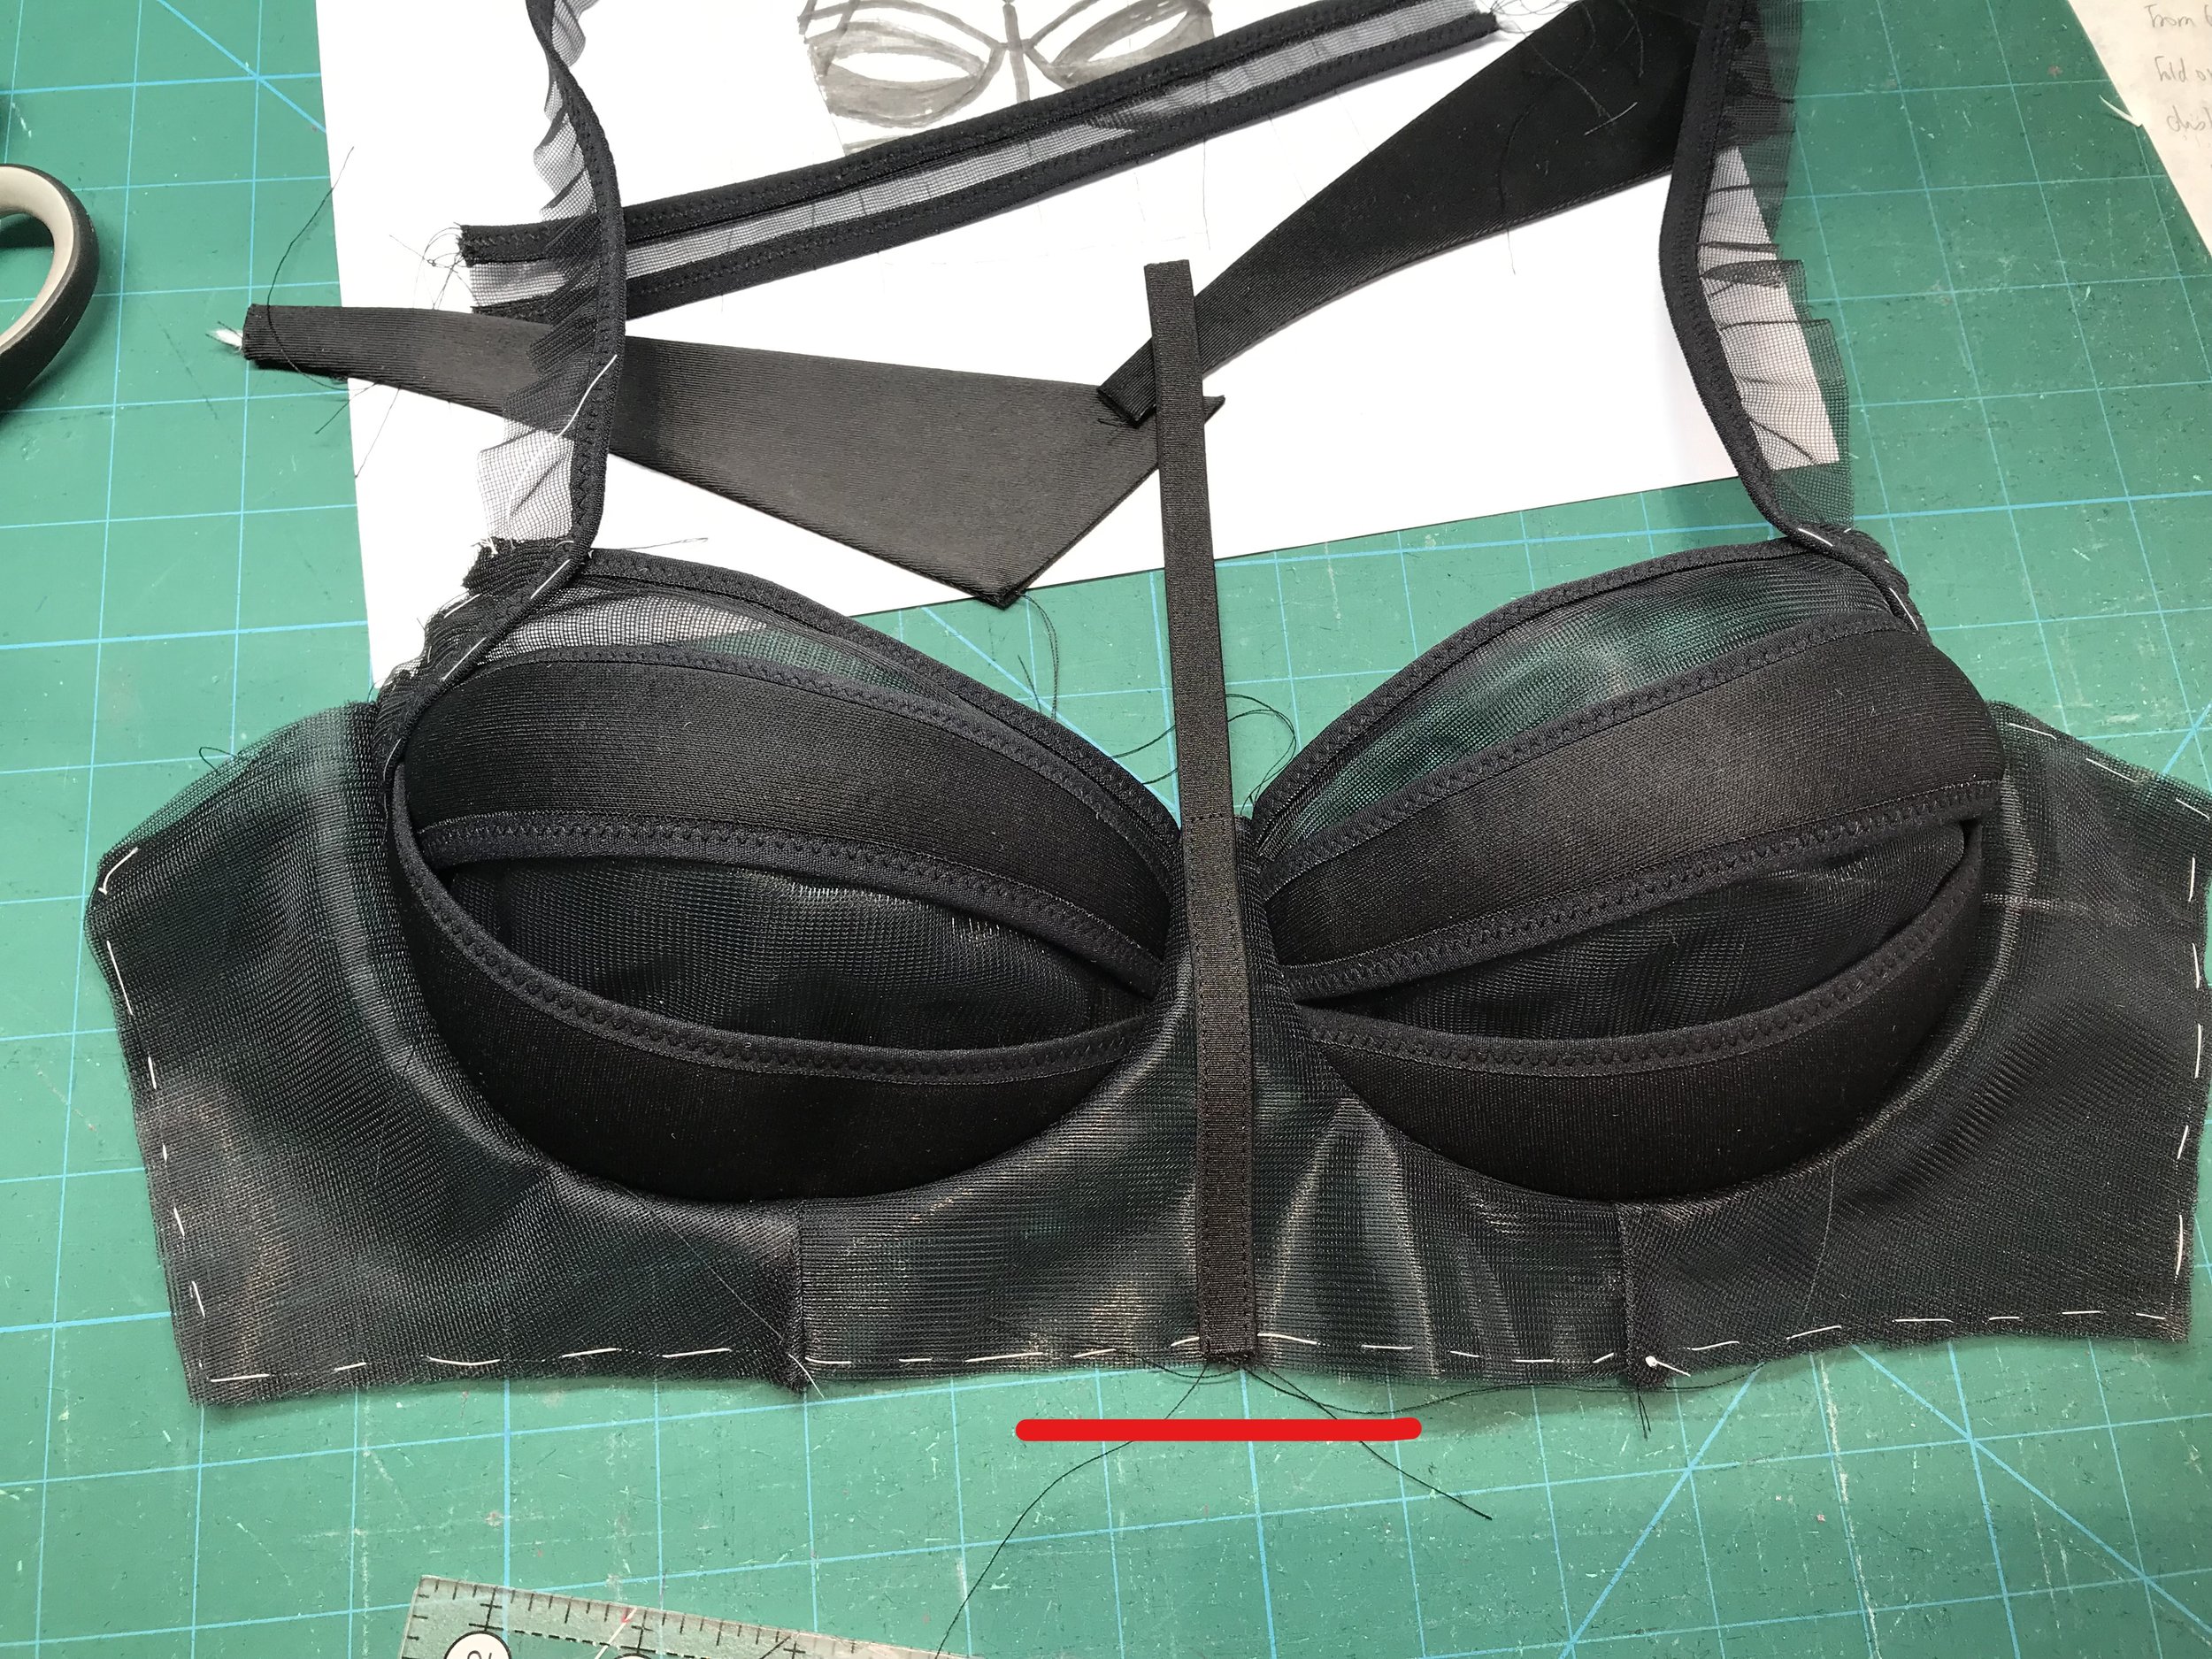
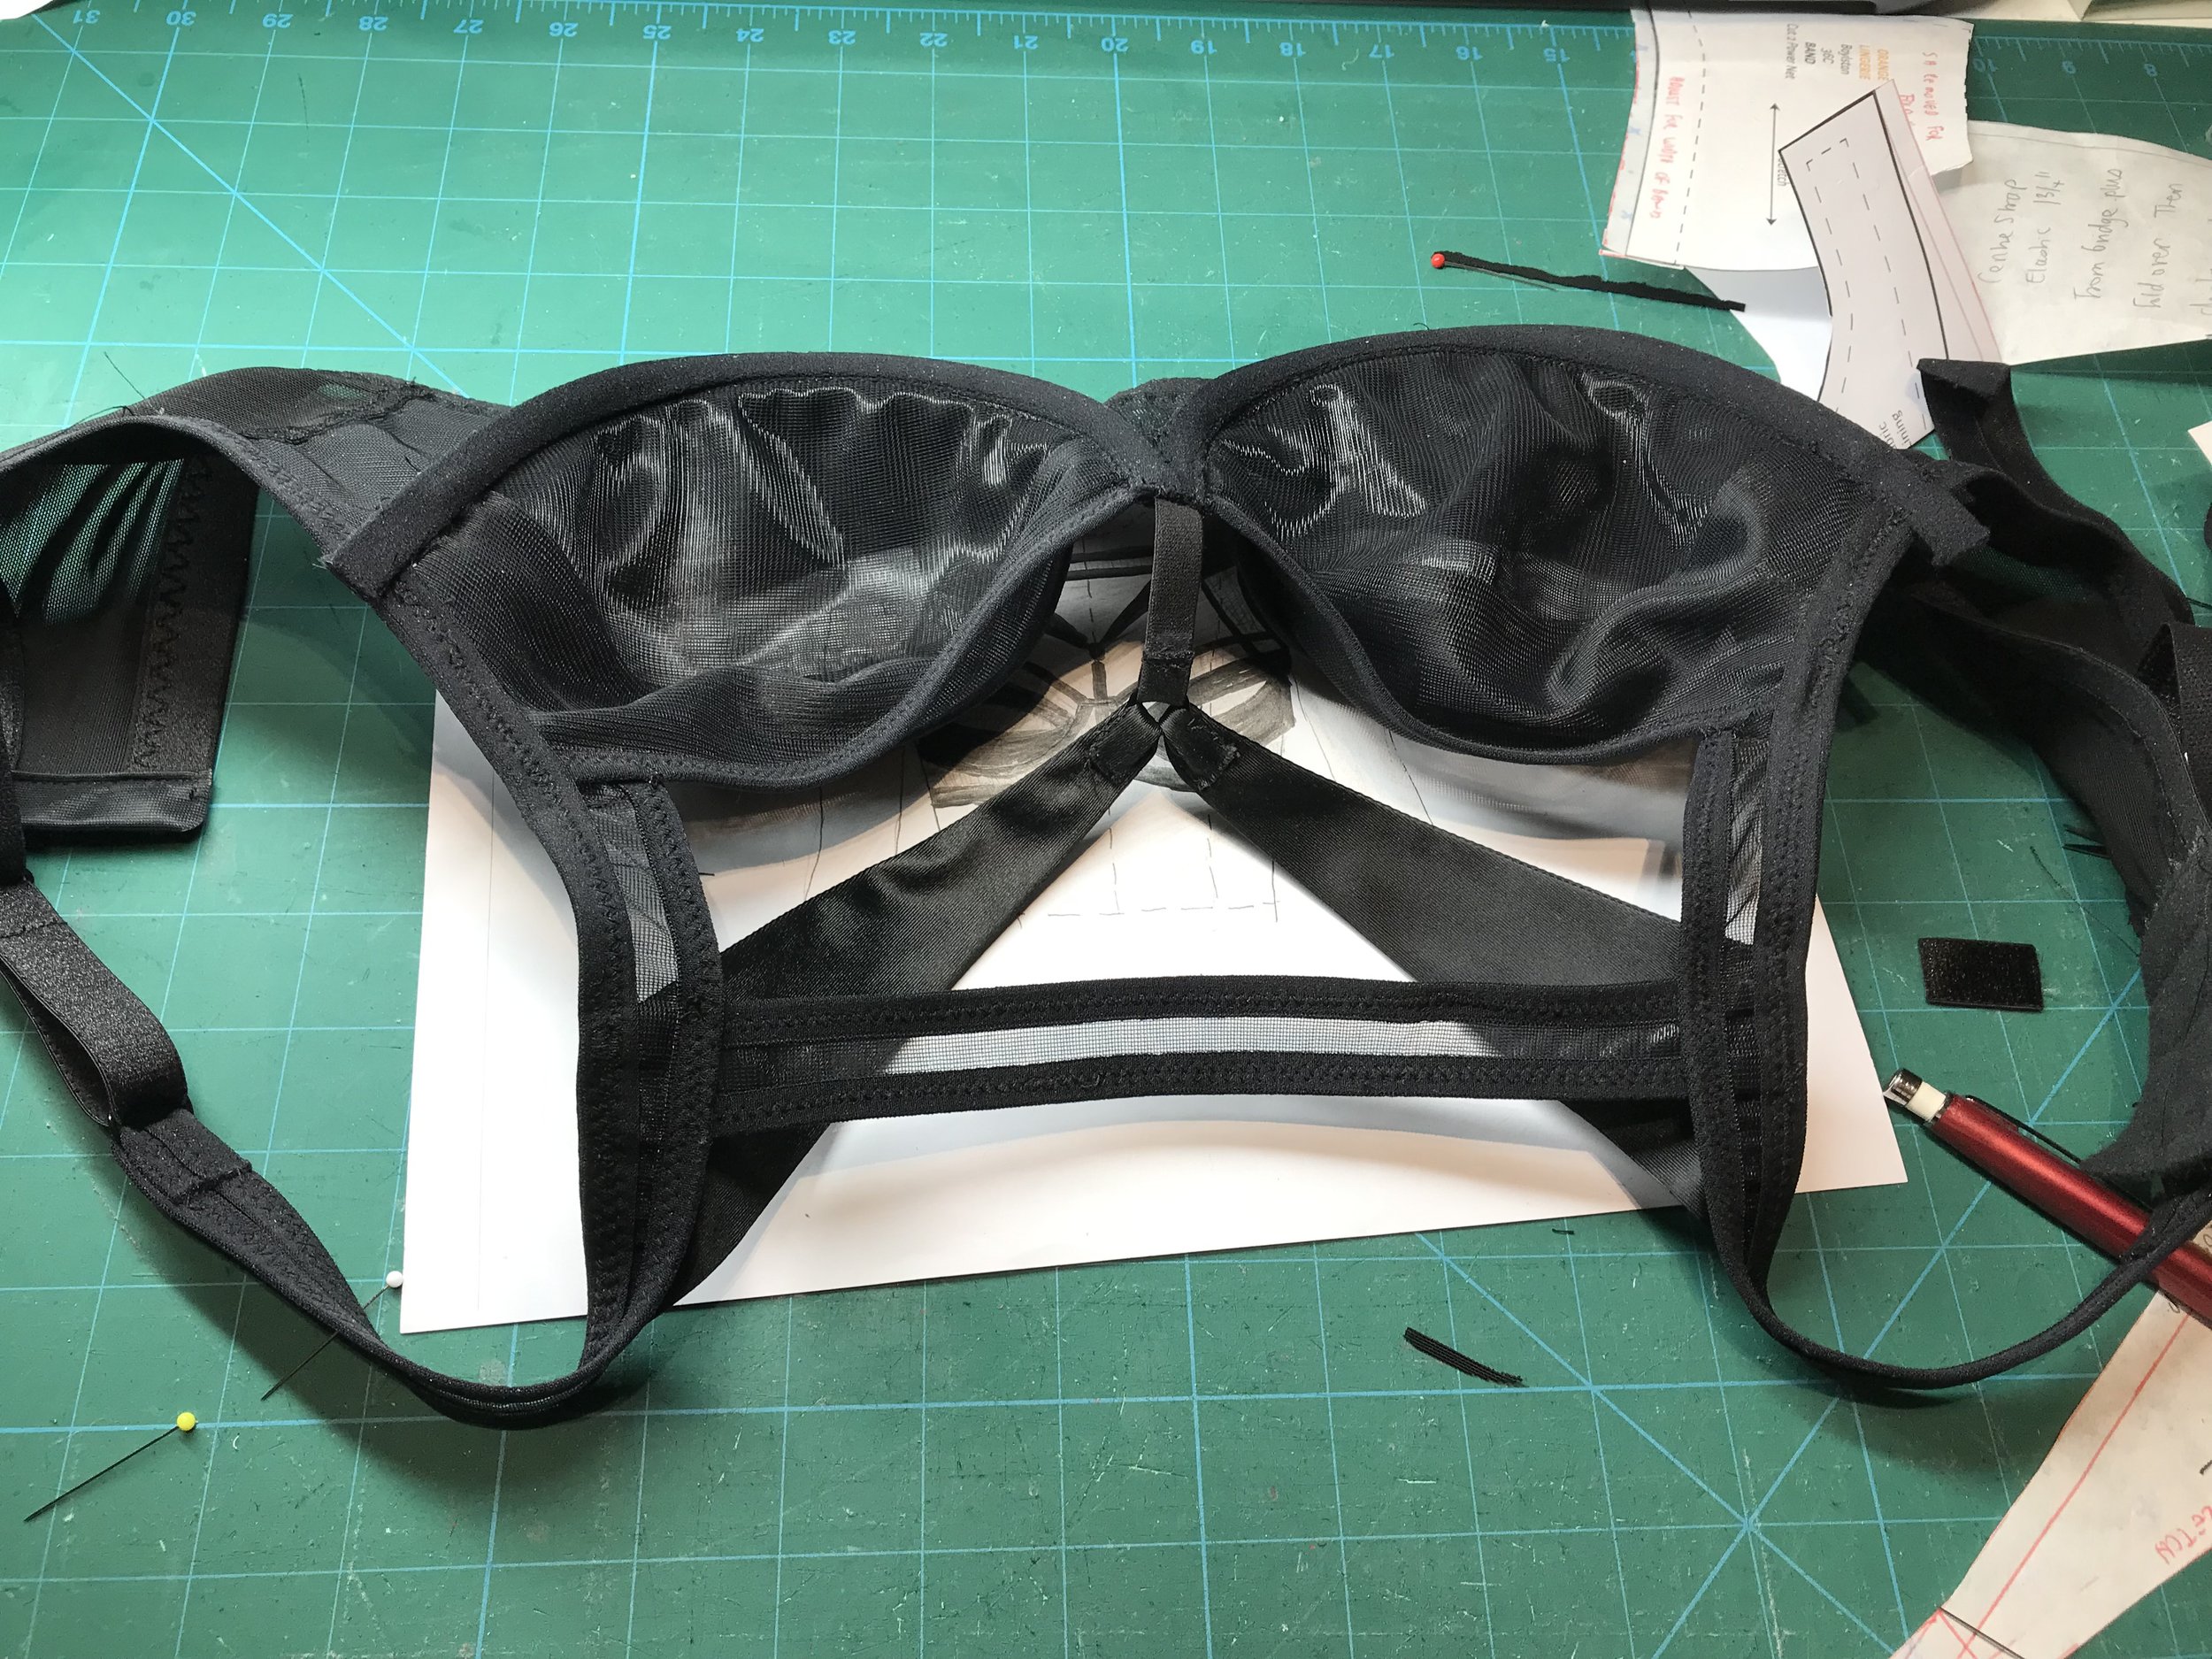
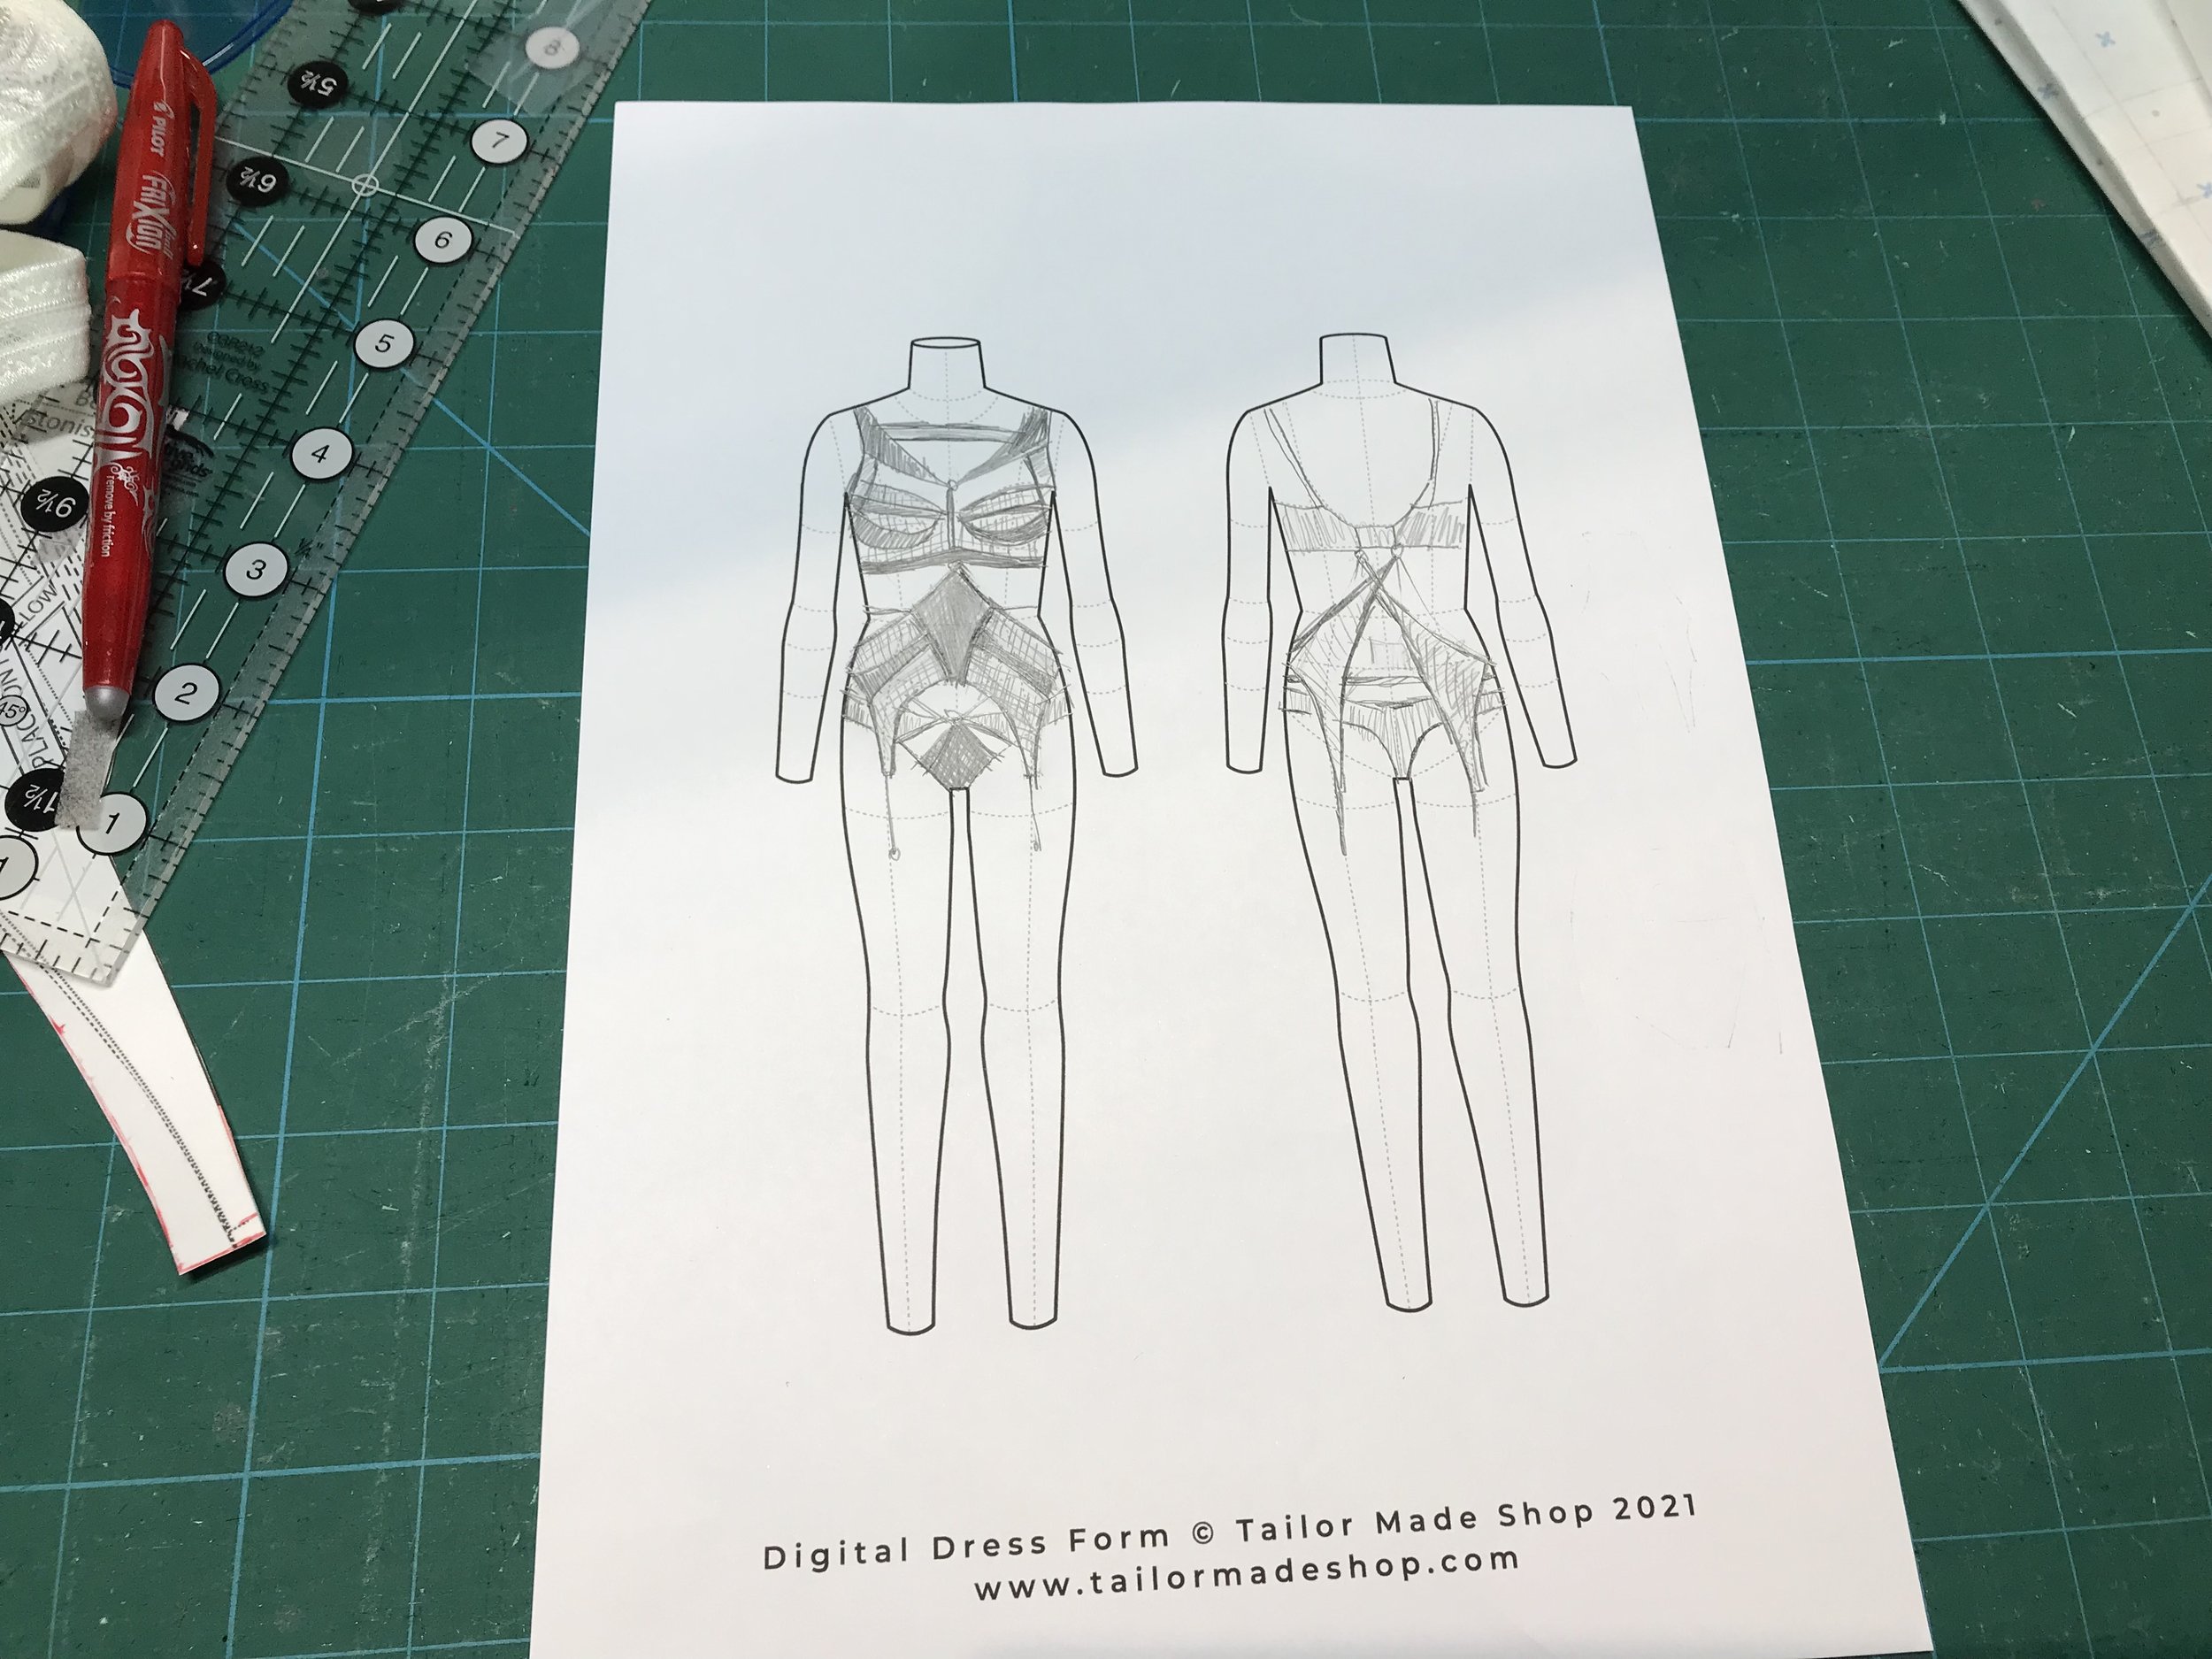
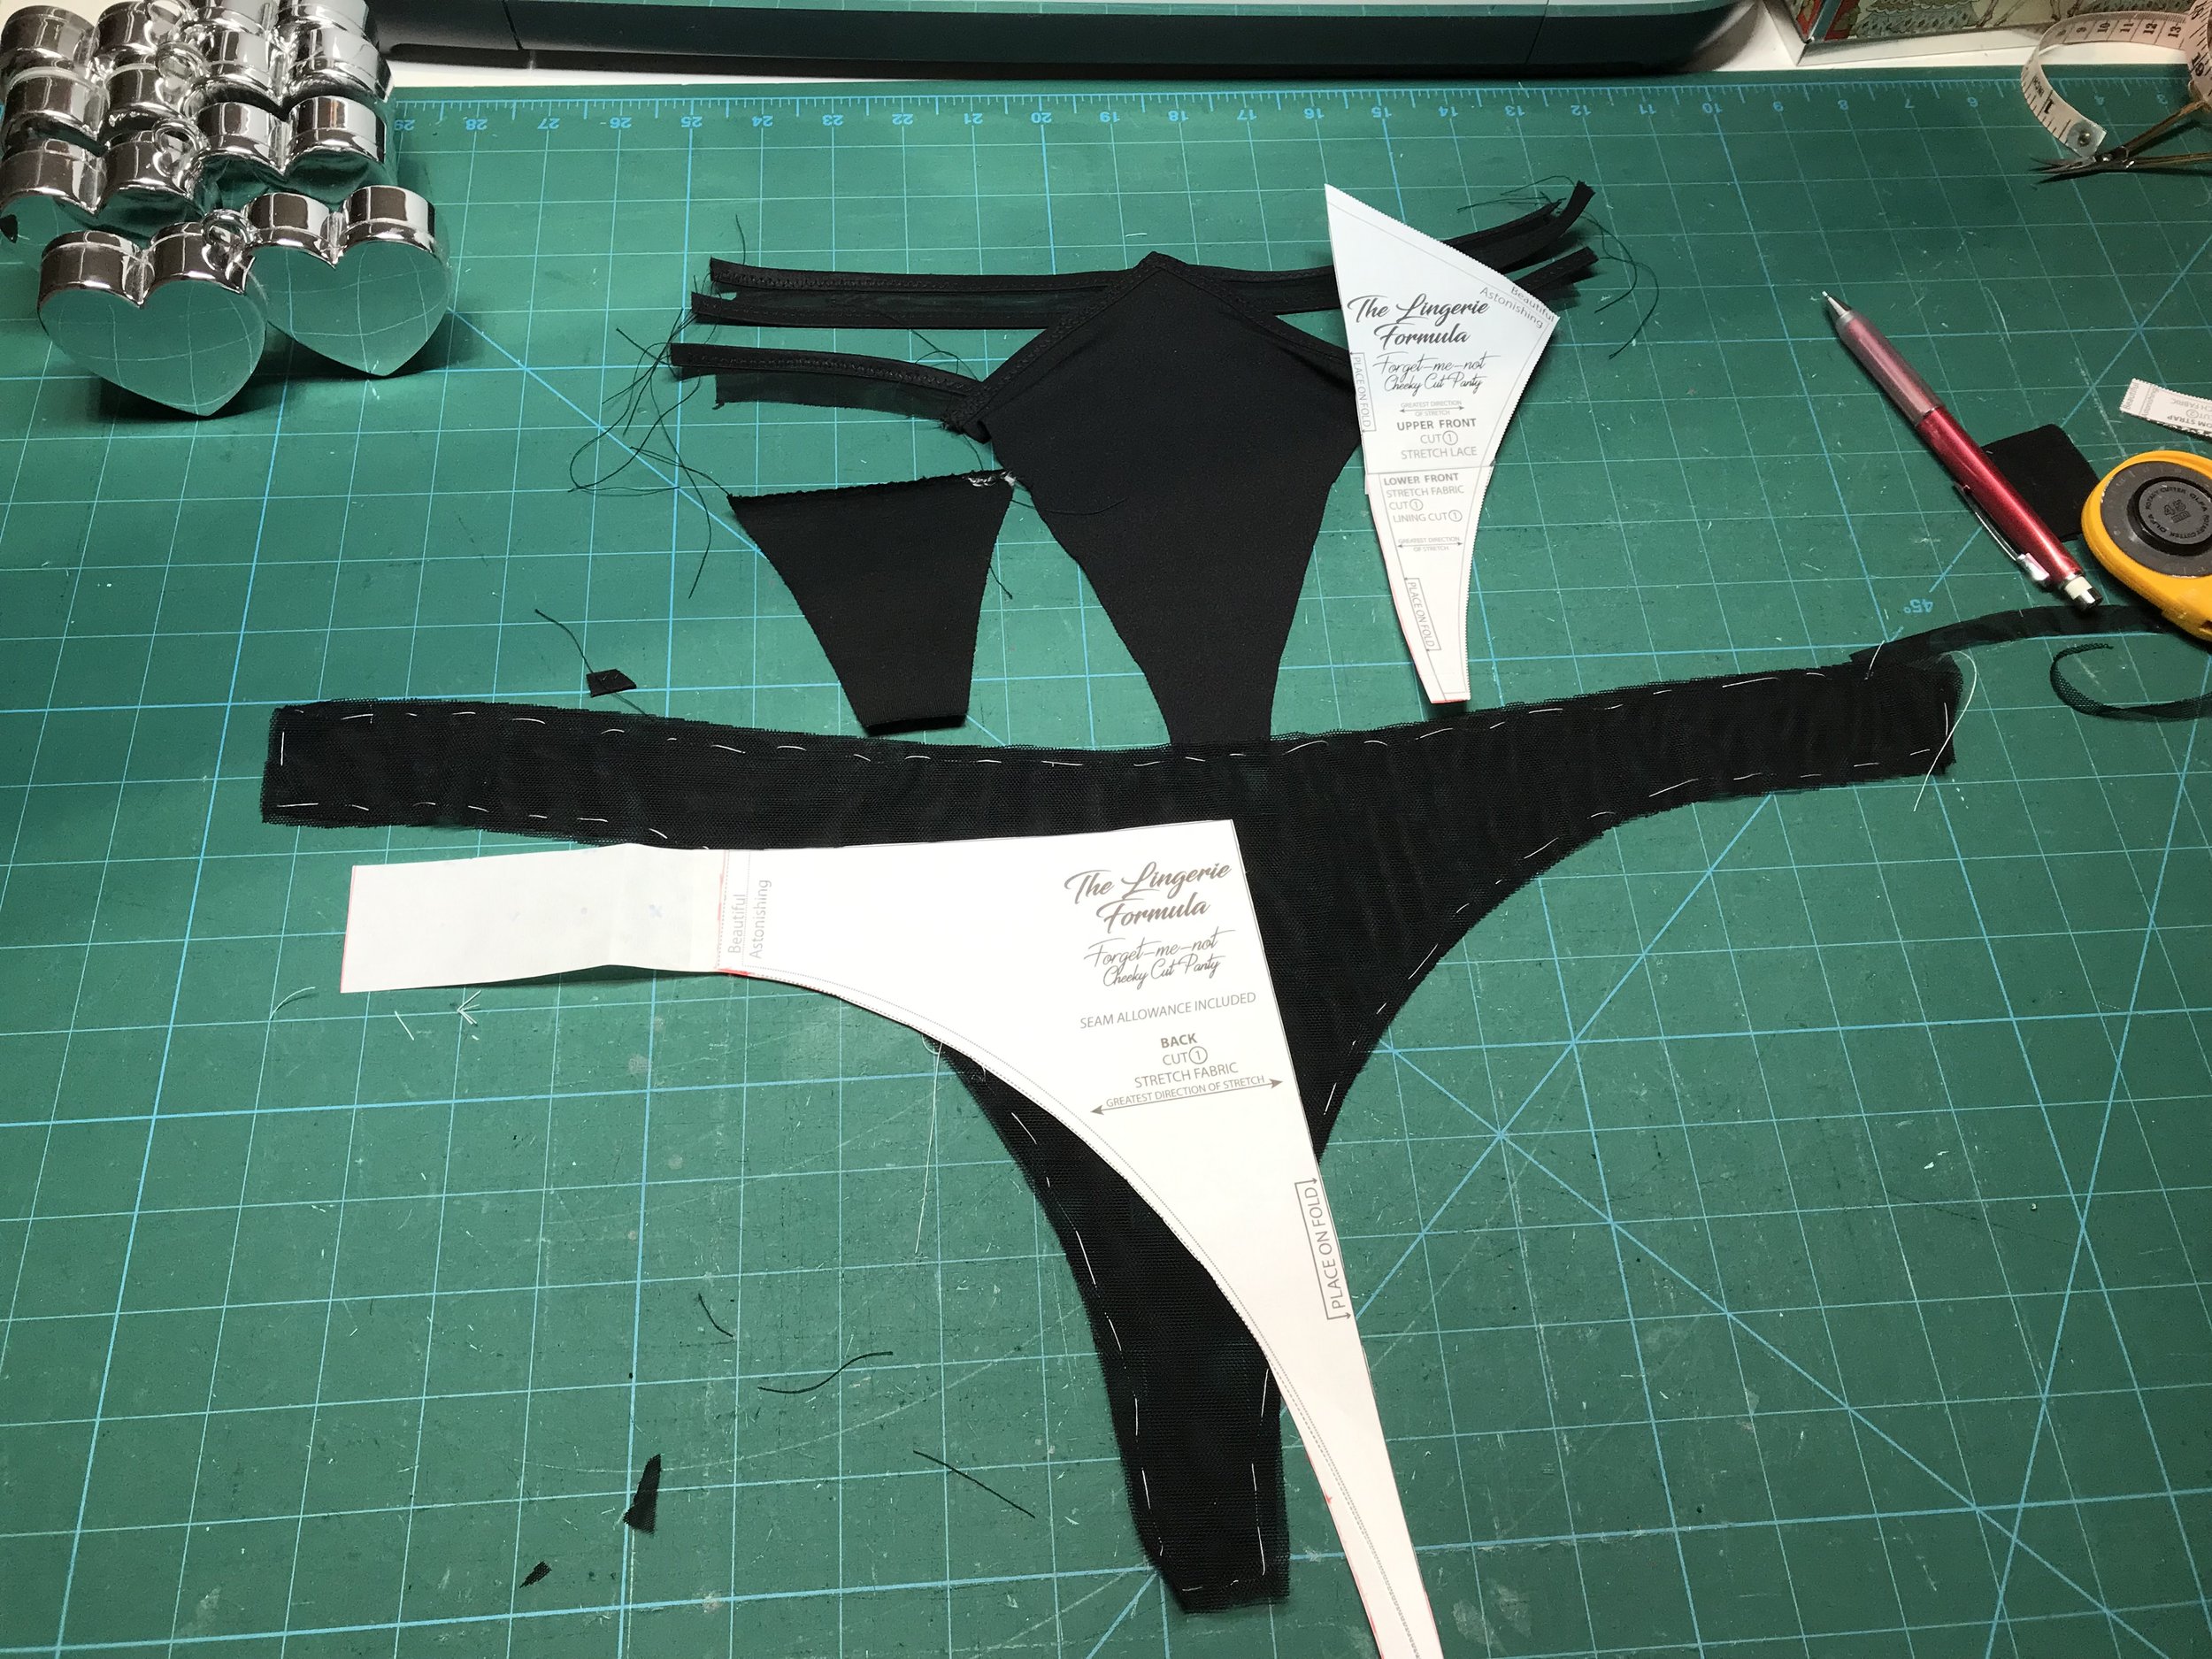
Having used soft fabrics rather than strap elastic for the front strapping detail I managed to achieve the desired look and the result was incredibly comfortable. So onto the rest of the set. The rtw design was a harness suspender with some very strappy underwear which I thought looked cluttered with all the straps on the bra so my idea was to attach the suspender to the bra with a g hook at the centre front and to the back fastener. For the underwear I thought of The Lingerie Formula Forget-Me-Not Cheeky Cut Panty which I had made before and had fabric straps like the bra. The challenge was how to make this!
I hadn’t made suspenders before and the pattern I already had but not used sat higher up on the waist than I wanted. I thought of the Evle la Luve Jamie Bodysuit which had exactly the shape I wanted for the suspenders, although I needed to add the centre front bodice shape taken from the waist to the bridge to the bottom piece. Next I needed to shape from the hip at the sides and arch to sit above the upper edge of the underwear and then remove the straps from the side and make the back come around to the front straps.
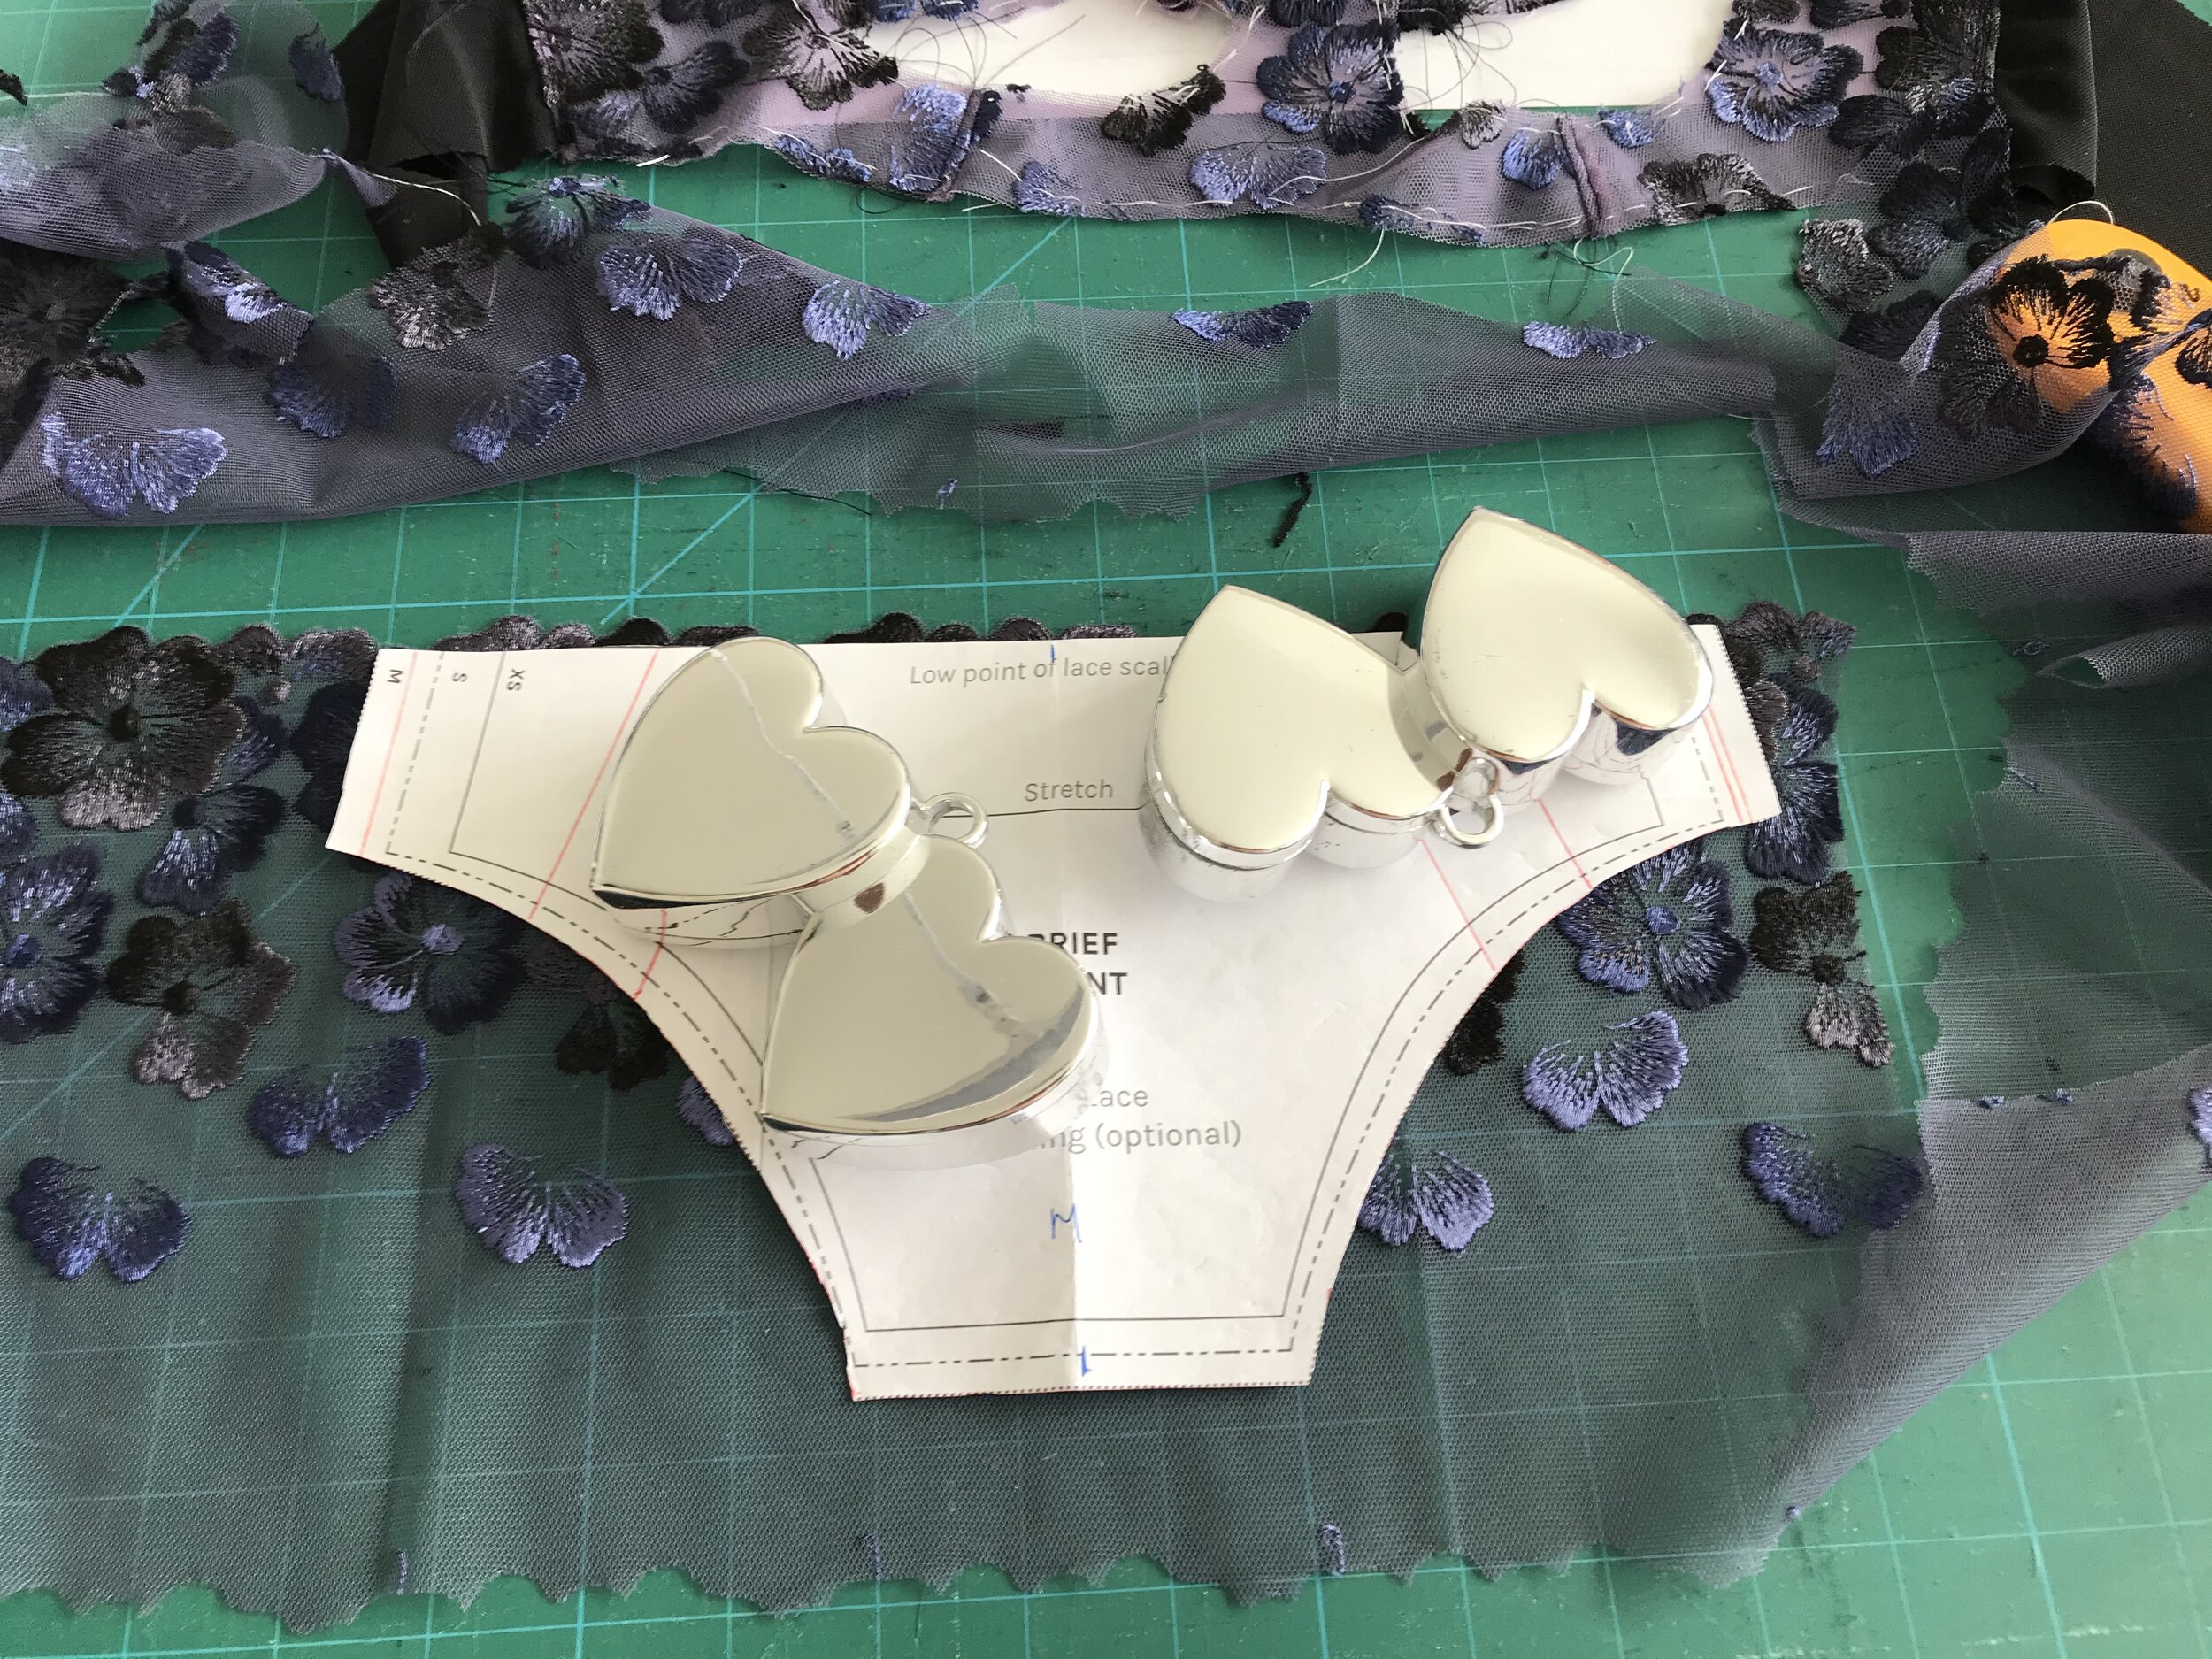
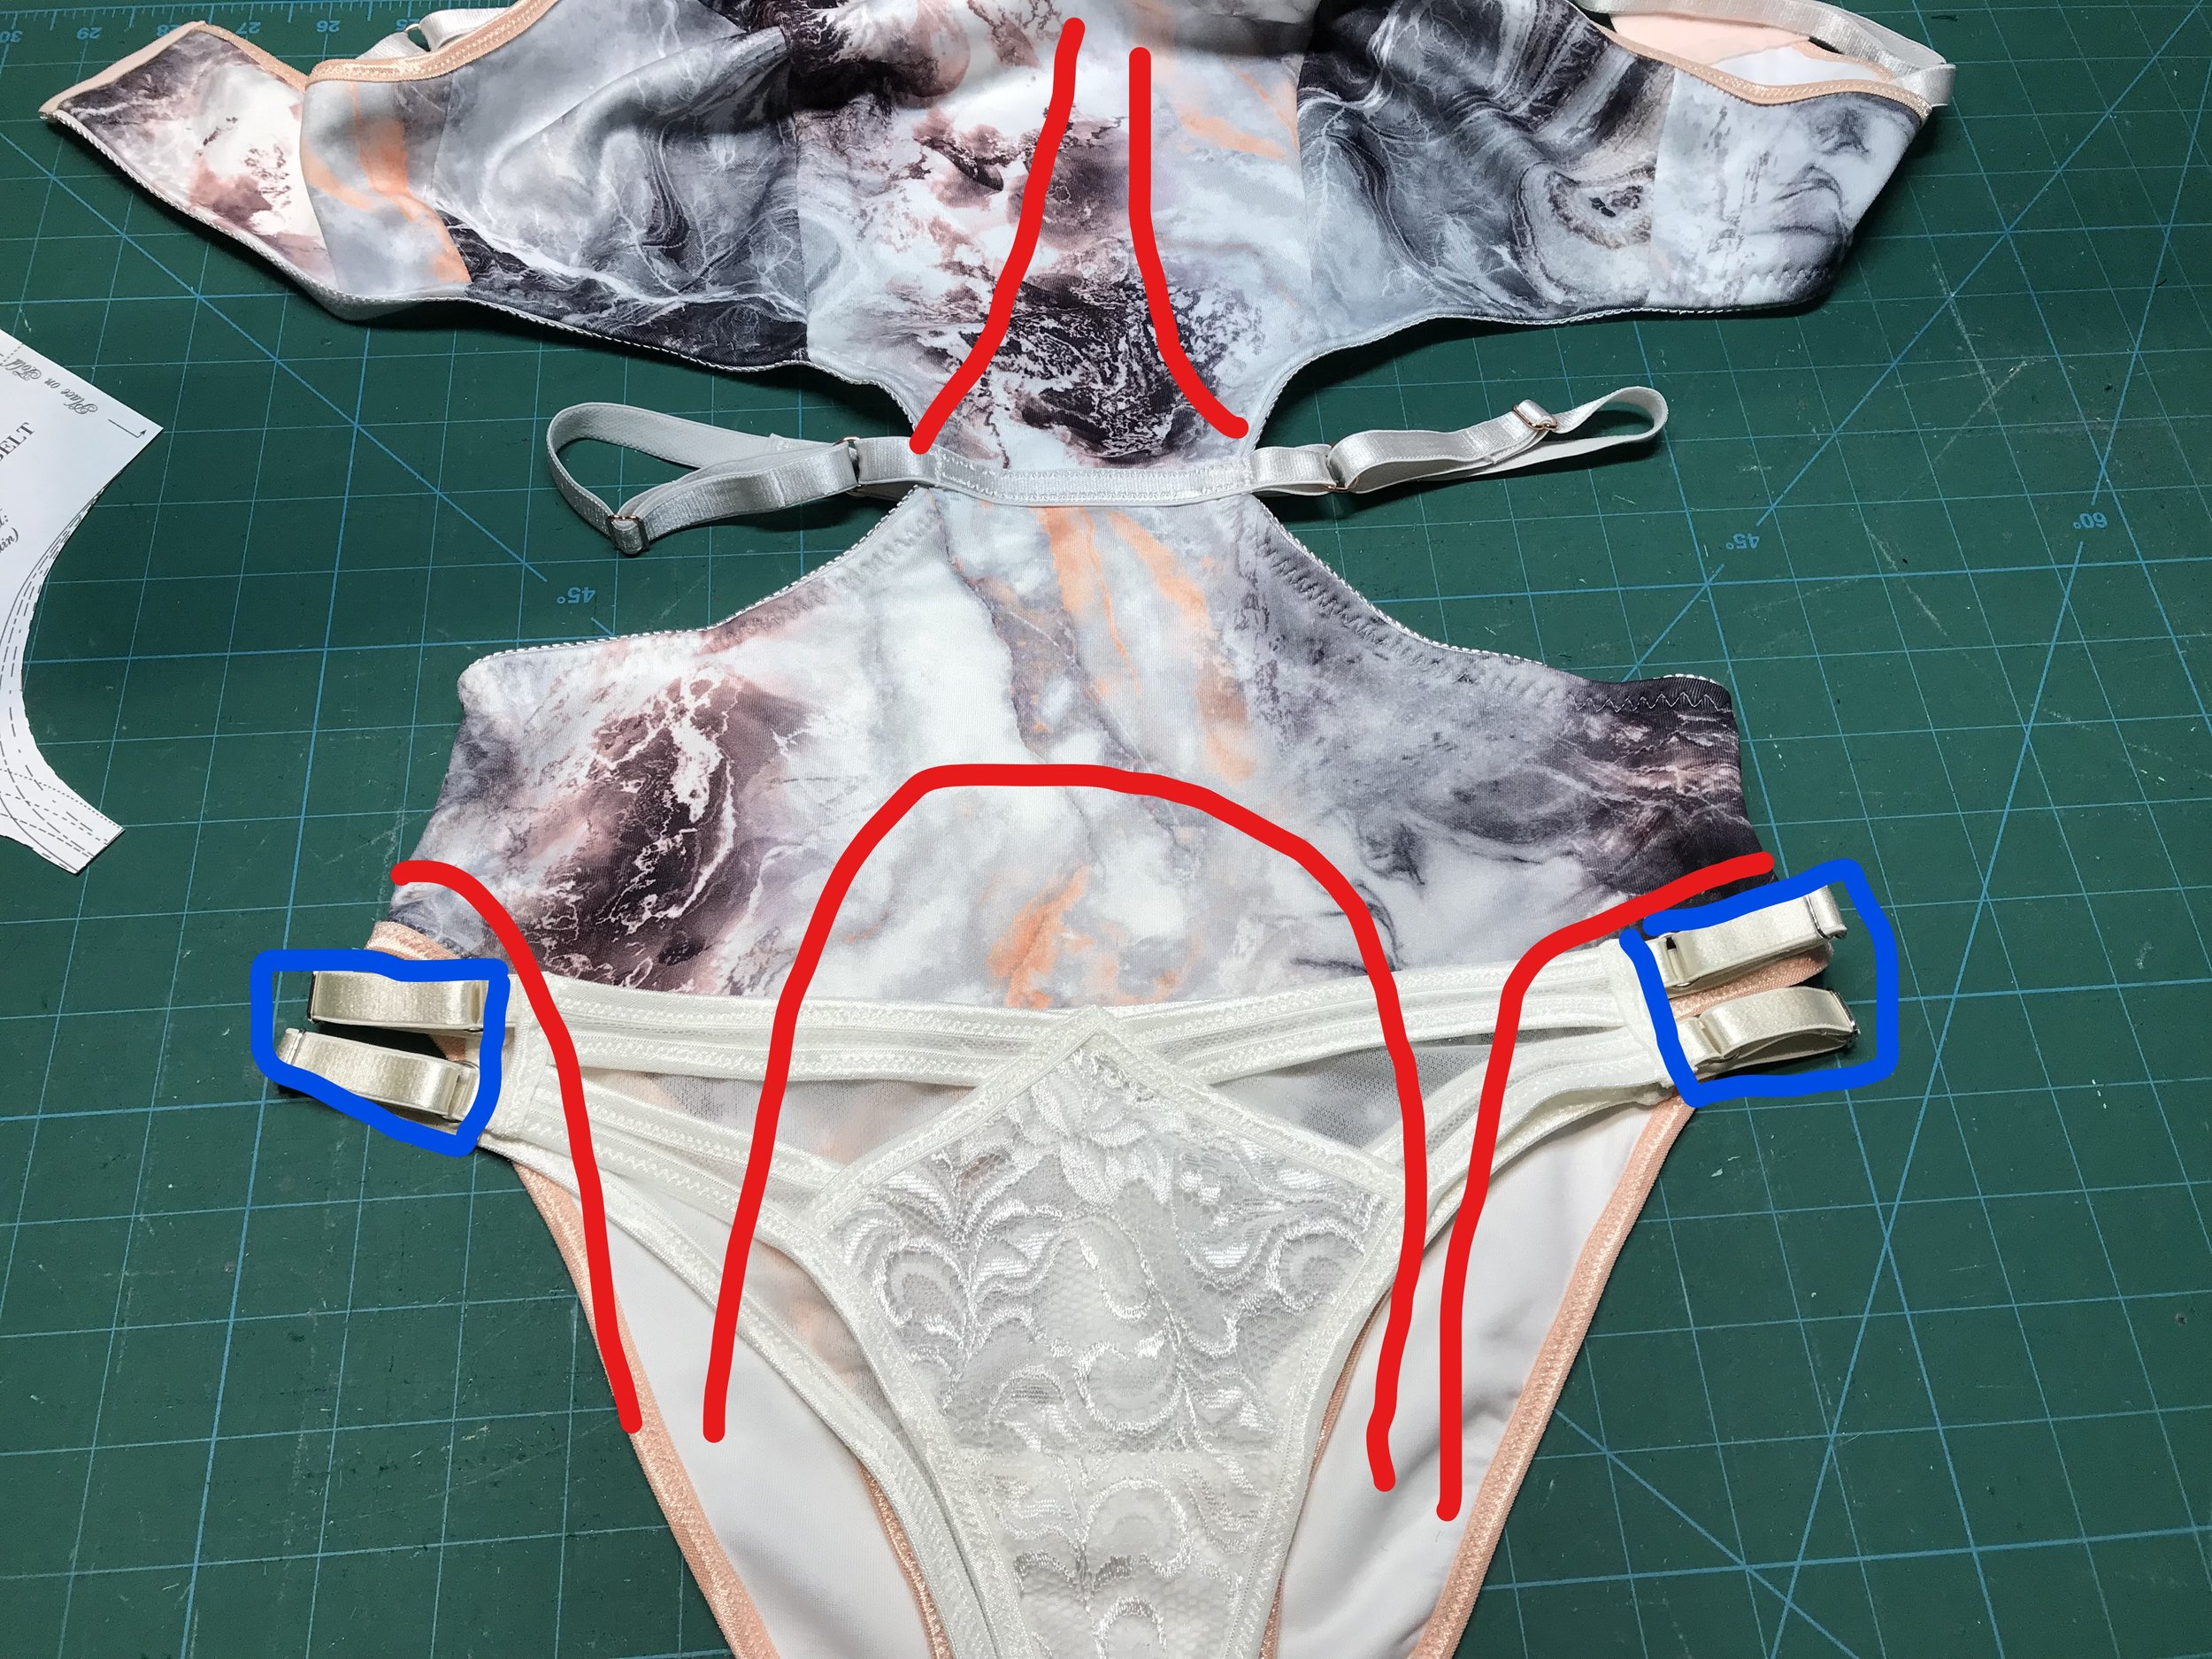
I decided to make the underwear first so I could finalise the shape for the suspender. I made two adjustments to the pattern pieces as I thought the enclosed gusset seam would not look good on the plain black fabric from BWear I was using. I joined the two pieces together eliminating the front seam but leaving the gusset enclosed at the back. Next I had to decide how much to add to the back piece to bring it around to the front with the width being determined by the two strap pieces that would be attached.
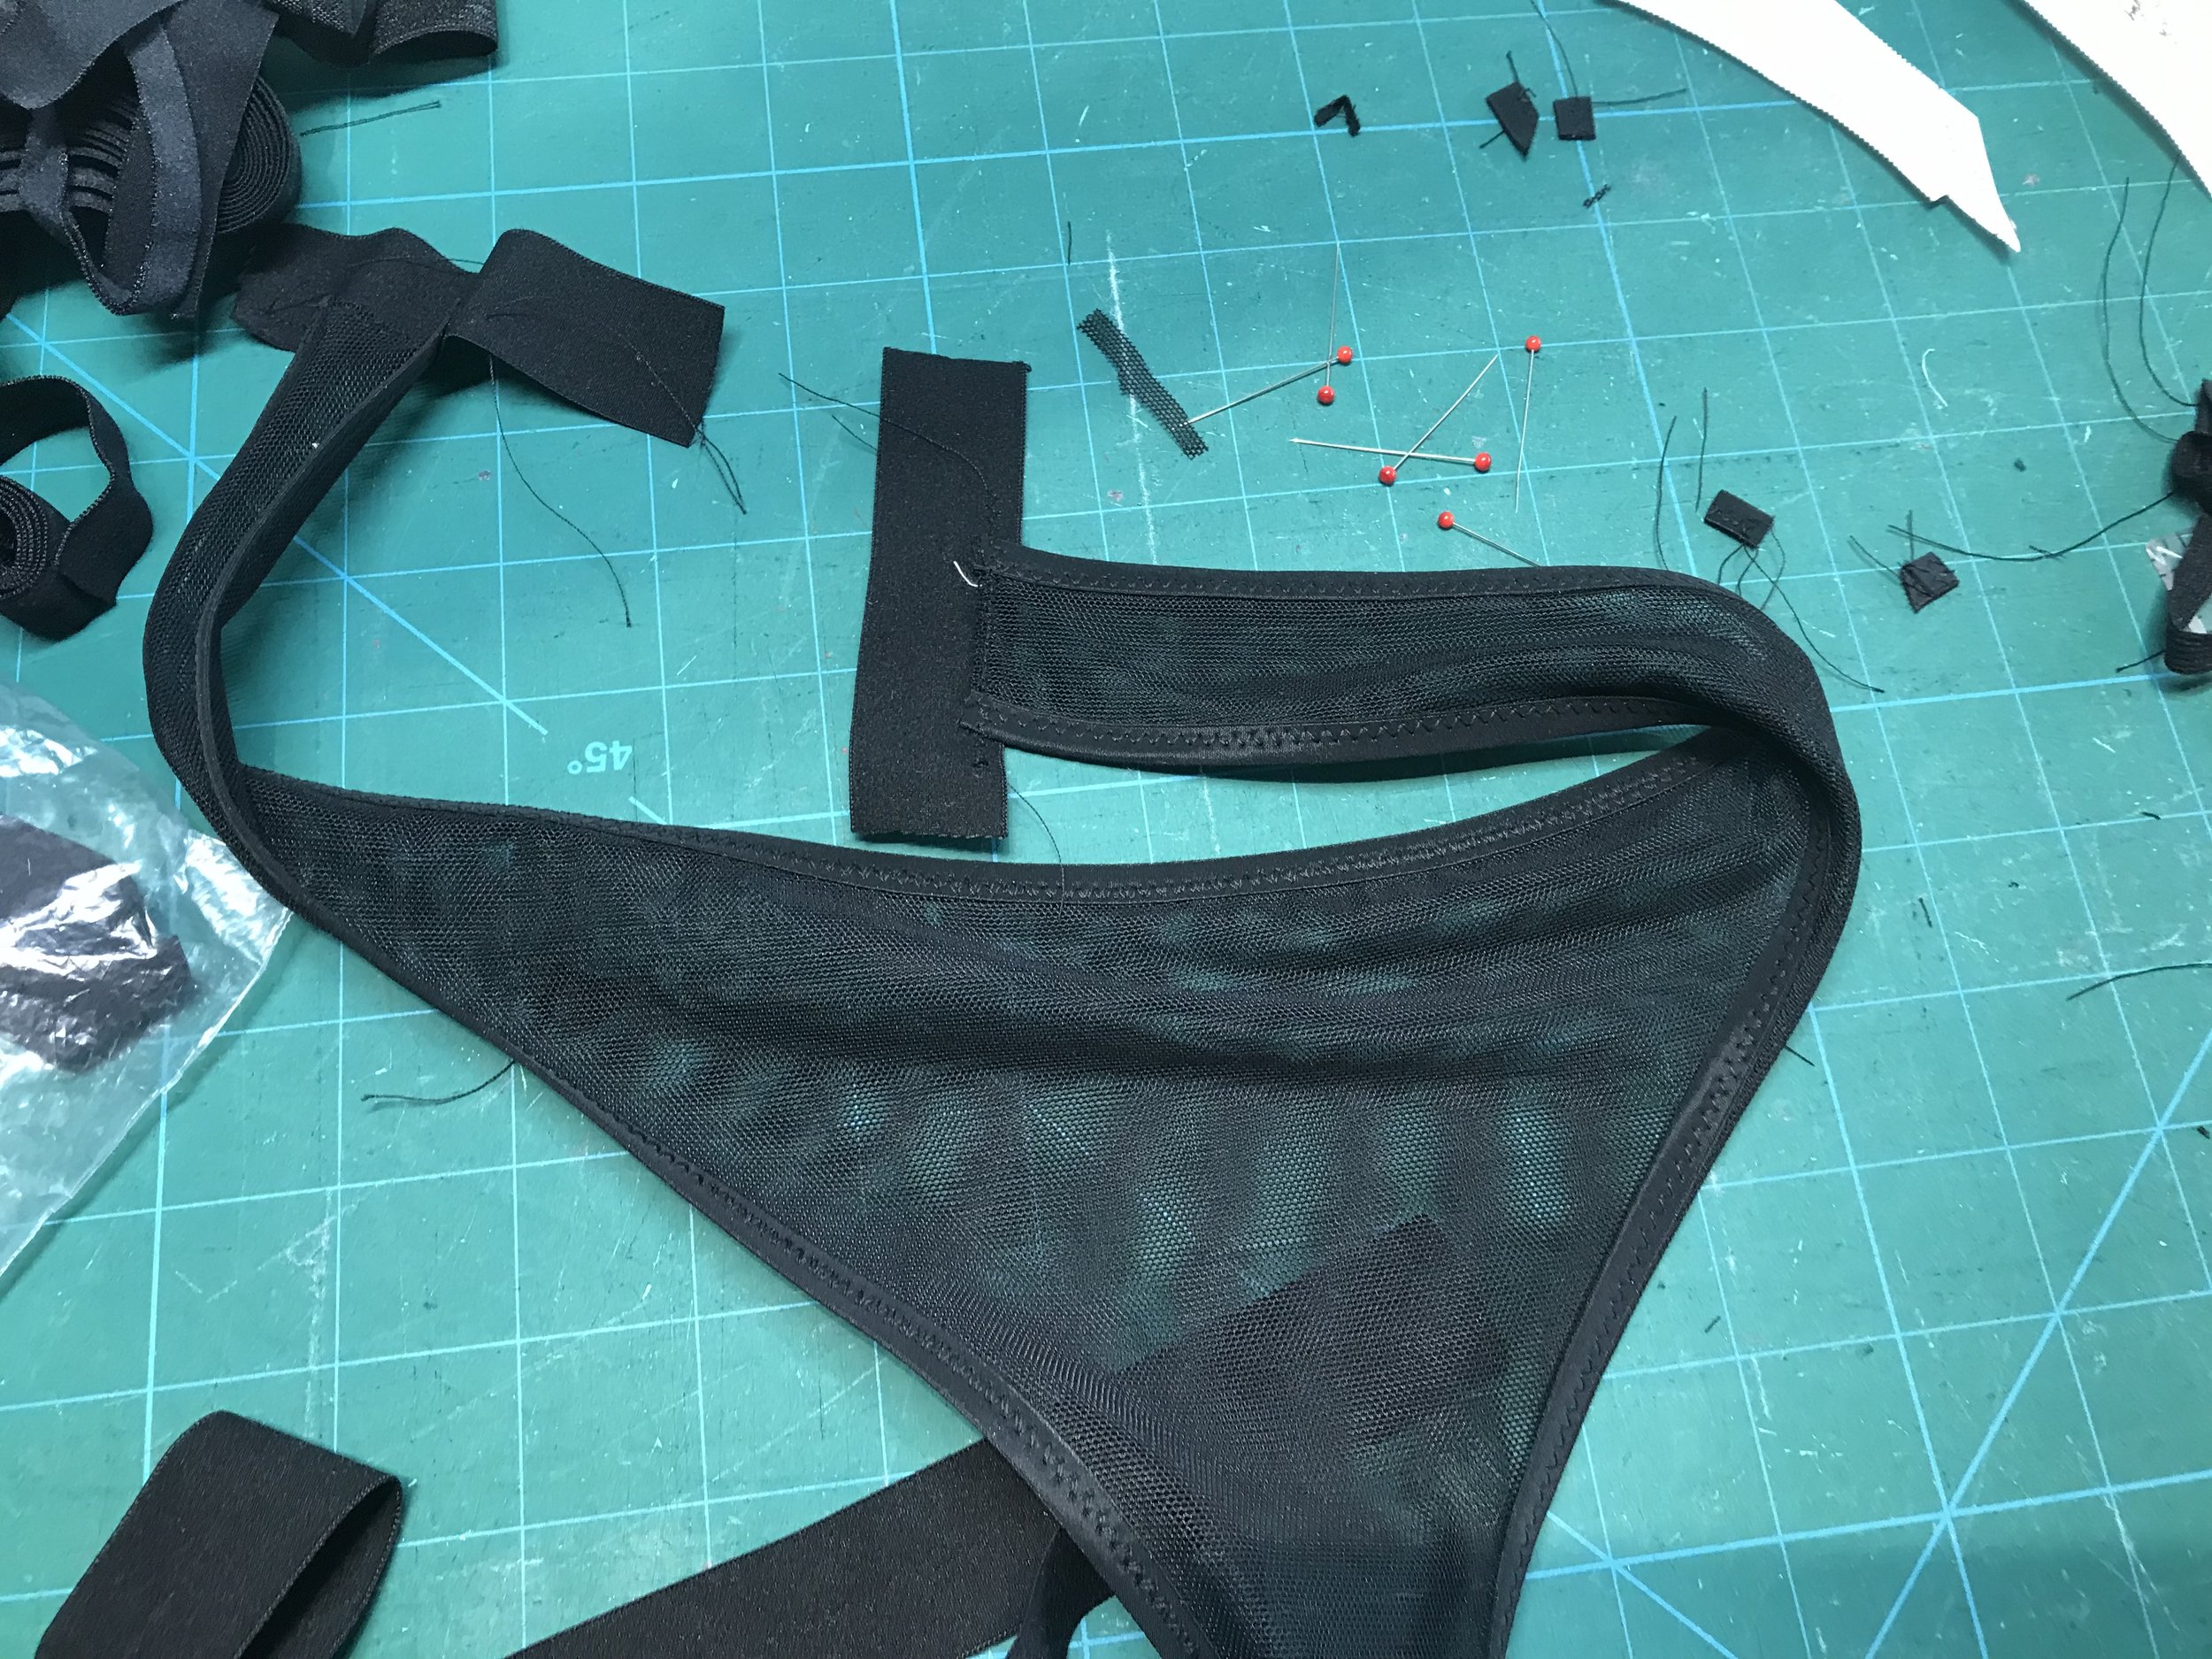
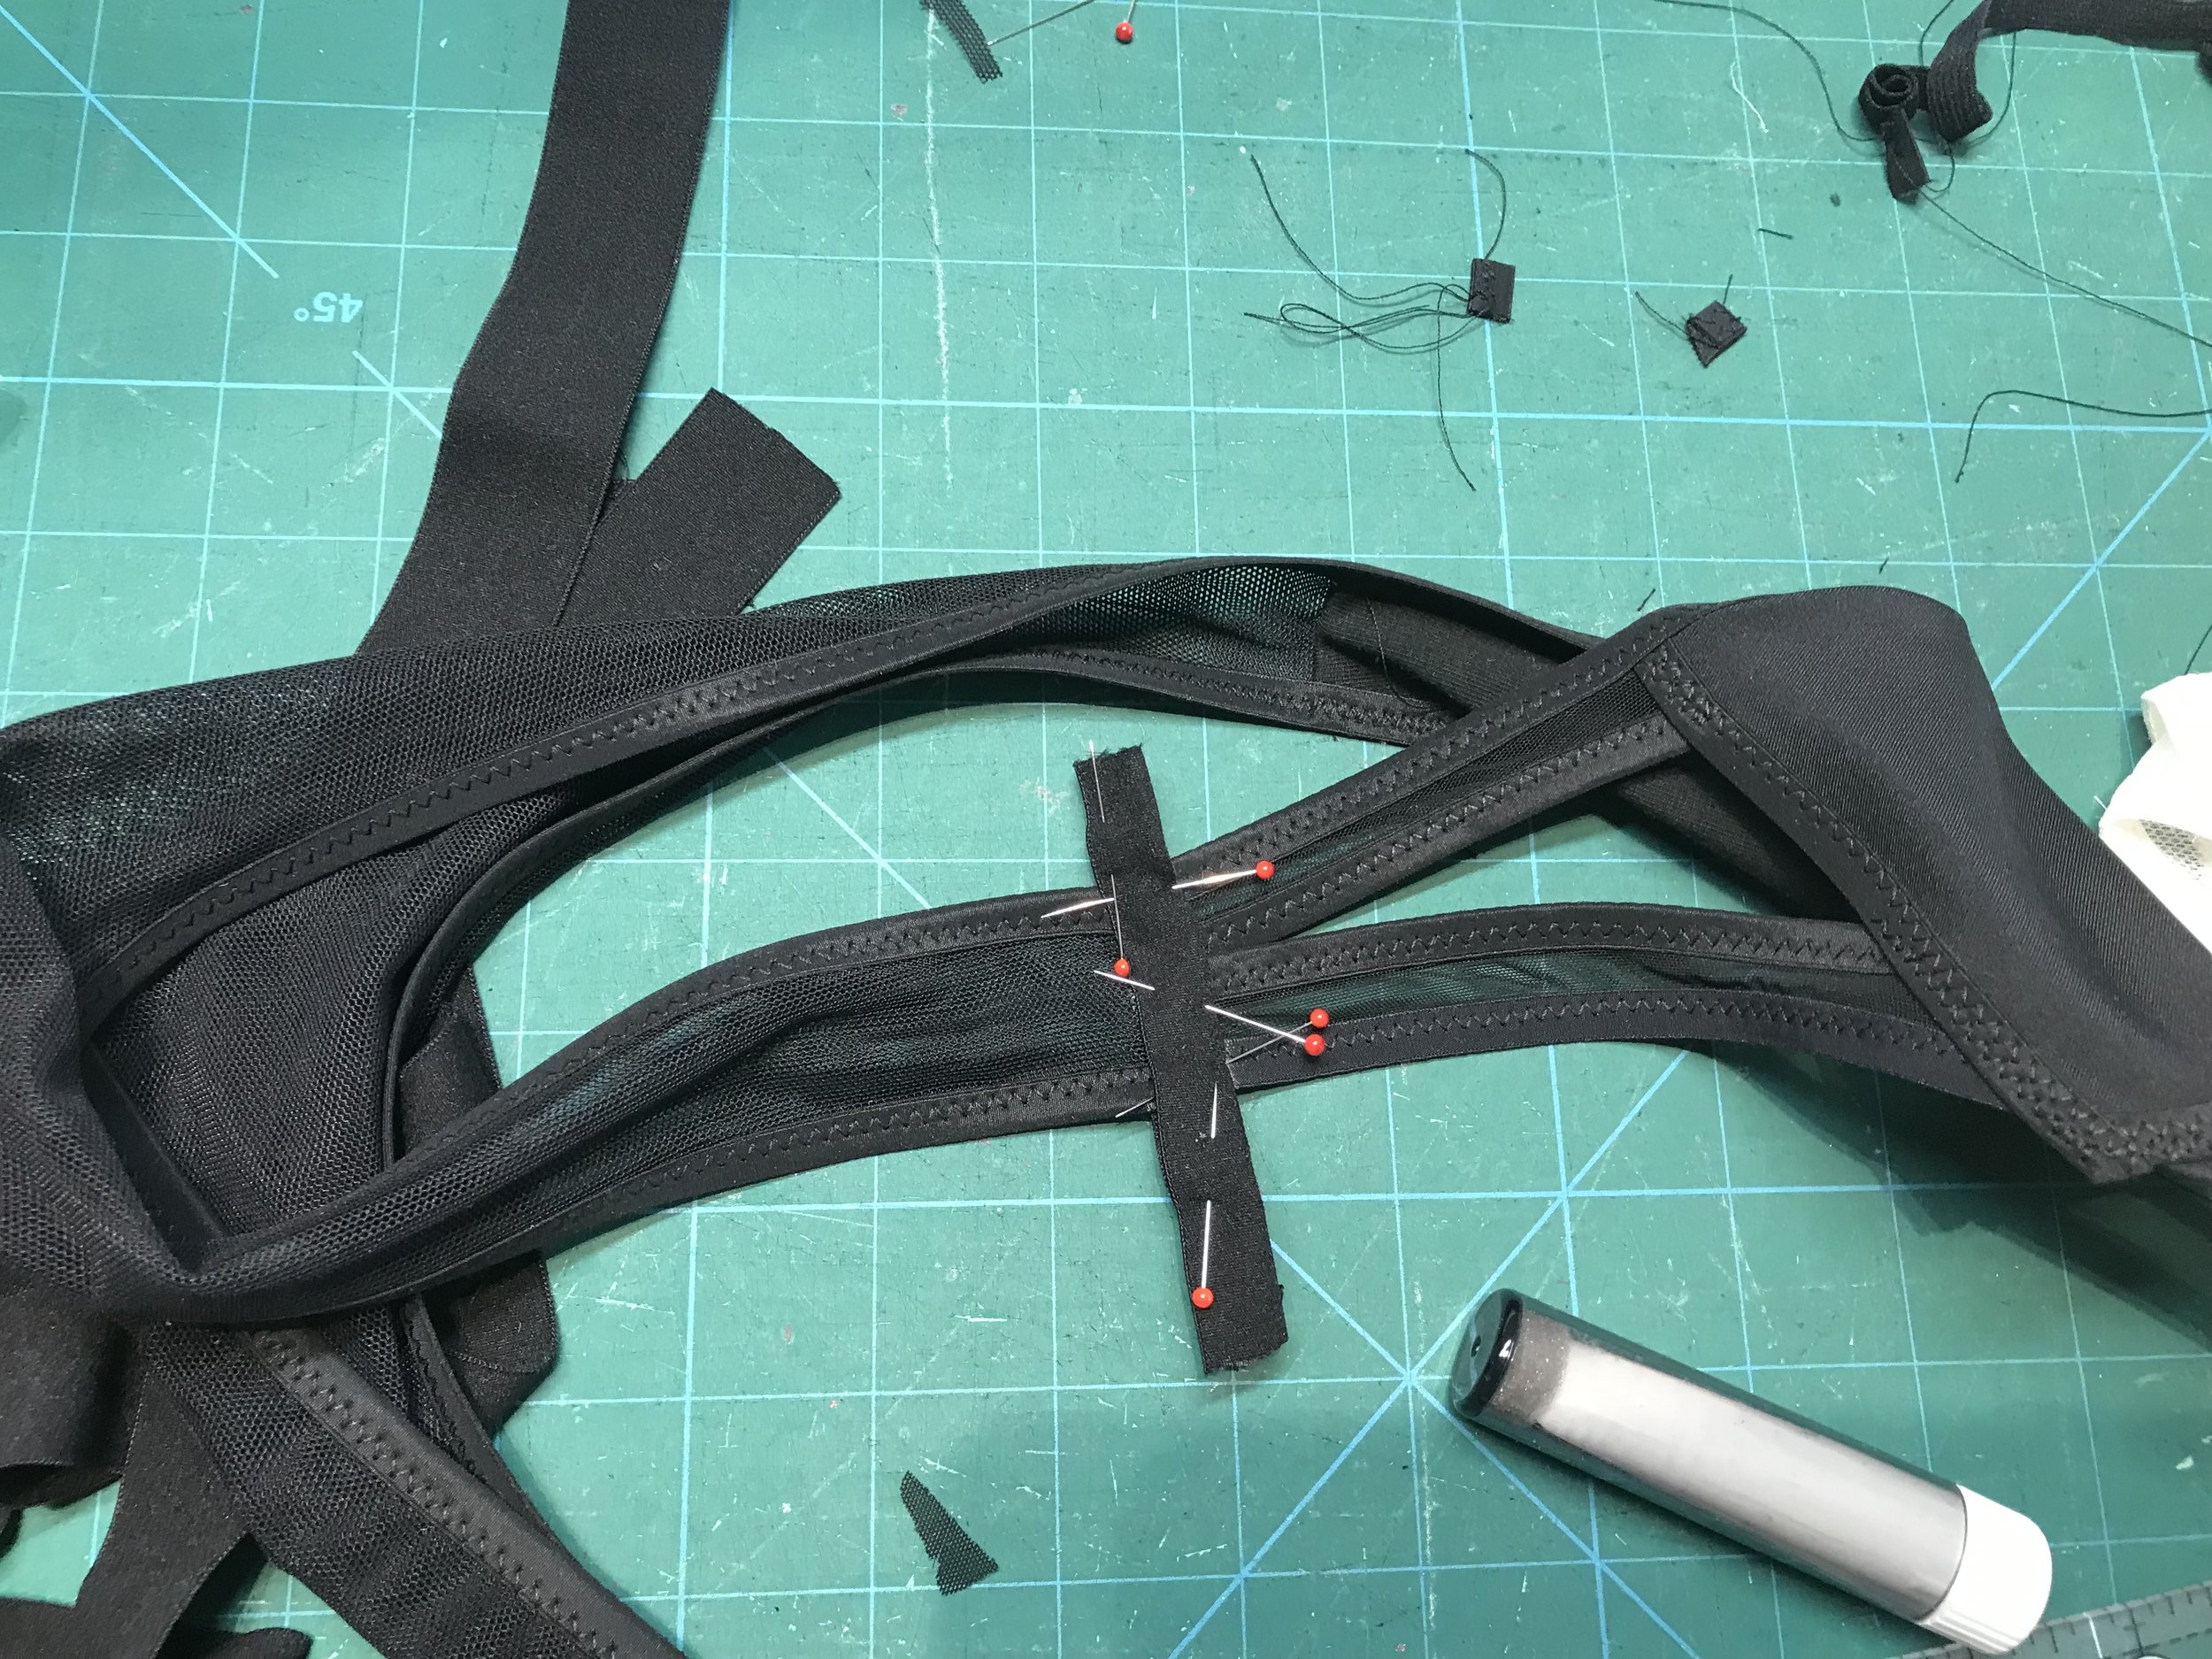

With the front and back made up I had to decide how to attach the back to the front enclosing the straps . I used some wide fold over elastic and enclosed the back seam leaving tails either end. I then placed the straps behind and folded over the ends to join at the back. This worked beautifully and was a perfect match for the bra so on to the final element. This was going to be more of a challenge as for me at least it was more of an experiment.
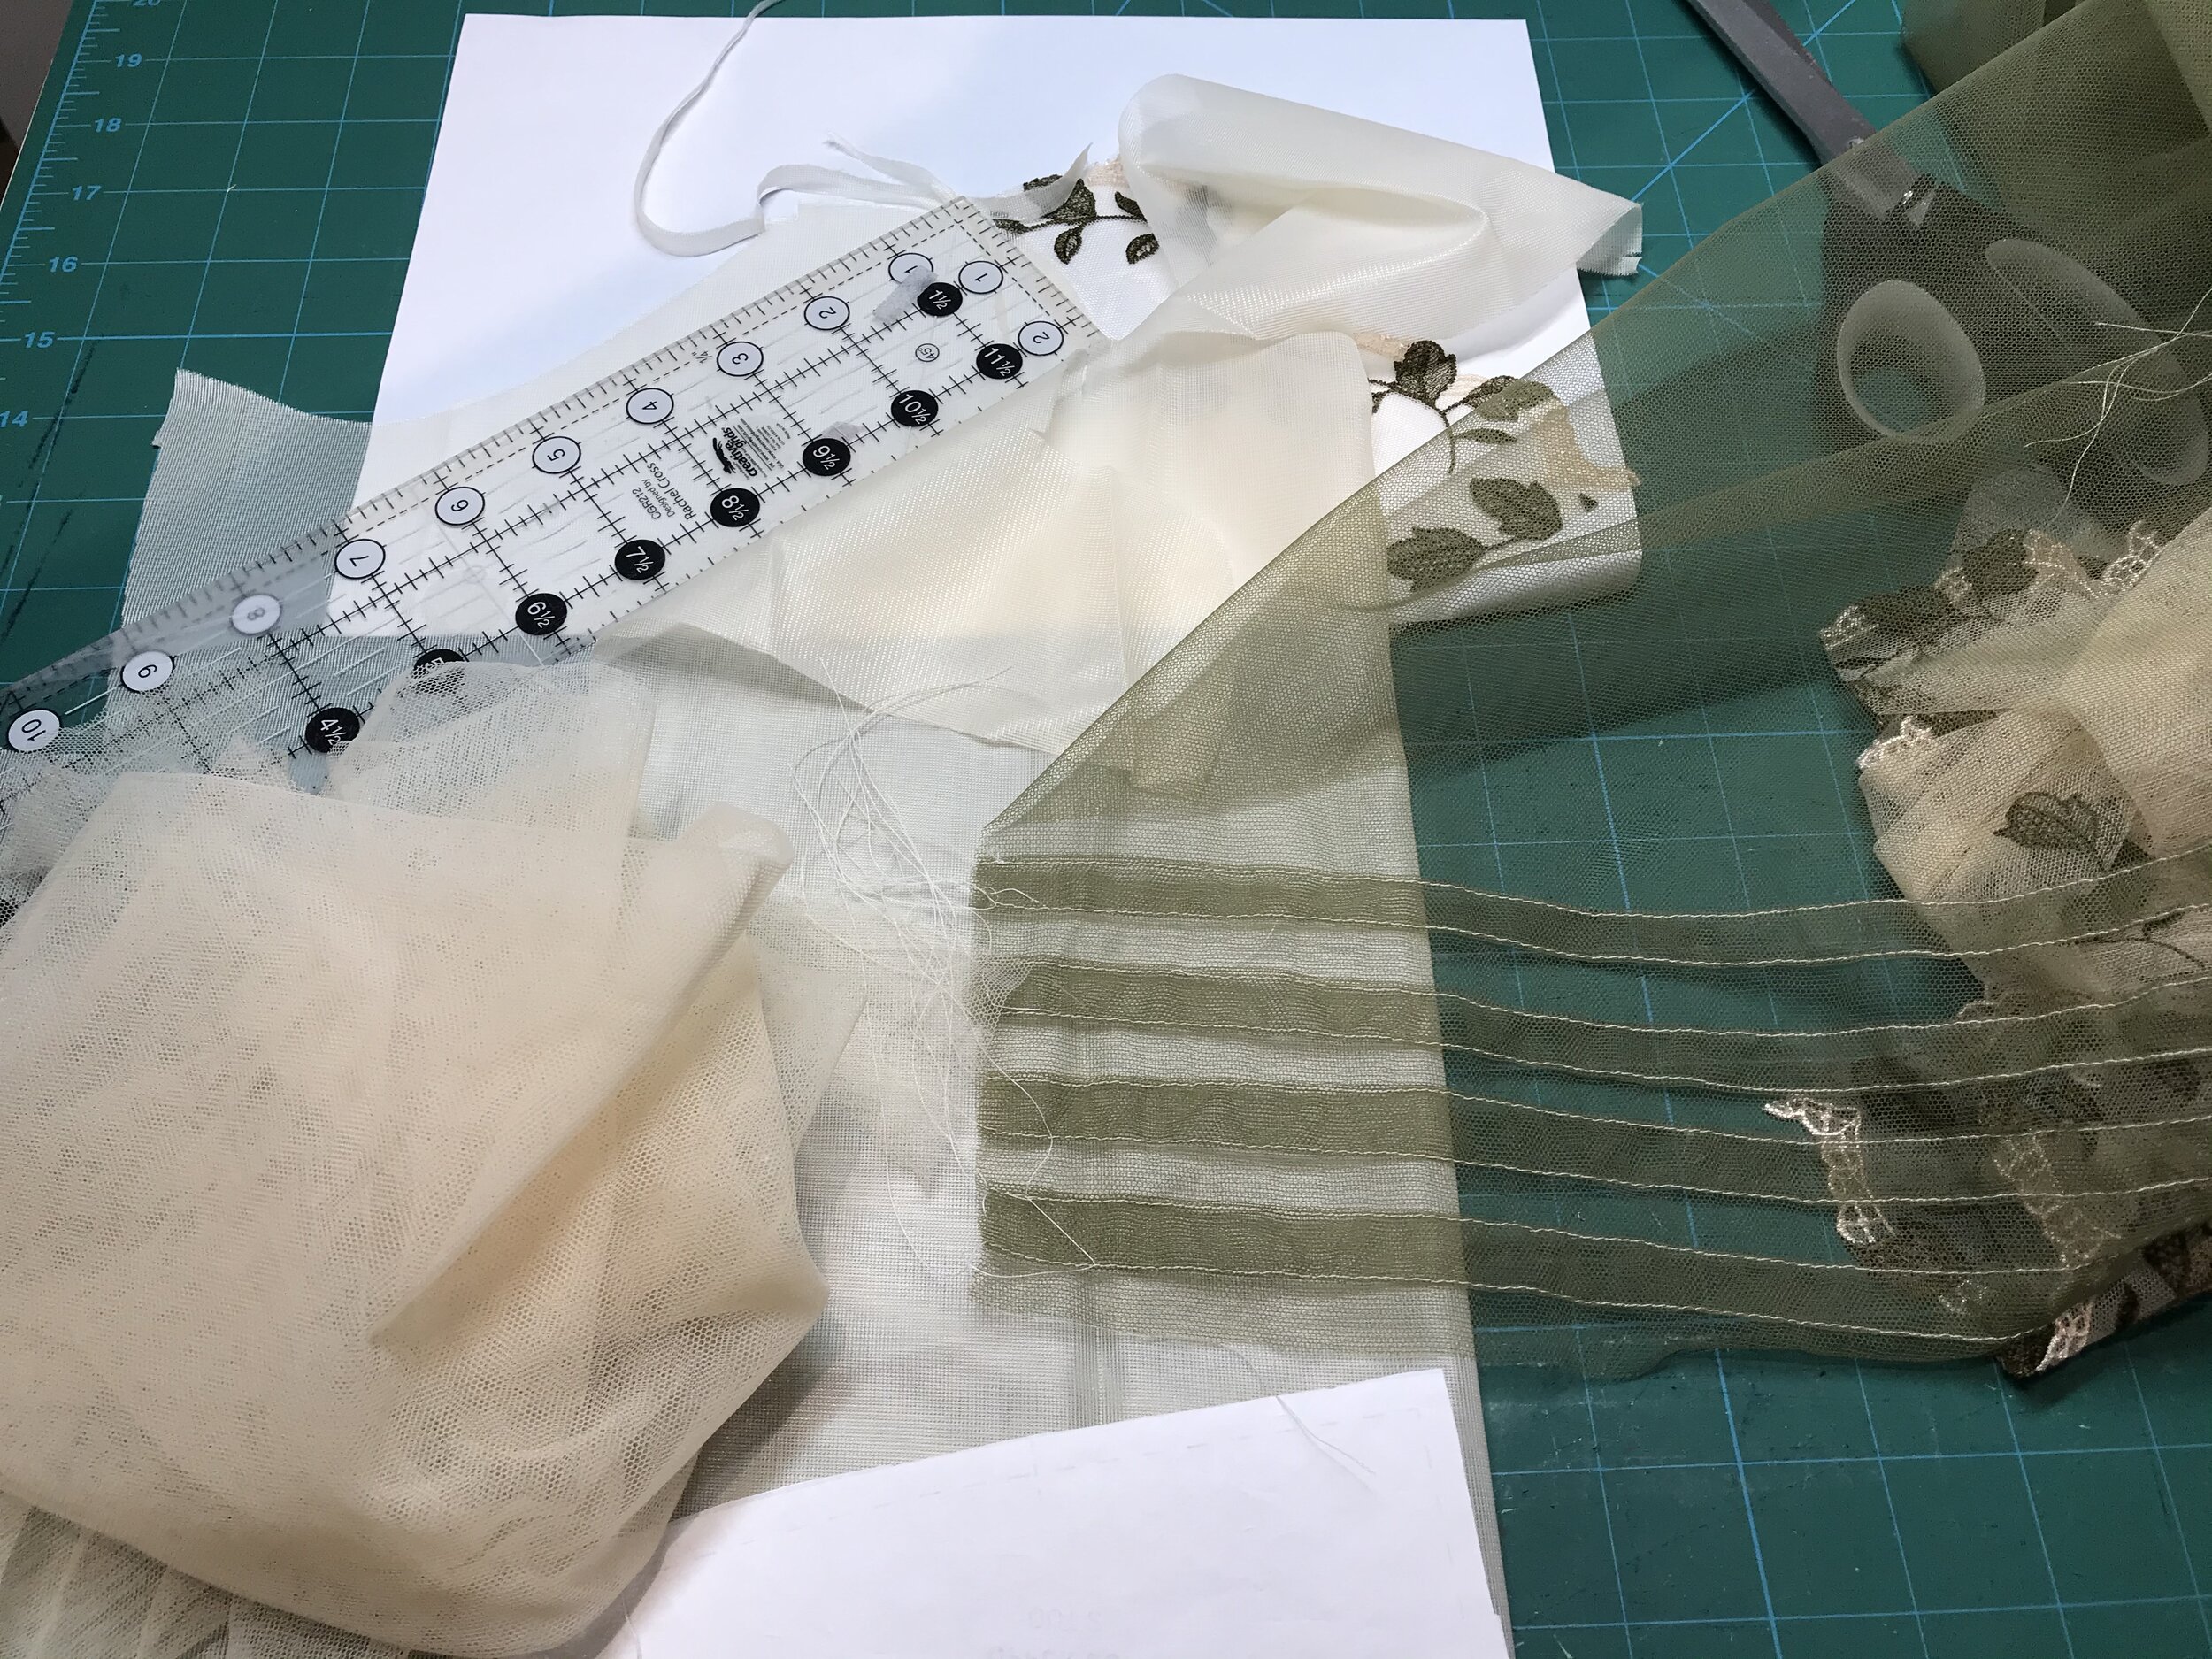
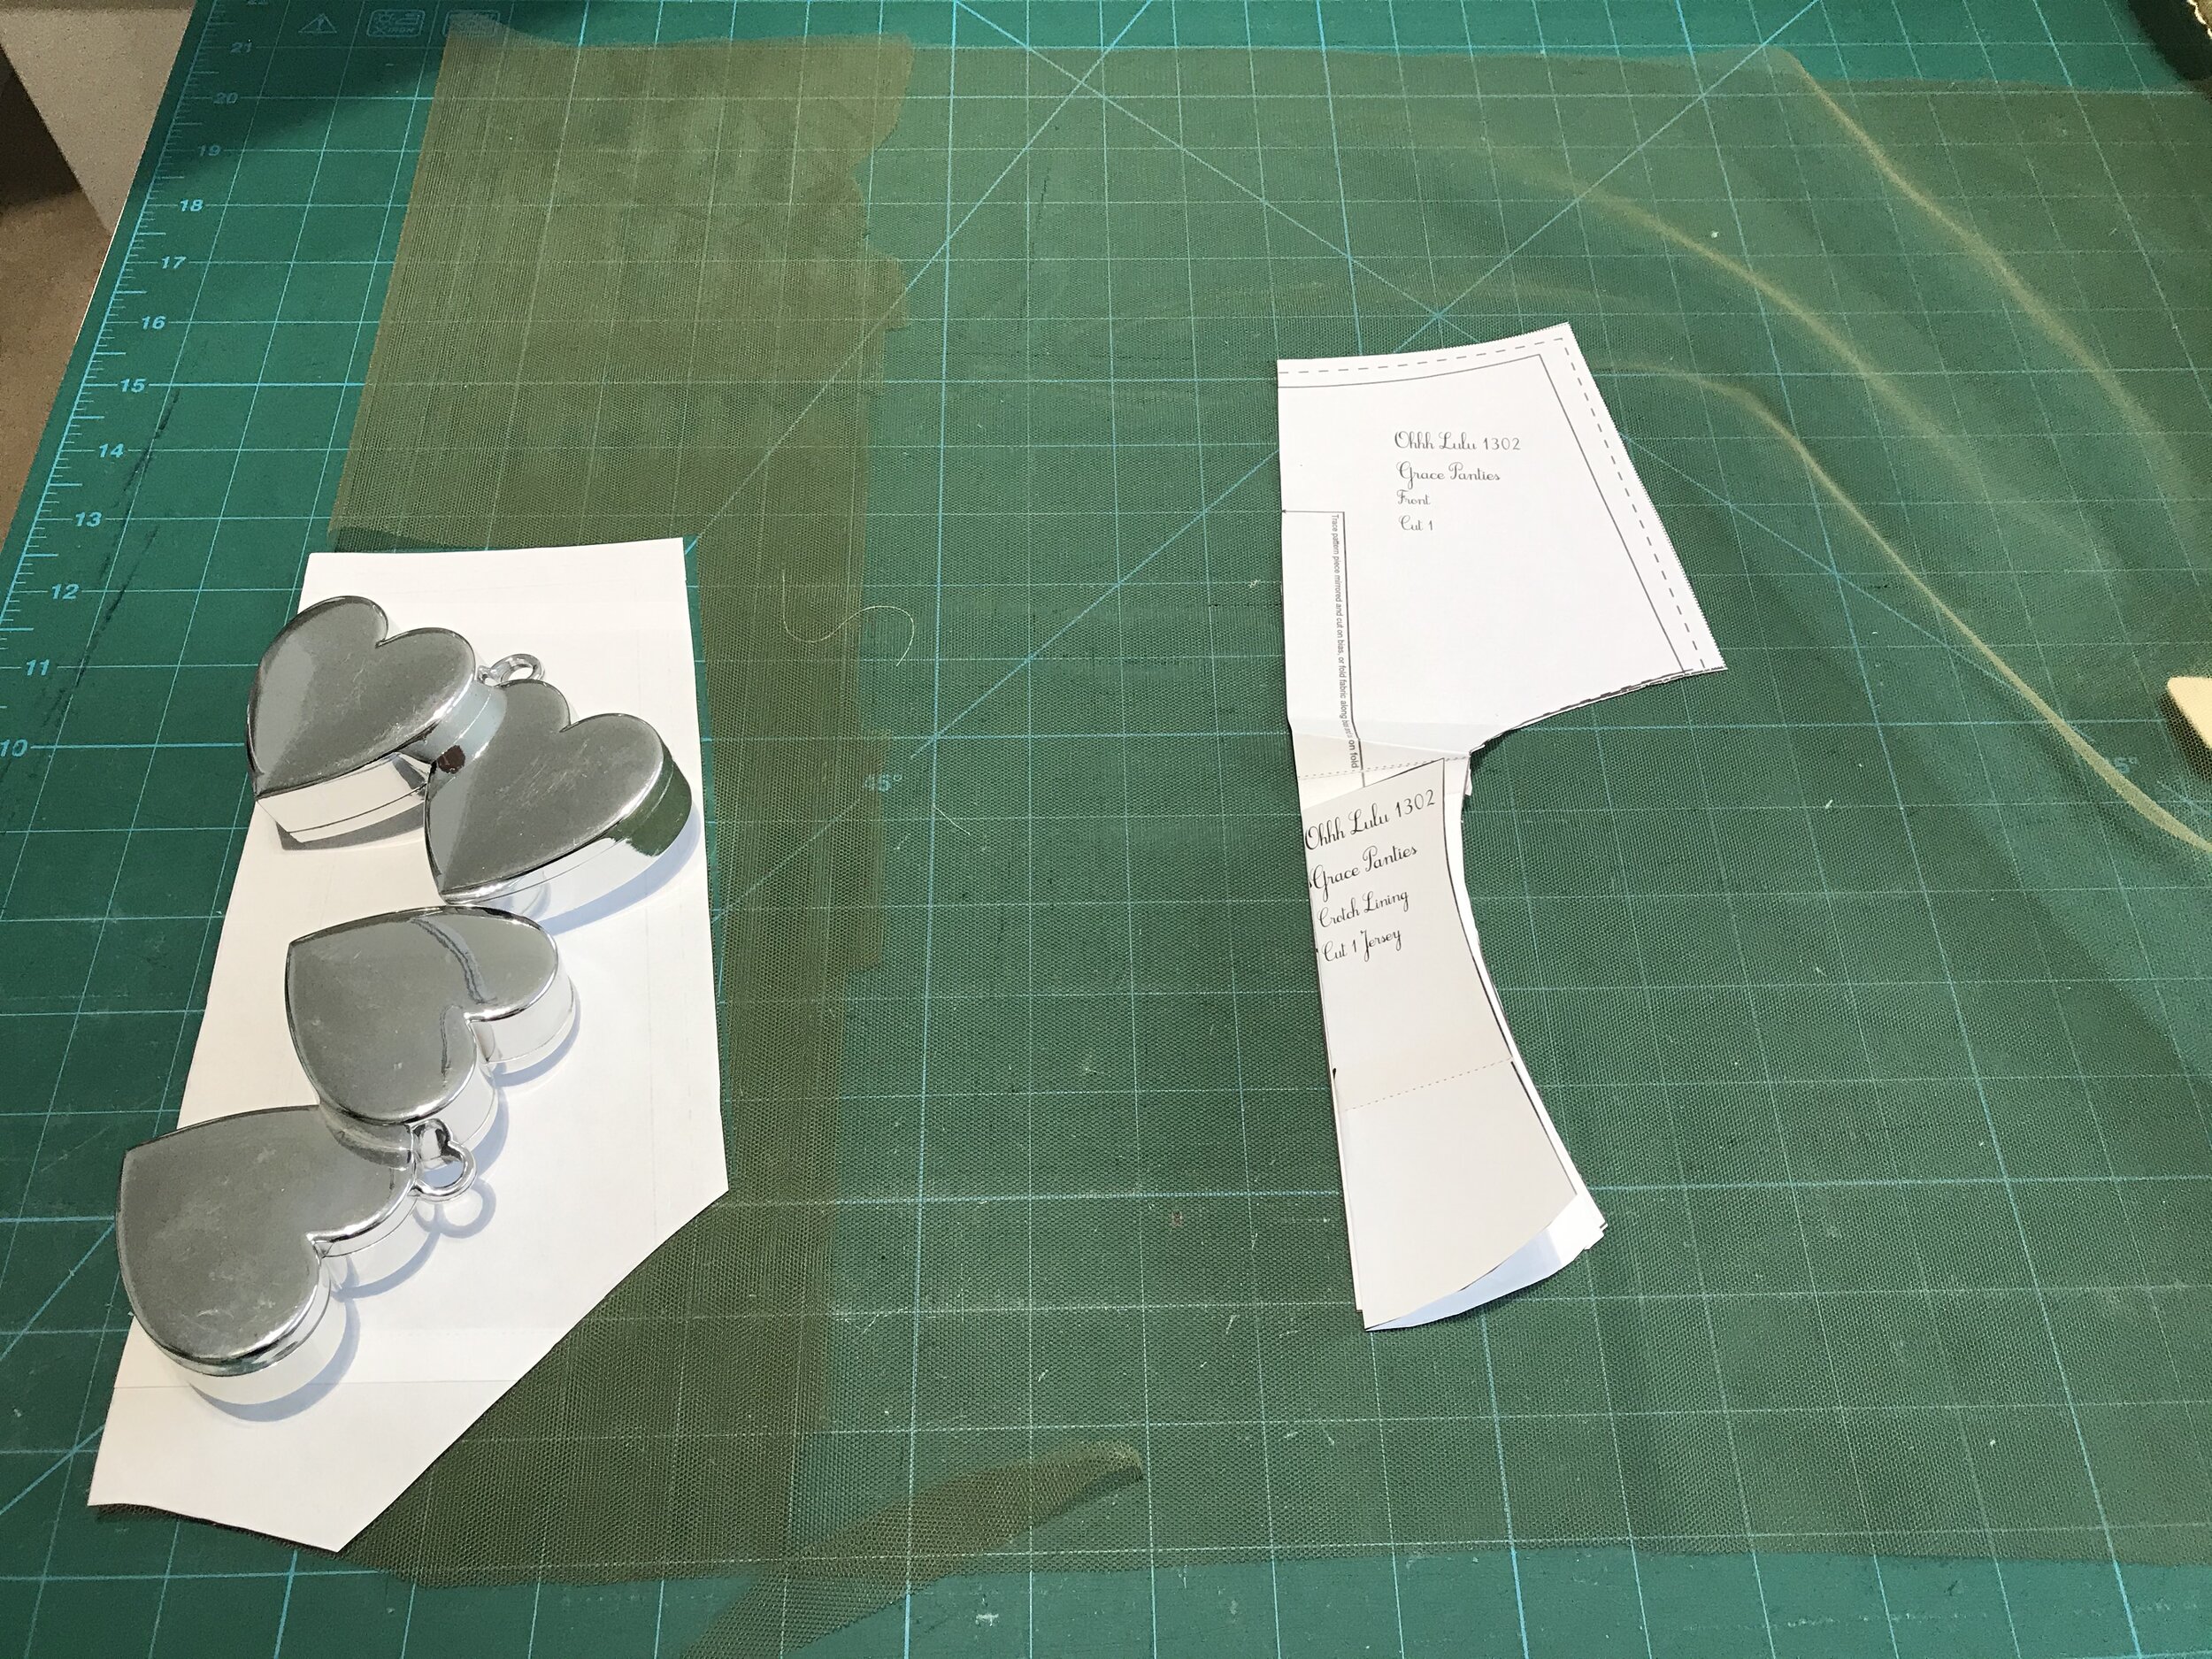
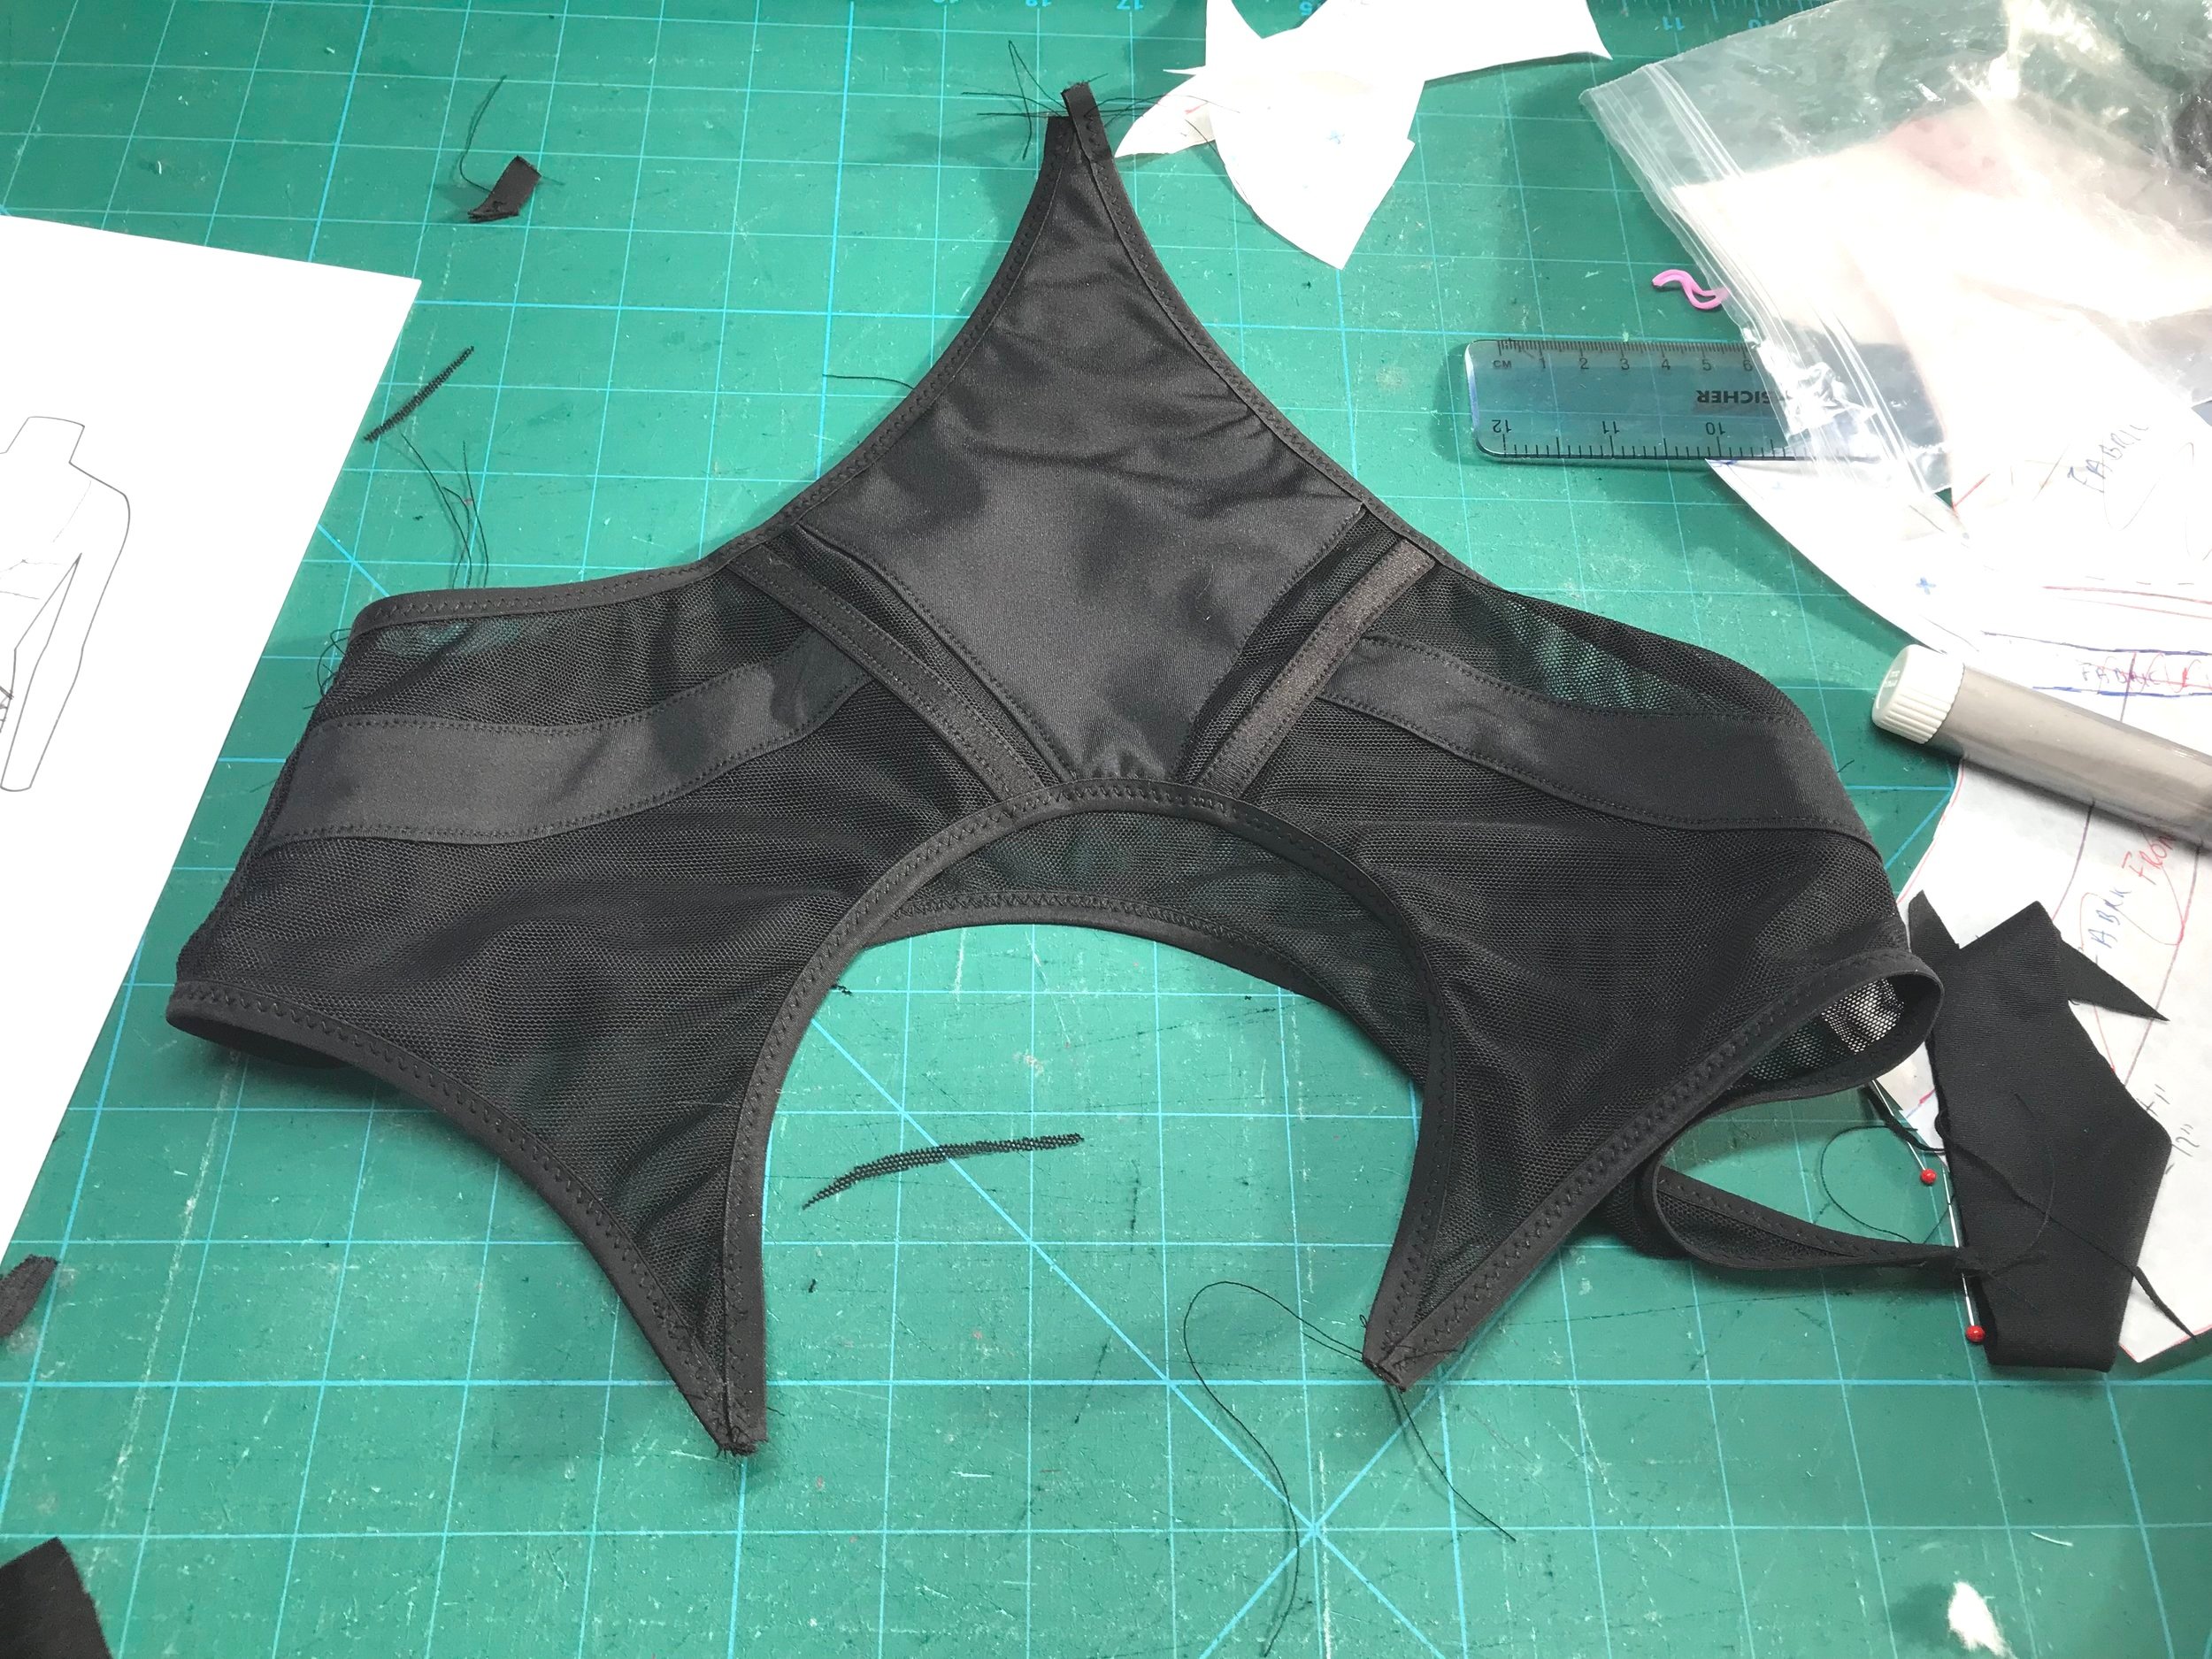
I tried on the bodysuit over the bra and underwear and measured from the waist elastic to the bottom of the bridge. Using an erasable marker I drew roughly where I wanted the shaping for the suspenders and then I transferred the markings to the original pattern and traced off the sections I wanted. After making up the waist elastic using the original instructions I made a quick test version using some scraps of lace fabric. The top piece was fine but I need to scoop more out of the arch to sit above the underwear.
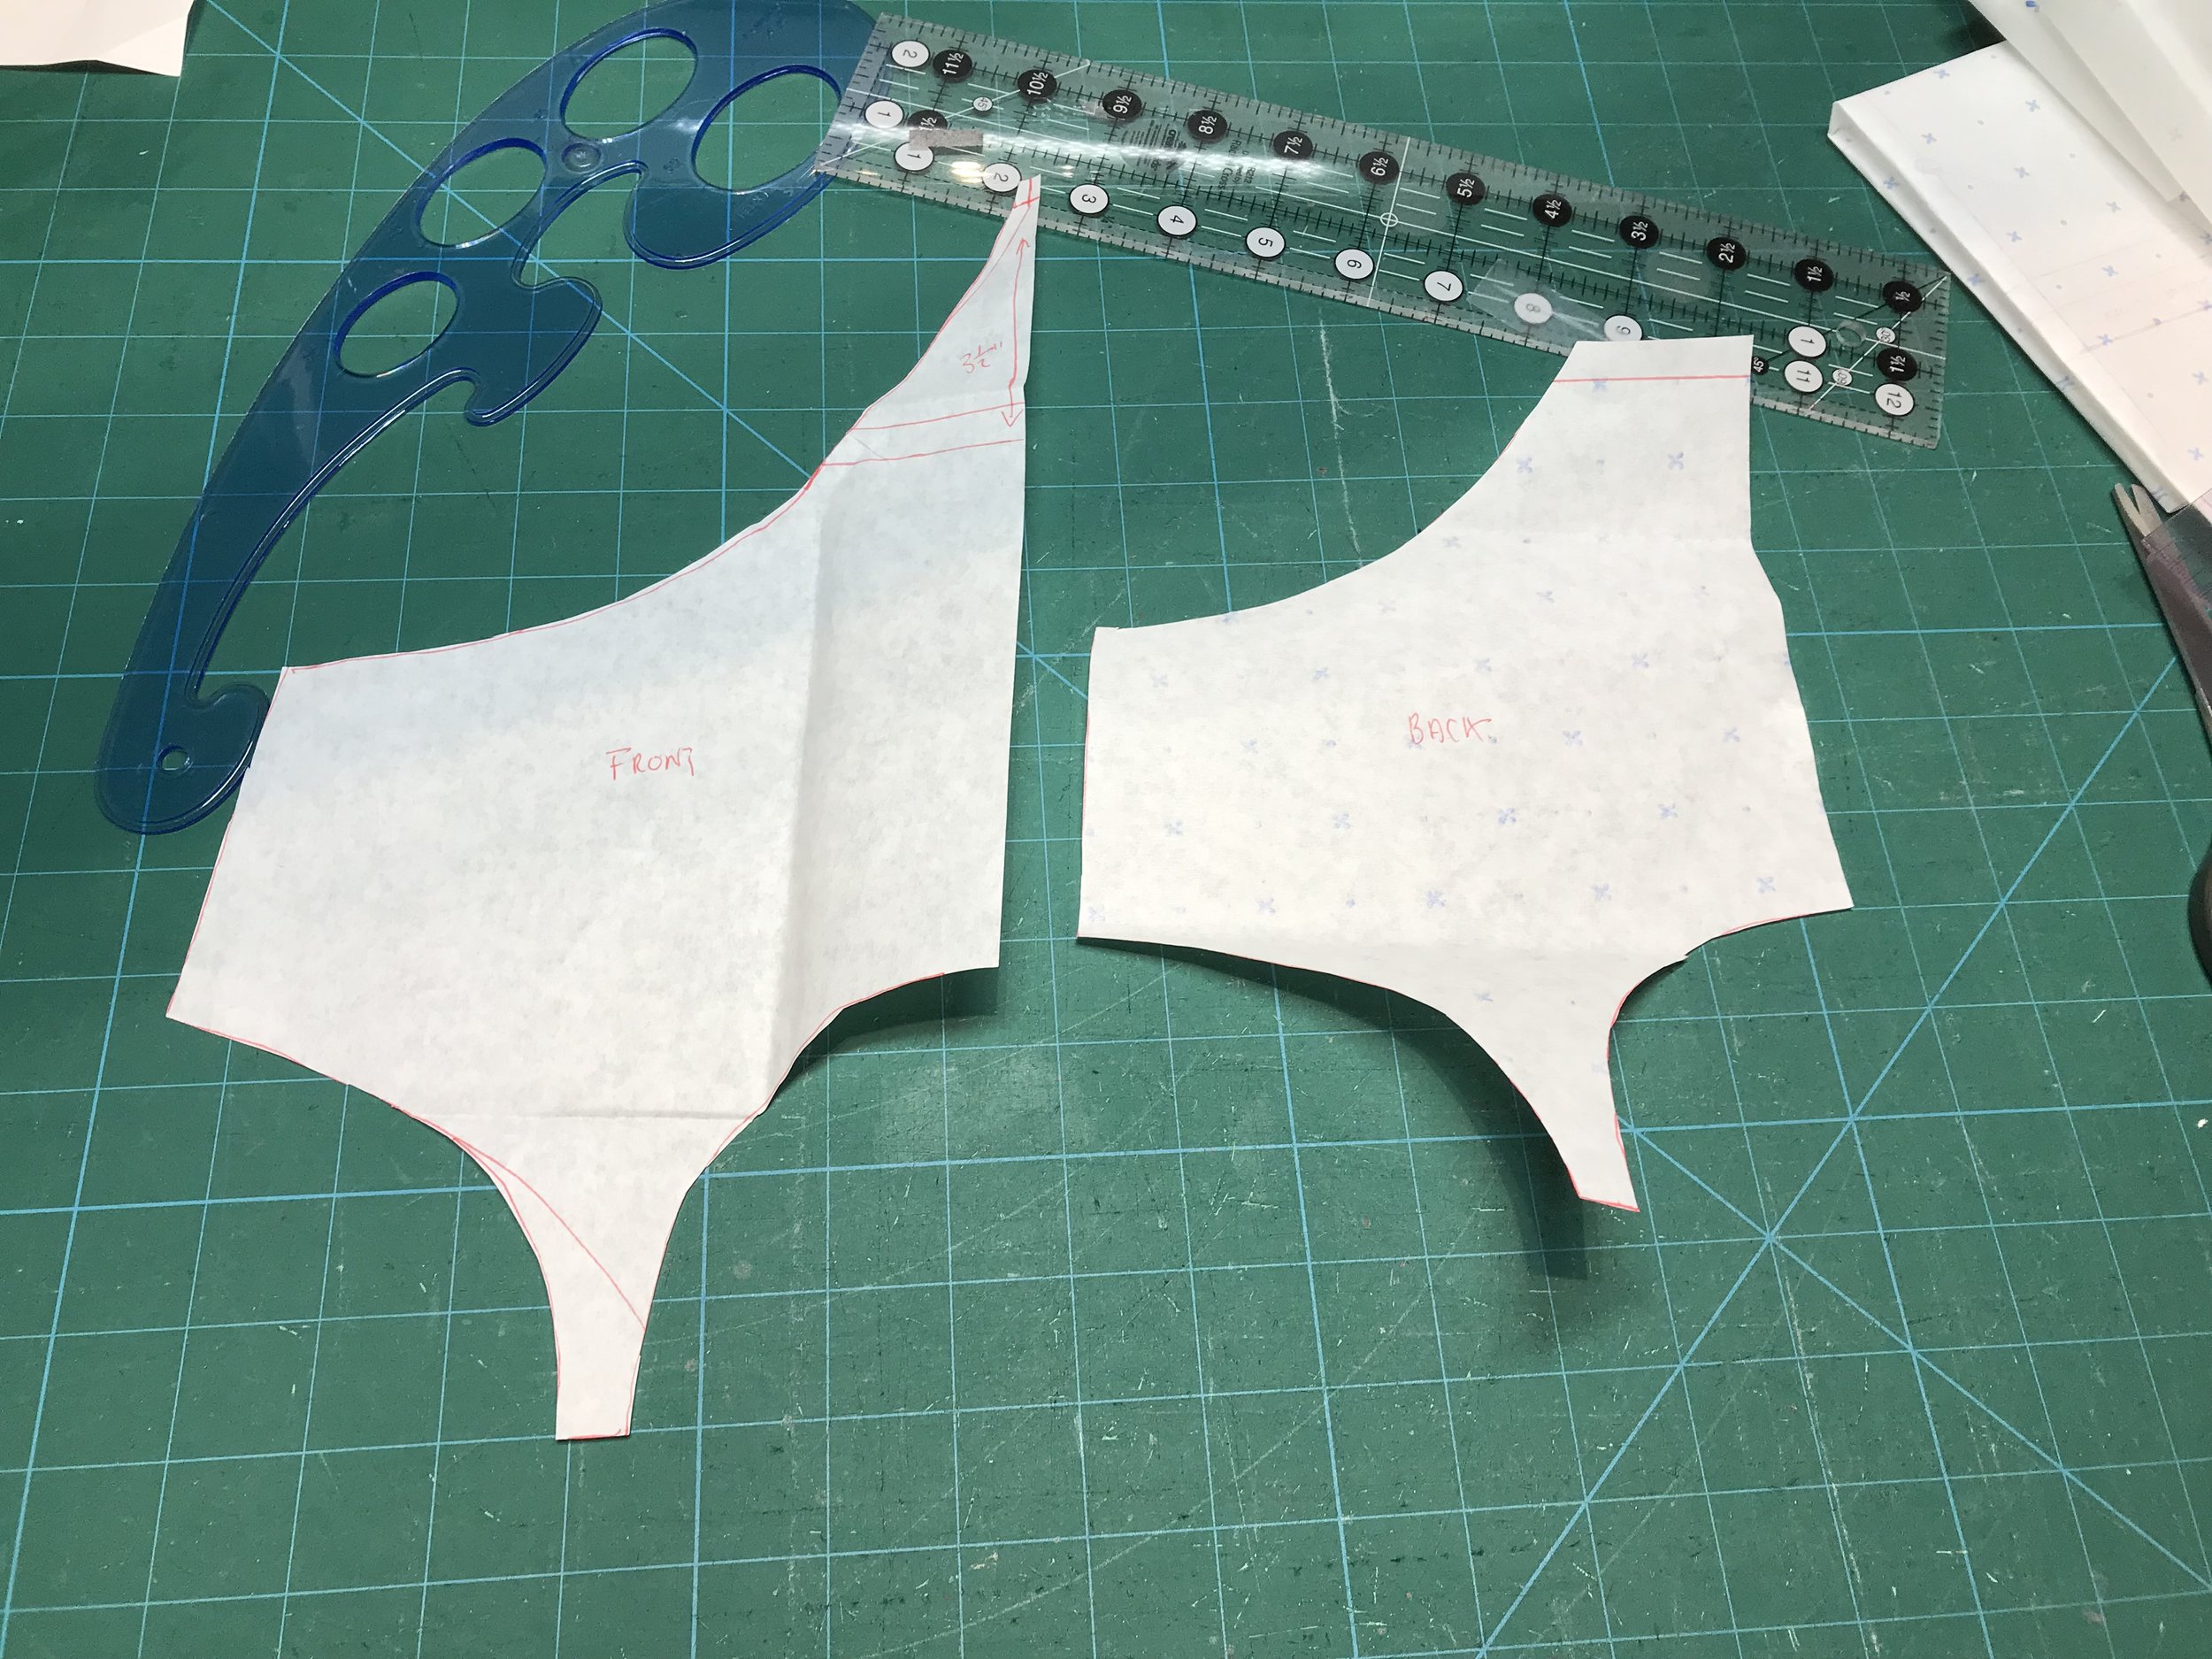
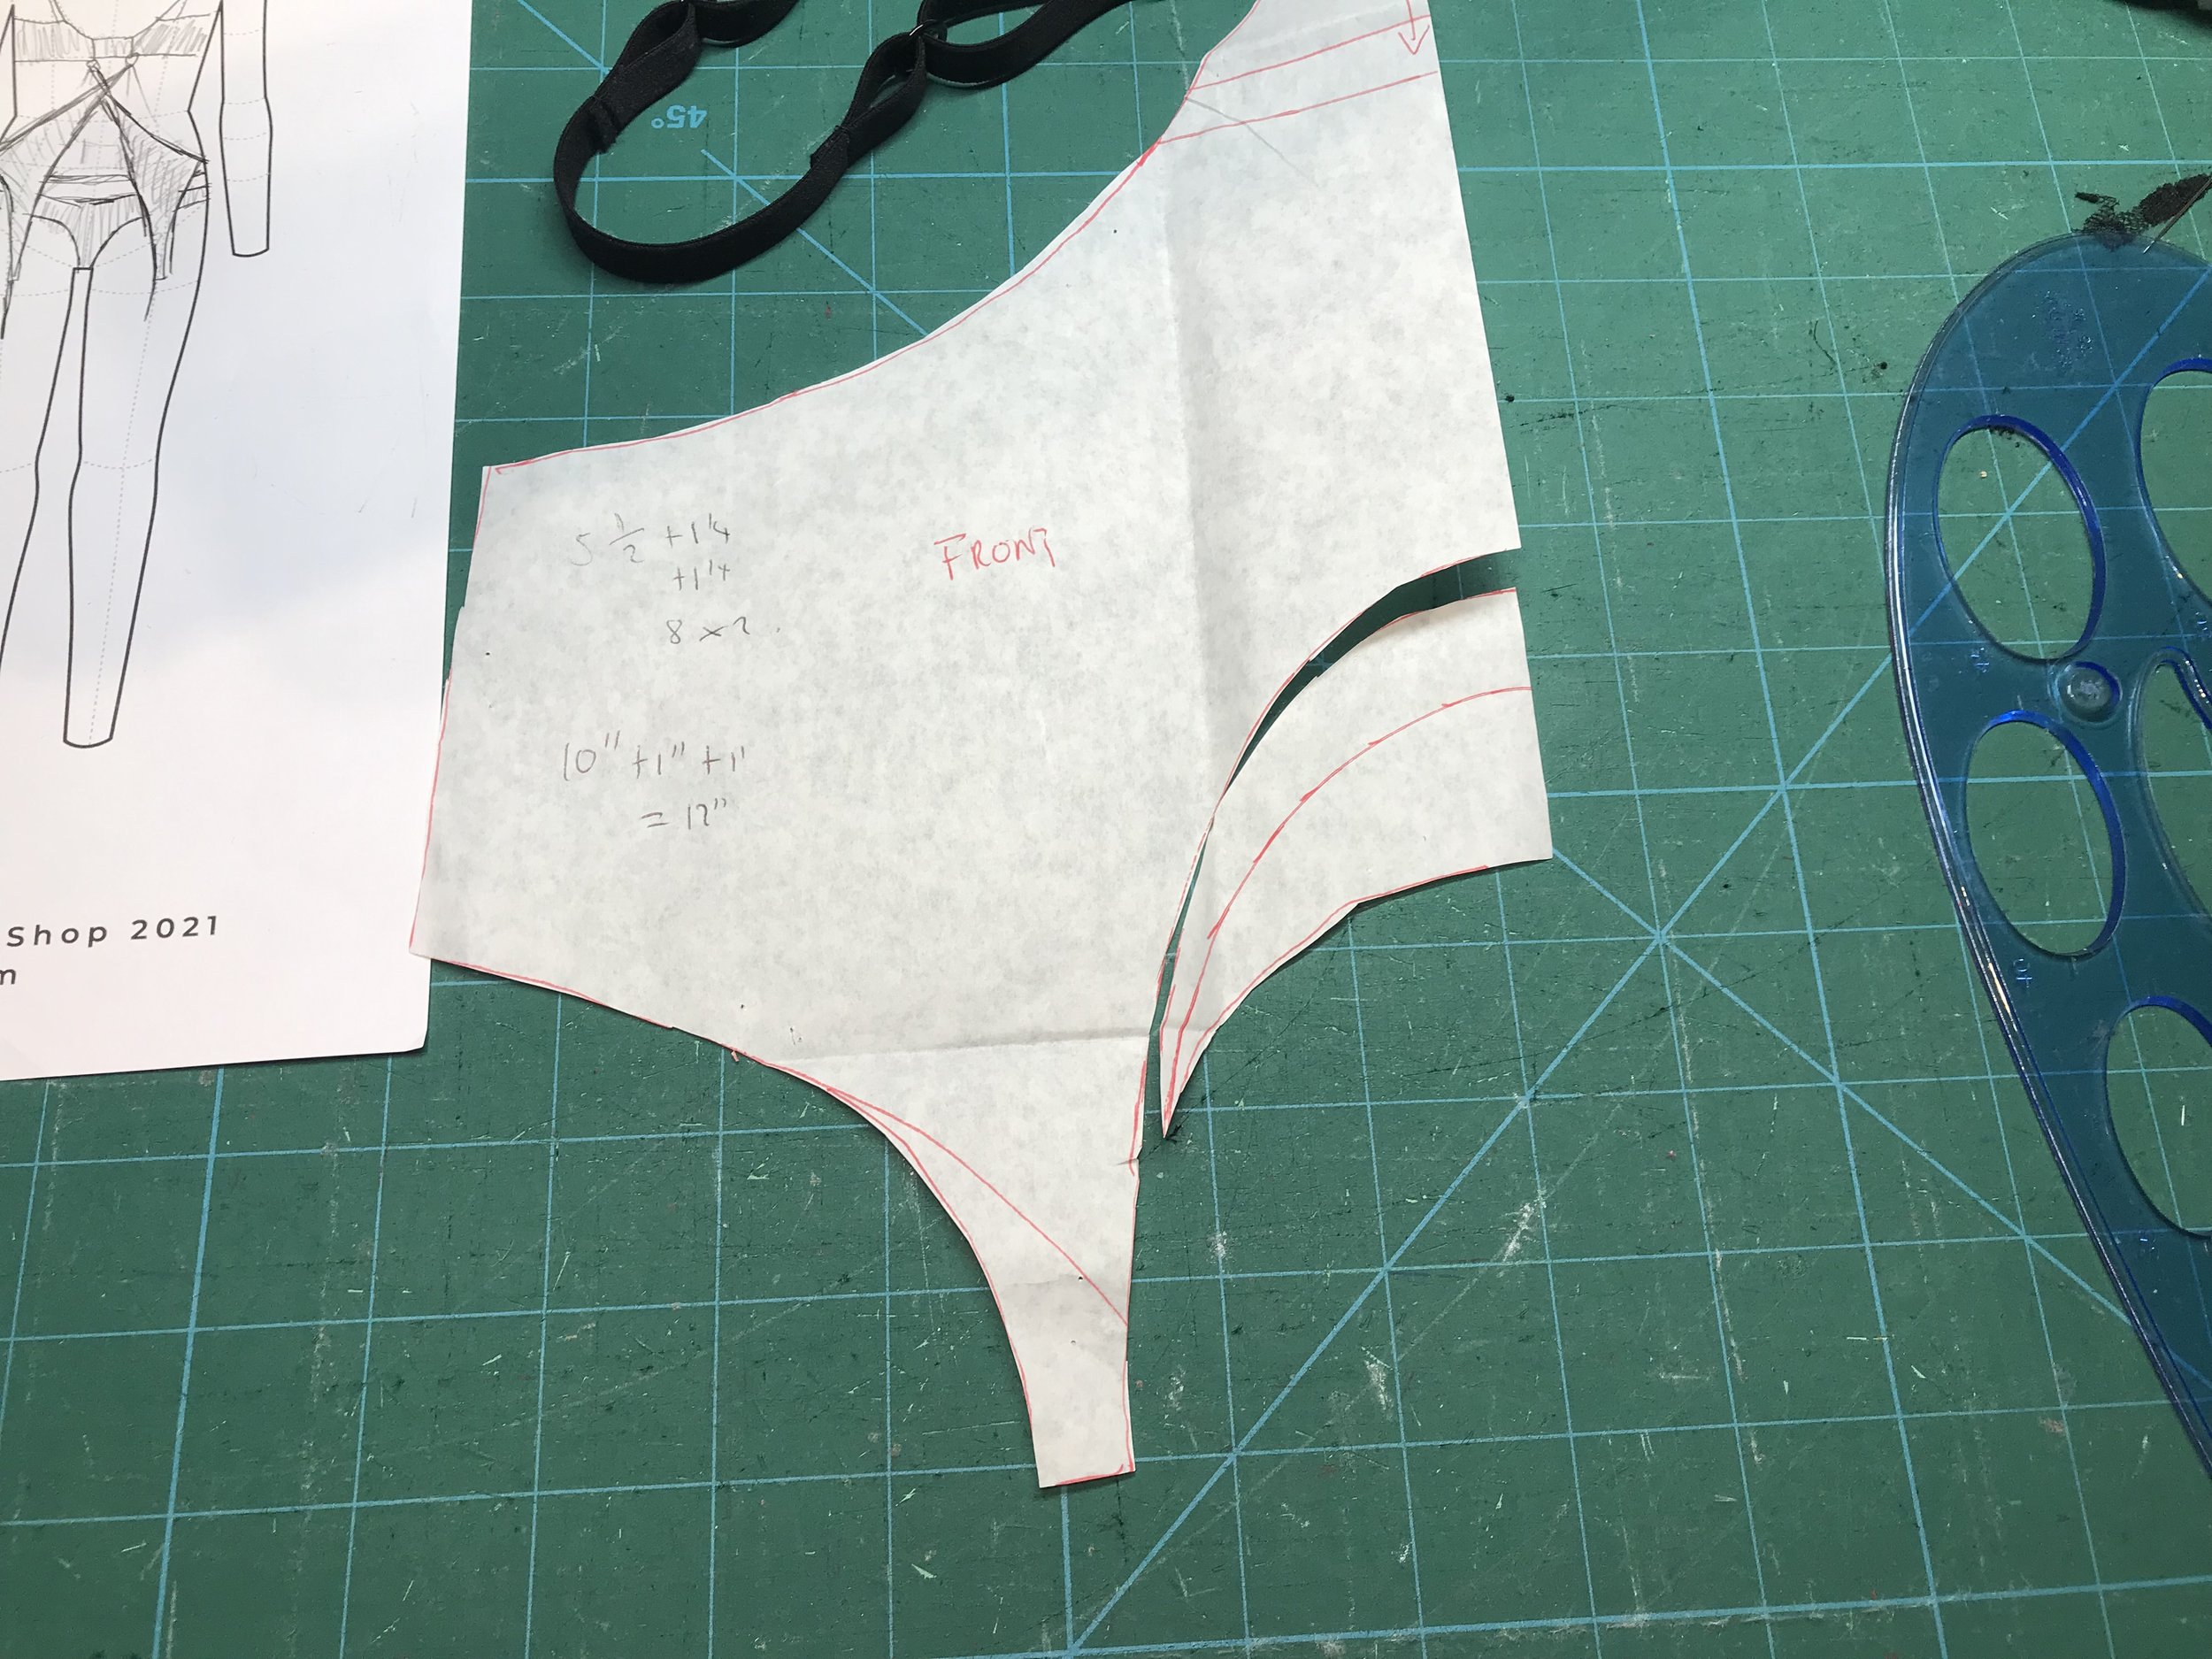
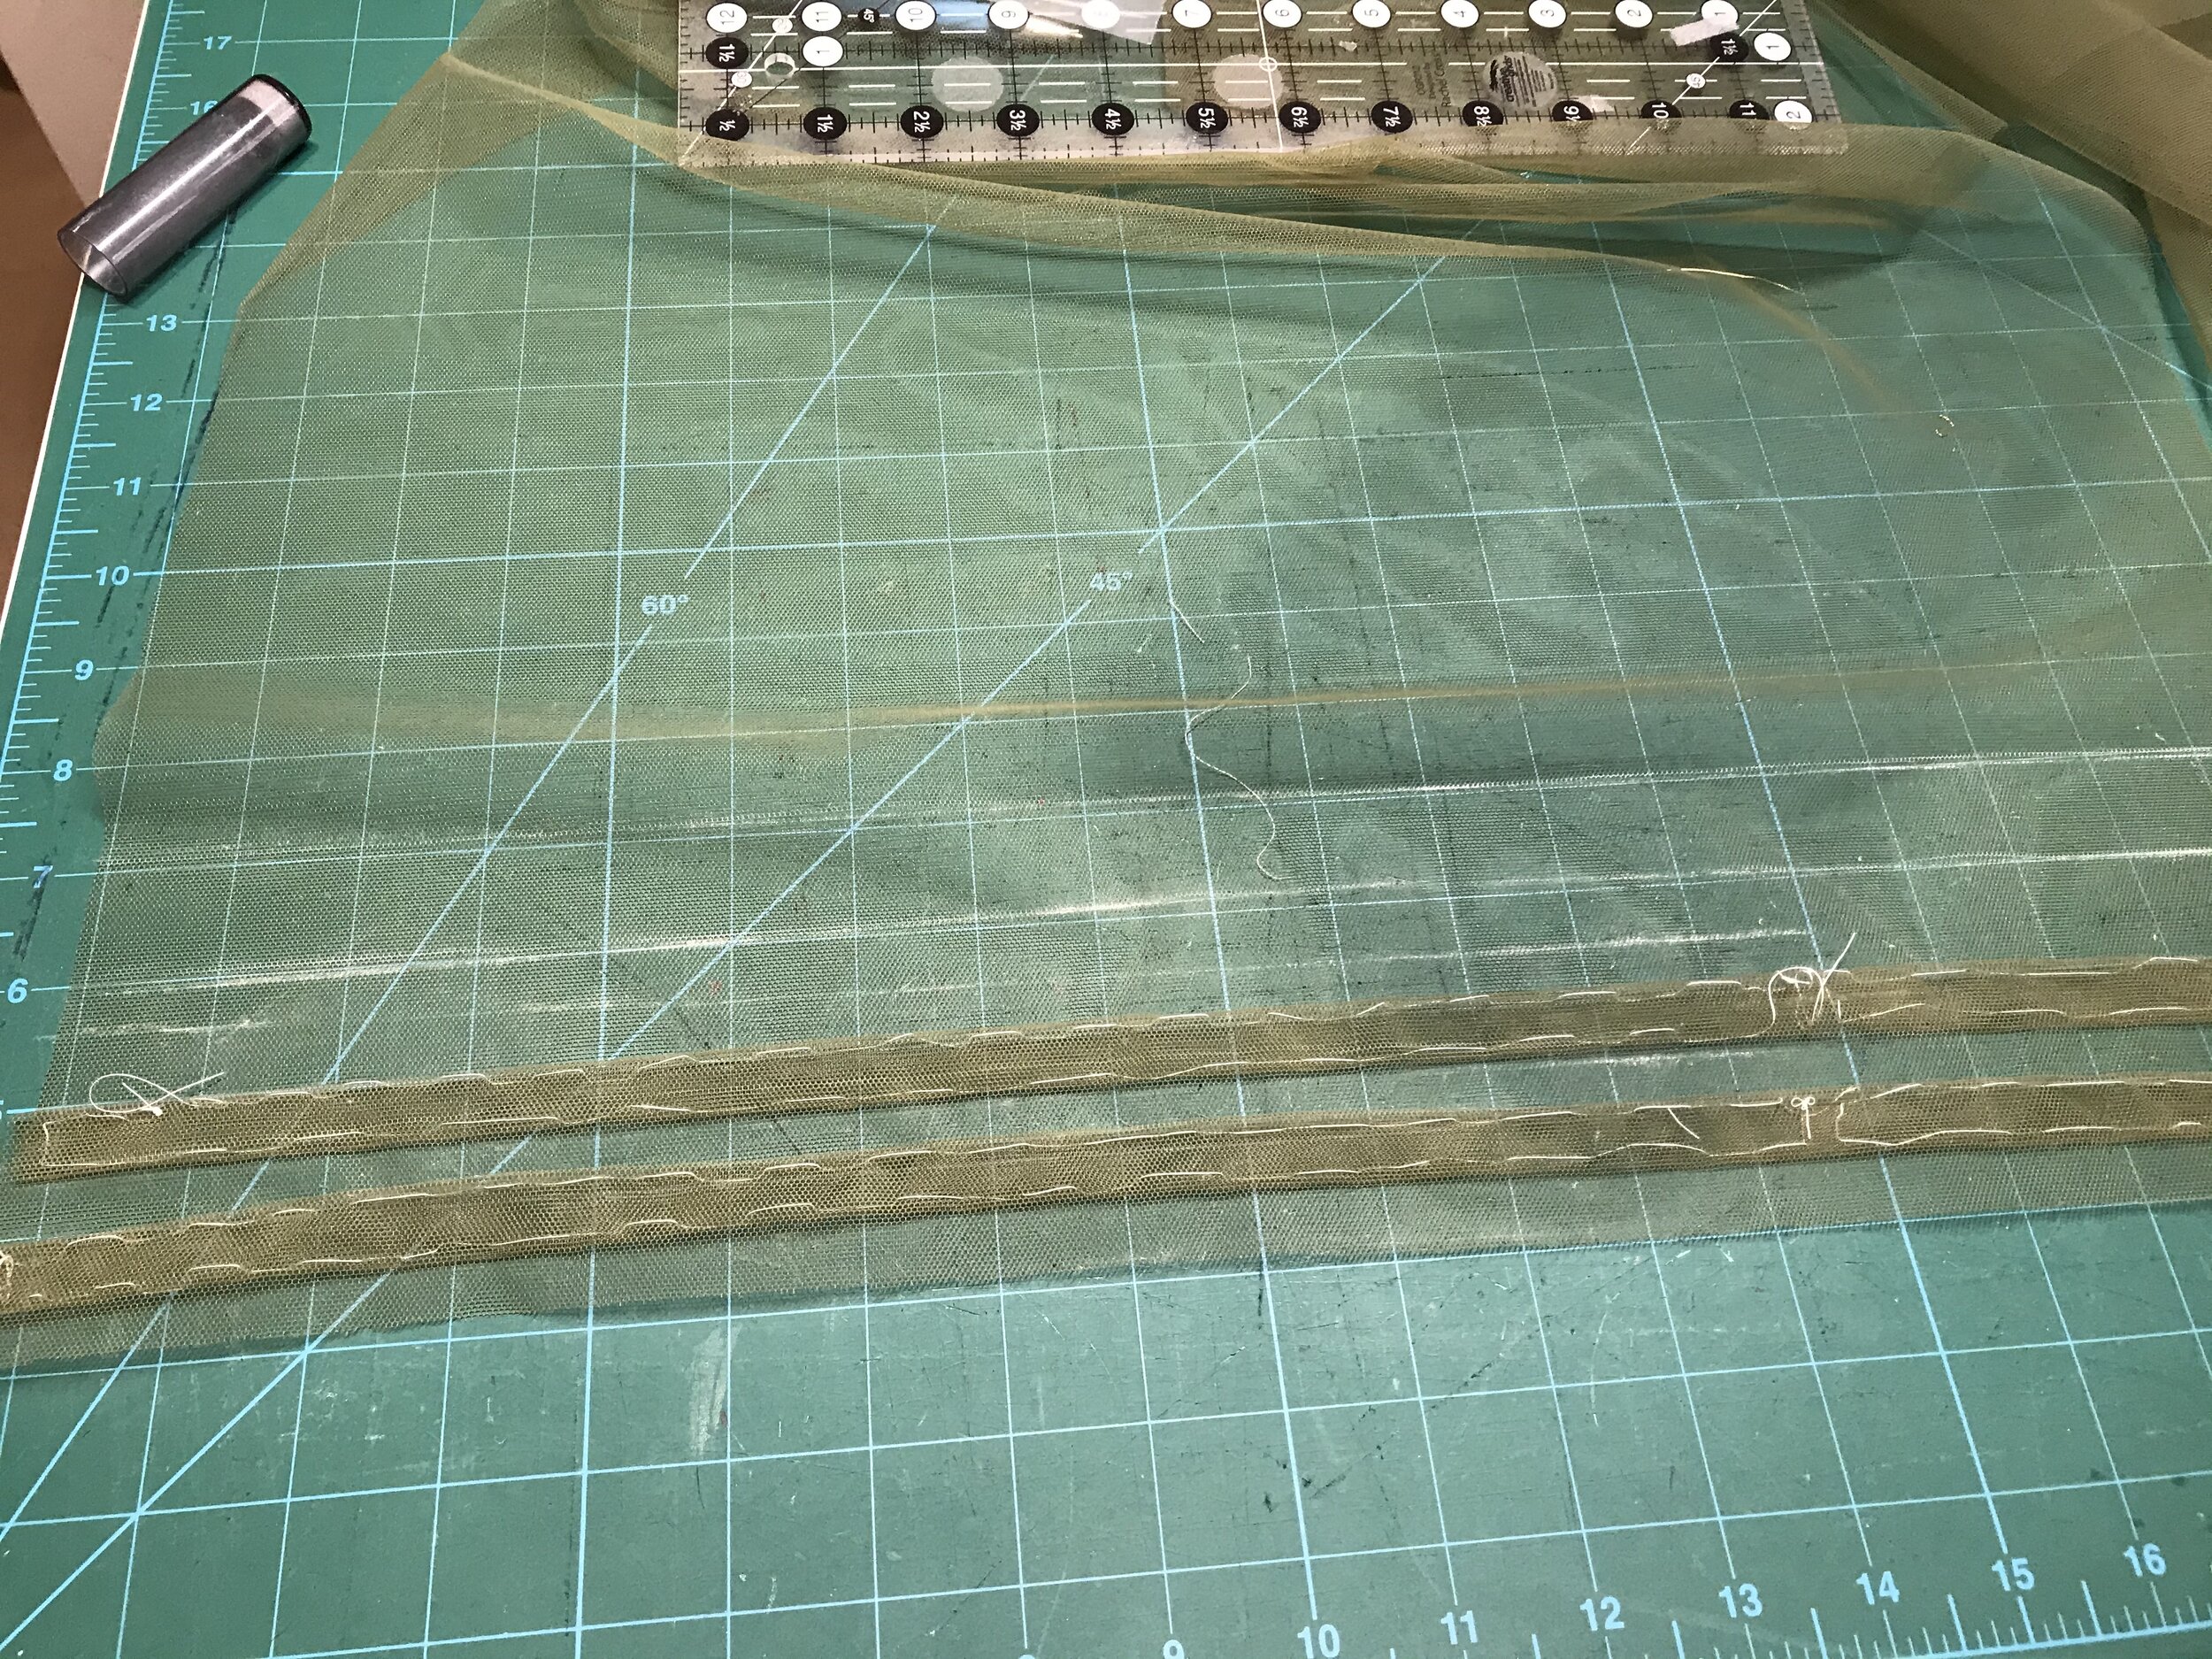
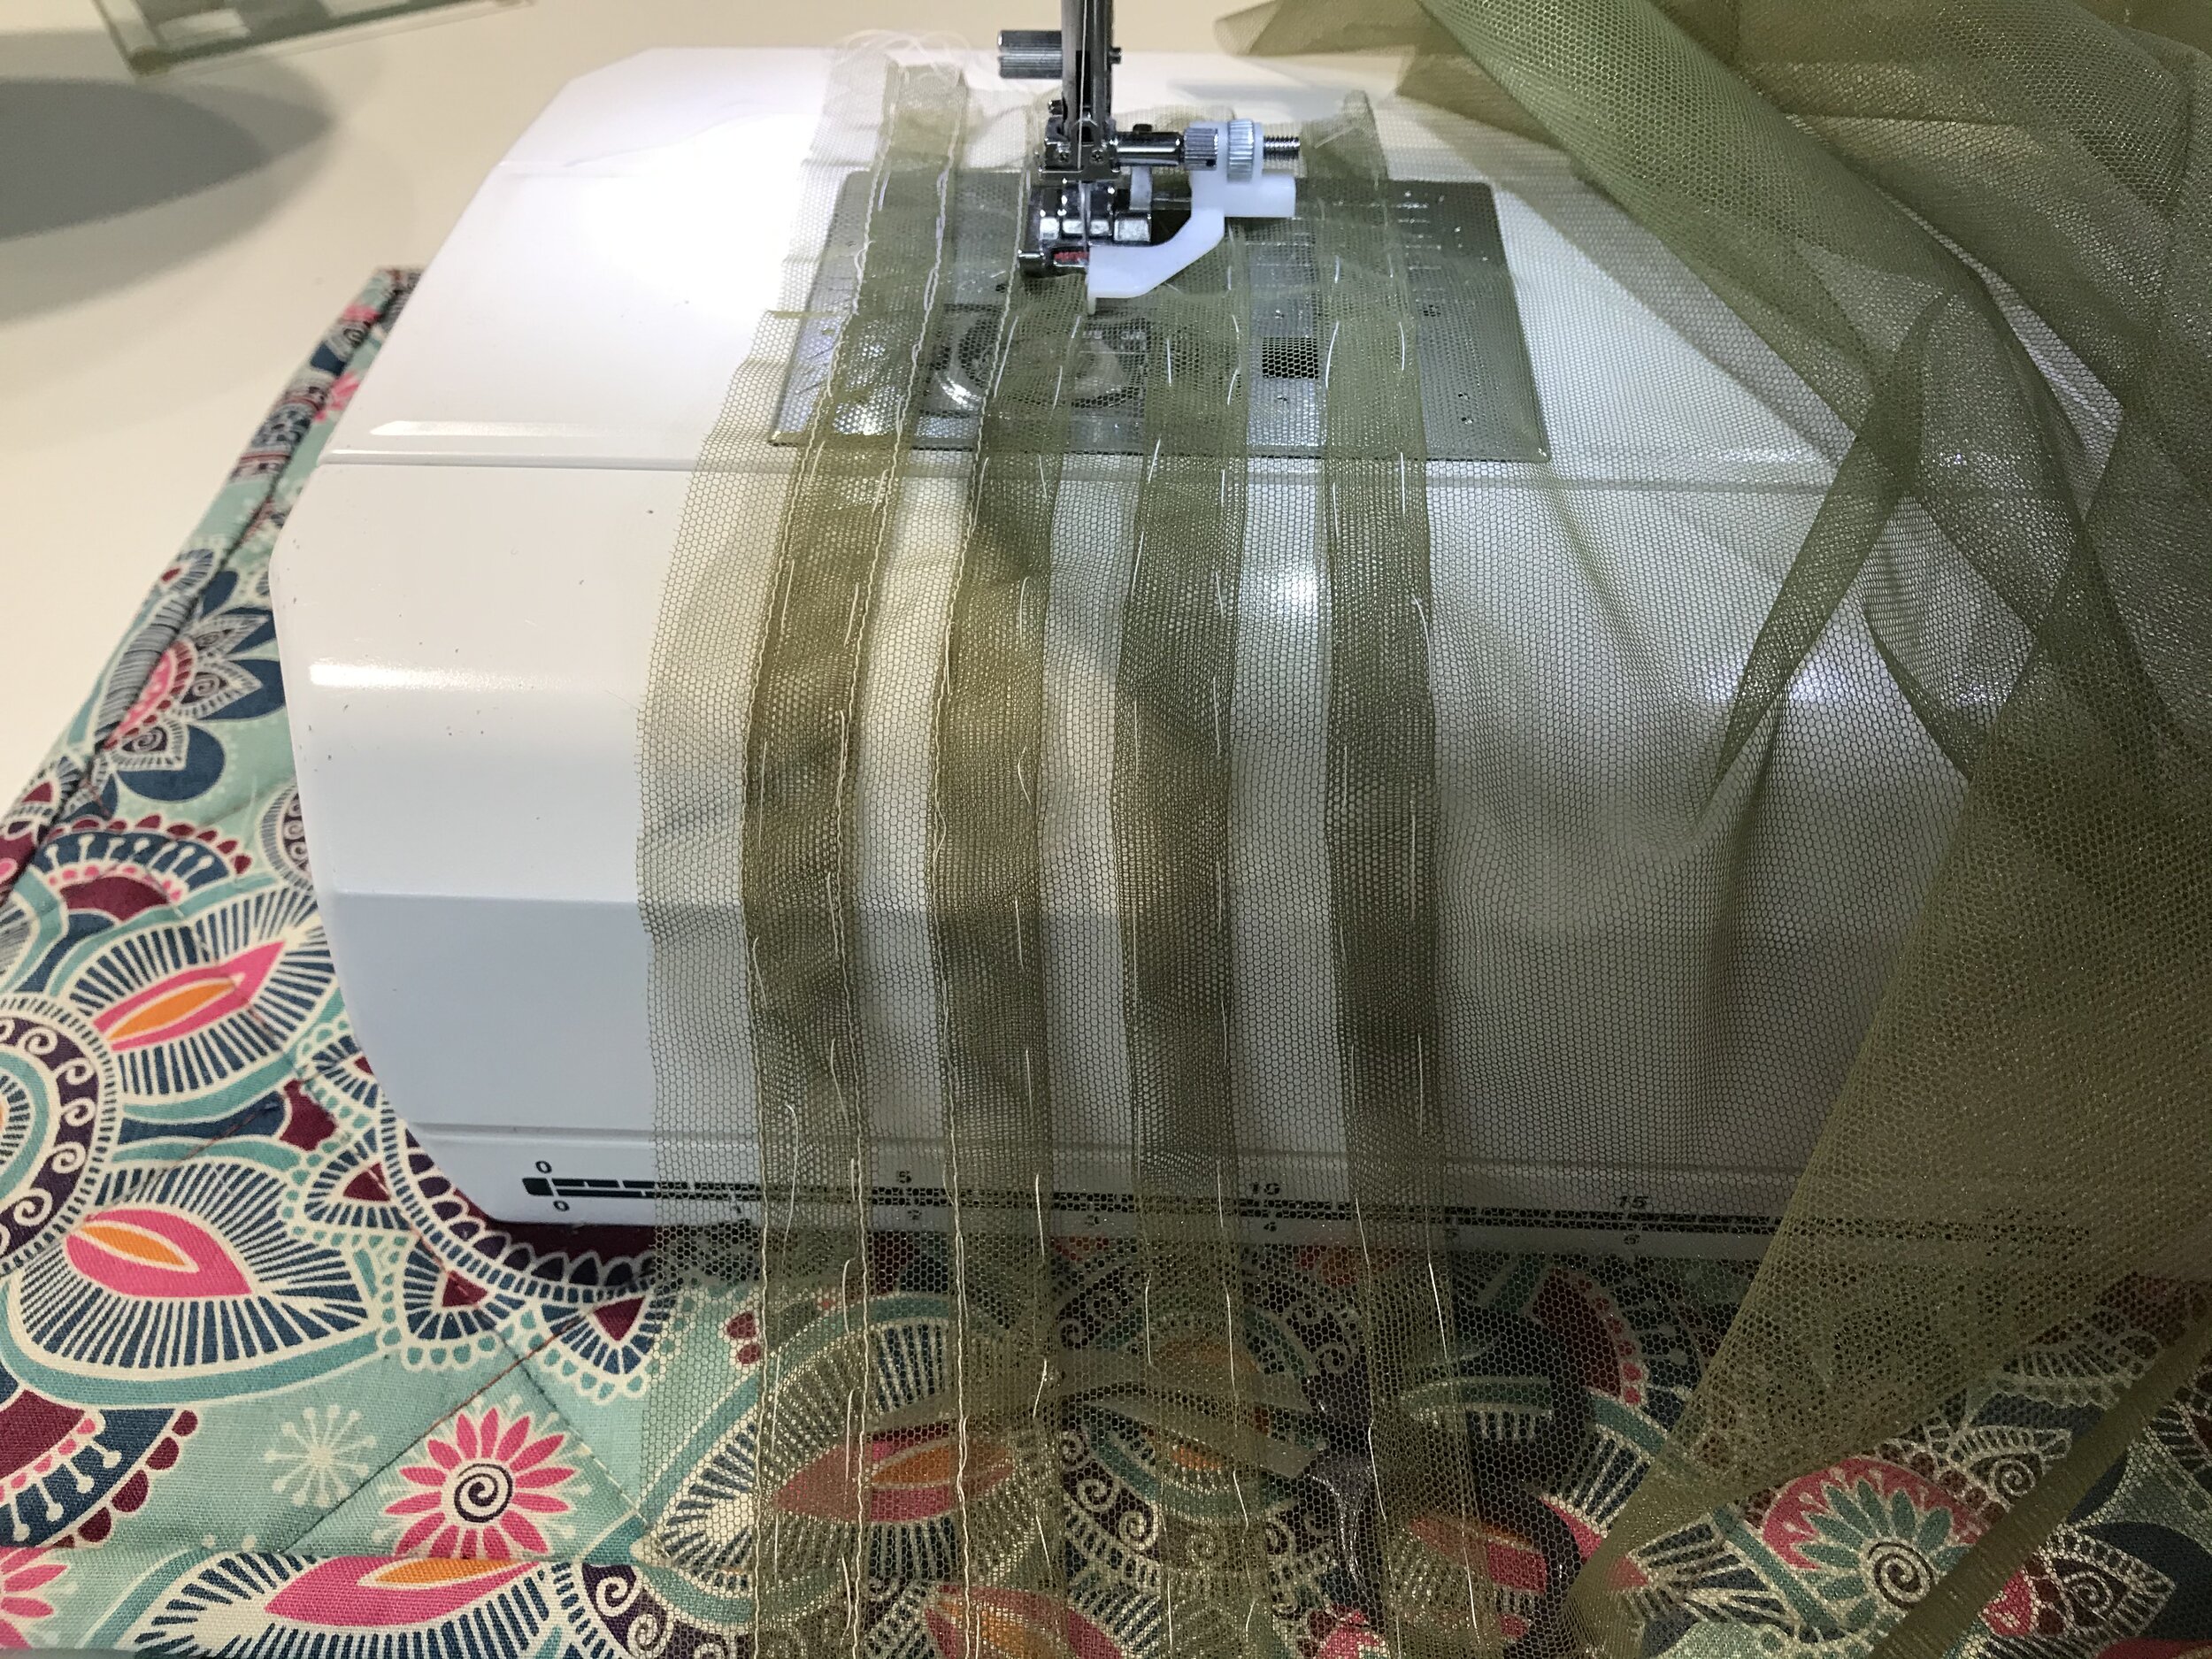
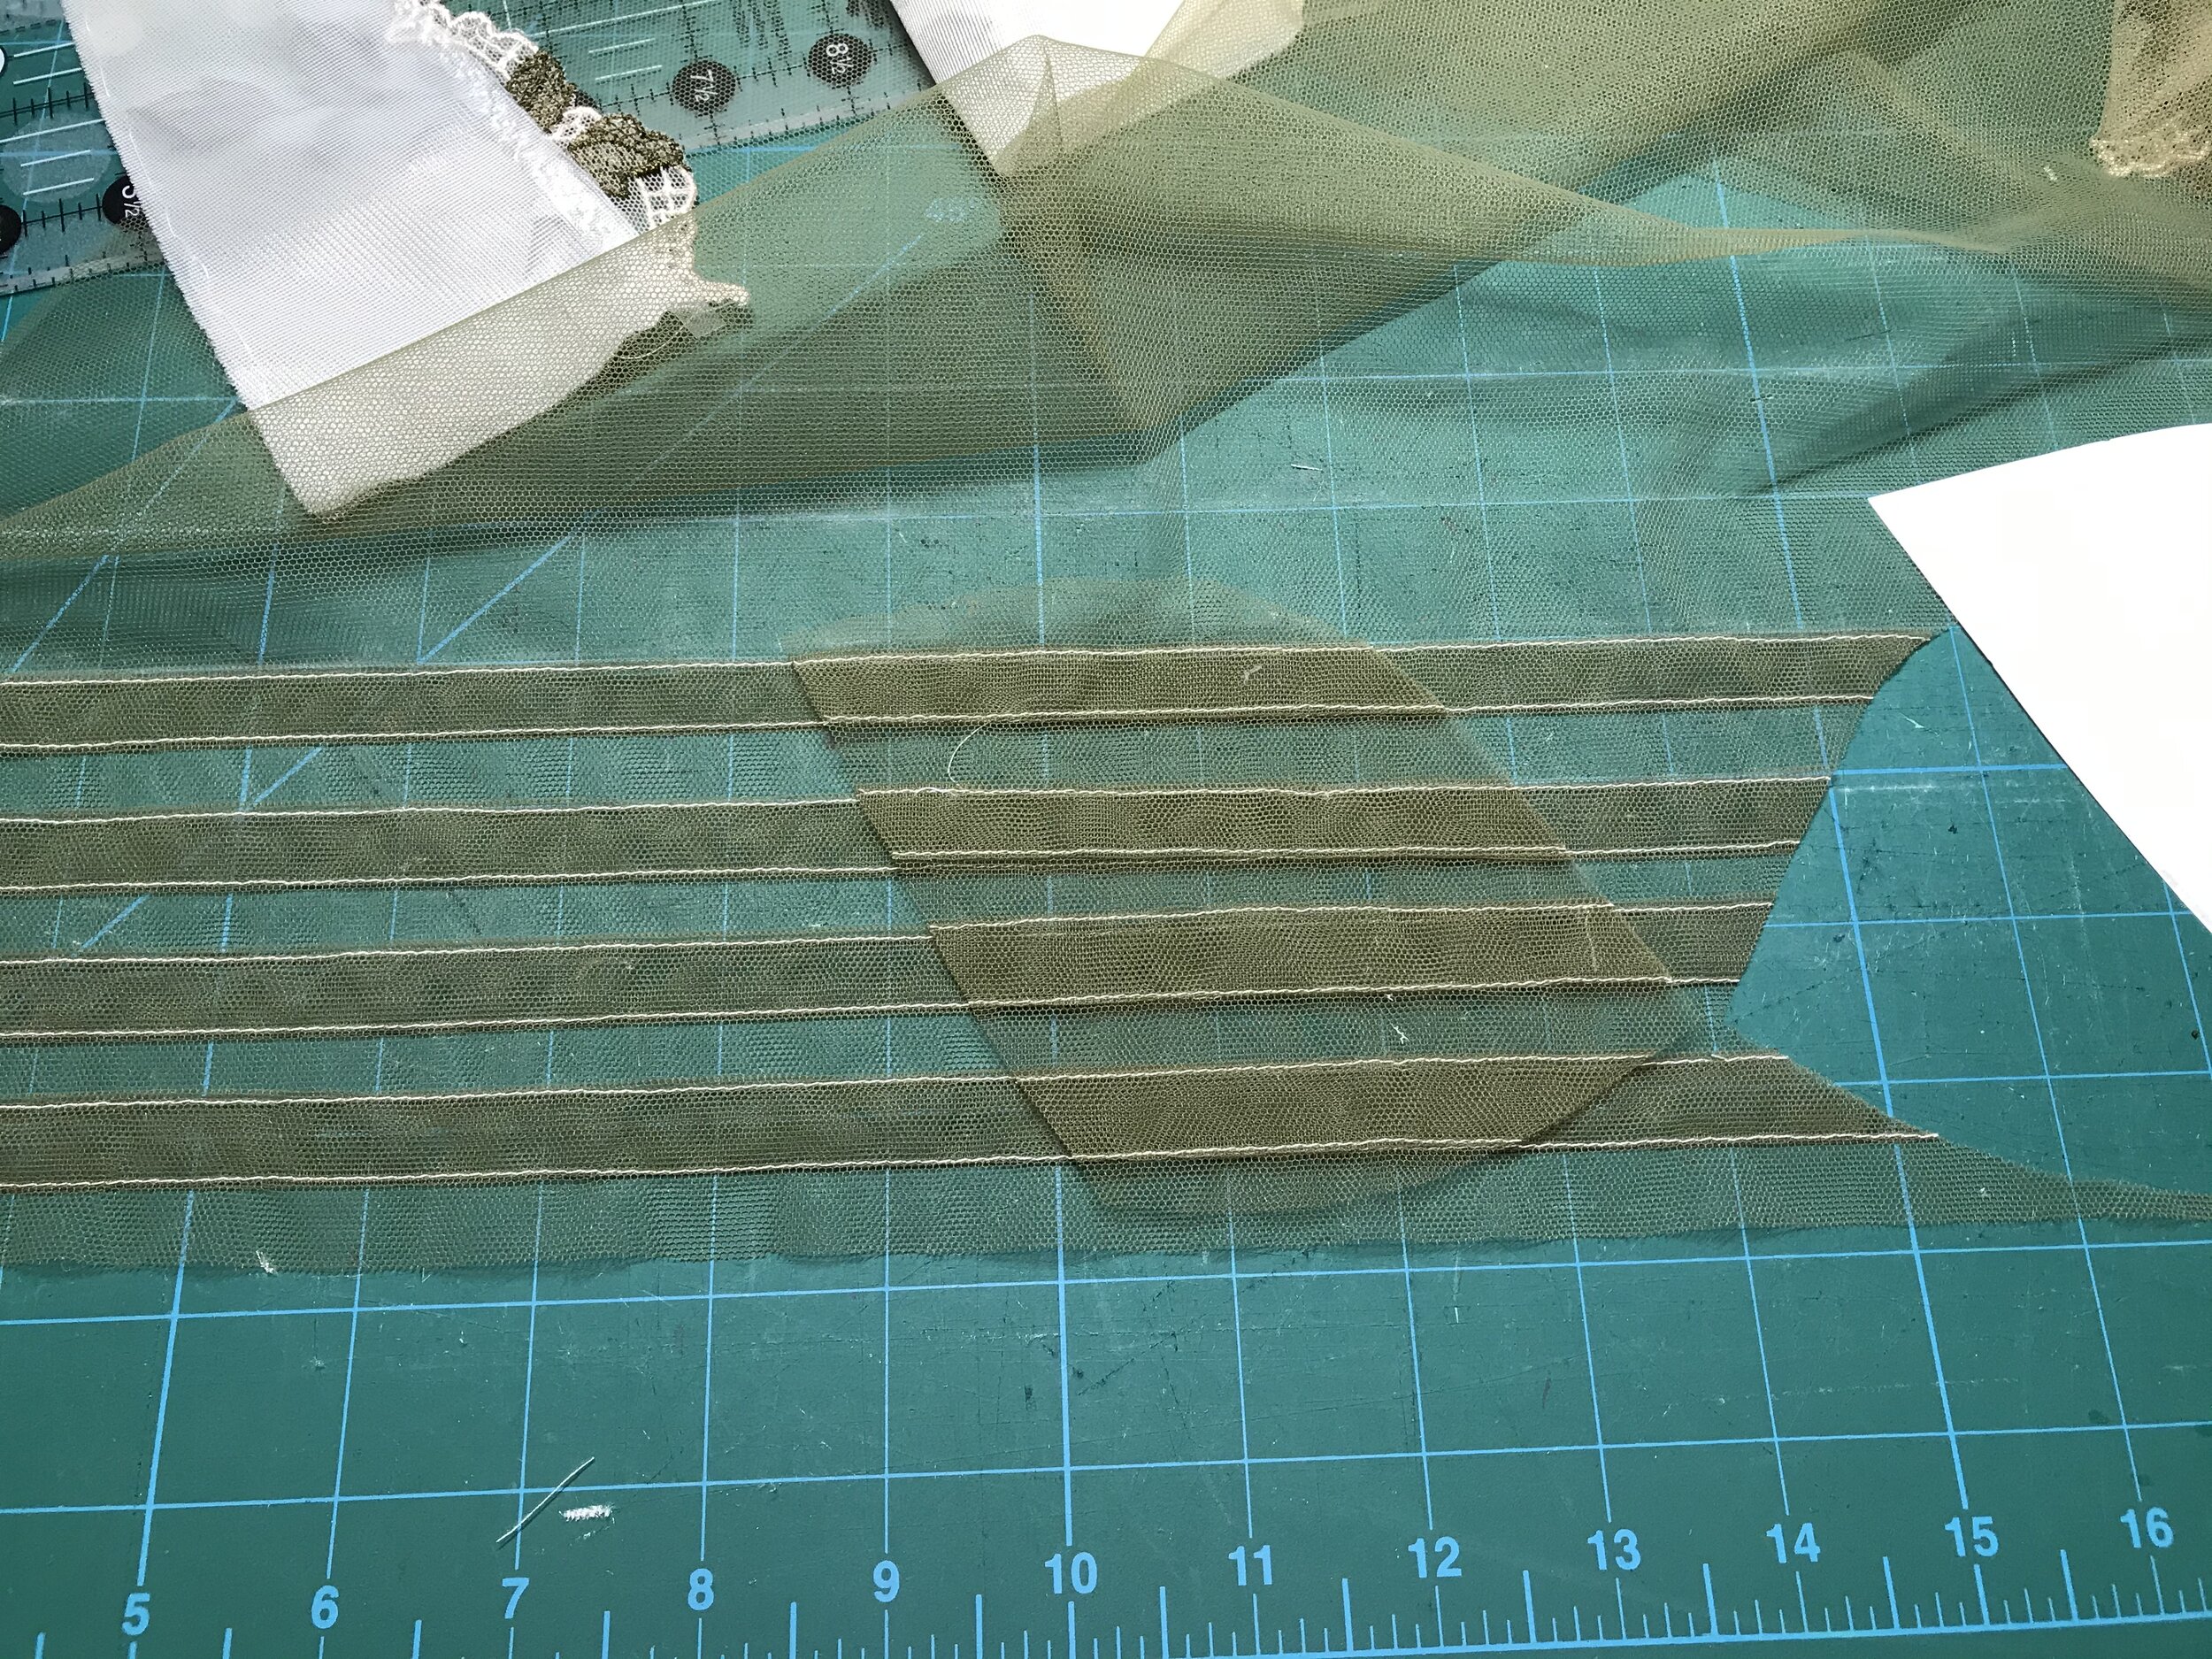
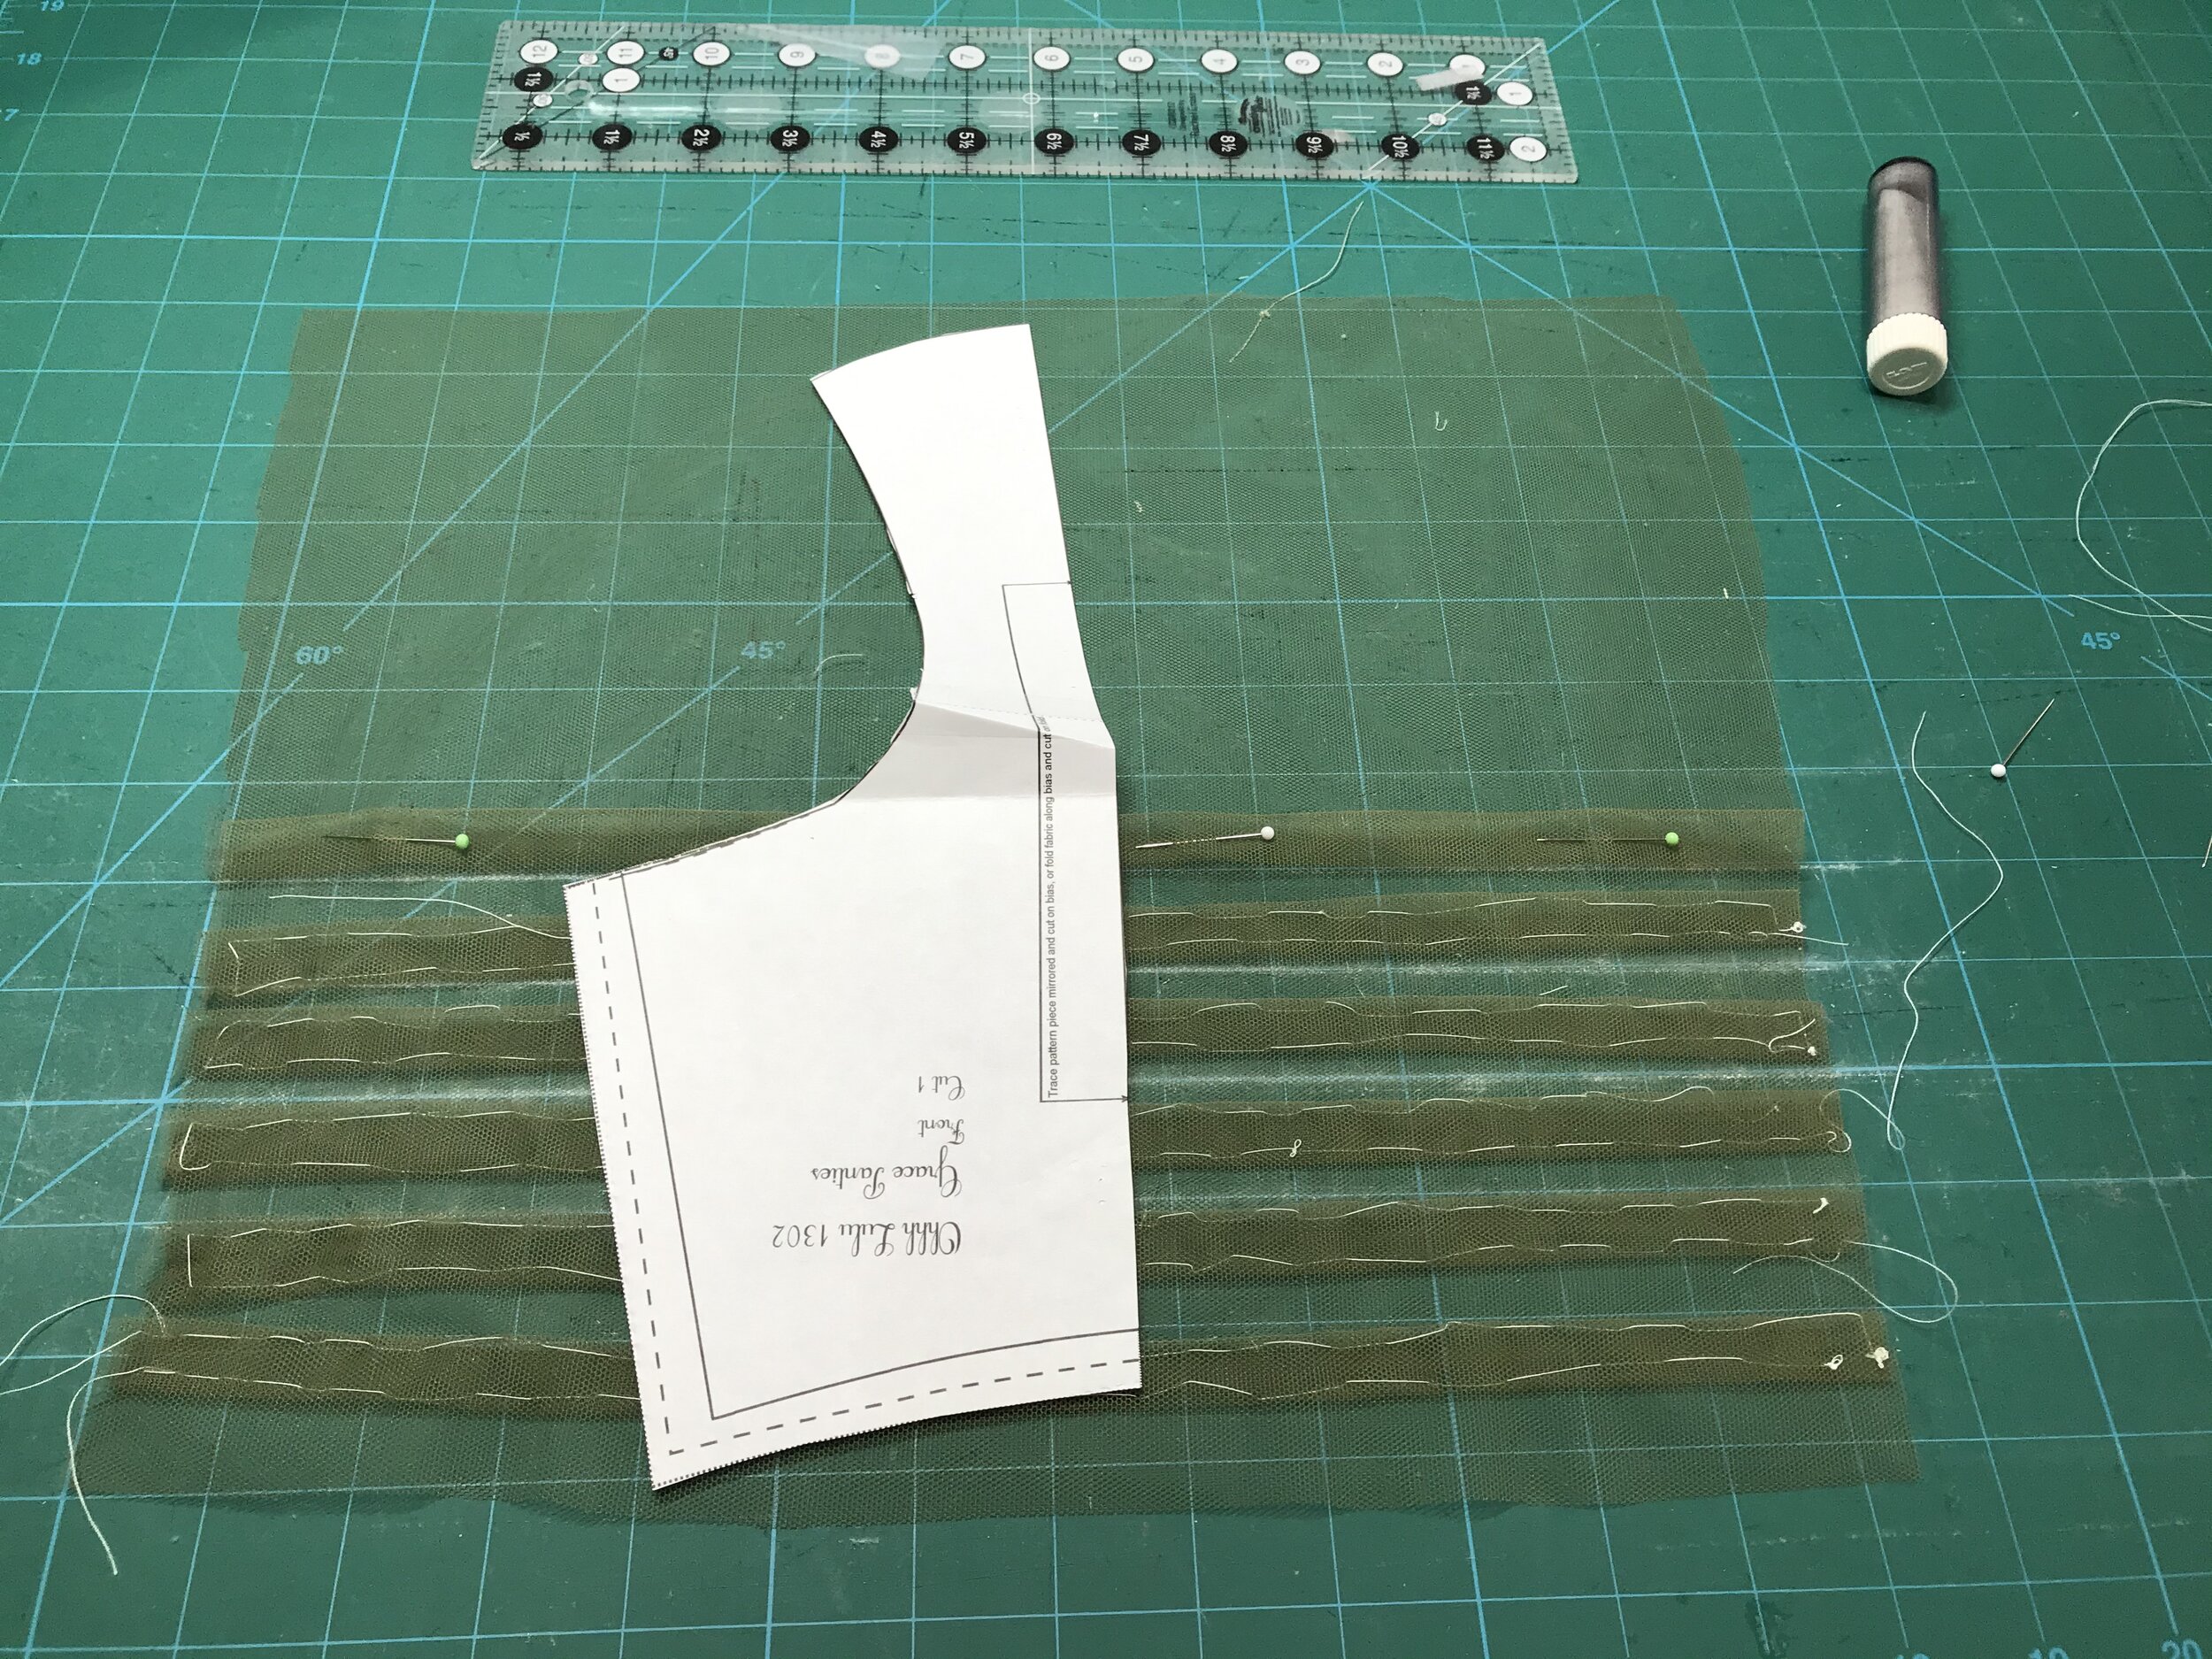
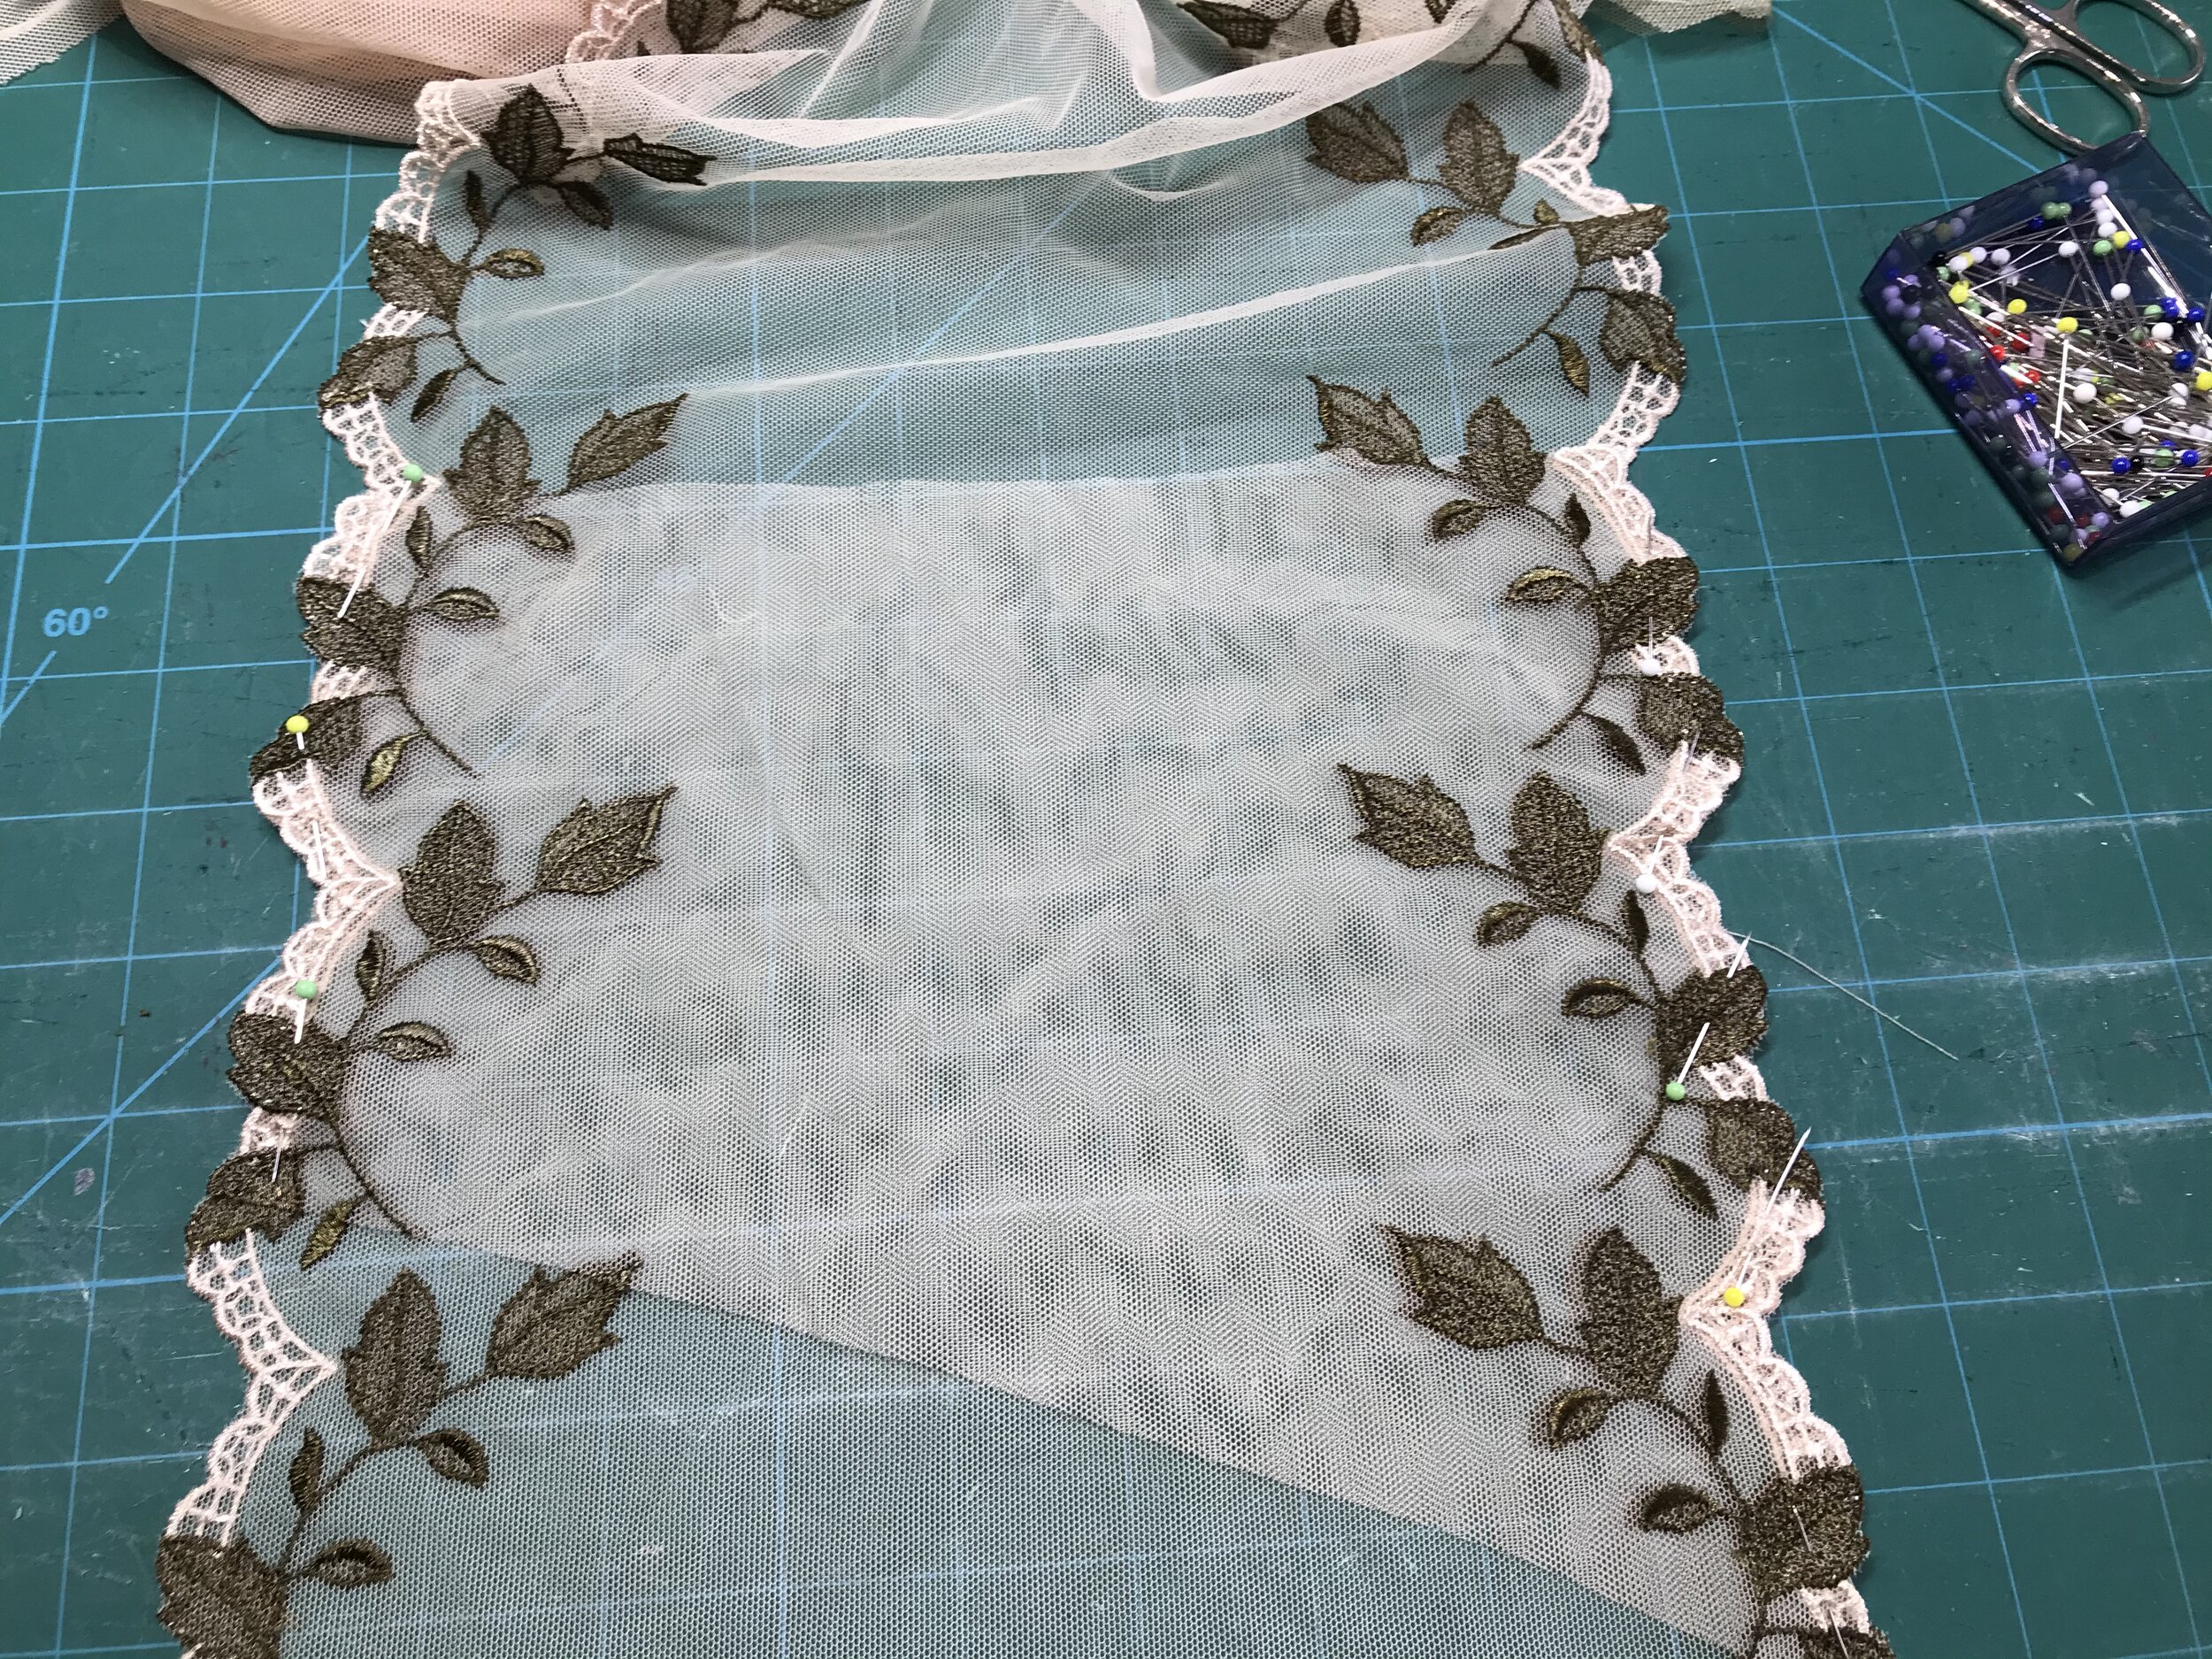
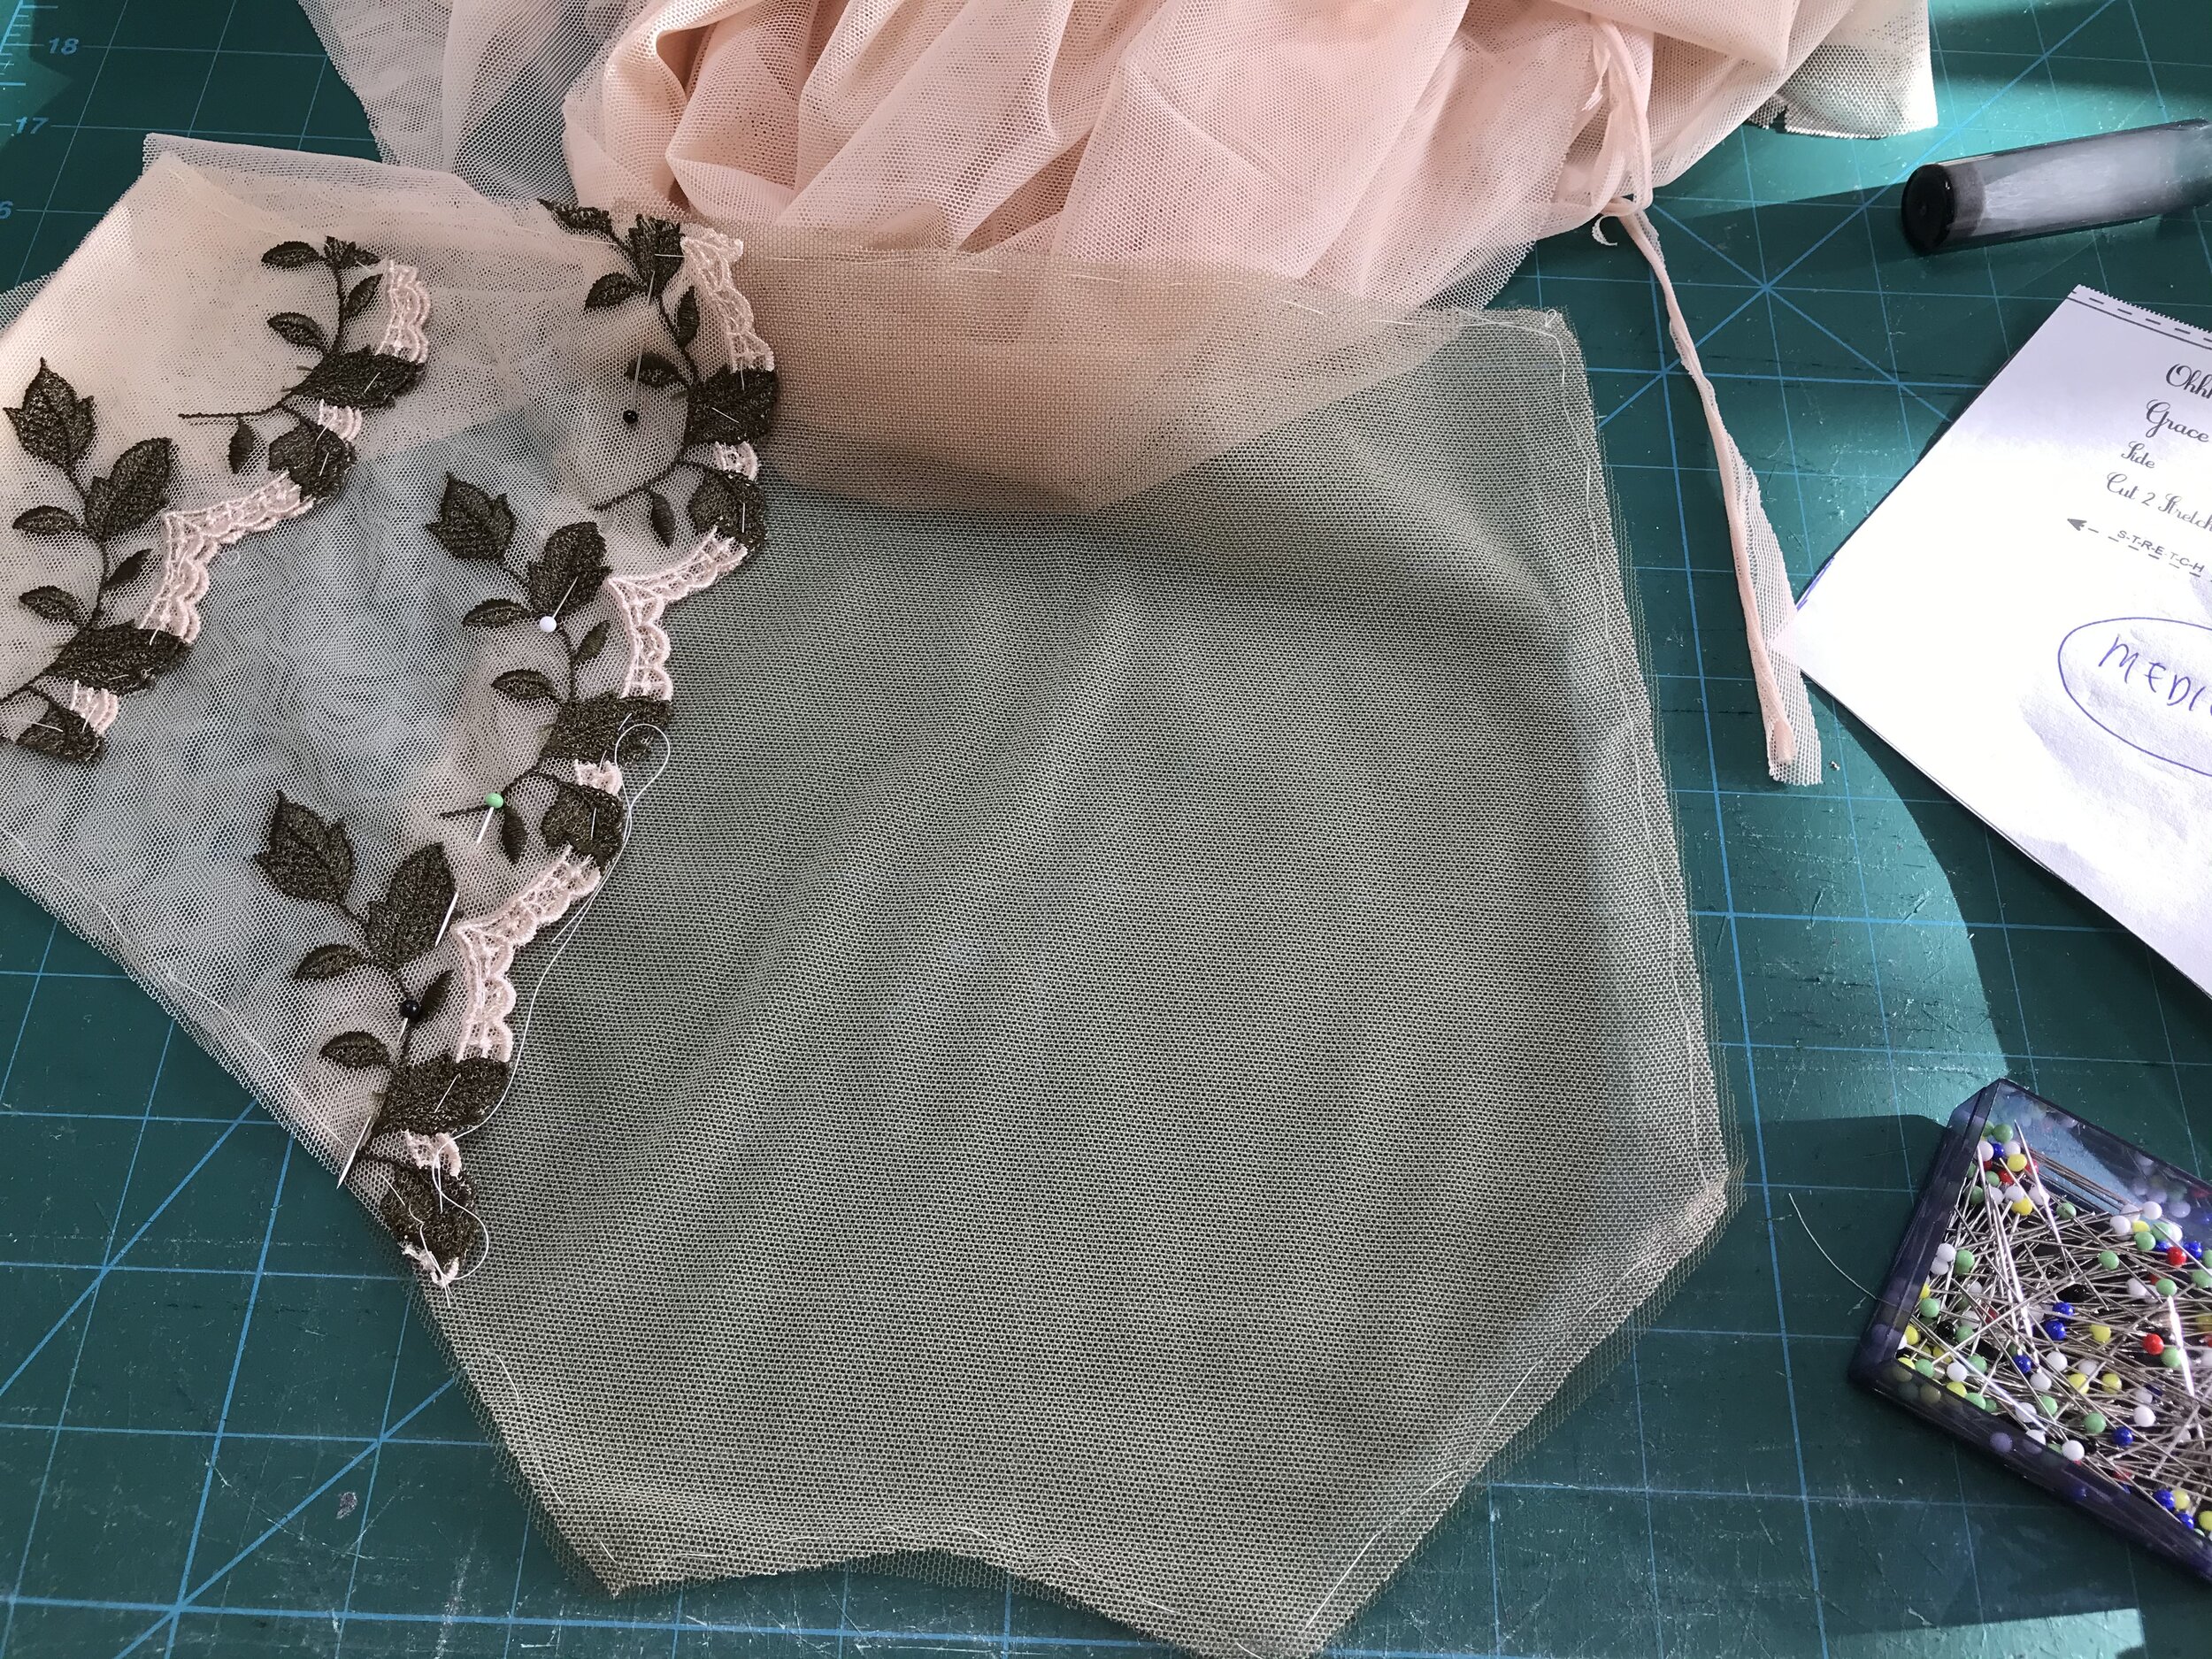
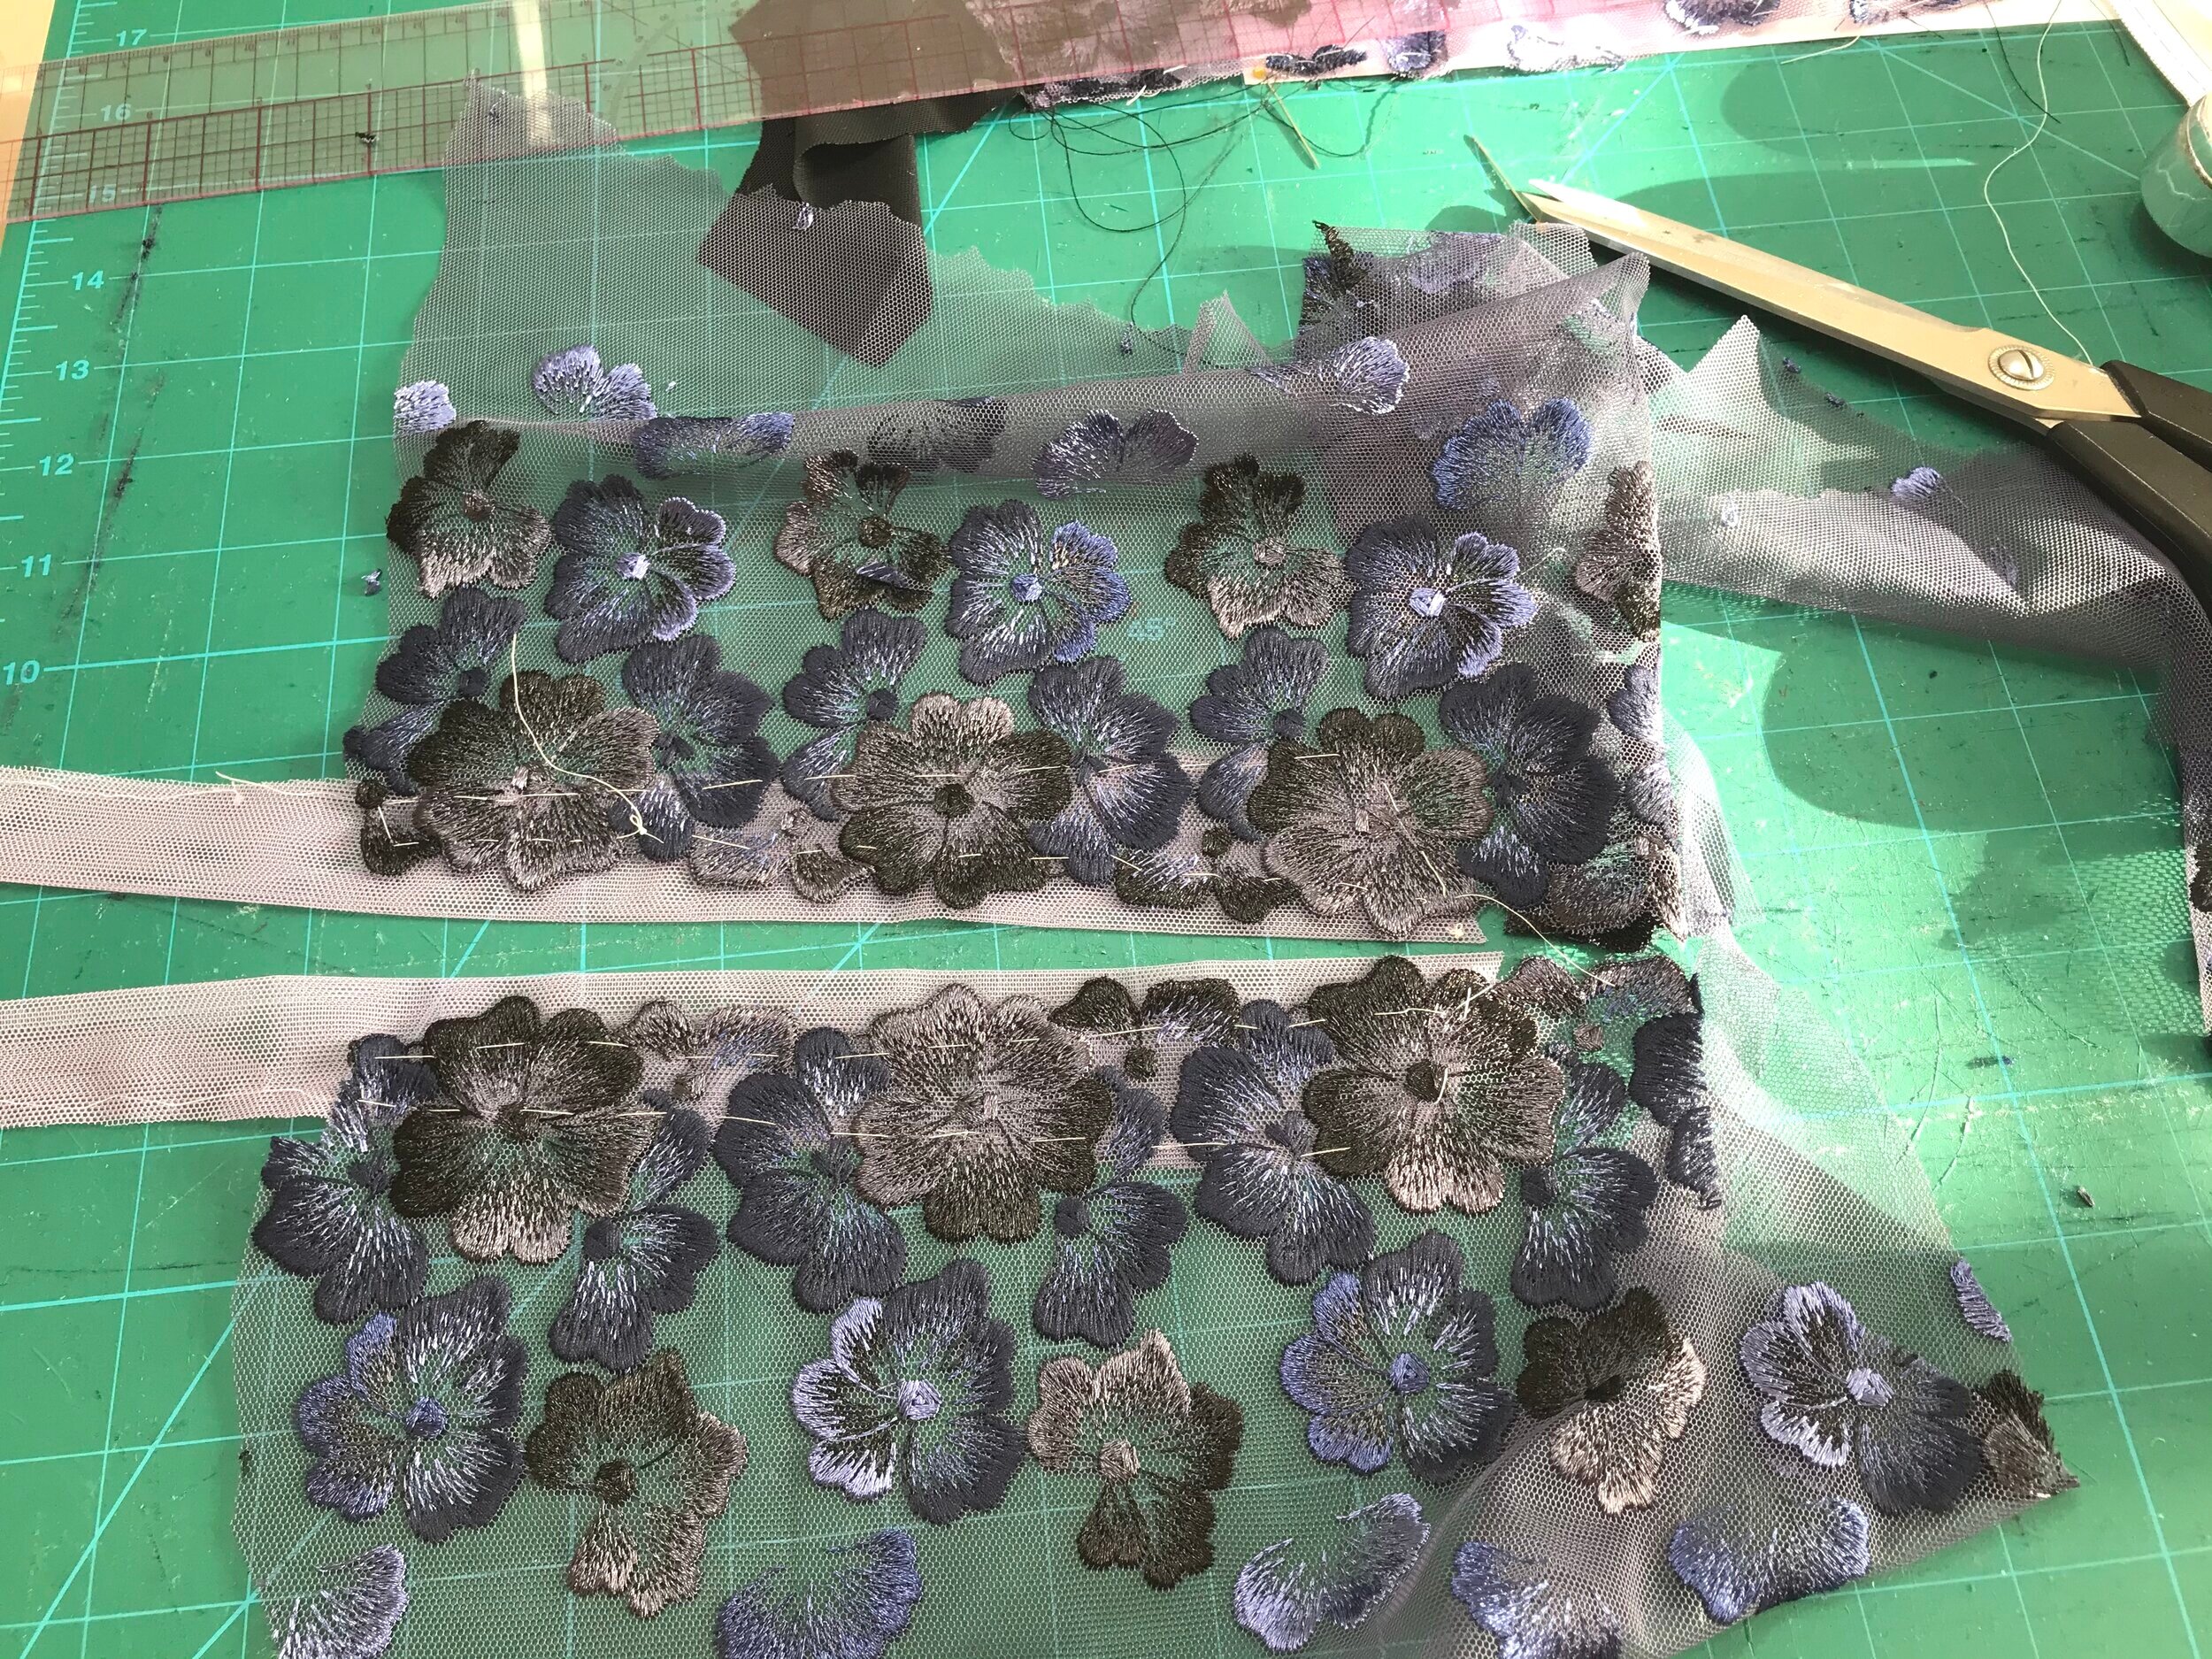
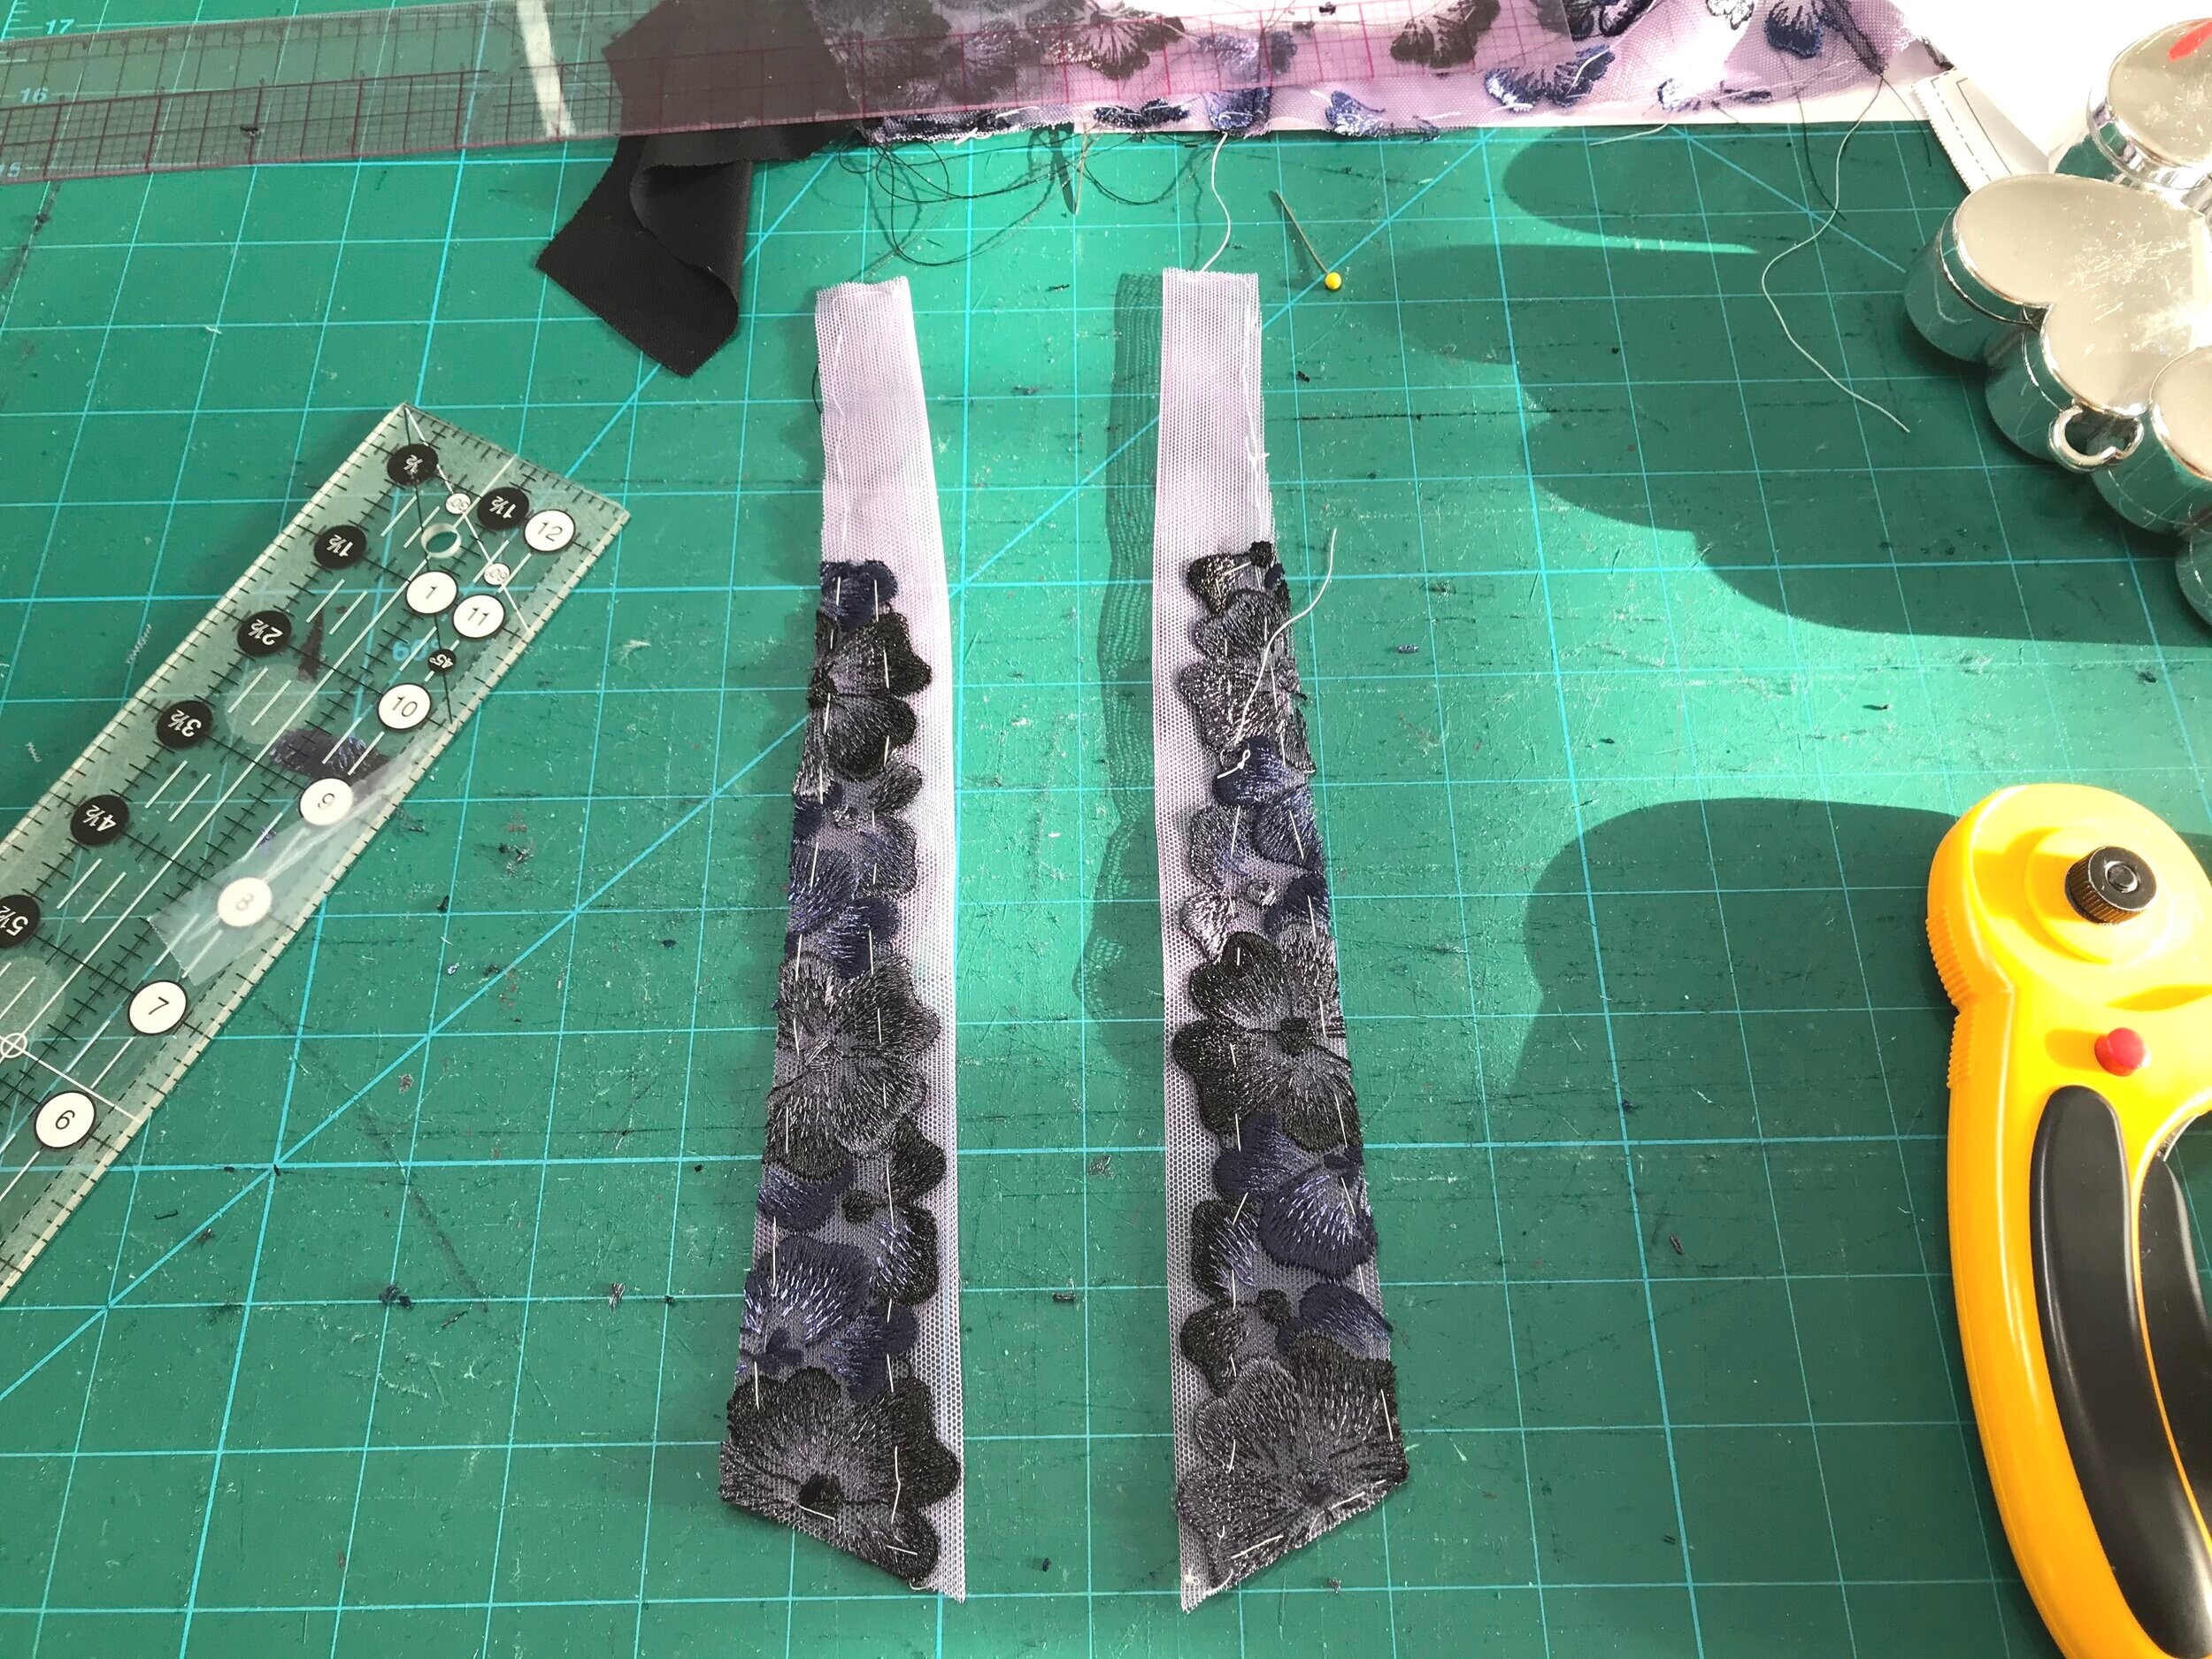
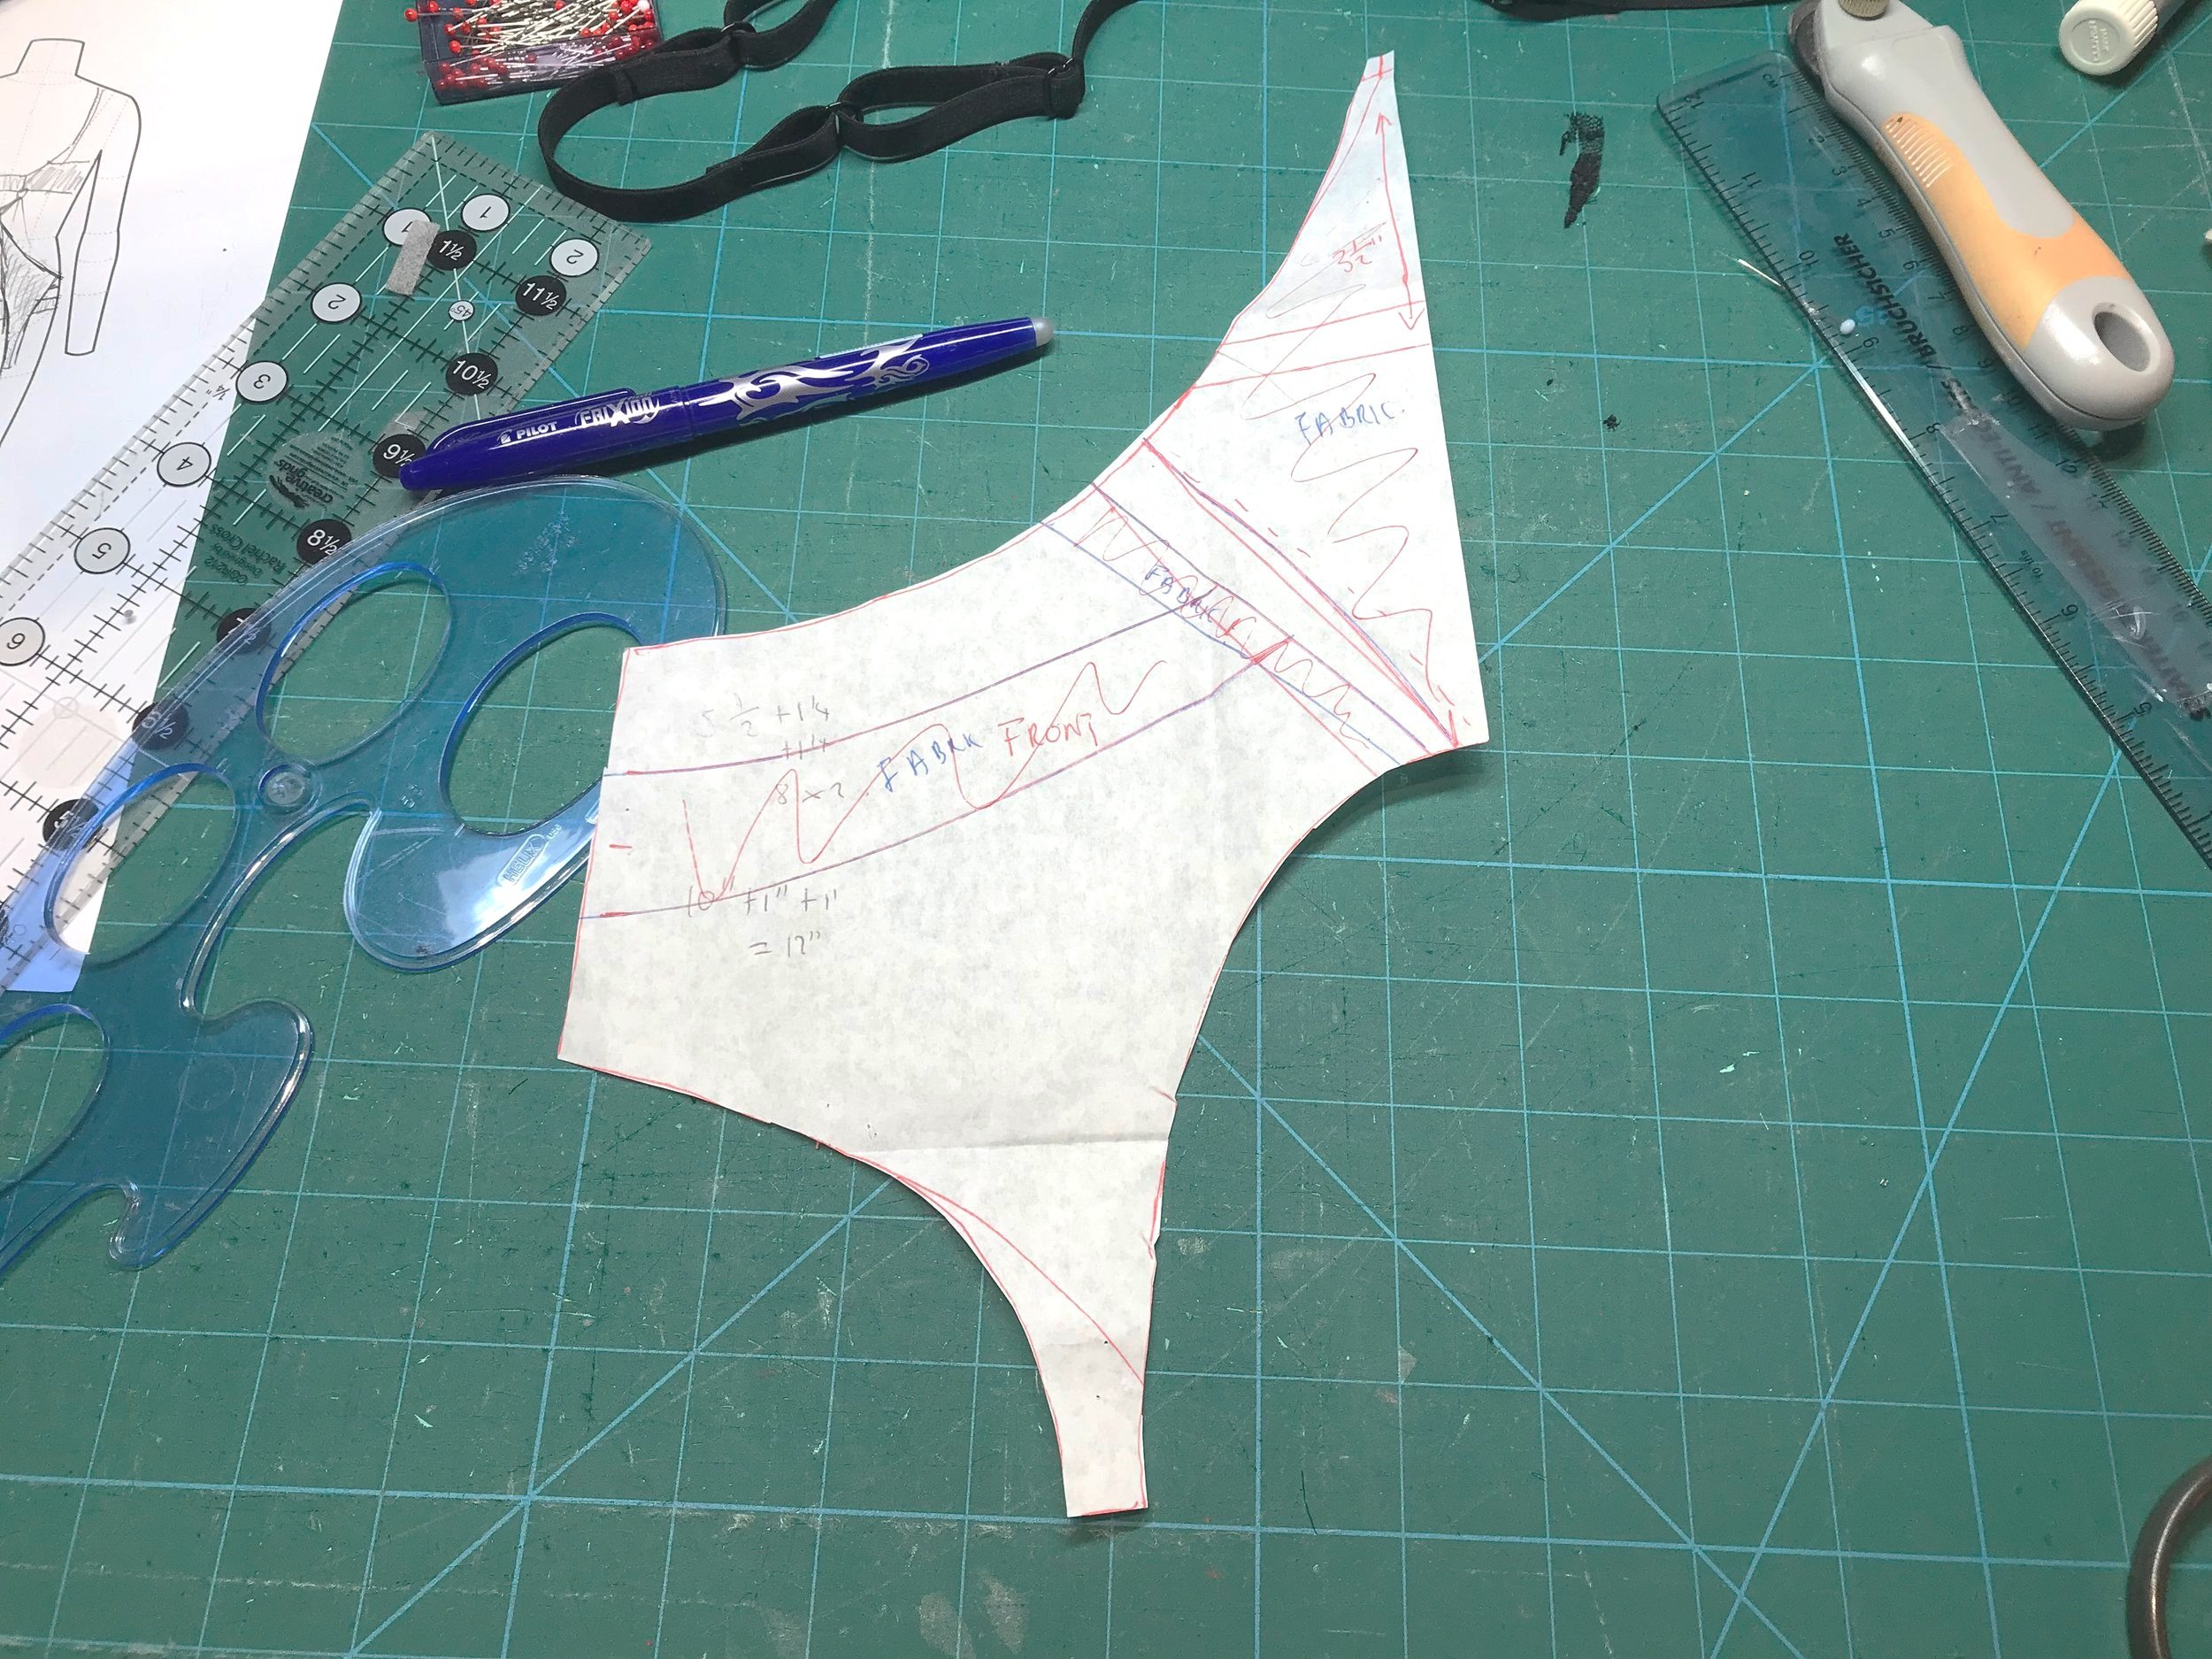
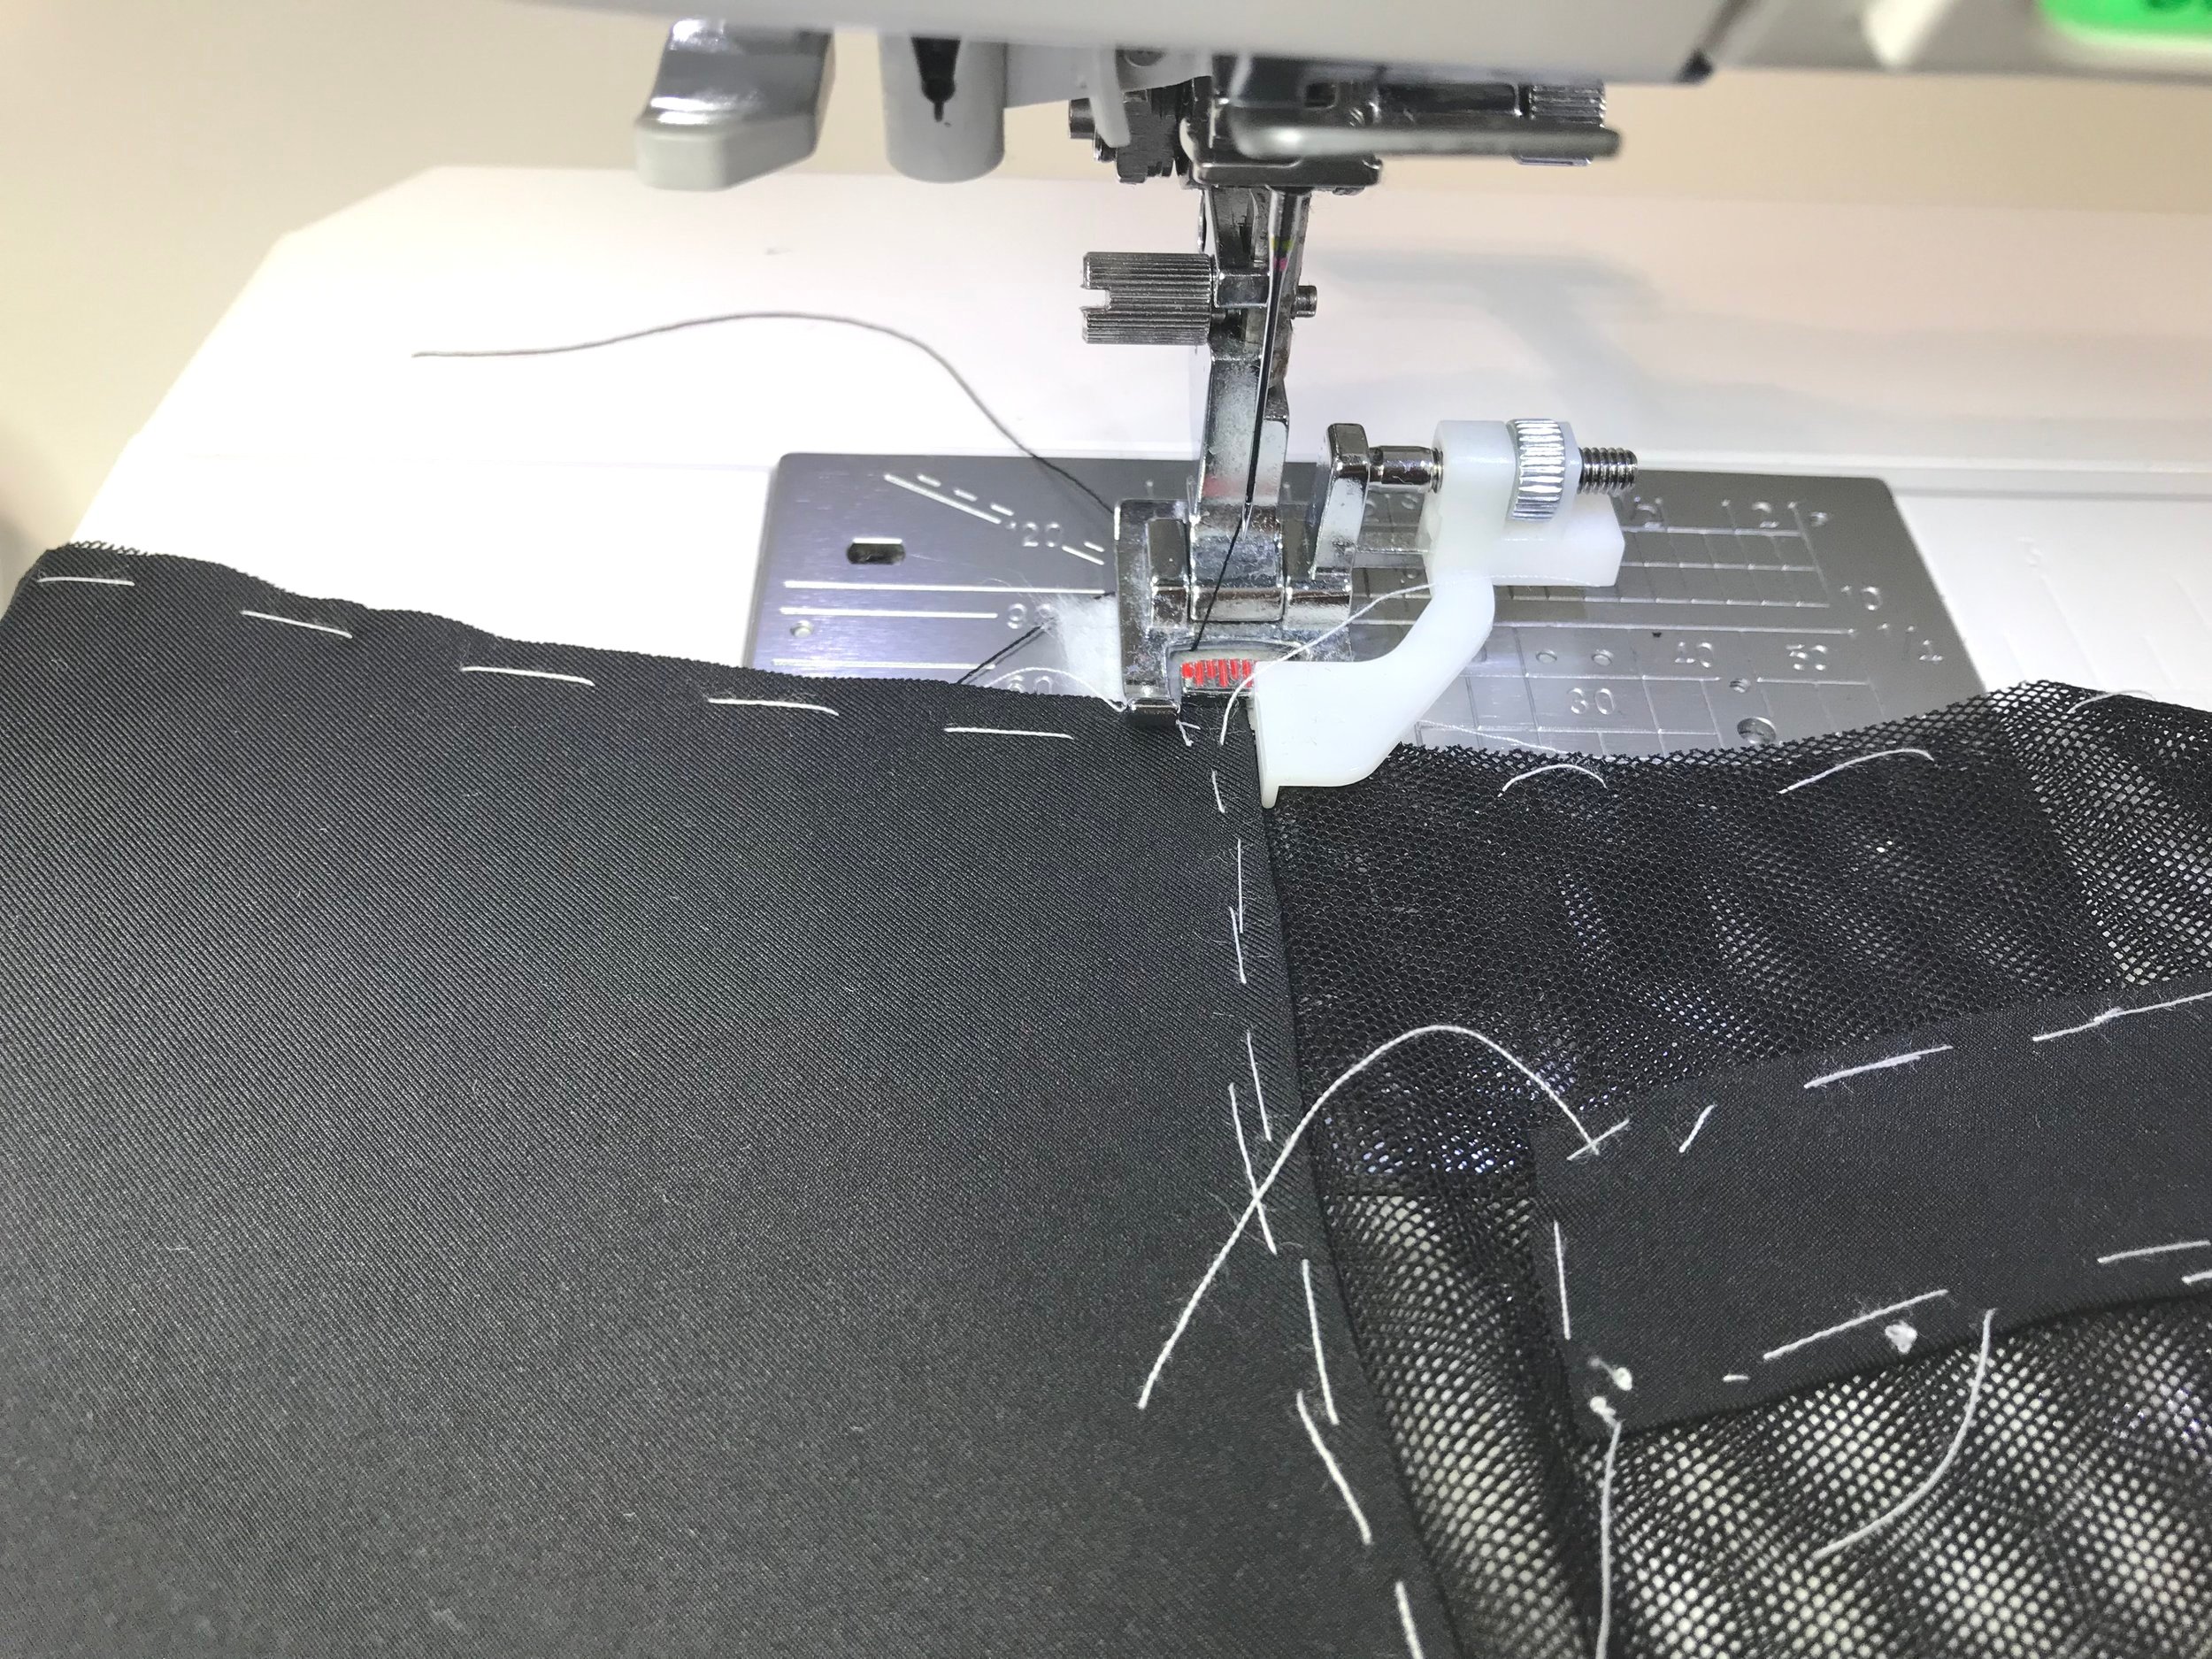
Once I had the front pattern piece finalised I played around with the placement of the panel pieces and when I was happy with the placement I traced off adding seam allowances. To give some support I used two layers of mesh basted together. Rather than have lots of unsightly seams I added the fabric pieces on top of the mesh, marked the seam allowances, folded under and basted. I placed the pattern piece underneath so I could see where to place the pieces and basted in place and used my edge foot so I could sew right to the edge of the fold.
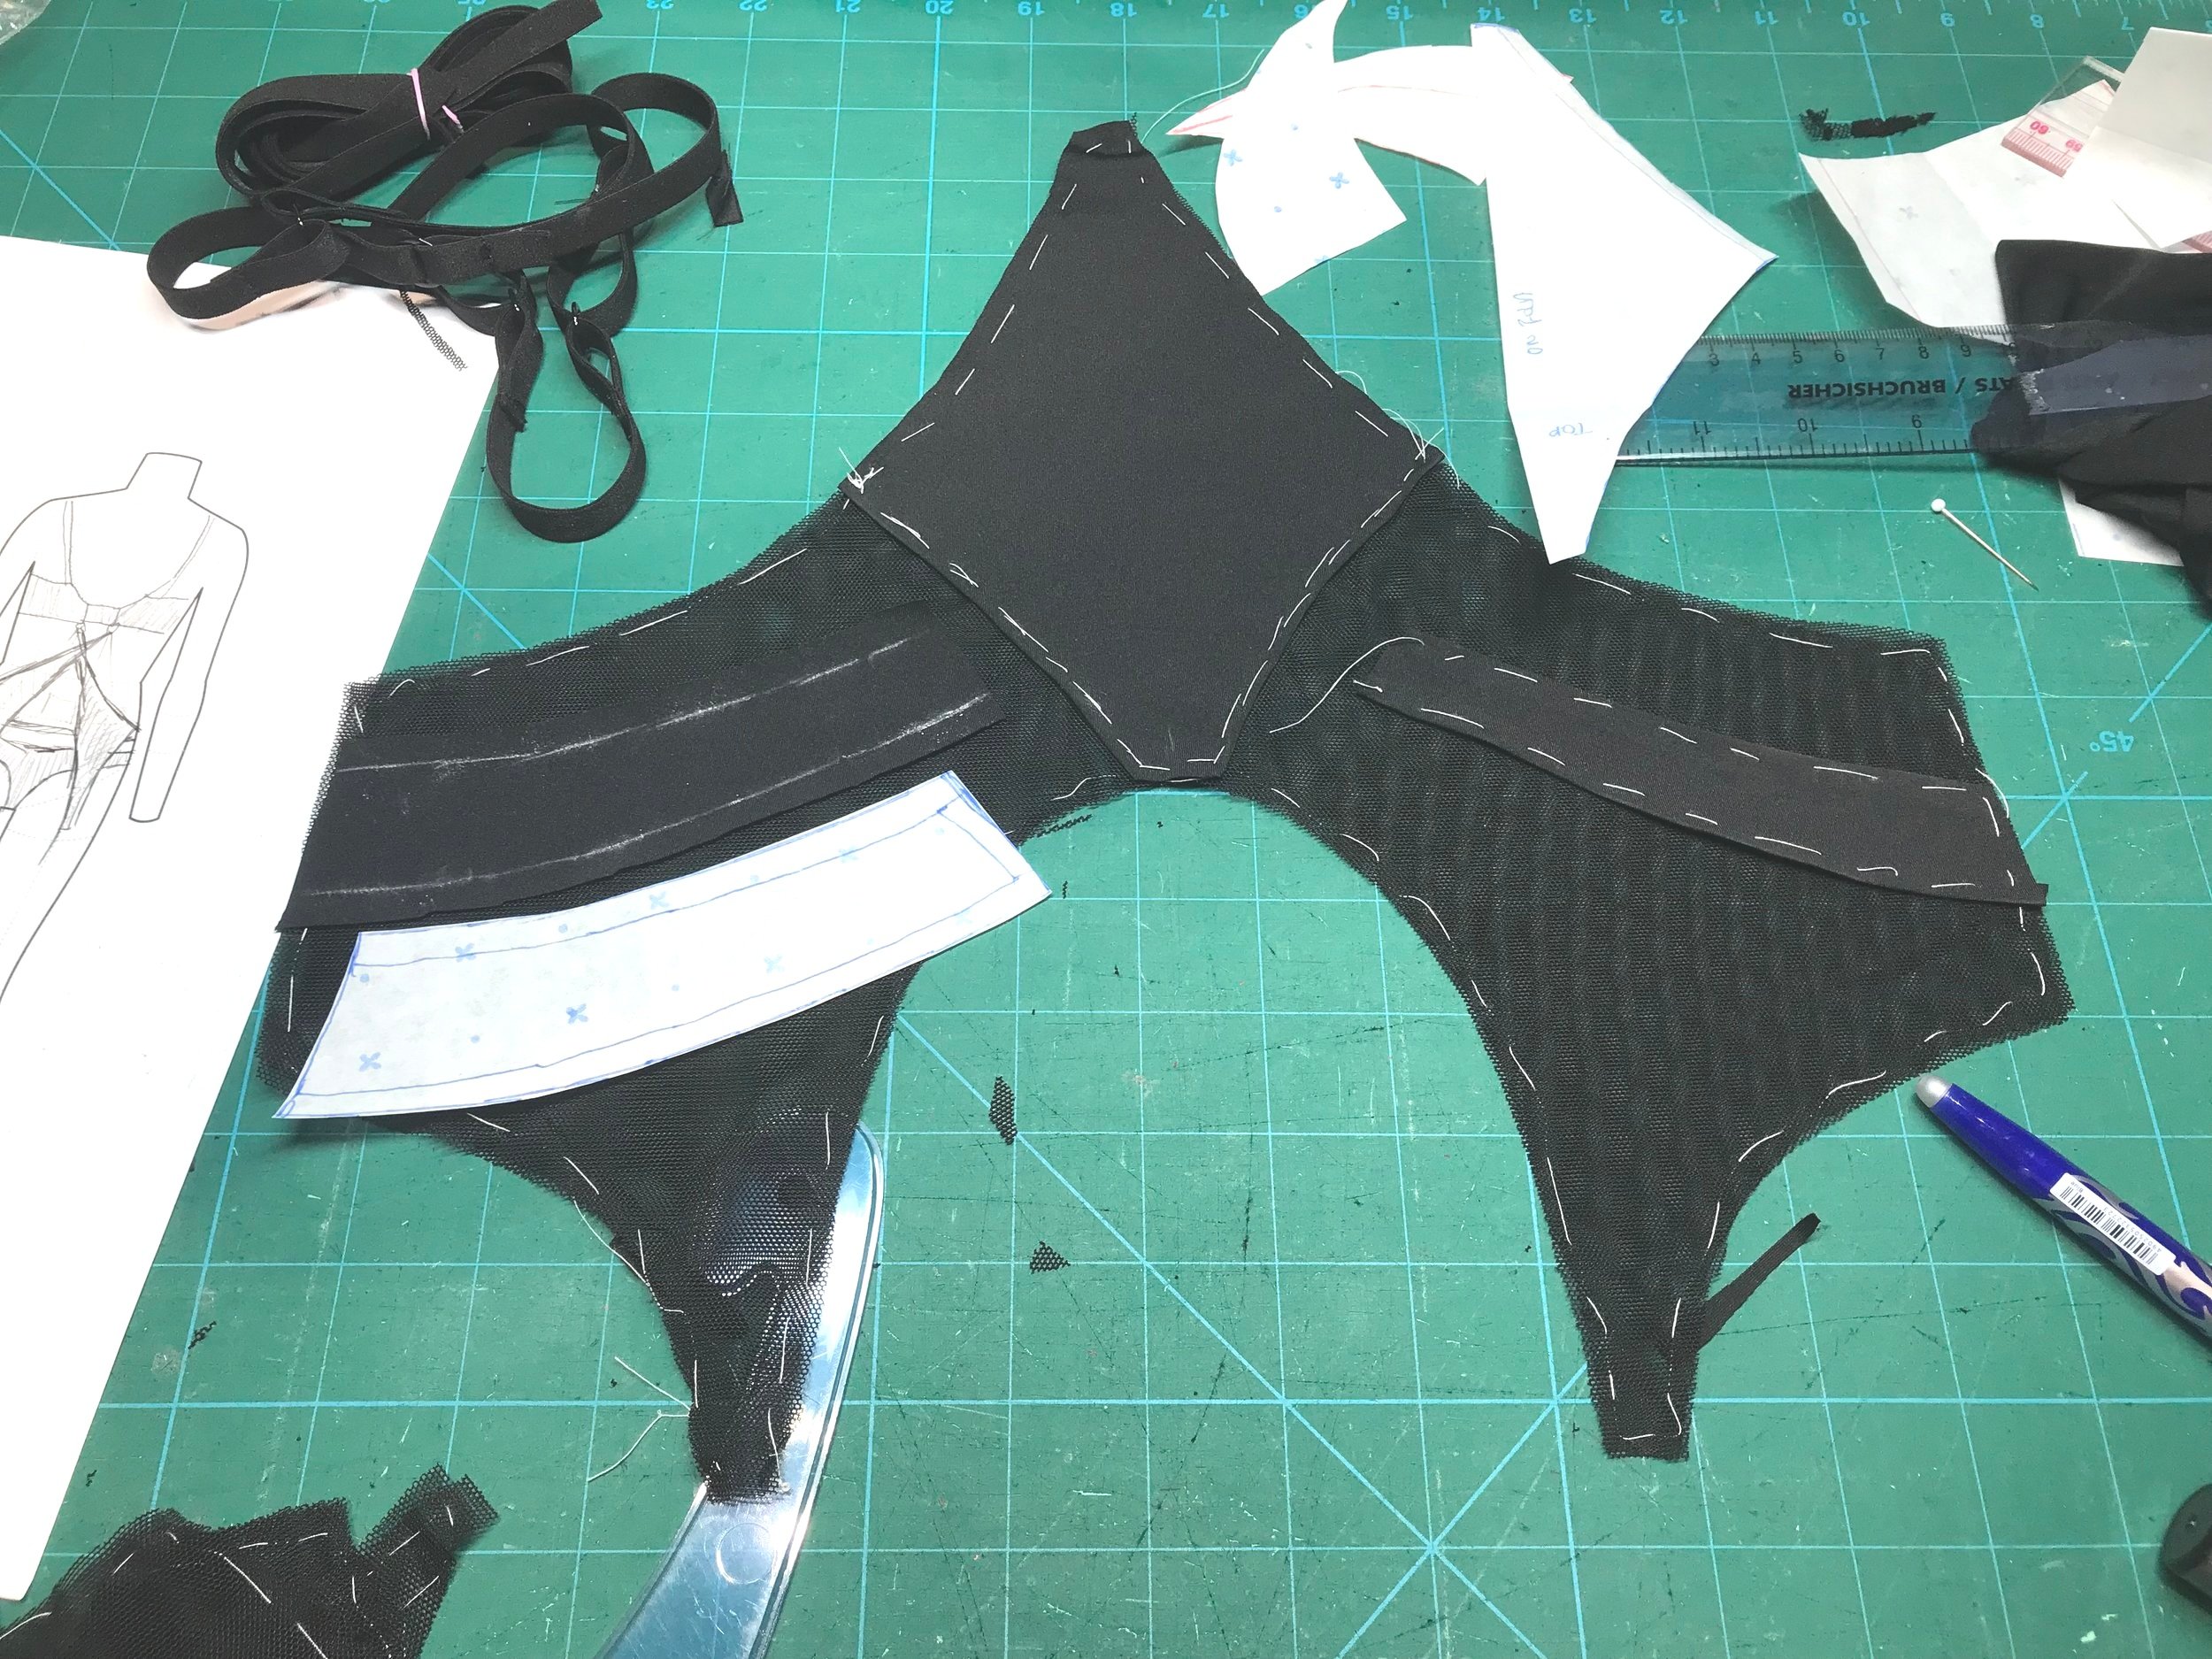
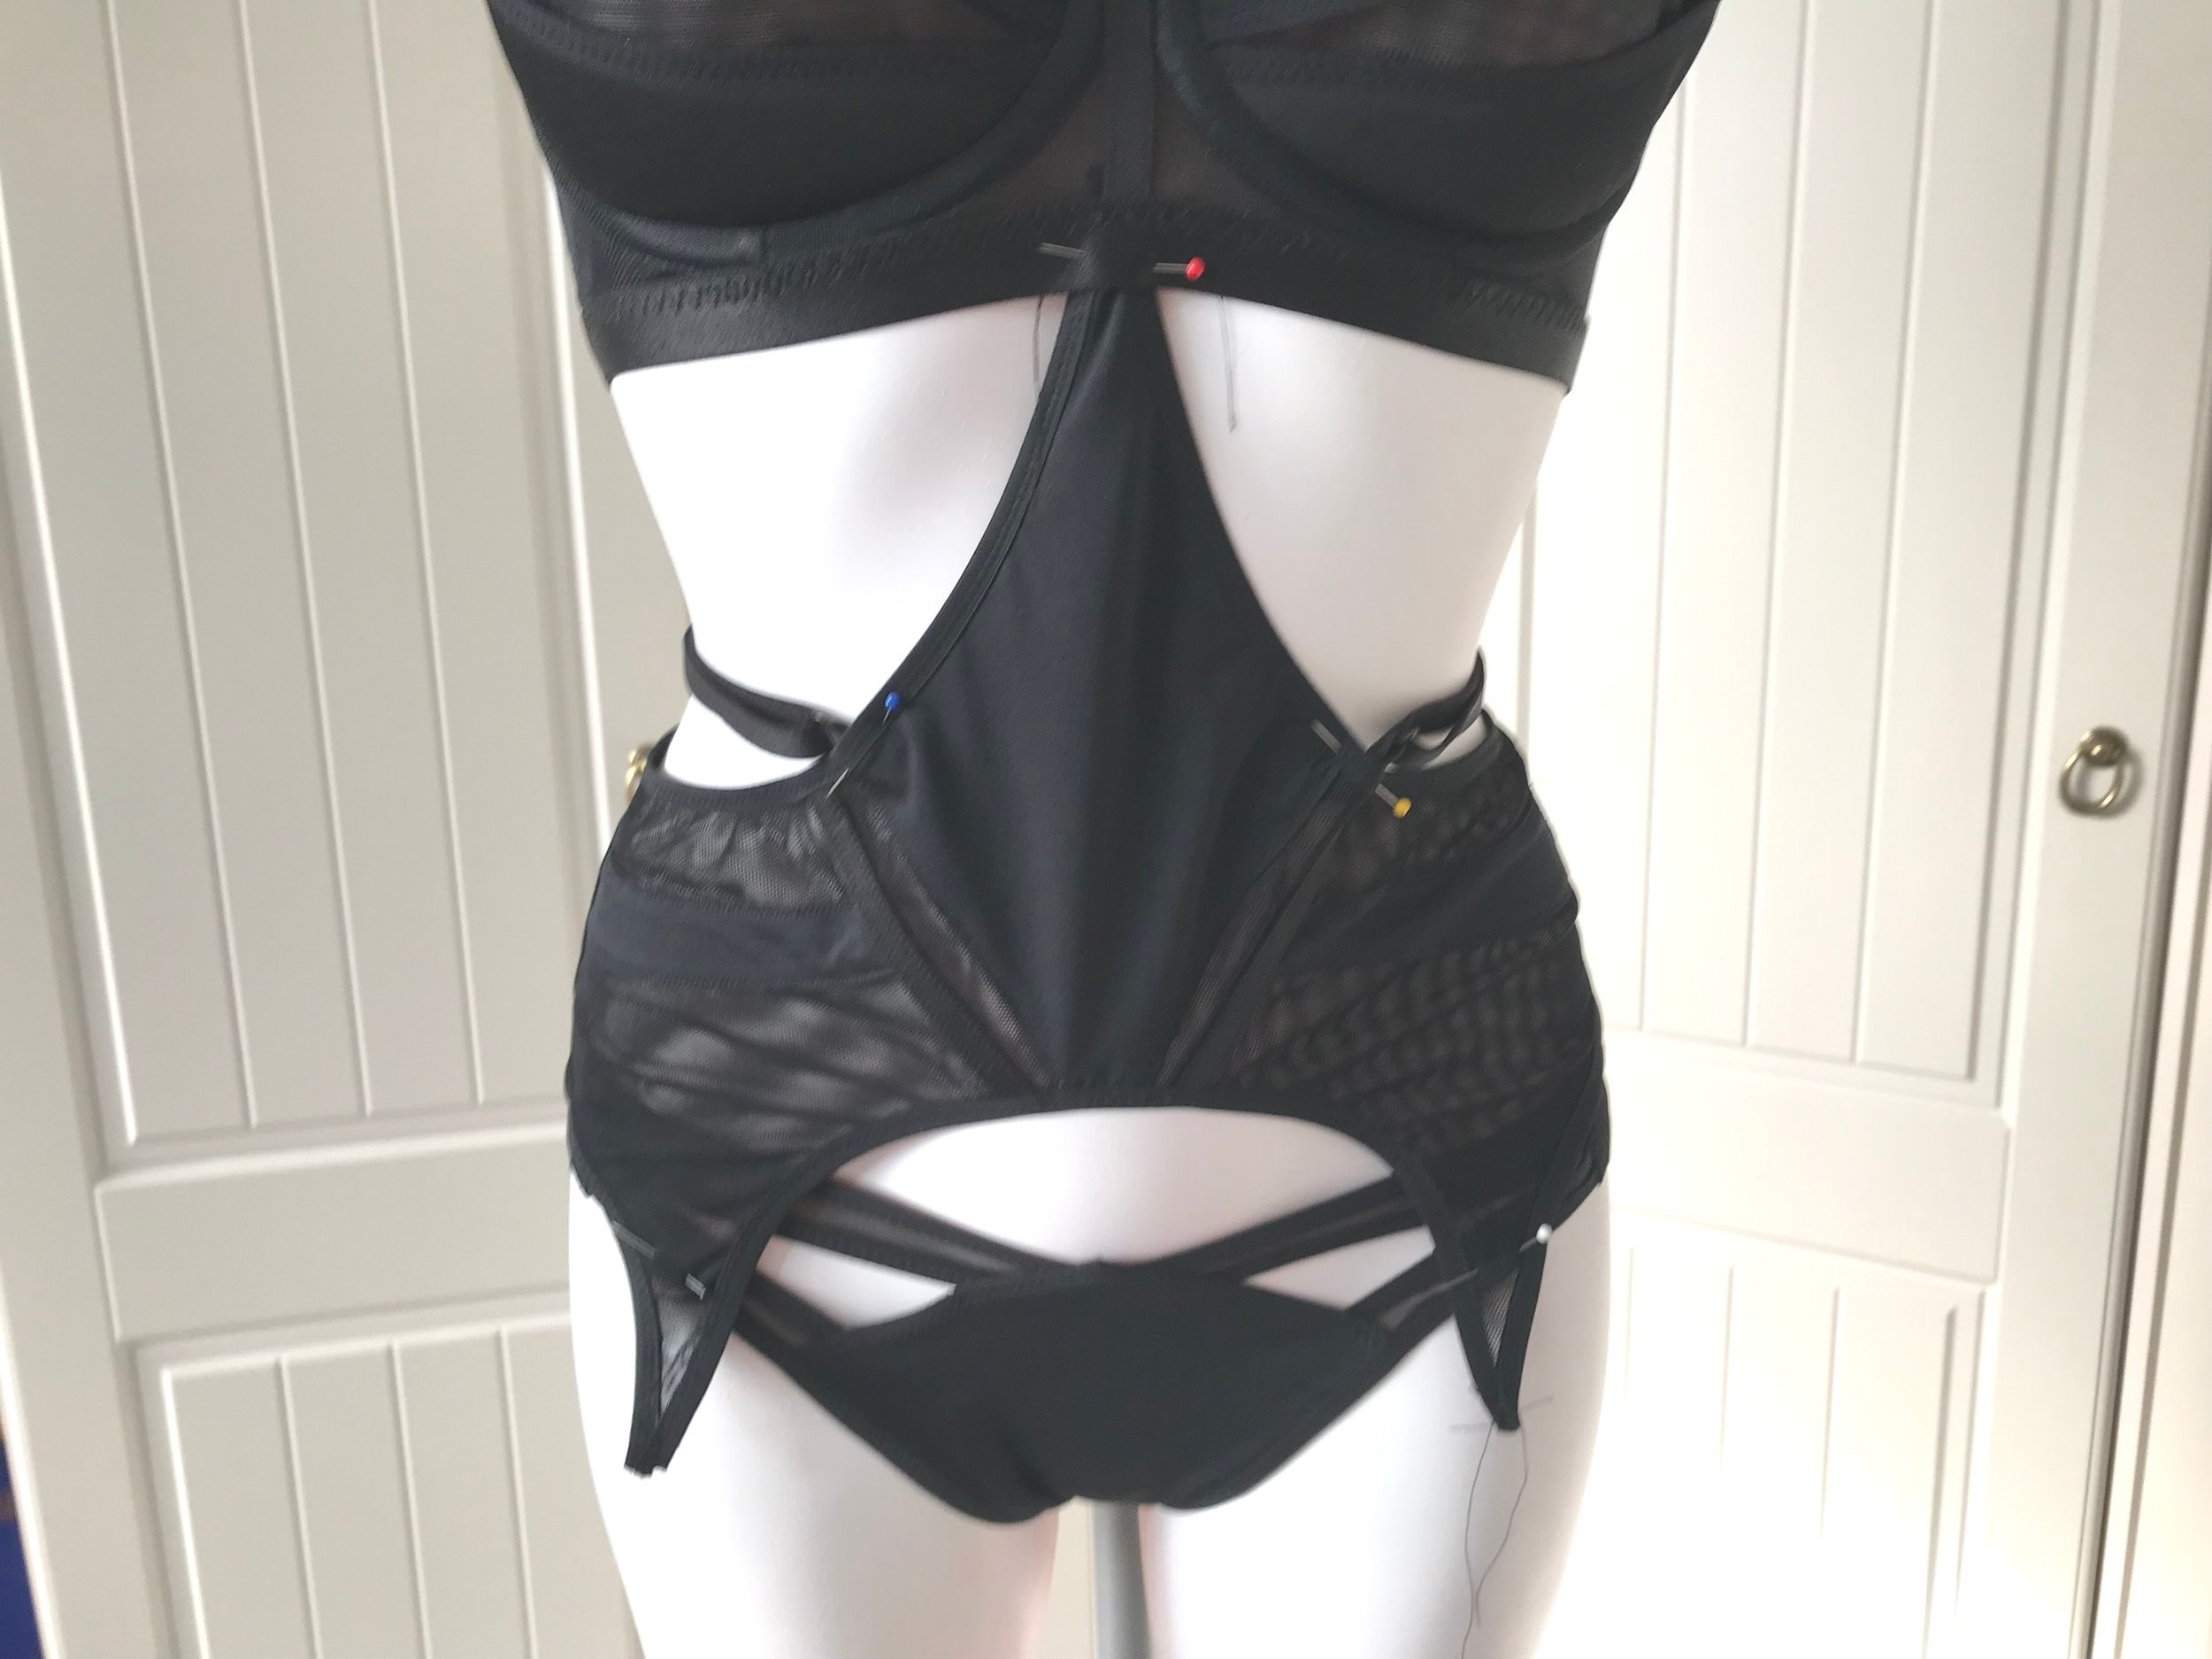
As the fabric is very fine I decided to use strap elastic for the final panels as this would cover the horizontal pieces better. Then I attached fold over elastic all over. To attach to the bra I used twill tape to create a tab under the bridge that would not be seen or affect the use as a bra on its own. I attached a g hook to the top and narrowed the very top down so it lay flat over the g hook. At this point I could try it on and decide how long to make the straps.
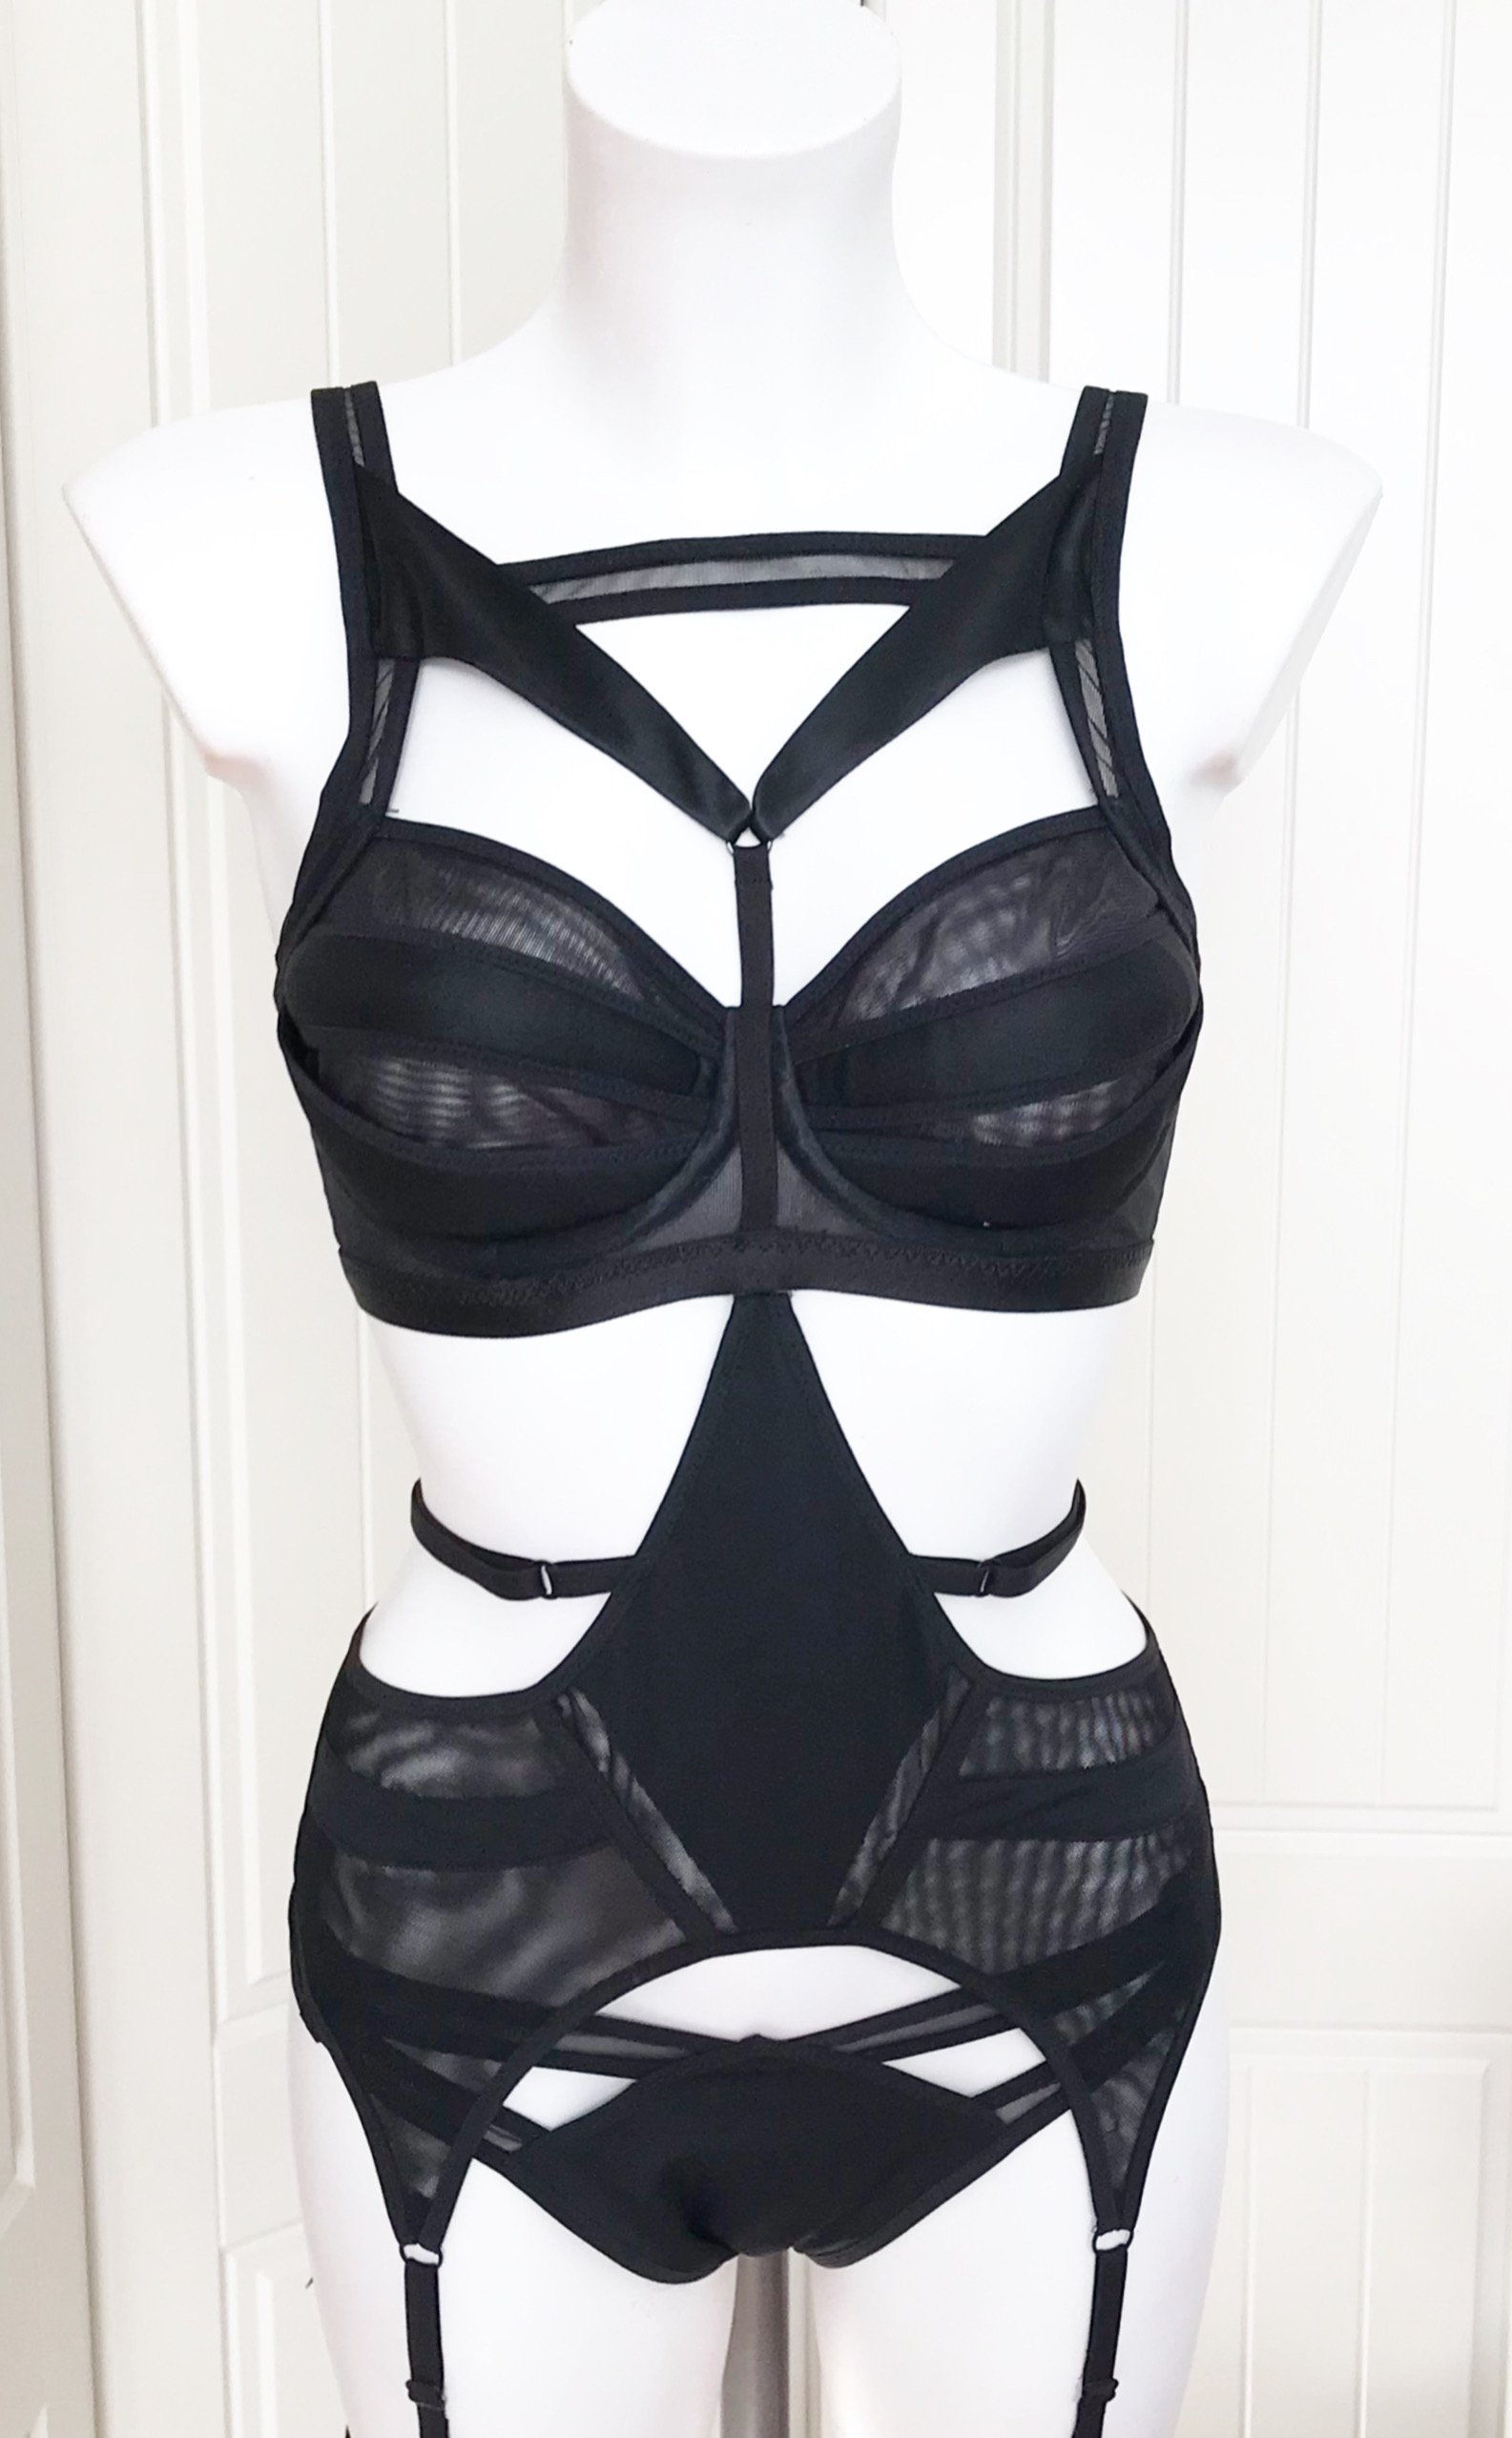
All the hard work paid off and it looks stunning on. I’m still busy testing for some great designers as well as working on my classes for the Bra Bee. So I have a lot to fit in between trips out in the motorhome but I do want to spend some time making clothes as I’m hoping to start wearing dresses and skirts again.