Strapless Sensations - PUG Diamond and Orange Lingerie Esplanade
As soon as I saw the PUG Diamond Bustier I knew I had to make one. Over the years I have tried a variety of RTW strapless bras and never found one that was either comfortable or a flattering fit so I was keen to try making my own. After success with this I thought it was time to try the Esplanade - the only Orange Lingerie pattern I haven’t made. So here are my two beauties.
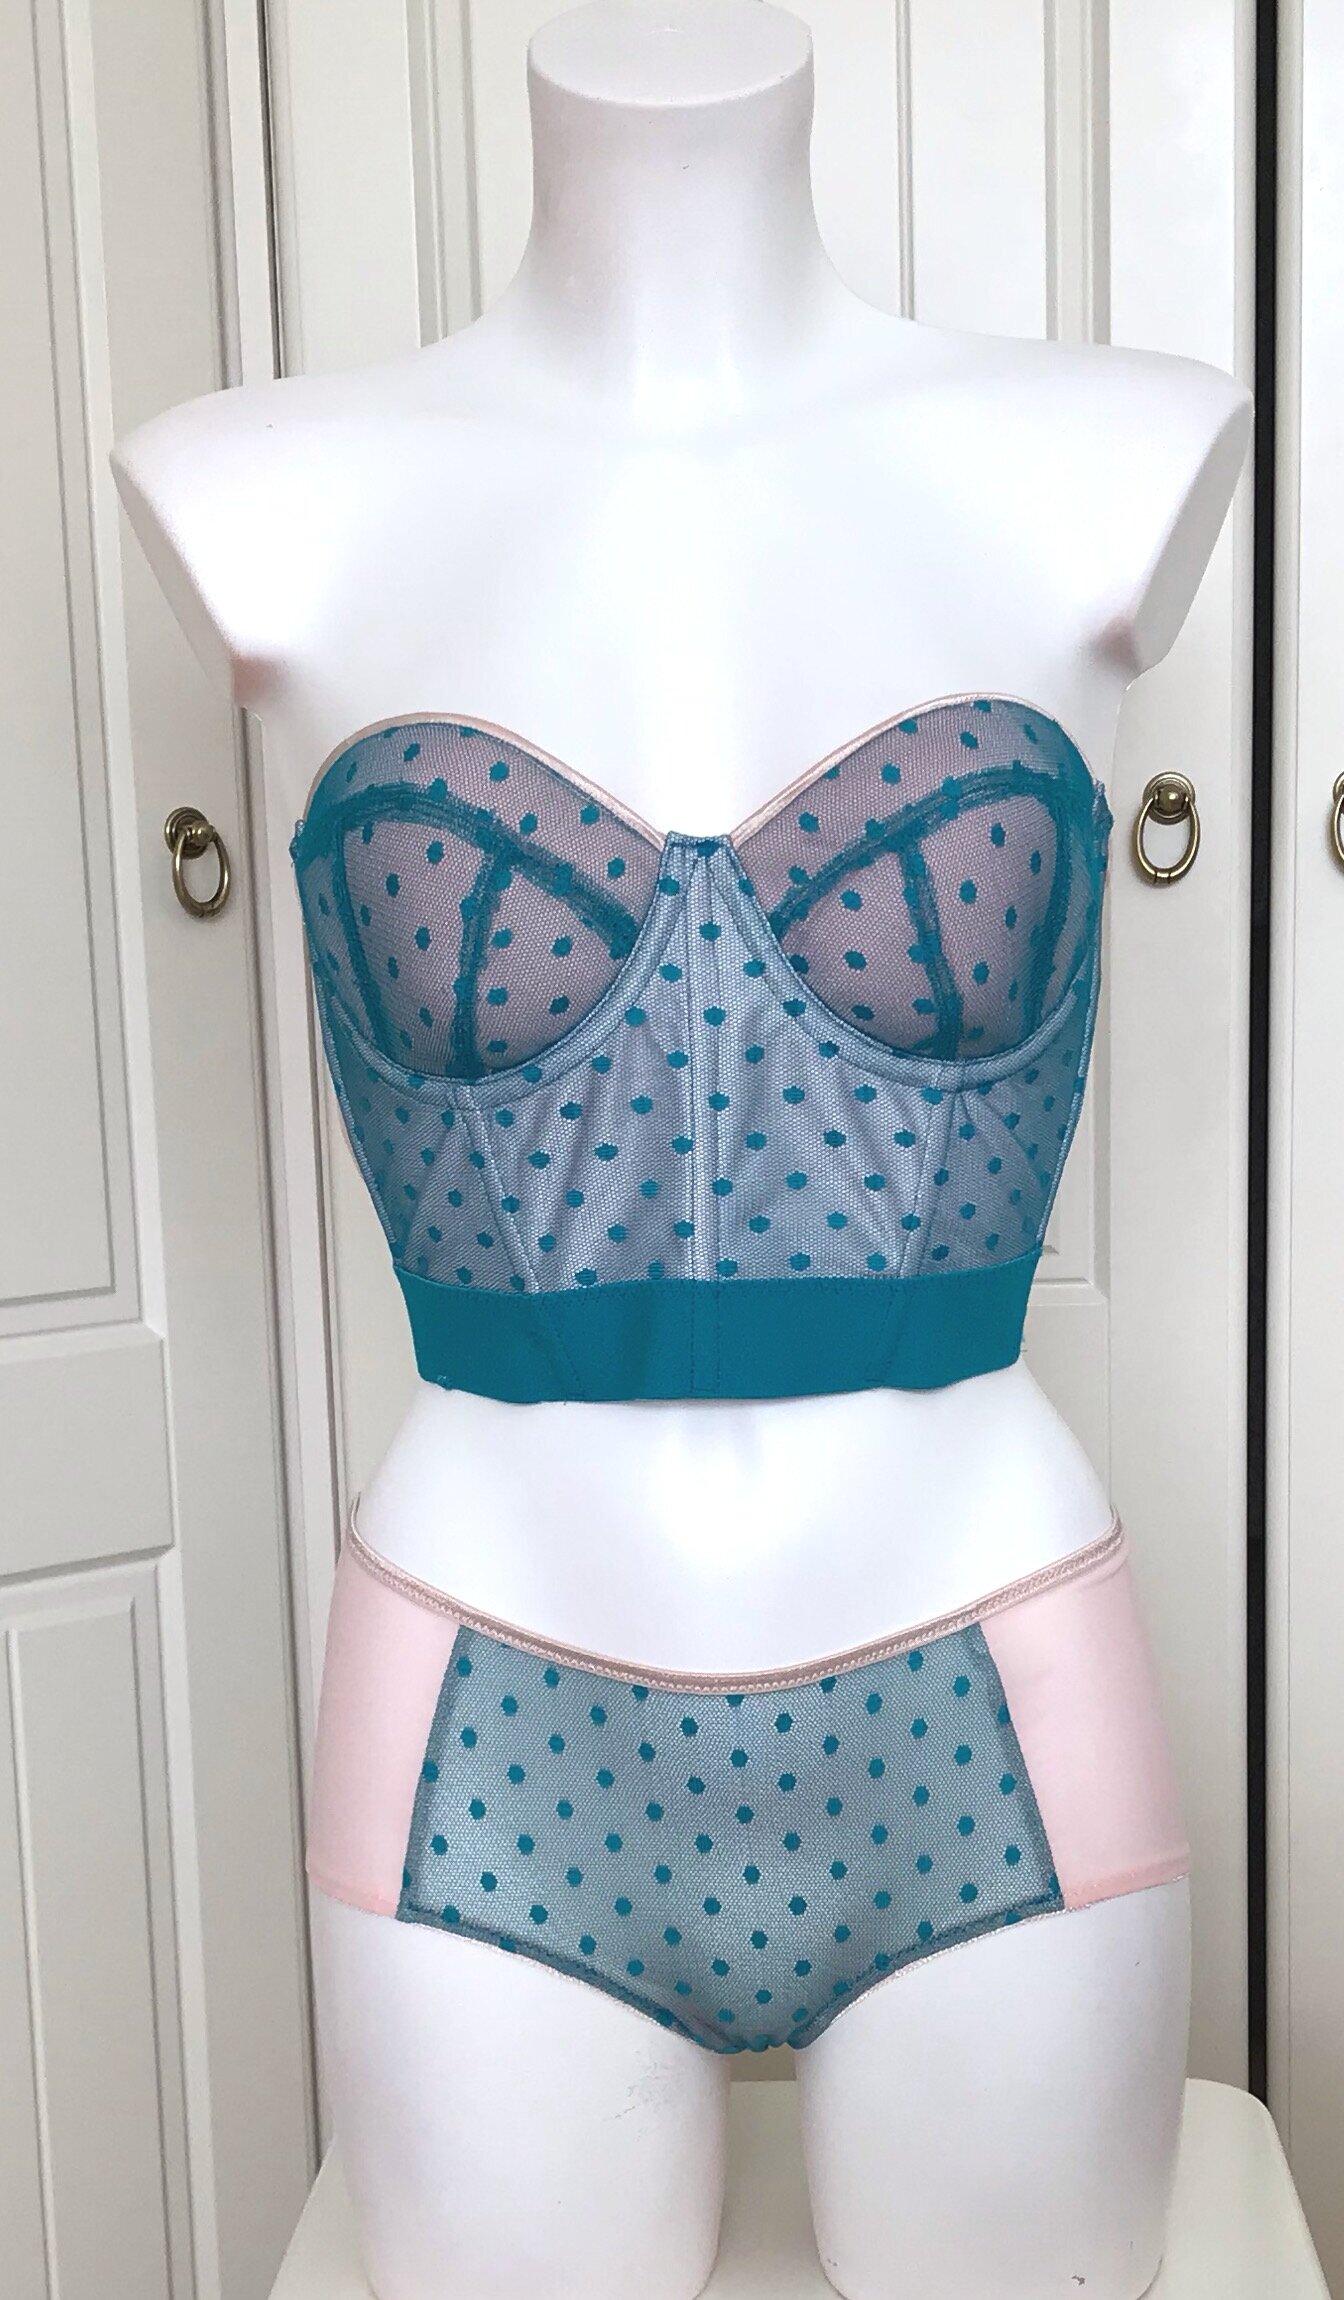
I’ll start with the Diamond which also has a strap version so take care you use the right pieces. The recently released pattern uses the PUG BCD method for cup size and ribcage measurement for the frame. Although my BCD is 3.25 I used the 3.5 as this fits my wire size and I use this size in their other patterns when using foam. I made a test cup in foam ensuring I used the foam pattern pieces which I always mark in red after having used the wrong ones more than once!
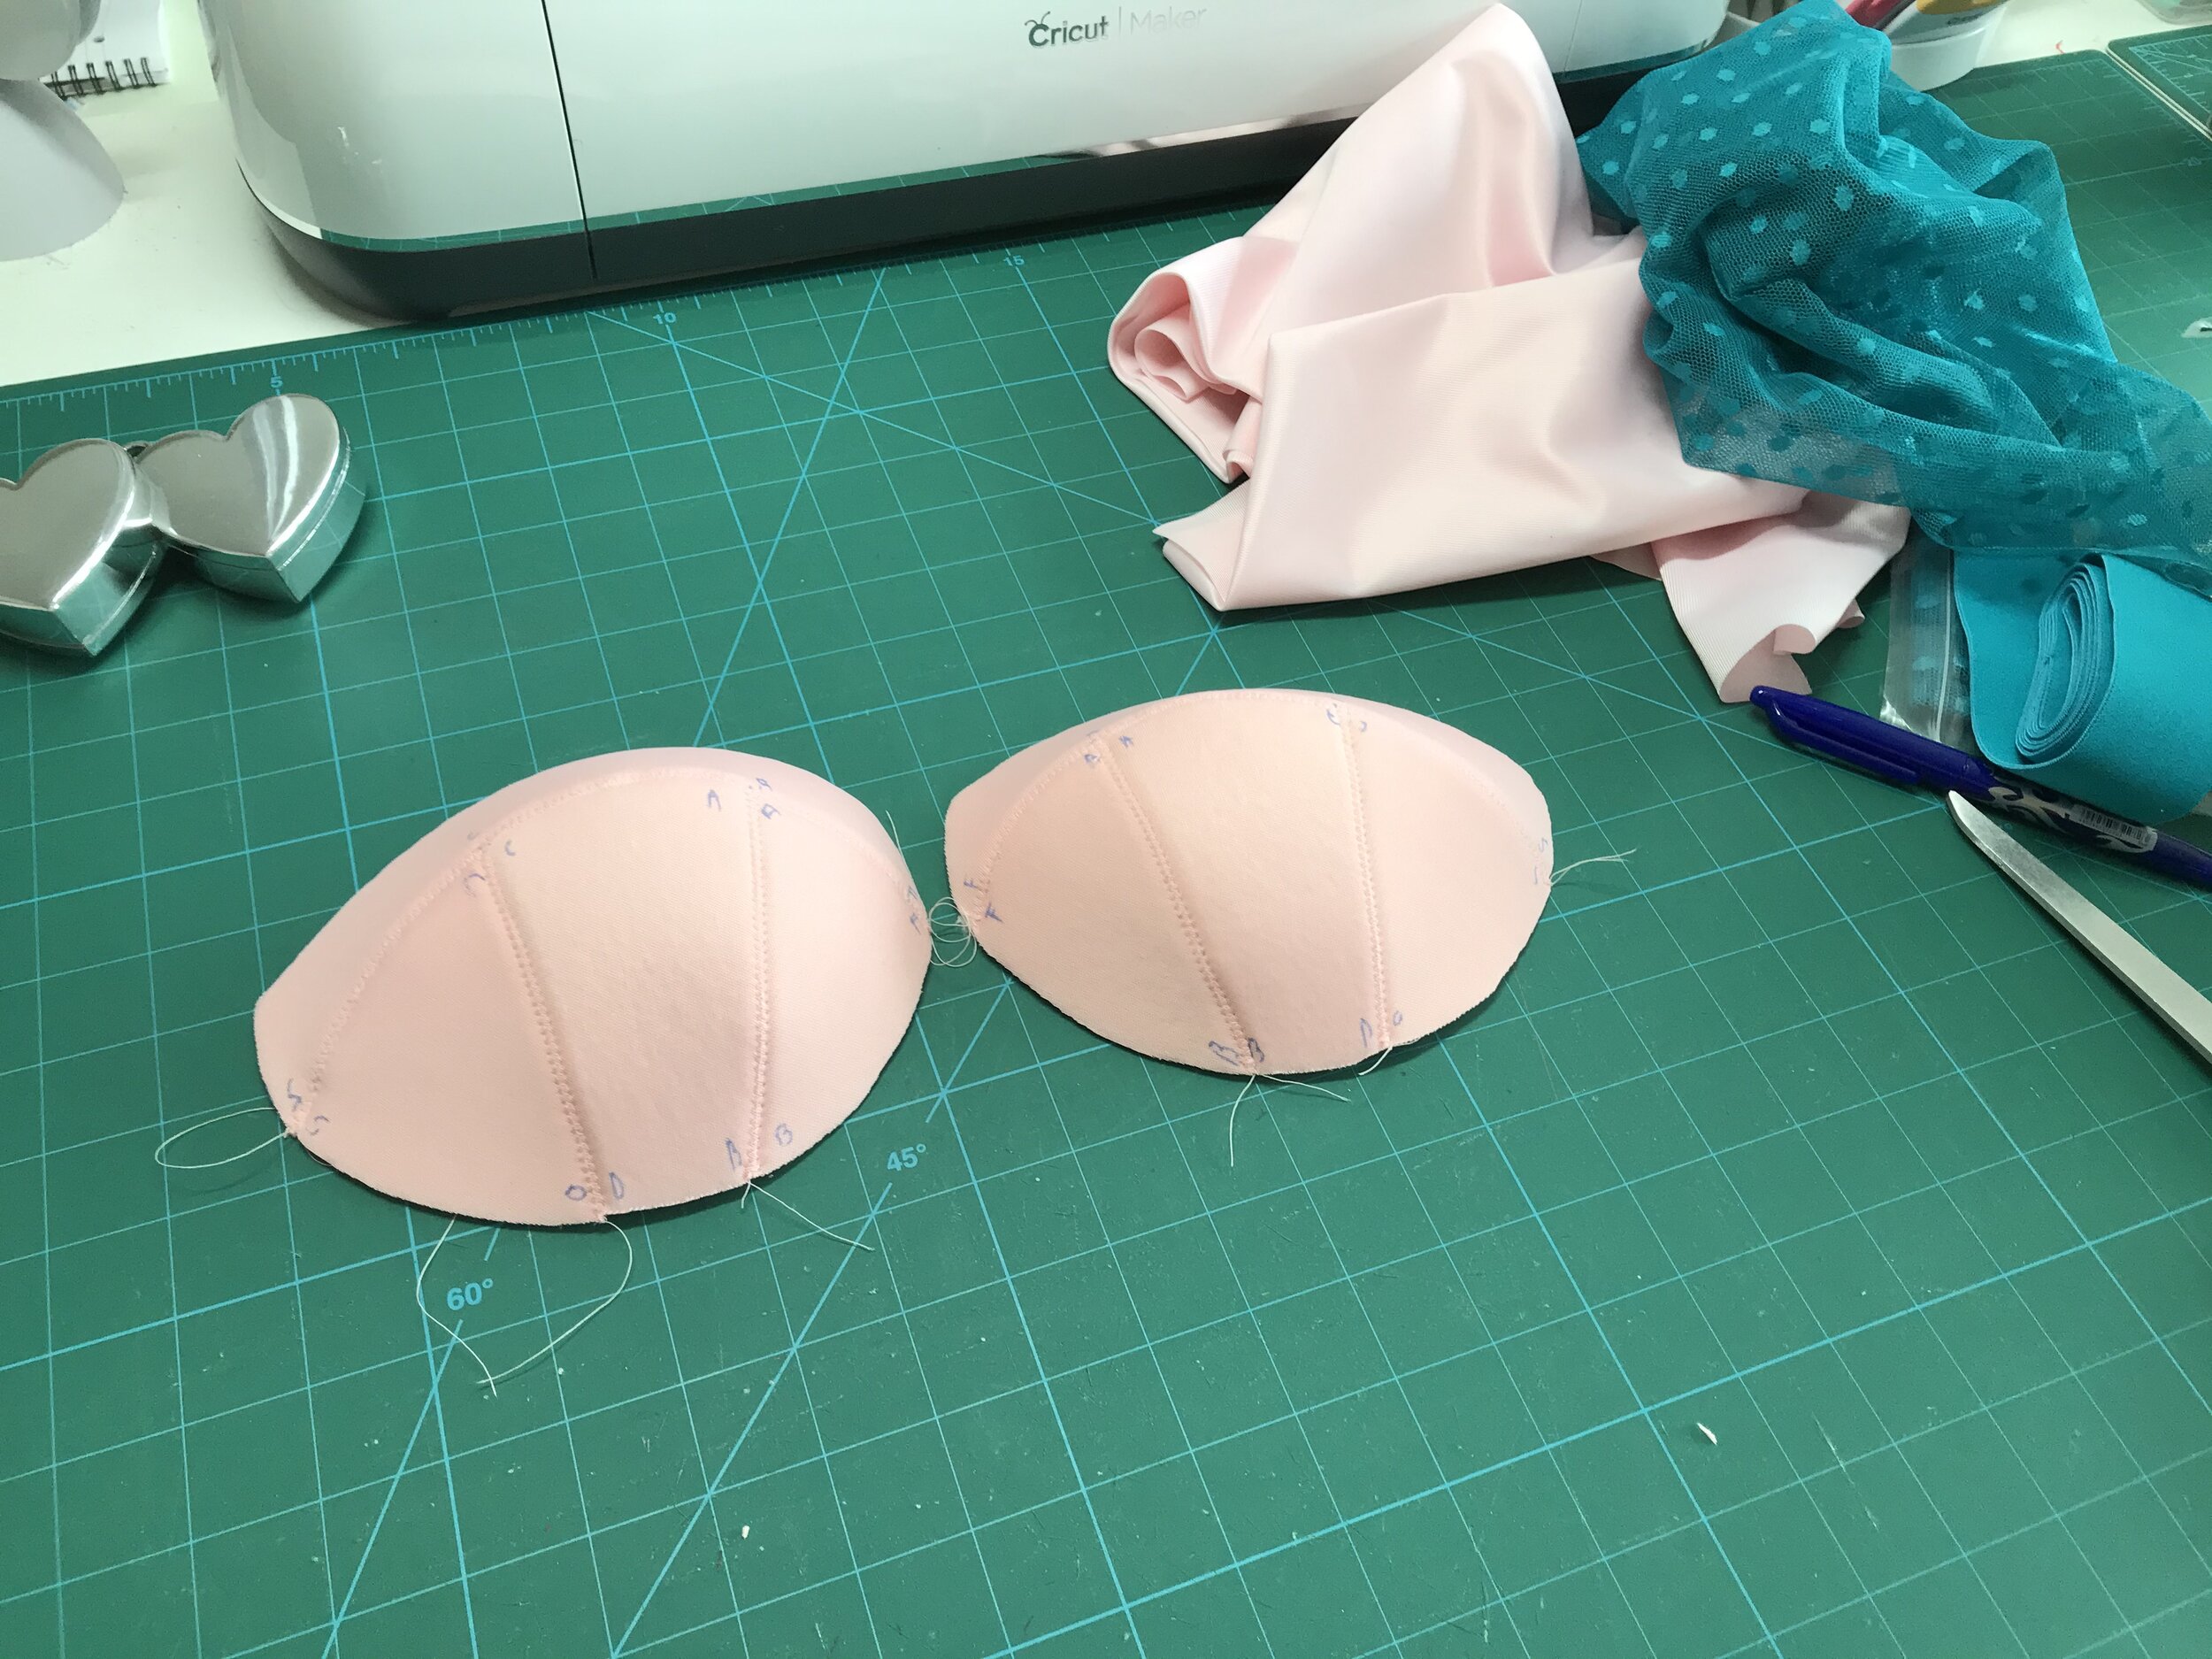
I also carefully marked all the fabric and foam pieces as it is so easy to get them the wrong way around. The foam cup seemed a snug fit so I decided to continue using the pink cut and sew foam. Then I went through my stash to see what to use over the foam and thought the teal dot from Fit2Sew would be a fun make for what was a test size especially as I had some teal band elastic. The frame is pink duoplex with regular pink powernet for the band, again from Fit2Sew.
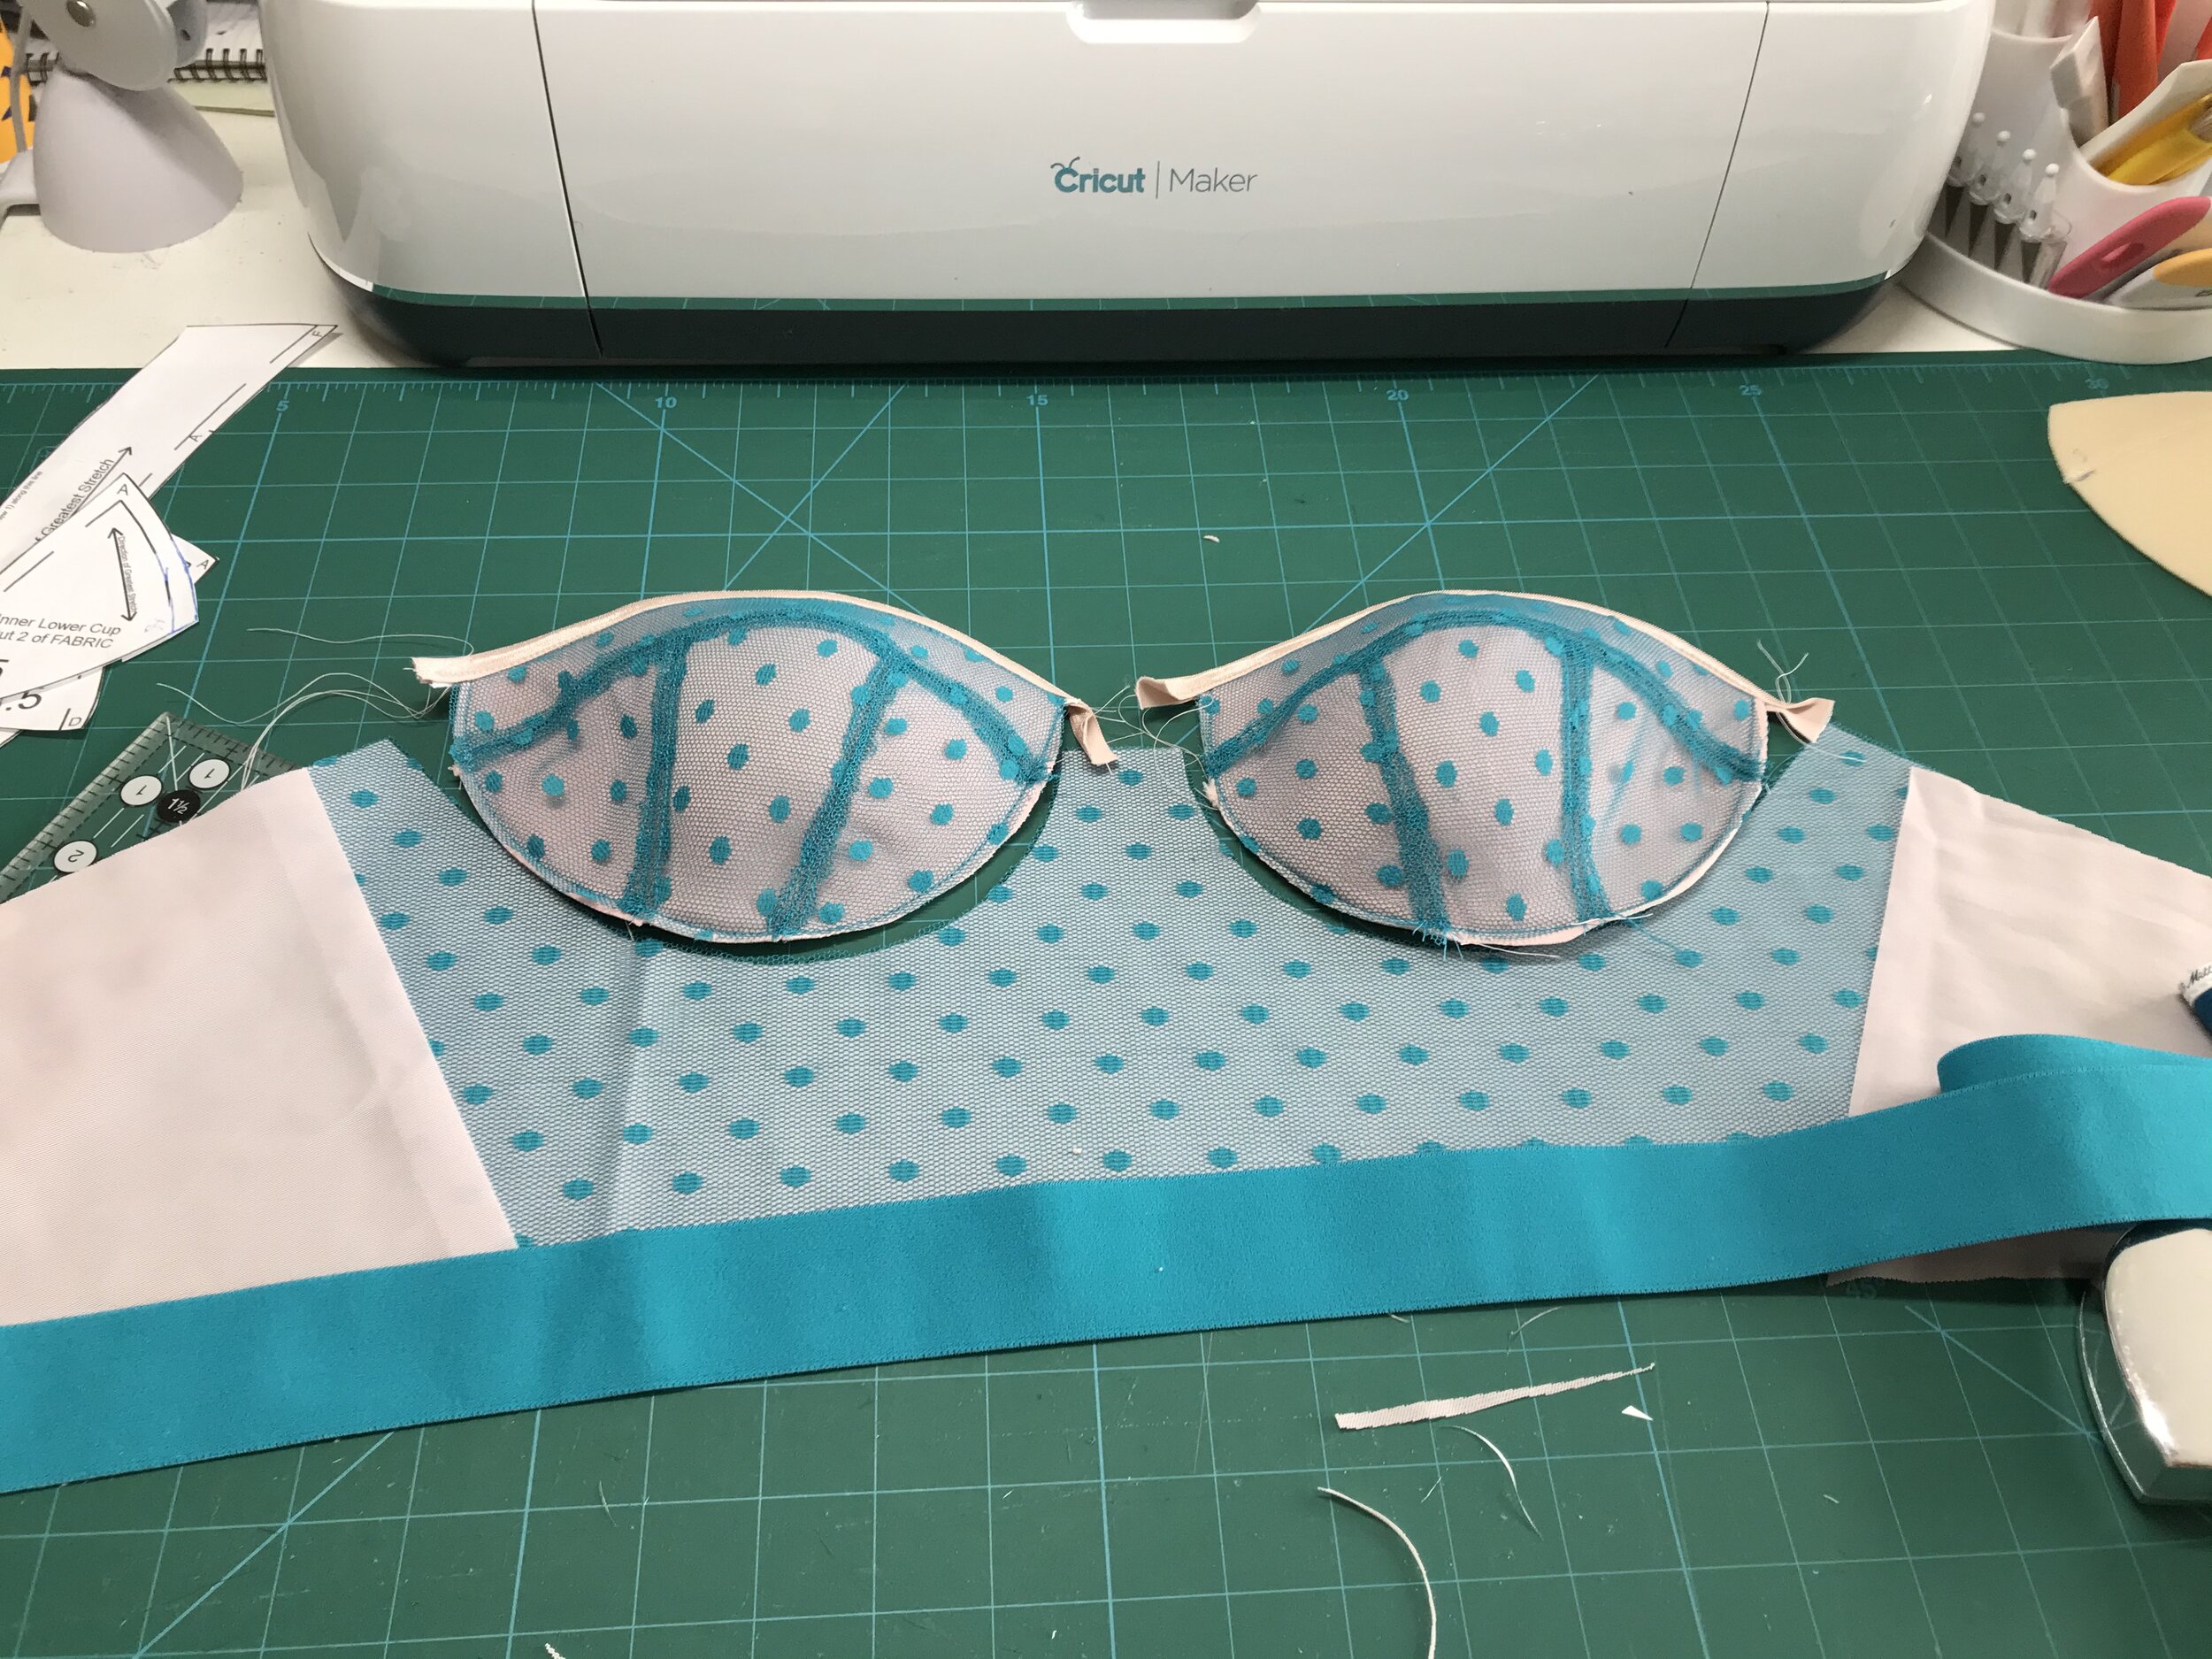
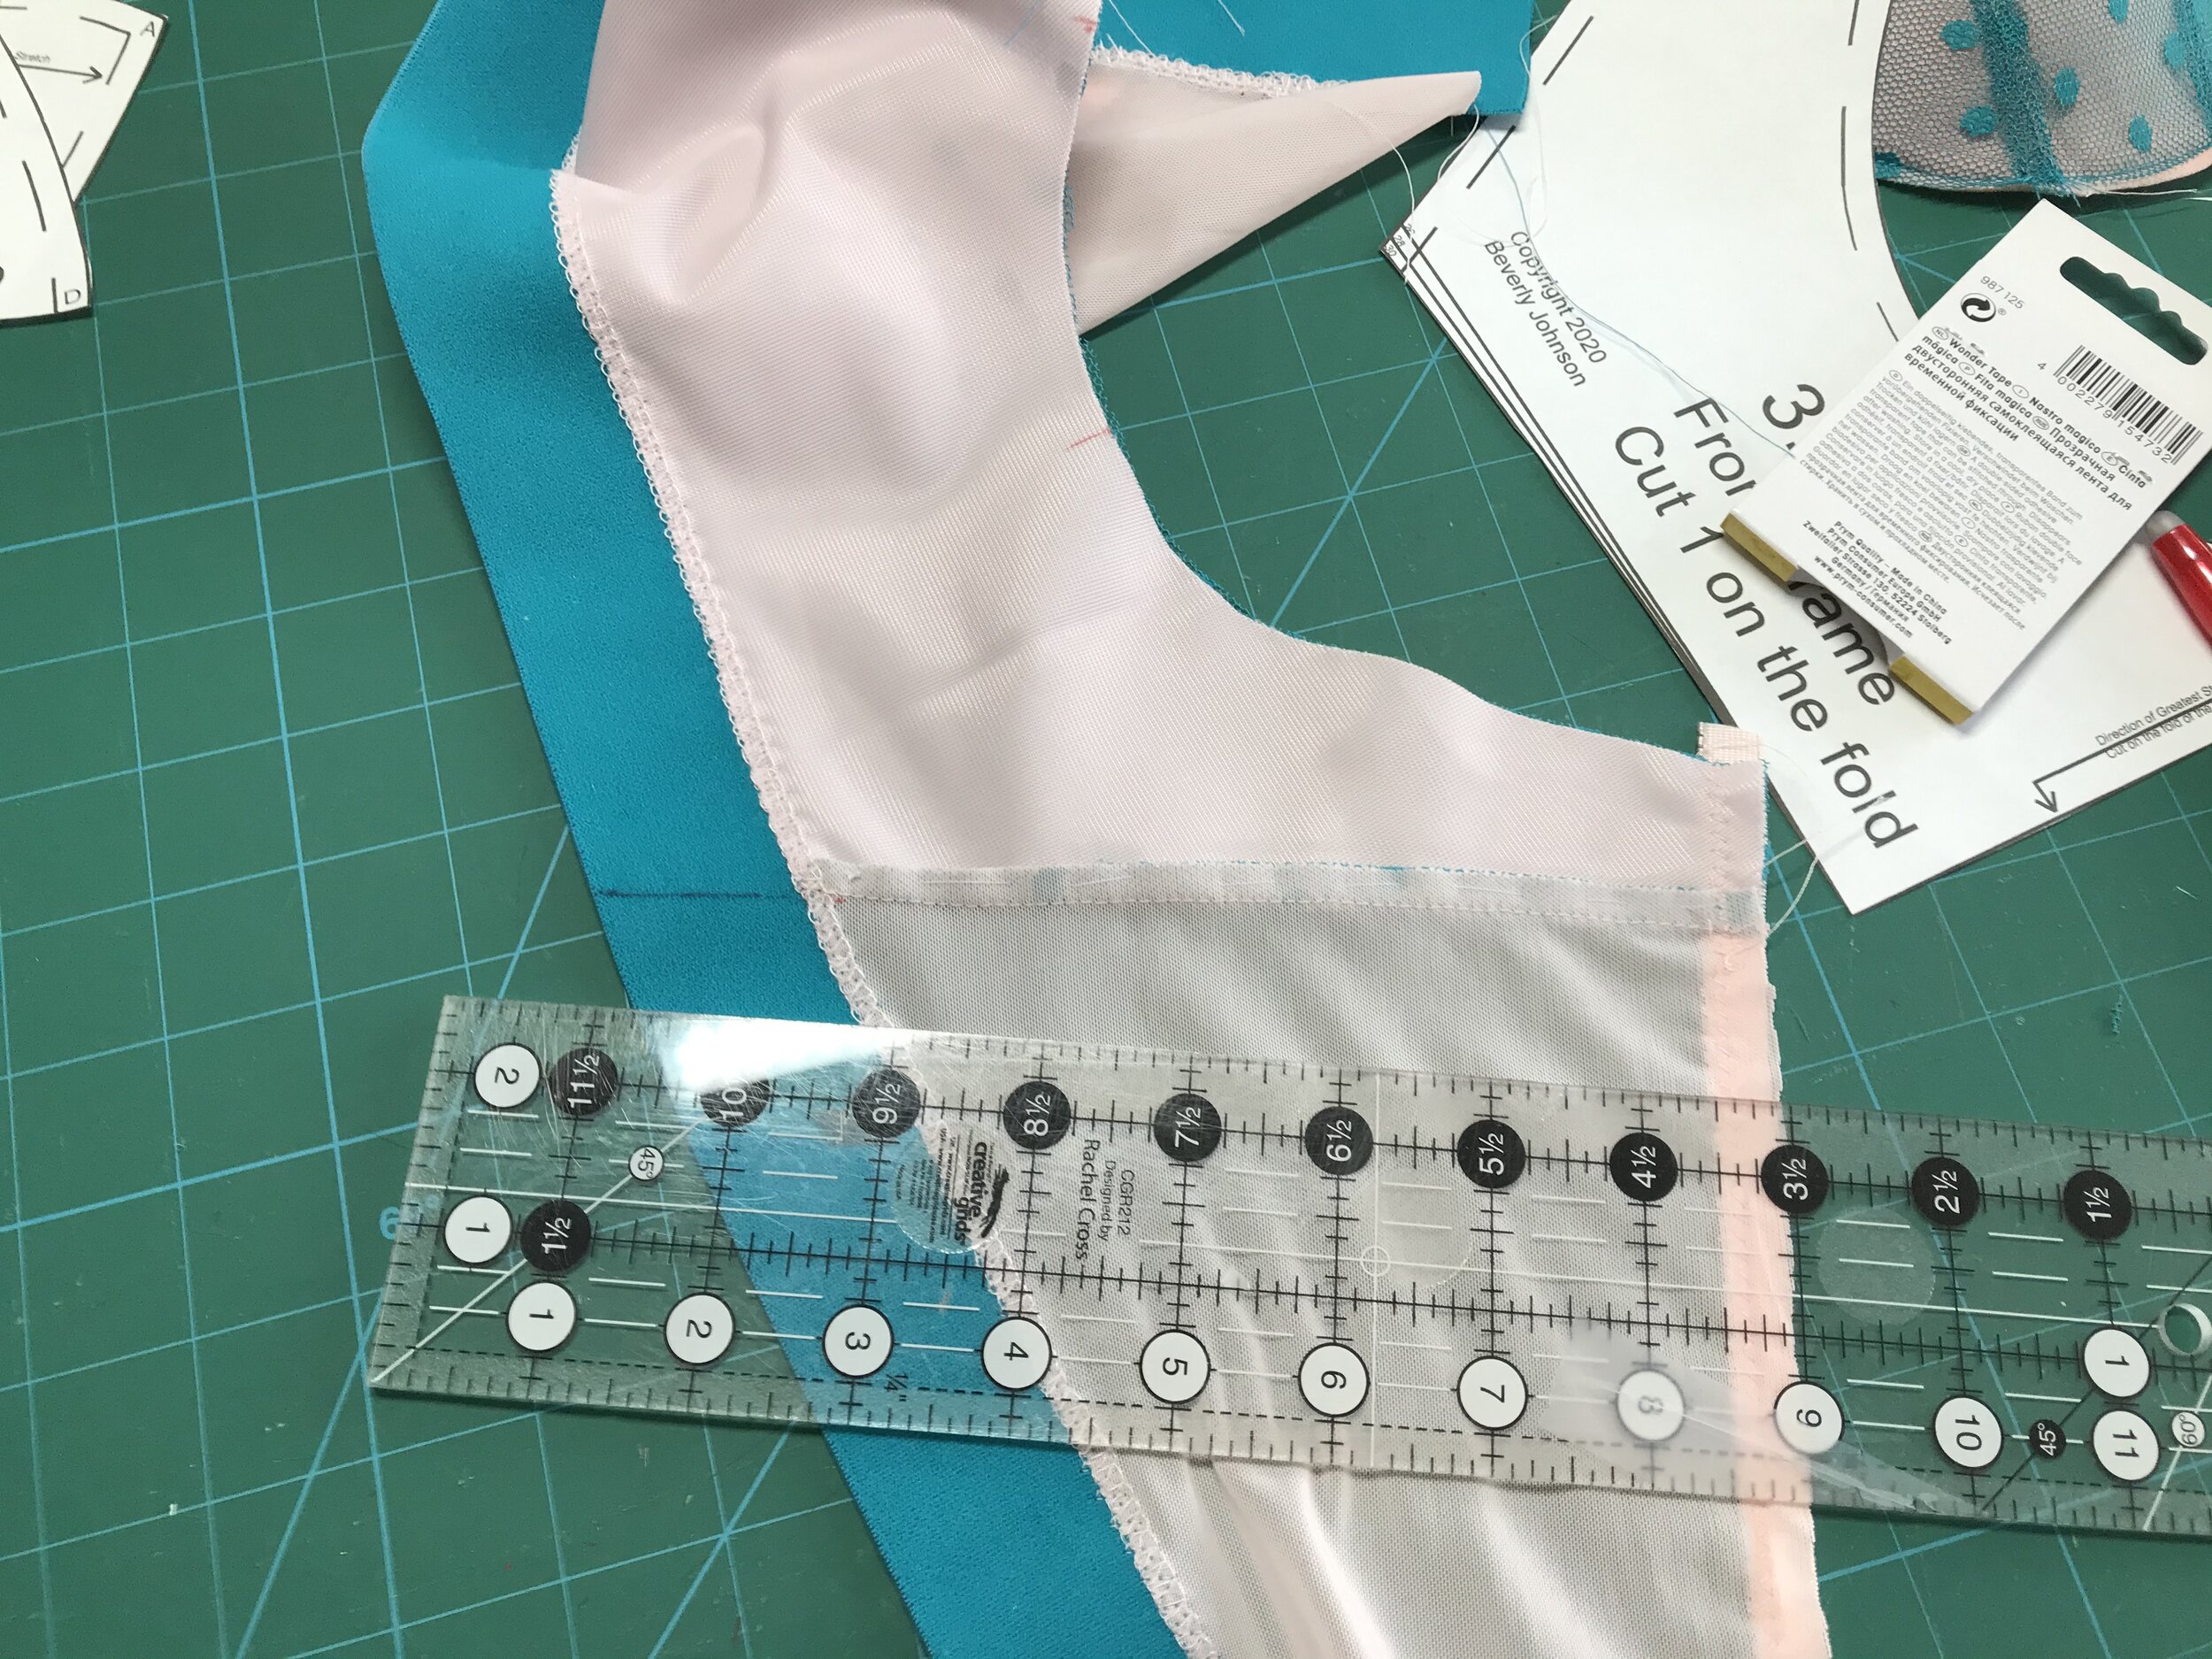
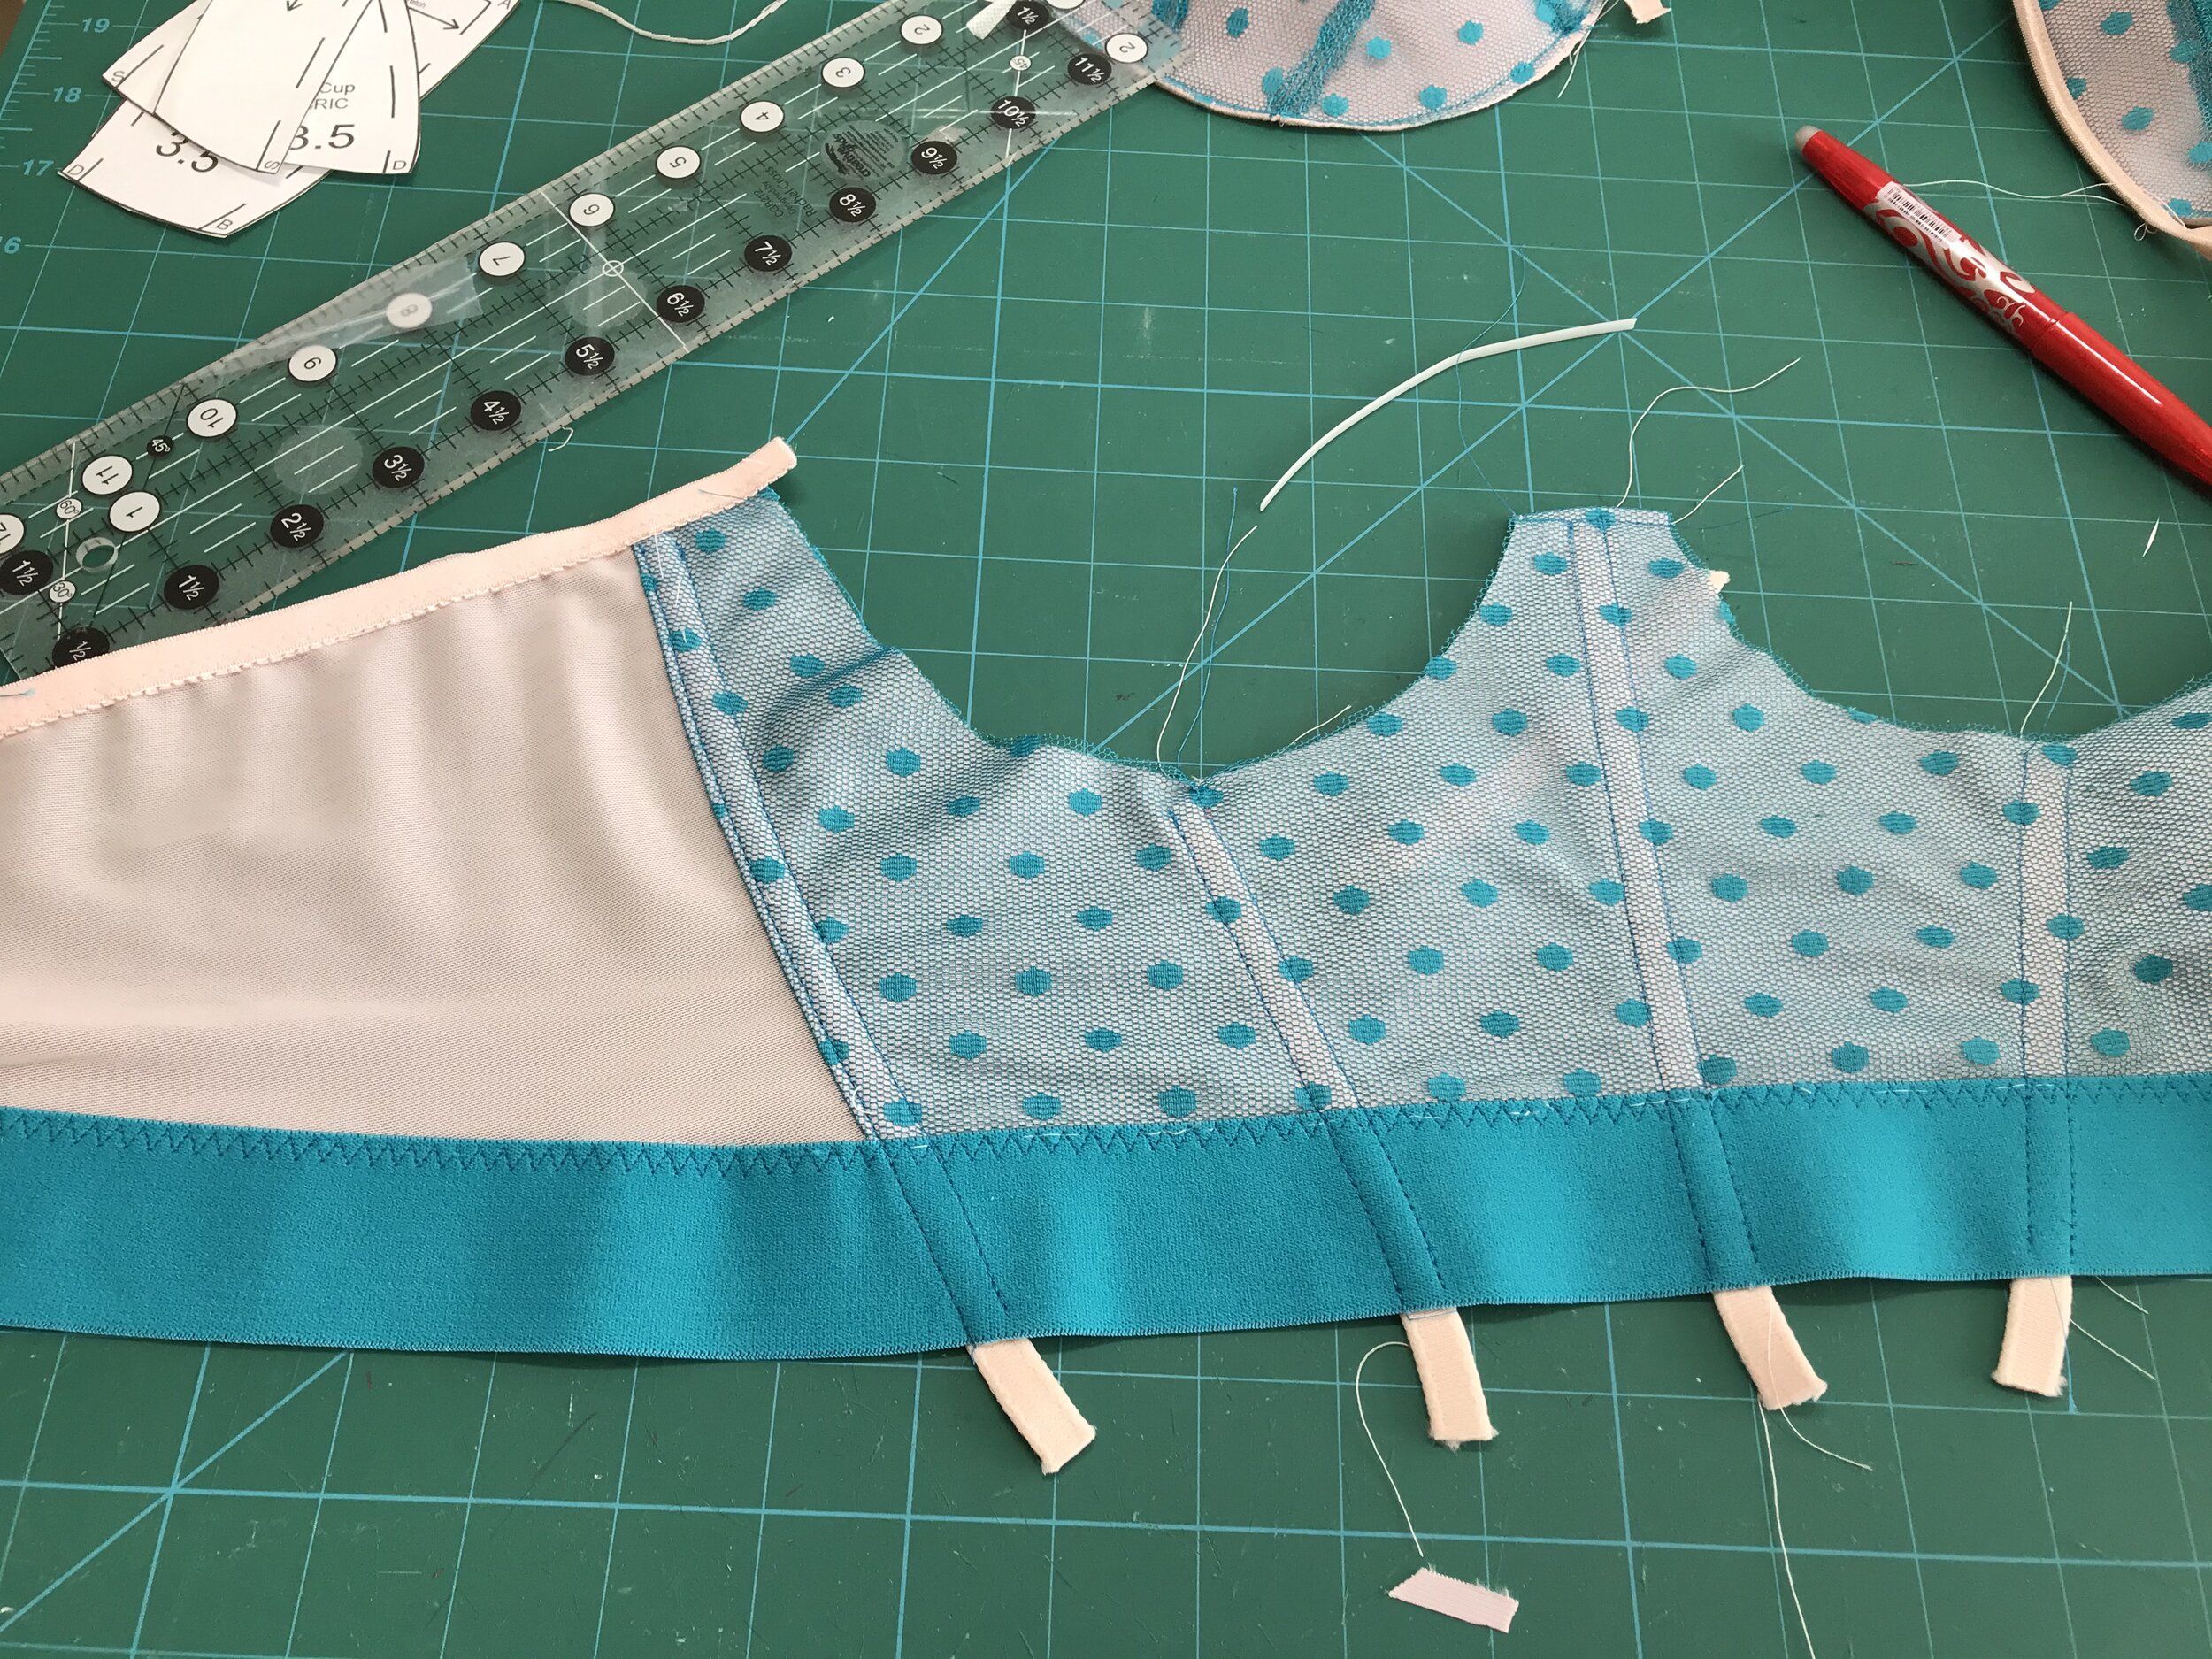
The cups are made up using fold over elastic to cover the upper cup edge. The bands are attached to the frame. Before I attached the bottom elastic I overlocked the edge for a neater finish which also serves as a guide for placing the band elastic. After the first pass for the top elastic you attach the channeling for the boning. The channeling extends to the bottom of the band elastic so I marked the line extending from the side seam.

There are no guidelines on the pattern piece for the boning coming from the bottom of the cup so I went with how it looked on the diagram in the instructions. As I was going to be sewing the channeling from the top I marked the placement and then used double sided tape to place within the marks ensuring they were not in the seam allowance and left room to fold over the upper elastic for the second pass.
The cup is then fitted into the frame and then the channeling for the wire is added. It is really hard to find continuous hook and eye tape in other than black, white, red and beige so I used some off white I had in my stash. The pattern does show a 3 x 3 fastener but this does not work for any of the sizes unless you change the shape of the back bands.
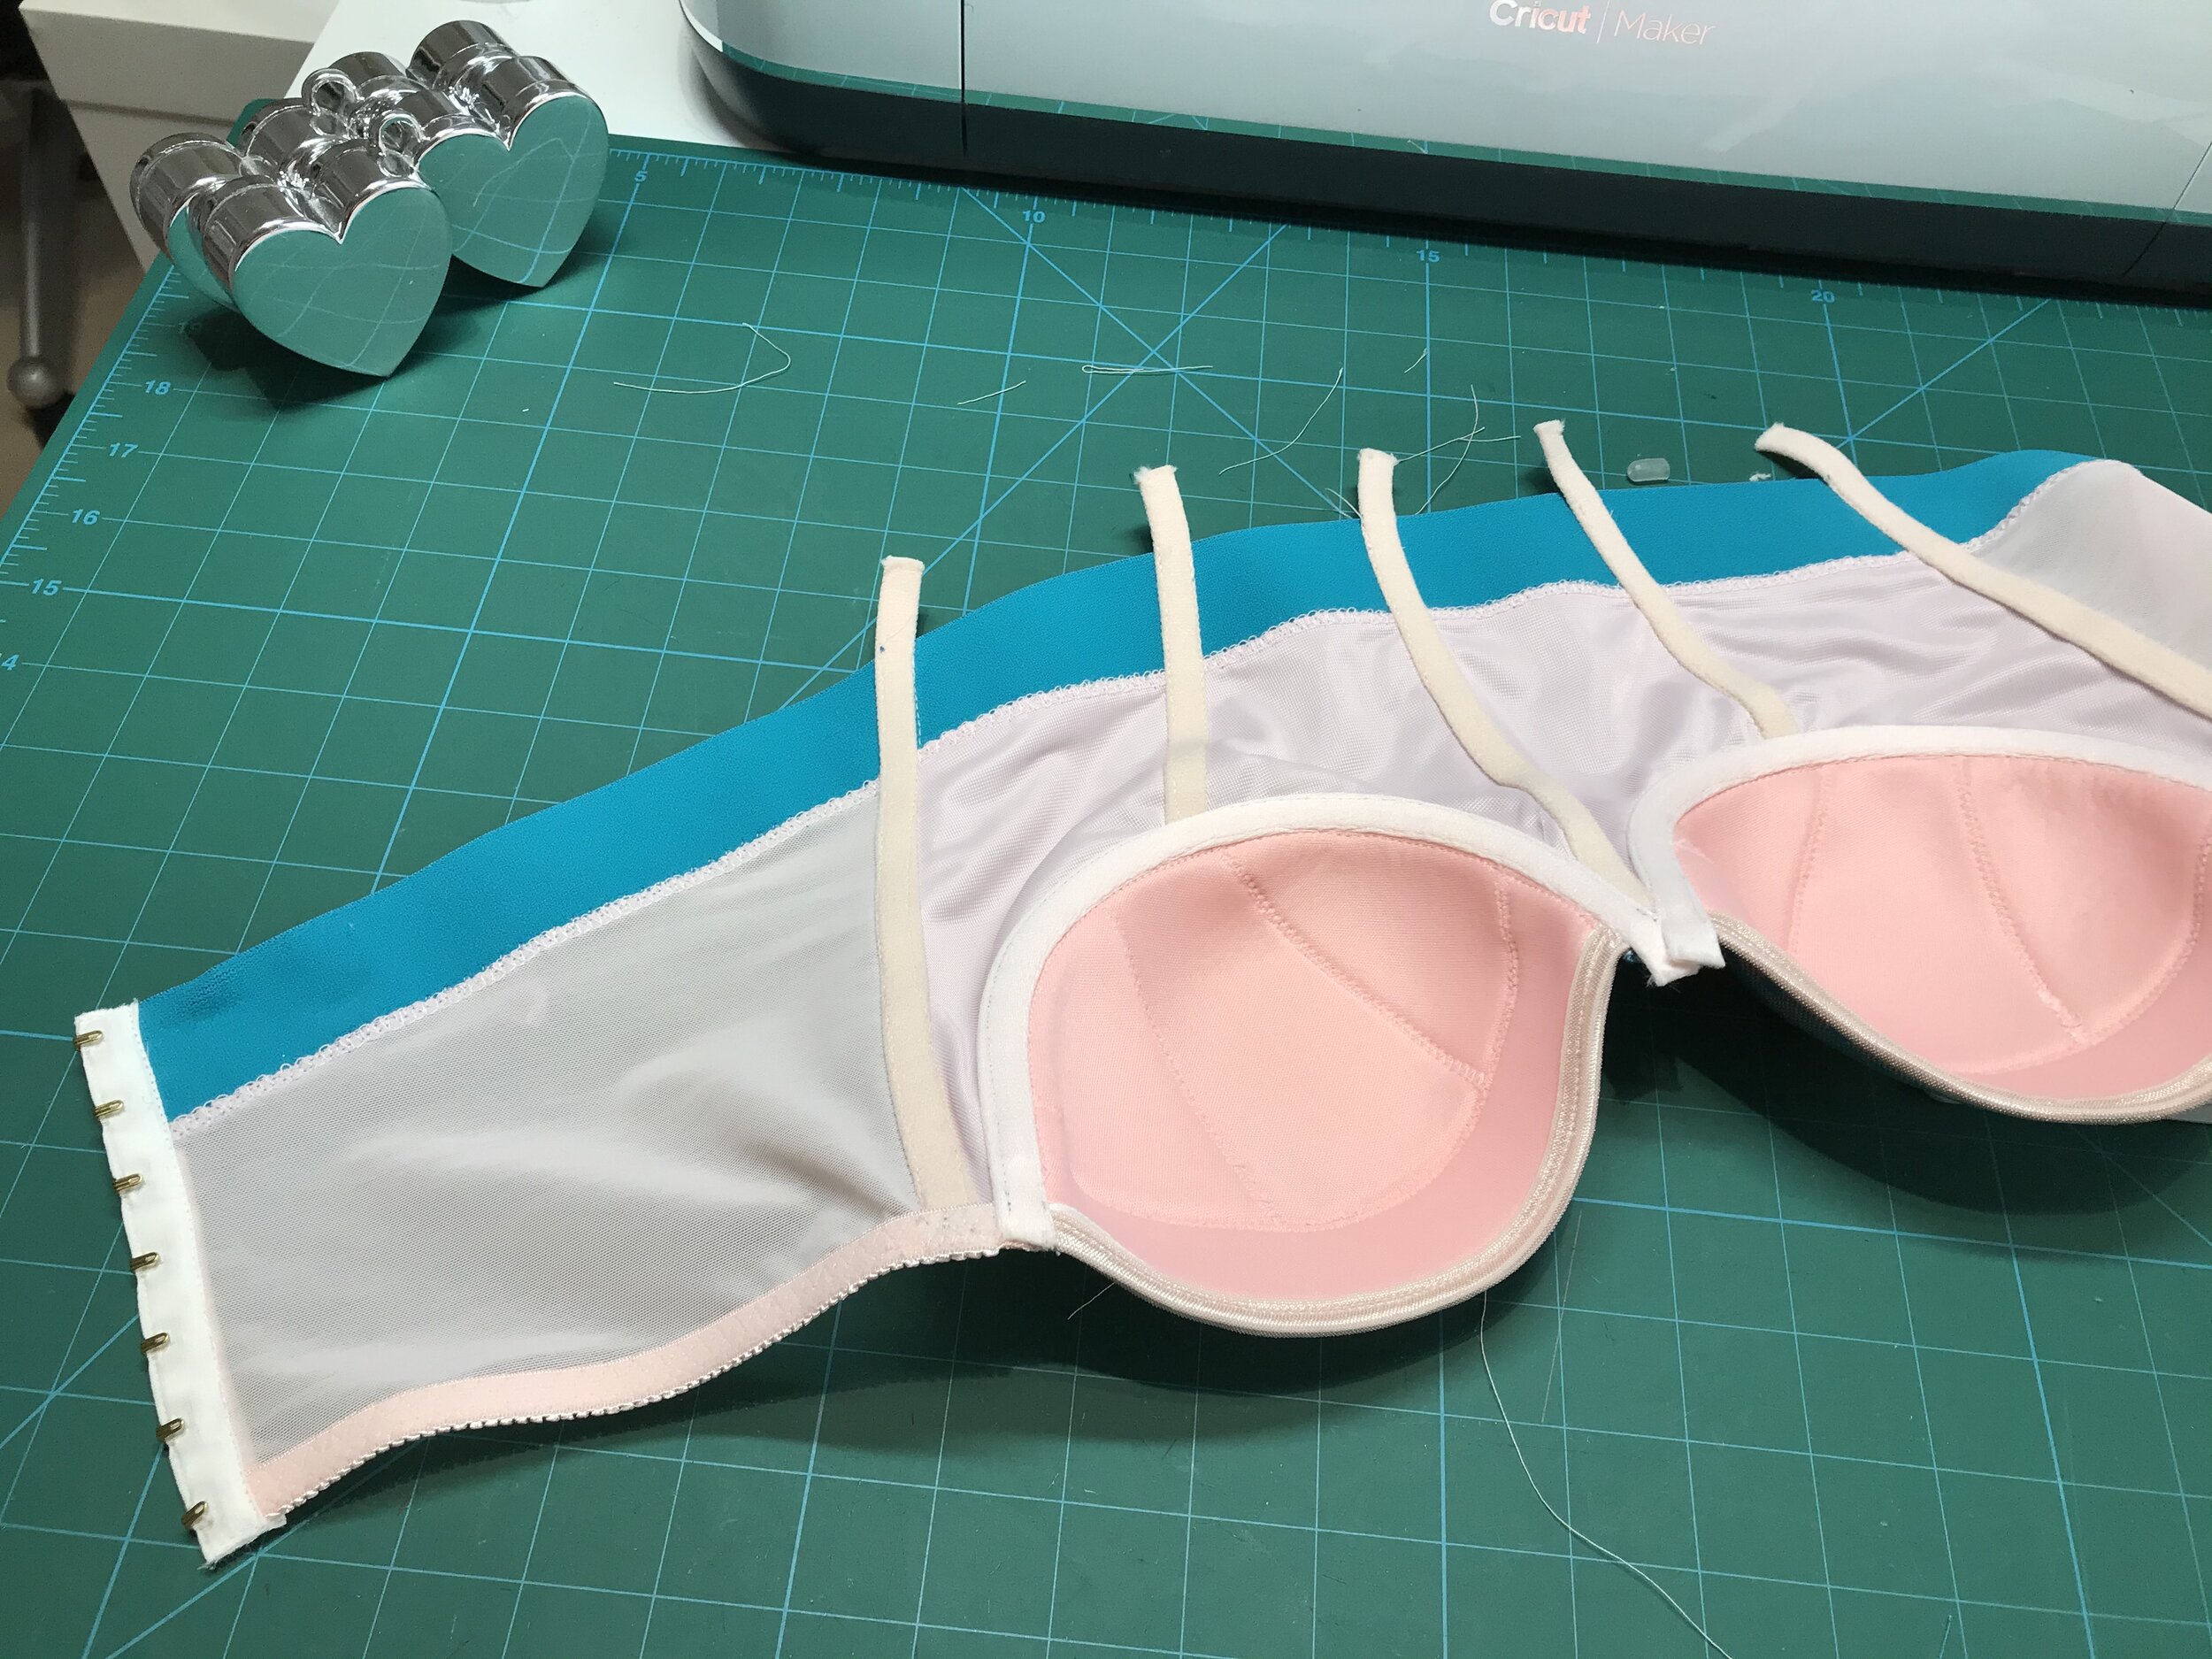
The plastic boning is then inserted from the bottom and the ends closed. As channeling frays I left cutting this to size until after I had sewn over and then sealed with Fray Check. Because I used contrasting colours the edge doesn’t look as neat as I would like. The cup fit is fantastic and sits quite low. If I make this again I will shape the sides as I am more triangular than the pattern shape. I thought the panels of the OhhhLulu Grace would be a perfect match and allow me to use the tulle which only has a little mechanical stretch.
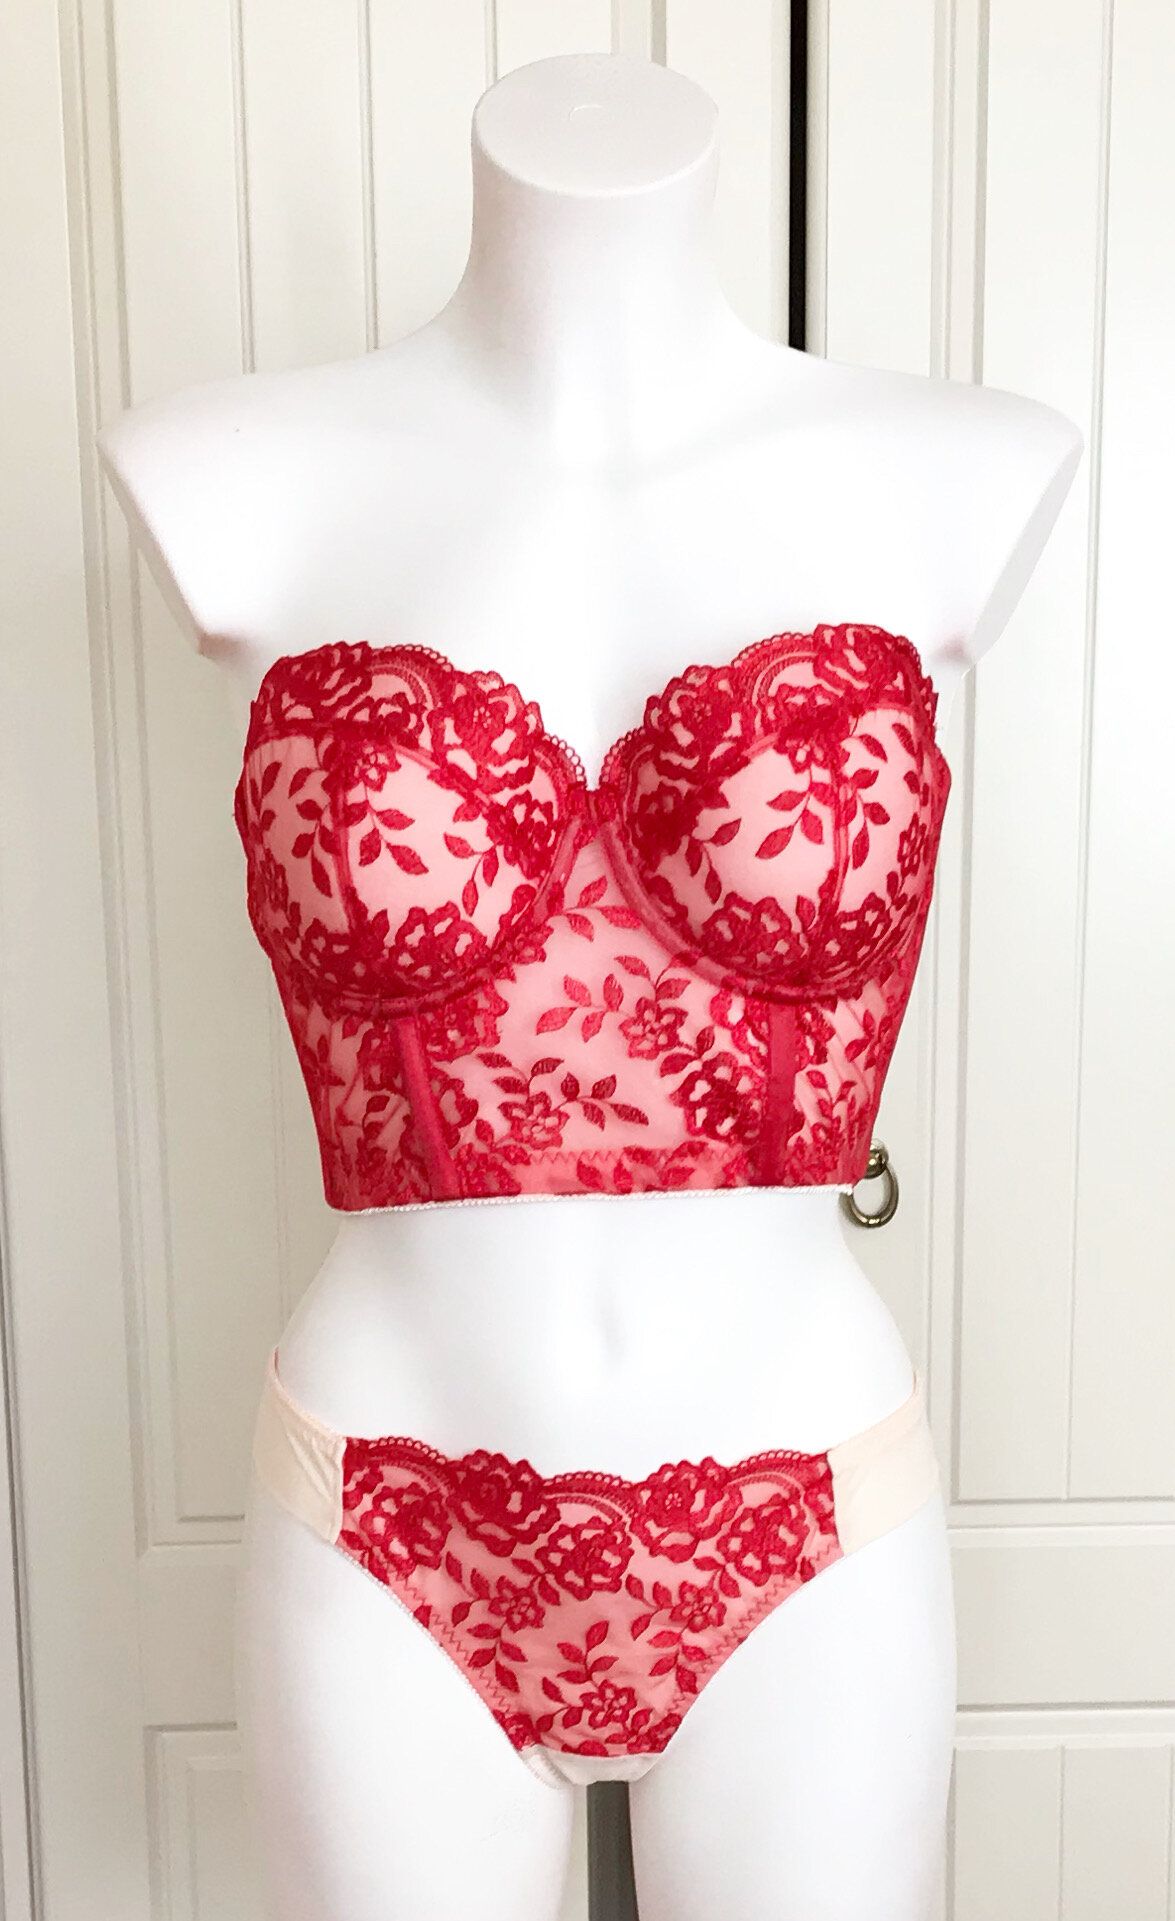
So then I moved onto the Orange Lingerie Esplanade. I am part of the Tailormade #TMColloBRAtory program where you choose supplies from the shop each month for a year and share your makes on Instagram. For August I had chosen the amazing red lace and peach findings and I was looking to make something really special so I thought I would try the Esplanade so I could use as much of the lace as possible.

Although I have a “size” with Orange Lingerie I still made a test cup. The first point to note is that it gives much more coverage than the Diamond and requires extra long wires. There is no centre boning and the bottom band is applied in the same way as a normal bra and has a slightly shorter frame.
The cup is made by covering the foam by attaching at the upper edge and flipping over. However, I wanted to use the scallop edge of the lace so I had to take the seam allowance off the upper edge of my fabric piece. I then finished the upper edge of the foam cup as with the Diamond, stabilising with twill tape and then covering with fold over elastic.
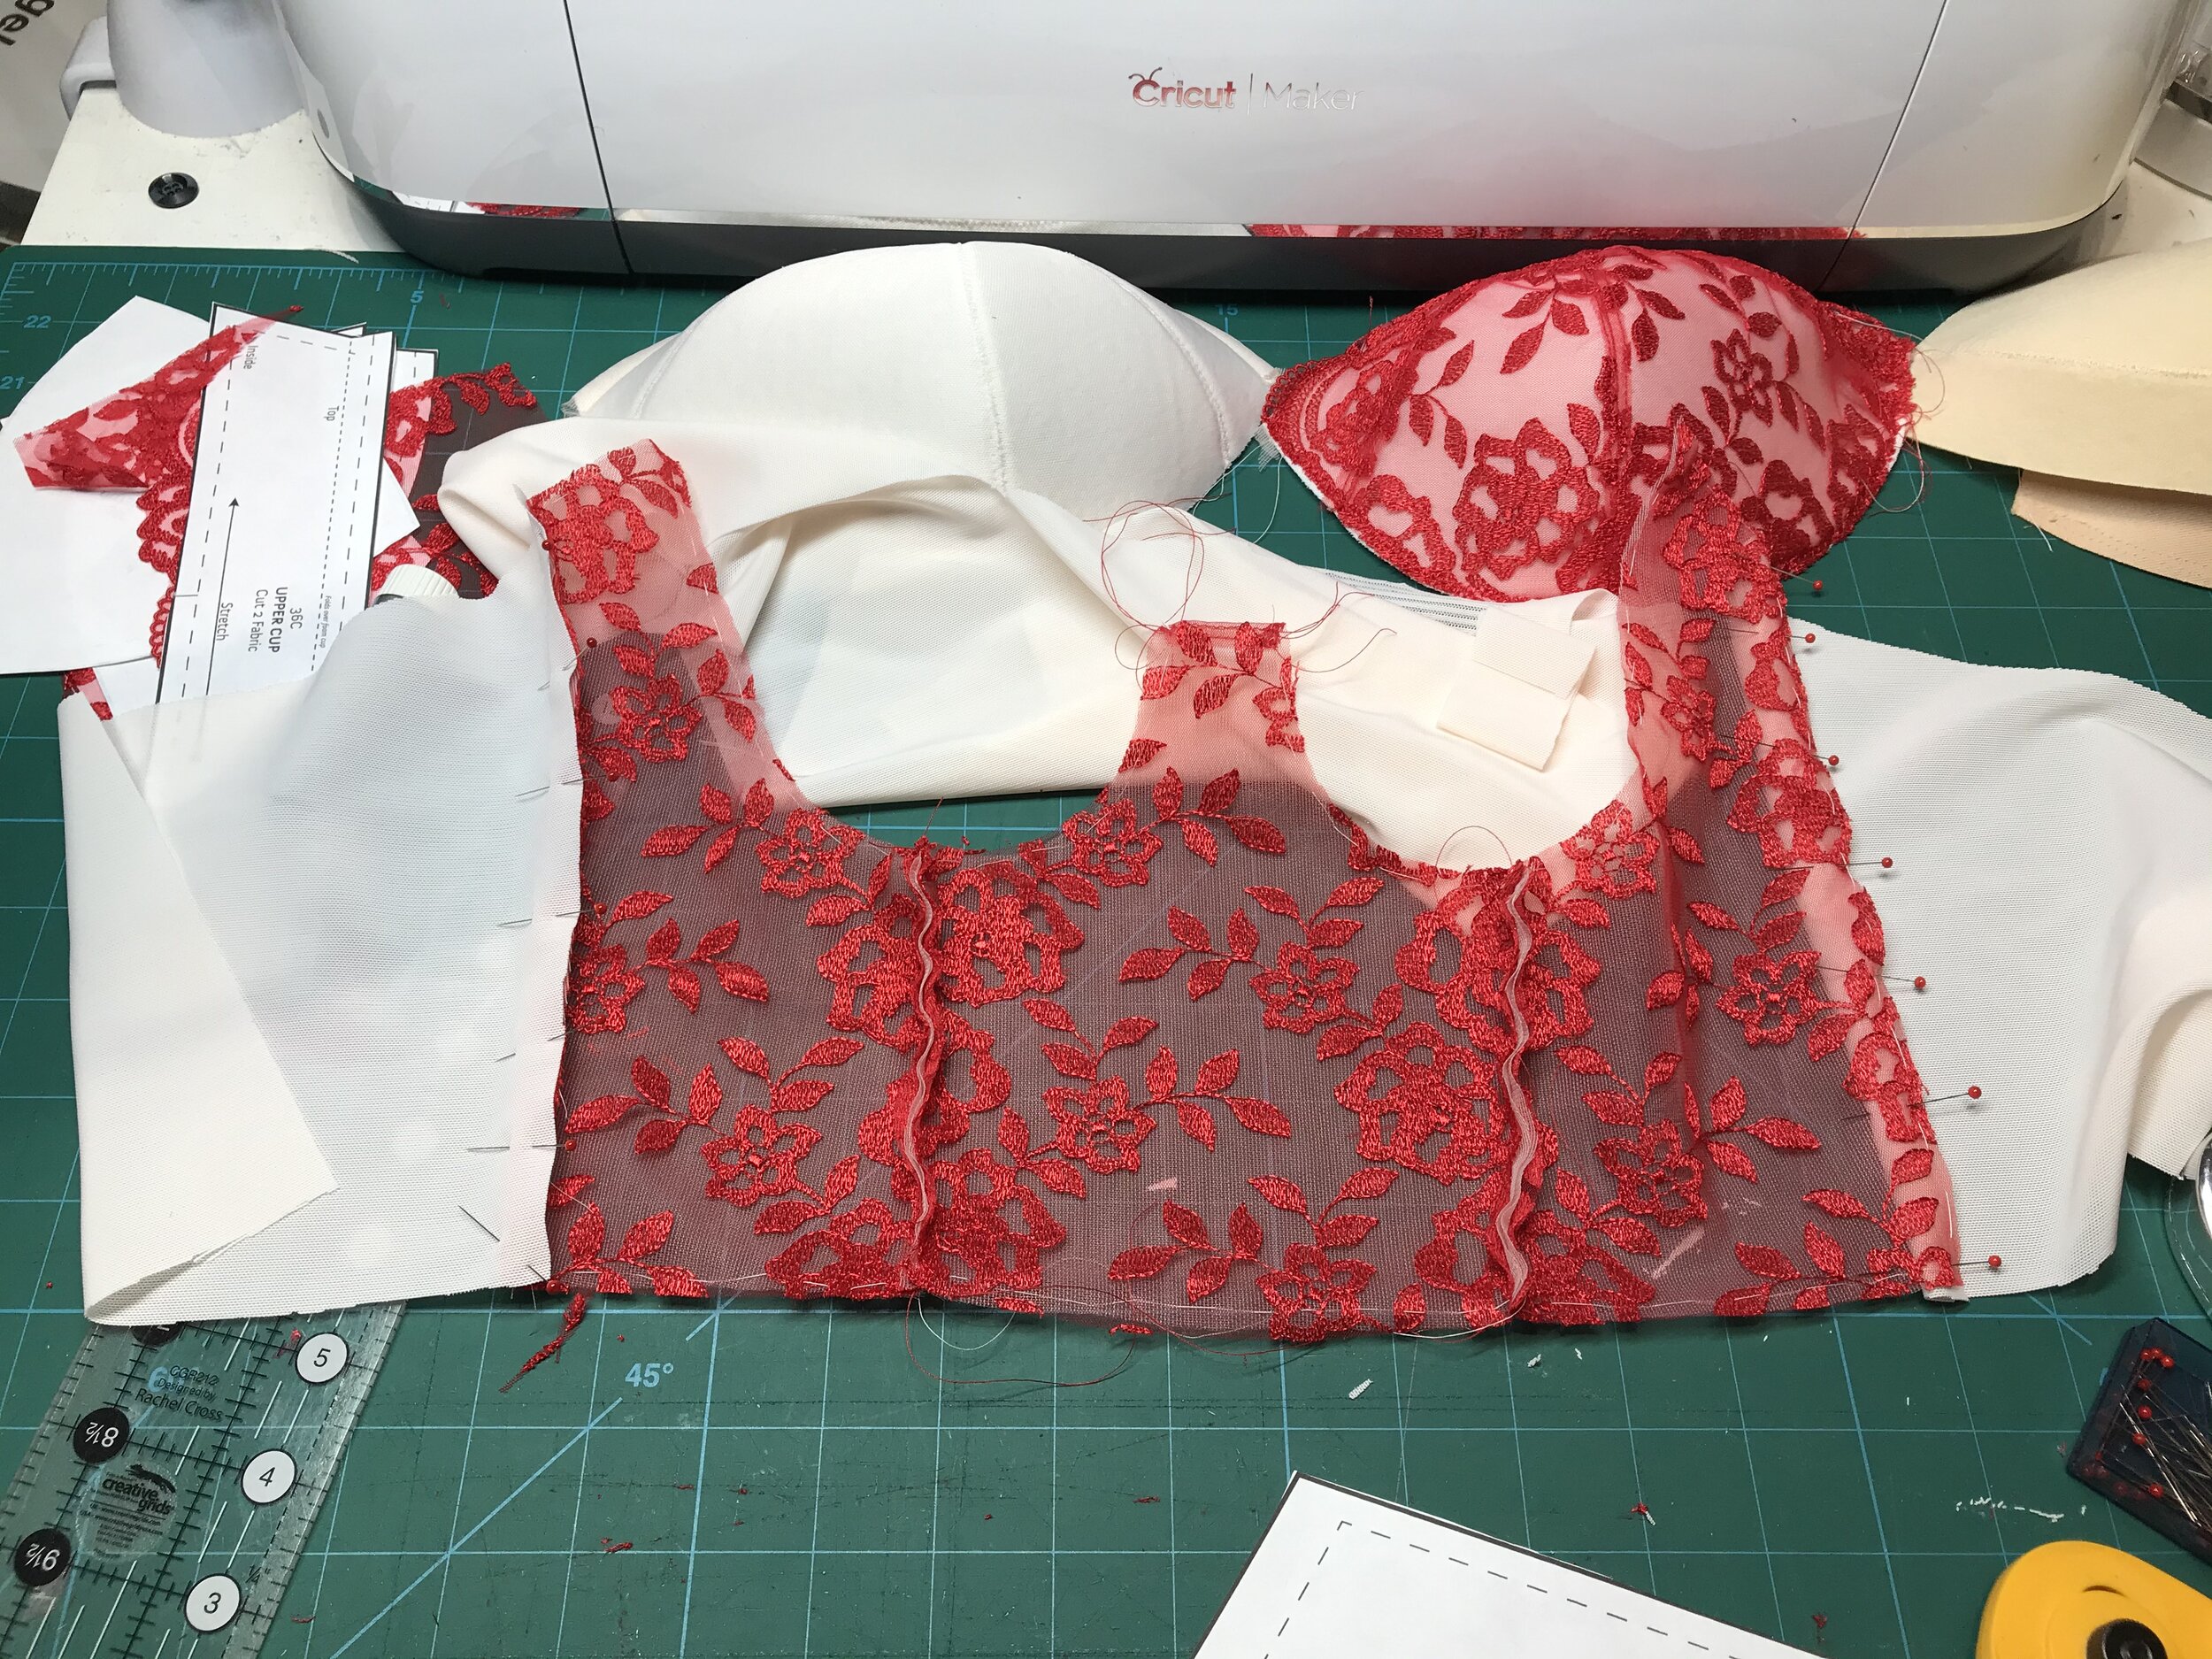

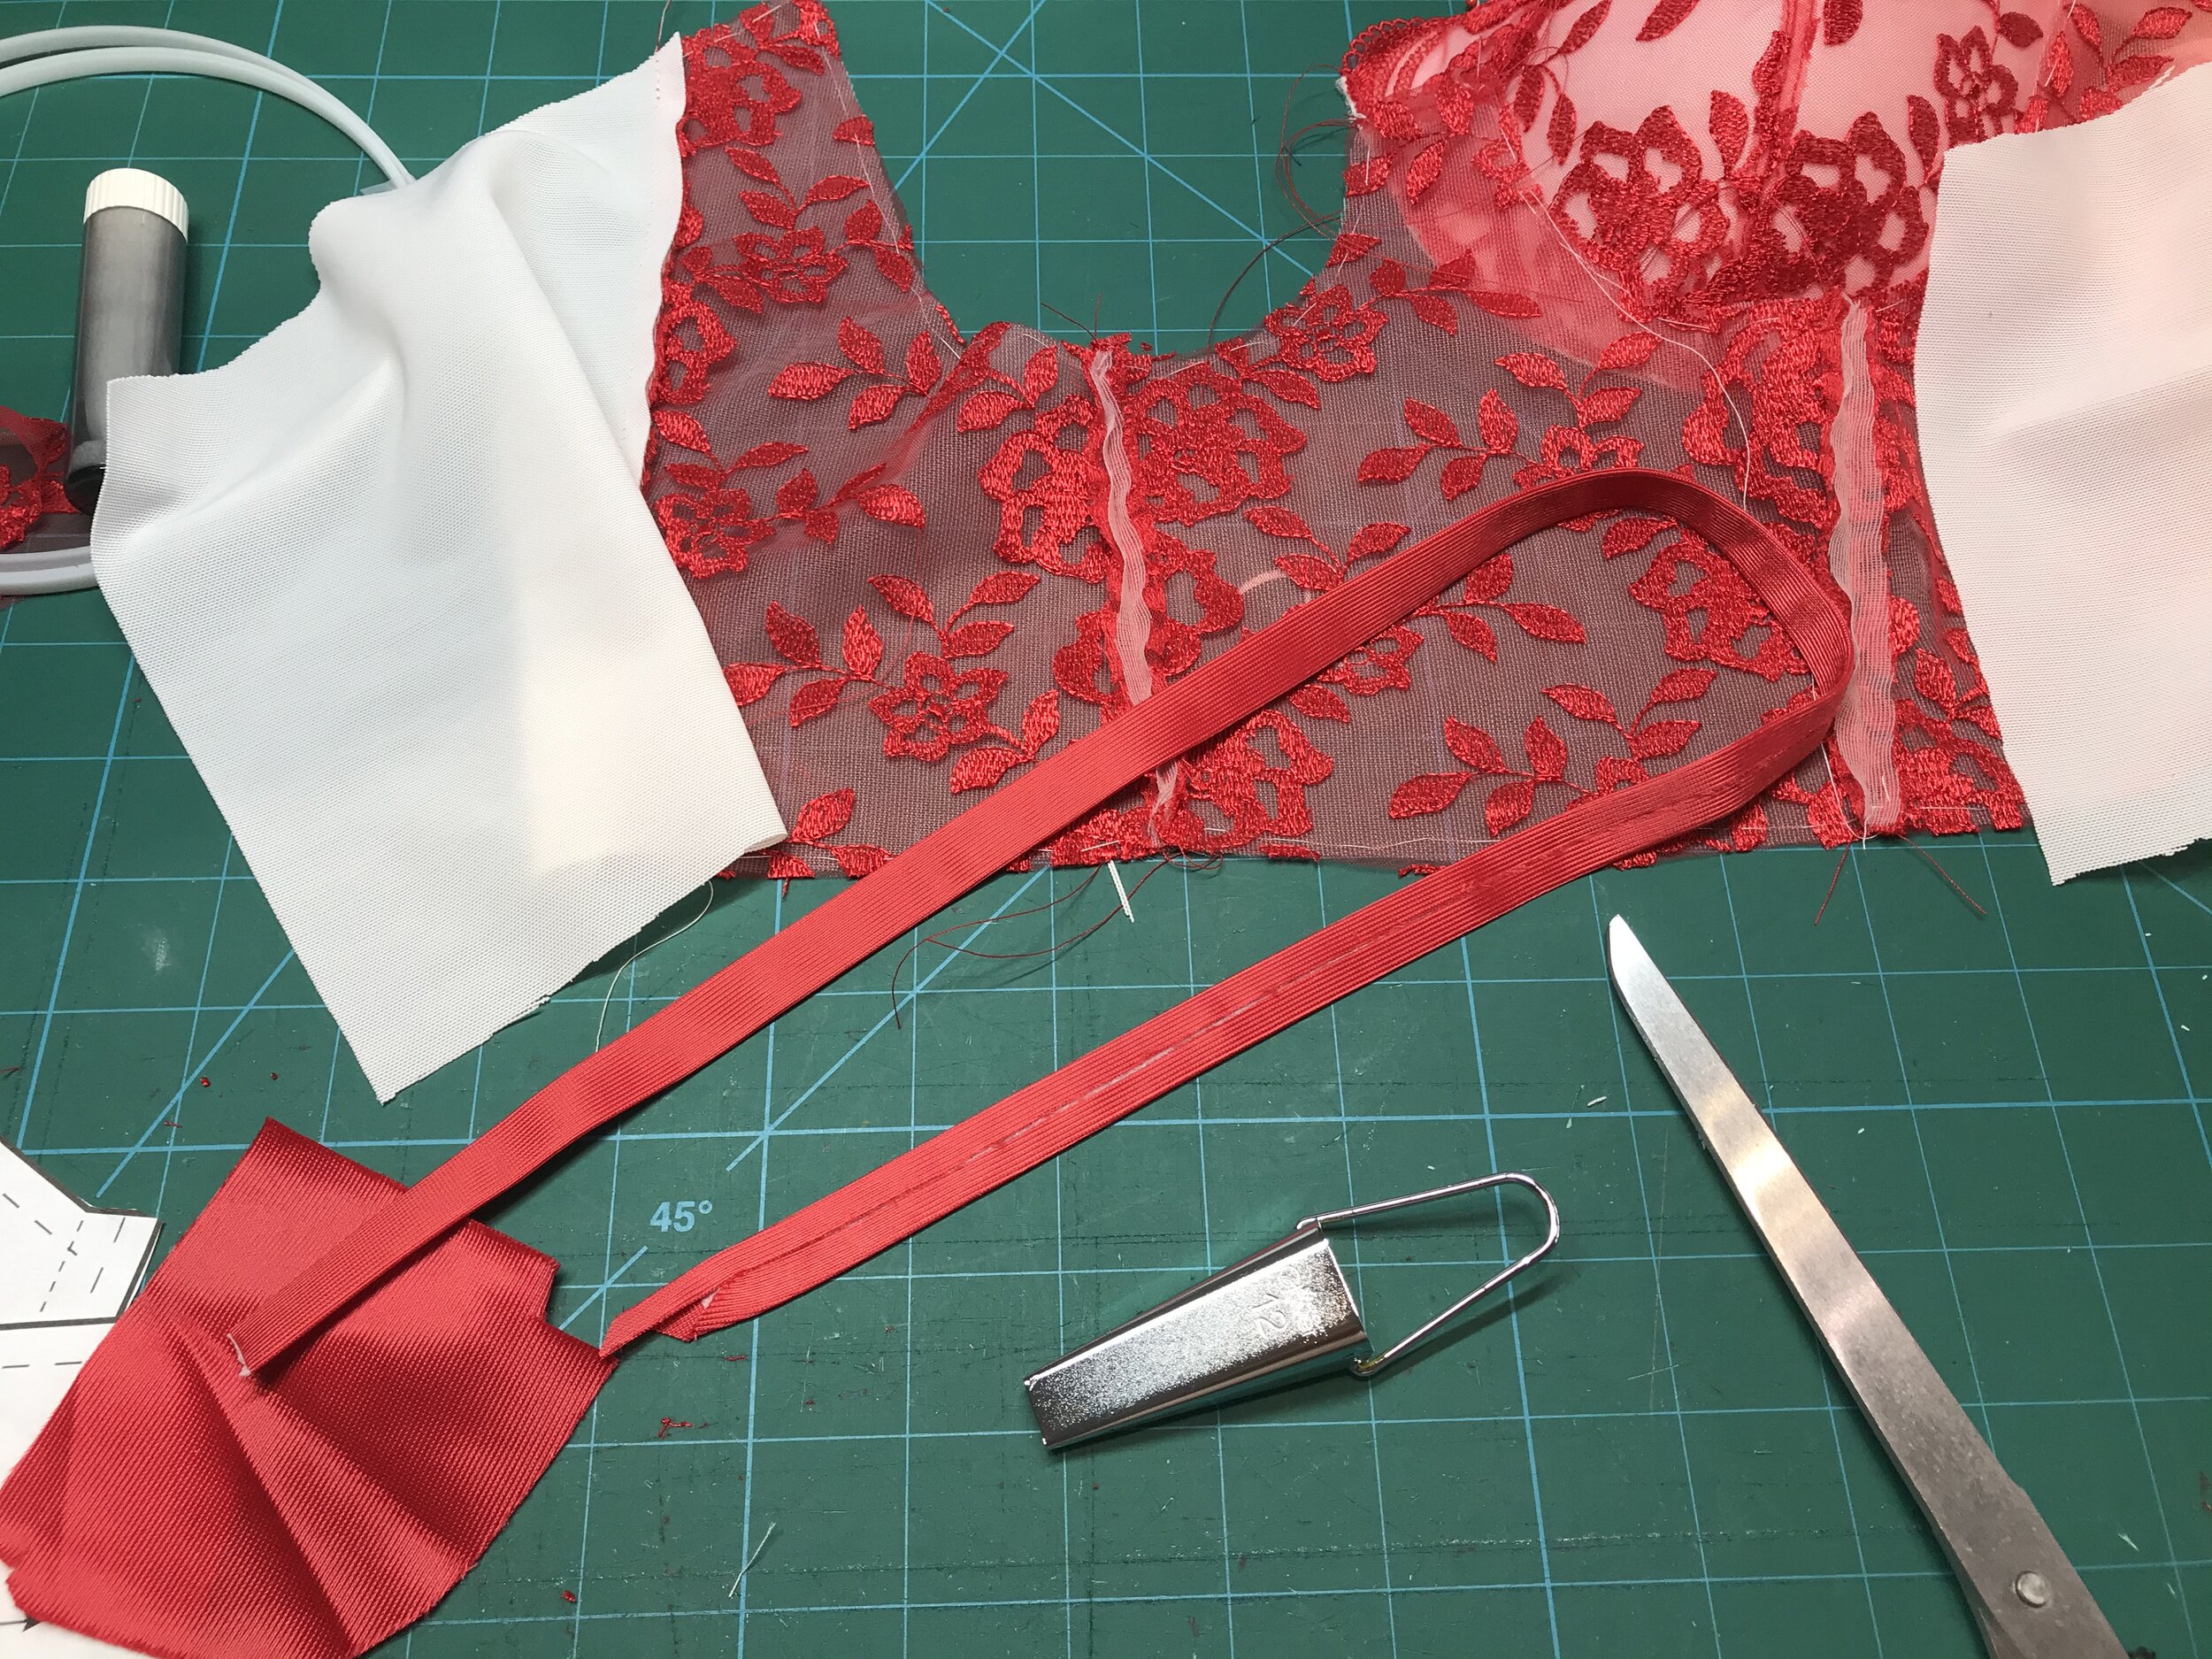
I was using sheer lining for the frame and I didn’t want to see the channeling so I decided to use a corset method for the boning casing which I picked up from Alison Smith’s Corset class . The frame is sewn wrong sides together and pressed open. Then I made casing using strips of duplex stabilised with interfacing and put through the bias binding maker which are then attached to the front covering the seams. This is also more comfortable to wear as there are no seams on the inside.
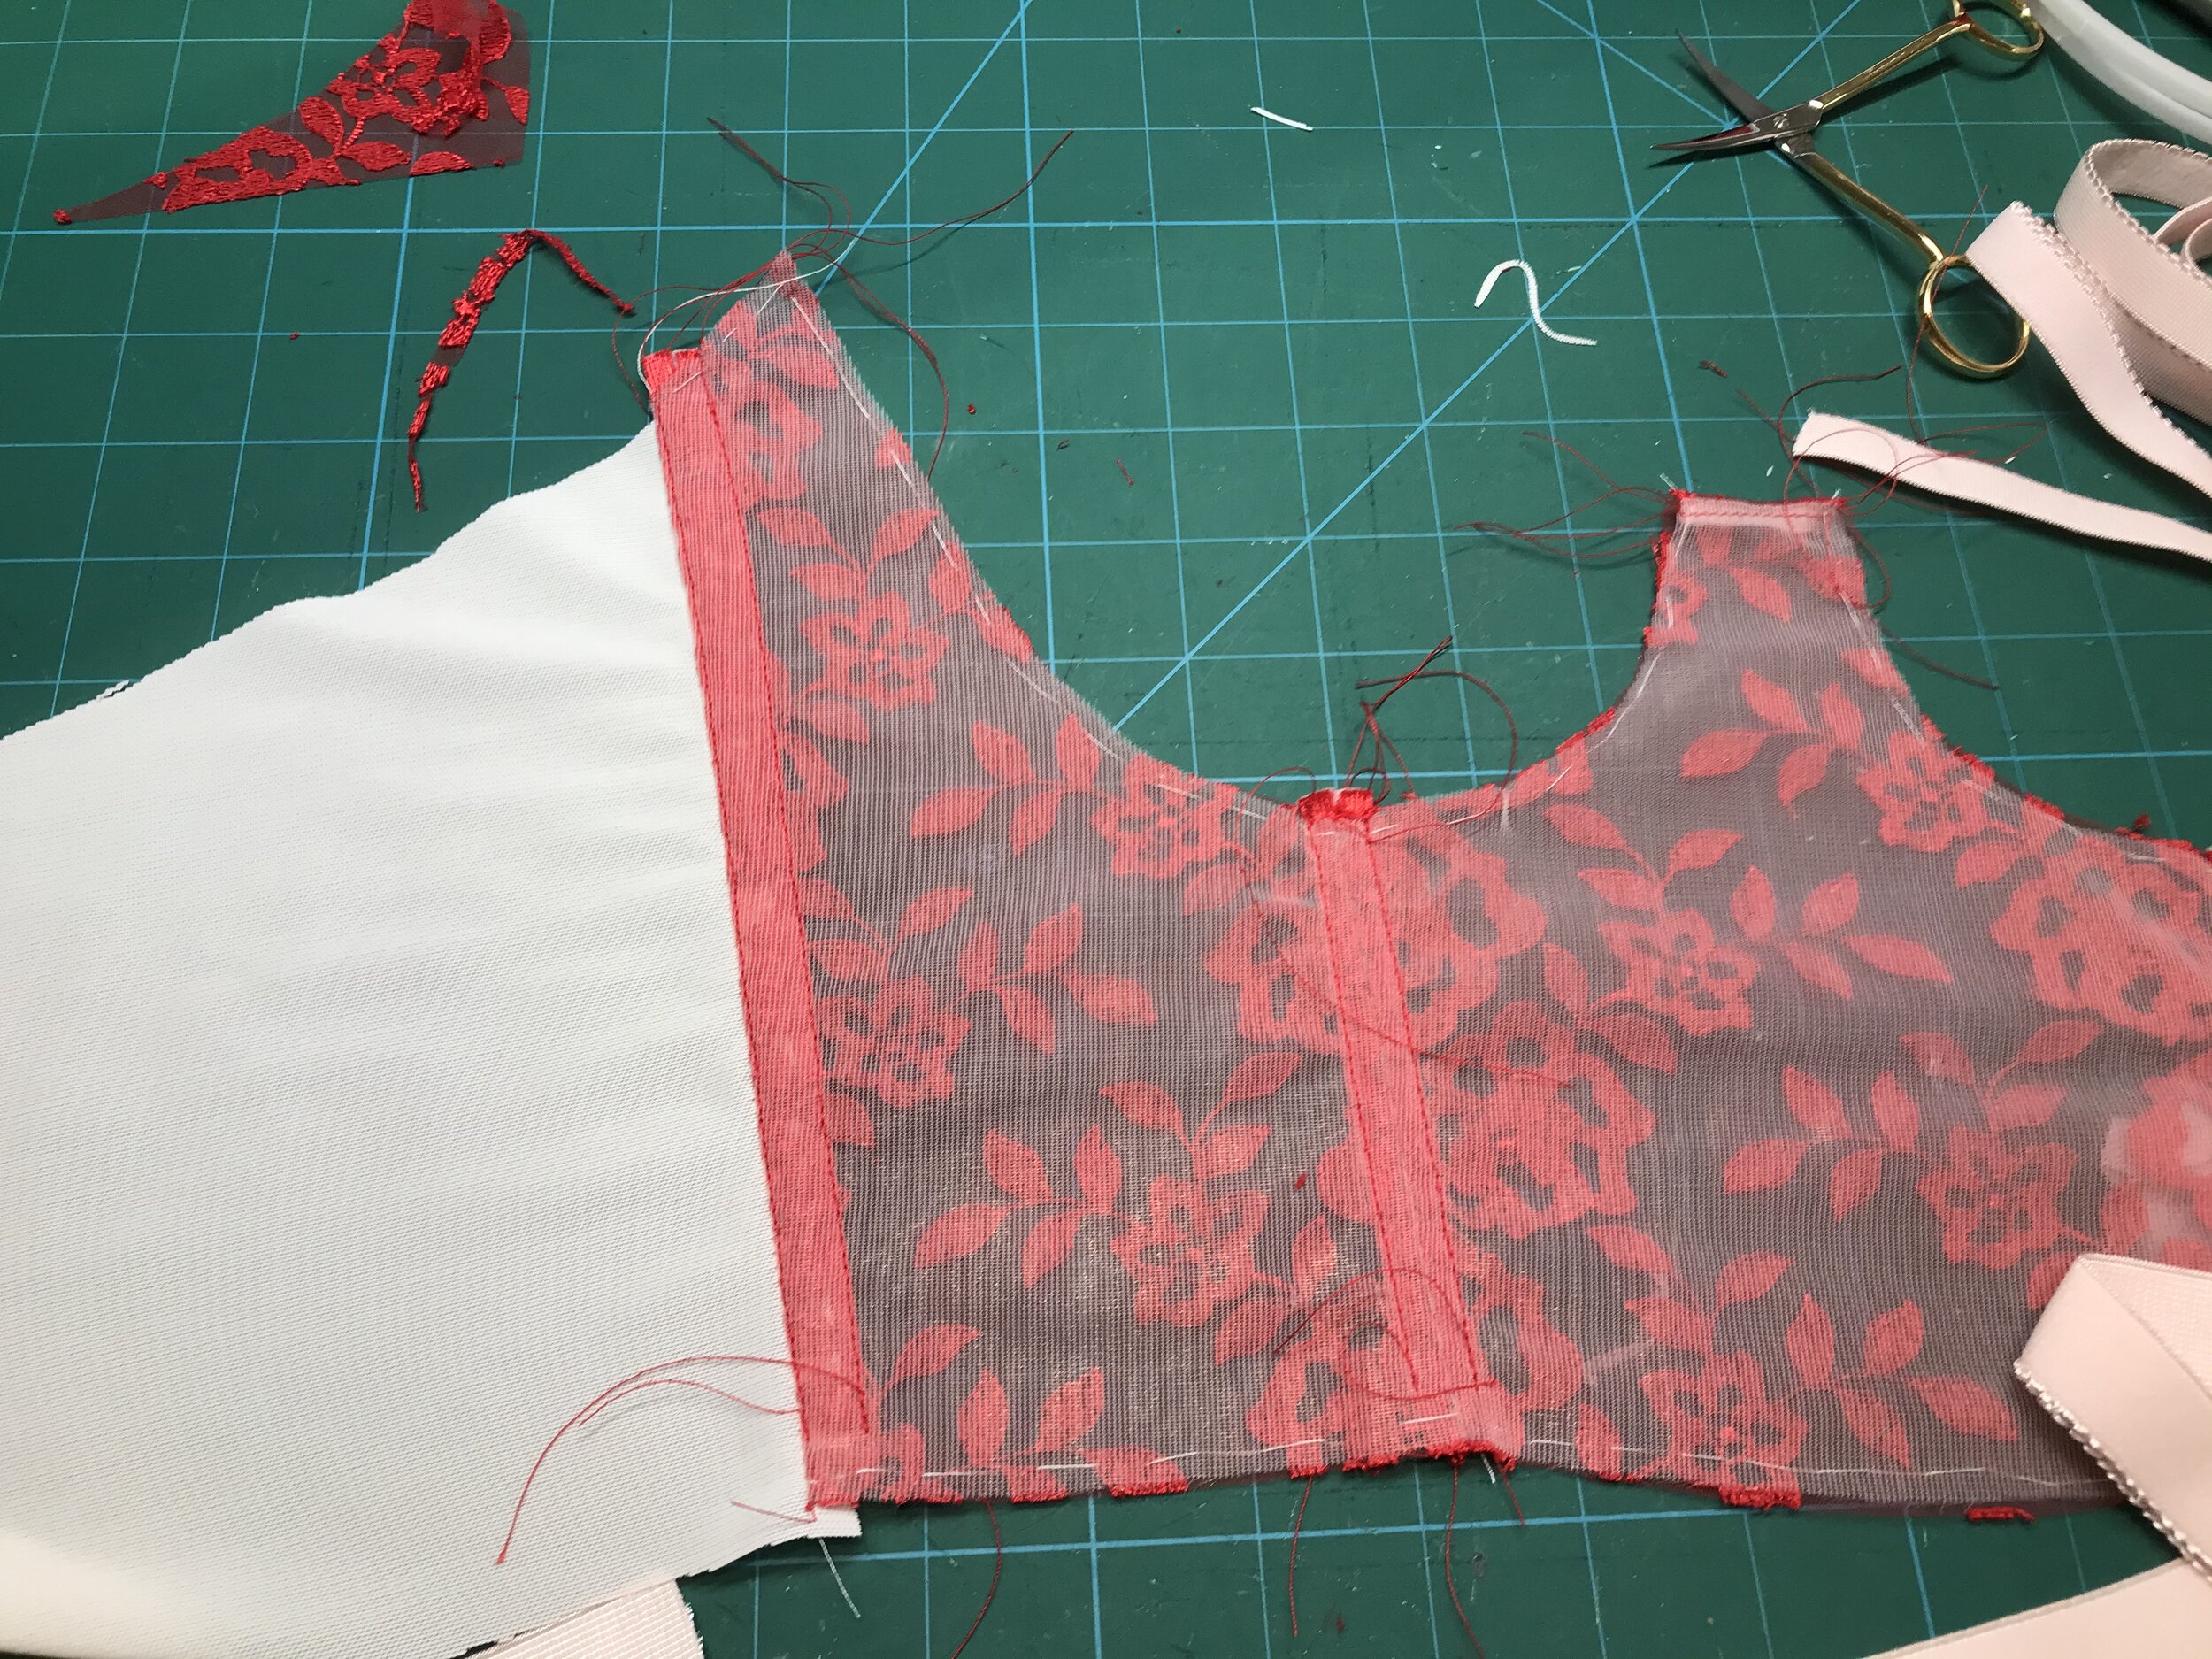
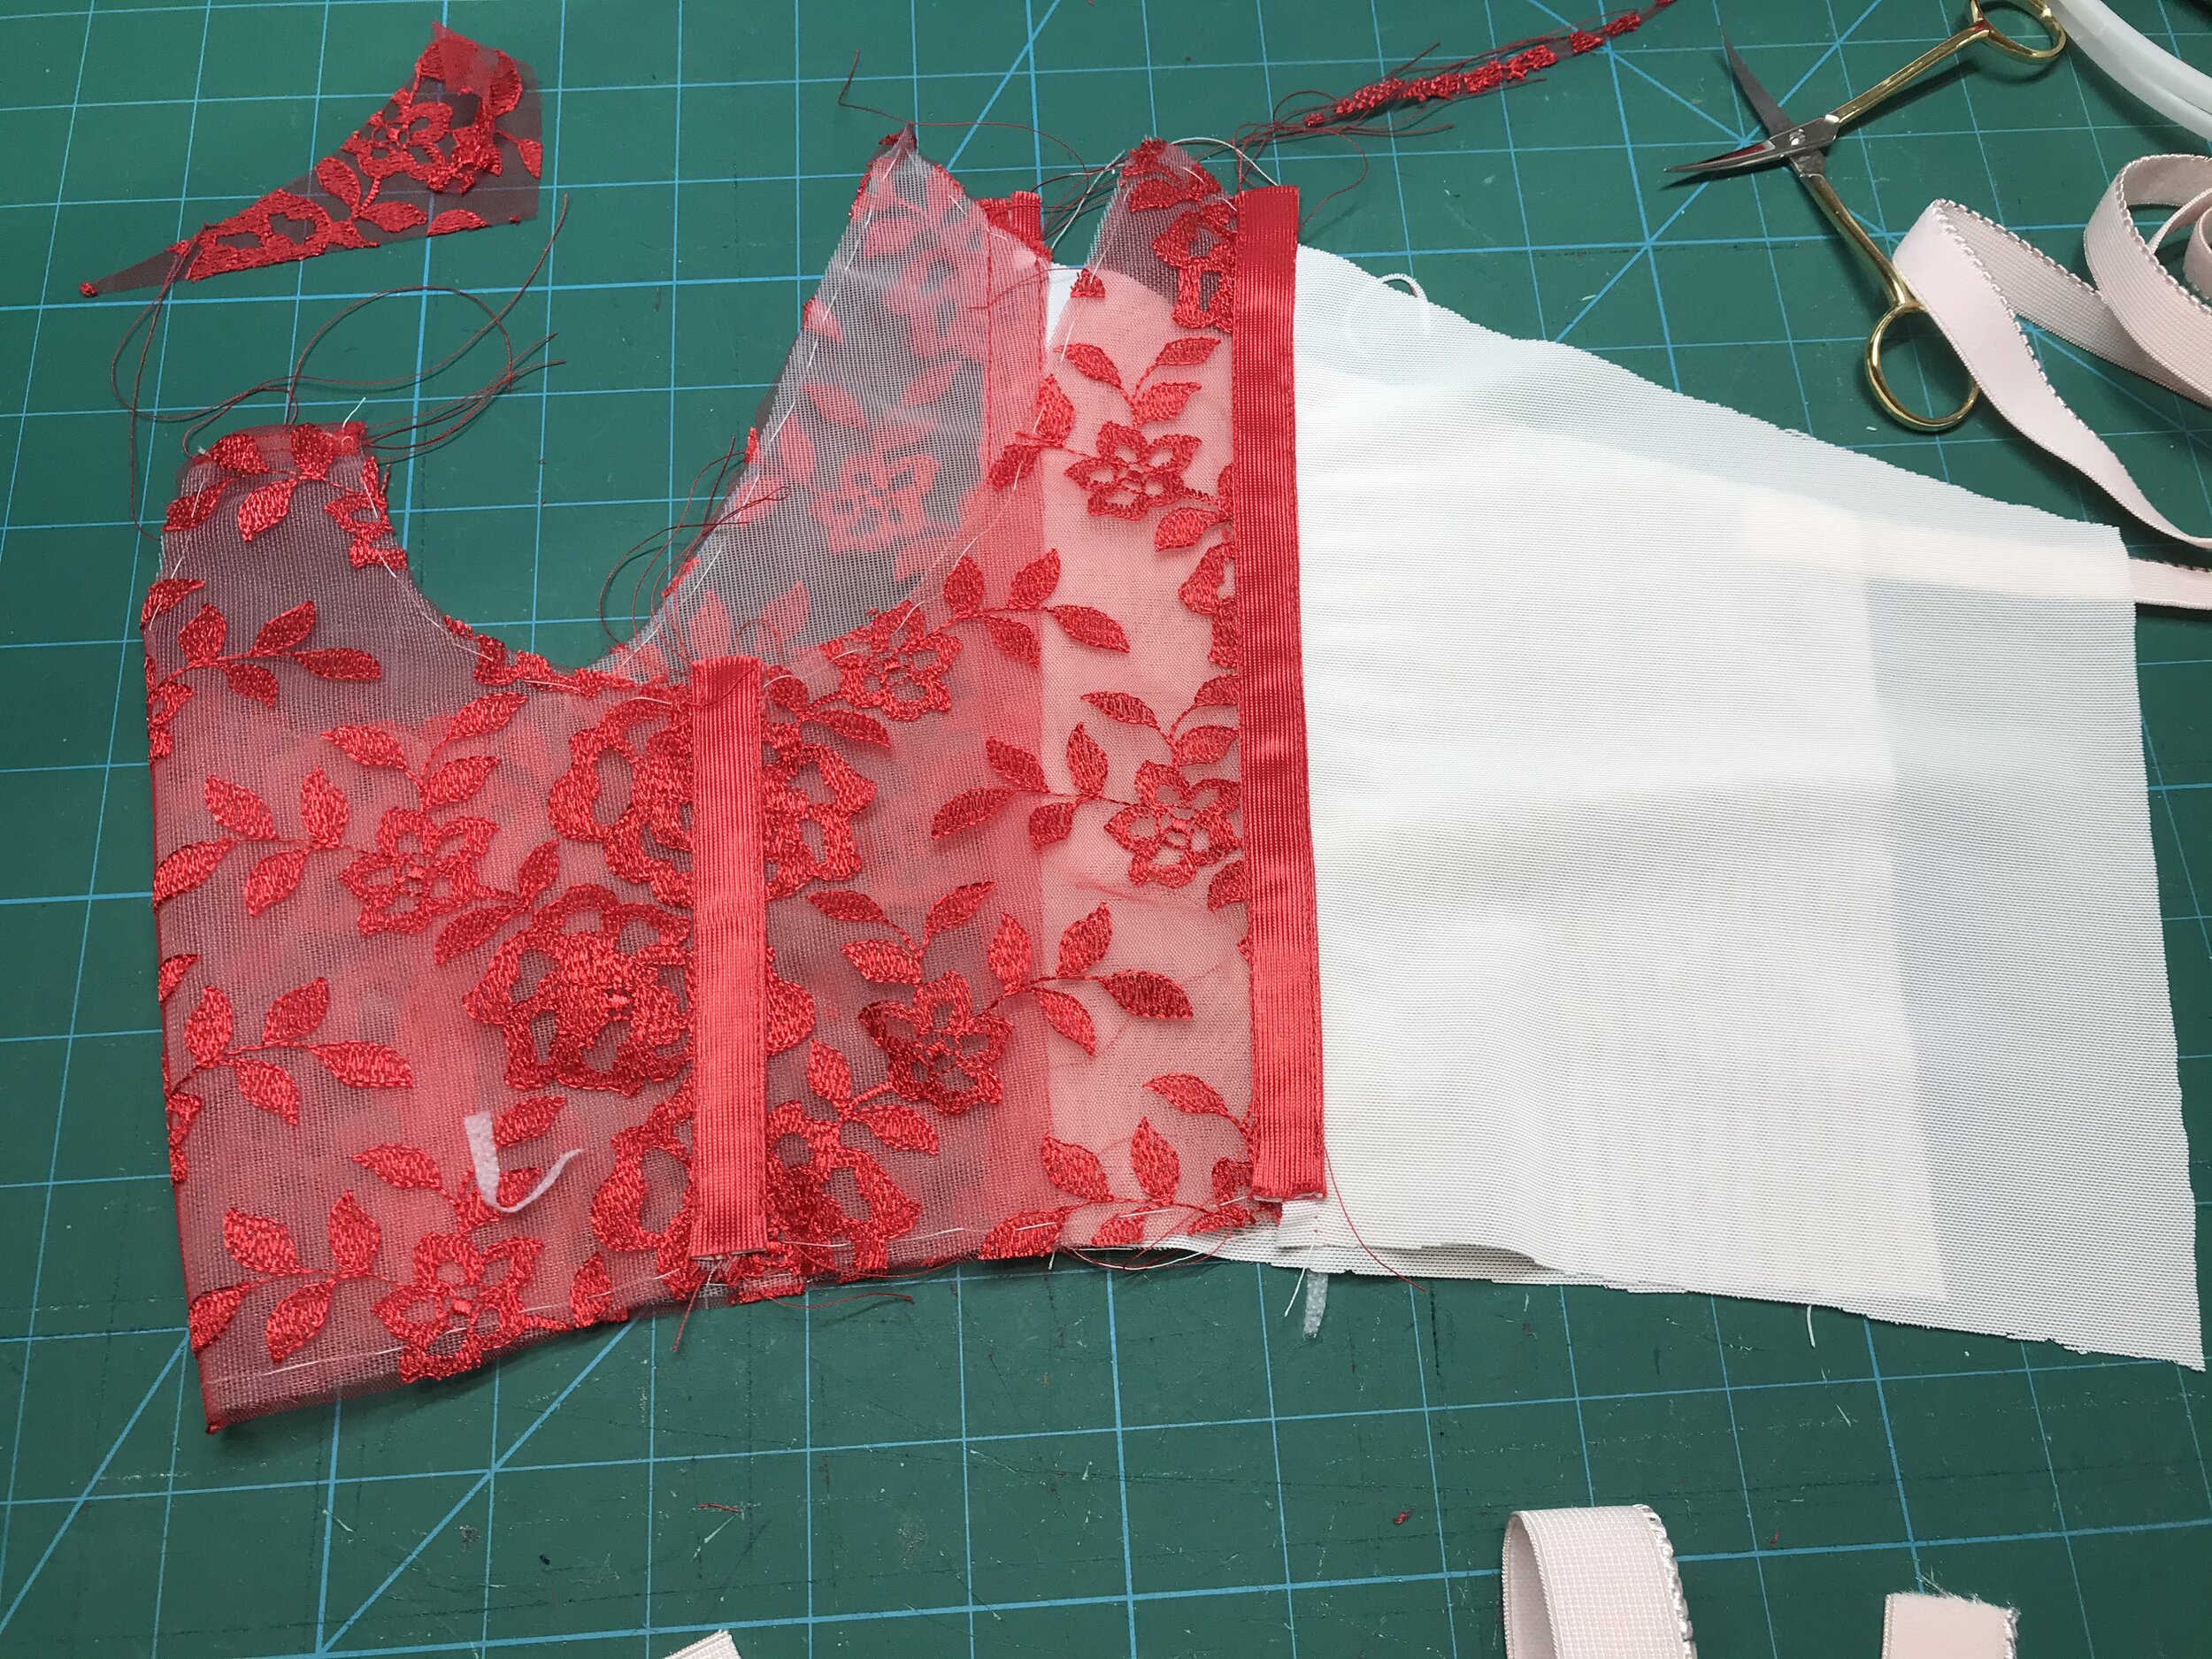
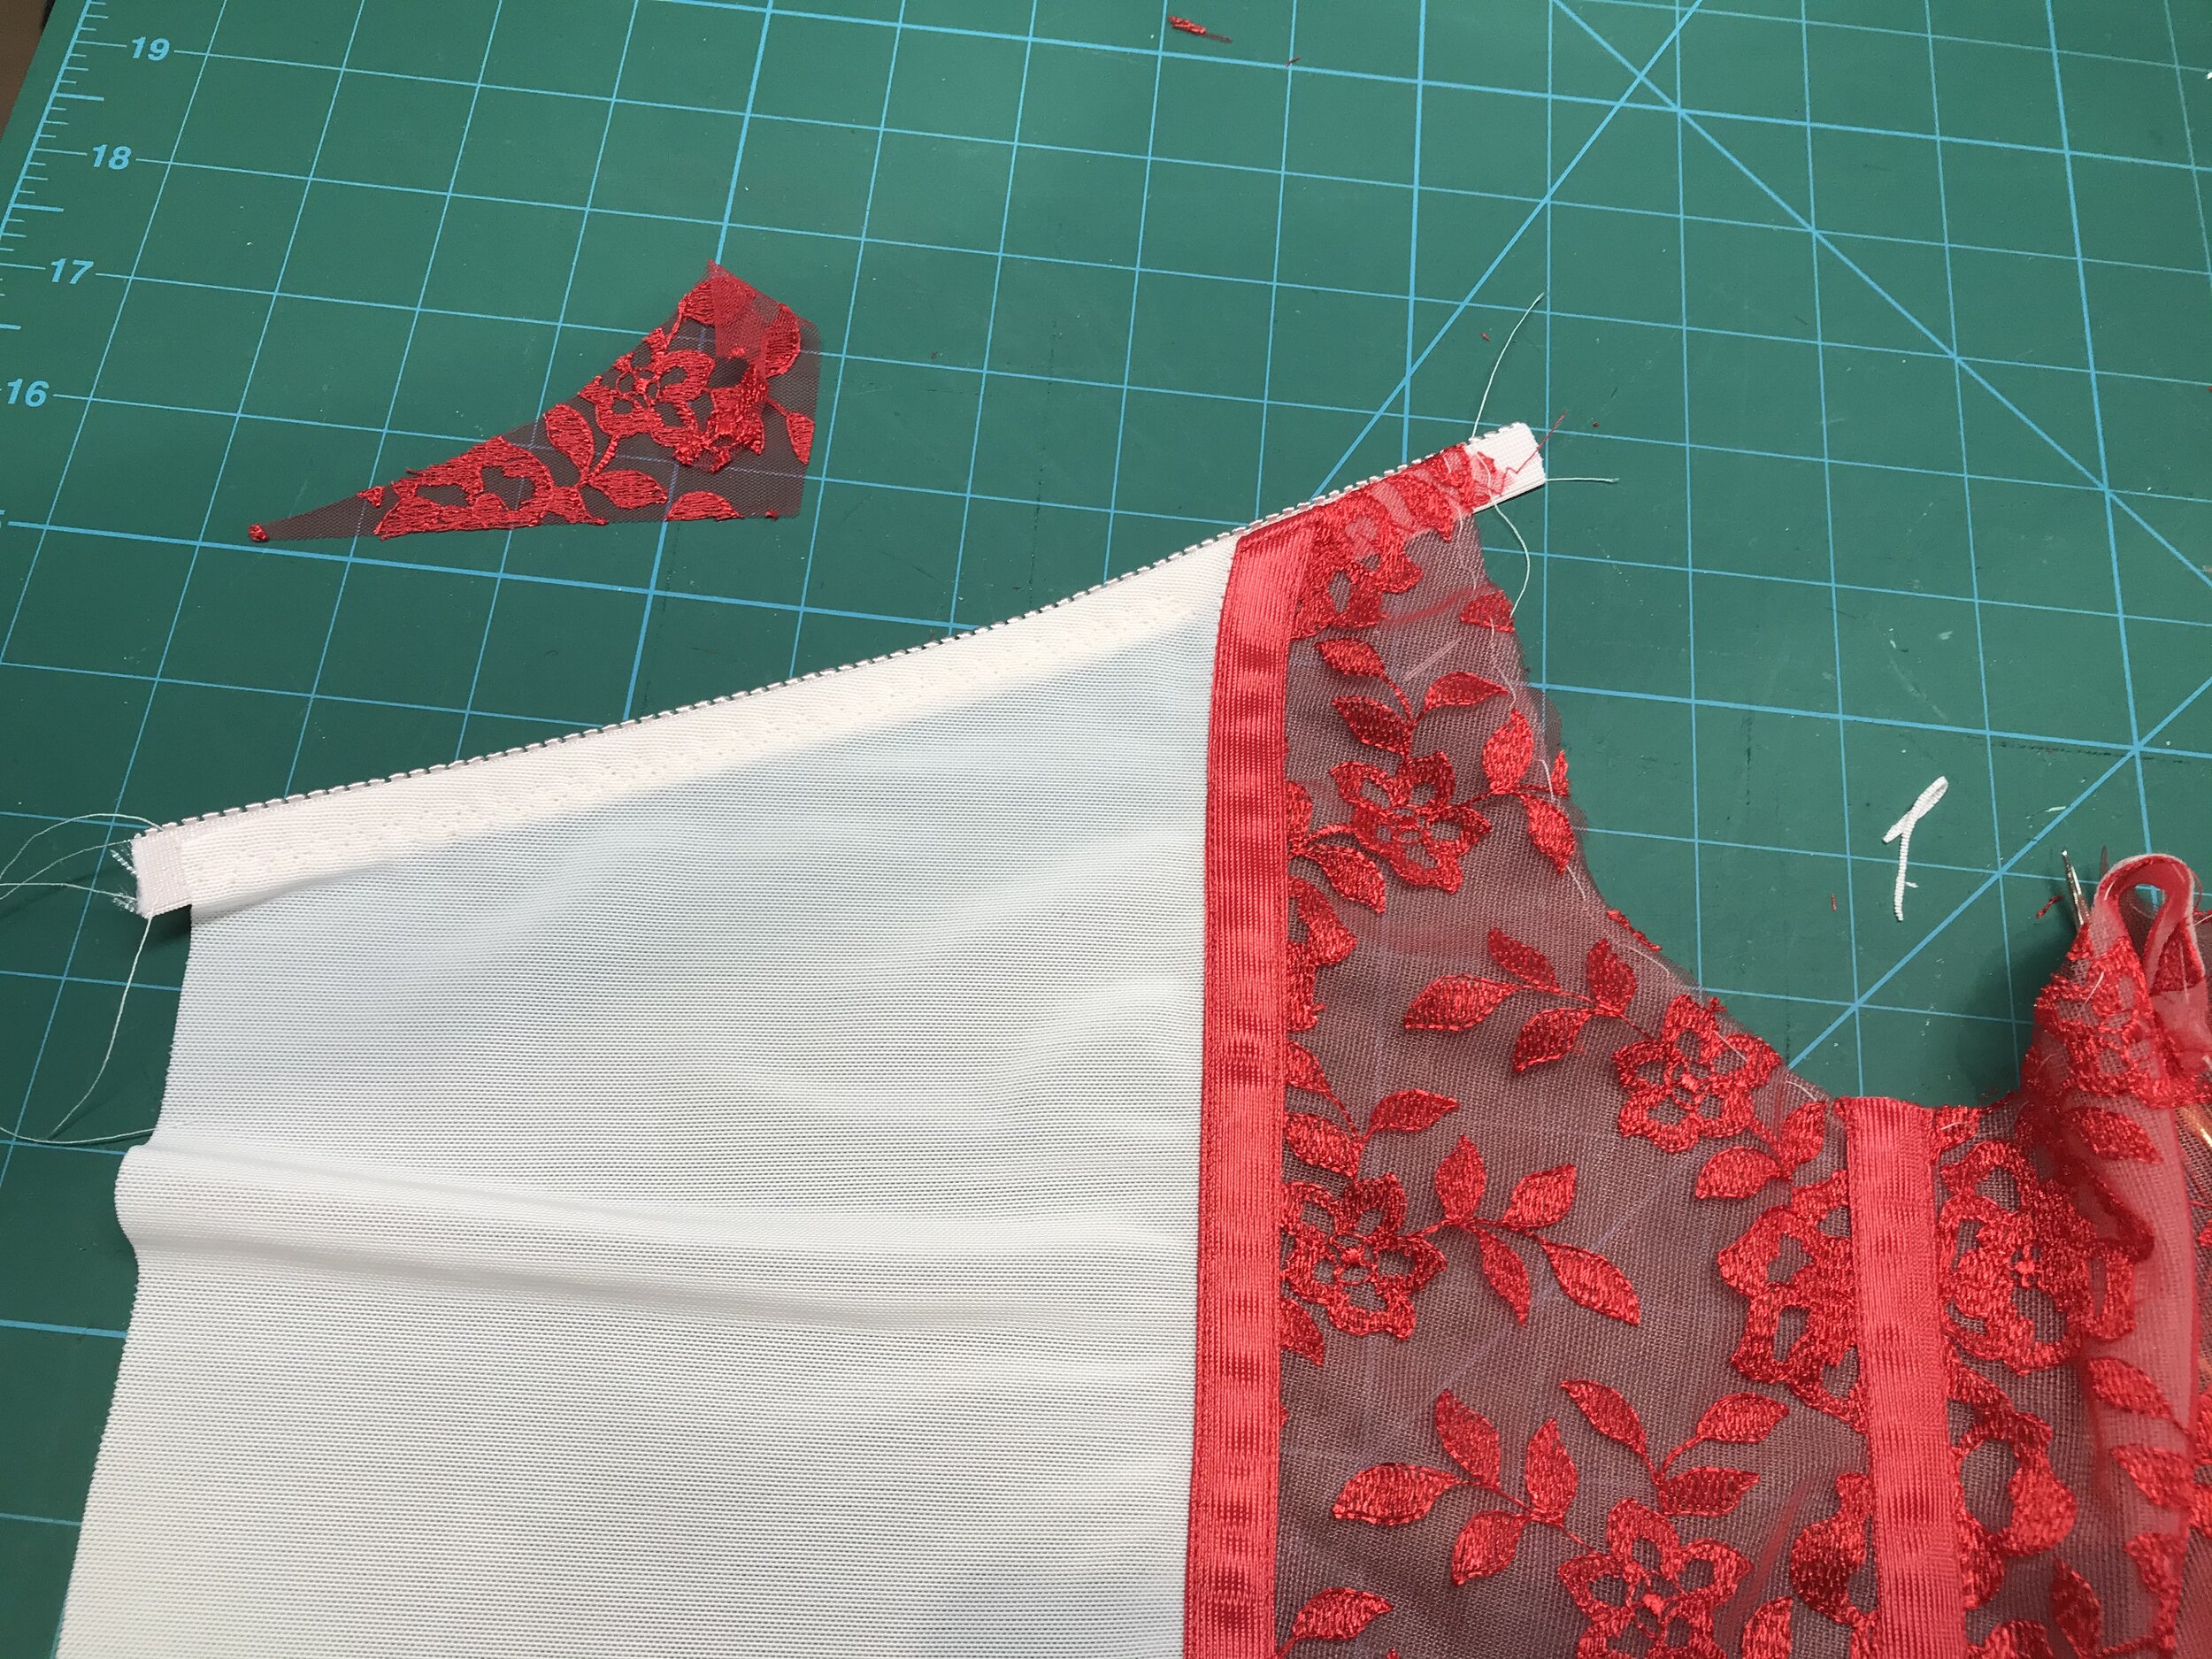
The pattern instructions are to apply the channeling for the boning at the end. I had to change the construction sequence so I could enclose the ends of the casing. I applied the upper elastic as normal for the first pass. Then, when I folded over for the second pass, I did not sew over the casing so I could insert the boning to the very top. I then inserted the cups enclosing the other two strips of casing.
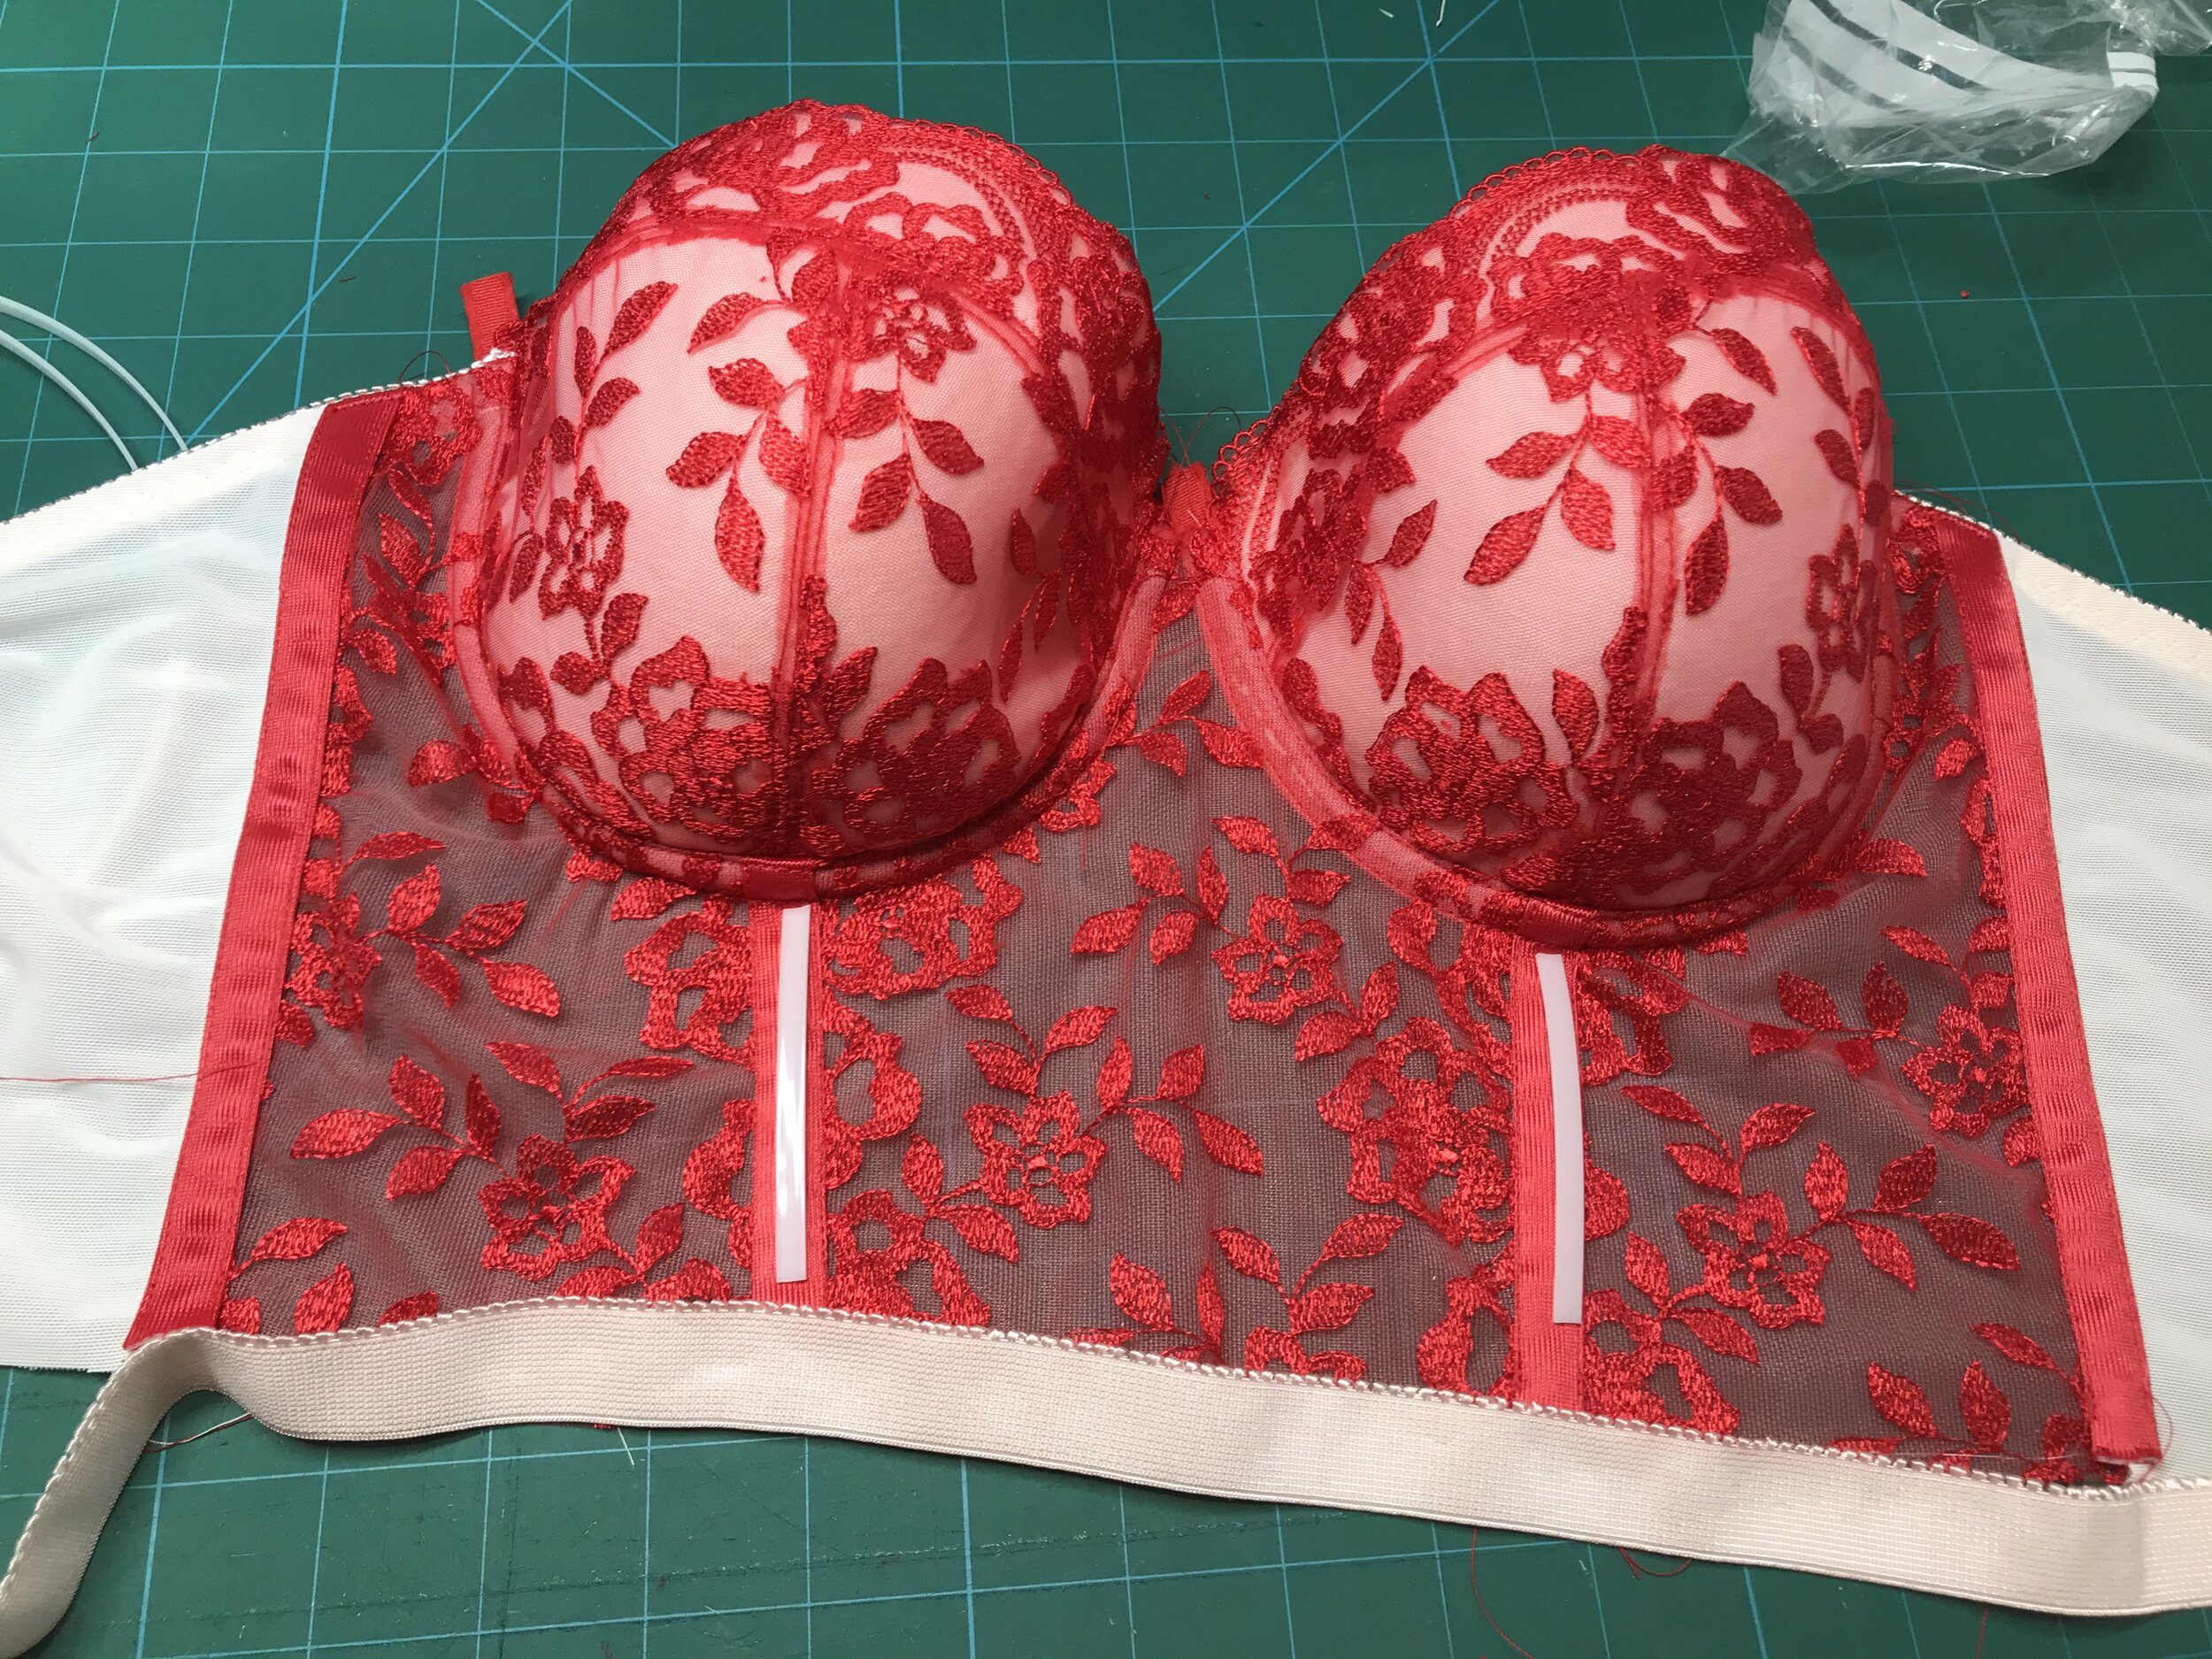


To do the same for the bottom band I placed the elastic over the bottom edge and cut the boning to fit within the space. I inserted the boning, pinned across and applied the bottom elastic. I then made the second pass not sewing over the casing. As the boning had been curved the elastic did gape at the casing so I handstitched to the frame over the casing. This time I matched with the Orange Lingerie Kingston Thong.
Fit wise the cup is a little full for my shape and, as with the Diamond, I would shape the sides for a closer fit into the waist. Amazed at the fit and shape of both. Not sure when I will be wearing a strapless dress again but I’m ready!