Pattern testing the Maris for Madalynne and the Hanna Bikini for Studio Costura
I haven’t posted anything for a while but I have been so busy pattern testing and preparing for the Great Bra Sewing Bee so I thought it was time to share some of the fantastic makes I have had from the tests. First up is the Maris Bralette and Panty from Madalynne Intimates. I was over the moon when Maddie sent a picture and asked me if I was interested in testing. This set is just stunningly beautiful.

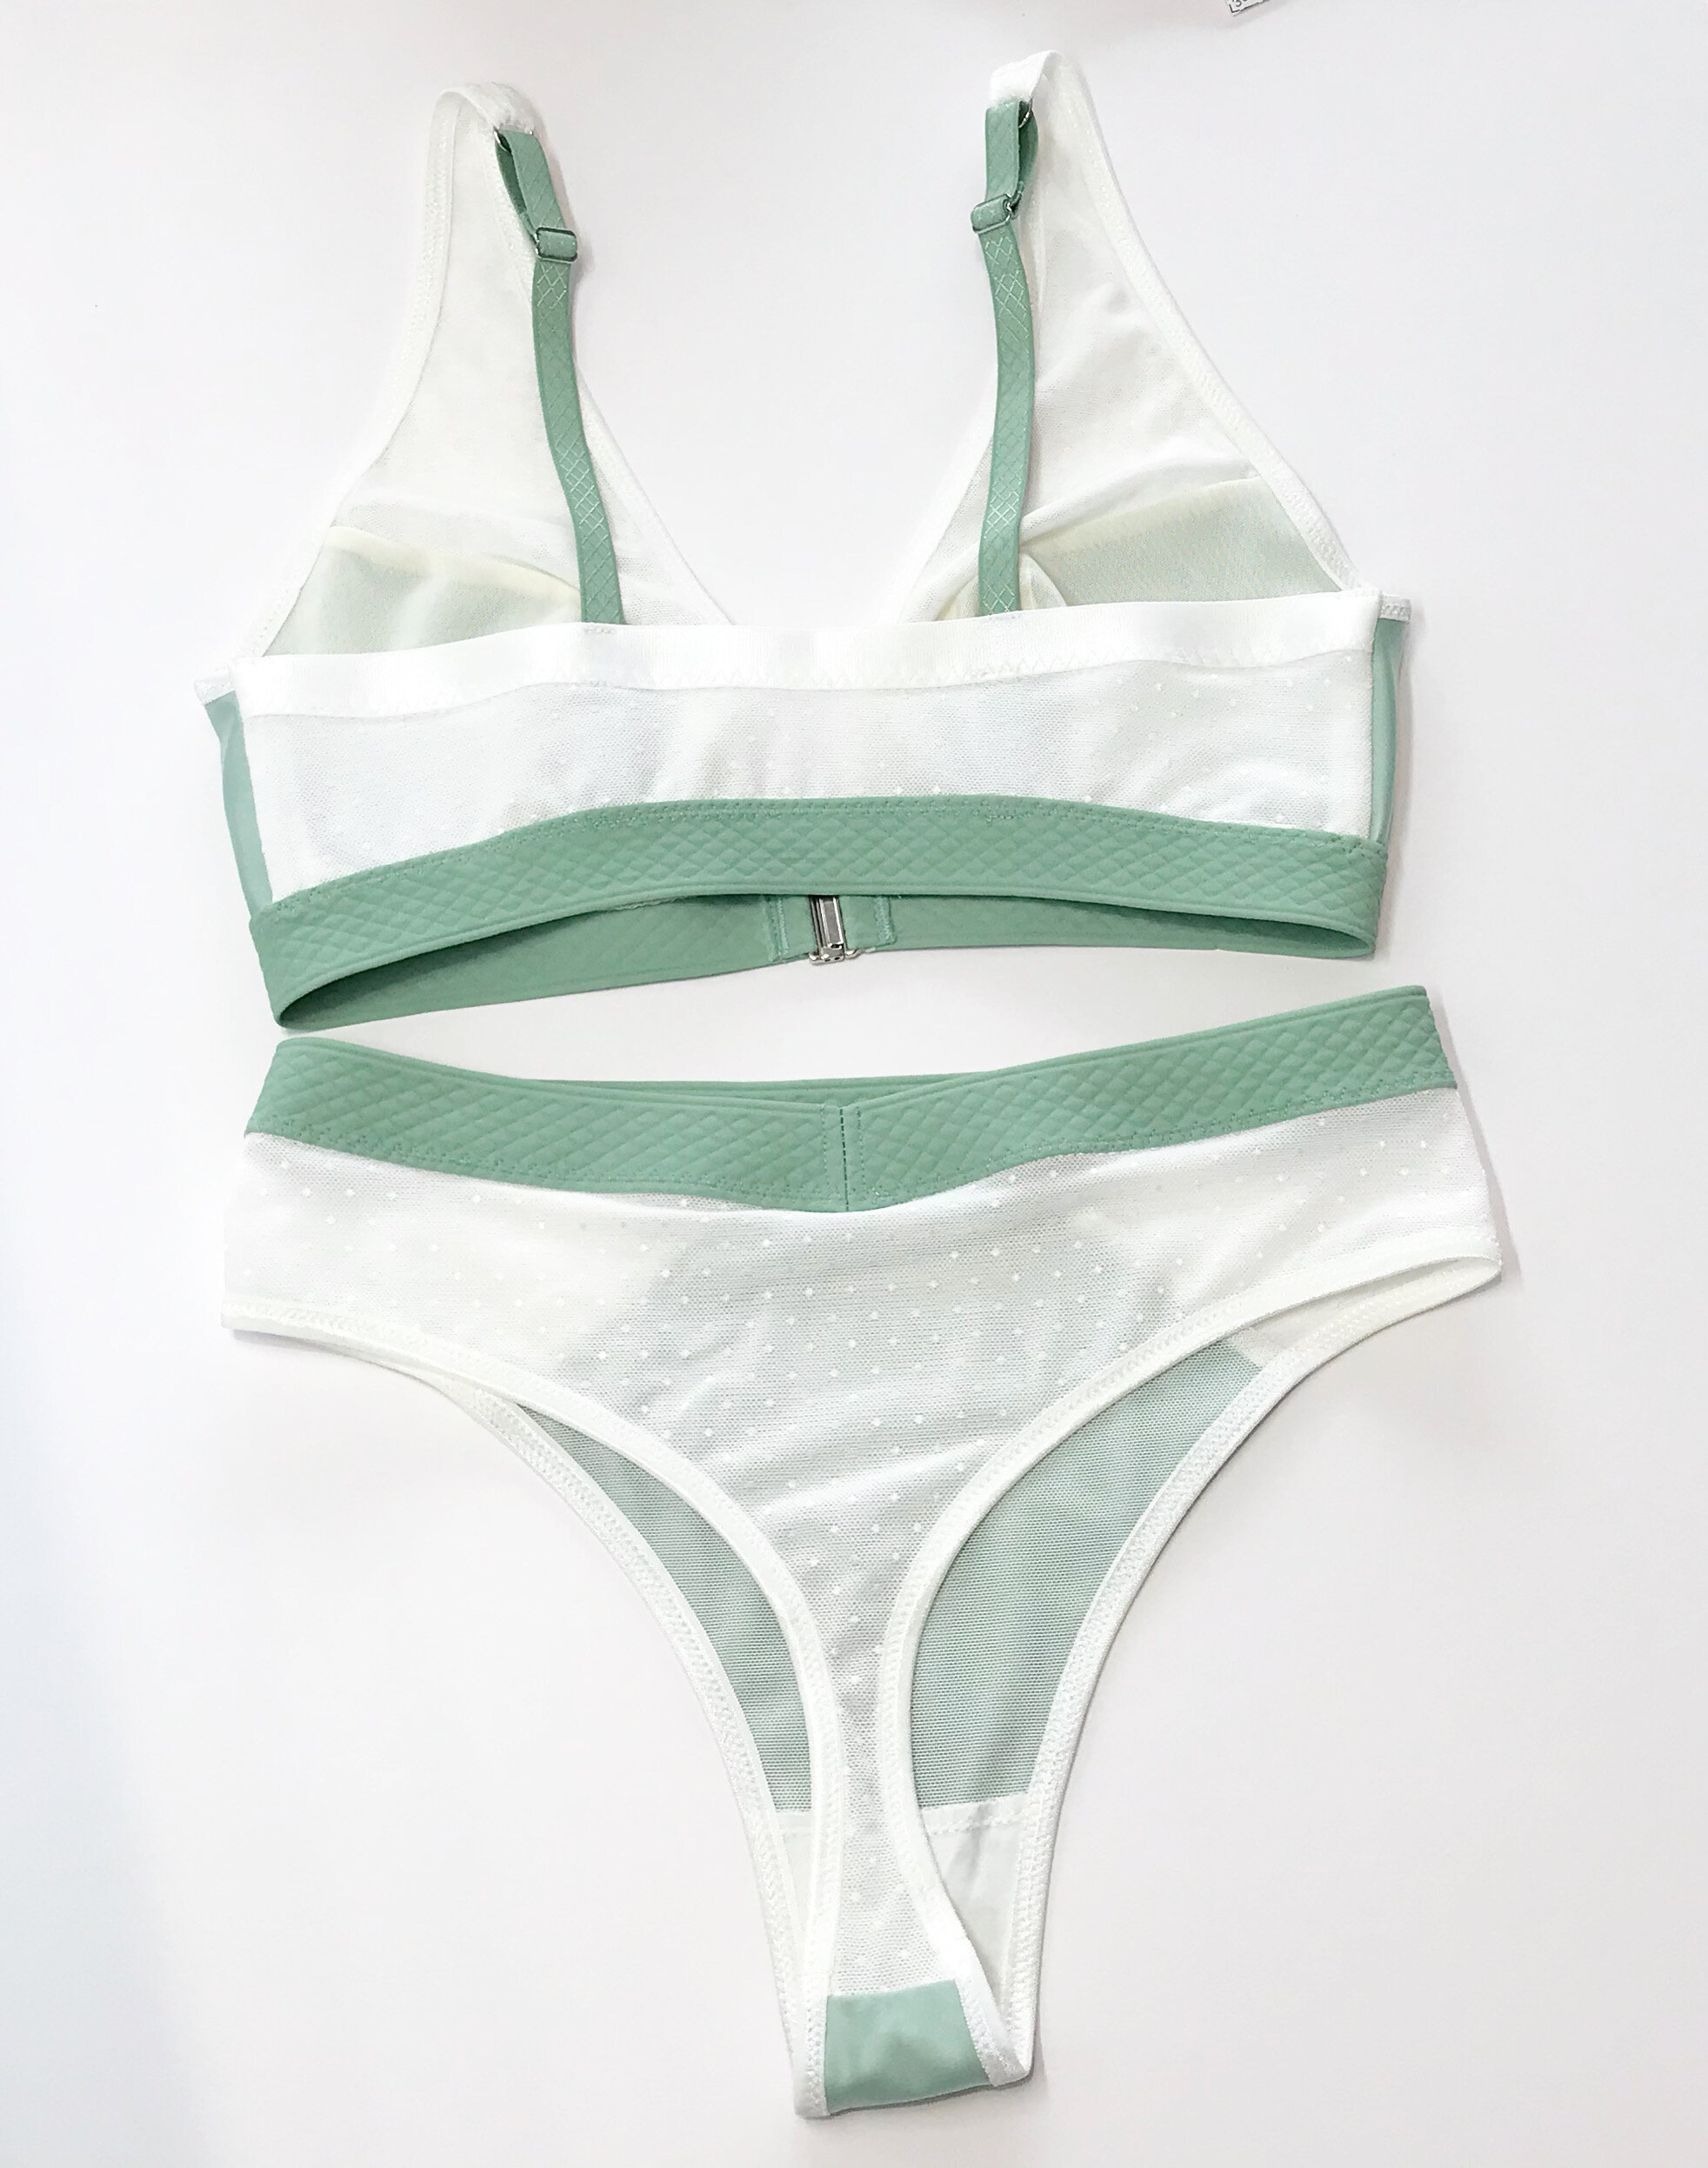

The Maris bralette is a 3-part bra cup – a lower cup with a vertical seam that provides shaping and volume for all cup sizes – and a triangle upper cup. It is finished with fold over elastic binding along the neckline and the underarm, and a wide elastic band at the bottom, which gives additional support. It also has adjustable shoulder straps and a front closure. The Maris panty is a mid-rise thong with side panels. The leg openings are finished with fold over elastic binding and the waistline is finished with a wide elastic band.
The instructions, as always, are so well thought out and illustrated with clear pictures. I also like the fact that Maddie includes pictures of the supplies needed. This is so helpful if you are new to bra making. The pattern has a great size range and three cup sizes for each band size. My measurements came up small for both the bralette and panty and I was in between the two cup sizes c/d and e/f. For my test I made up both and but the c/d was a better fit.

The test was in preparation so I would be ready to make in a kit Maddie had sent. There is always much excitement when I wait for an order from Maddie to arrive and I wasn’t disappointed. The mint colour is gorgeous but what makes the kit really special is the elastic which looks quilted. She has also had narrow fasteners specially made for the pattern to ensure there is no gaping at the front.


It is a pretty quick make for amazing results. Everything is lined for comfort. I did swap out the mesh lining that came with the kit for a cream. If you do have an overlocker I would recommended using on the top edge of the band as well as all along the bottom. Not only is it neater but acts as guide for applying the elastic.


I didn’t bother measuring the elastic for the leg opening but I do prefer to apply in two passes. Starting at the gusset, leaving a tail, I stitched my way around until I was close to the start. I left enough room to sew a seam in the fold over elastic and then folded over and sewed in the round. For the waist elastic, as with most wide plush elastic, I used a wide coverstitch to open and cover the seam as it does tend to unravel. I also stabilised the ends of the front band at the centre front with two layers of firm stabiliser to stop it stretching out when the fastener is attached.
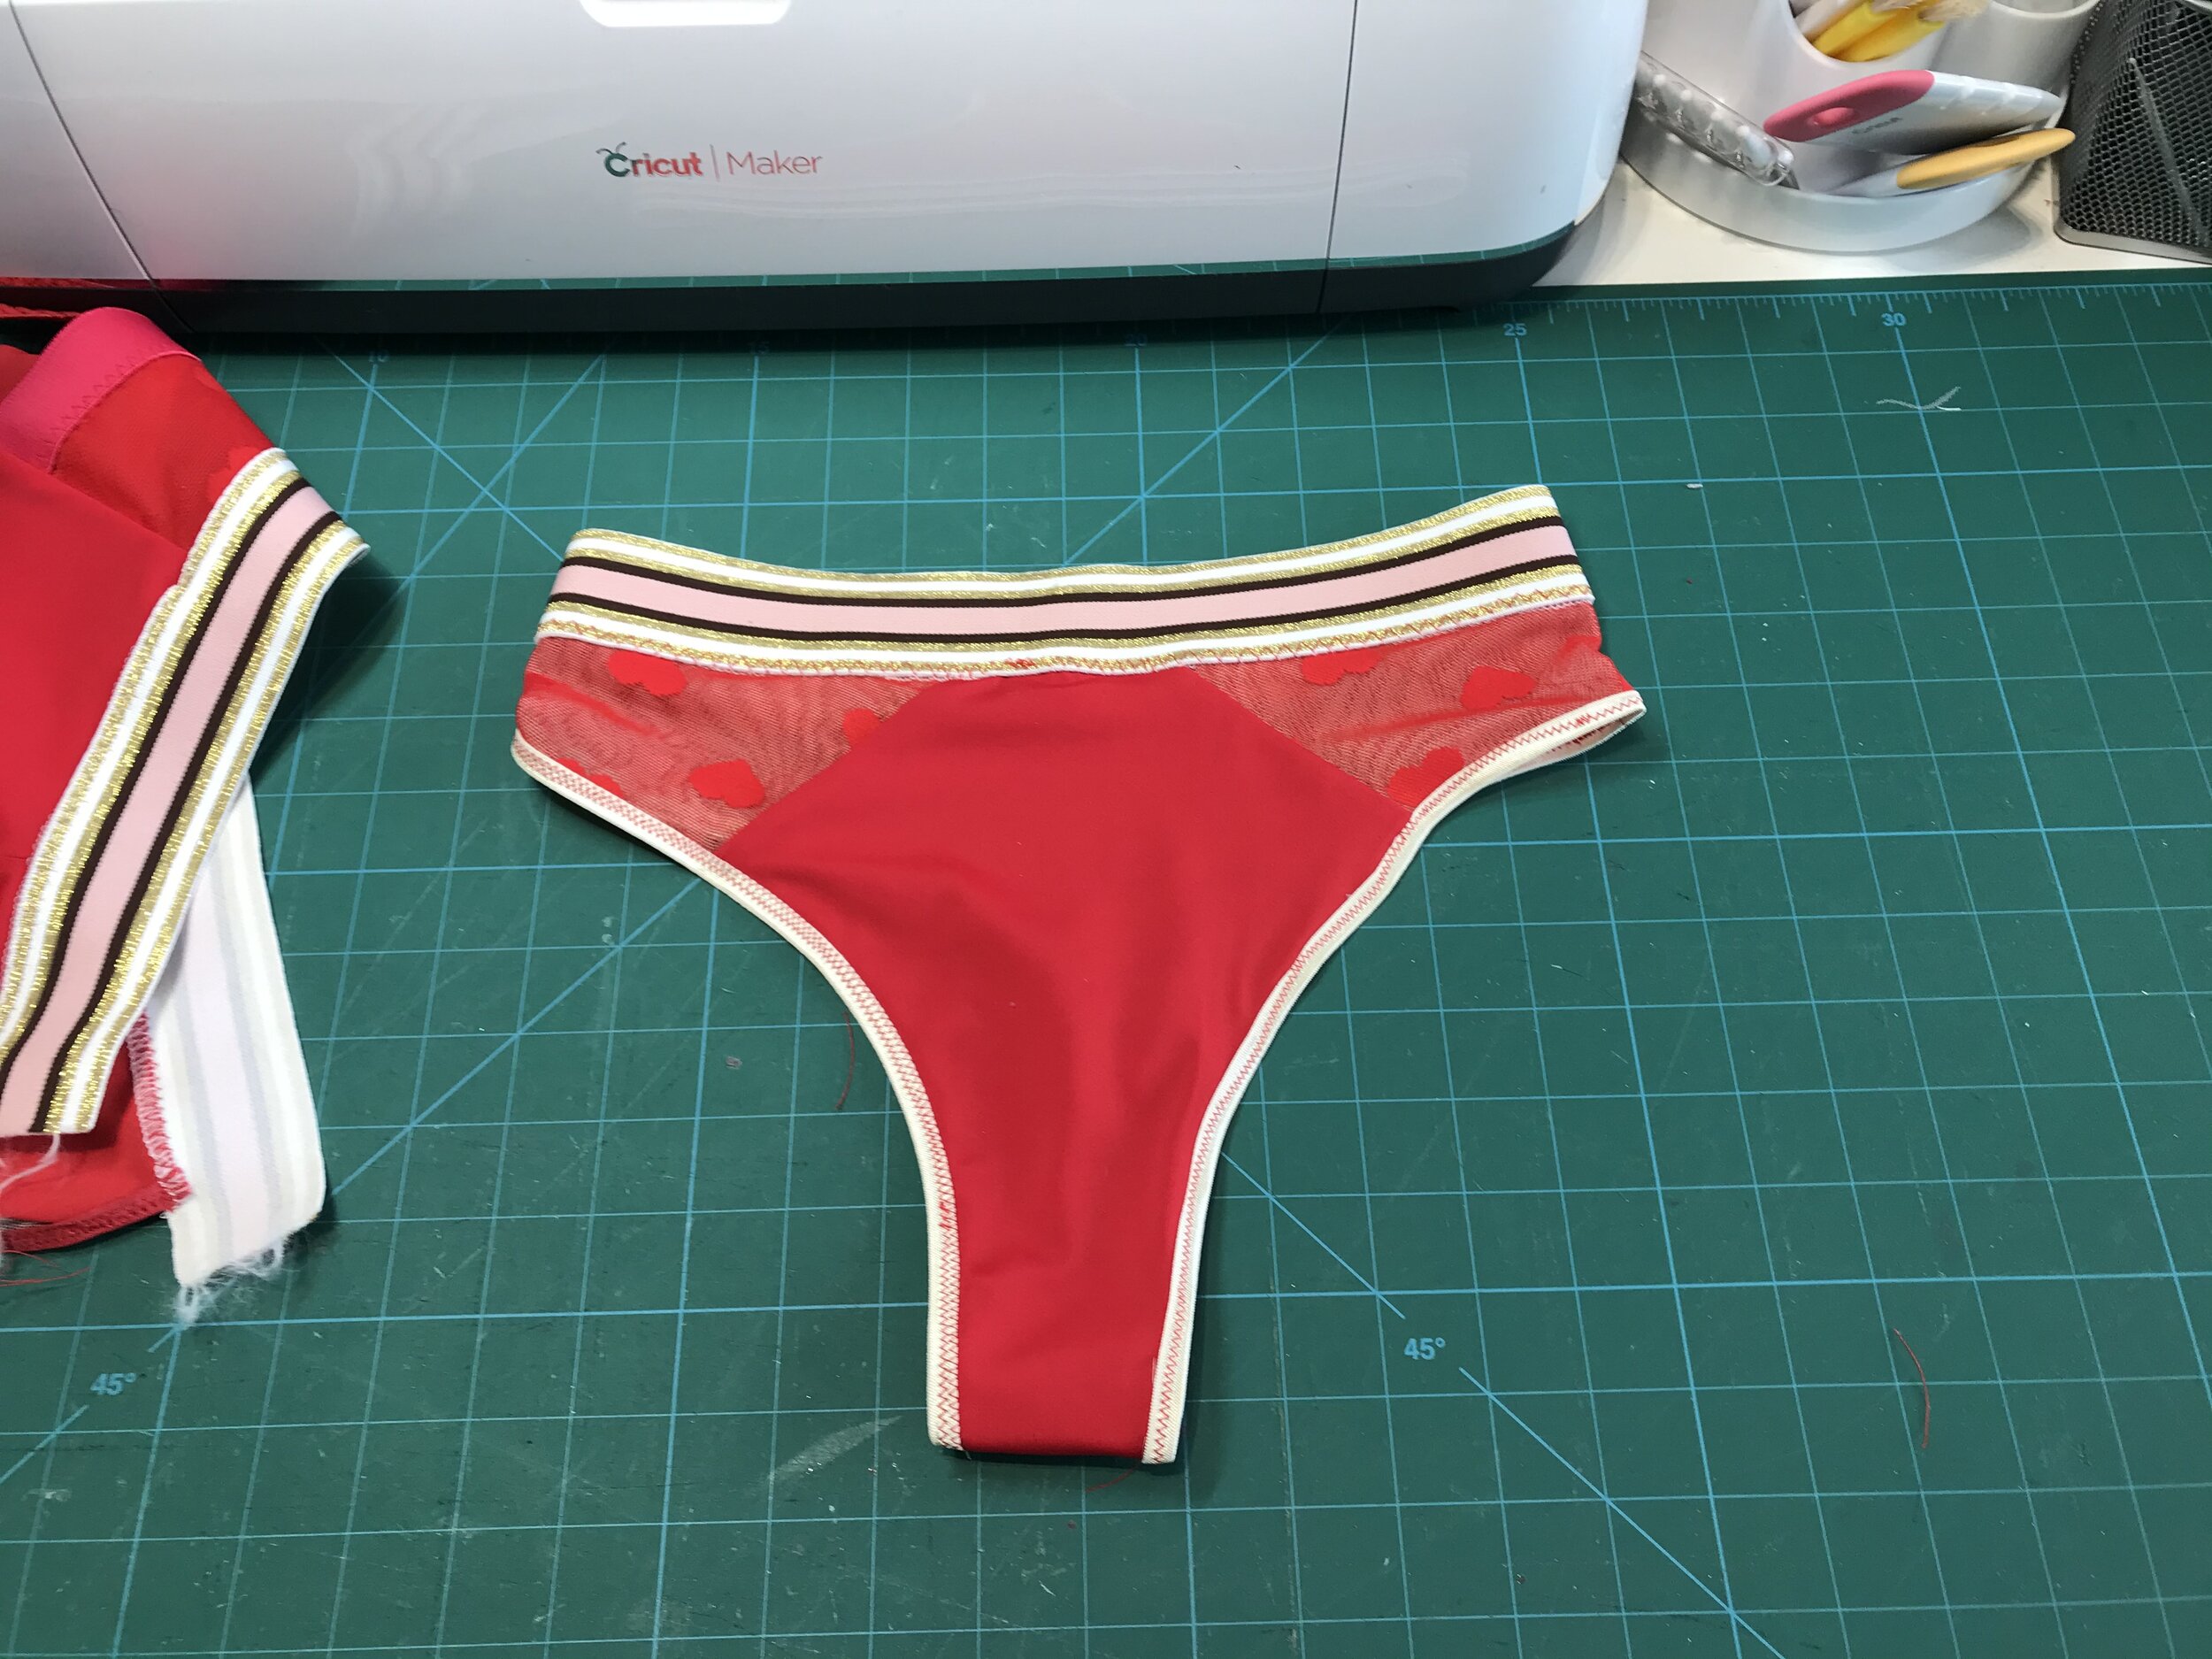
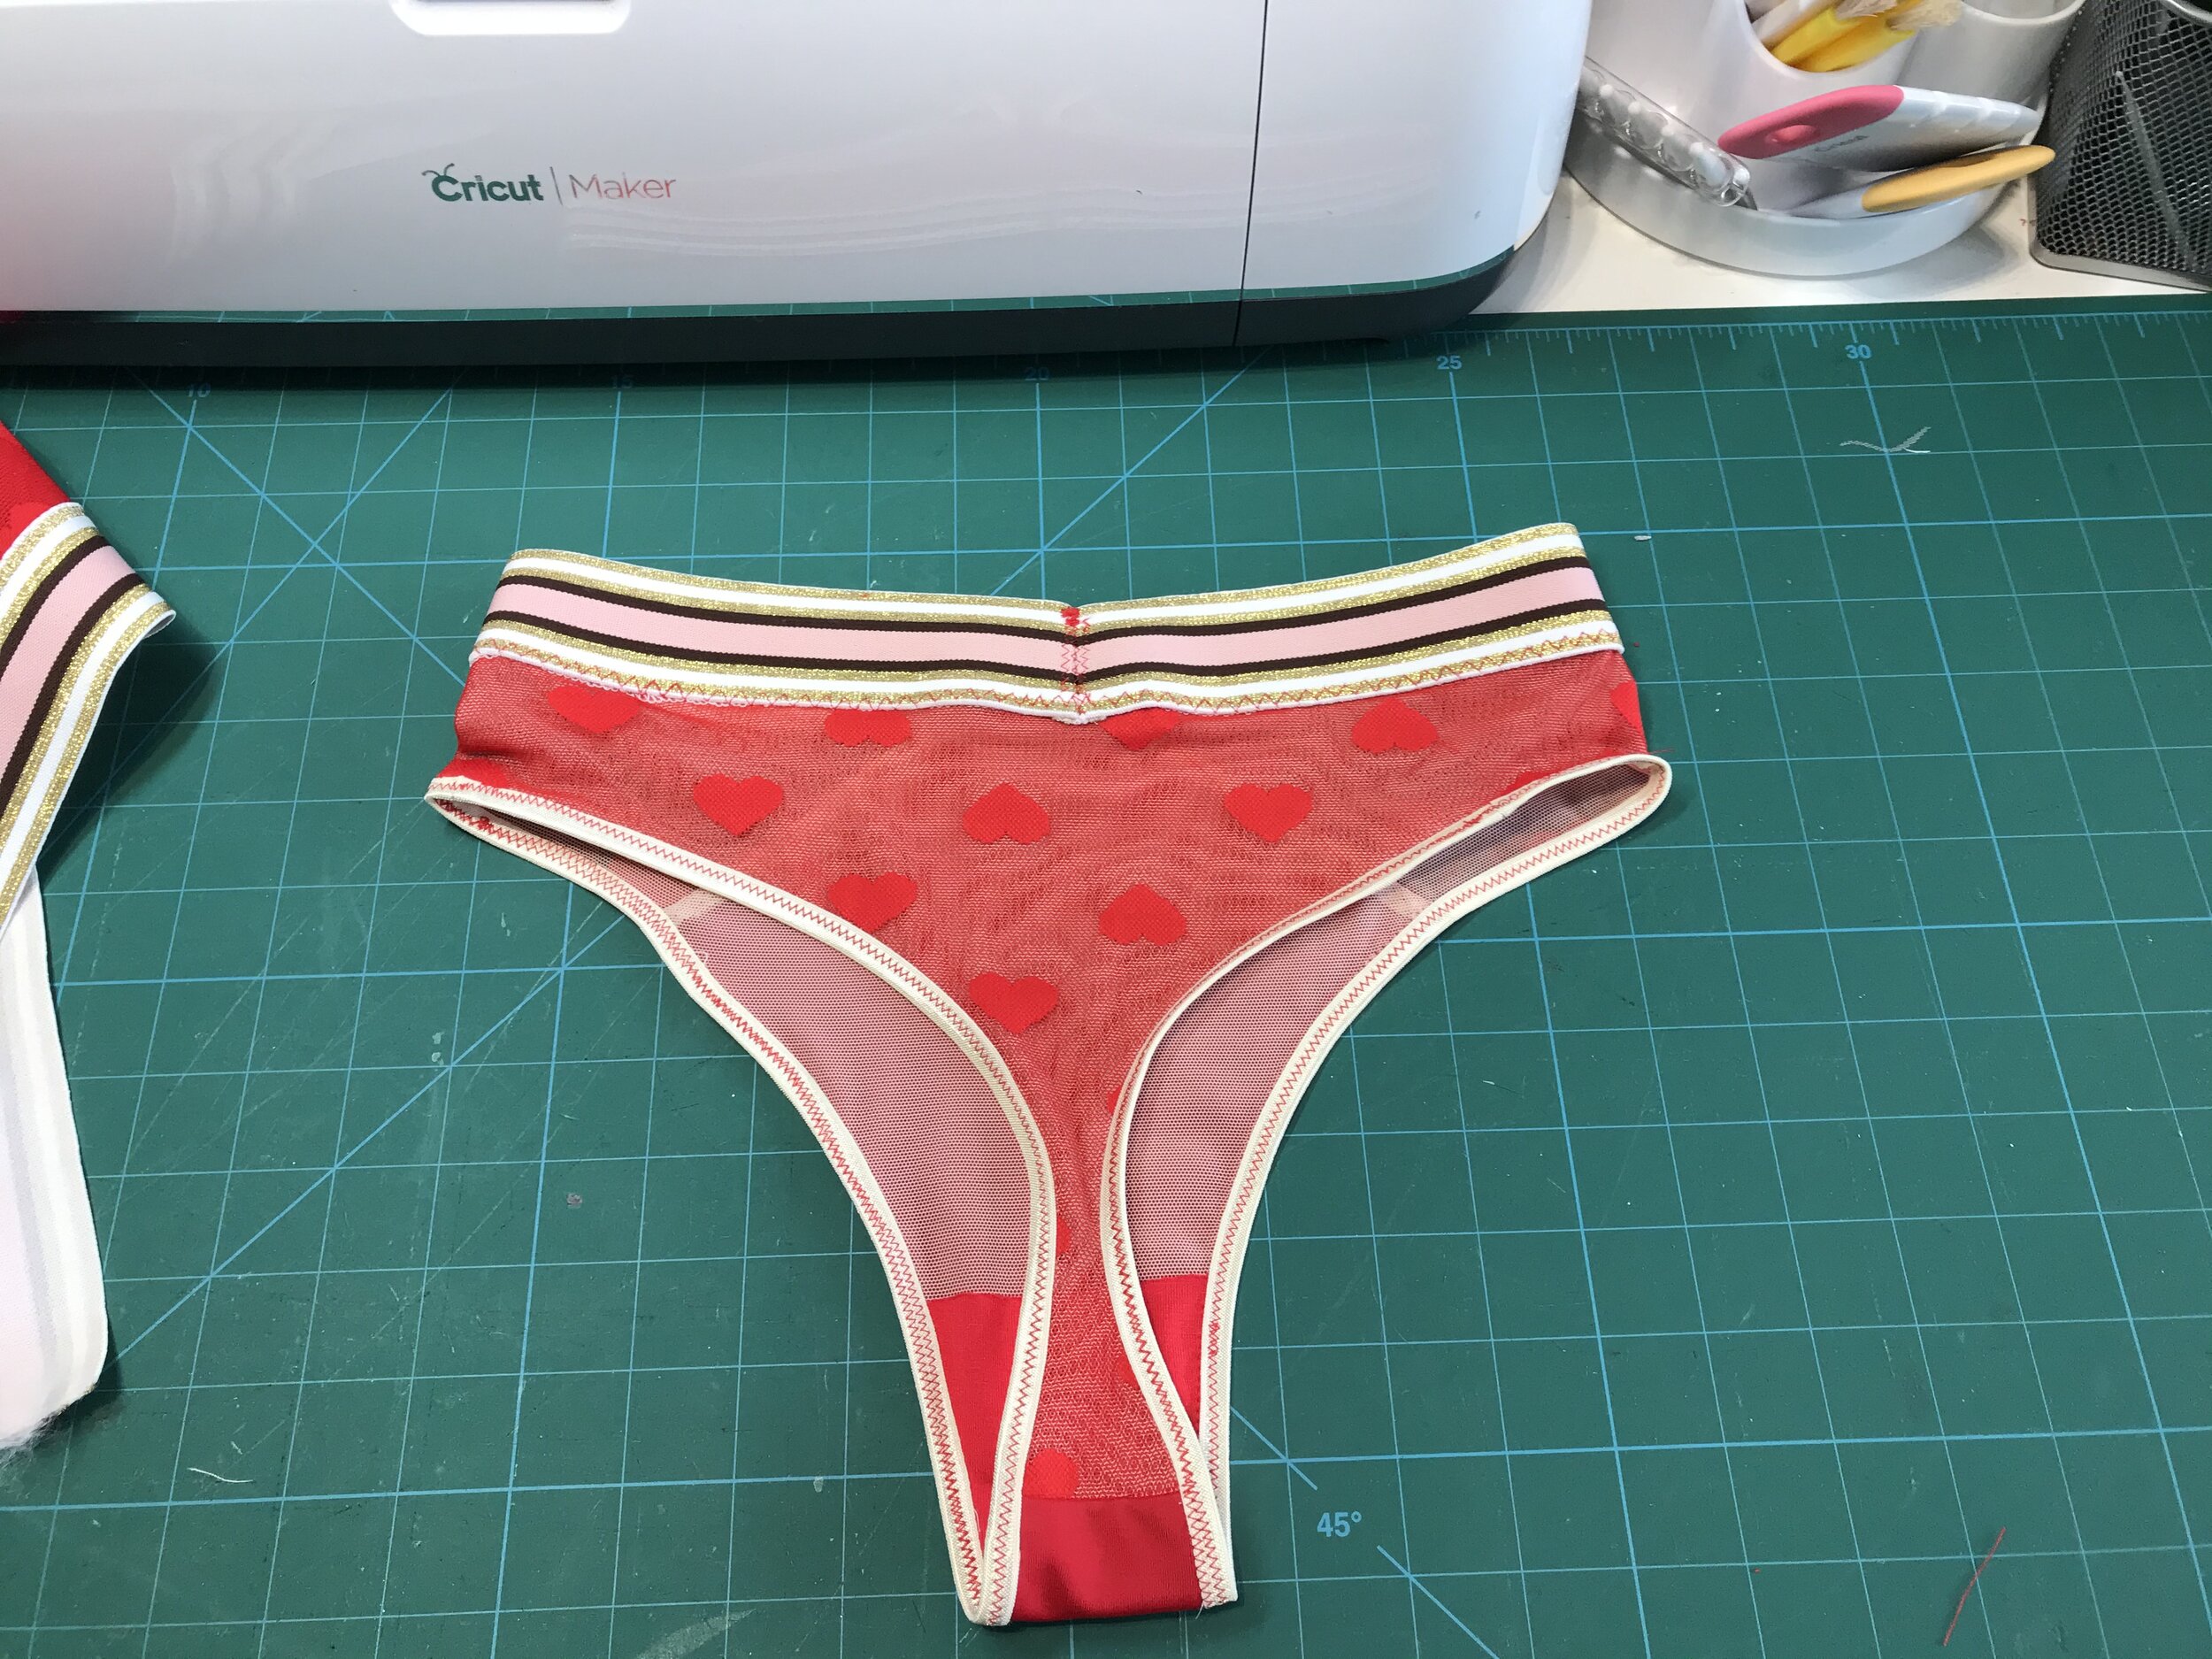
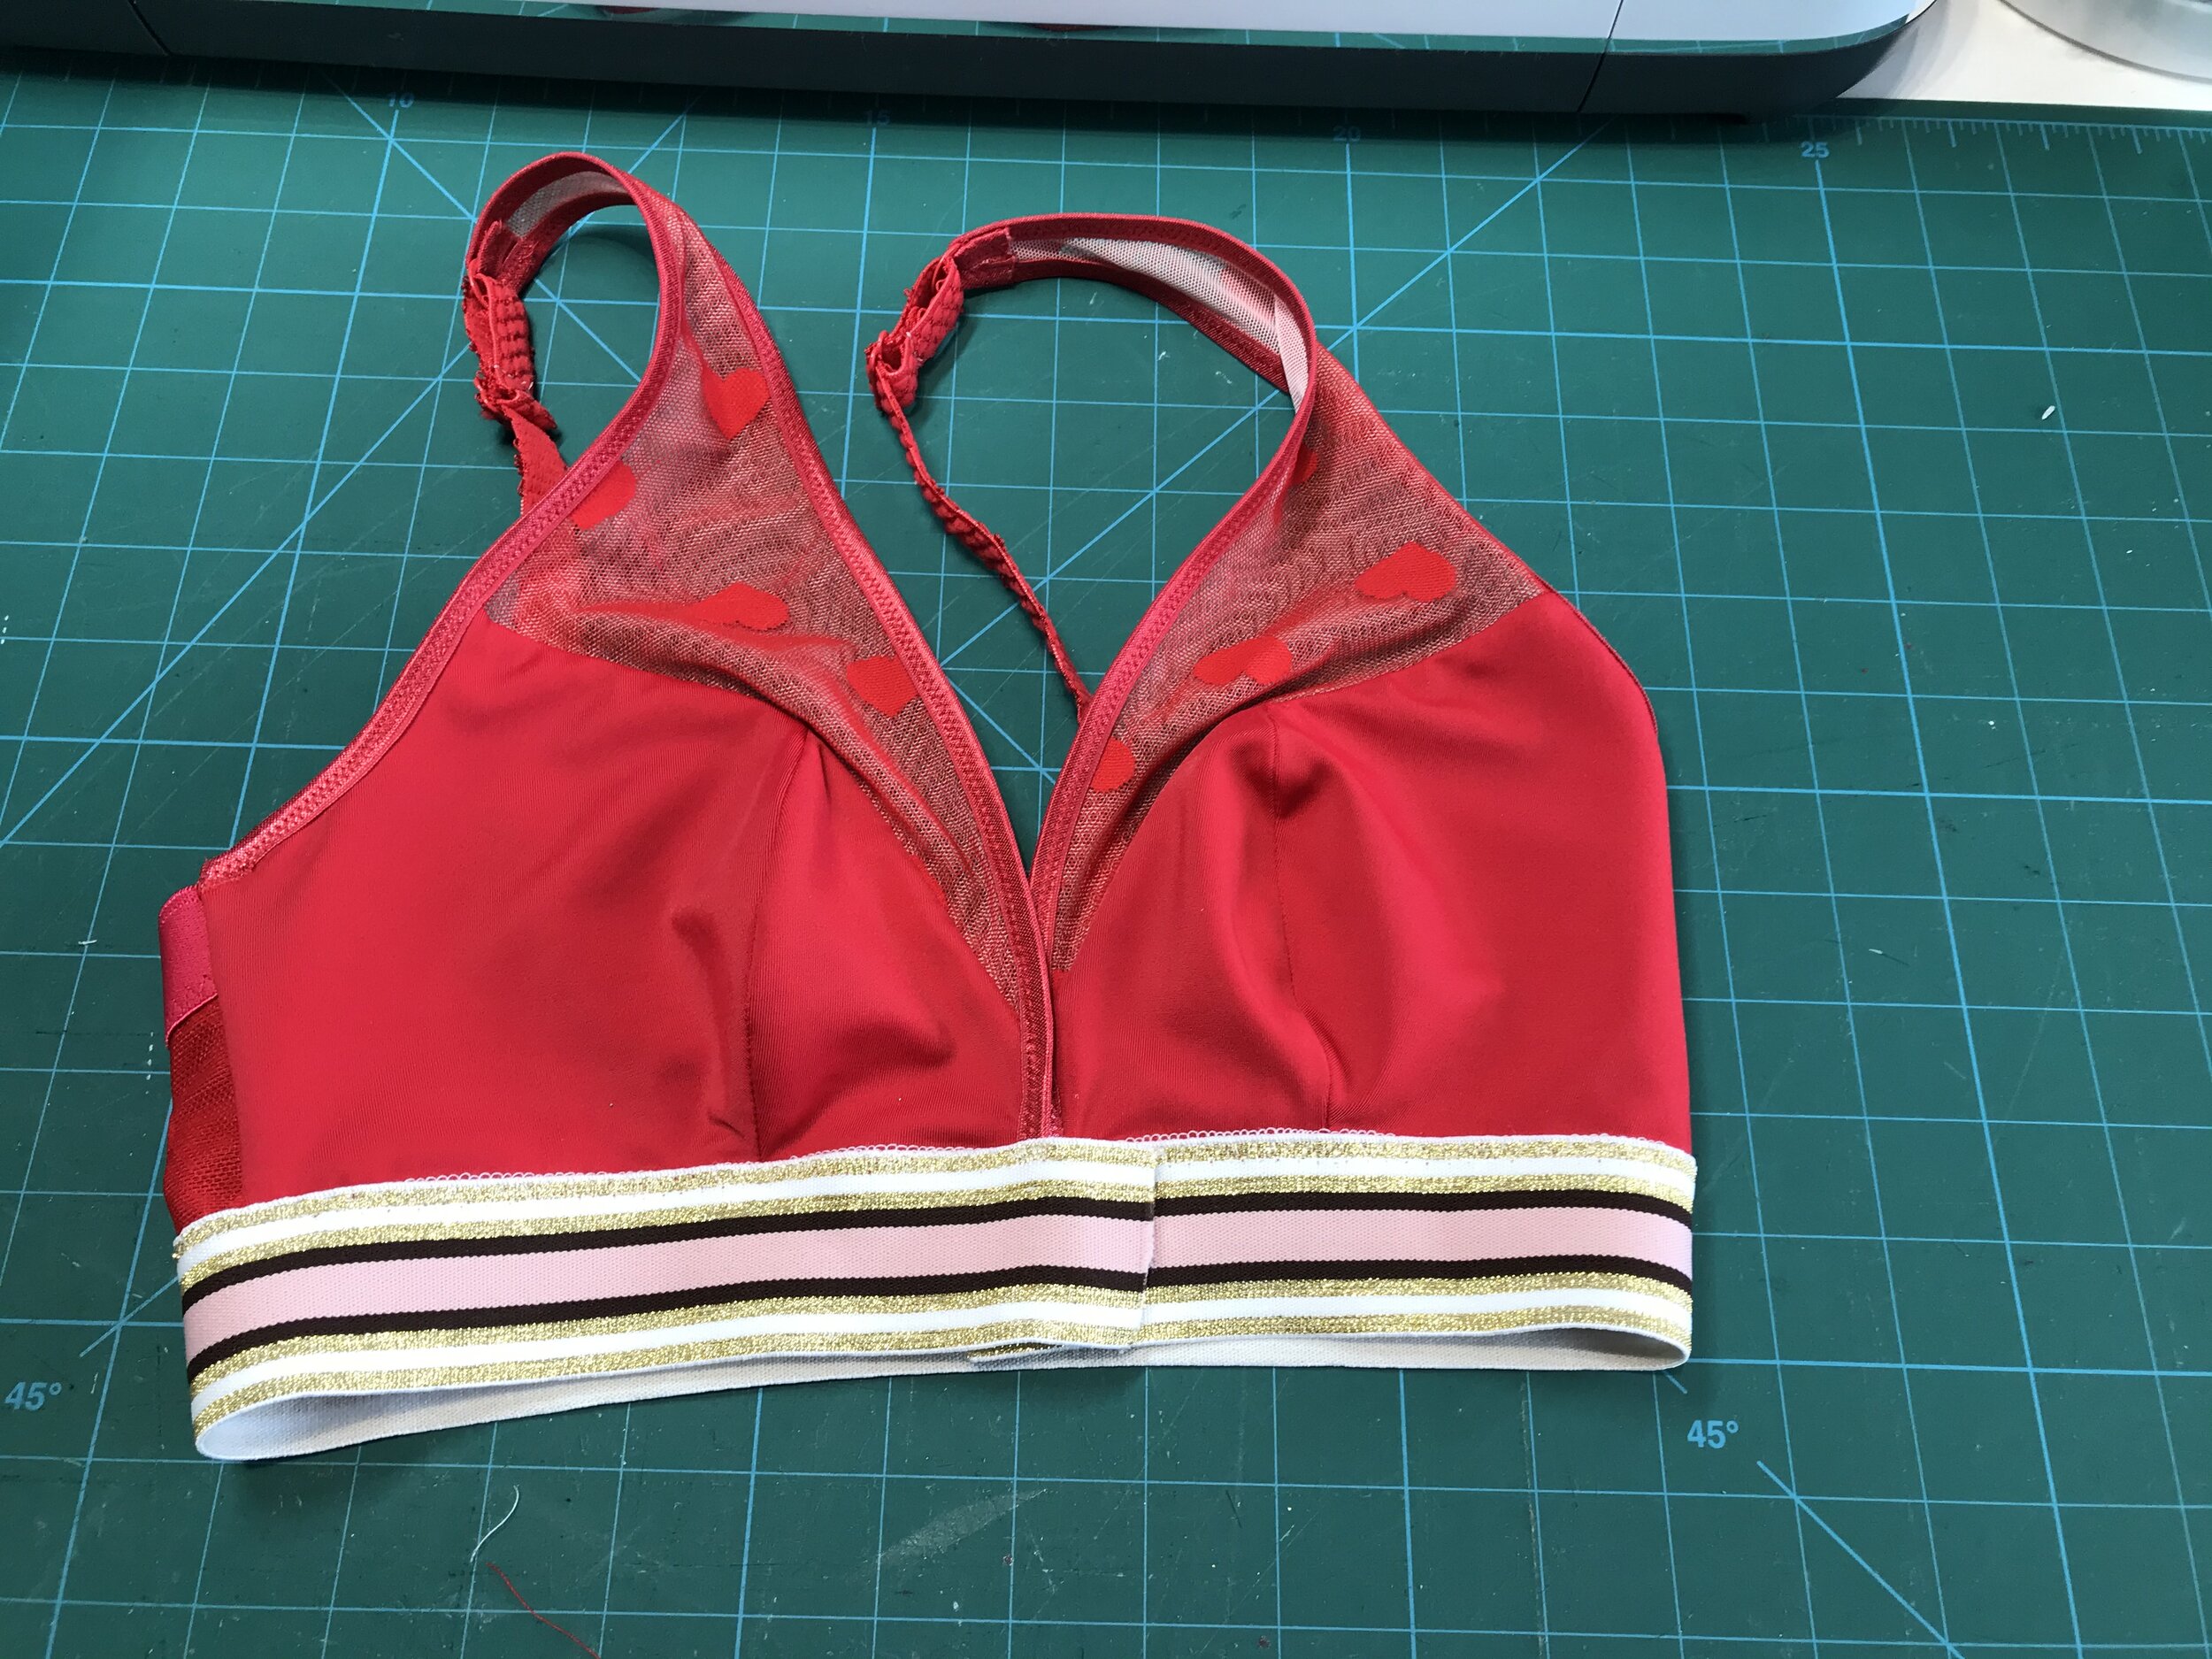
Although it was a quick make to test the size the red set with heart mesh is still very wearable. I didn’t have another fastener so I joined at the centre front again reinforcing and slipped stitched the the fold over elastic together for about 1/2” to stop any gaping.
The plunge neckline is so flattering and good enough to show off. The mid rise thong is my absolute favourite fit having the benefits of a no show back and the comfort of the coverage on the hips.
Not only has Maddie set up a Facebook group just for this pattern so you can share your makes and discuss with others but she has some Youtube tutorials including making the Maris as a bikini set. And of course to go with this there are some amazing kits of which the red gingham bikini is my favourite.

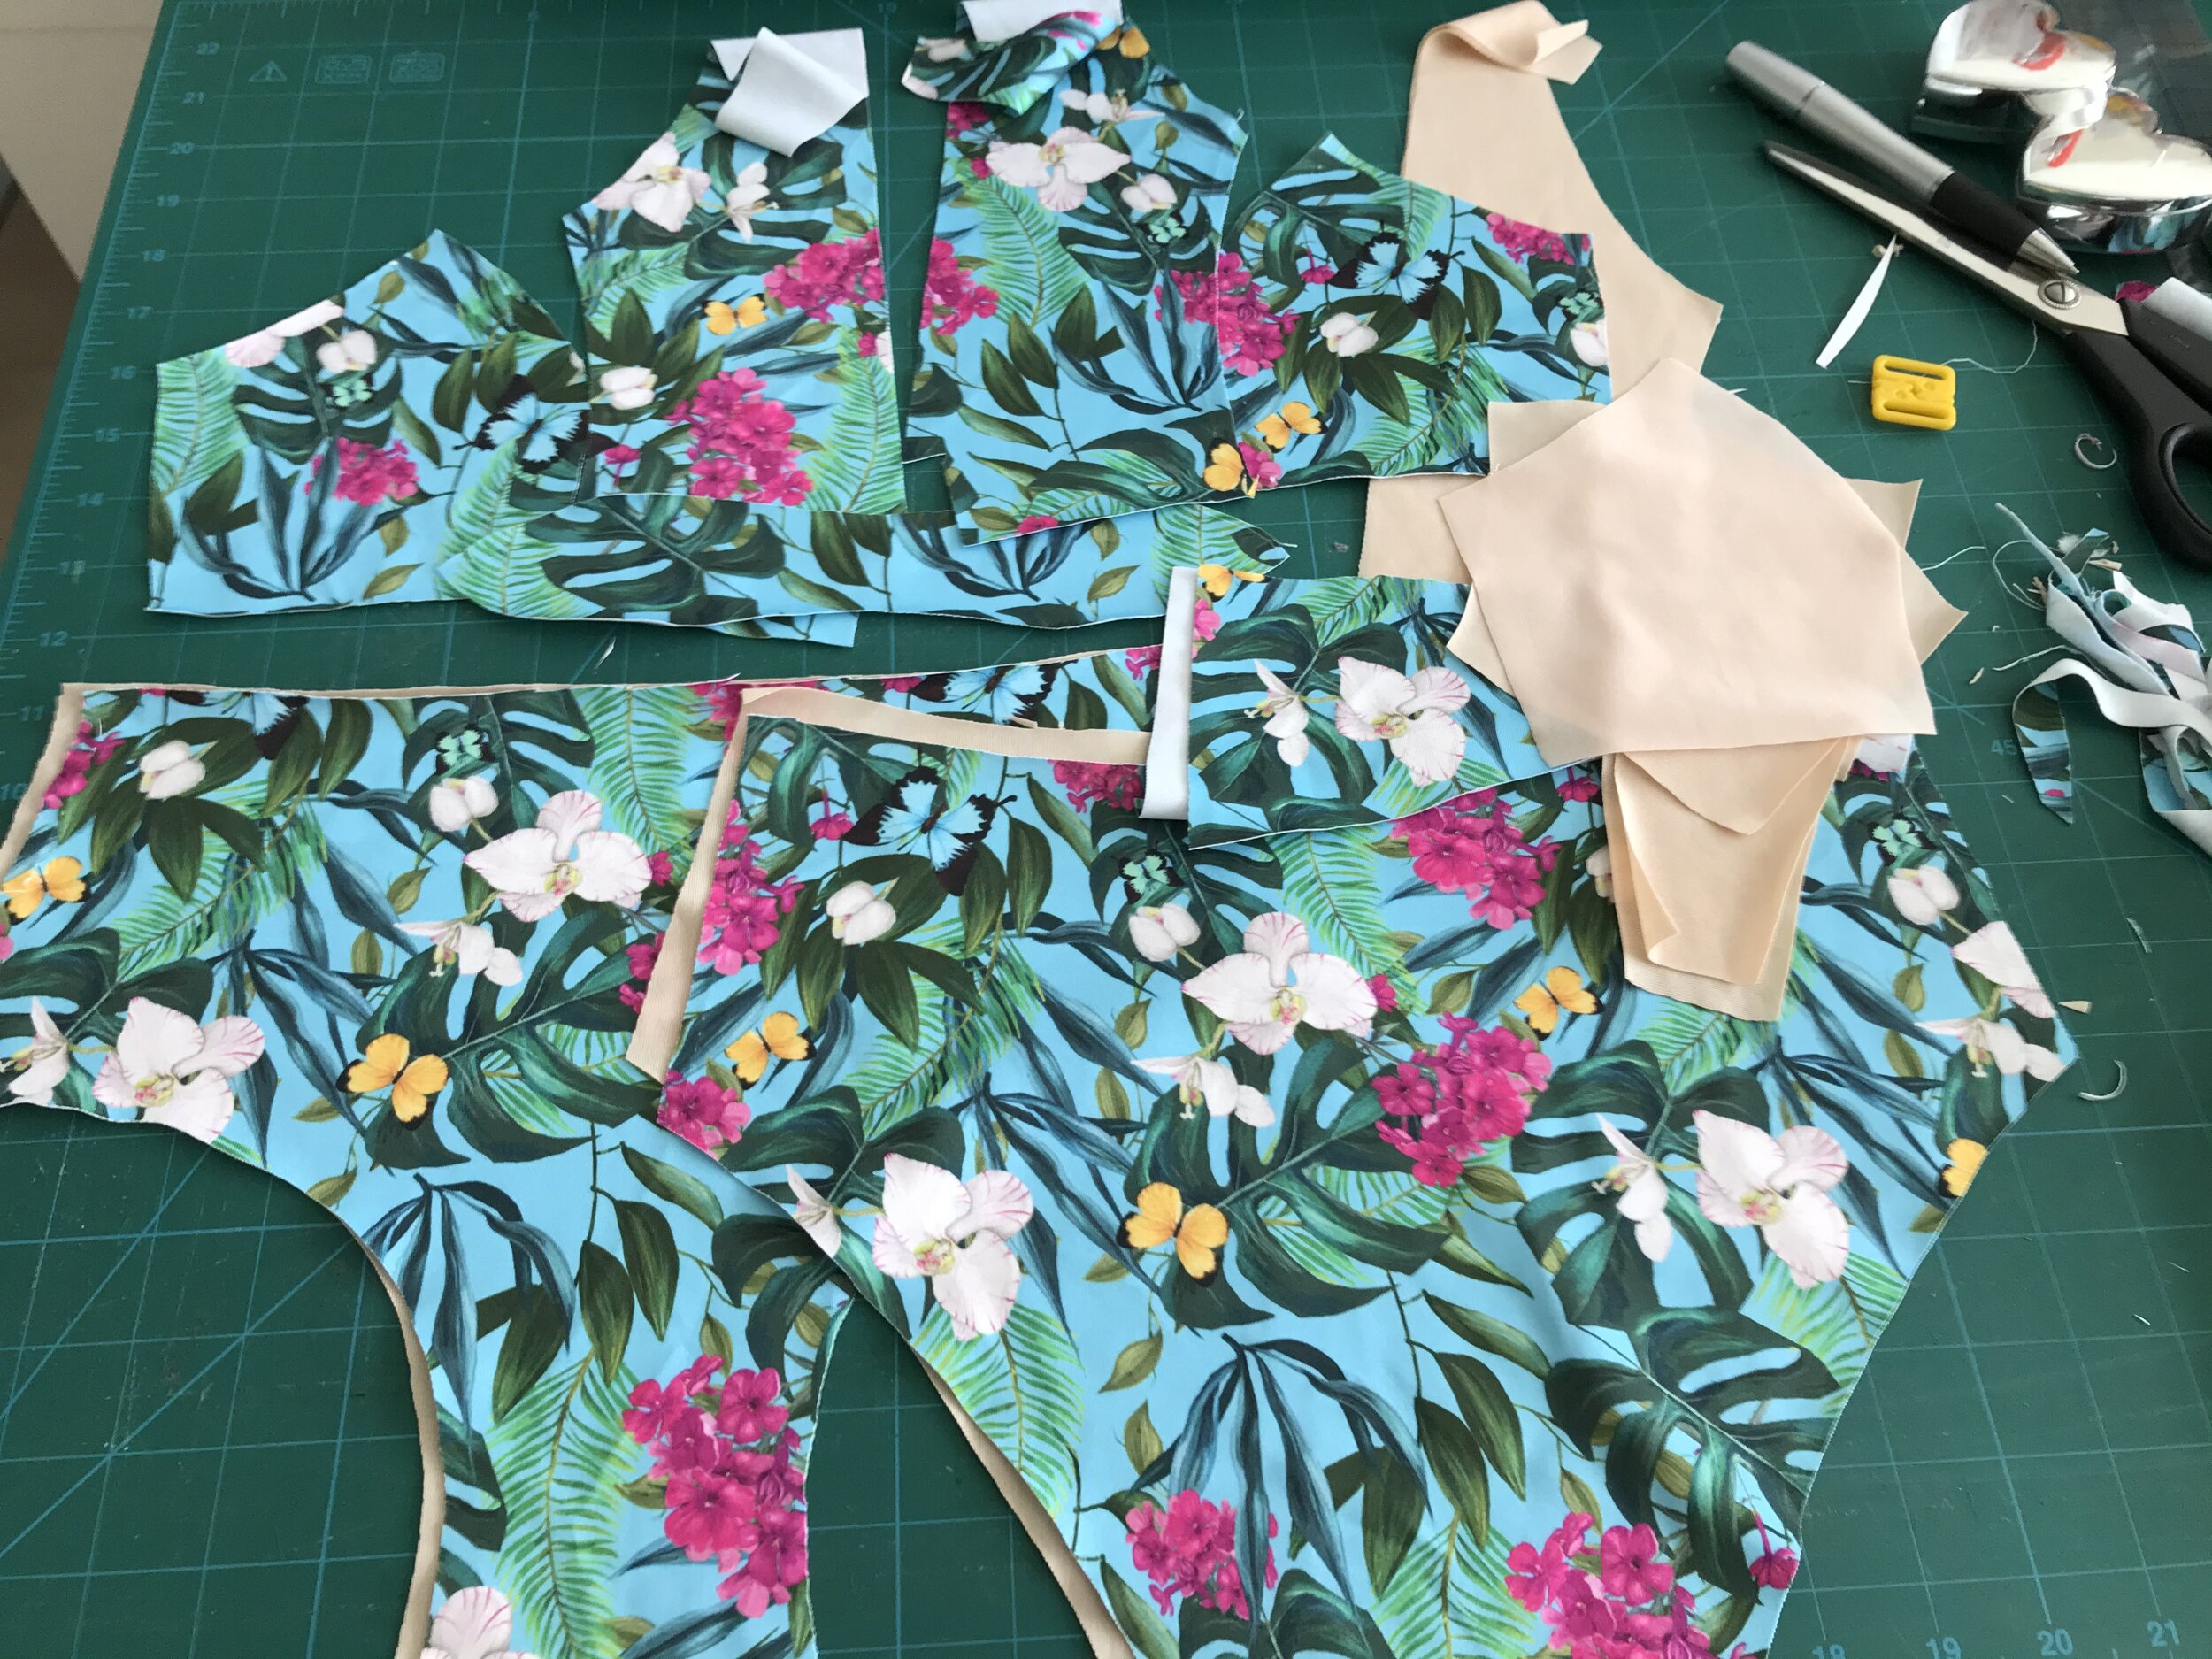
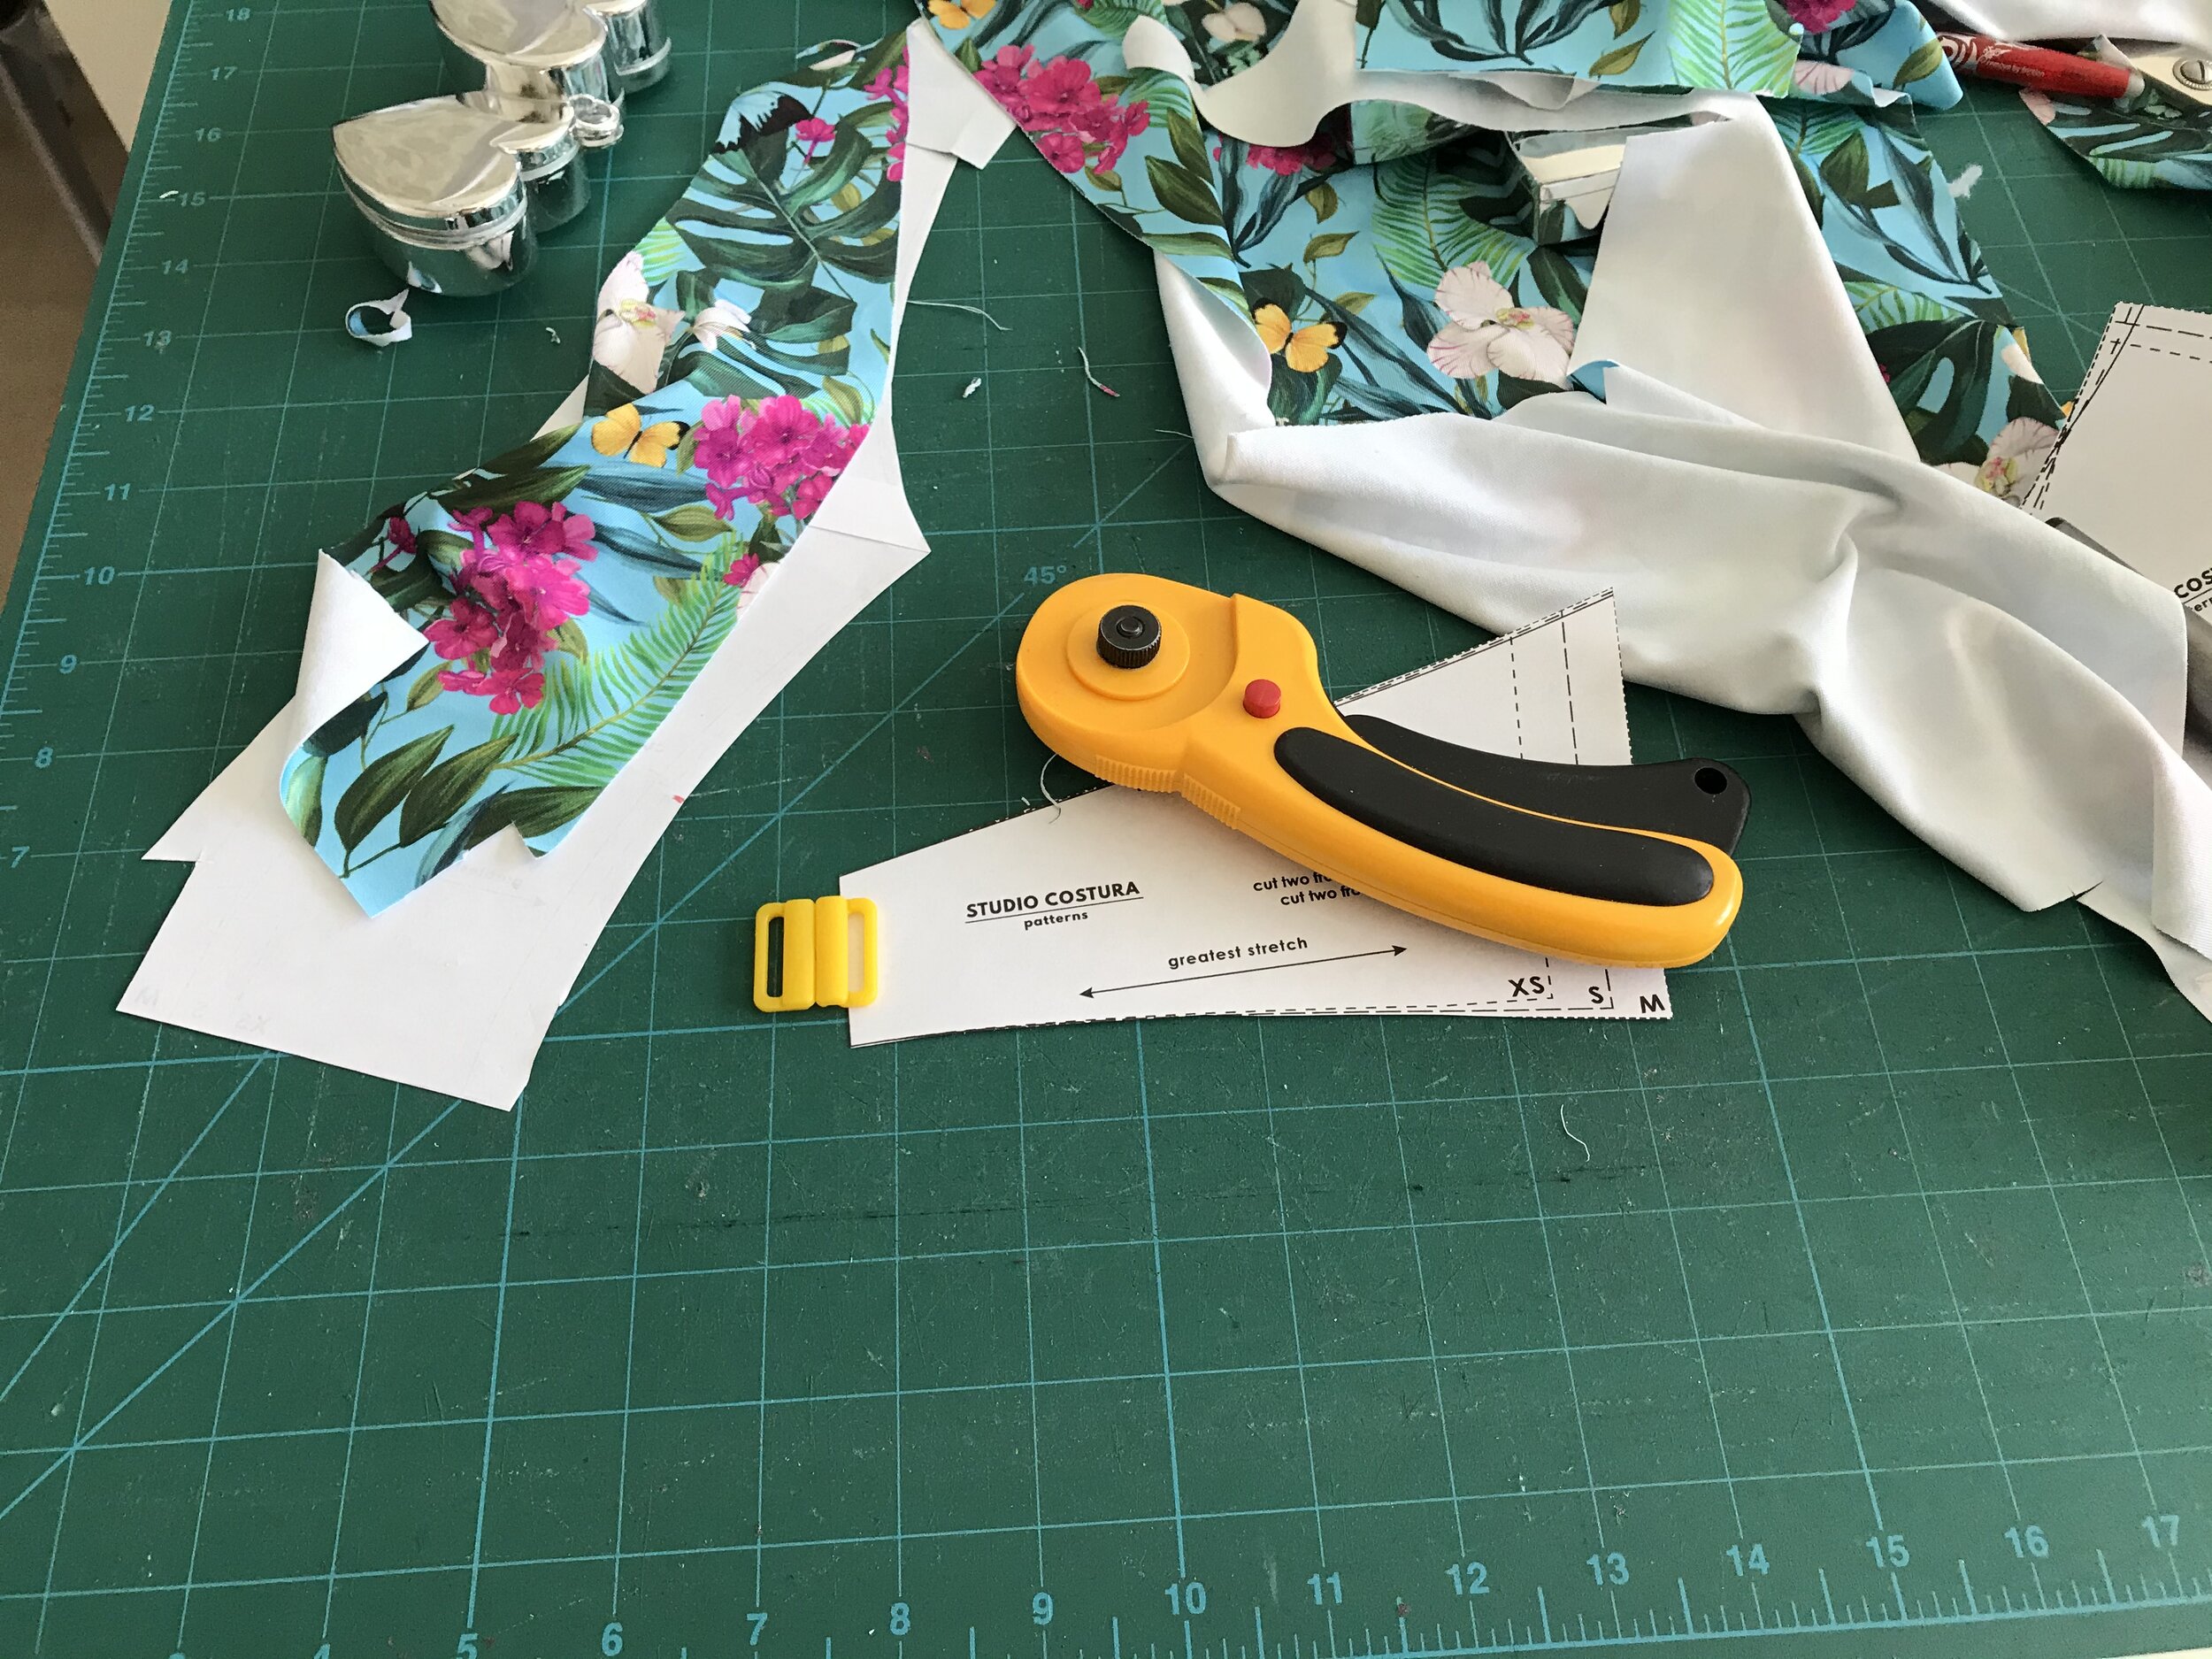
Which conveniently brings me to the Studio Costura Hanna Bikini pattern. A big fan of all Karu’s patterns I was excited to be asked to test the bikini version of the Hanna bralette. There are endless possibilities for mixing and matching with this pattern. To start with you can have a tie or fastener back, straps or halterneck, permanent or removable foam cups as well as including a little bow front pattern piece. The options for the bottoms are just as good including bikini or hipster leg opening as well as high or low waist.

I chose the back fastener and strap version. I like to swim in my swimwear and struggle with tie backs and halternecks. I didn’t add the foam cups but I did use the cute bow. Not a big bow fan but this size of this is perfect and does hide the centre front seam. I have made the Hanna bralette and made the same size although there are great instructions for the perfect fit.
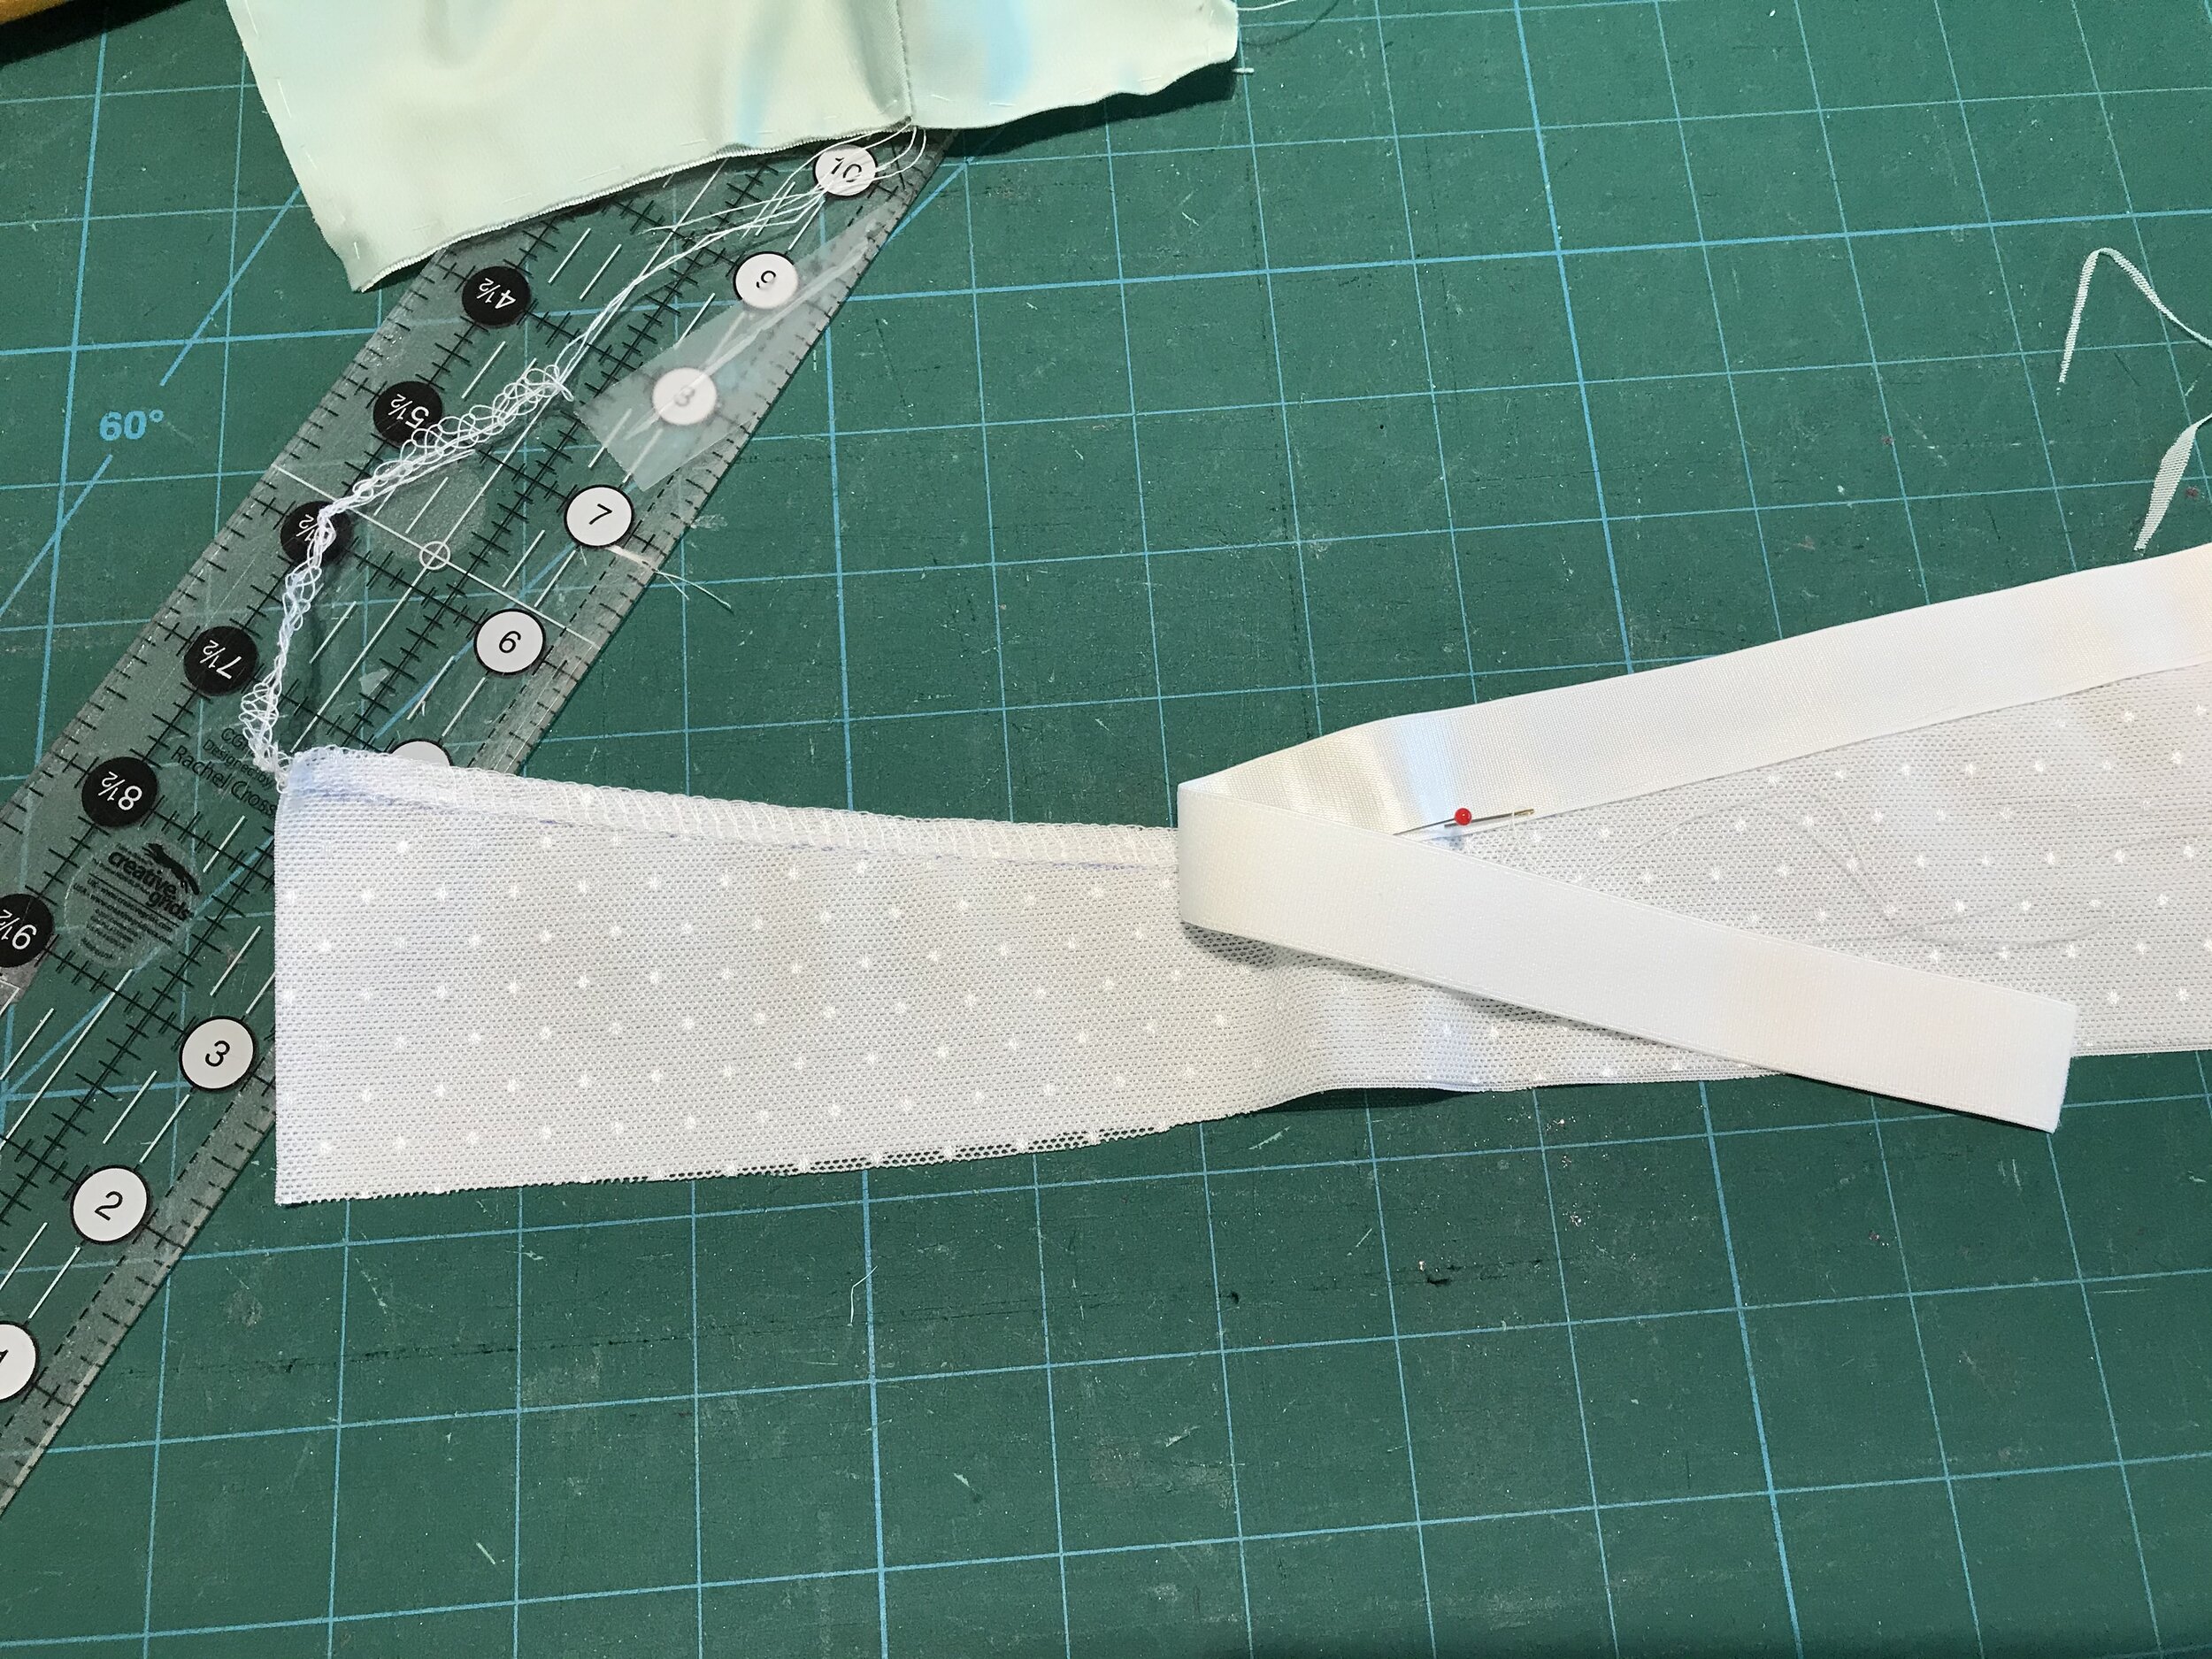
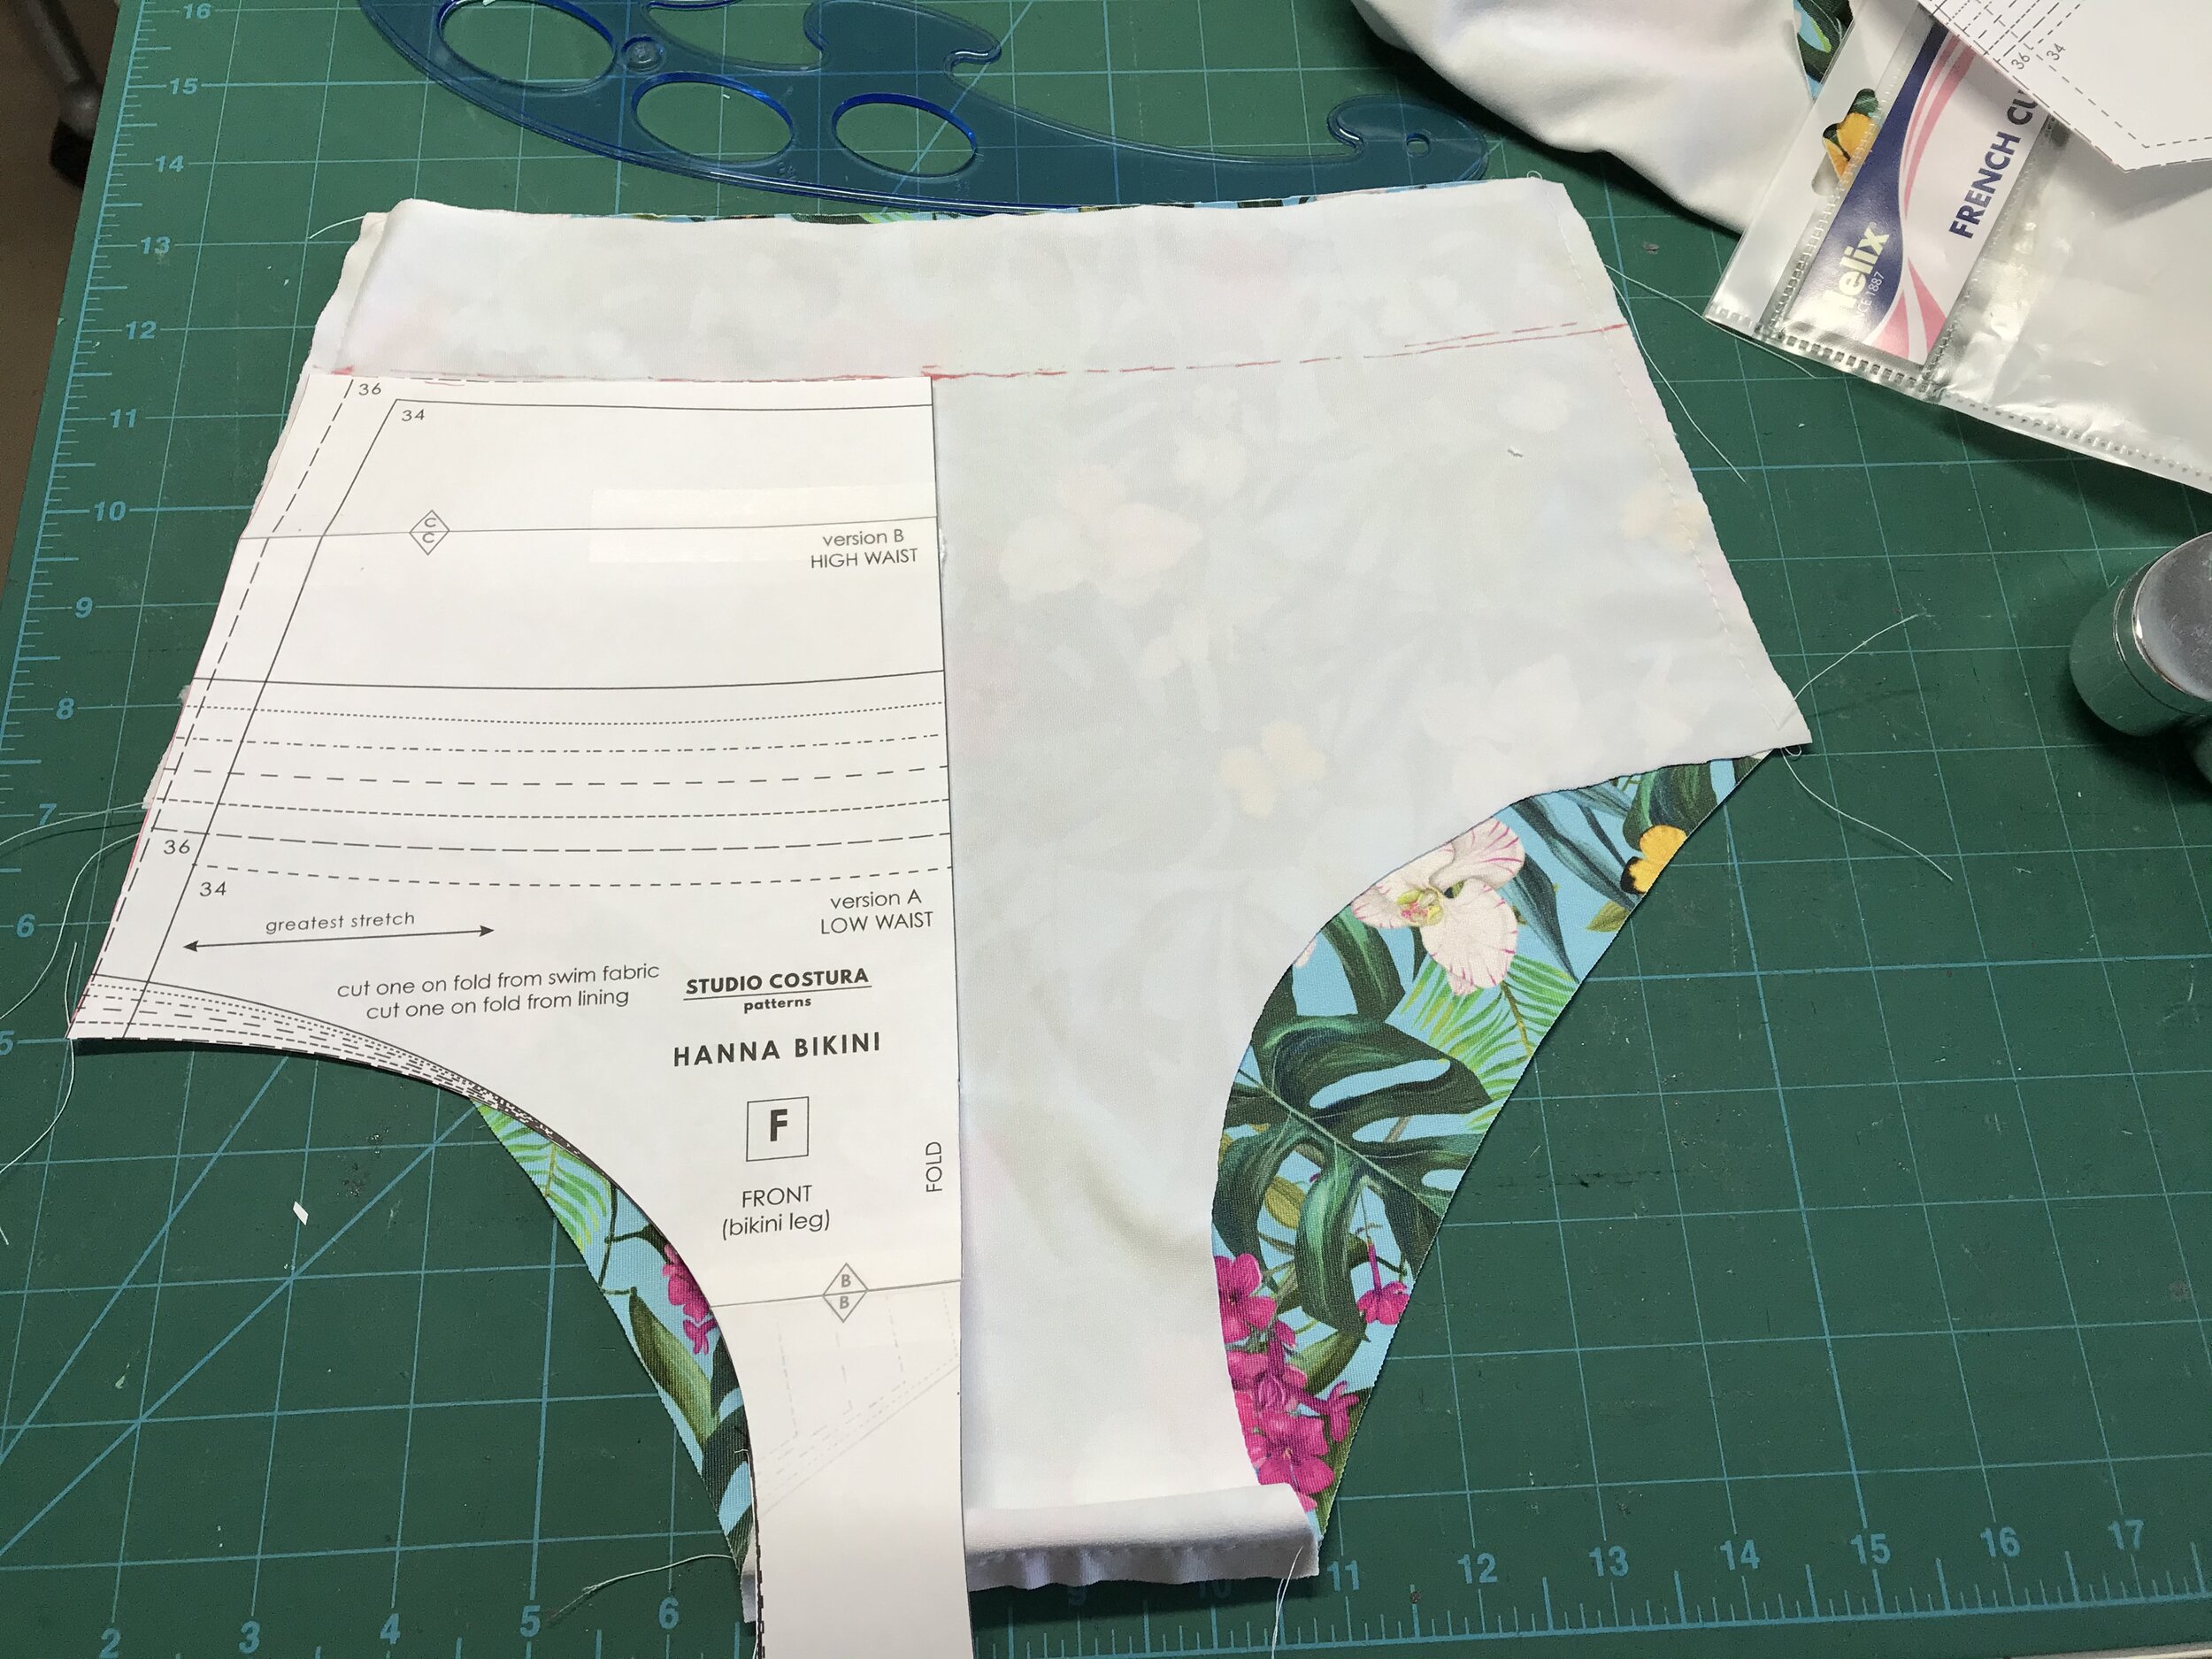
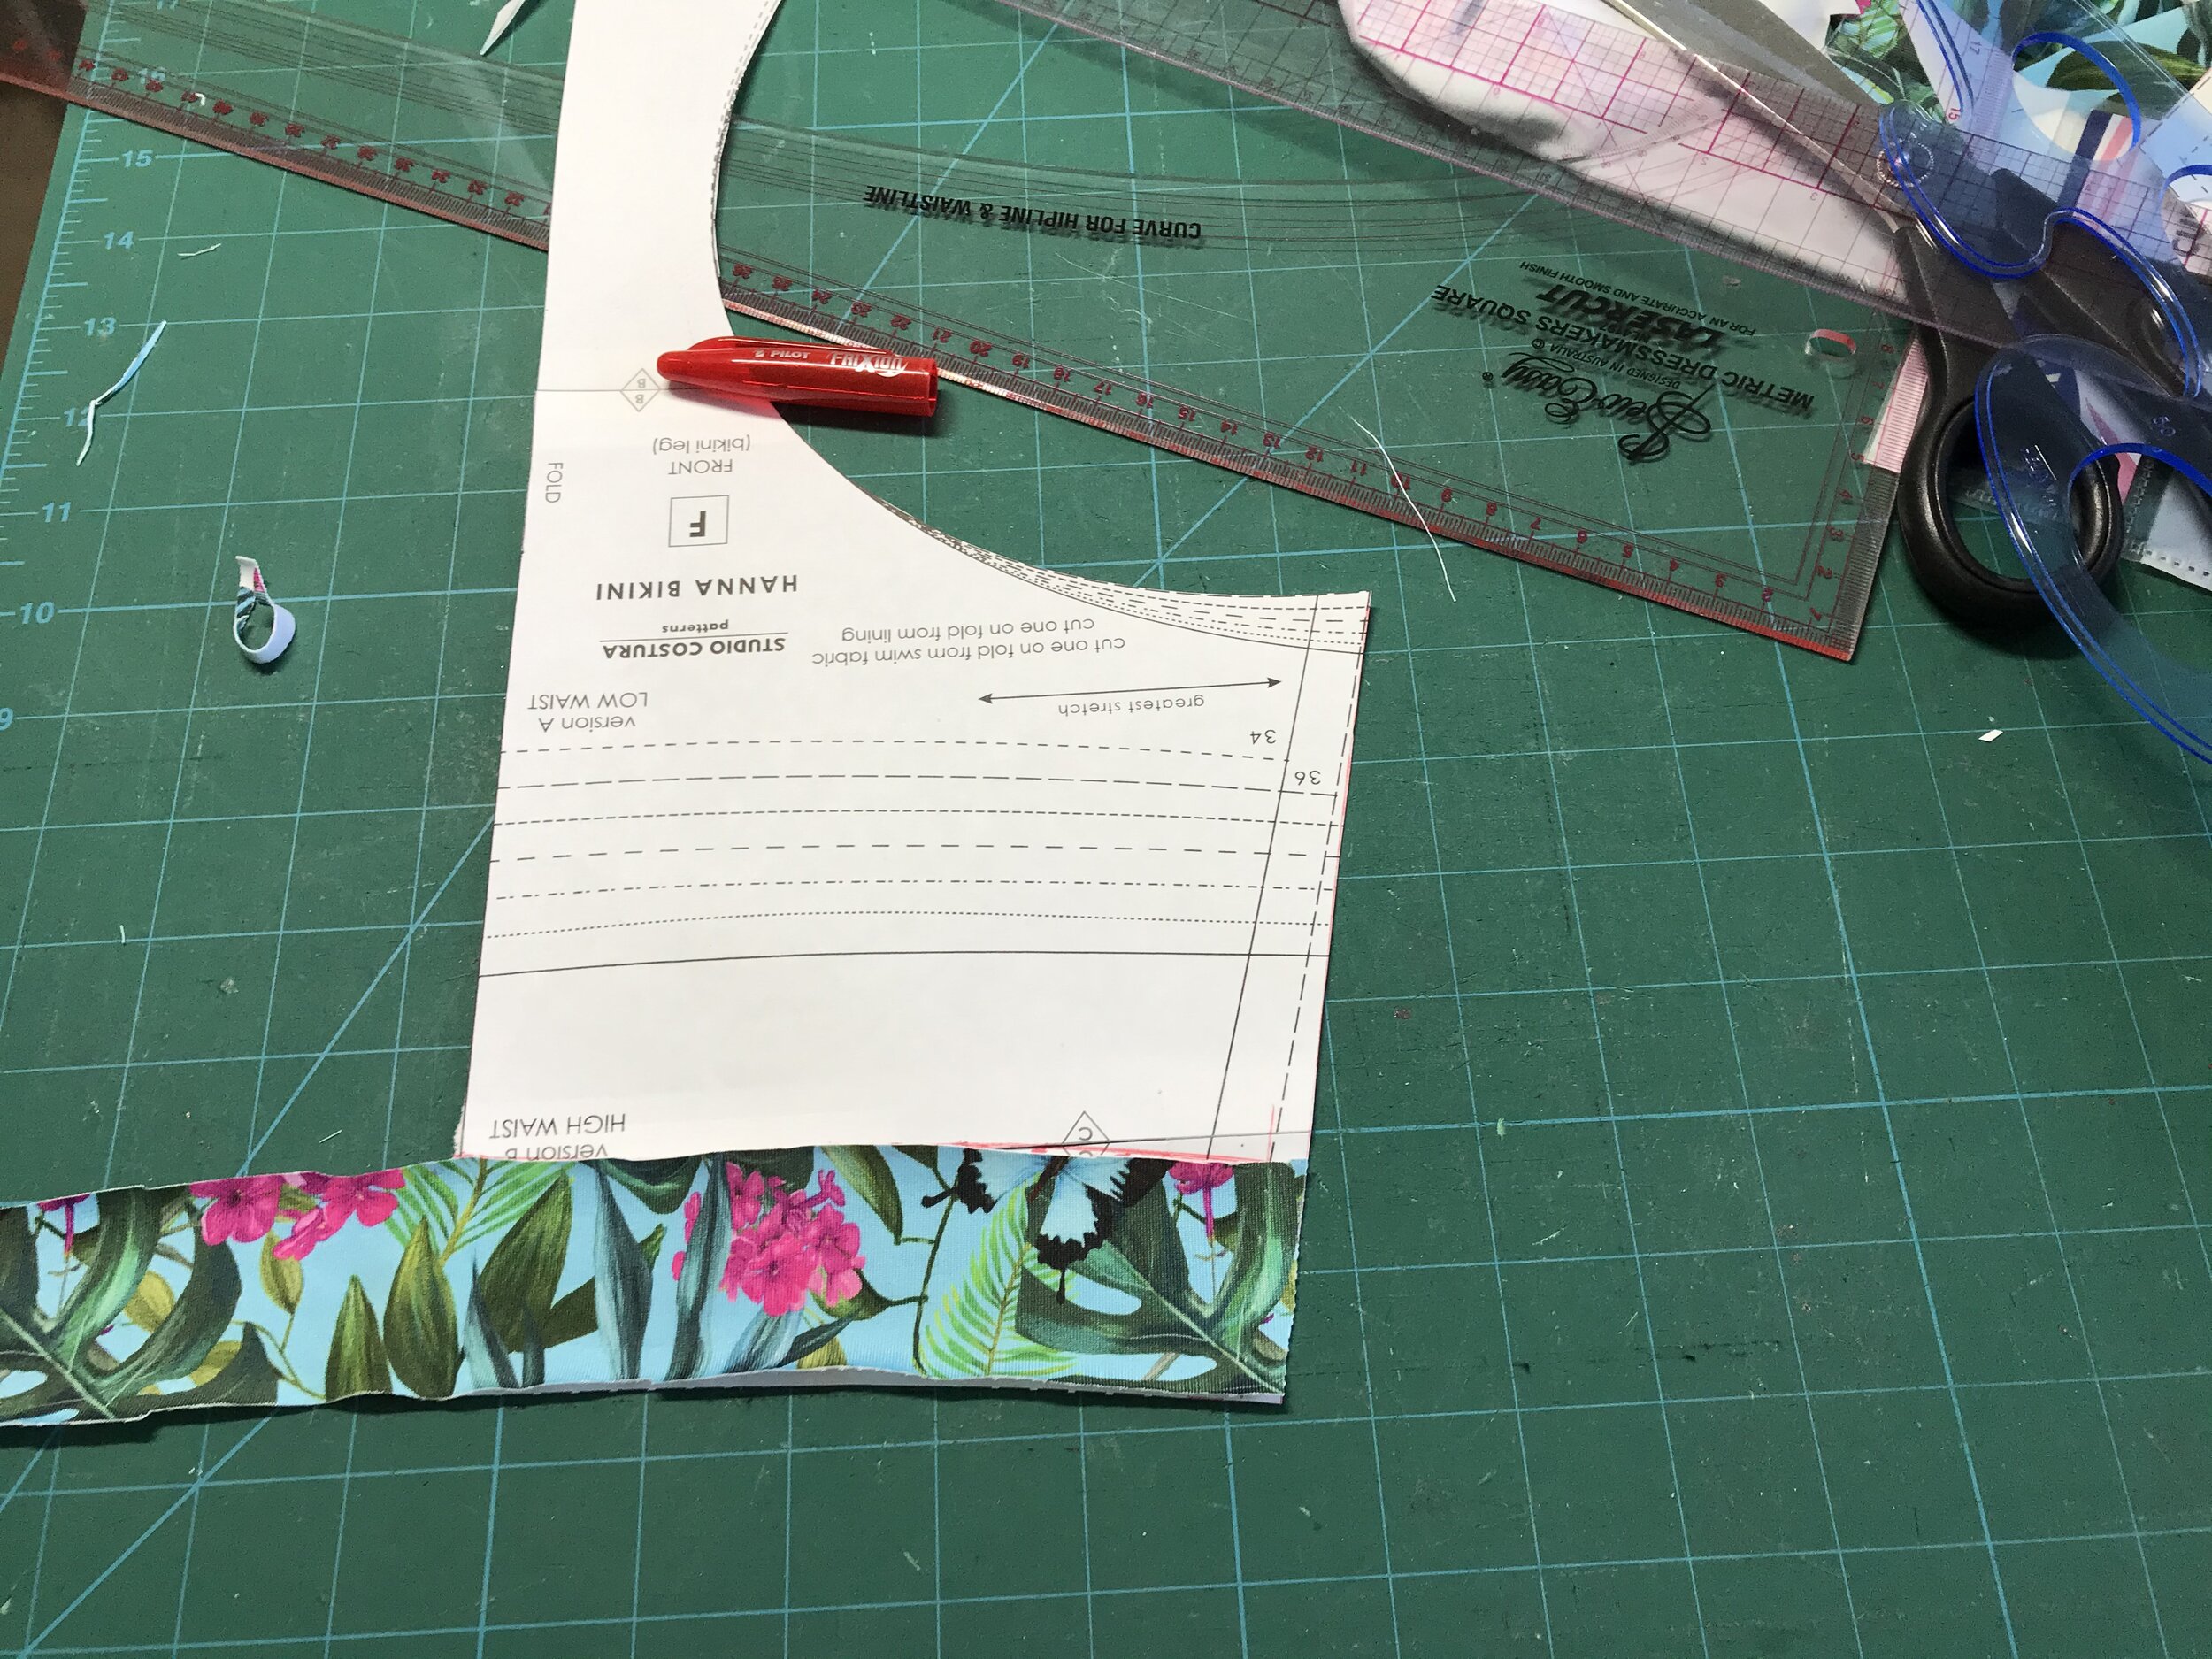
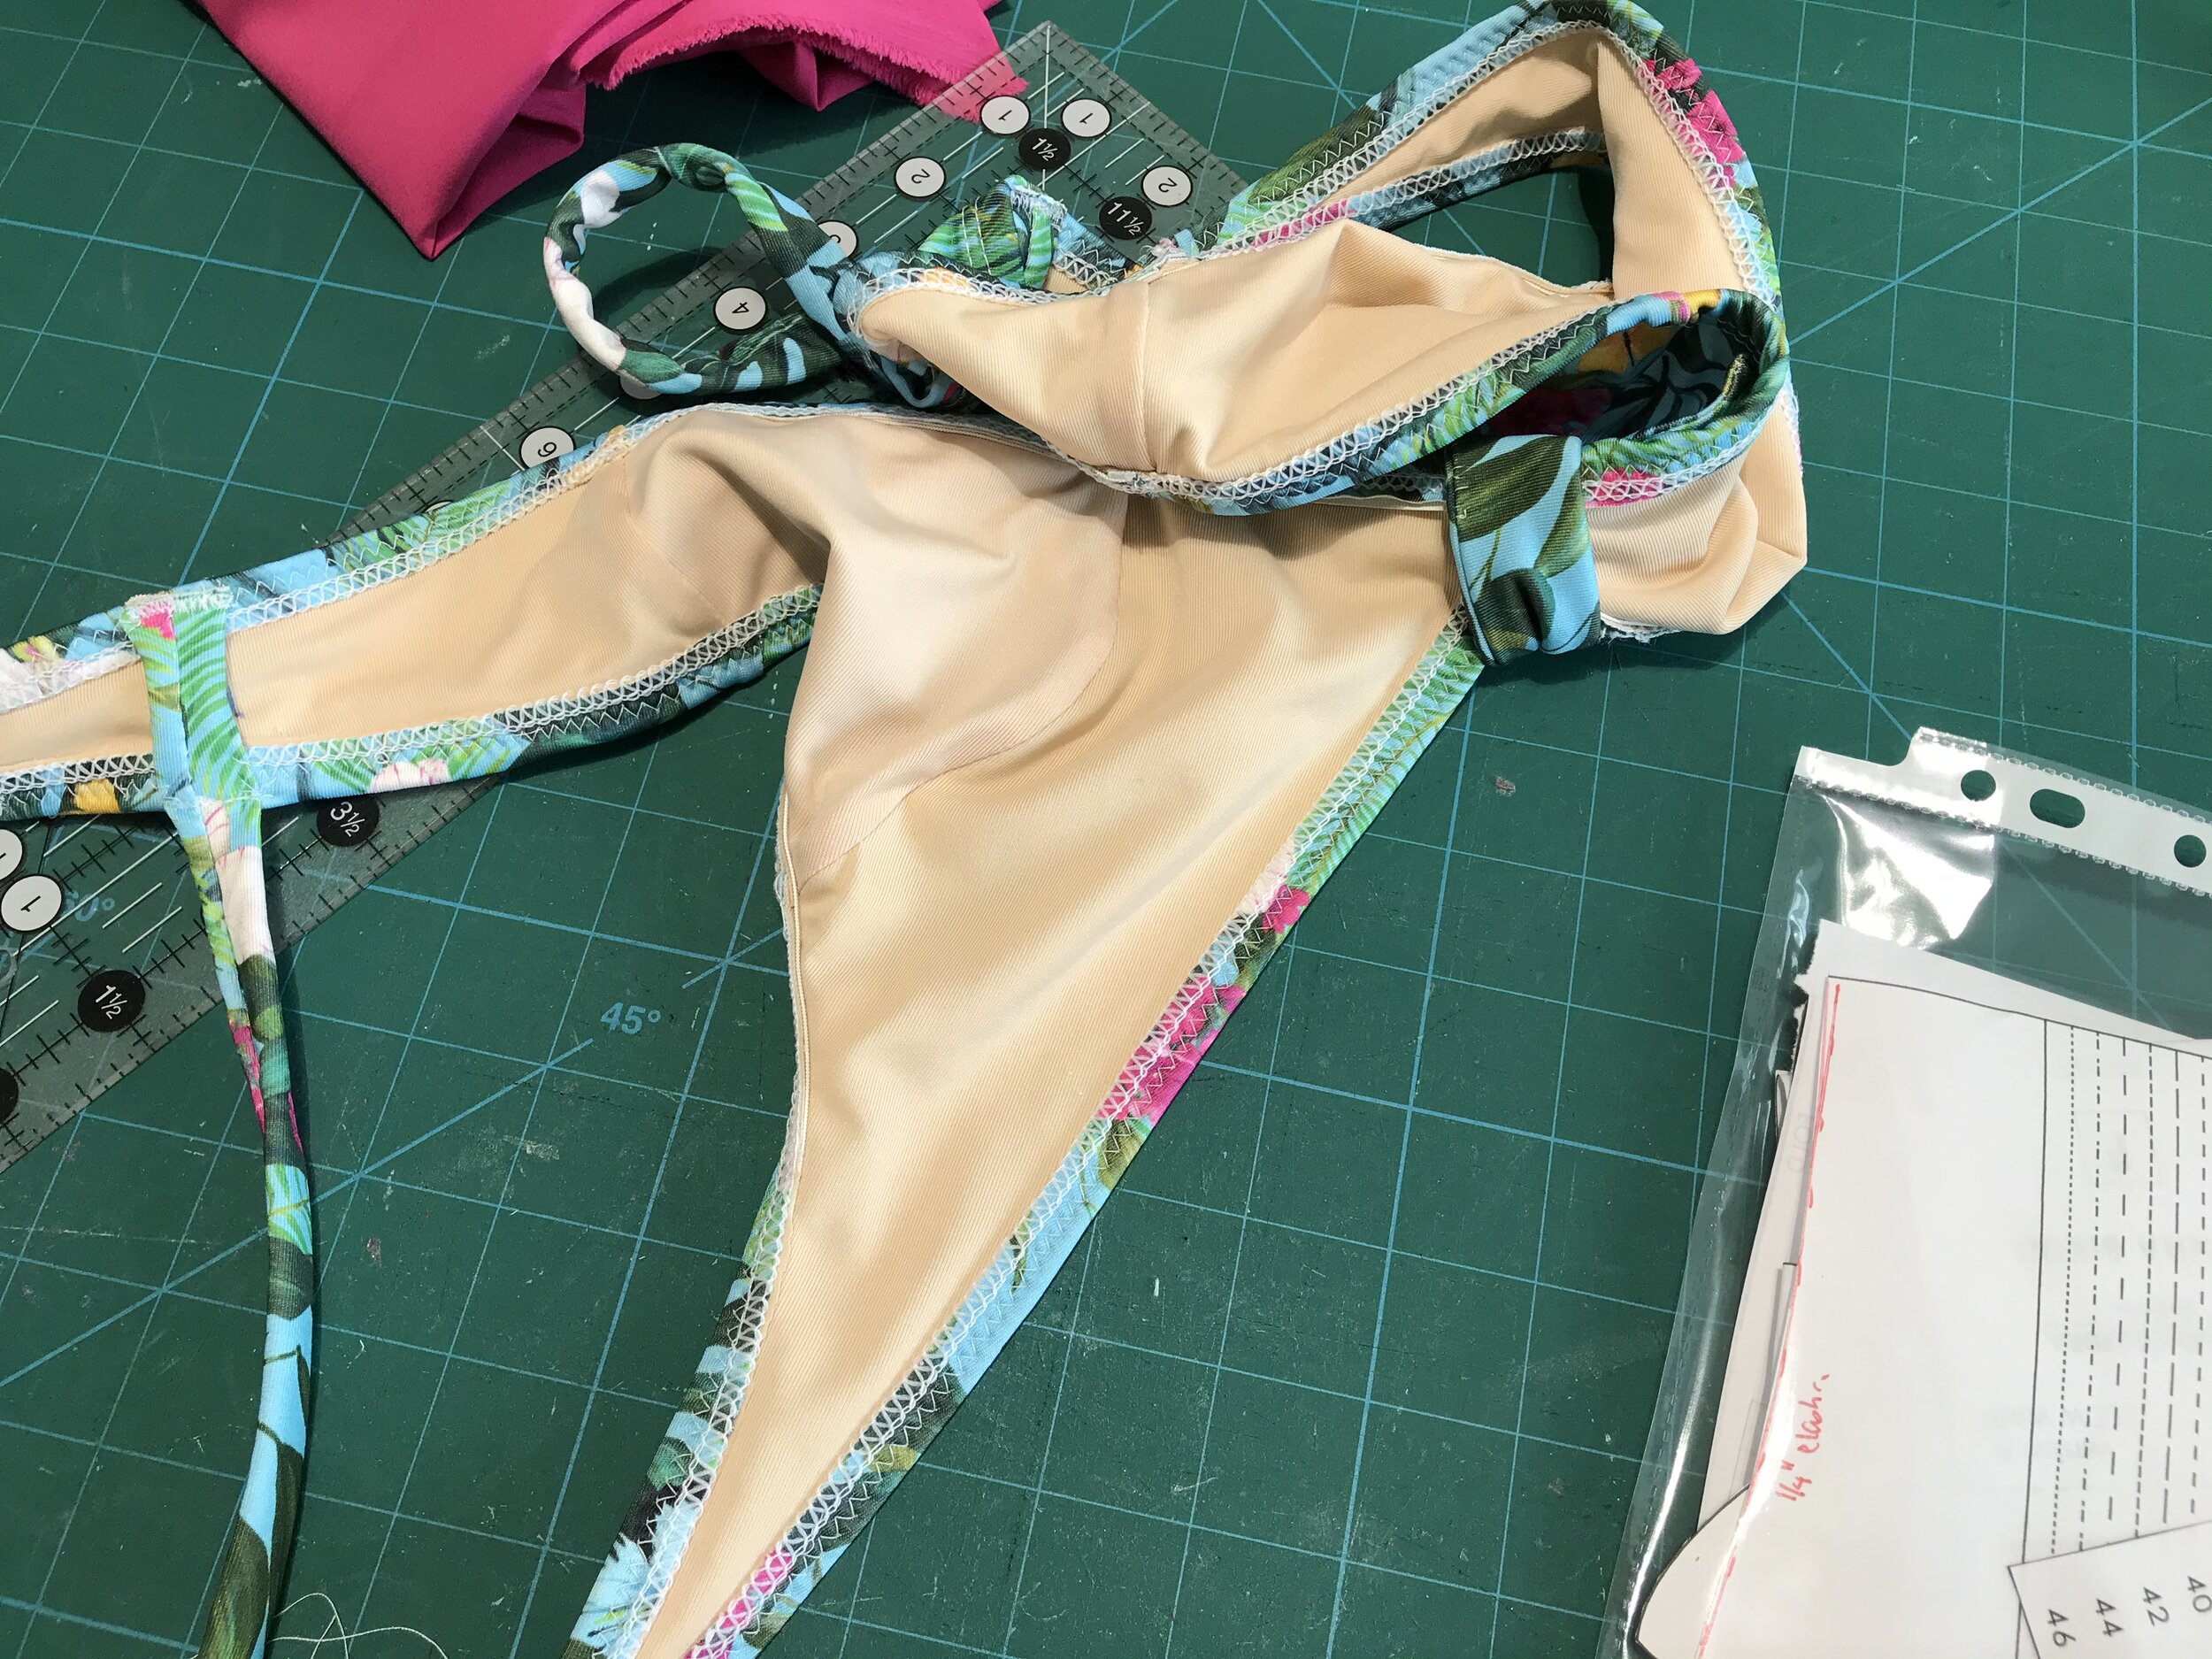
For the bottoms I knew I wanted the bikini cut leg openings but I wanted somewhere in between the two waist options. The beauty of this pattern is that you can make up the bottoms to the point you attach the elastic and decide what you want to do. So I asked my able assistant to mark where at the sides and centre front and back I wanted them to sit. I used a curved ruler to redraw a smooth curve on the back and then added back the seam allowance. For the front I just used the pattern piece to redraw the line making sure it matched the back at the sides. I cut off at the new lines and used these pieces to mark up the pattern to cut out the lining pieces and for future use.

As the pattern instructions recommend I checked the fit of the fastener before I cut out the back band. The only change I made was to use my coverstitch to stitch down the elastic to the wrong side having applied the elastic with a zigzag. Using woolly nylon in the looper gives a good coverage. If I had used the overlocker to attach the elastic I would have used a zigzag to stitch down to avoid a bulky seam.
I wasn’t surprised it was such a perfect fit having made the bralette and panty patterns the set is based on and it looks better on me than my model! Karu has already posted tutorials on her blog about adding ruffles and I’m sure there will be more inspirational posts.