Madalynne Simplicity X Kits 8229 and 8228 - So Beautiful
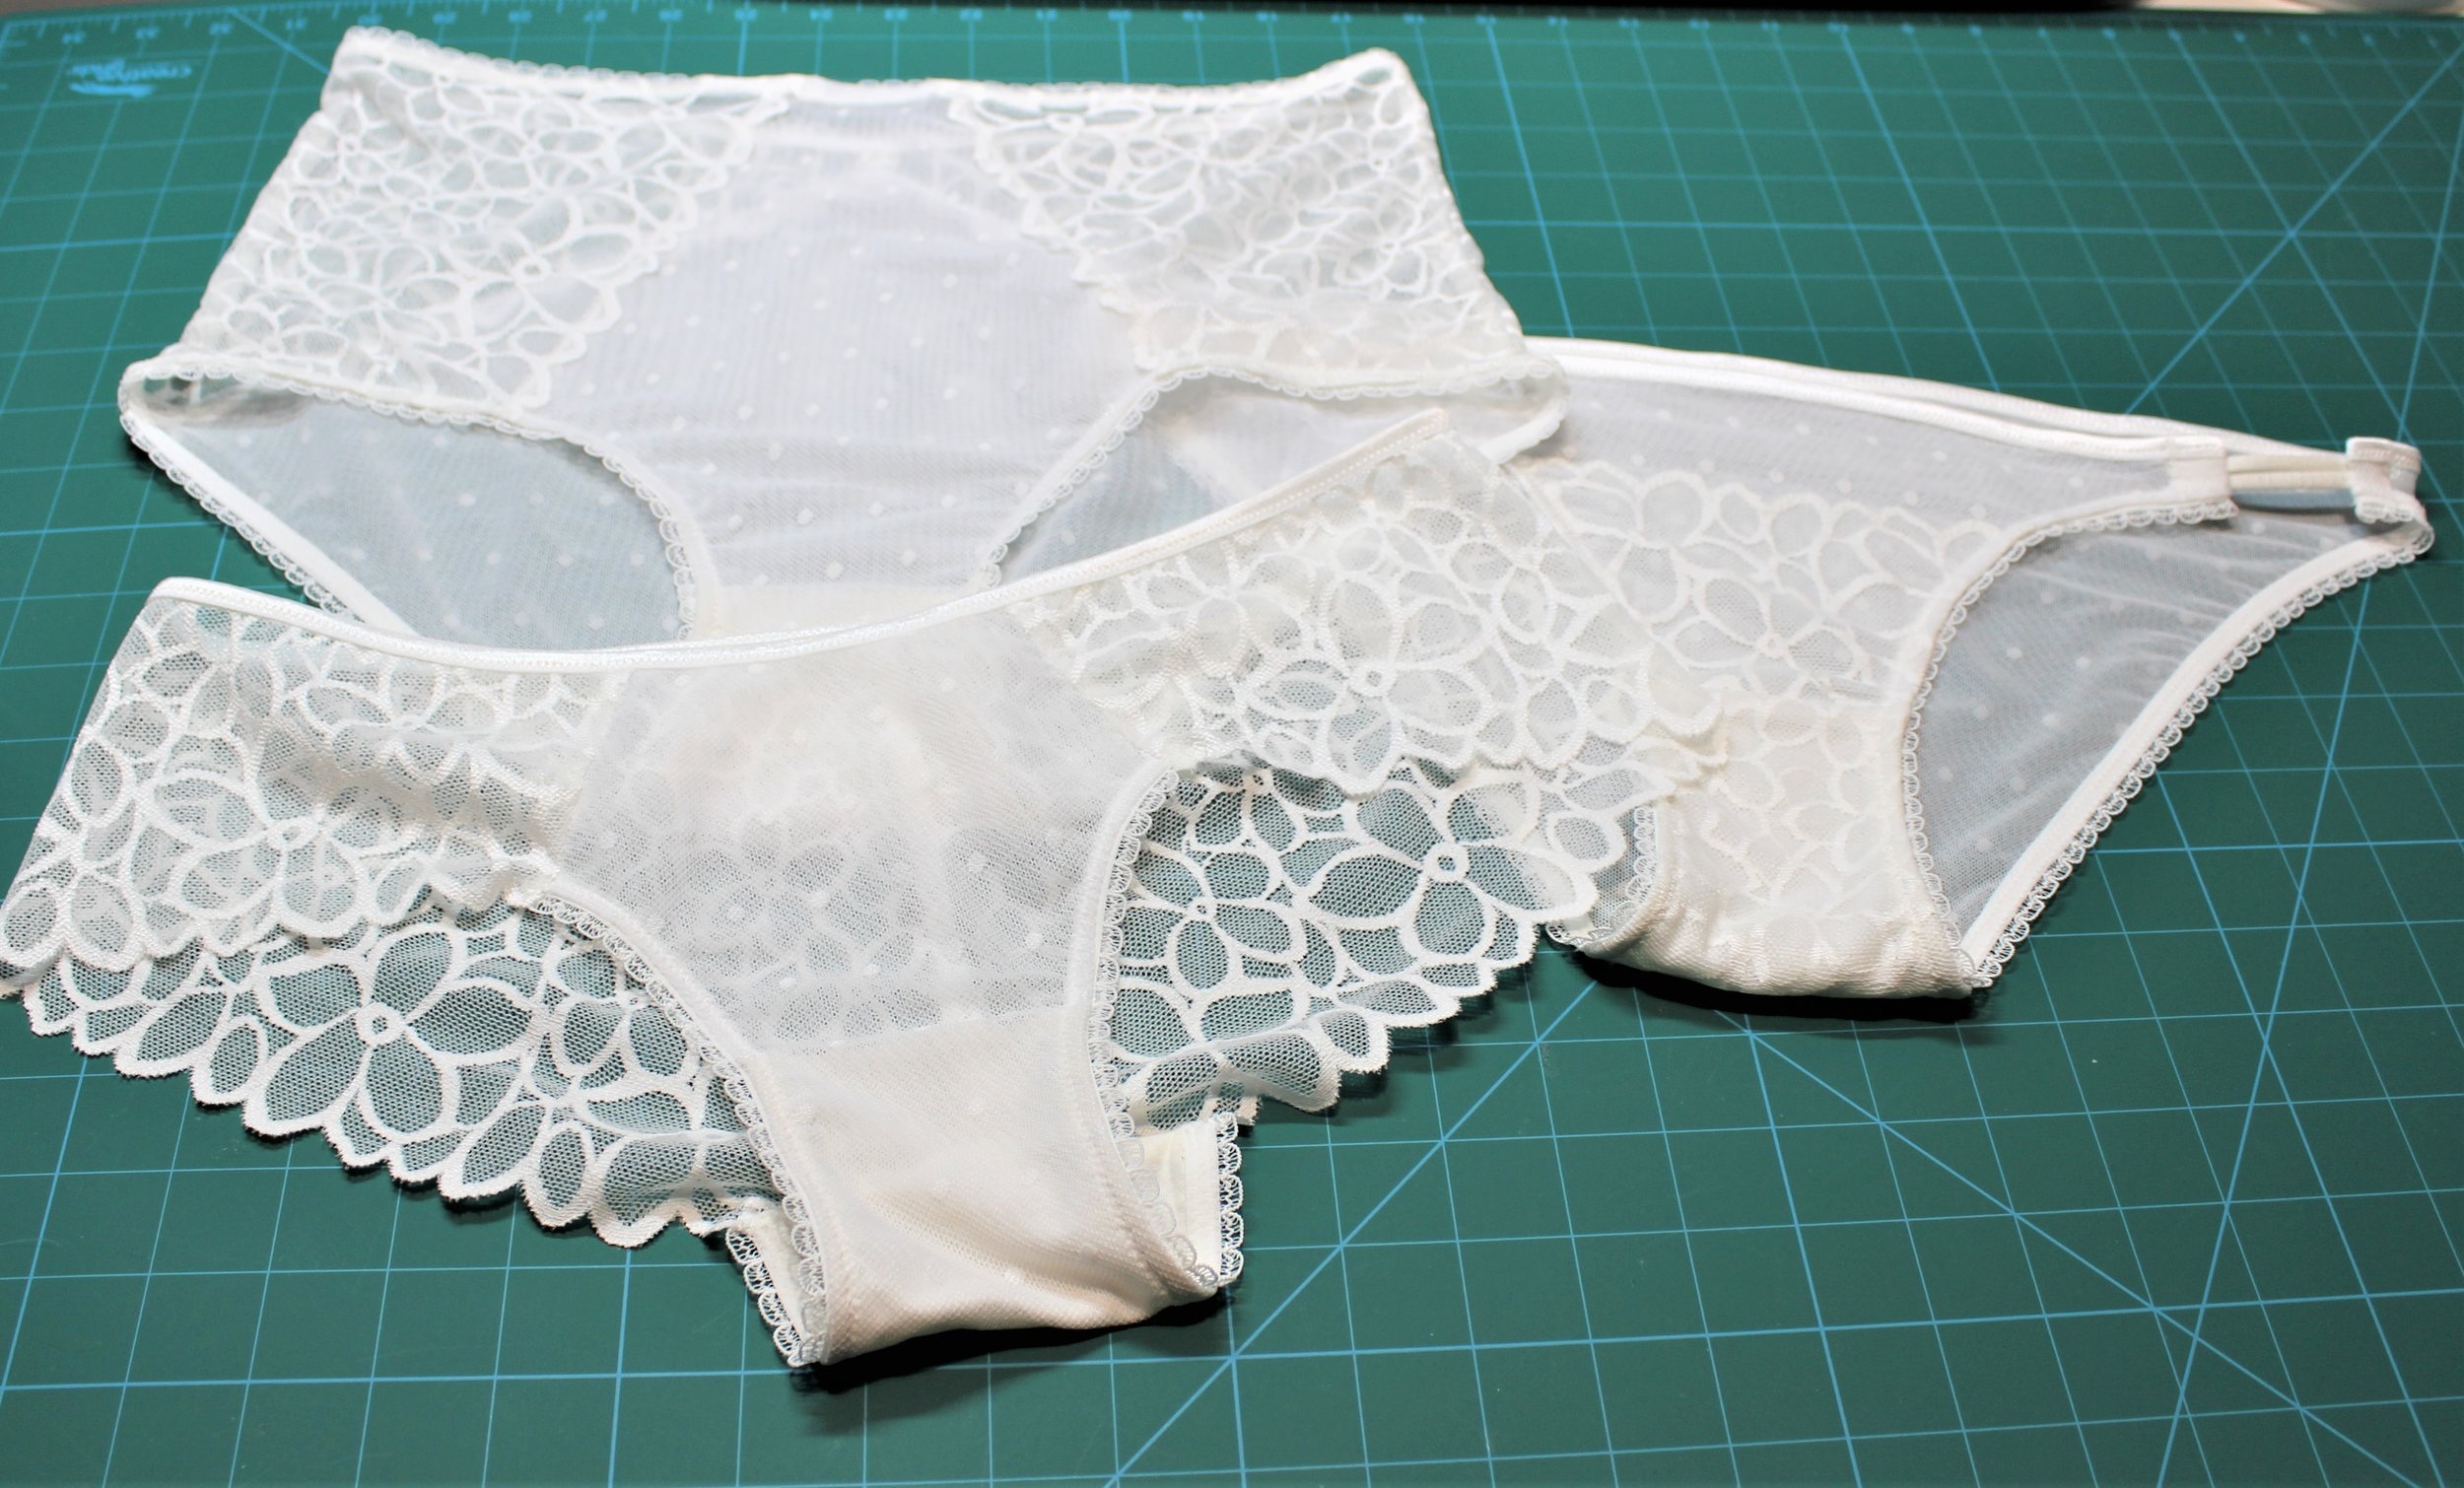
In between other projects I have been working my way through the Madalynne Simplicity pattern bundle waiting for the right fabric to come along. I was just so excited when Madalynne launched the latest batch of kits which included this beautiful white lace for the 8229 bra with a matching underwear kit for the 8228. Normally I would get a set out of a bra kit but with the underwear kit I was able to make three very different styles to match the bra.

The kits come in a gorgeous presentation box that is reusable. What was really sweet was that Madalynne had added a wire size either side of the one I asked for - fortunate given I needed the larger one! I first looked to see how much fabric was included with each kit so I could determine if I could get more than one set out. The bra kit only really contains enough to make the bra but the underwear kit was very generous.
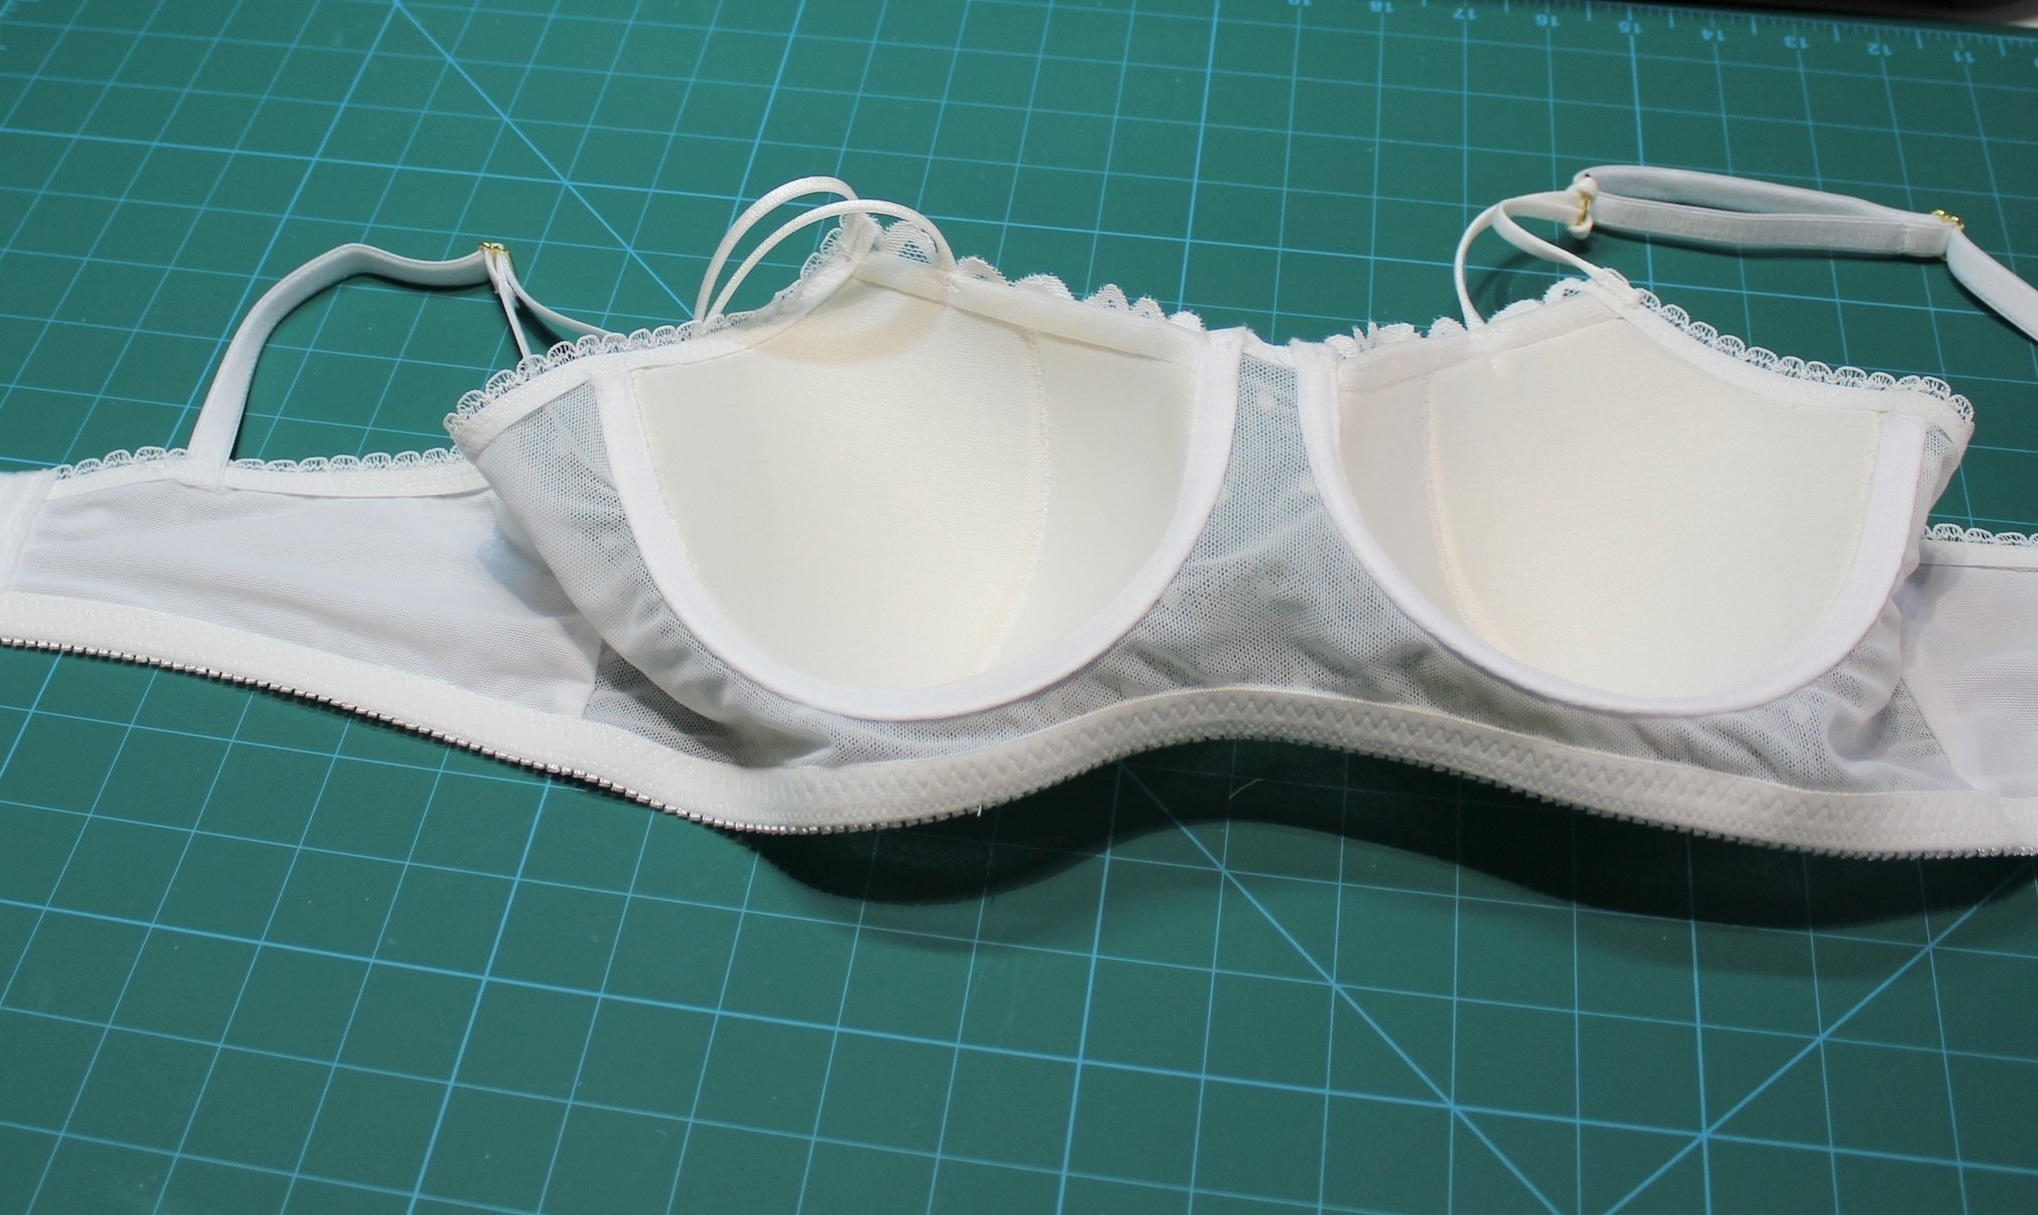
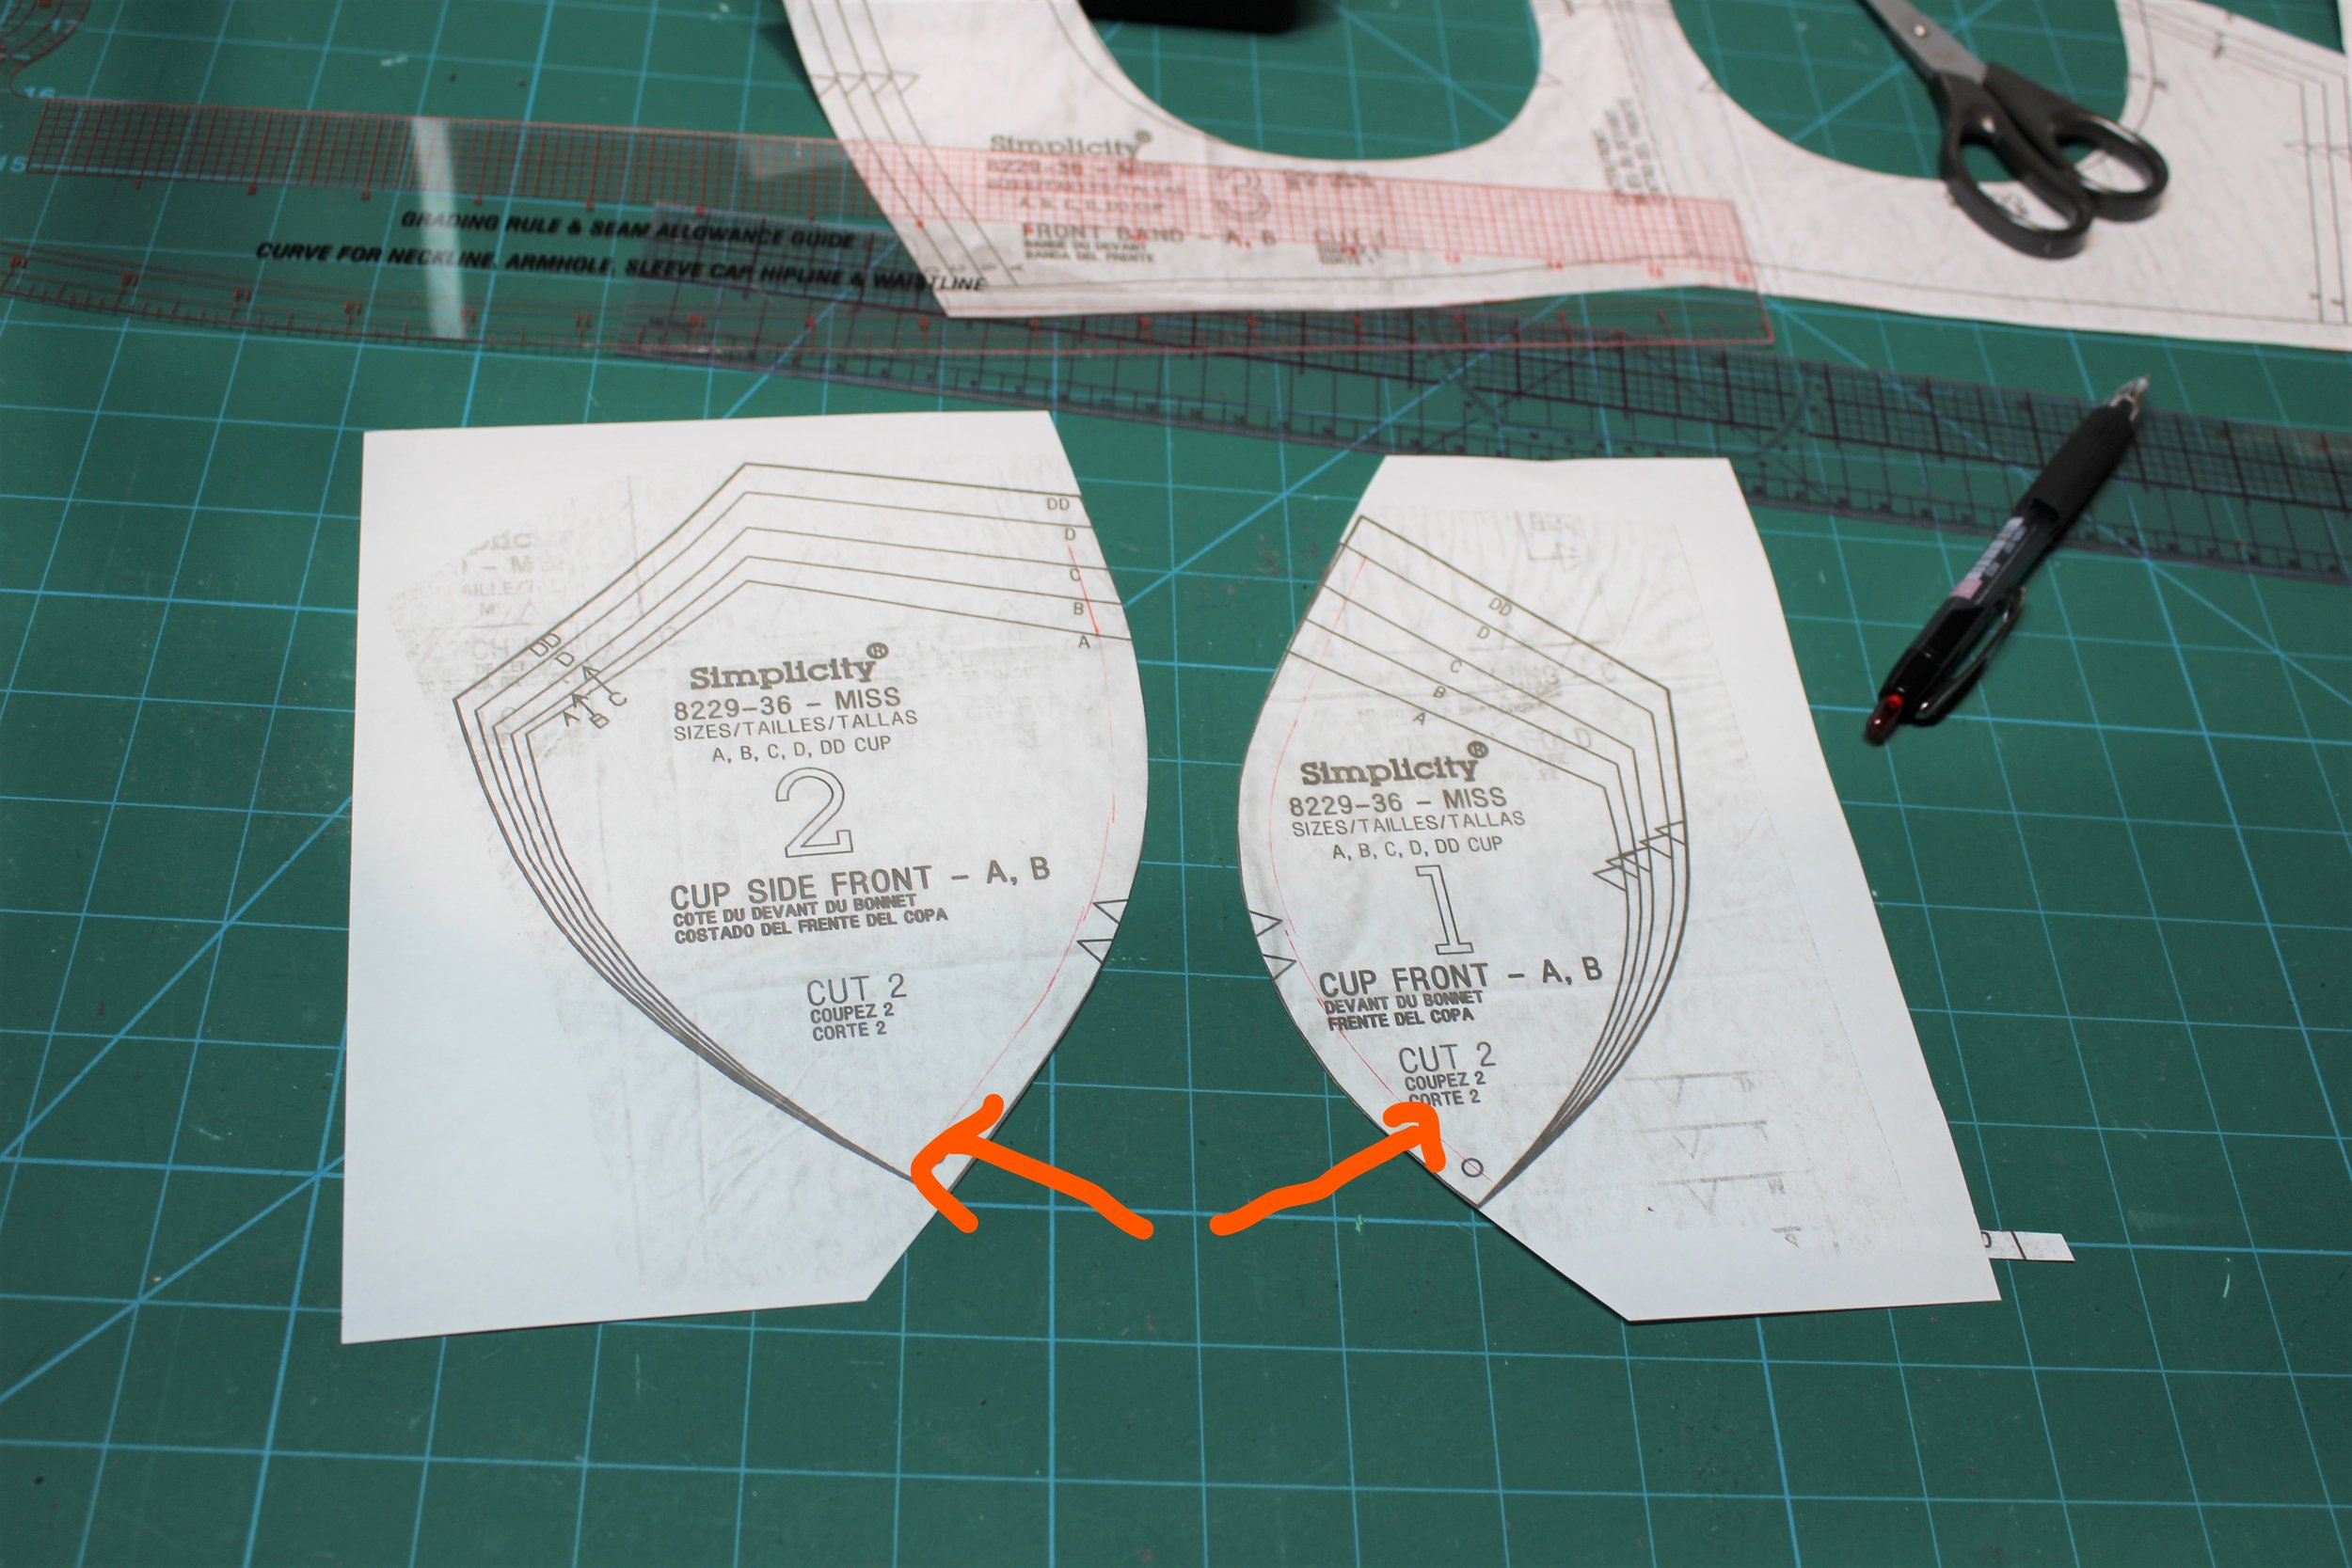
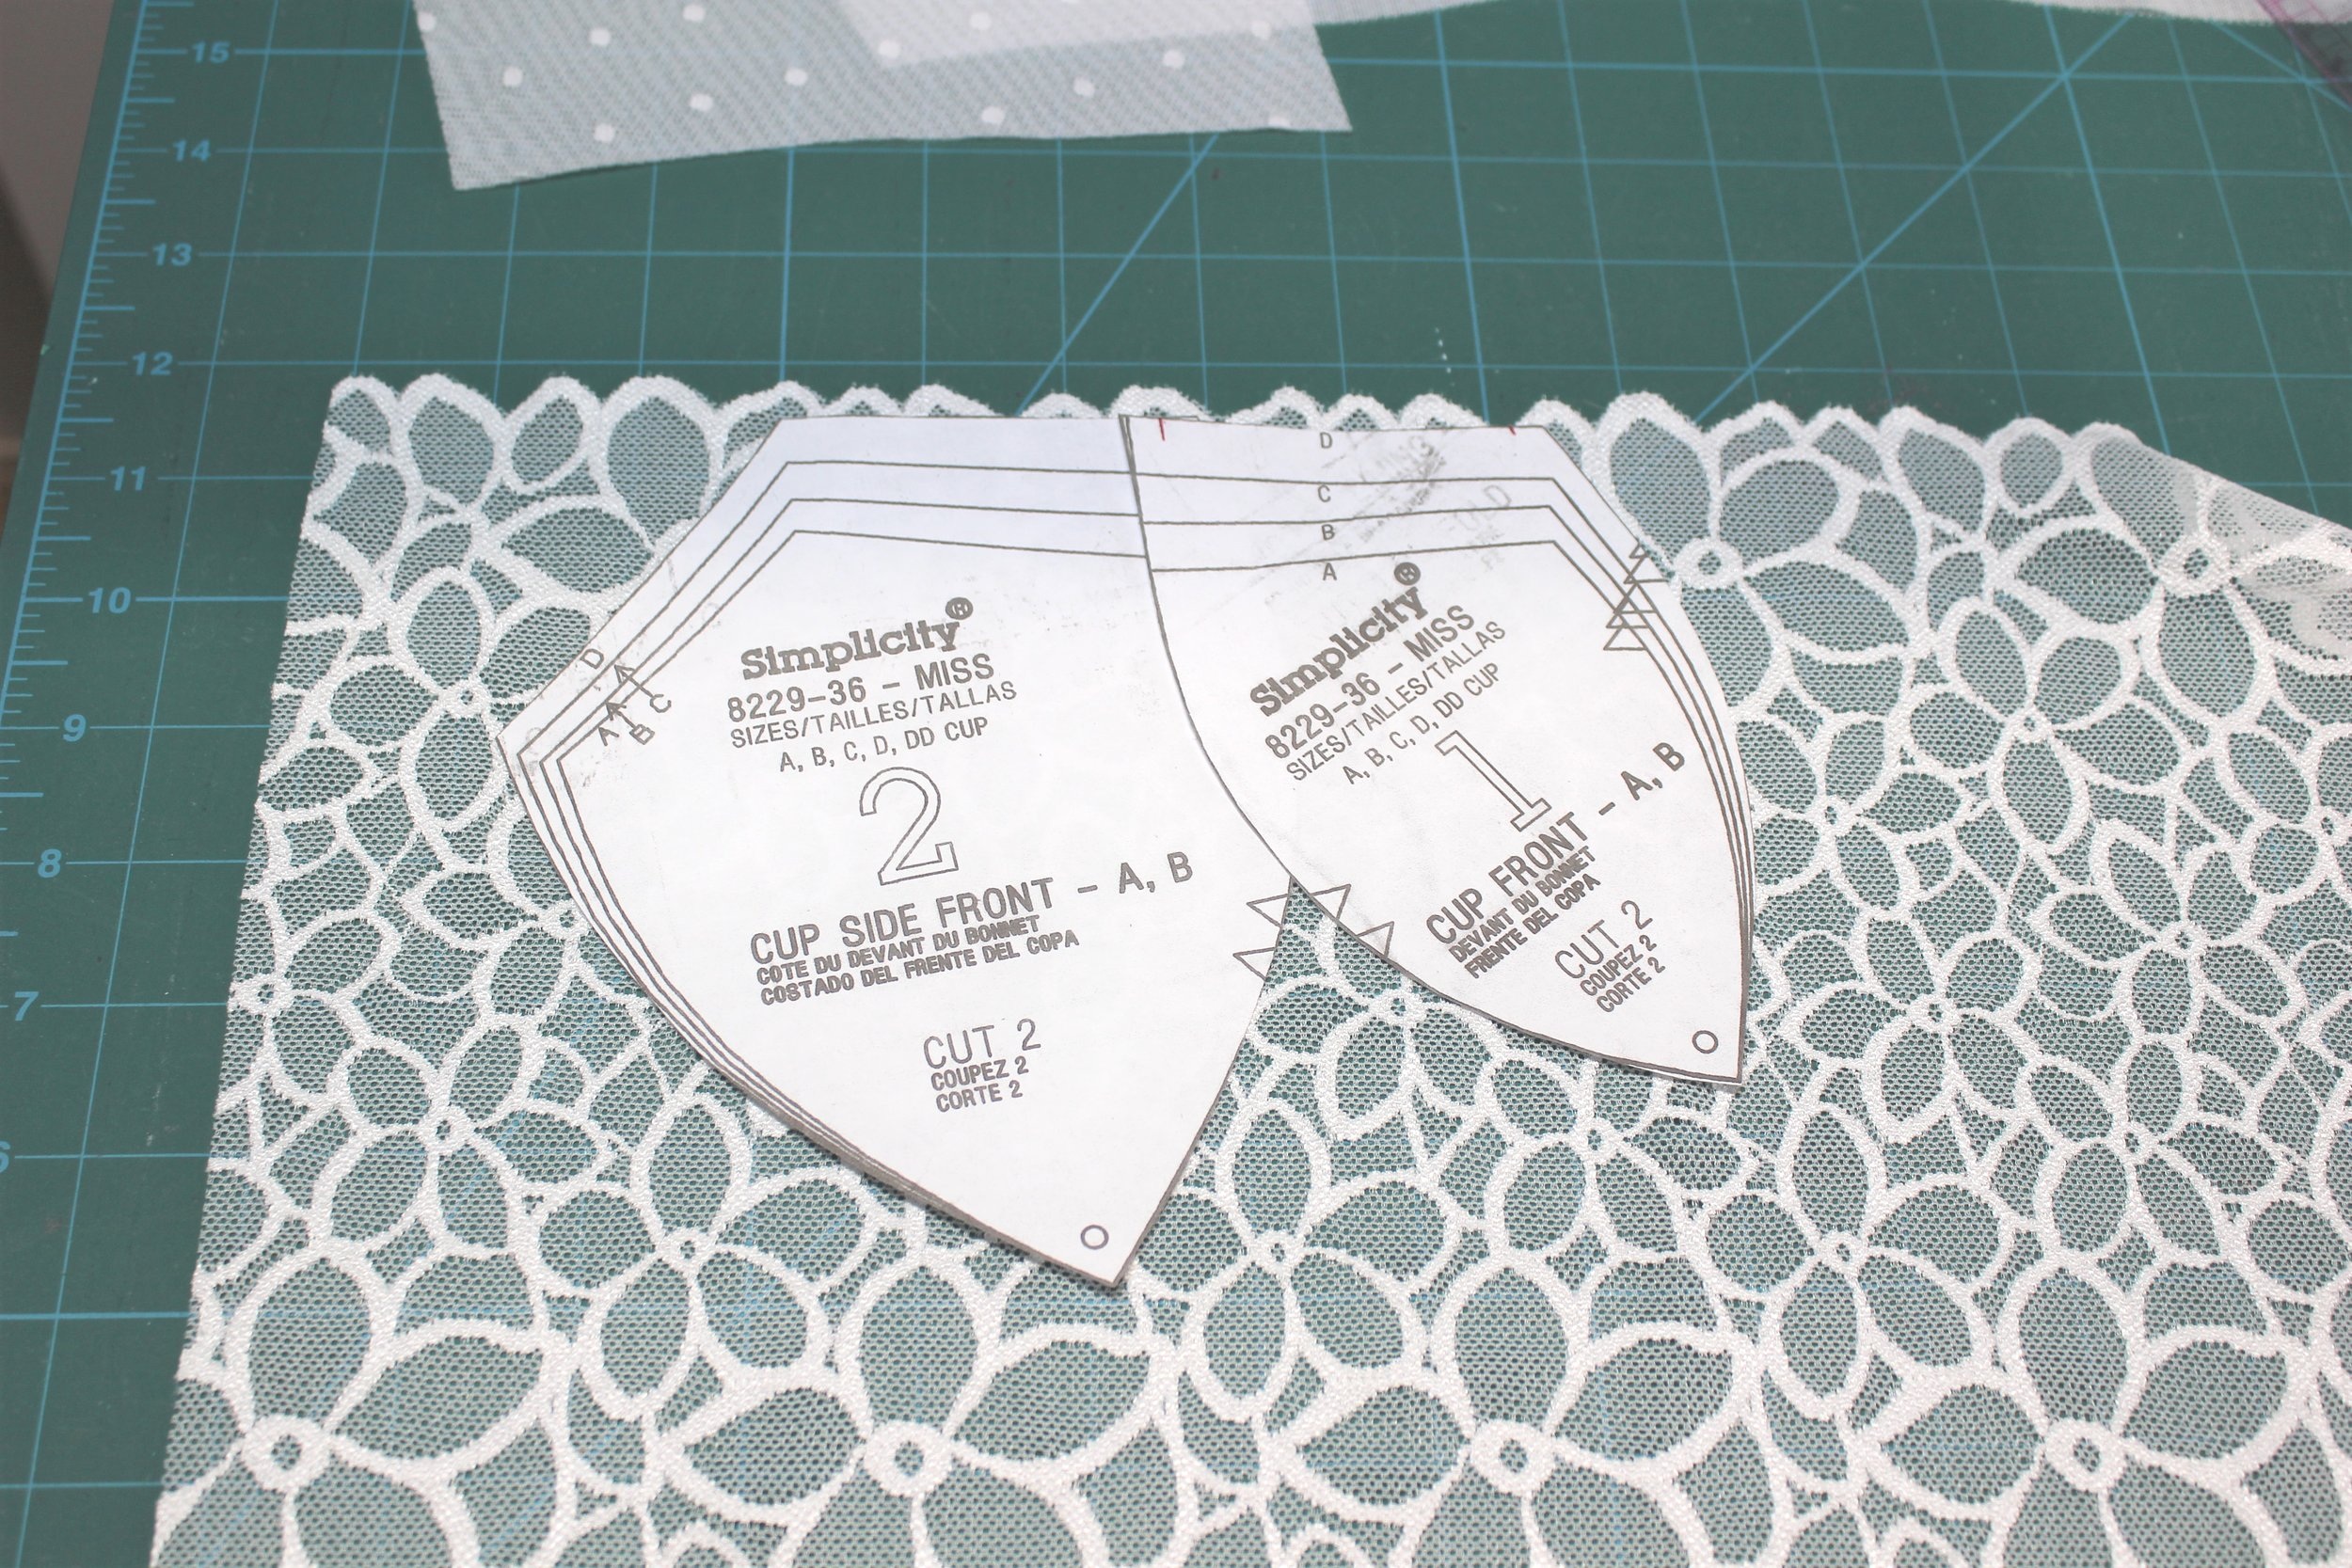
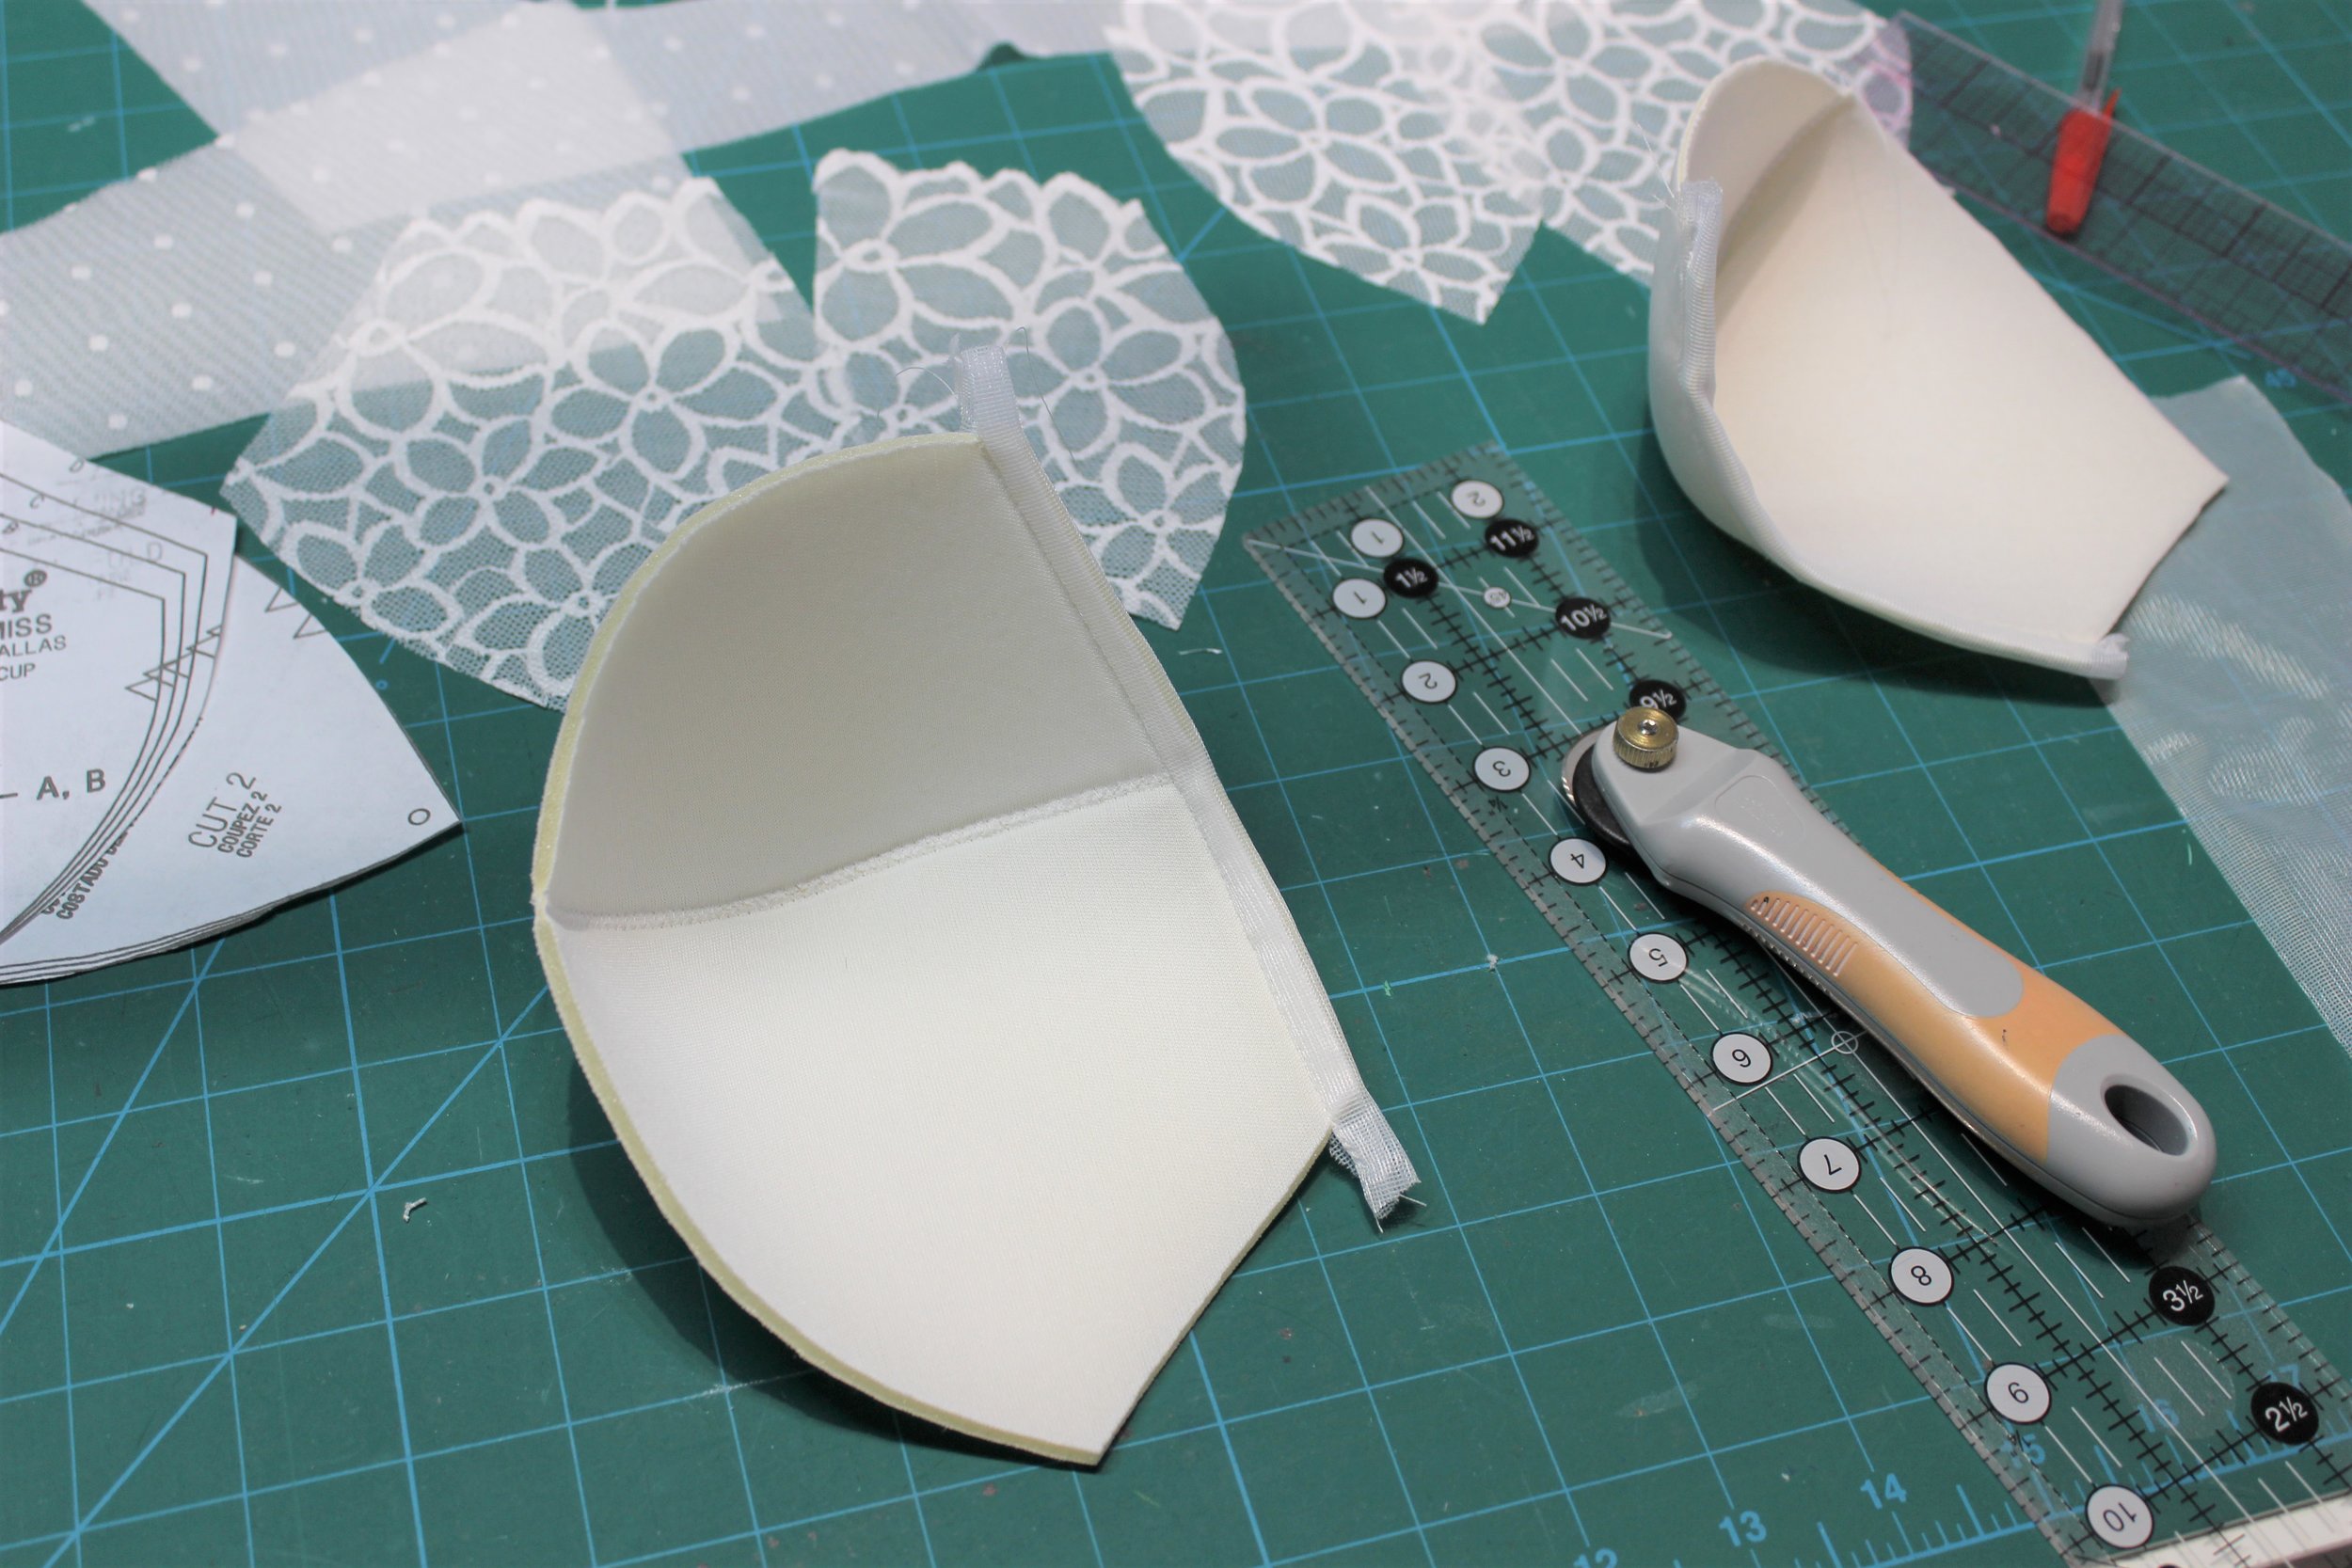
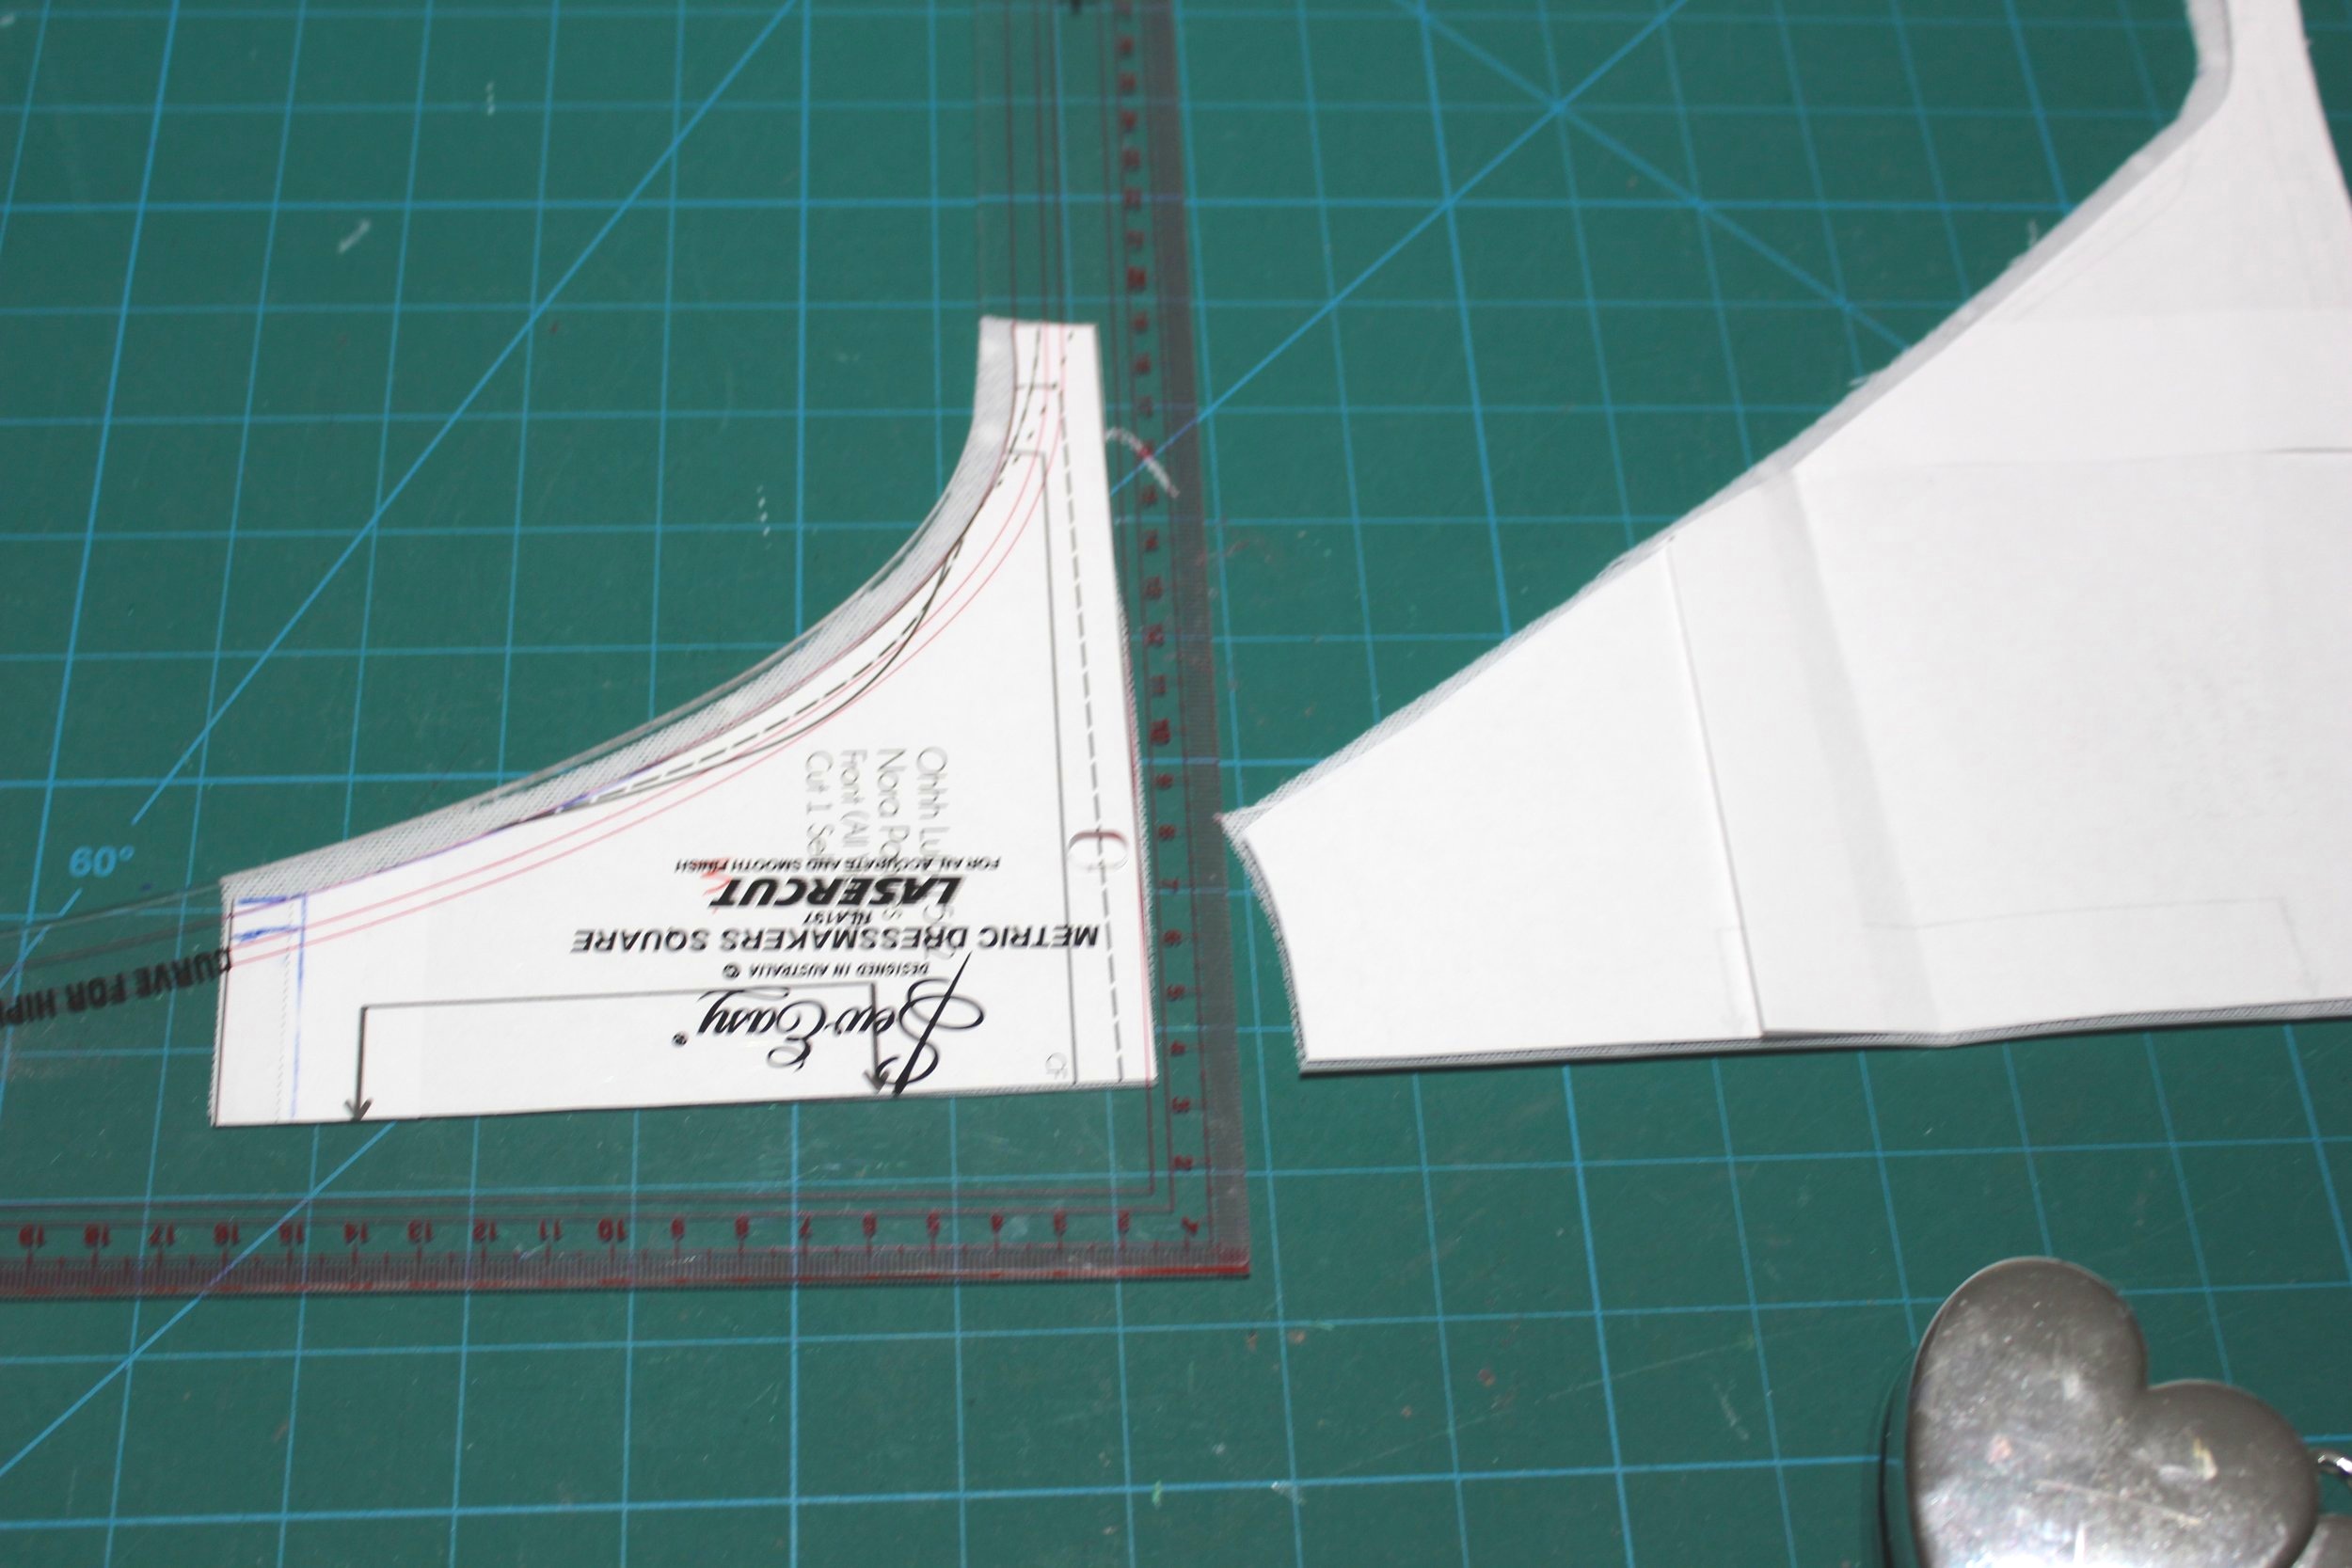
There is a set of tissue pattern pieces for each band size which includes all the cup sizes. I prefer to photocopy and then cut the size I want from the copy. The kit is for a foam lined bra but the pattern does not include the any instructions to make the bra this way. Having made a number of foam bras recently I made a further copy of the cup pieces to adjust for foam. I took the cup seam allowance from each piece. You can also take off the arm edge to reduce bulk when folding over the plush elastic but I have found it looks better if this is left. There is a video tutorial on the site on how to cover the upper edge which includes instructions on how to make the foam cup.
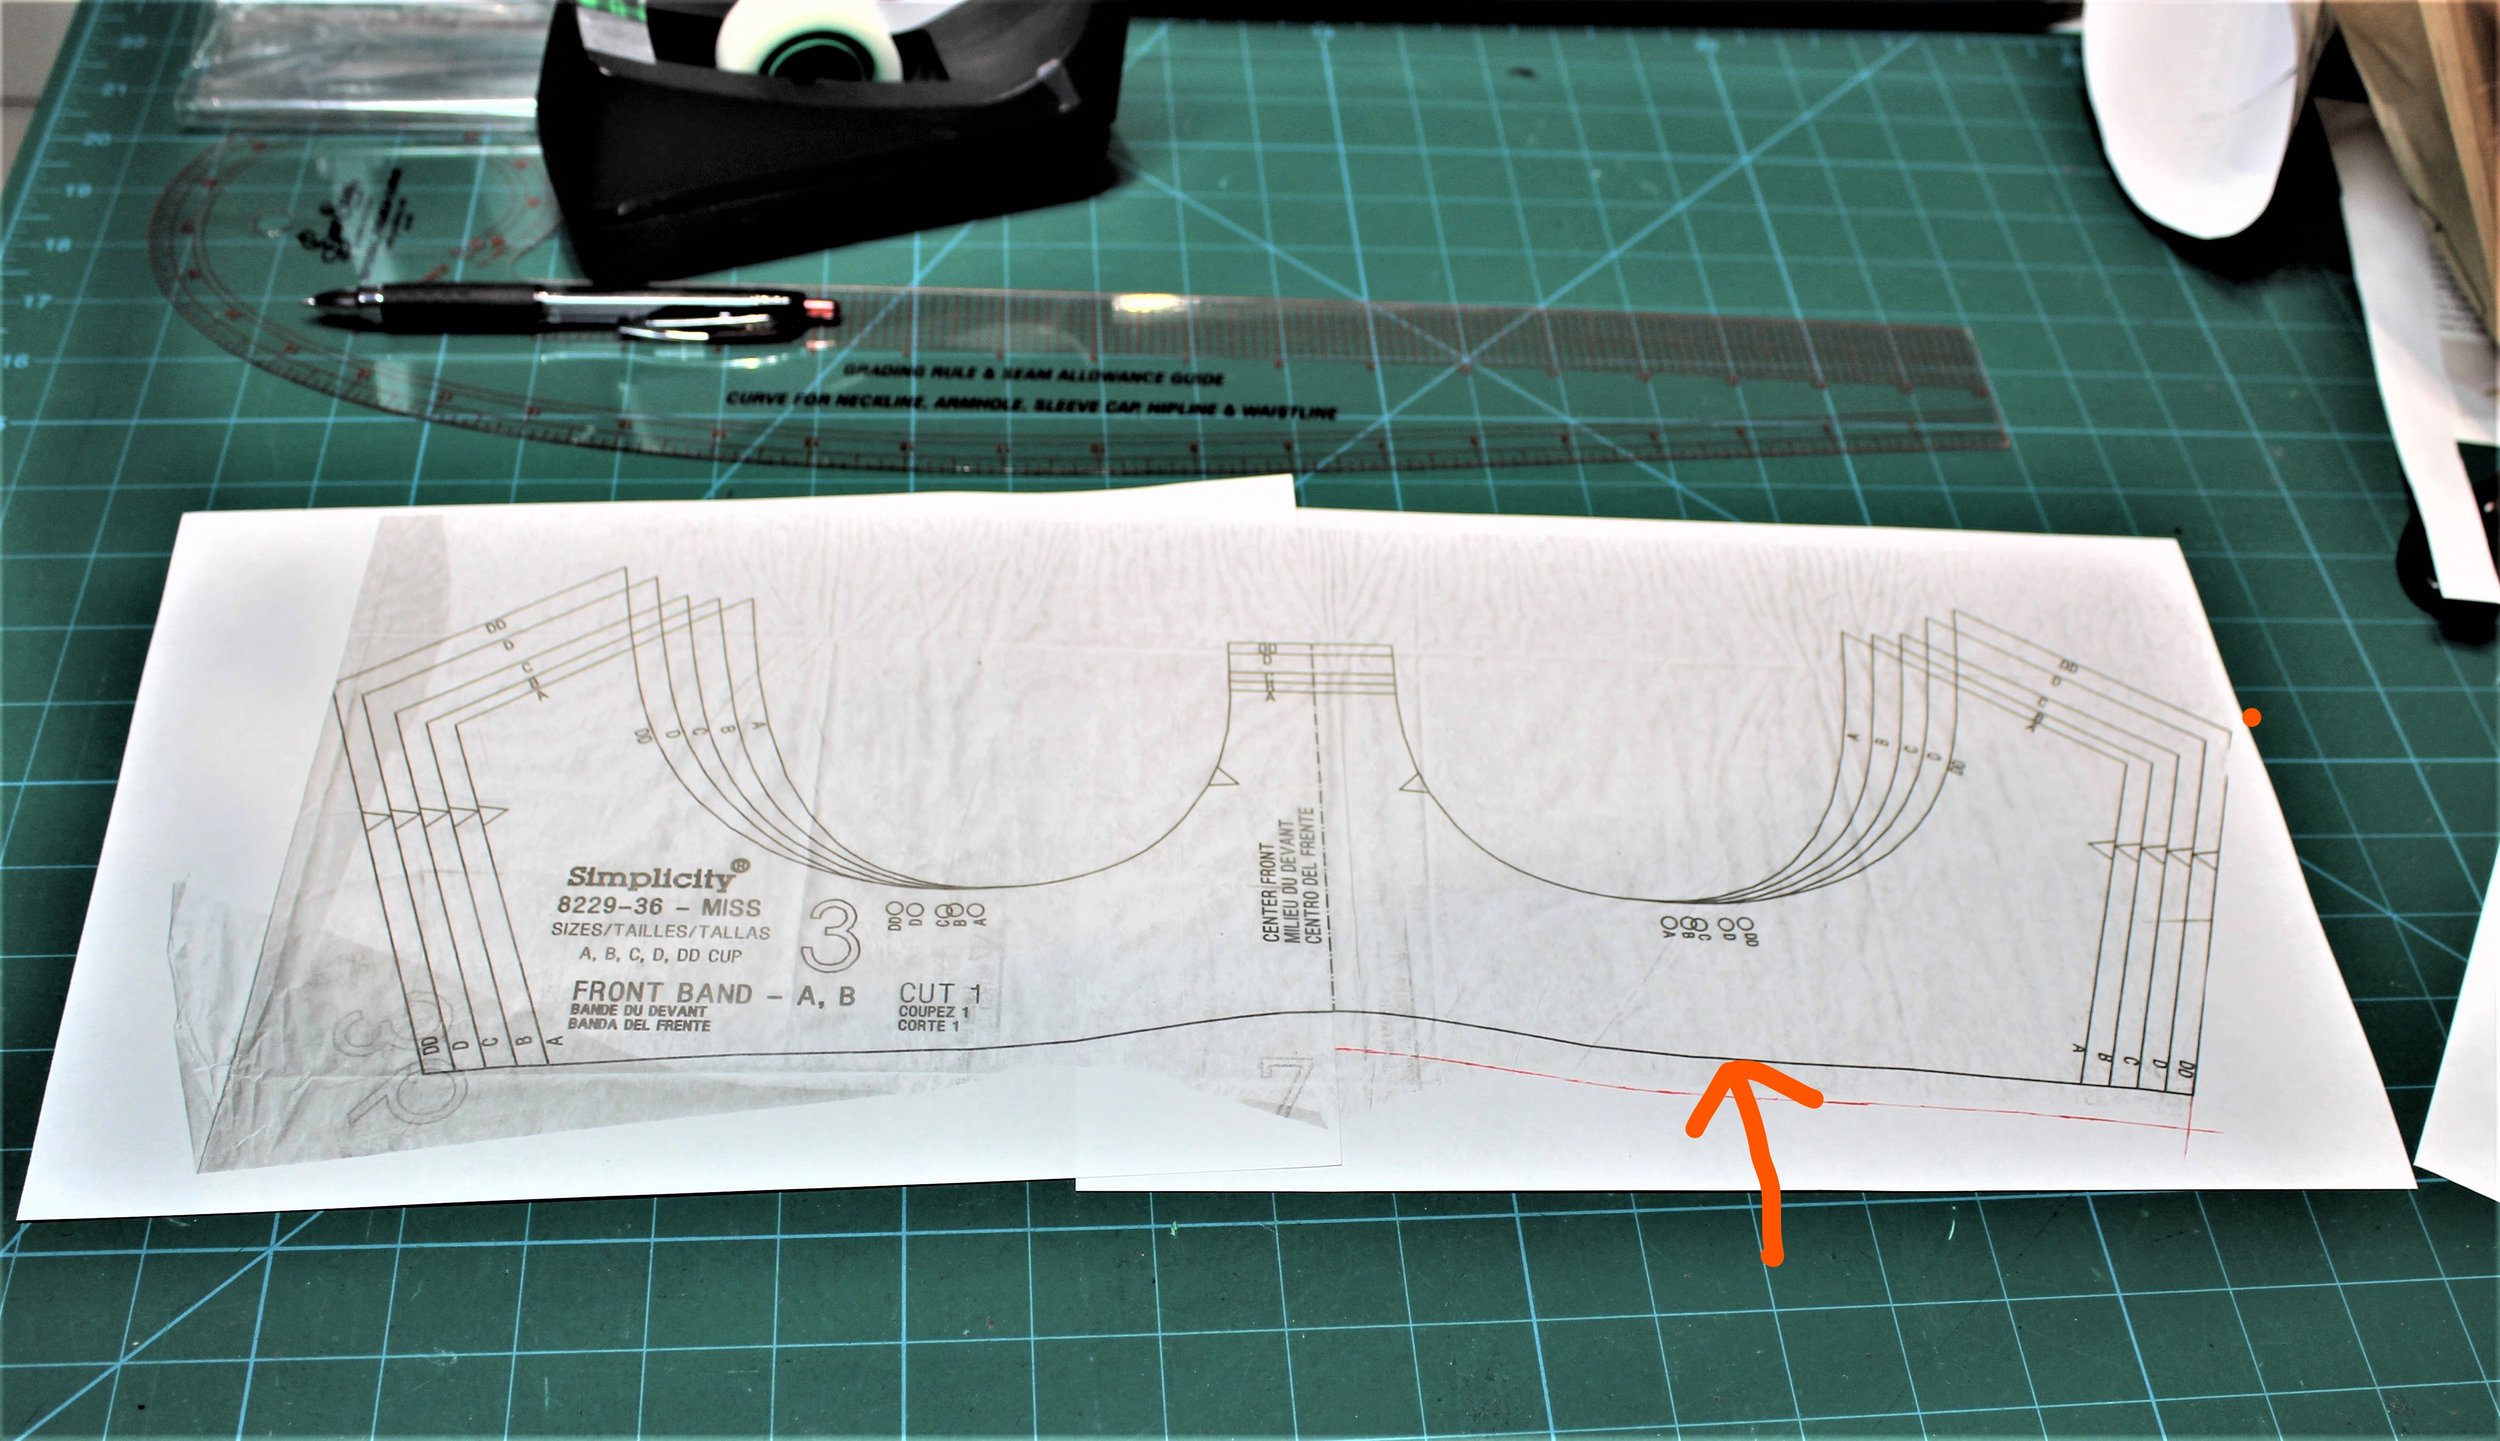
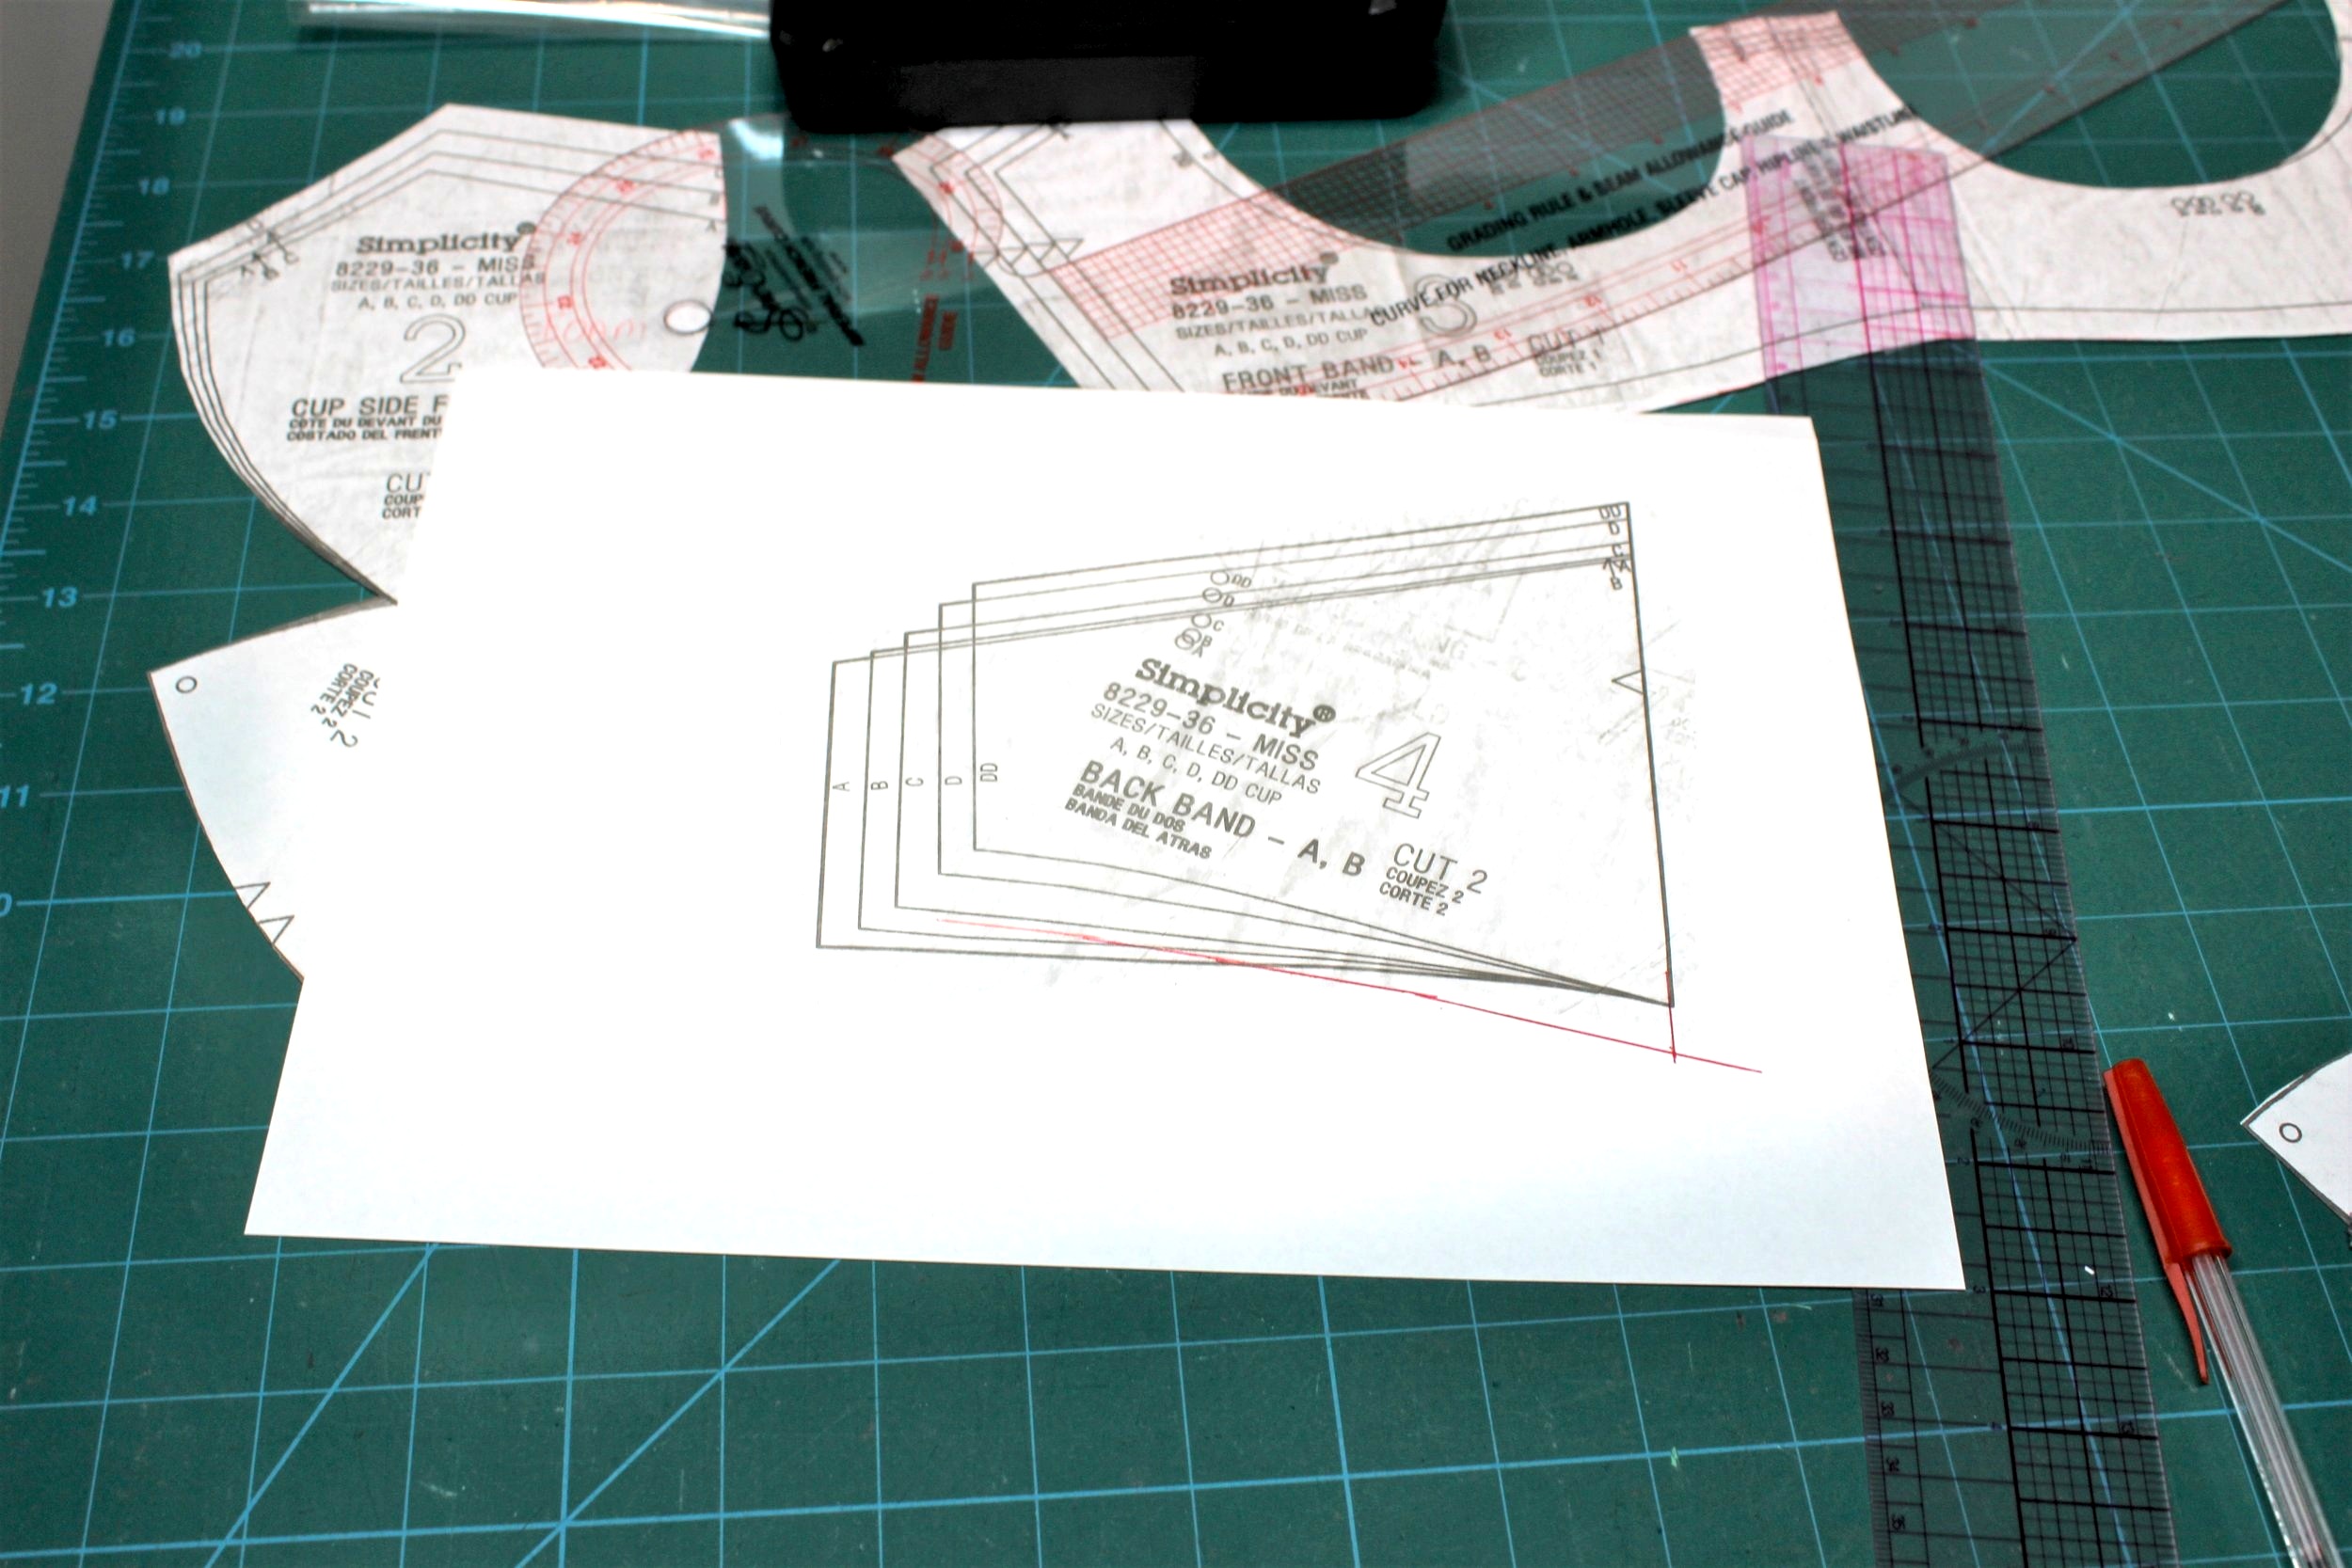
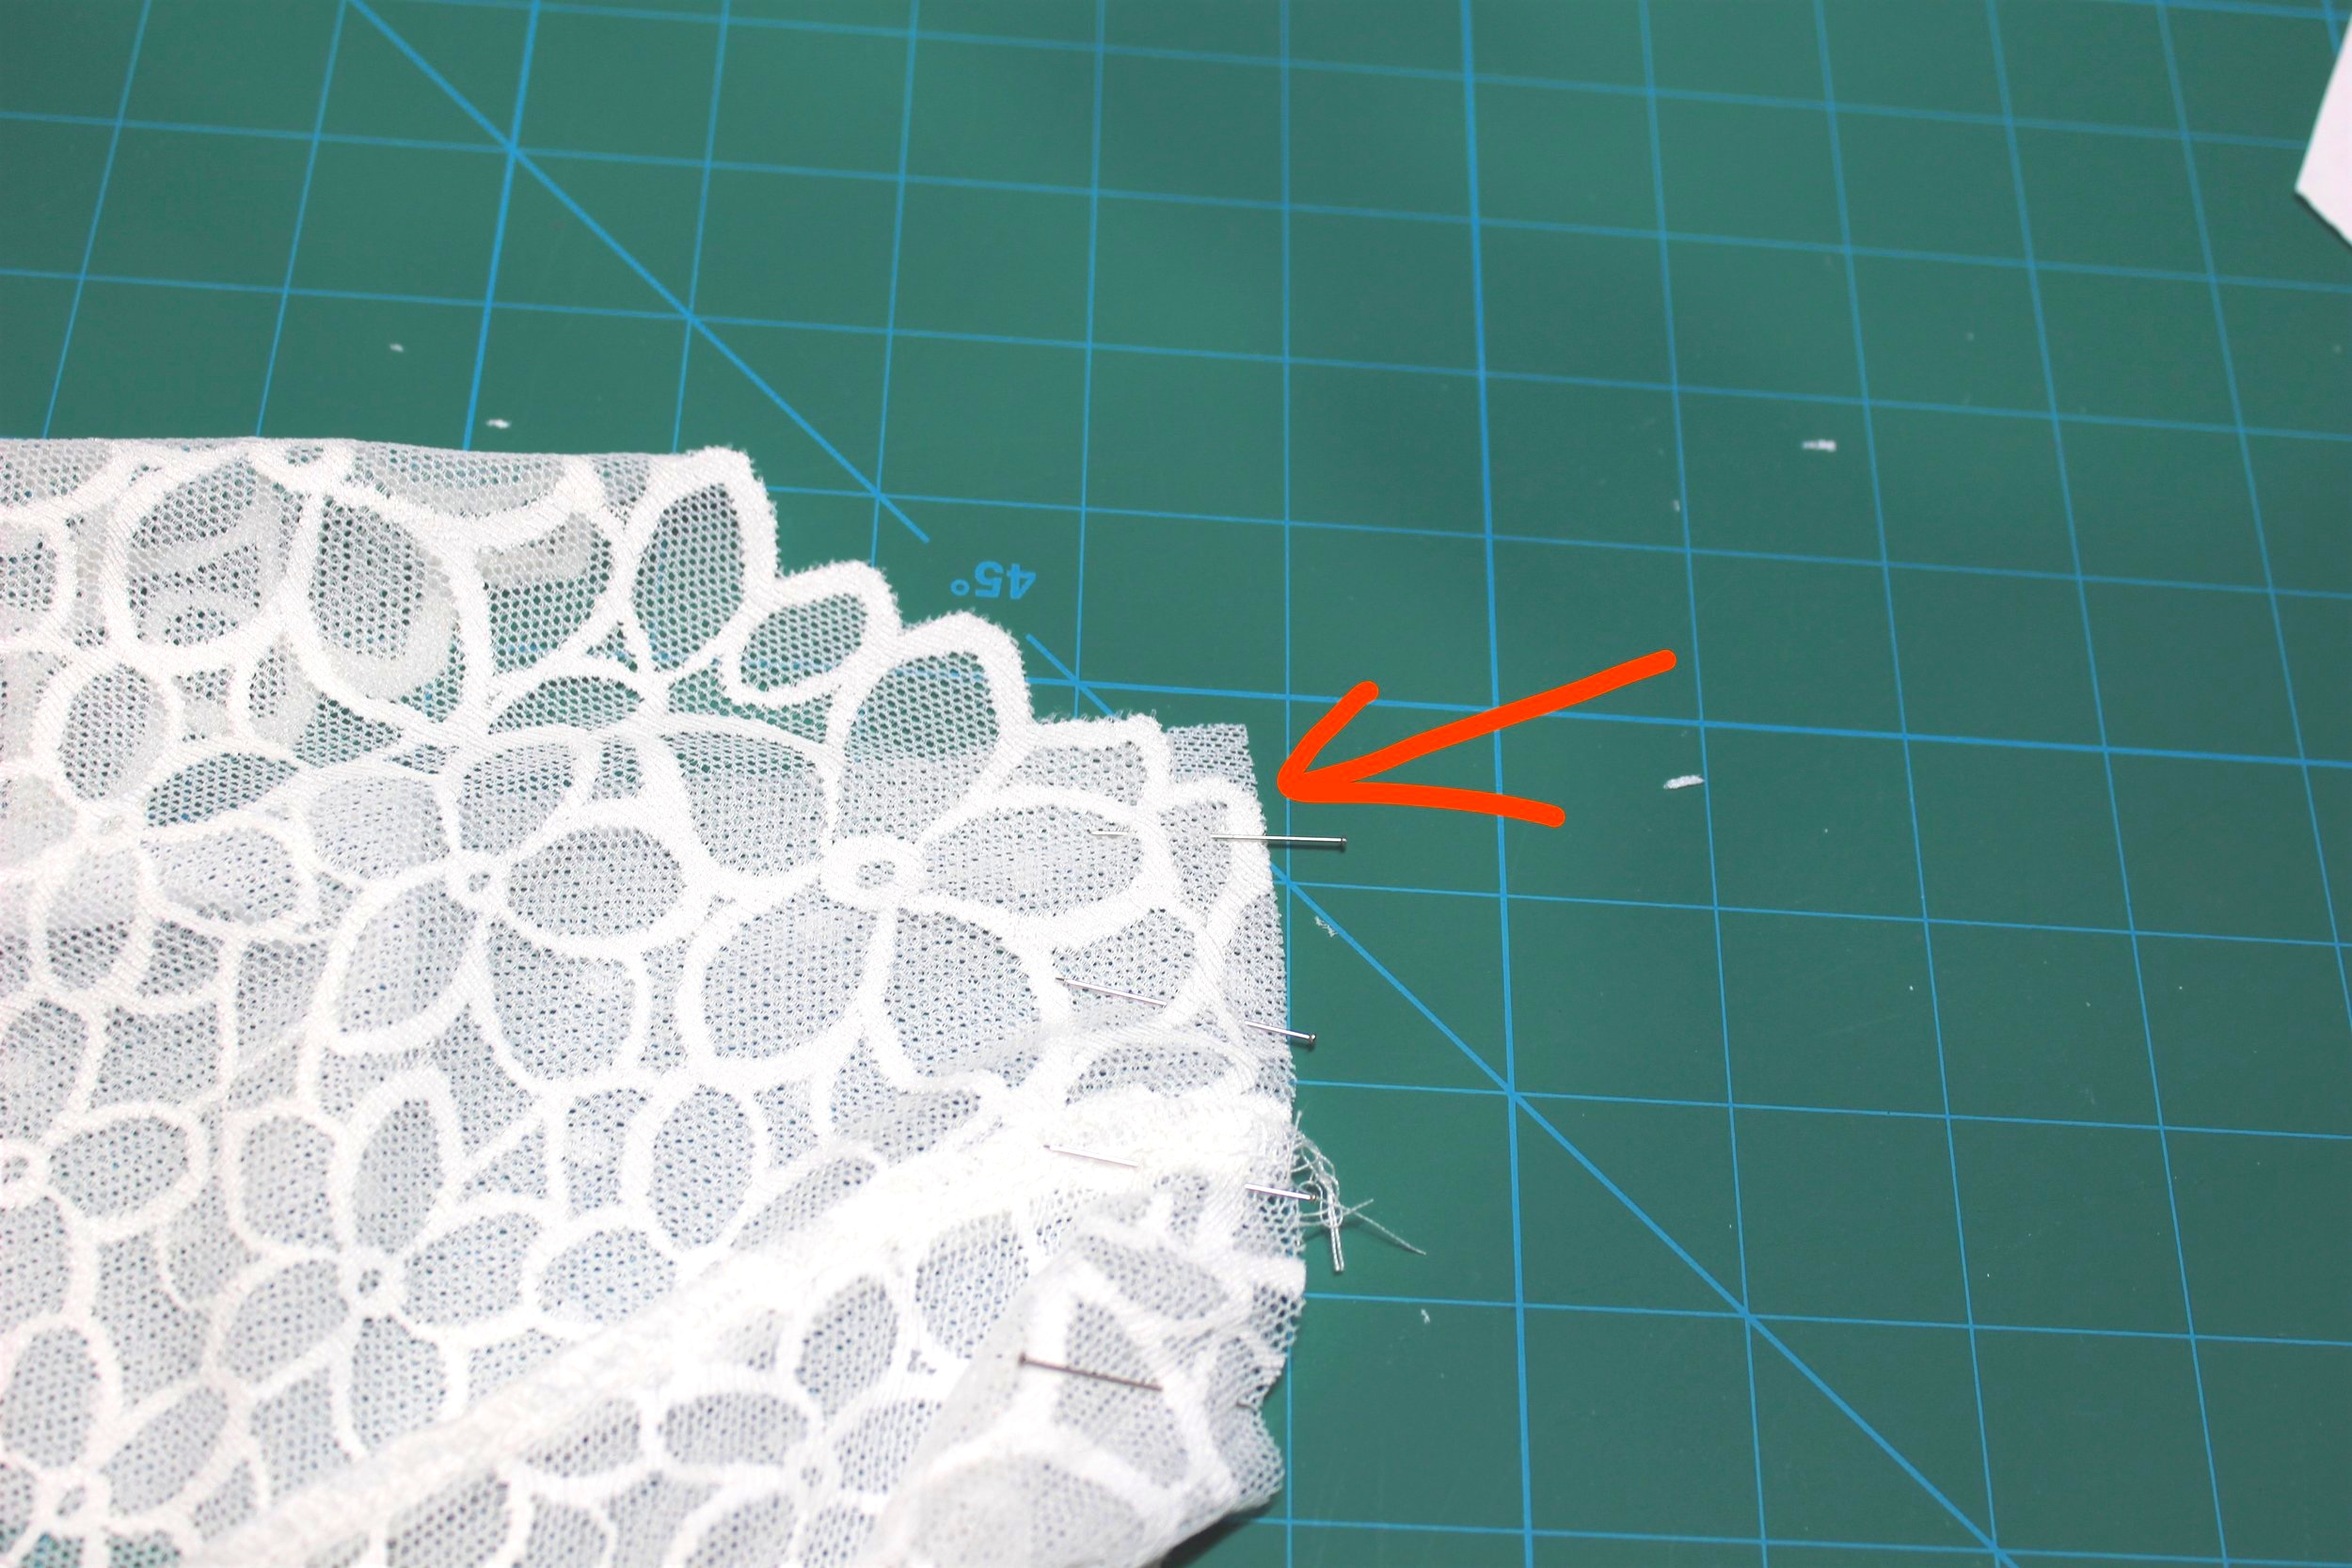
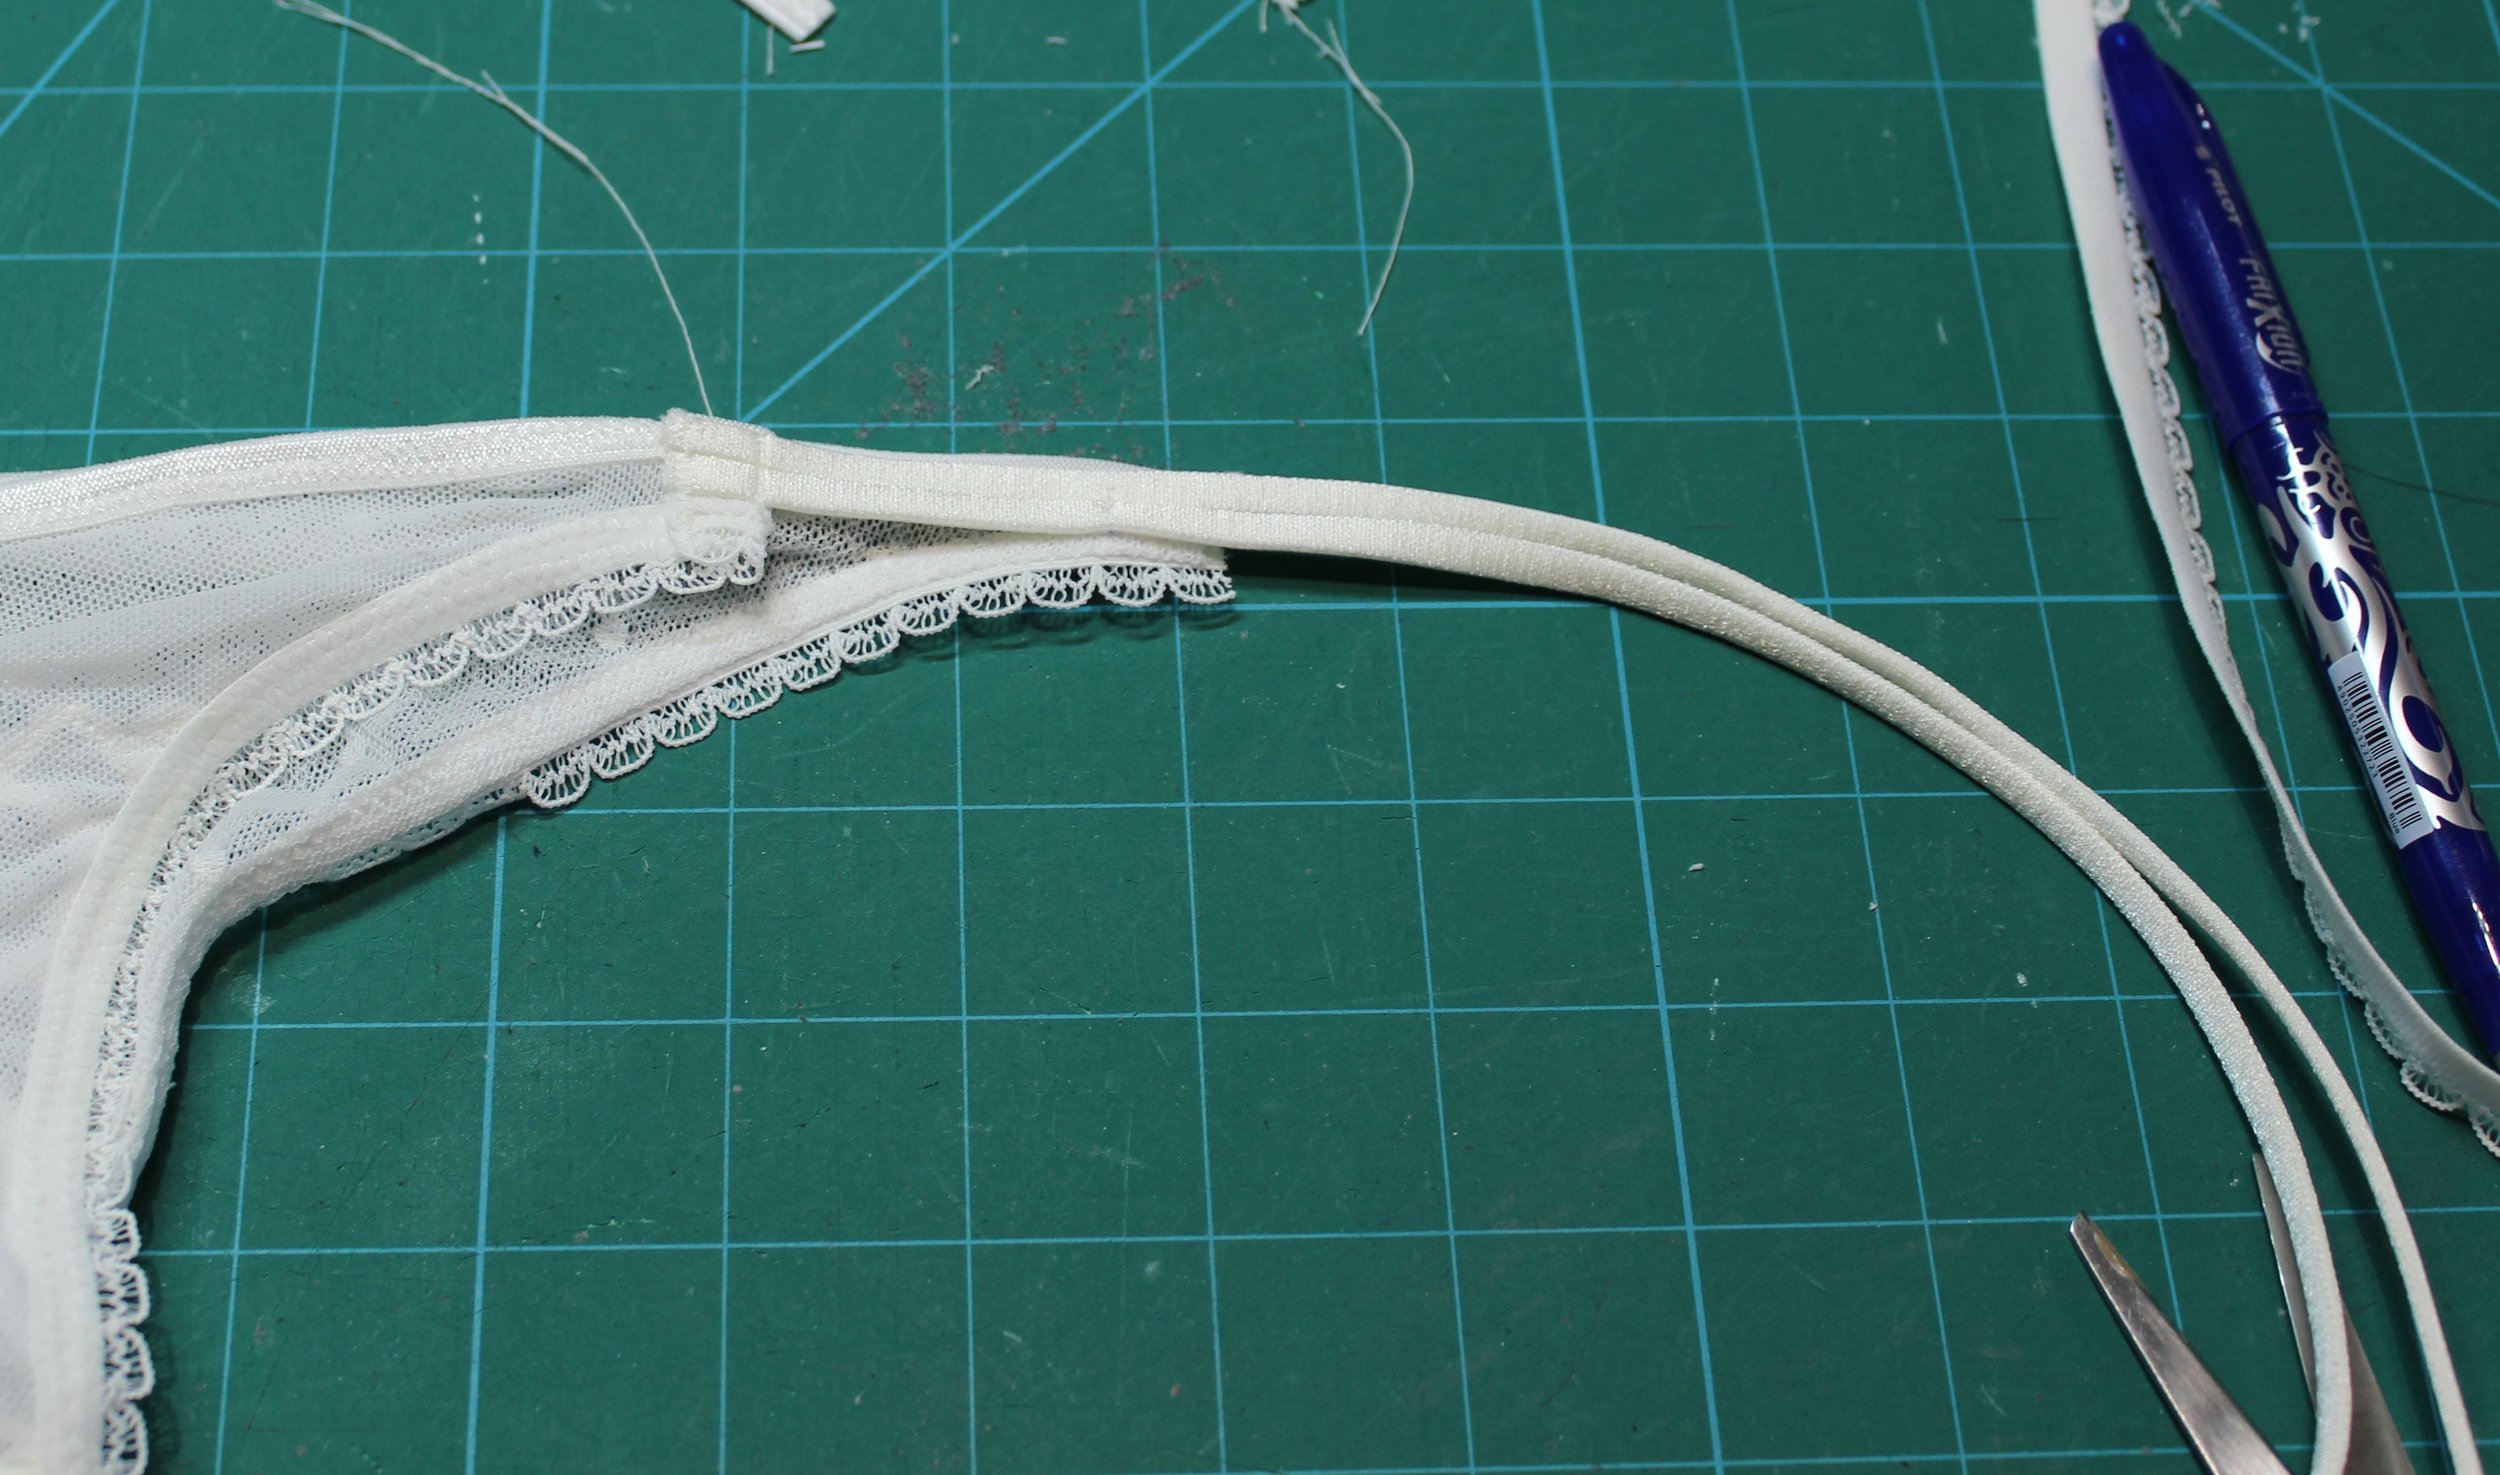
Most bra patterns include seam allowances for the width of elastic to be used at each edge. However, the Simplicity patterns use 1/4” so the instructions have you position the elastic 1/8” or whatever the difference is between 1/4” and elastic width off the edge of the elastic. In the past I have marked the line on the fabric so it is even. This time I have added the extra to my pattern pieces so that I can line up the elastic with edge of the fabric to make life easier. So I adjusted both the bottom of the frame and band by 3/8” to accommodate the elastic in the kit. The armhole elastic in the kit is 1/4” so no adjustment needed.

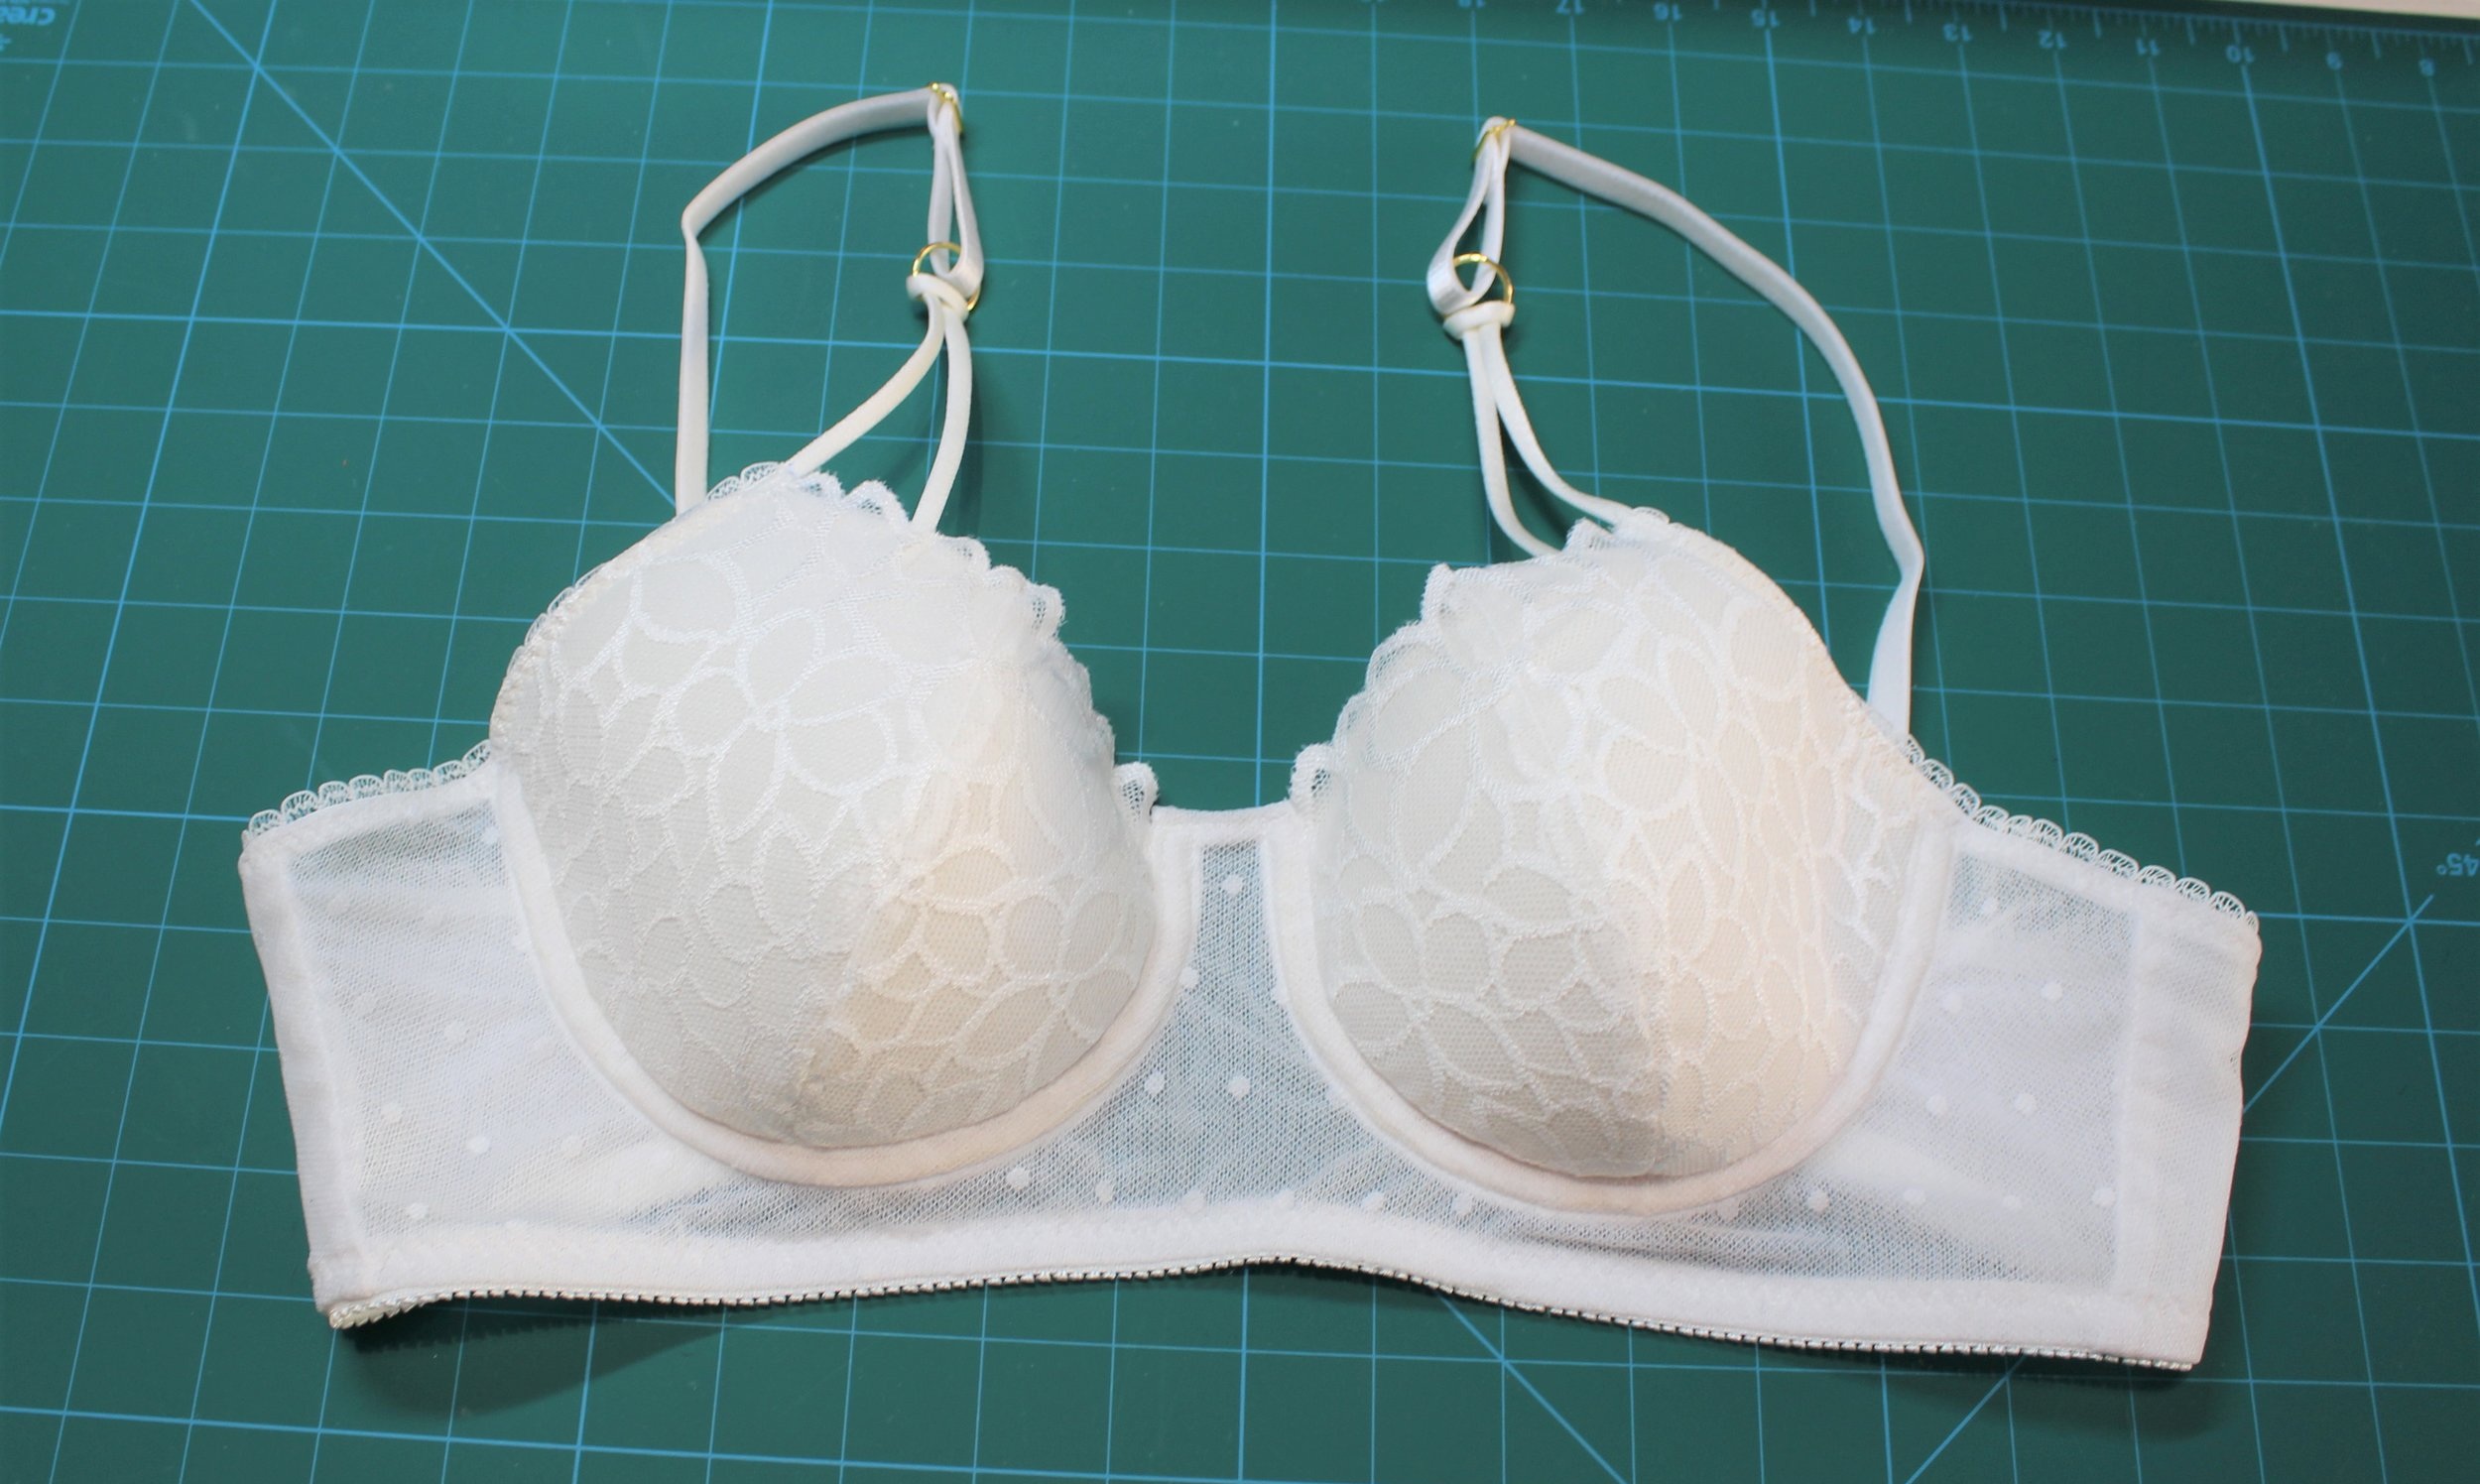
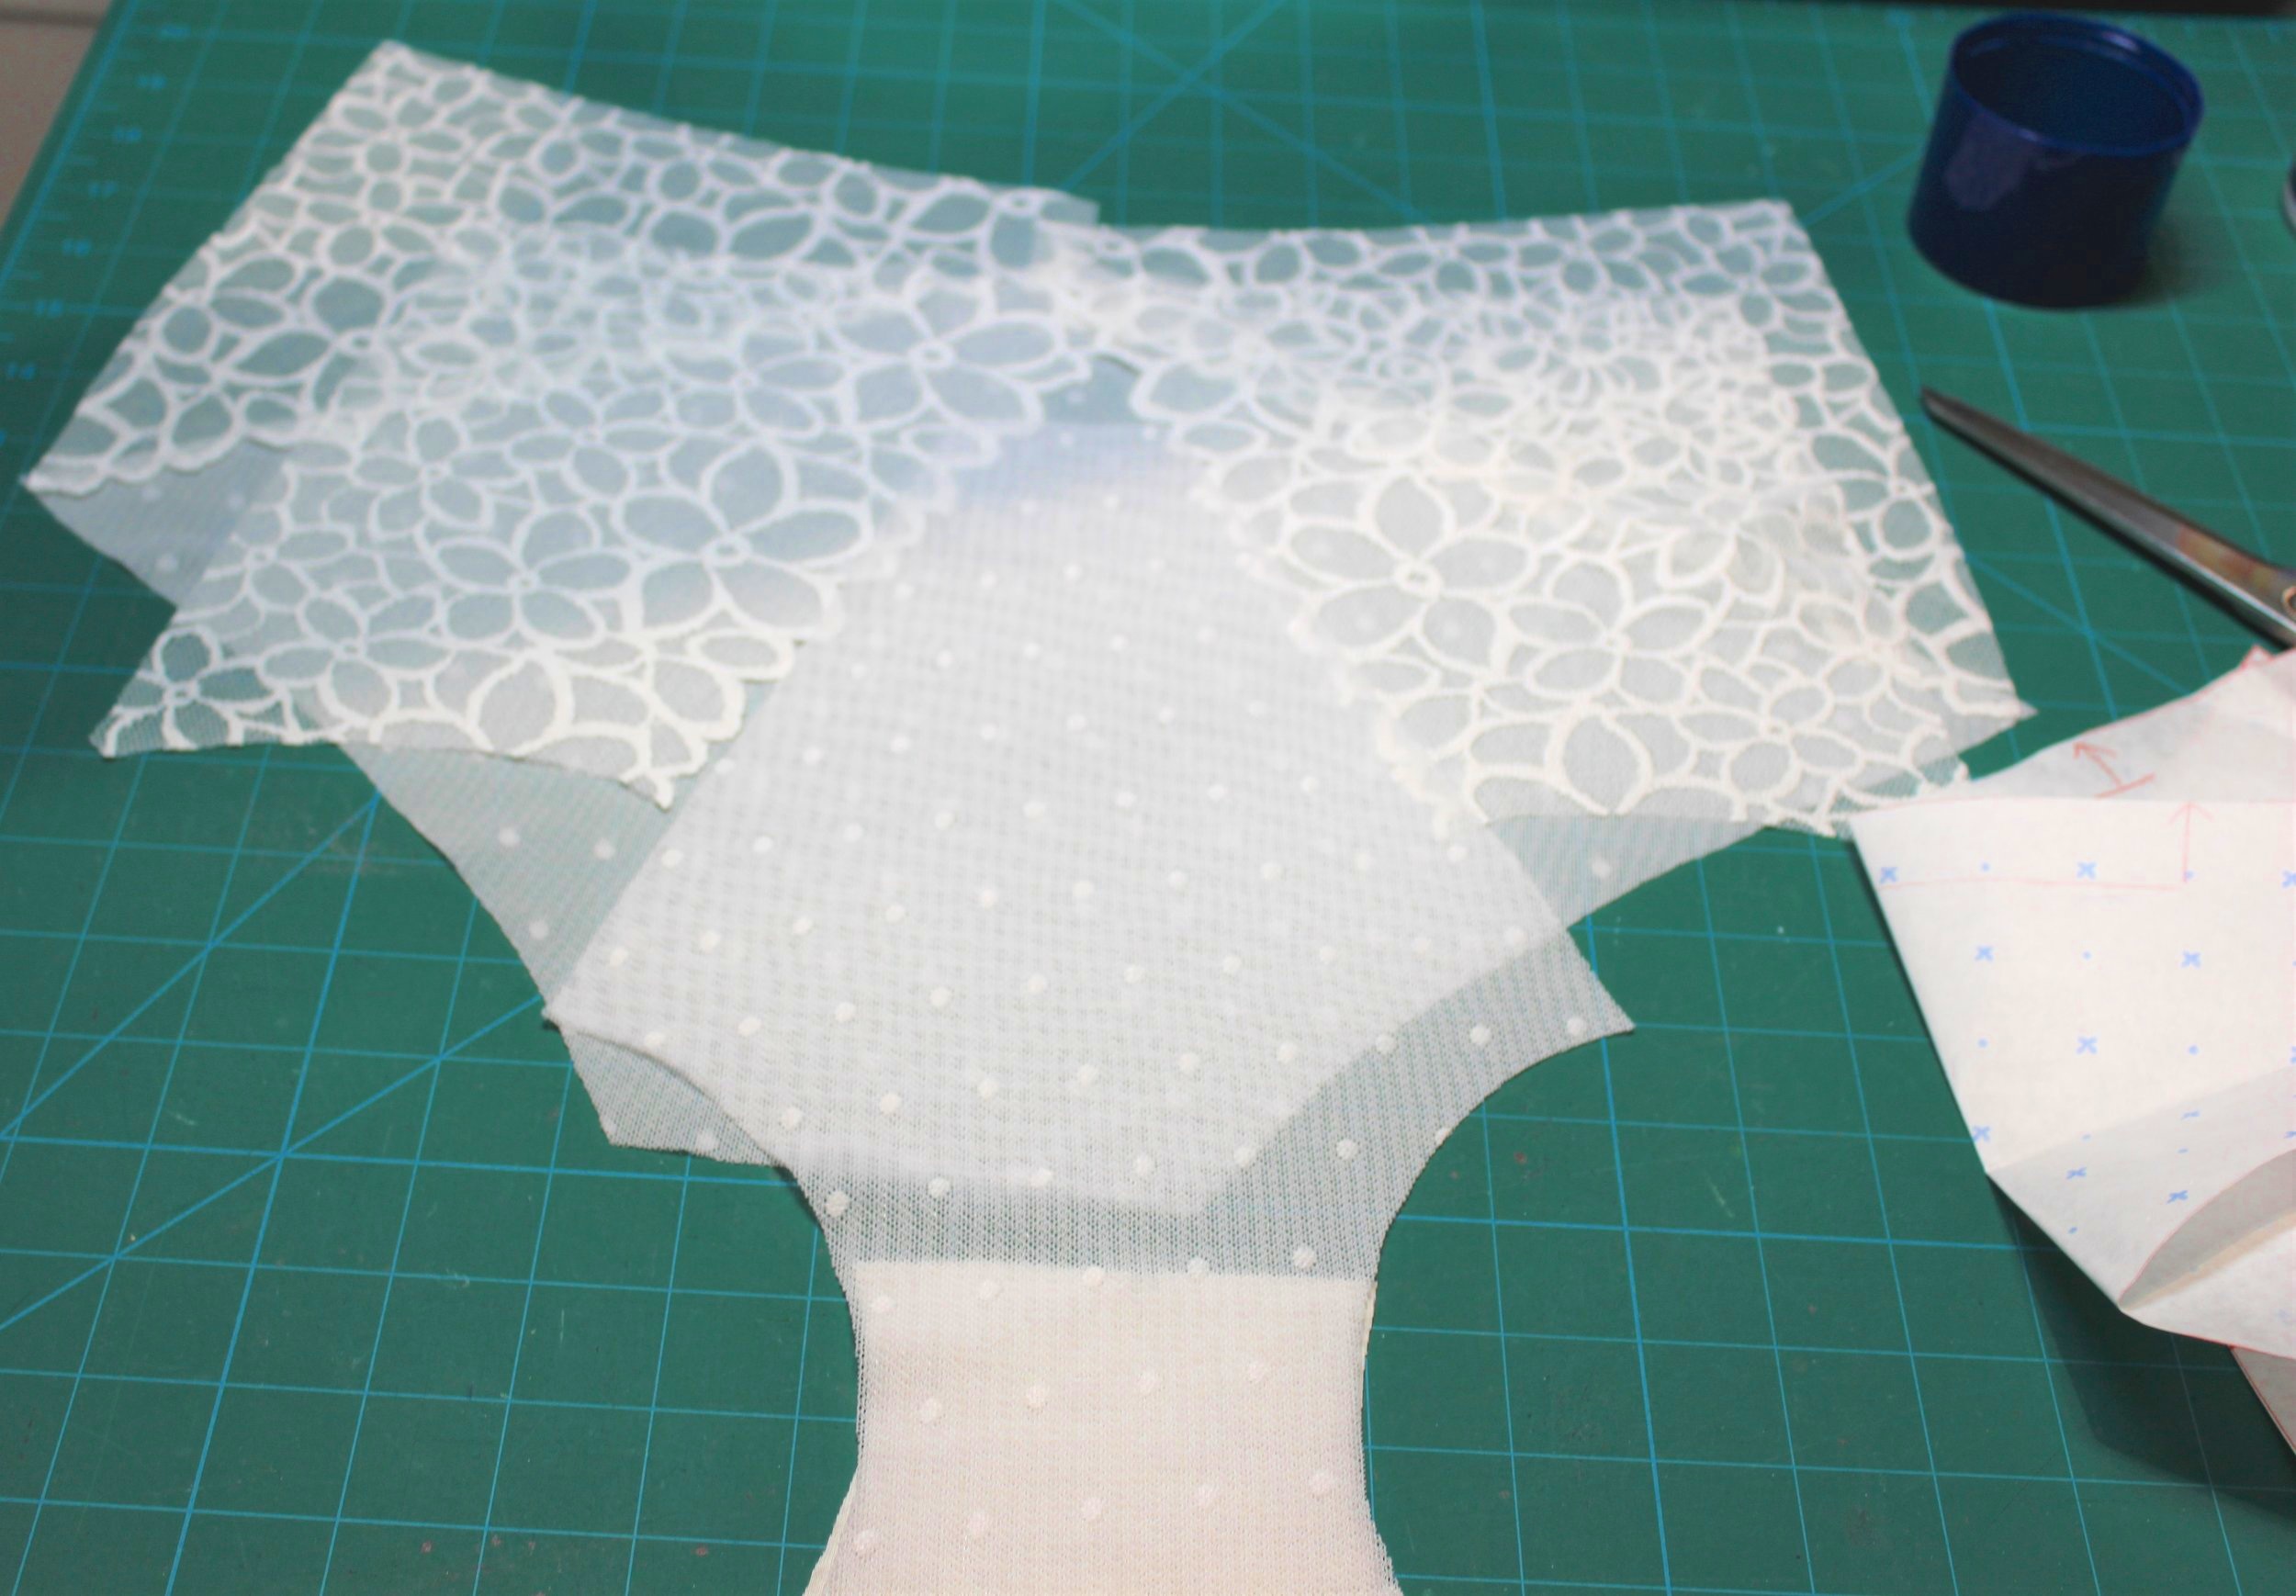
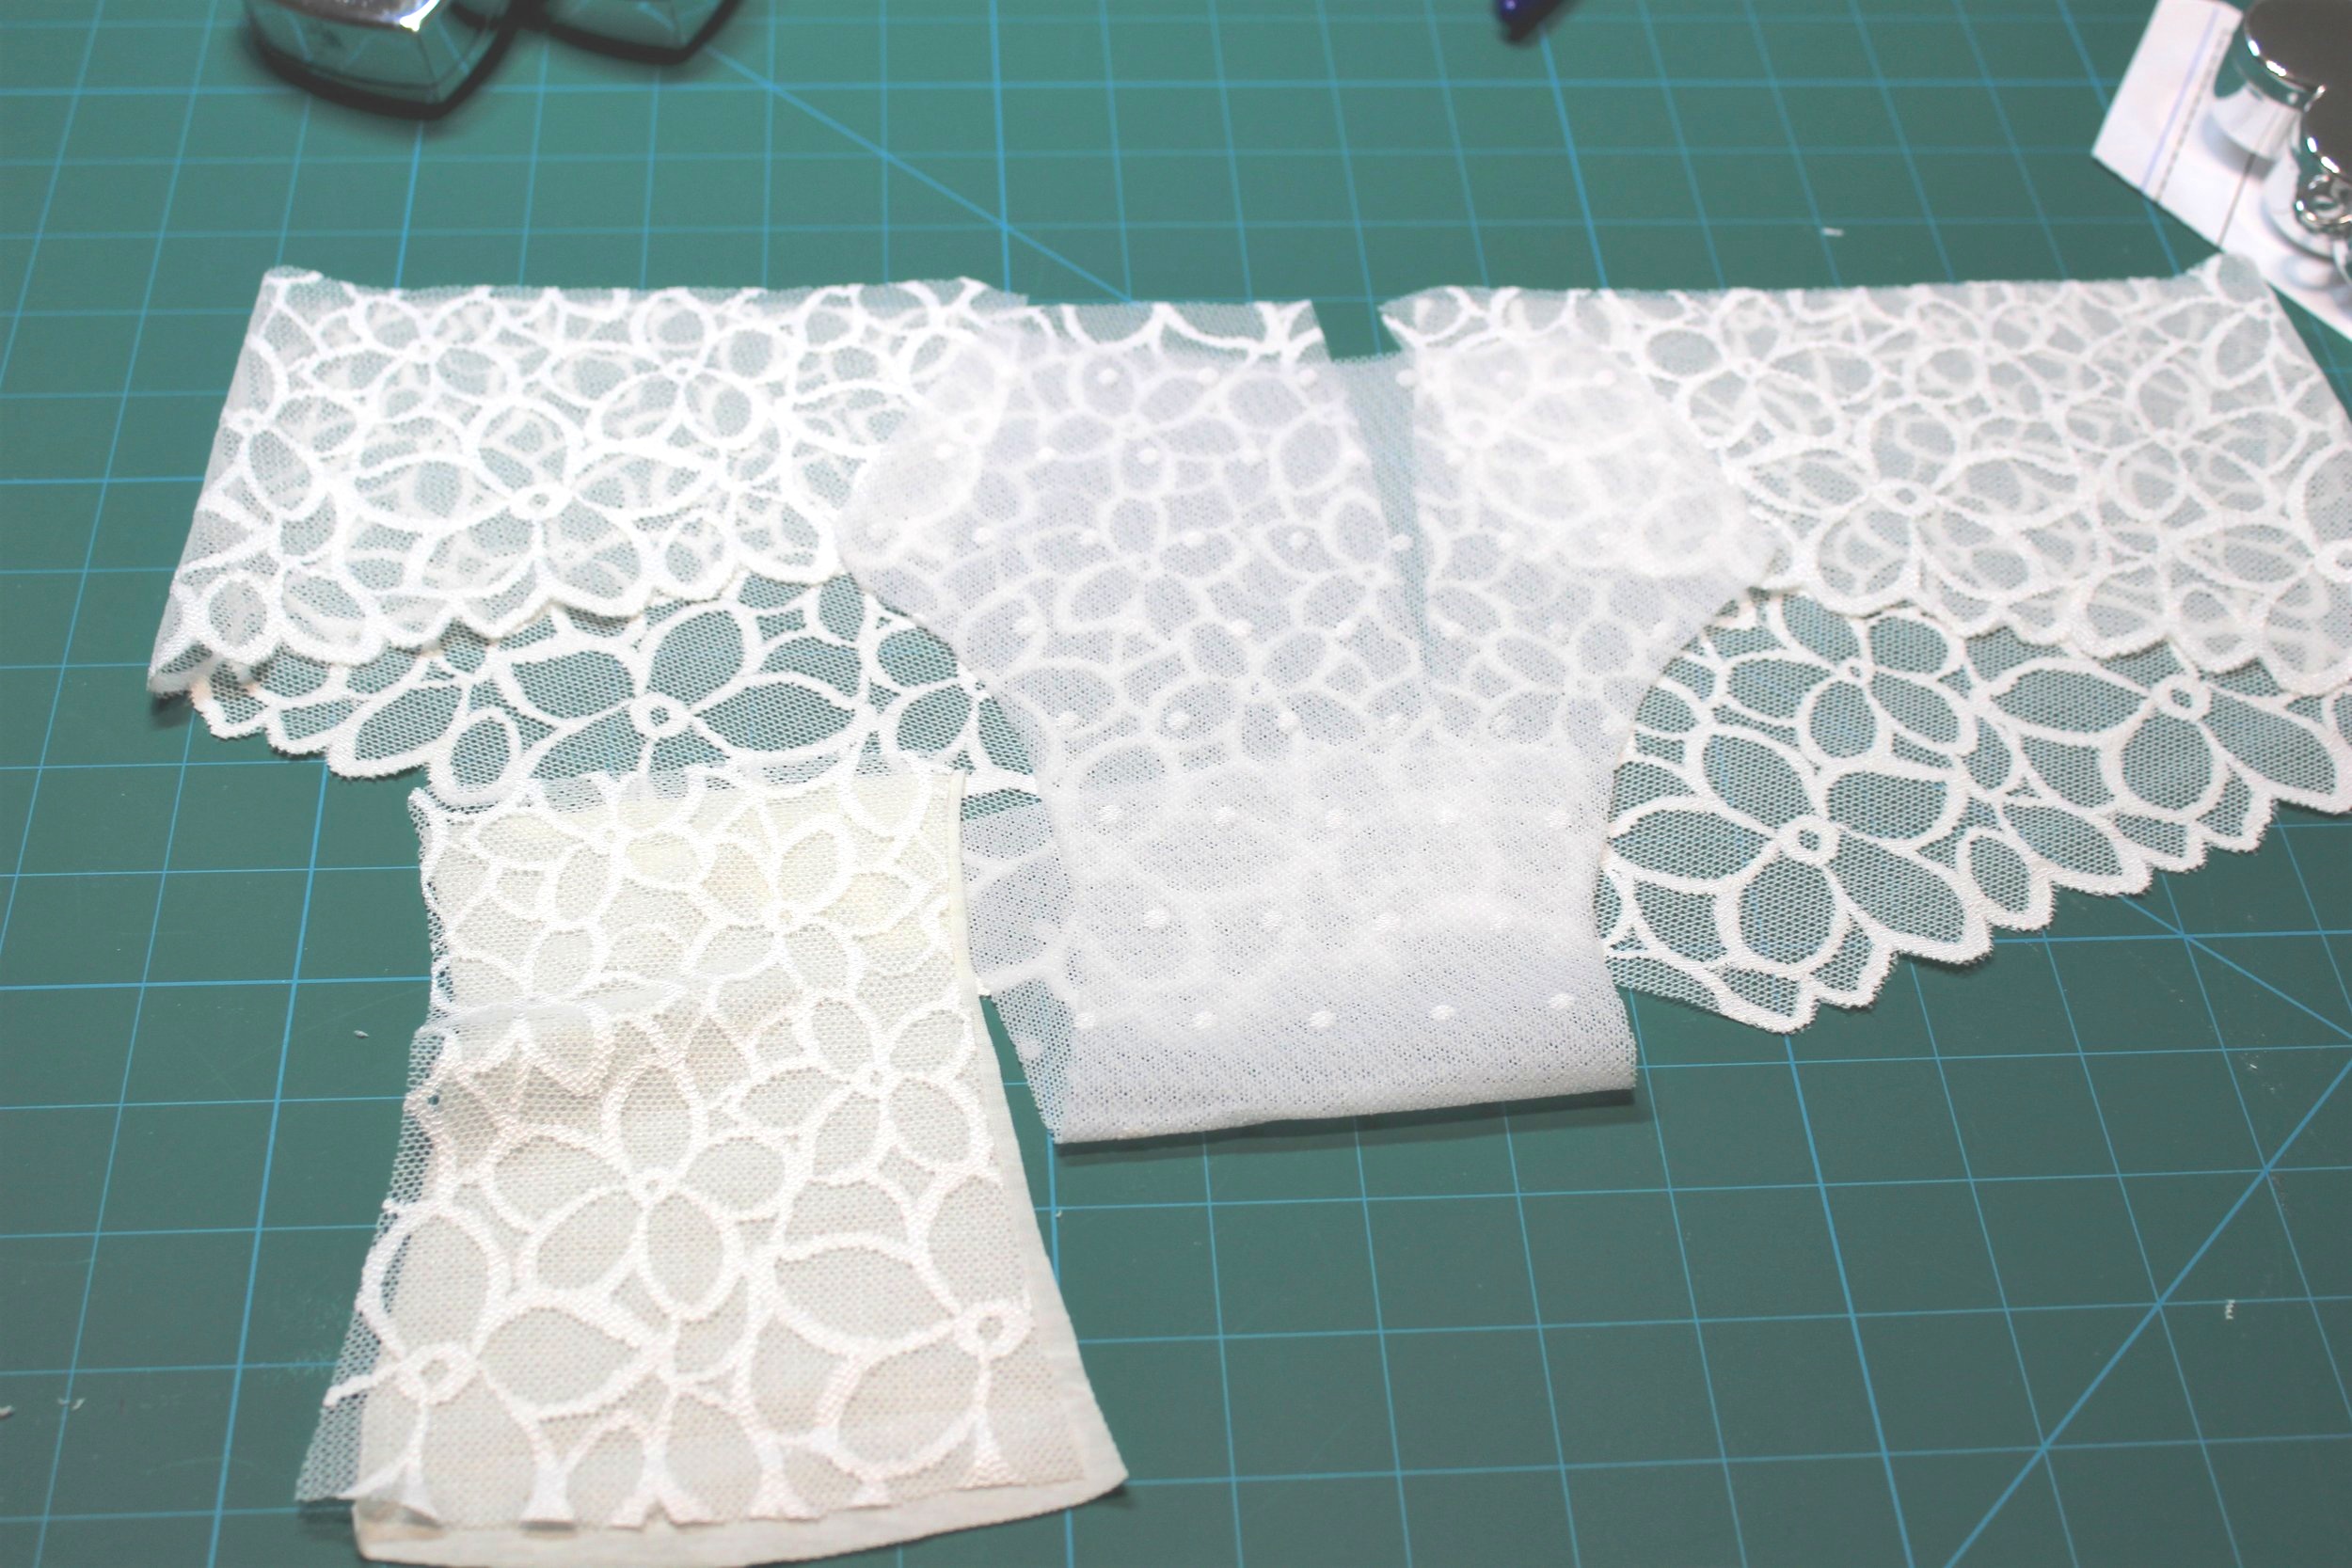
The frame is cut in one from a layer of the white stretch mesh and the dot mesh held together with temporary adhesive spray. This is still really stretchy so I left on the paper I used to cover the mat for spraying and cut through the paper as well. This gives a really clean cut and the fabric stays in place as it is slightly tacky from the spray. I played around with the lace pieces to find where I wanted the centre join. Elastic is applied to centre upper edge of the frame. I changed out the nude provided for white.
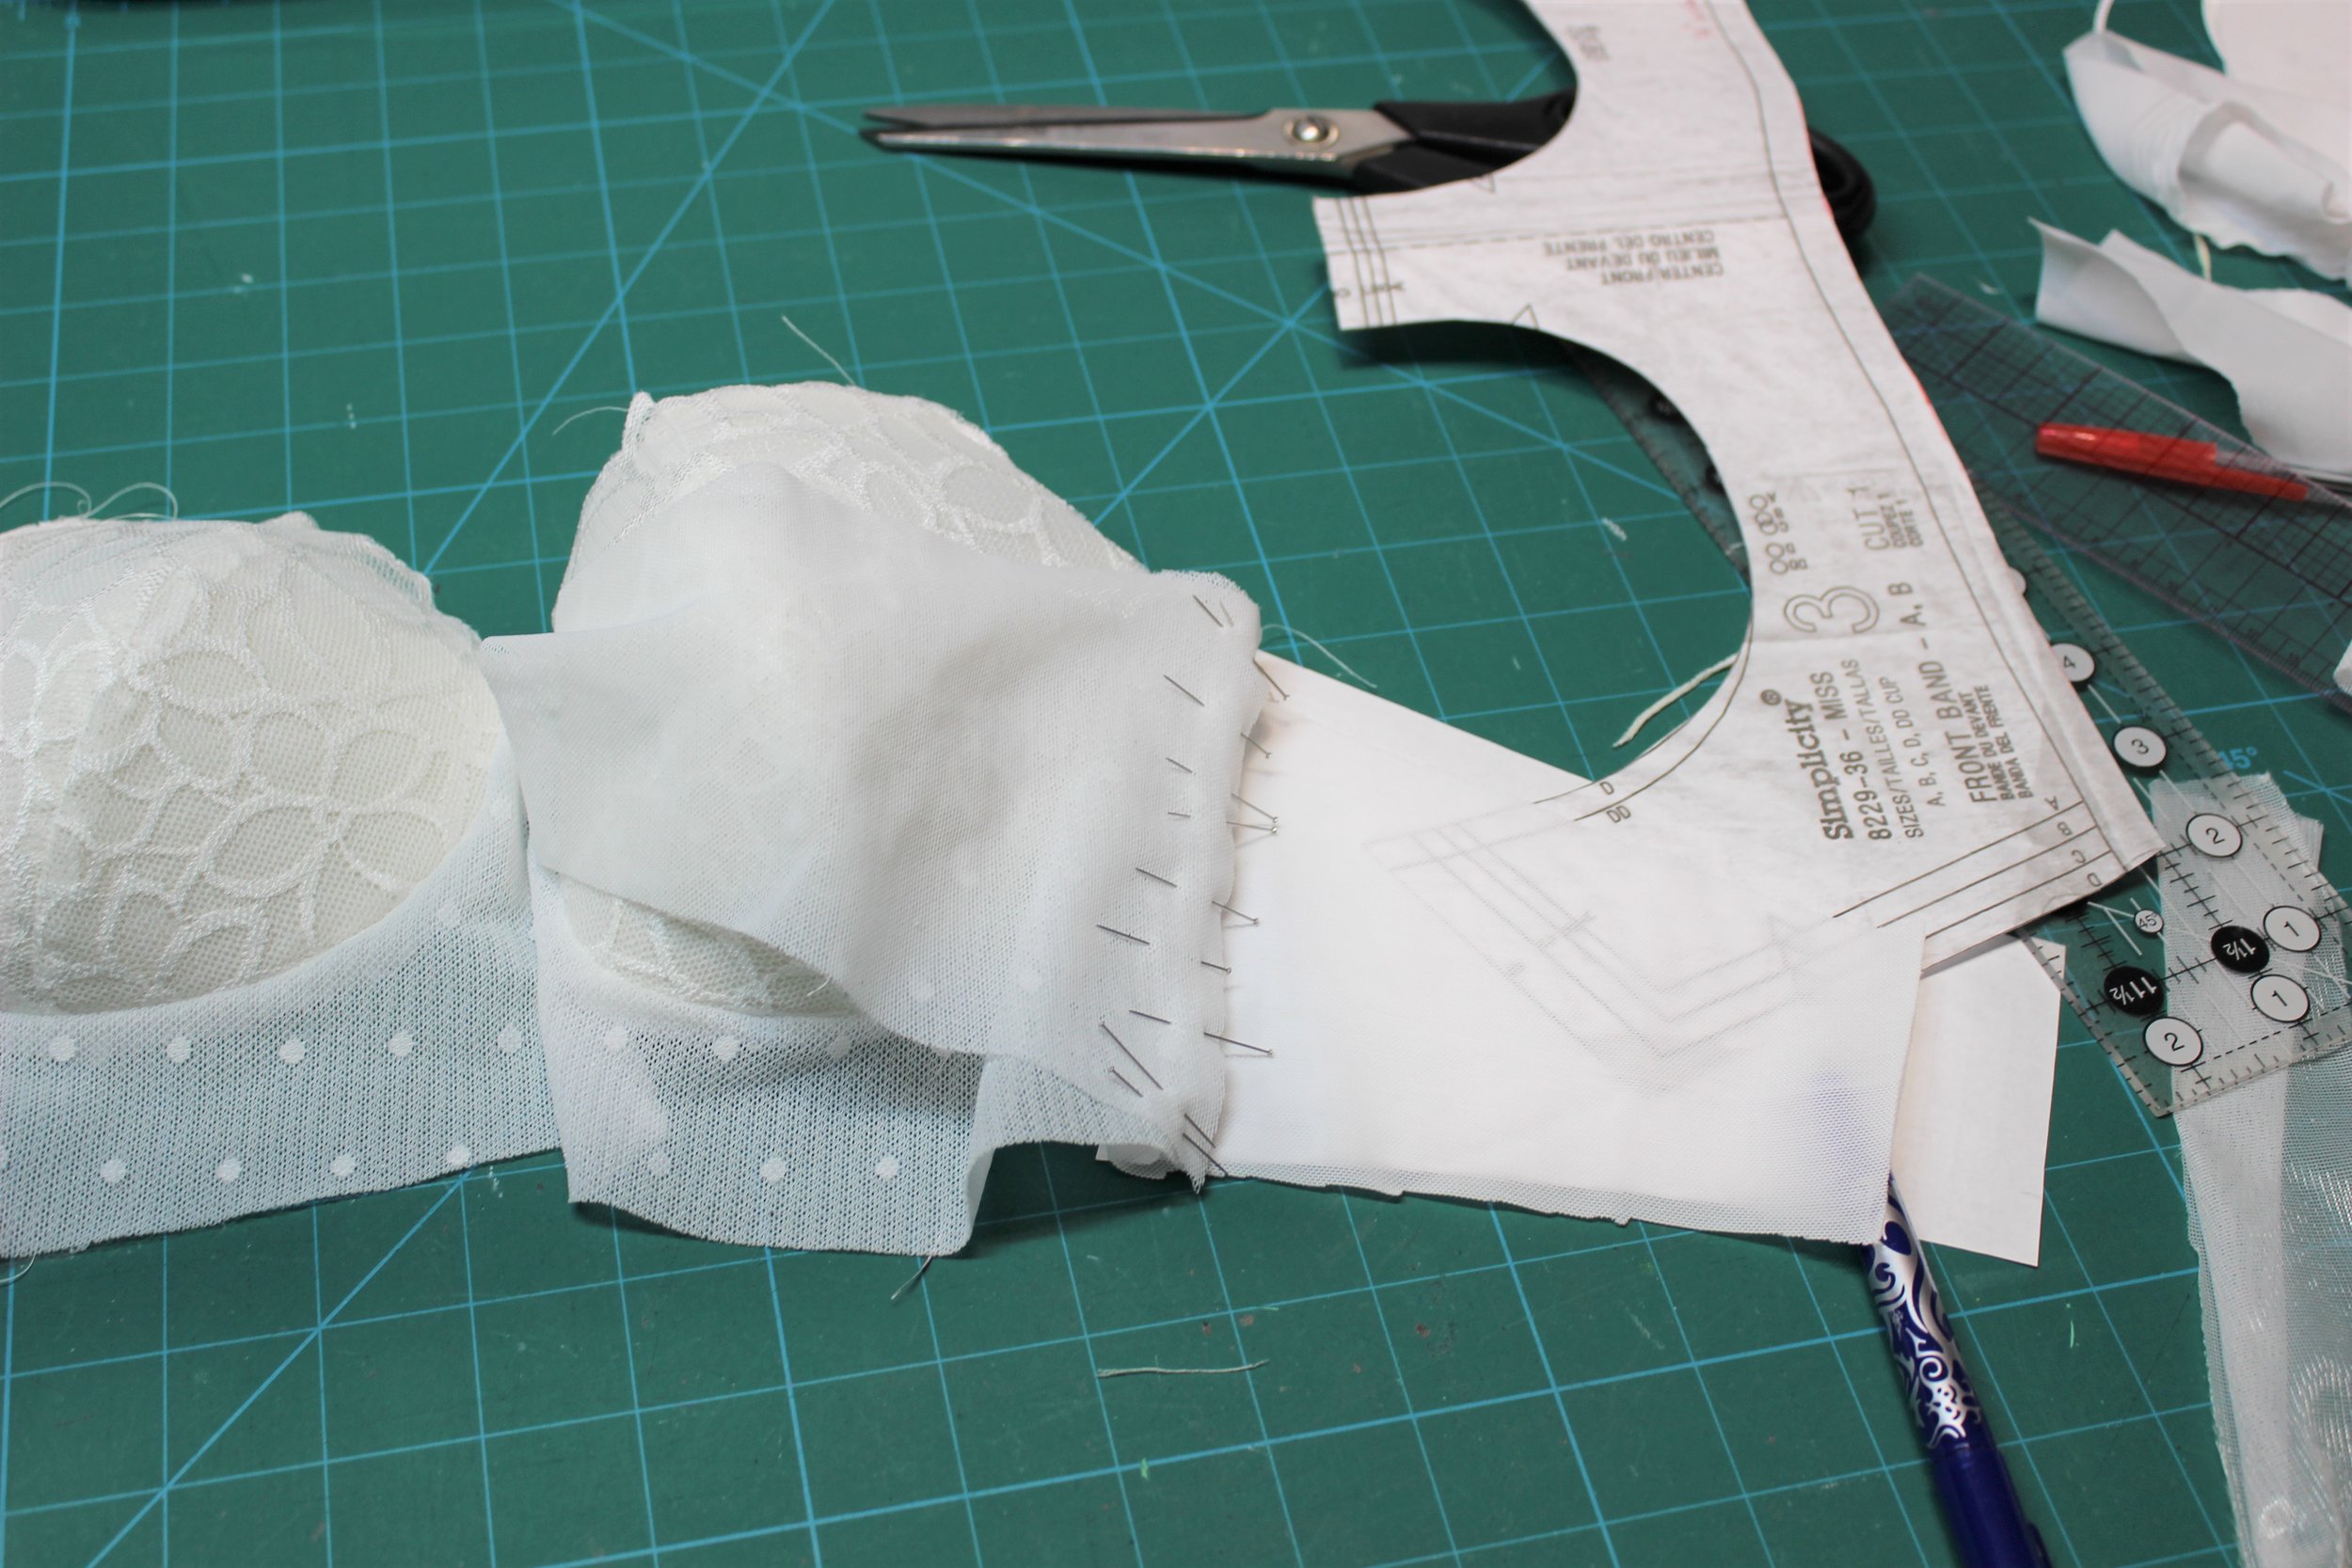
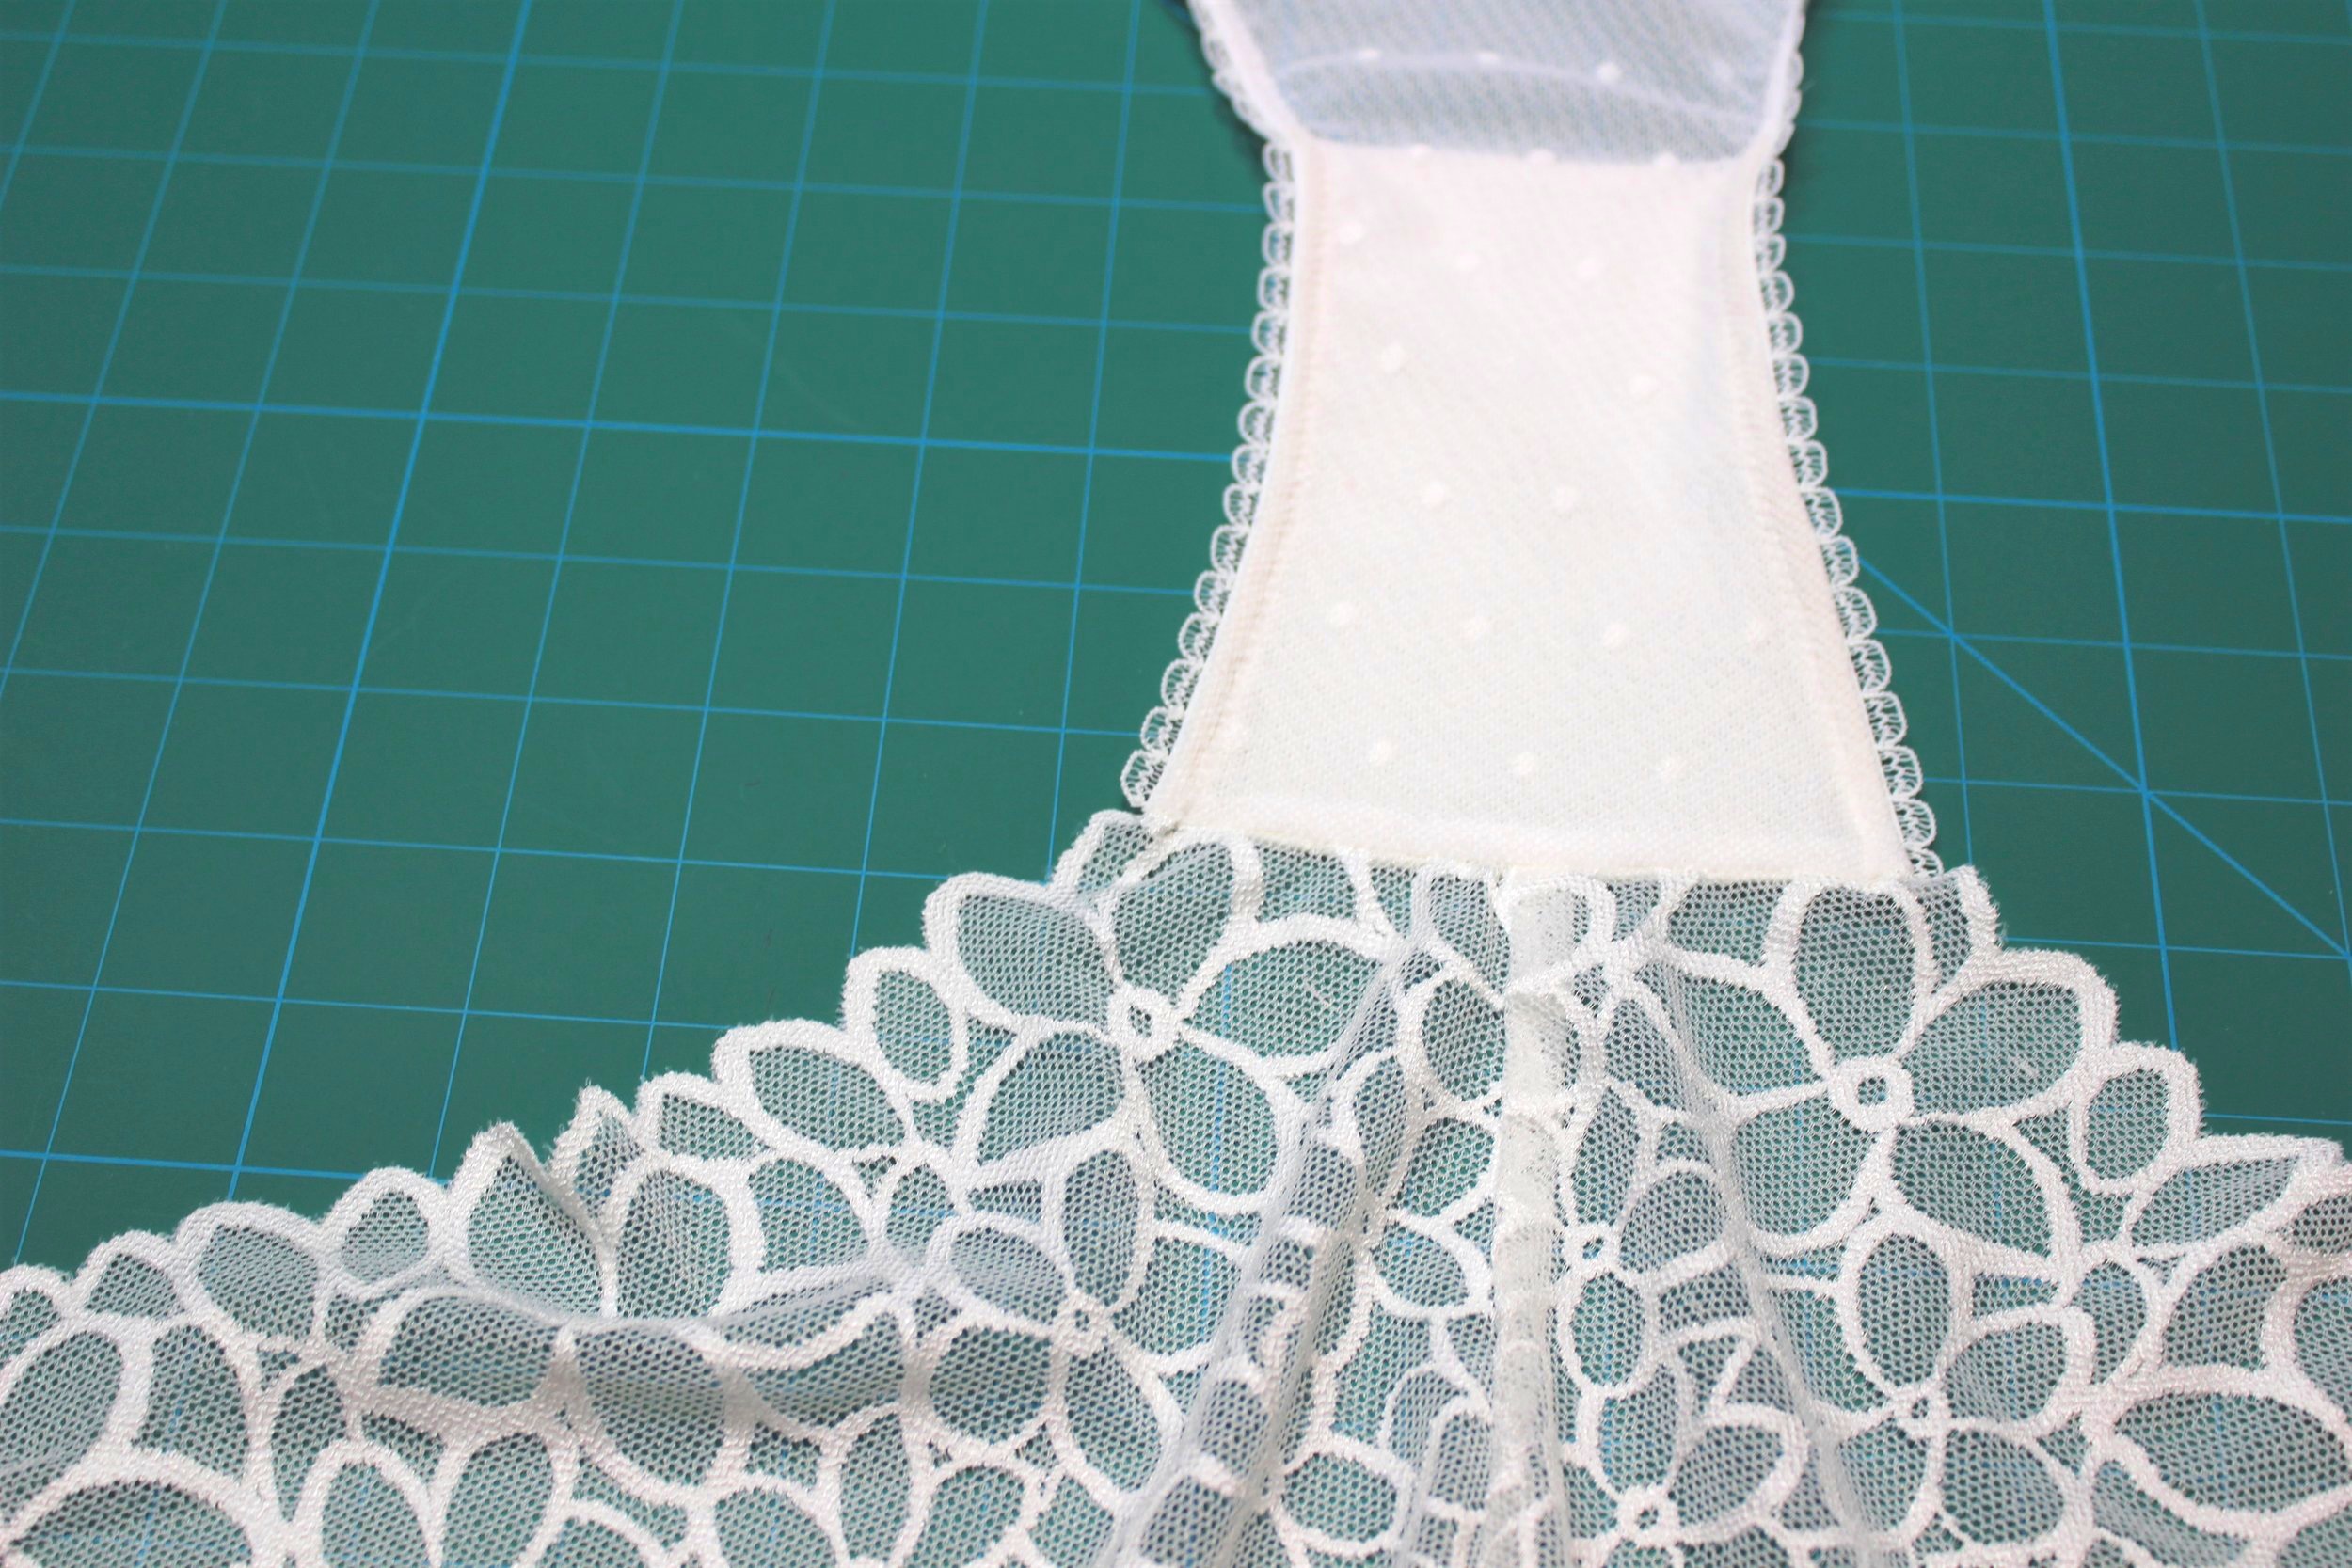
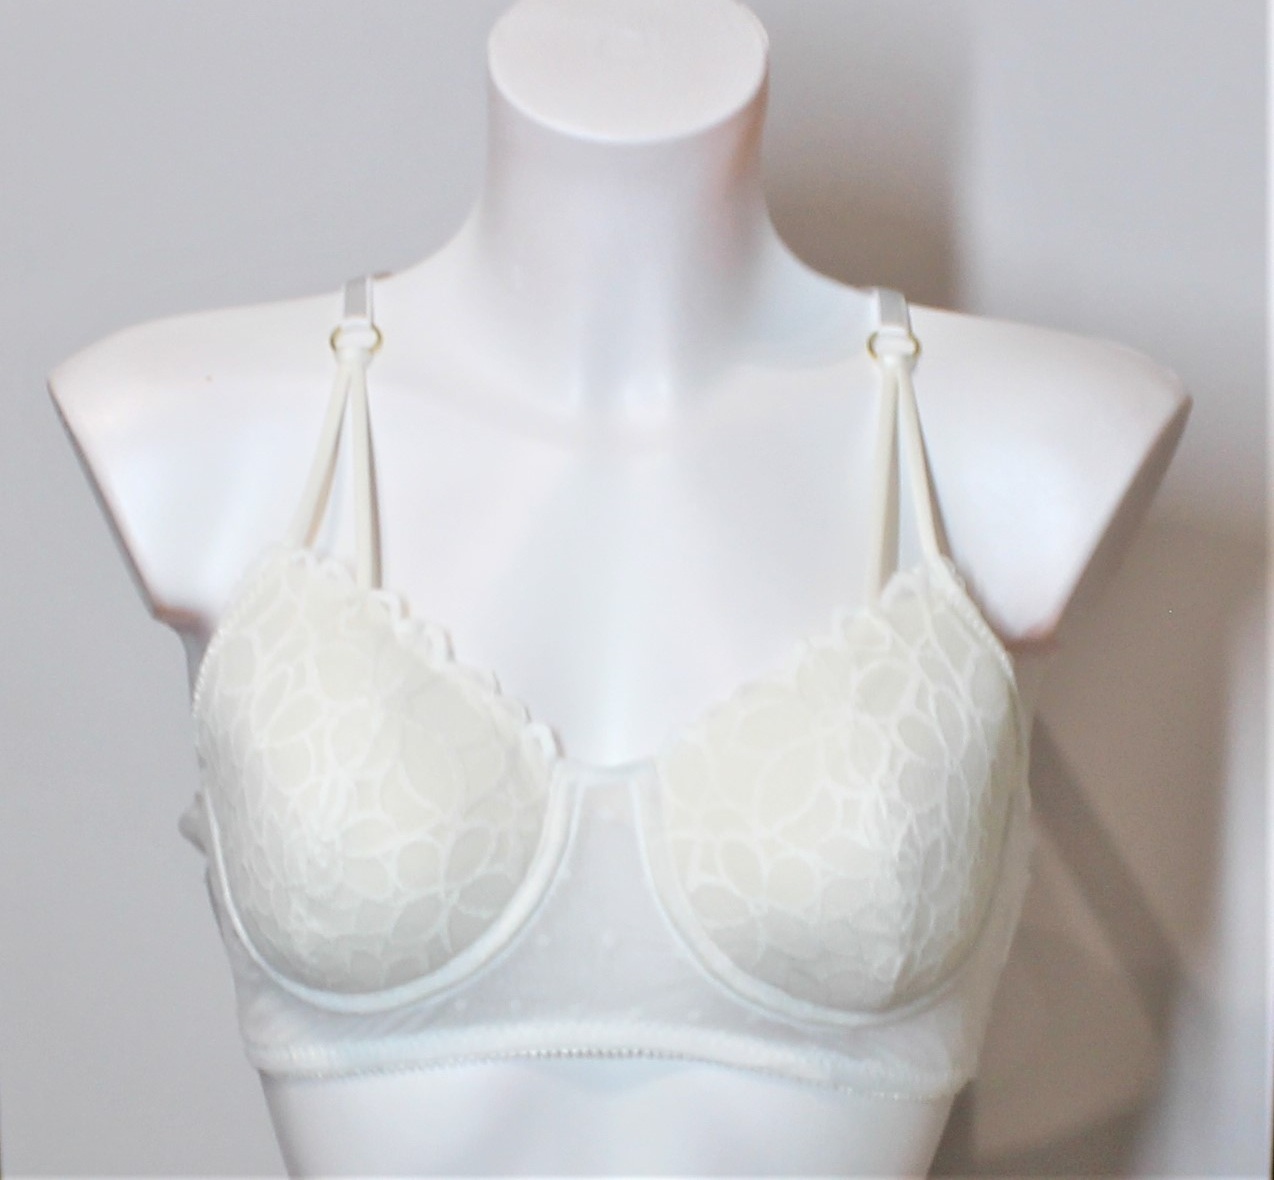
The foam cups went together well. I covered the top edge with a sheer cup lining following the video tutorial as I feel it adds a really delicate touch to the finish. I covered with lace cups and basted in place. Then I attached to the very stretchy frame before moving on to the back bands. I enclosed the frame between the two layers of mesh and powernet to give extra support and a clean finish,
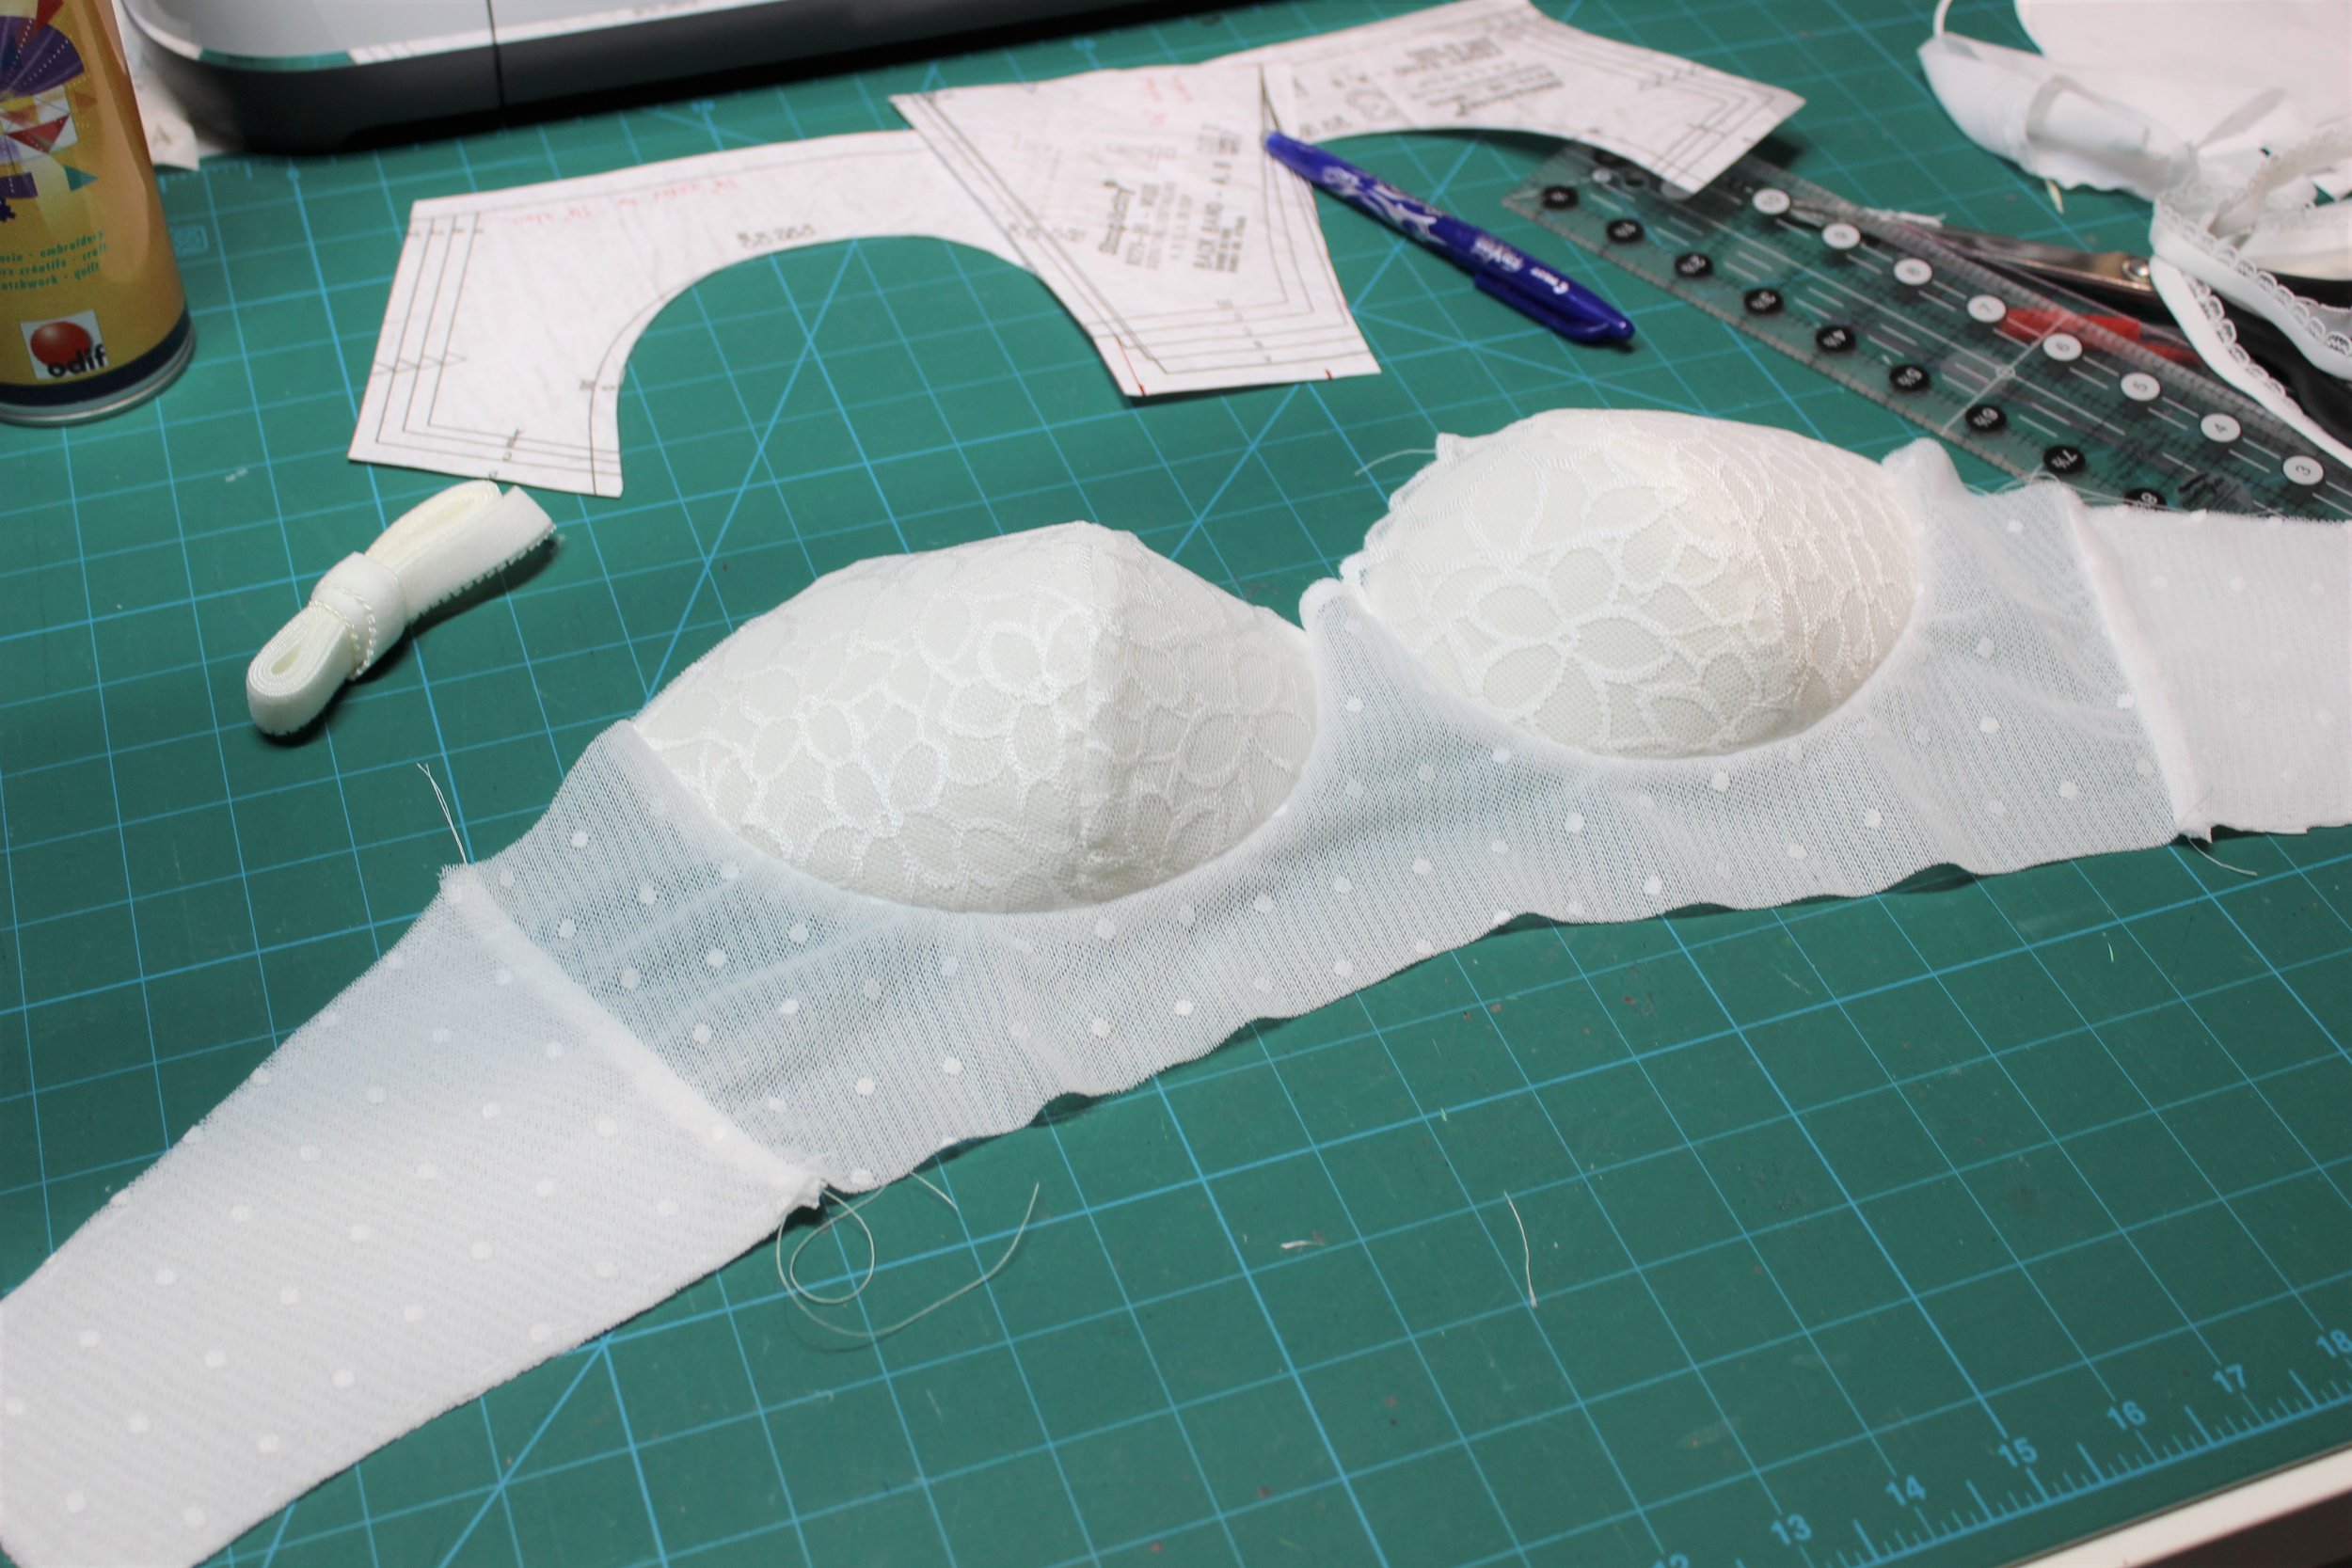
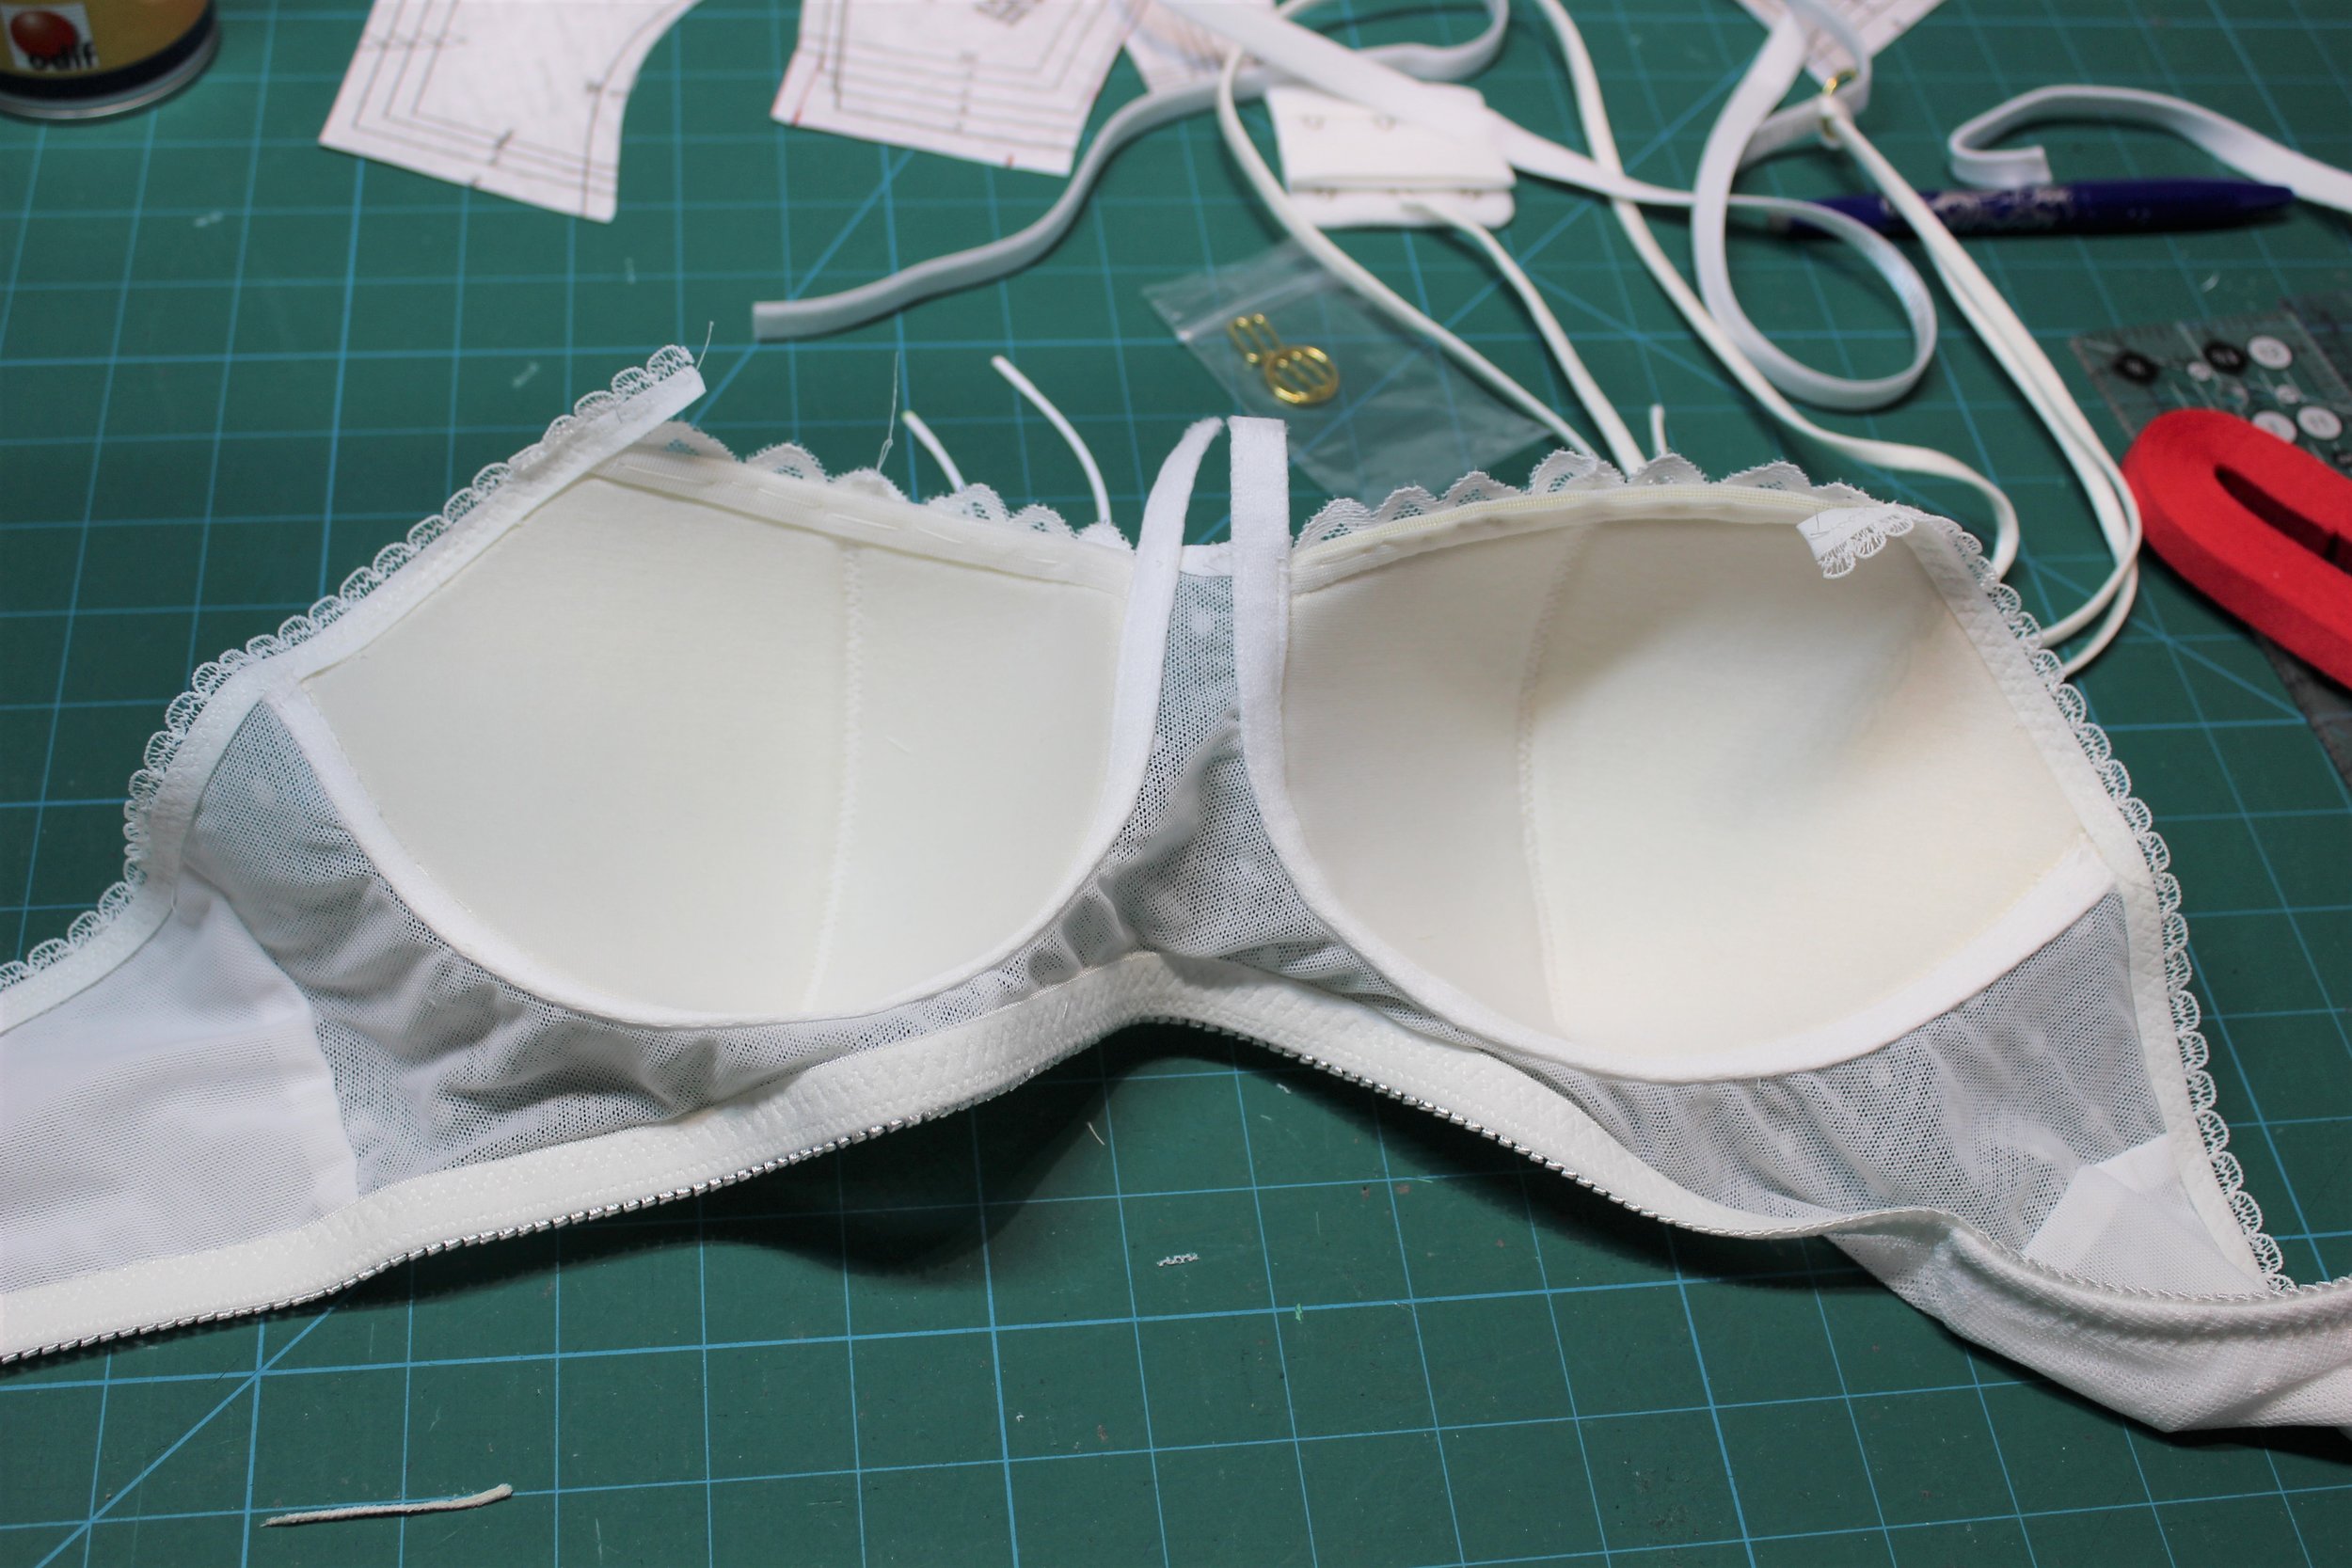
The bra was taking shape and already looking beautiful. I applied the plush elastic before applying white chaneling rather than the nude provided. Then onto the straps. The kit comes with some narrow strap elastic to make the pretty version shown on the website. However, this version is not covered in the pattern and I couldn’t find any links to make the strap this way. So it required a little guesswork as to the placement and length of elastic to use and playing around a little but looks fabulous. Then on to the underwear kit.
I have used this pattern before so I had the pieces traced off and ready to use. Again two layers of mesh are put together. Then my sewing woes started when attaching the lace sides to the centre front and back. The mesh just didn’t like me. In the end I stitched with tearaway stabiliser underneath. A little press and all sorted.
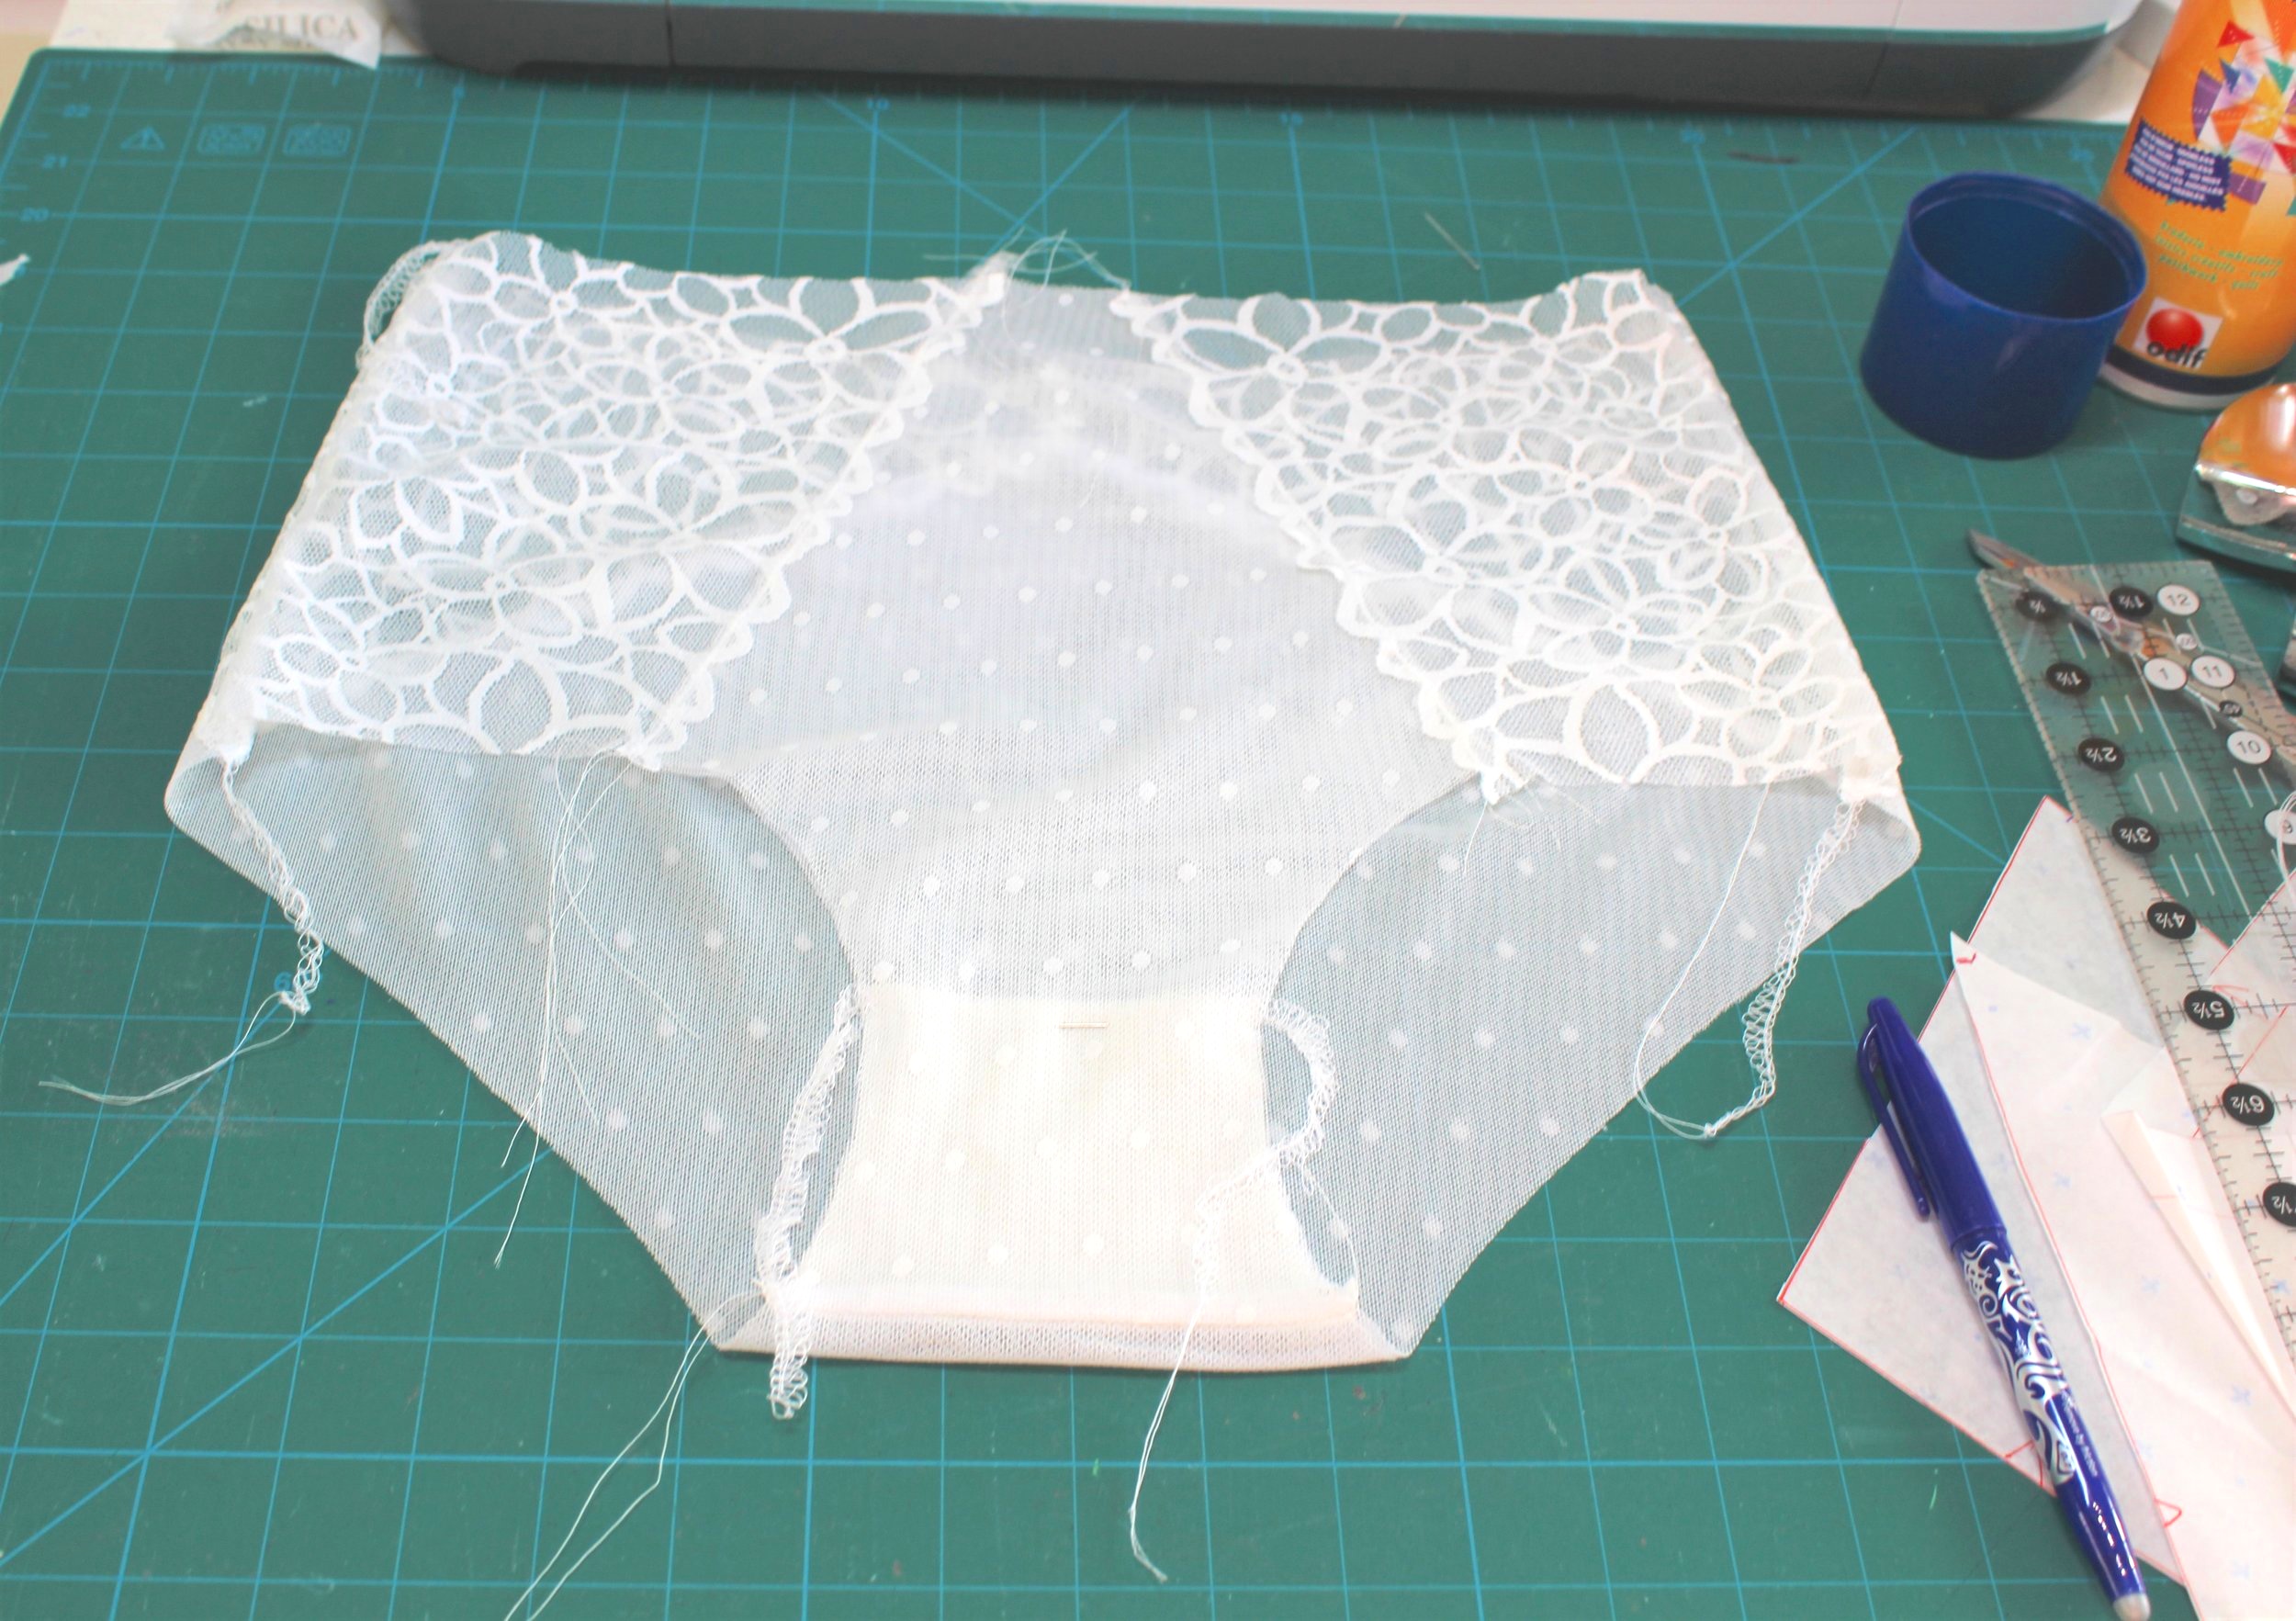
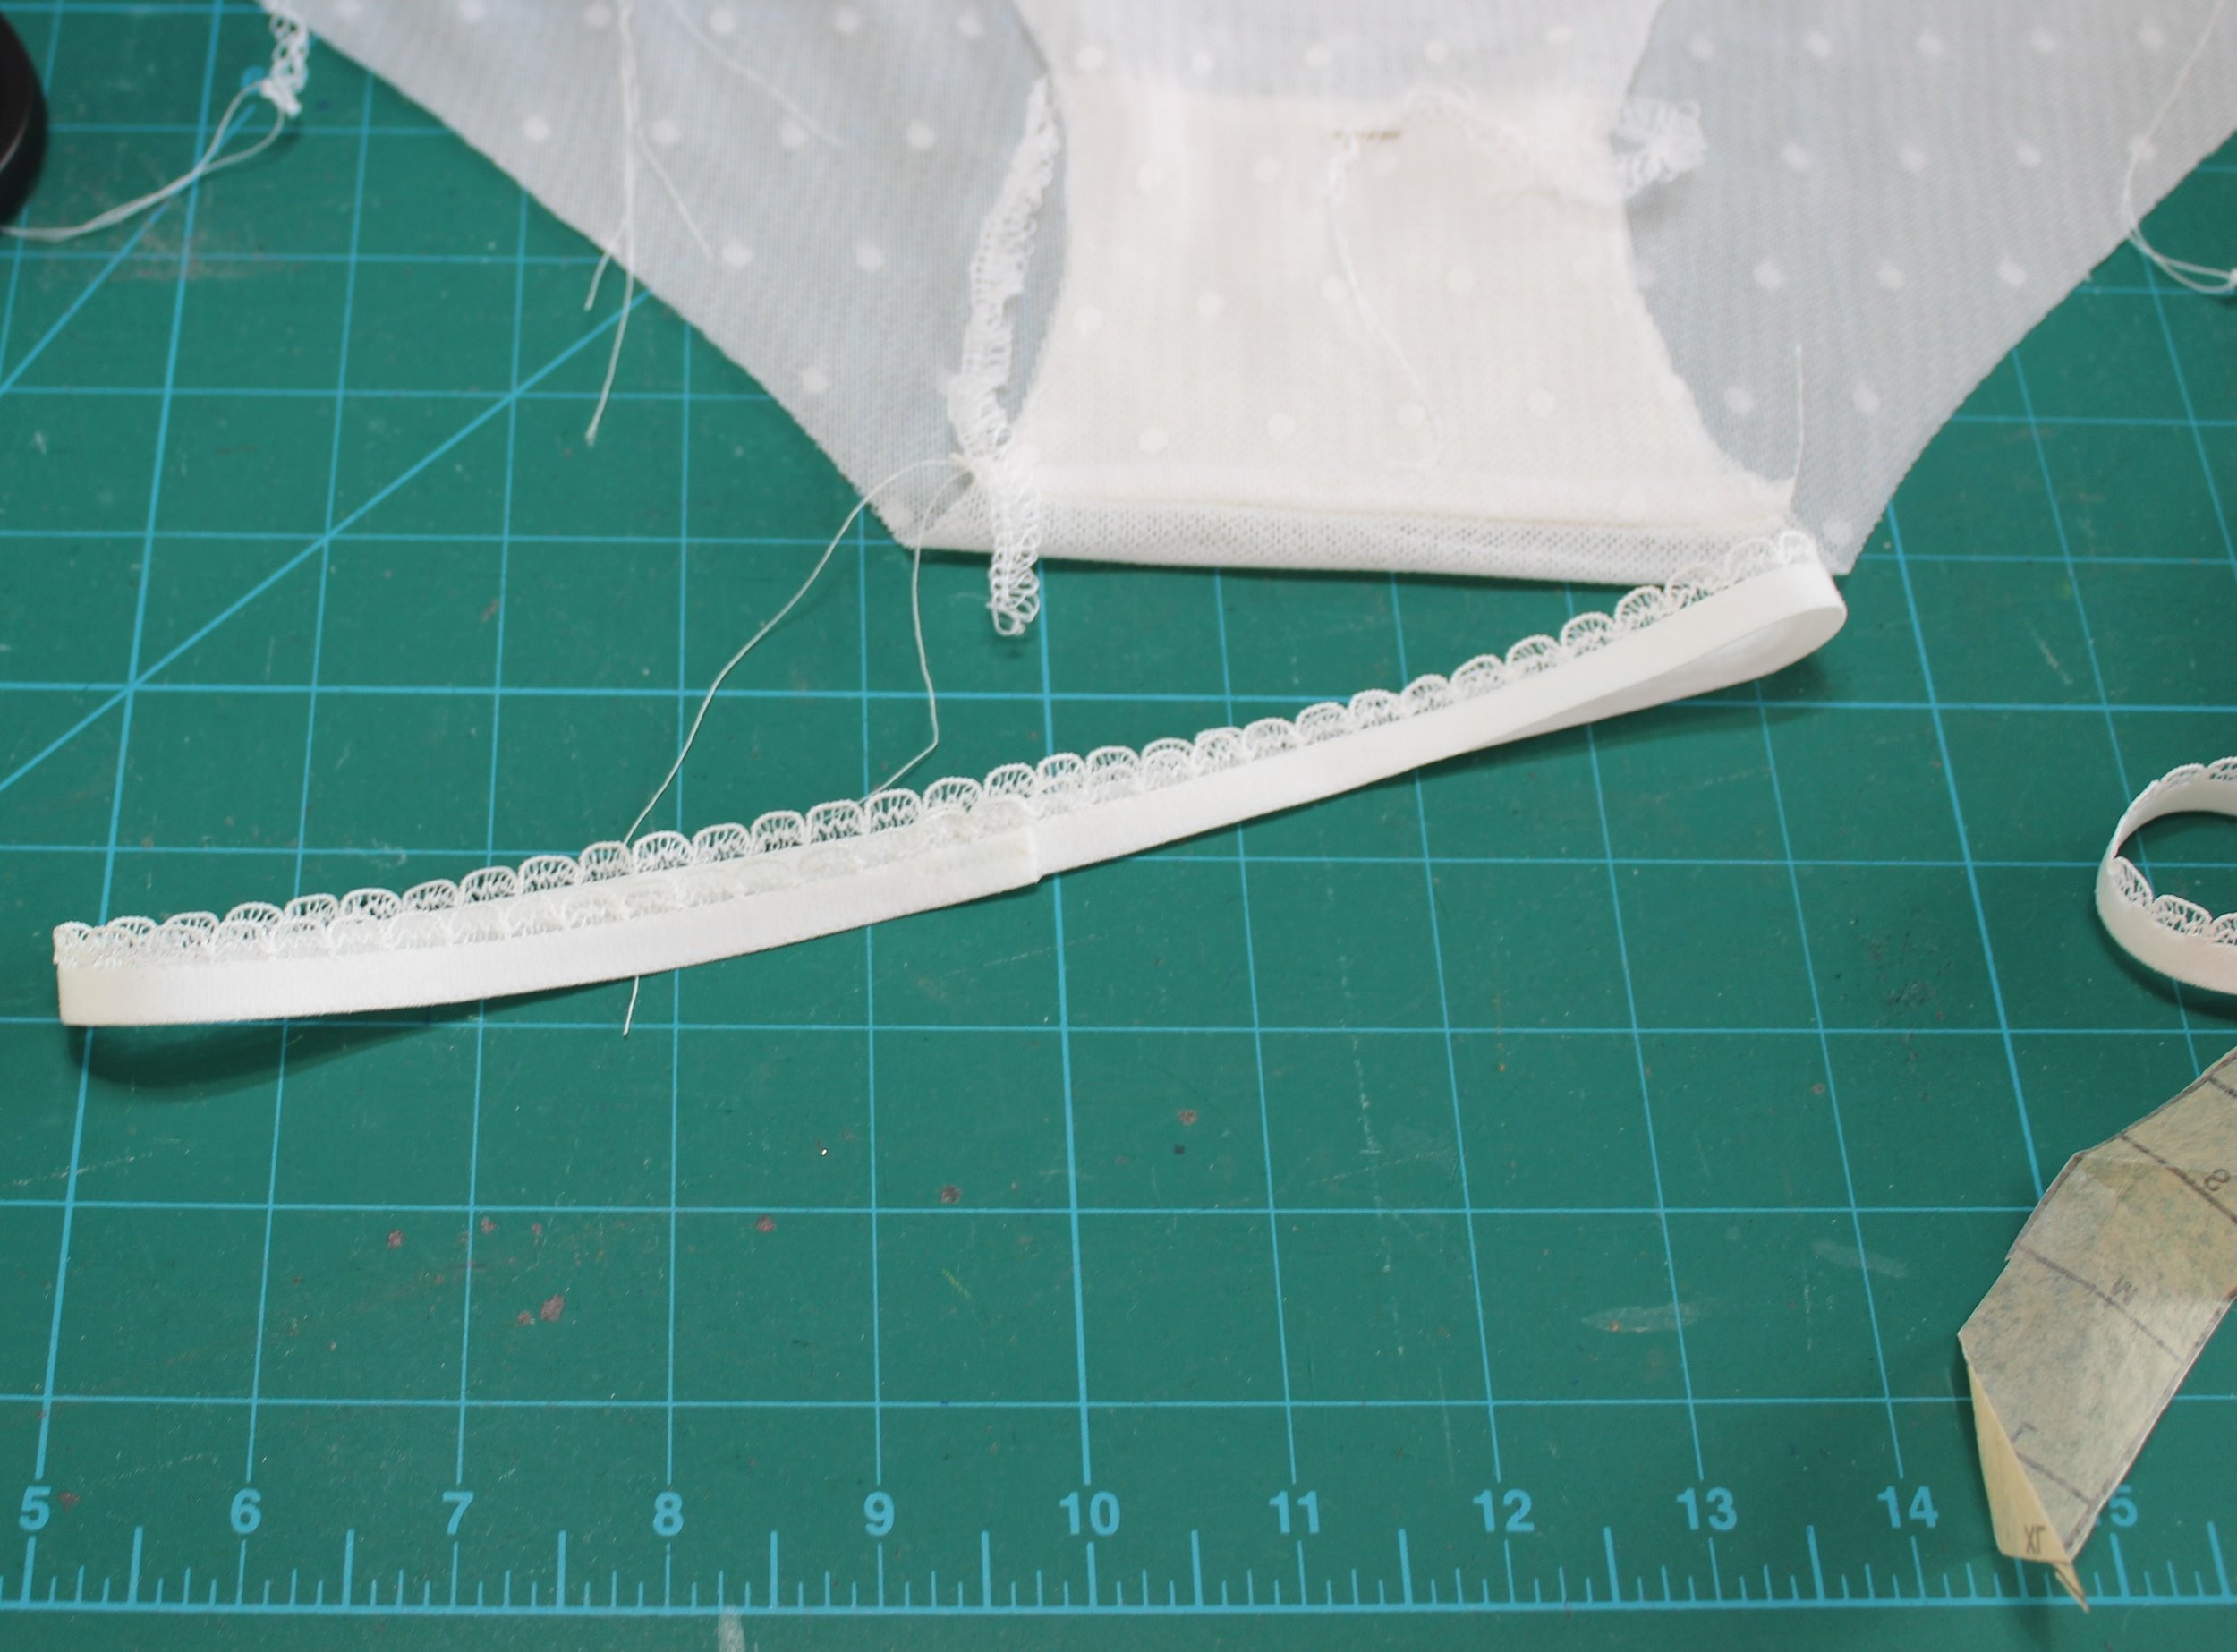
I used the elastic guides provided as this worked well last time. However, I did overlap first and then attach in the round using the quarter method as I find I get a more even distribution.
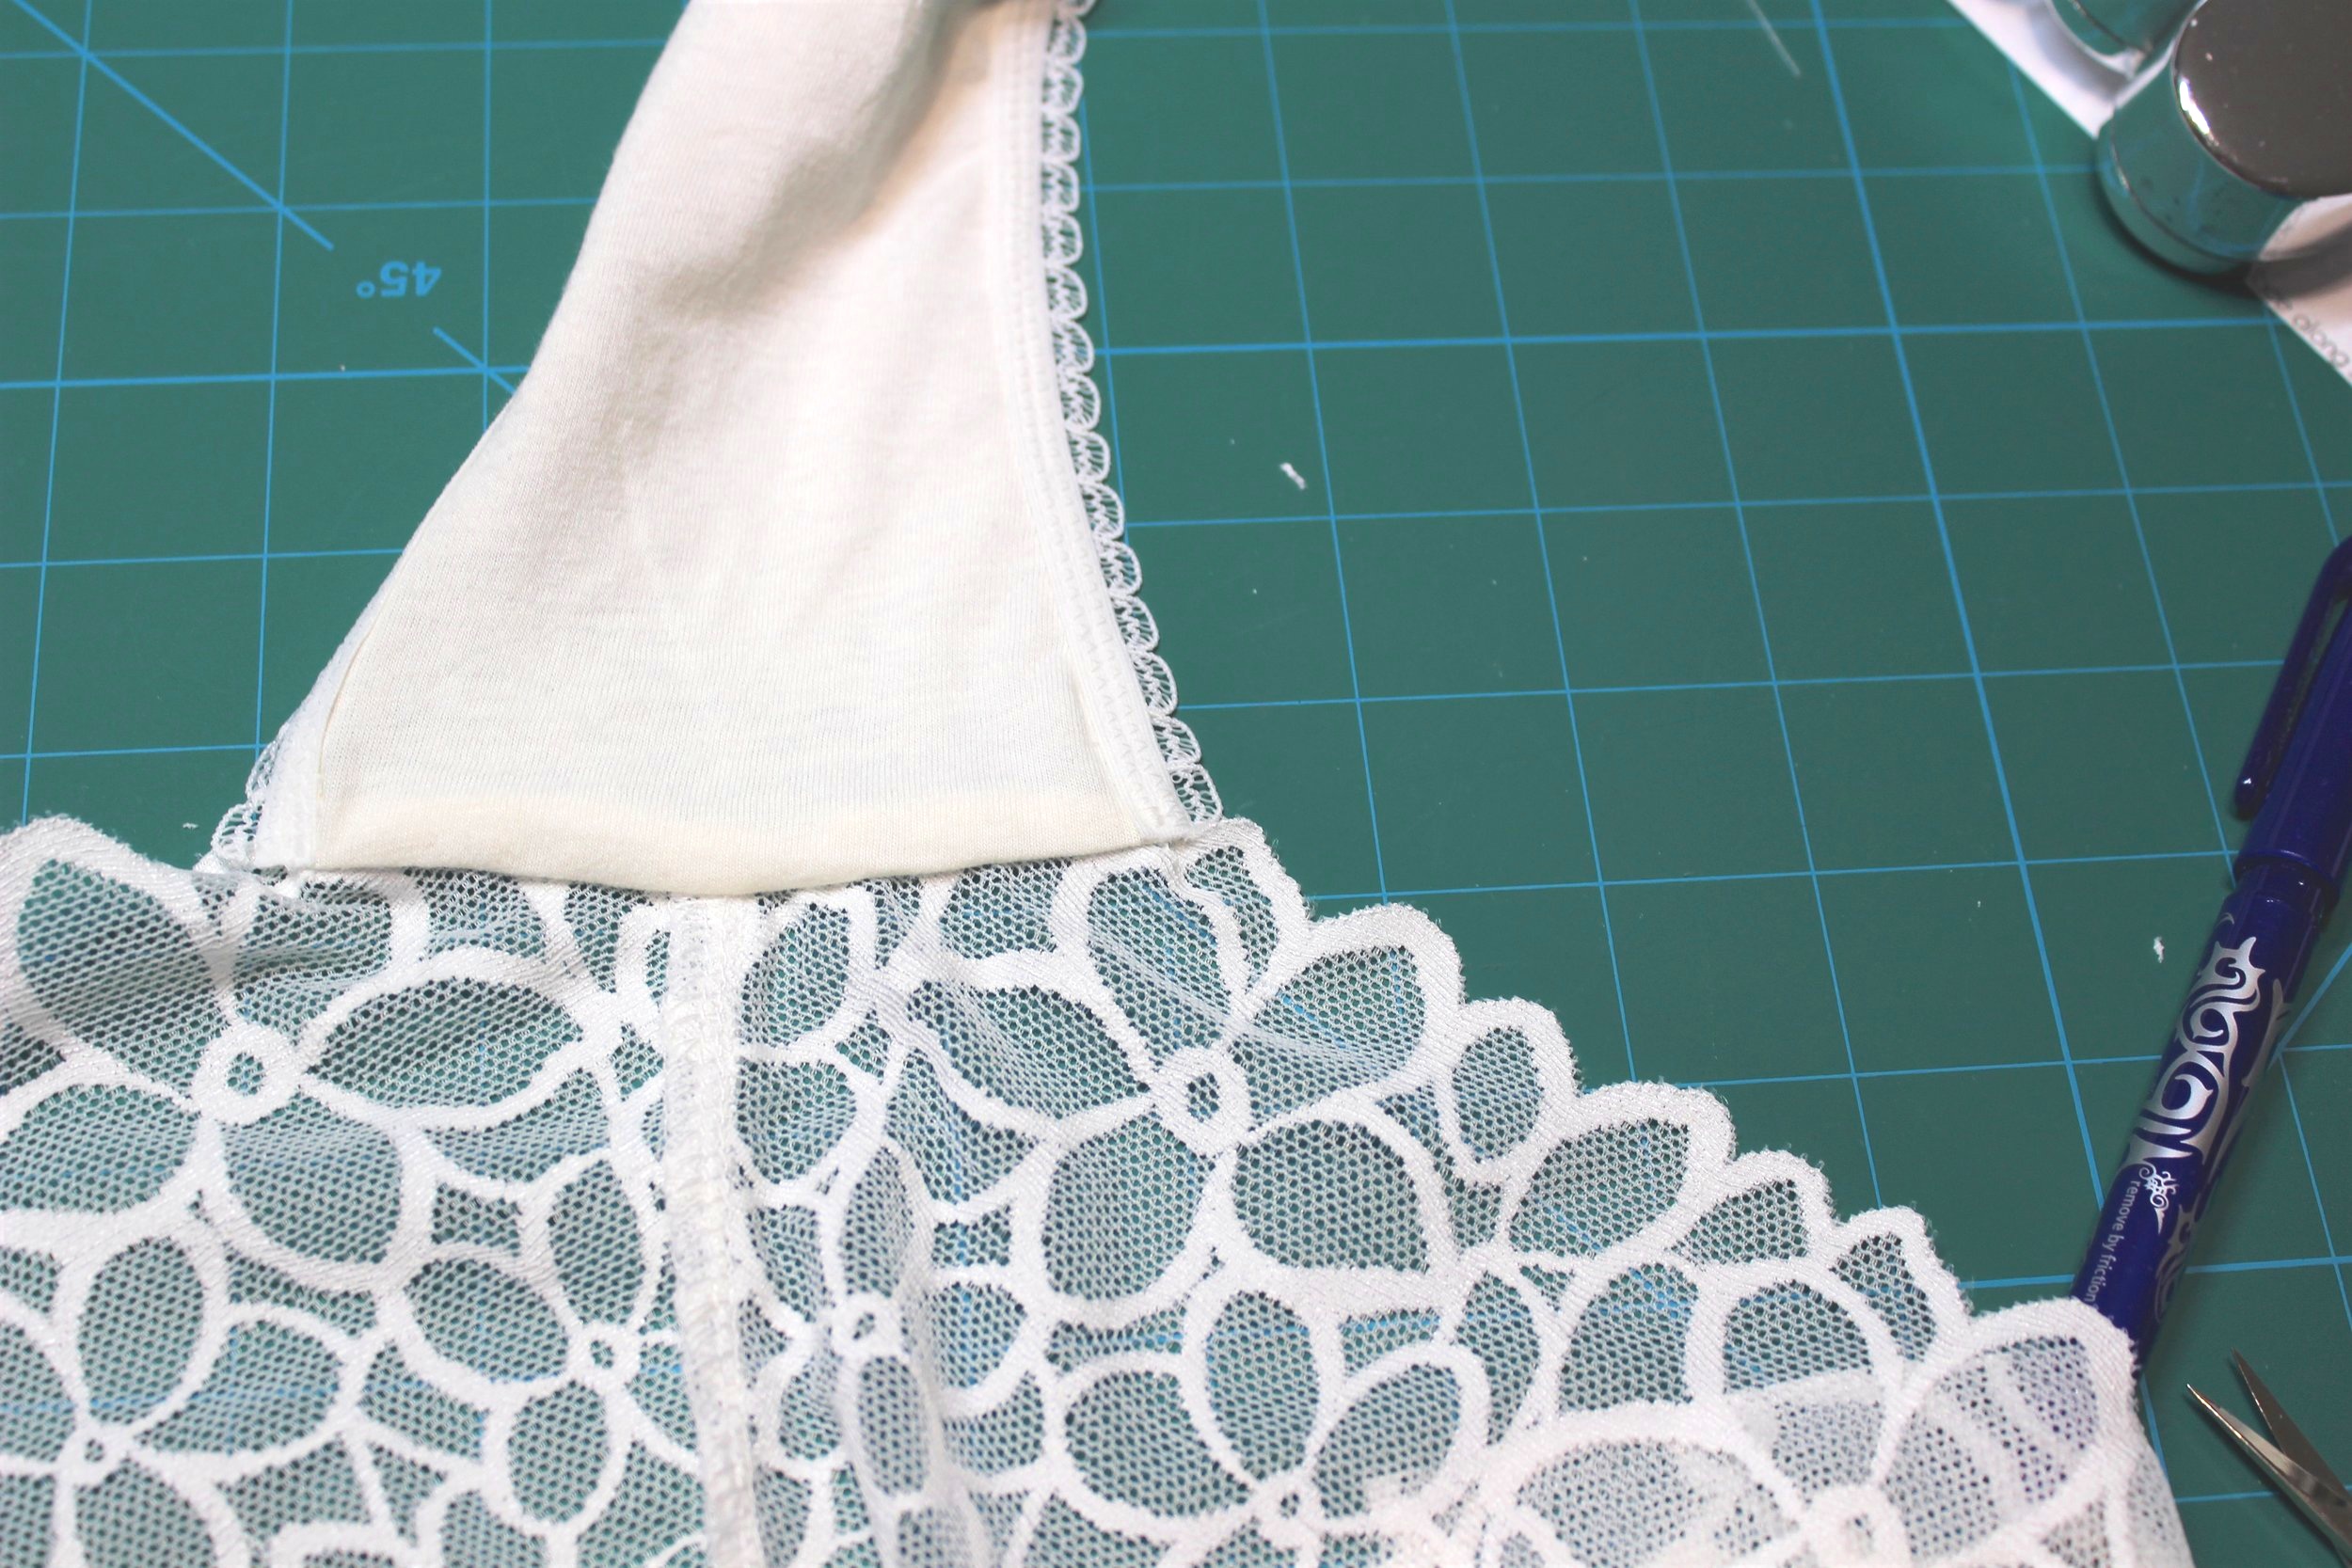
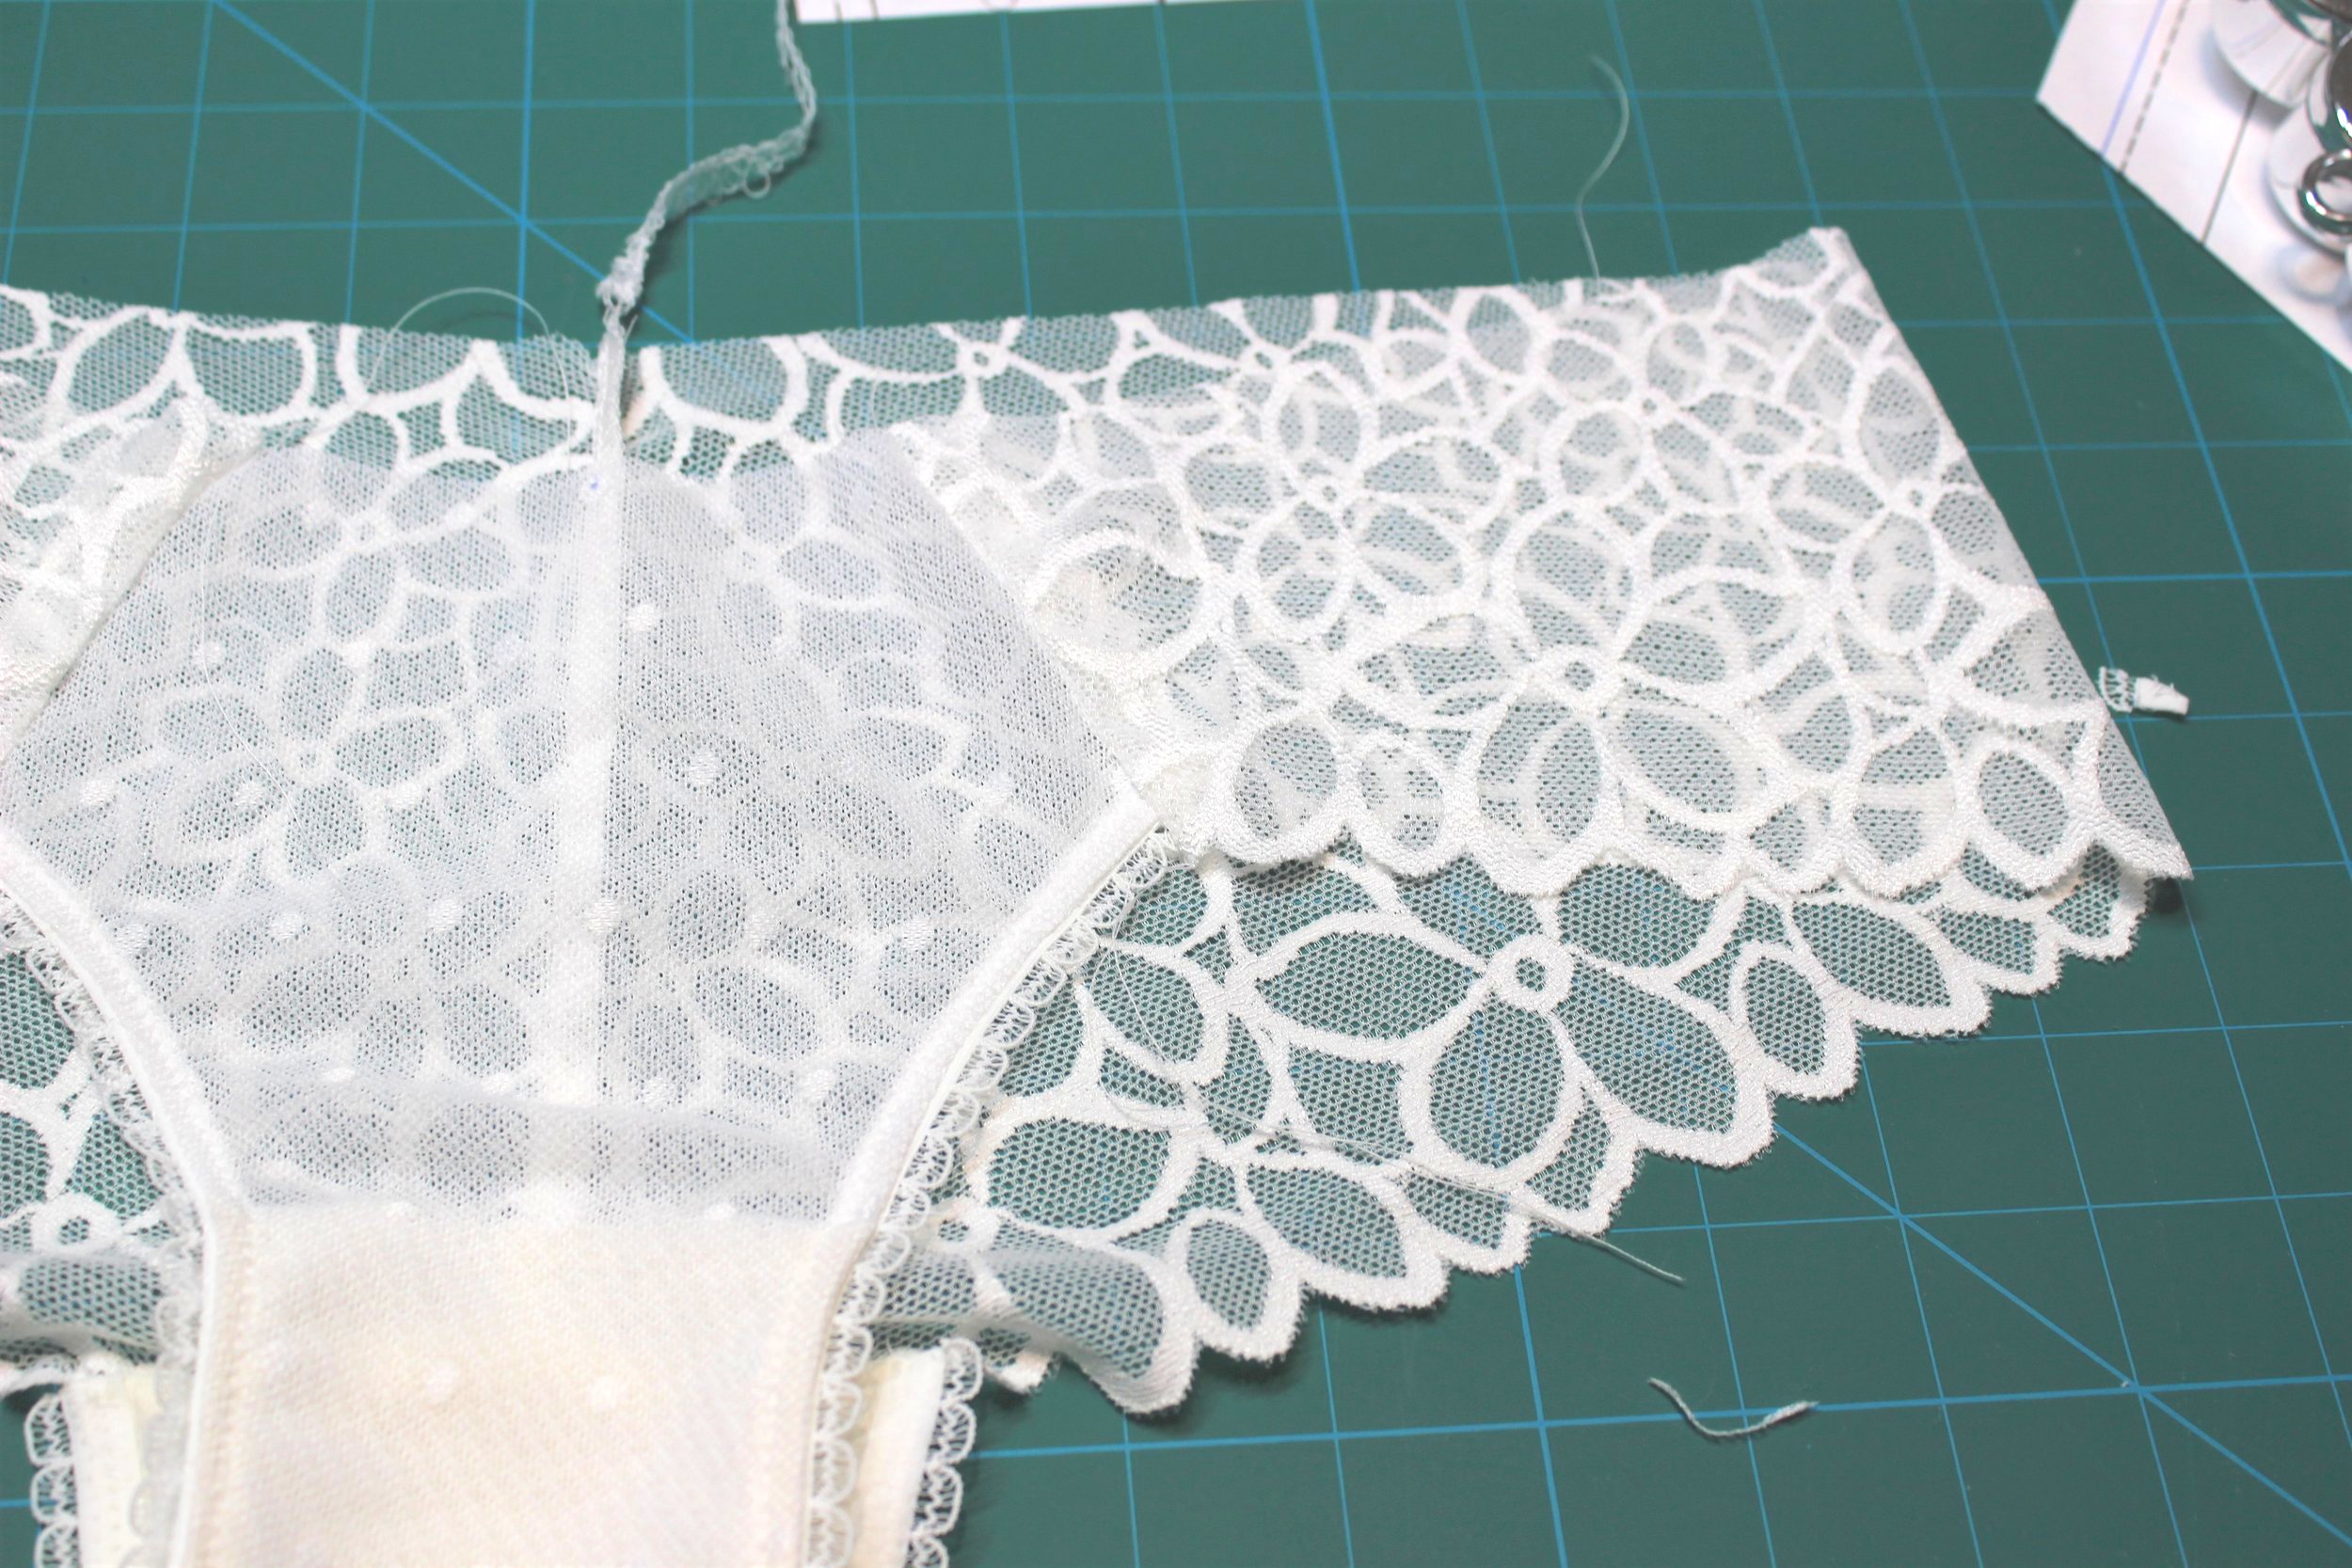
A quick make I moved on to the Ohhh Lulu Claudia hipster, a contrast to the high waisted 8228. Another versatile pattern using any combination of lace and fabric. I made a lace back with the front using the two layer mesh combination. Then I went off piste and cut a lace gusset (which I didn’t need) out of one of my back panels! Luckily just got another back panel from the left over lace. You join the back pieces and then enclose between the front panel and gusset lining, remembering there should be a gap for the leg elastic to fold over.
I took my time to ensure all the edges matched up perfectly. So worth the effort for such a perfect finish. I finished the waist with some, what I would call, “off white” fold over elastic.

That was going to be it, but as I tidied up I thought there must be enough to squeeze something else out. I thought about incorporating the narrow strap elastic to match the bra. I have another Ohhh Lulu pattern, the Nora, which has a version with adjustable sides that I thought I could use.
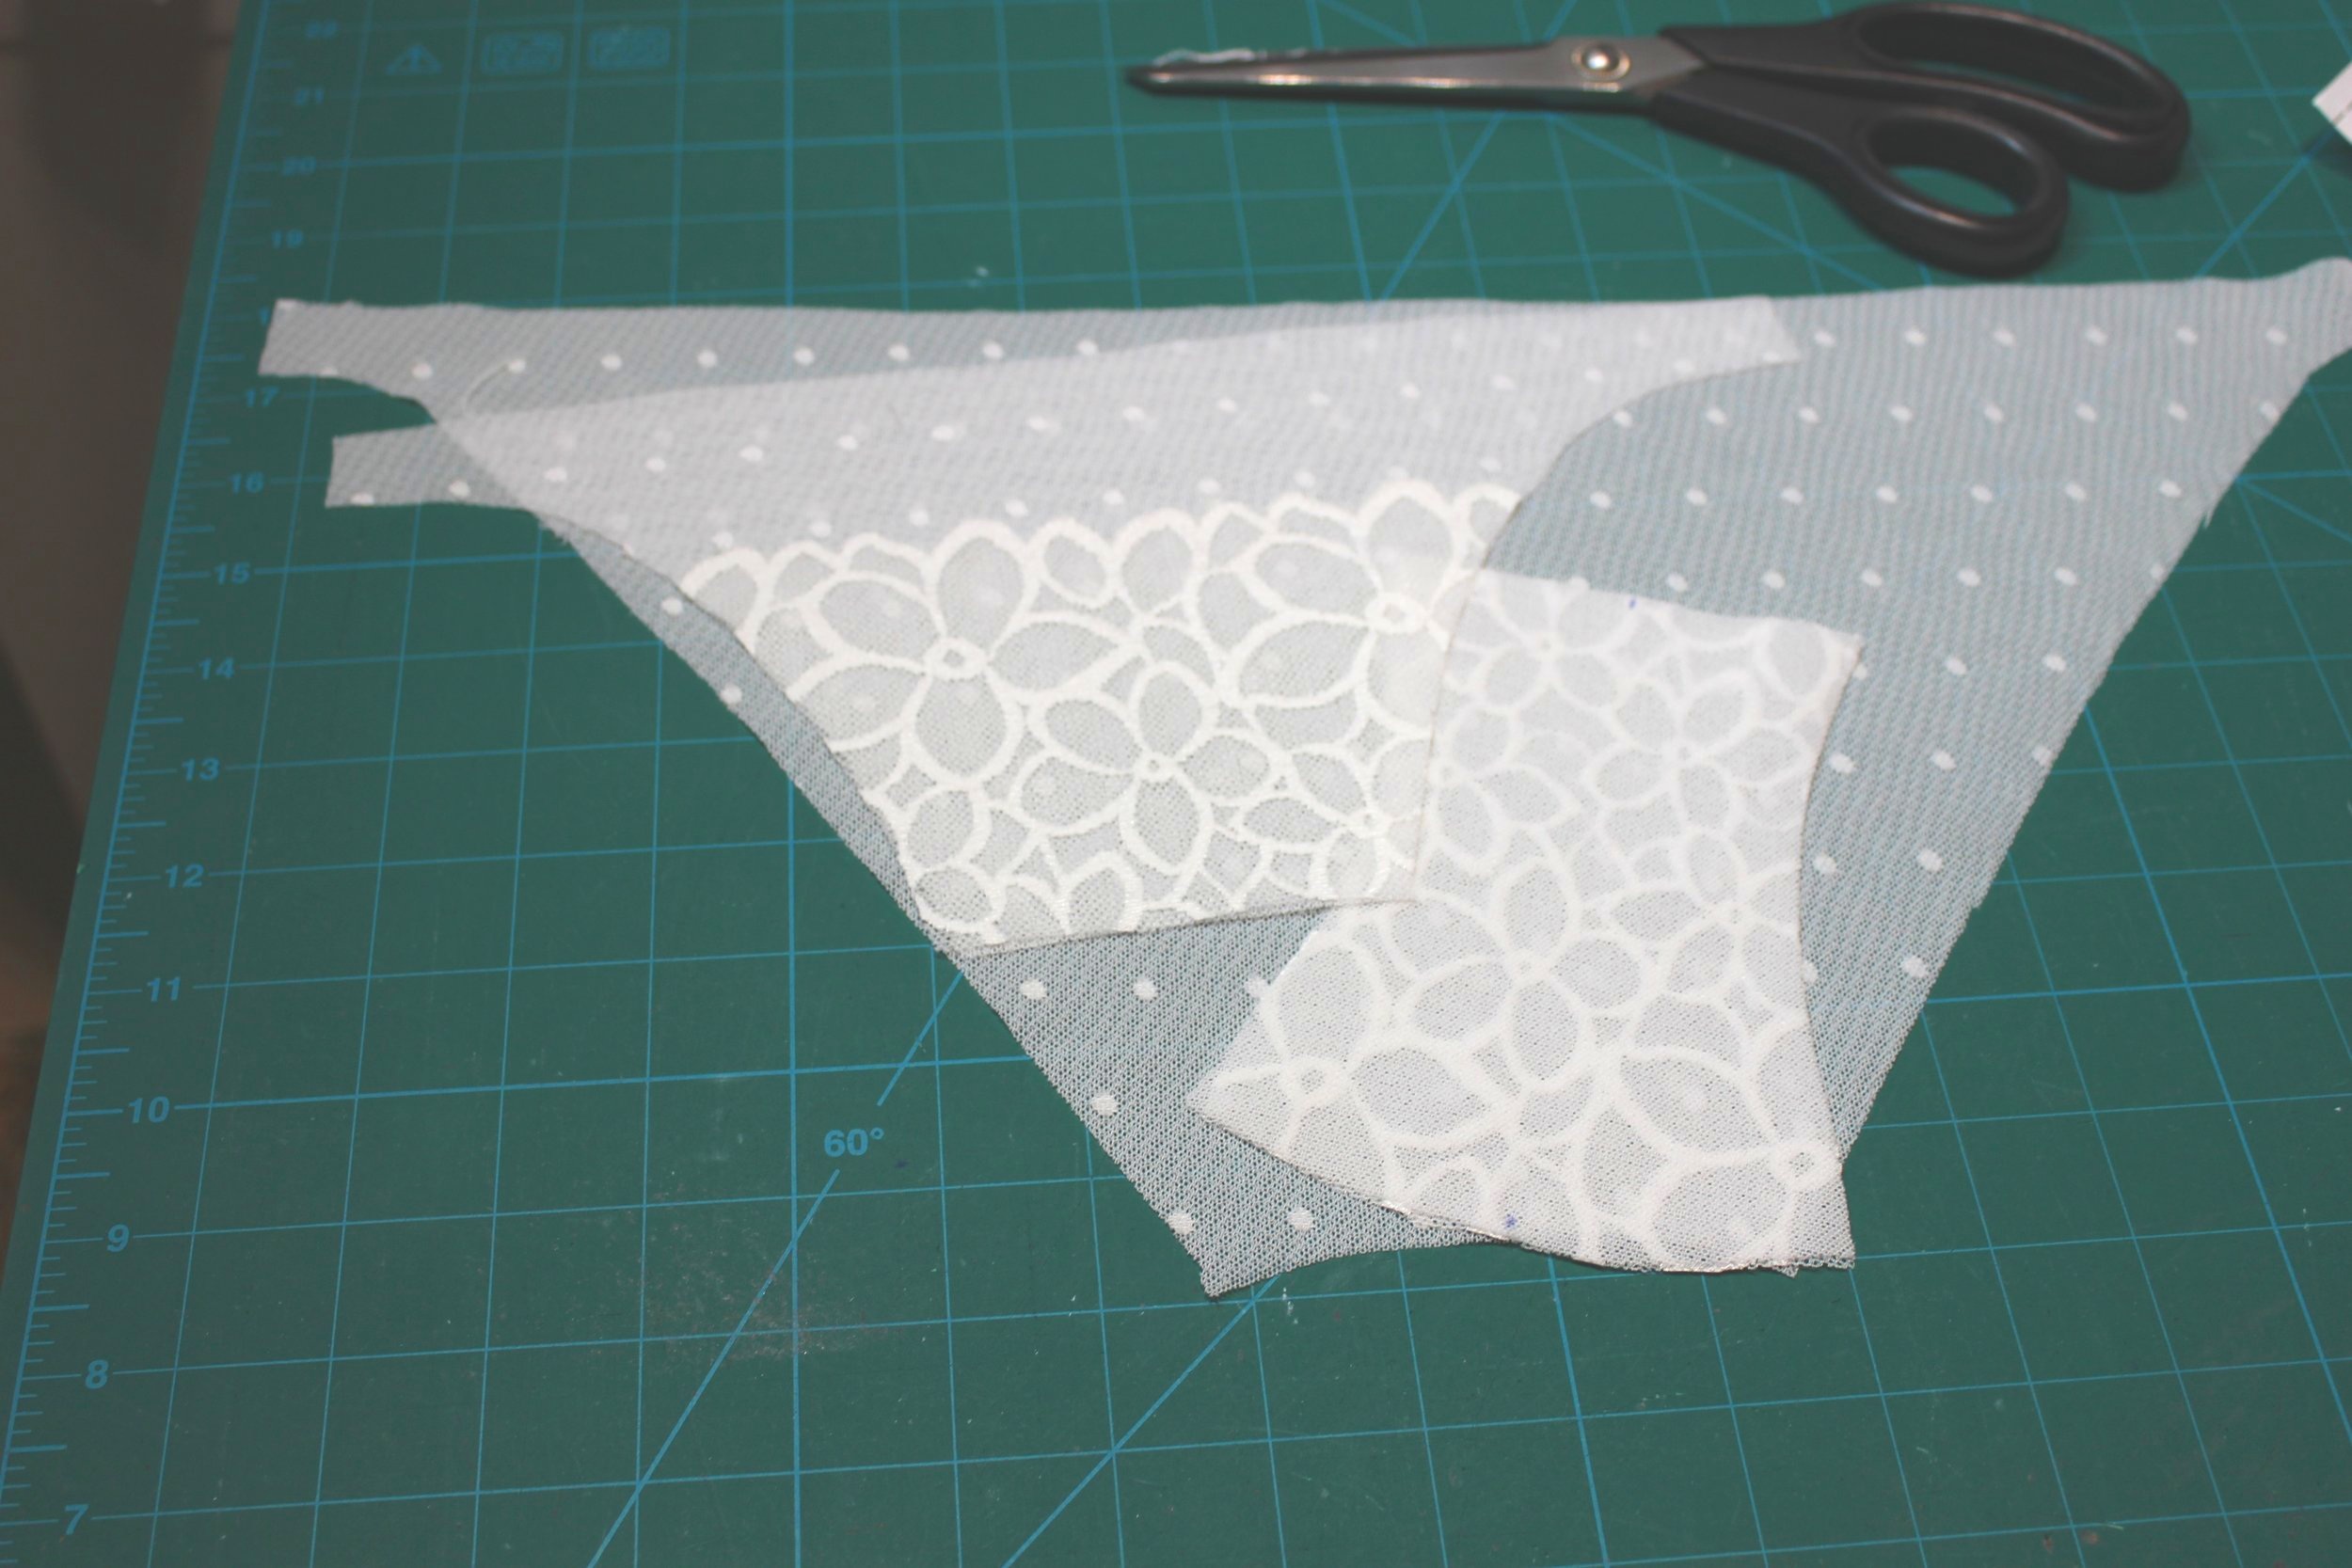

This pattern uses fold over elastic for the legs so I had to add on the width of my plush elastic. I just used my curved ruler which has a 1/4” line to fit the line of the pattern and cut around this for both the front and back pieces as well as the gusset whilst the spray was still tacky to stop the fabric moving. Then I got the widest piece of elastic left and used temporary spray adhesive to place over the front piece as high as possible and then cut around the leg to match the front piece. Unbelievably, the gusset piece I had mistakenly cut out of lace was a perfect for this gusset. Just a little trimming needed. Both front and back gusset seams are enclosed before applying the elastic.
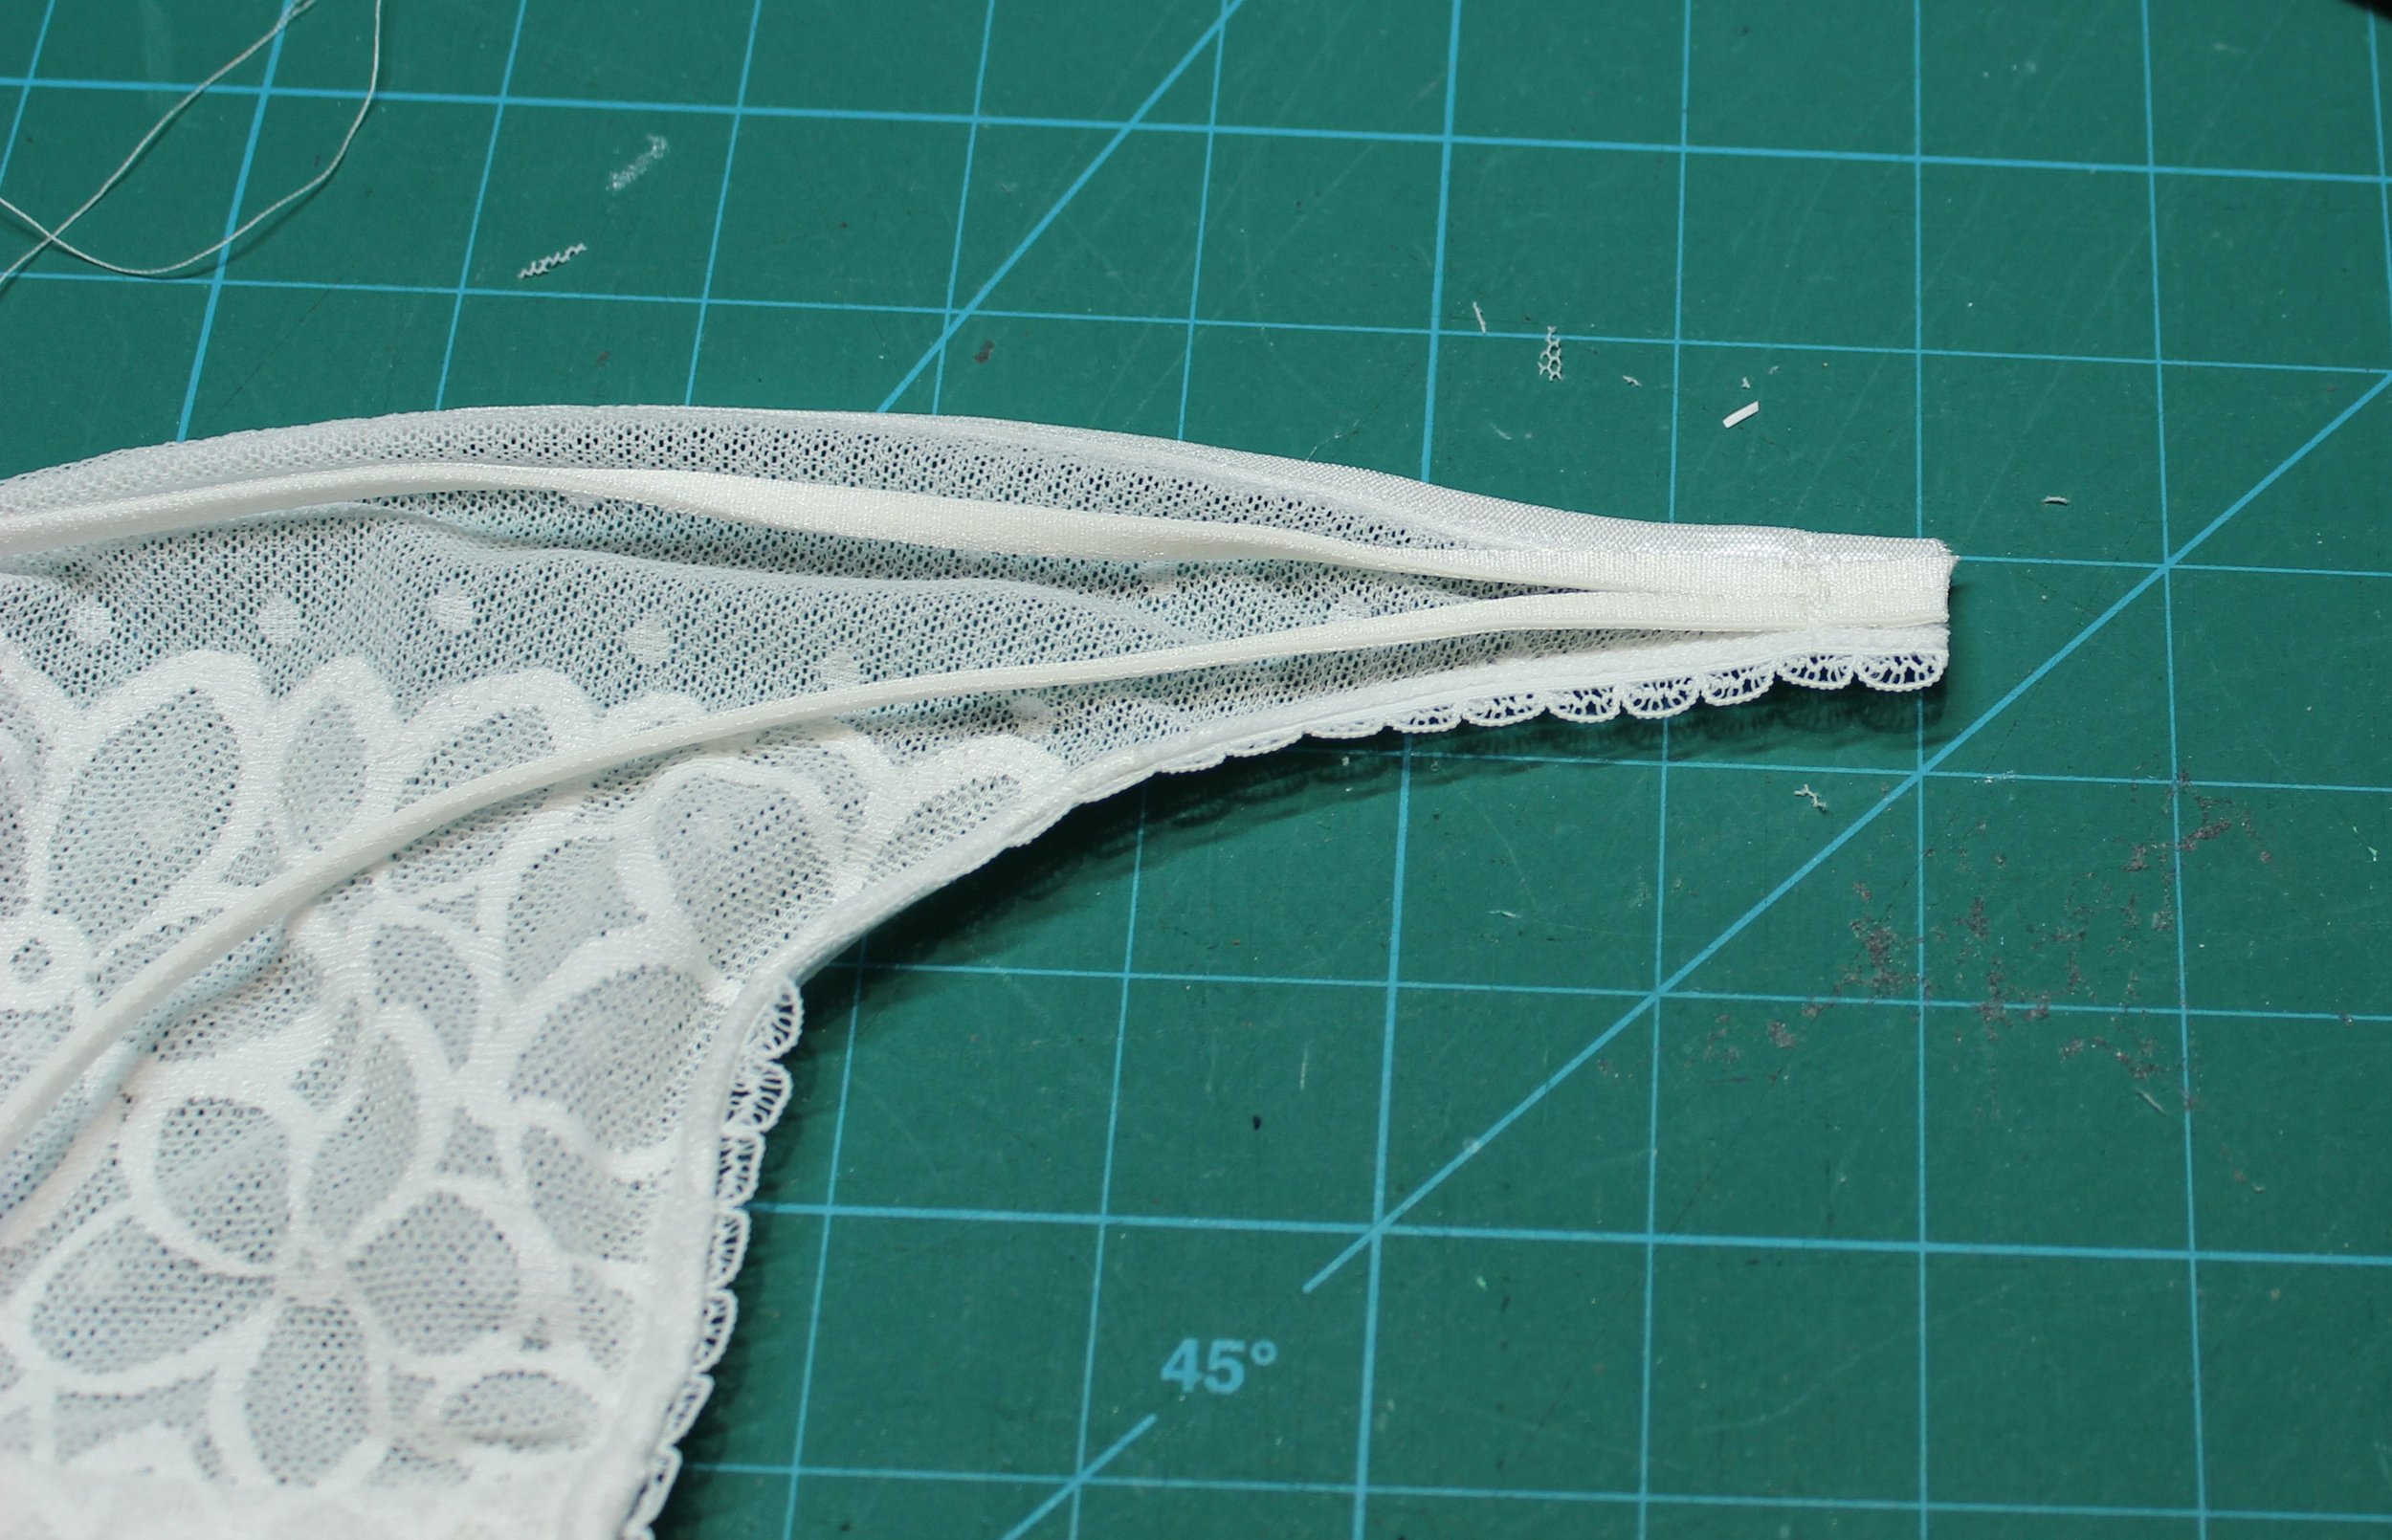
To finish I placed two strands of the narrow elastic level with the edge of the side front right side up. I used a small straight stitch to attach the elastic along the 1/2 seam allowance. I then folded the seam allowance back and using a small zigzag I stitched the seam allowance down covering the raw edge. You can do this seam enclosing the elastic by turning it back on itself but it can be bulky. I wasn’t going to make adjustable sides so I measured the adjusted width of elastic on my previous makes, added the seam allowance and attached to the back using the same method. Another perfect match.

And now for a rest - well onto my Sew Over It knit kit!