Emerald Erin Pattern Release
I first came across Emerald Erin when I started making lingerie last year. Sourcing supplies was difficult from here in the UK so I spread the net and tried out a whole range of fabrics and findings for both lingerie and swimwear from her shop. I was hooked! So when she released her first patterns I wanted to be one of the first to make.
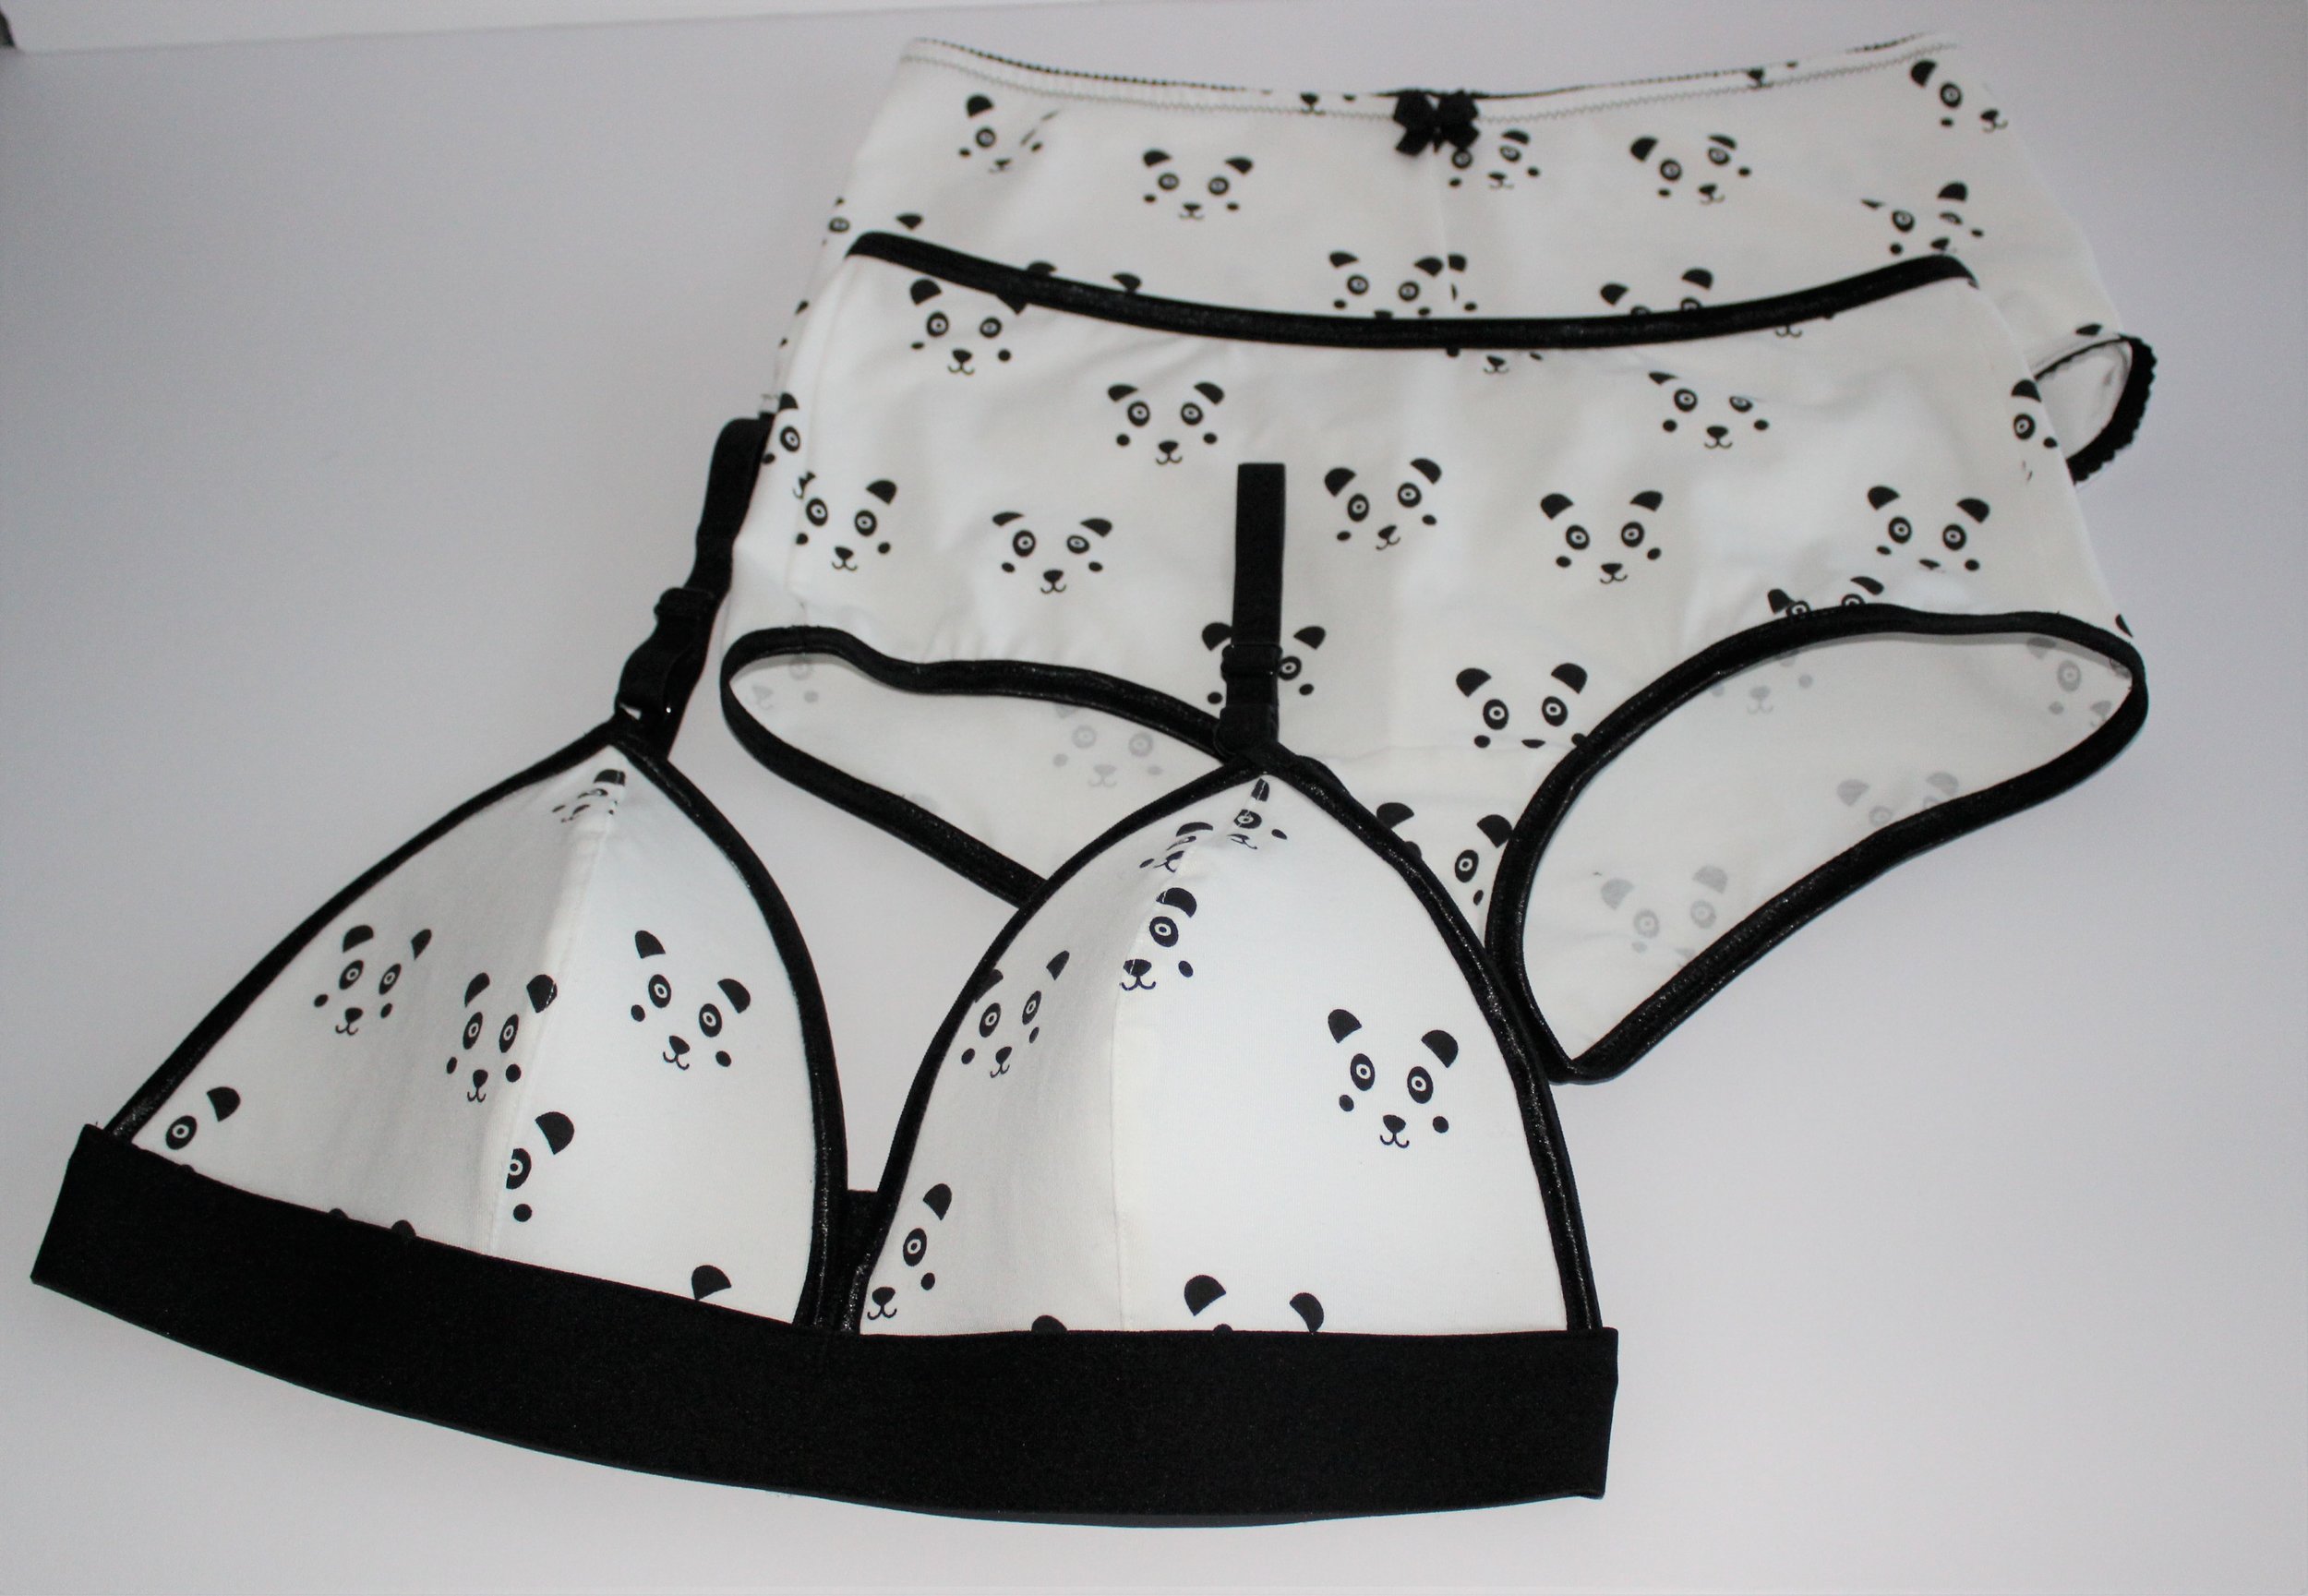
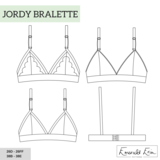
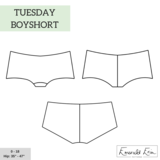
So we have the Jordy Bralette and the Tuesday Boyshort.
The Jordy comes with three options - lace overlay, fabric or foam lined version. The Tuesday has a choice of either classic centre front seam or solid front and you can use either fold over or plush elastic on both versions. I immediately ordered kits in both as well as a number of other items!
As usual I couldn't wait for the order to get here from Canada so I thought I would have a practice to get the size right.

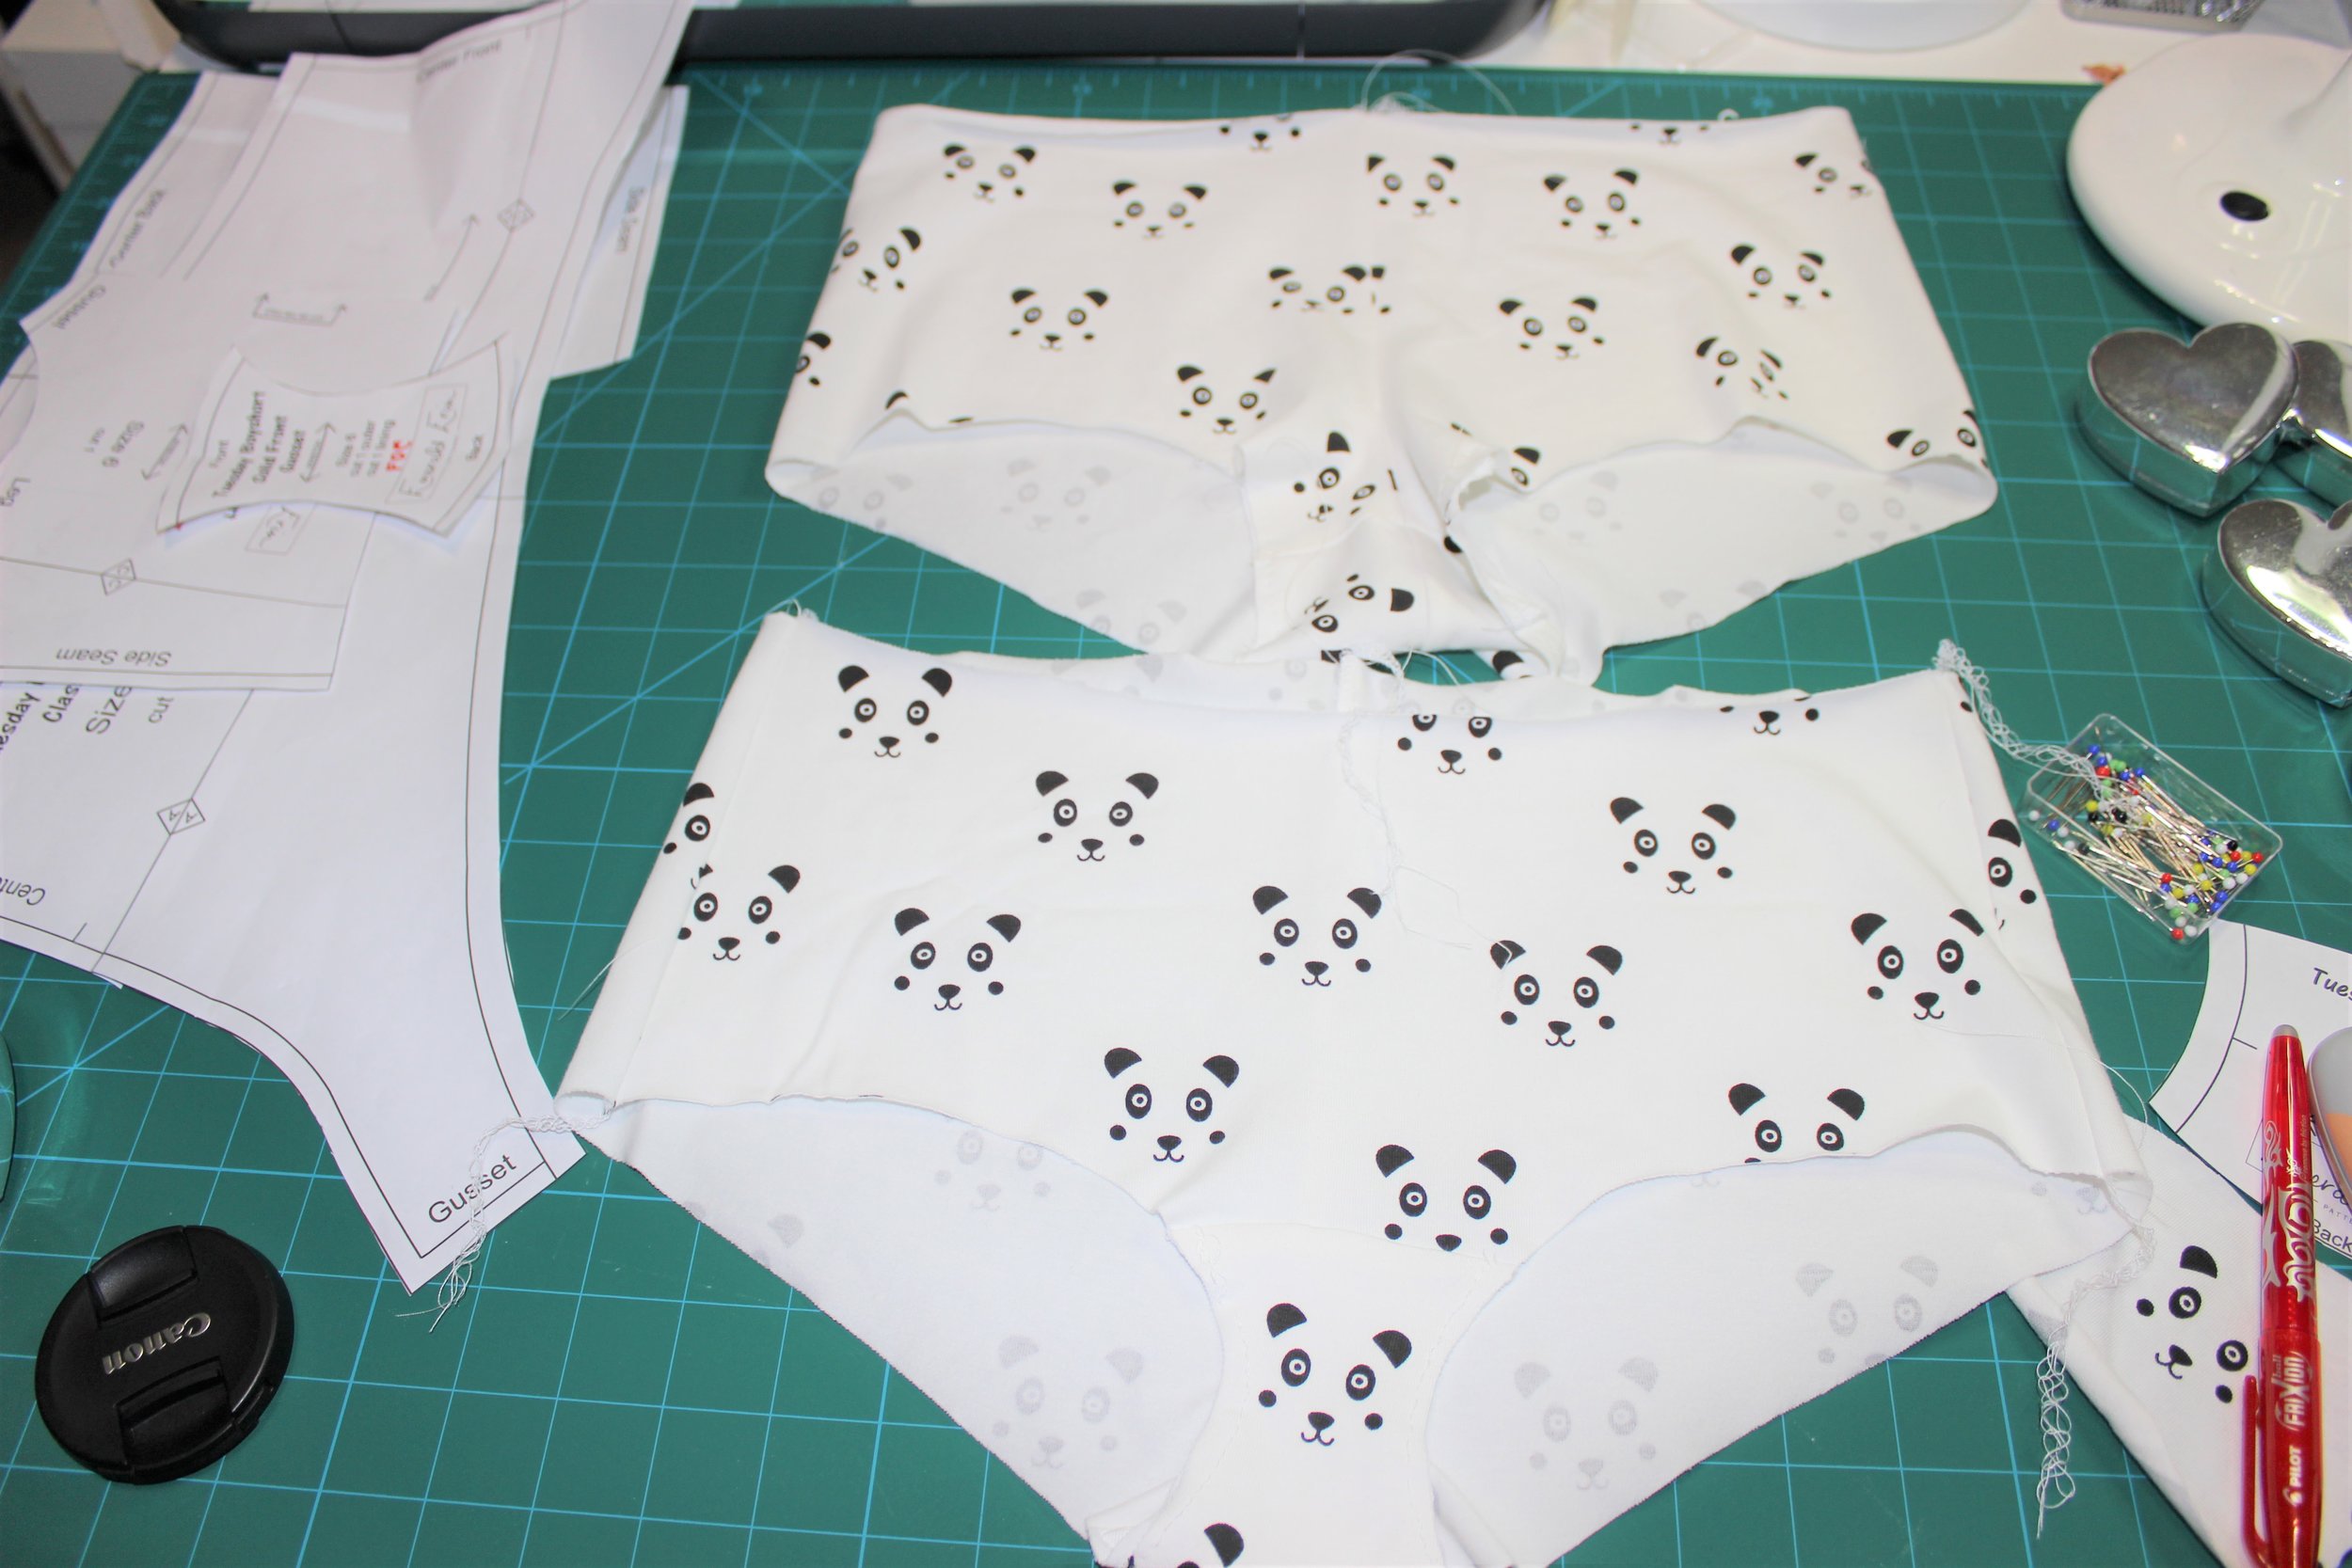
I thought I would try both versions of the Tuesday using fold over on one and plush on the other. The pattern pieces come with the seam allowances marked so if you use the fold over elastic you need to cut this off. I did highlight this on the pattern piece for next time.
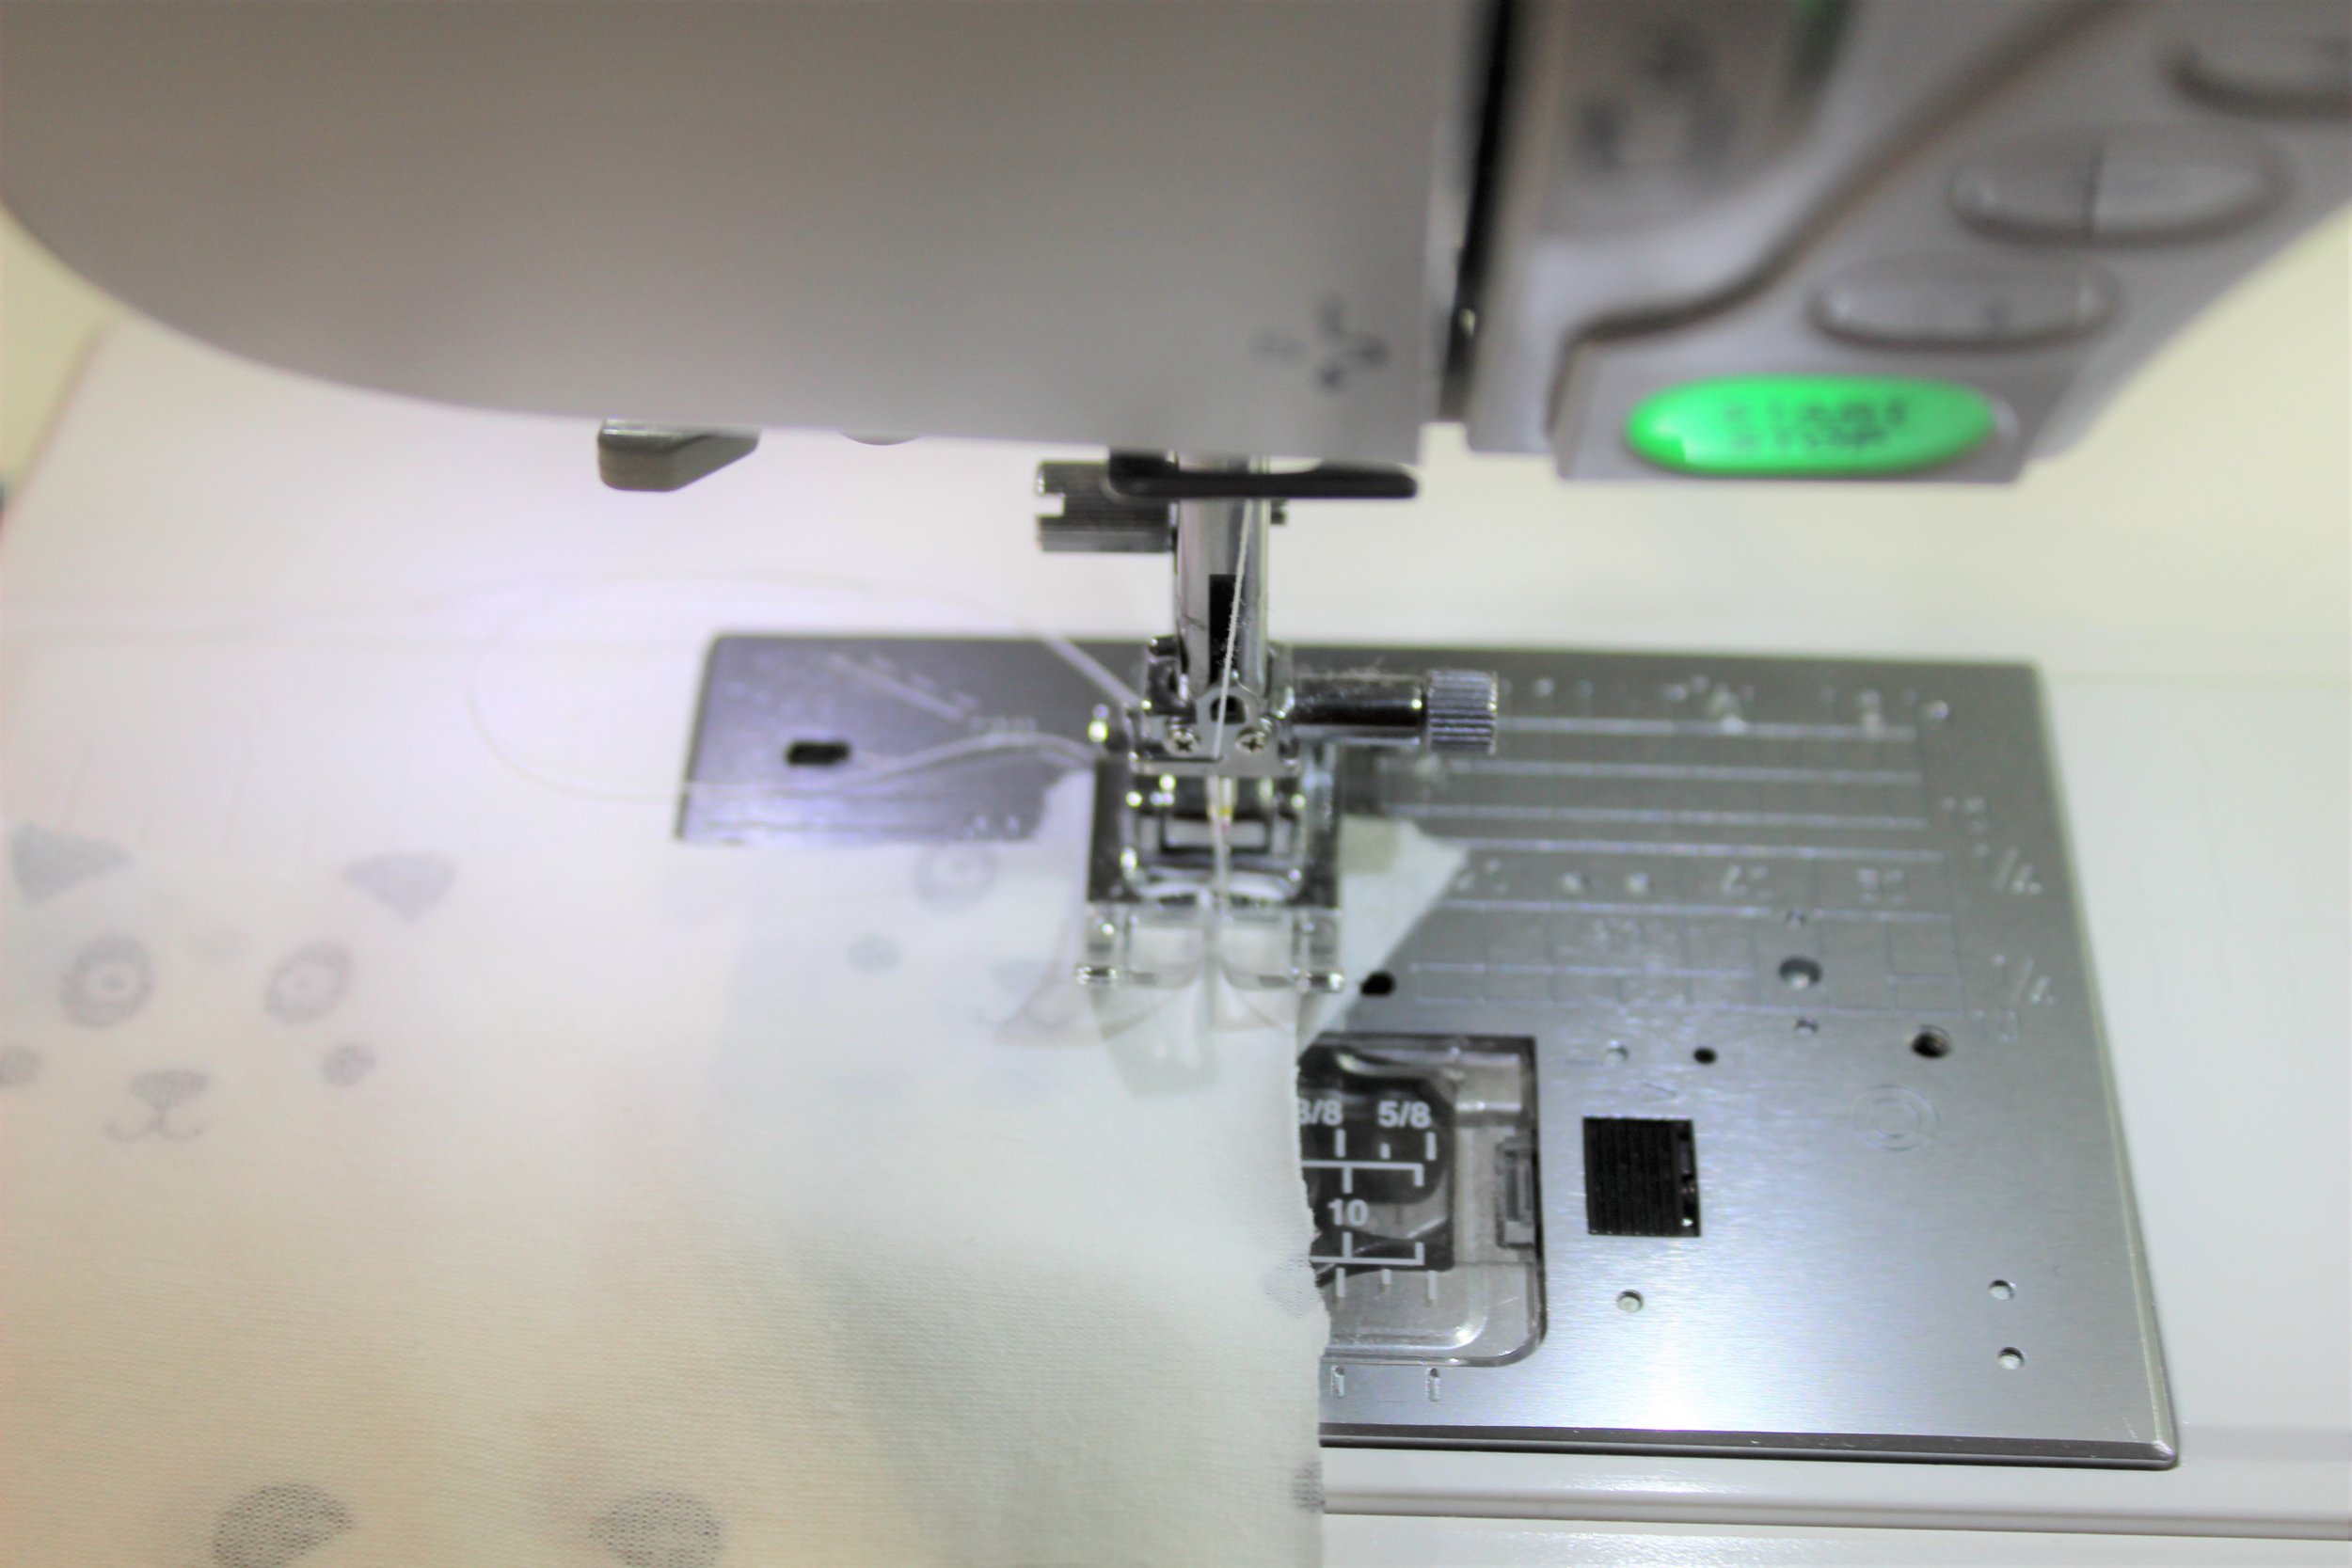
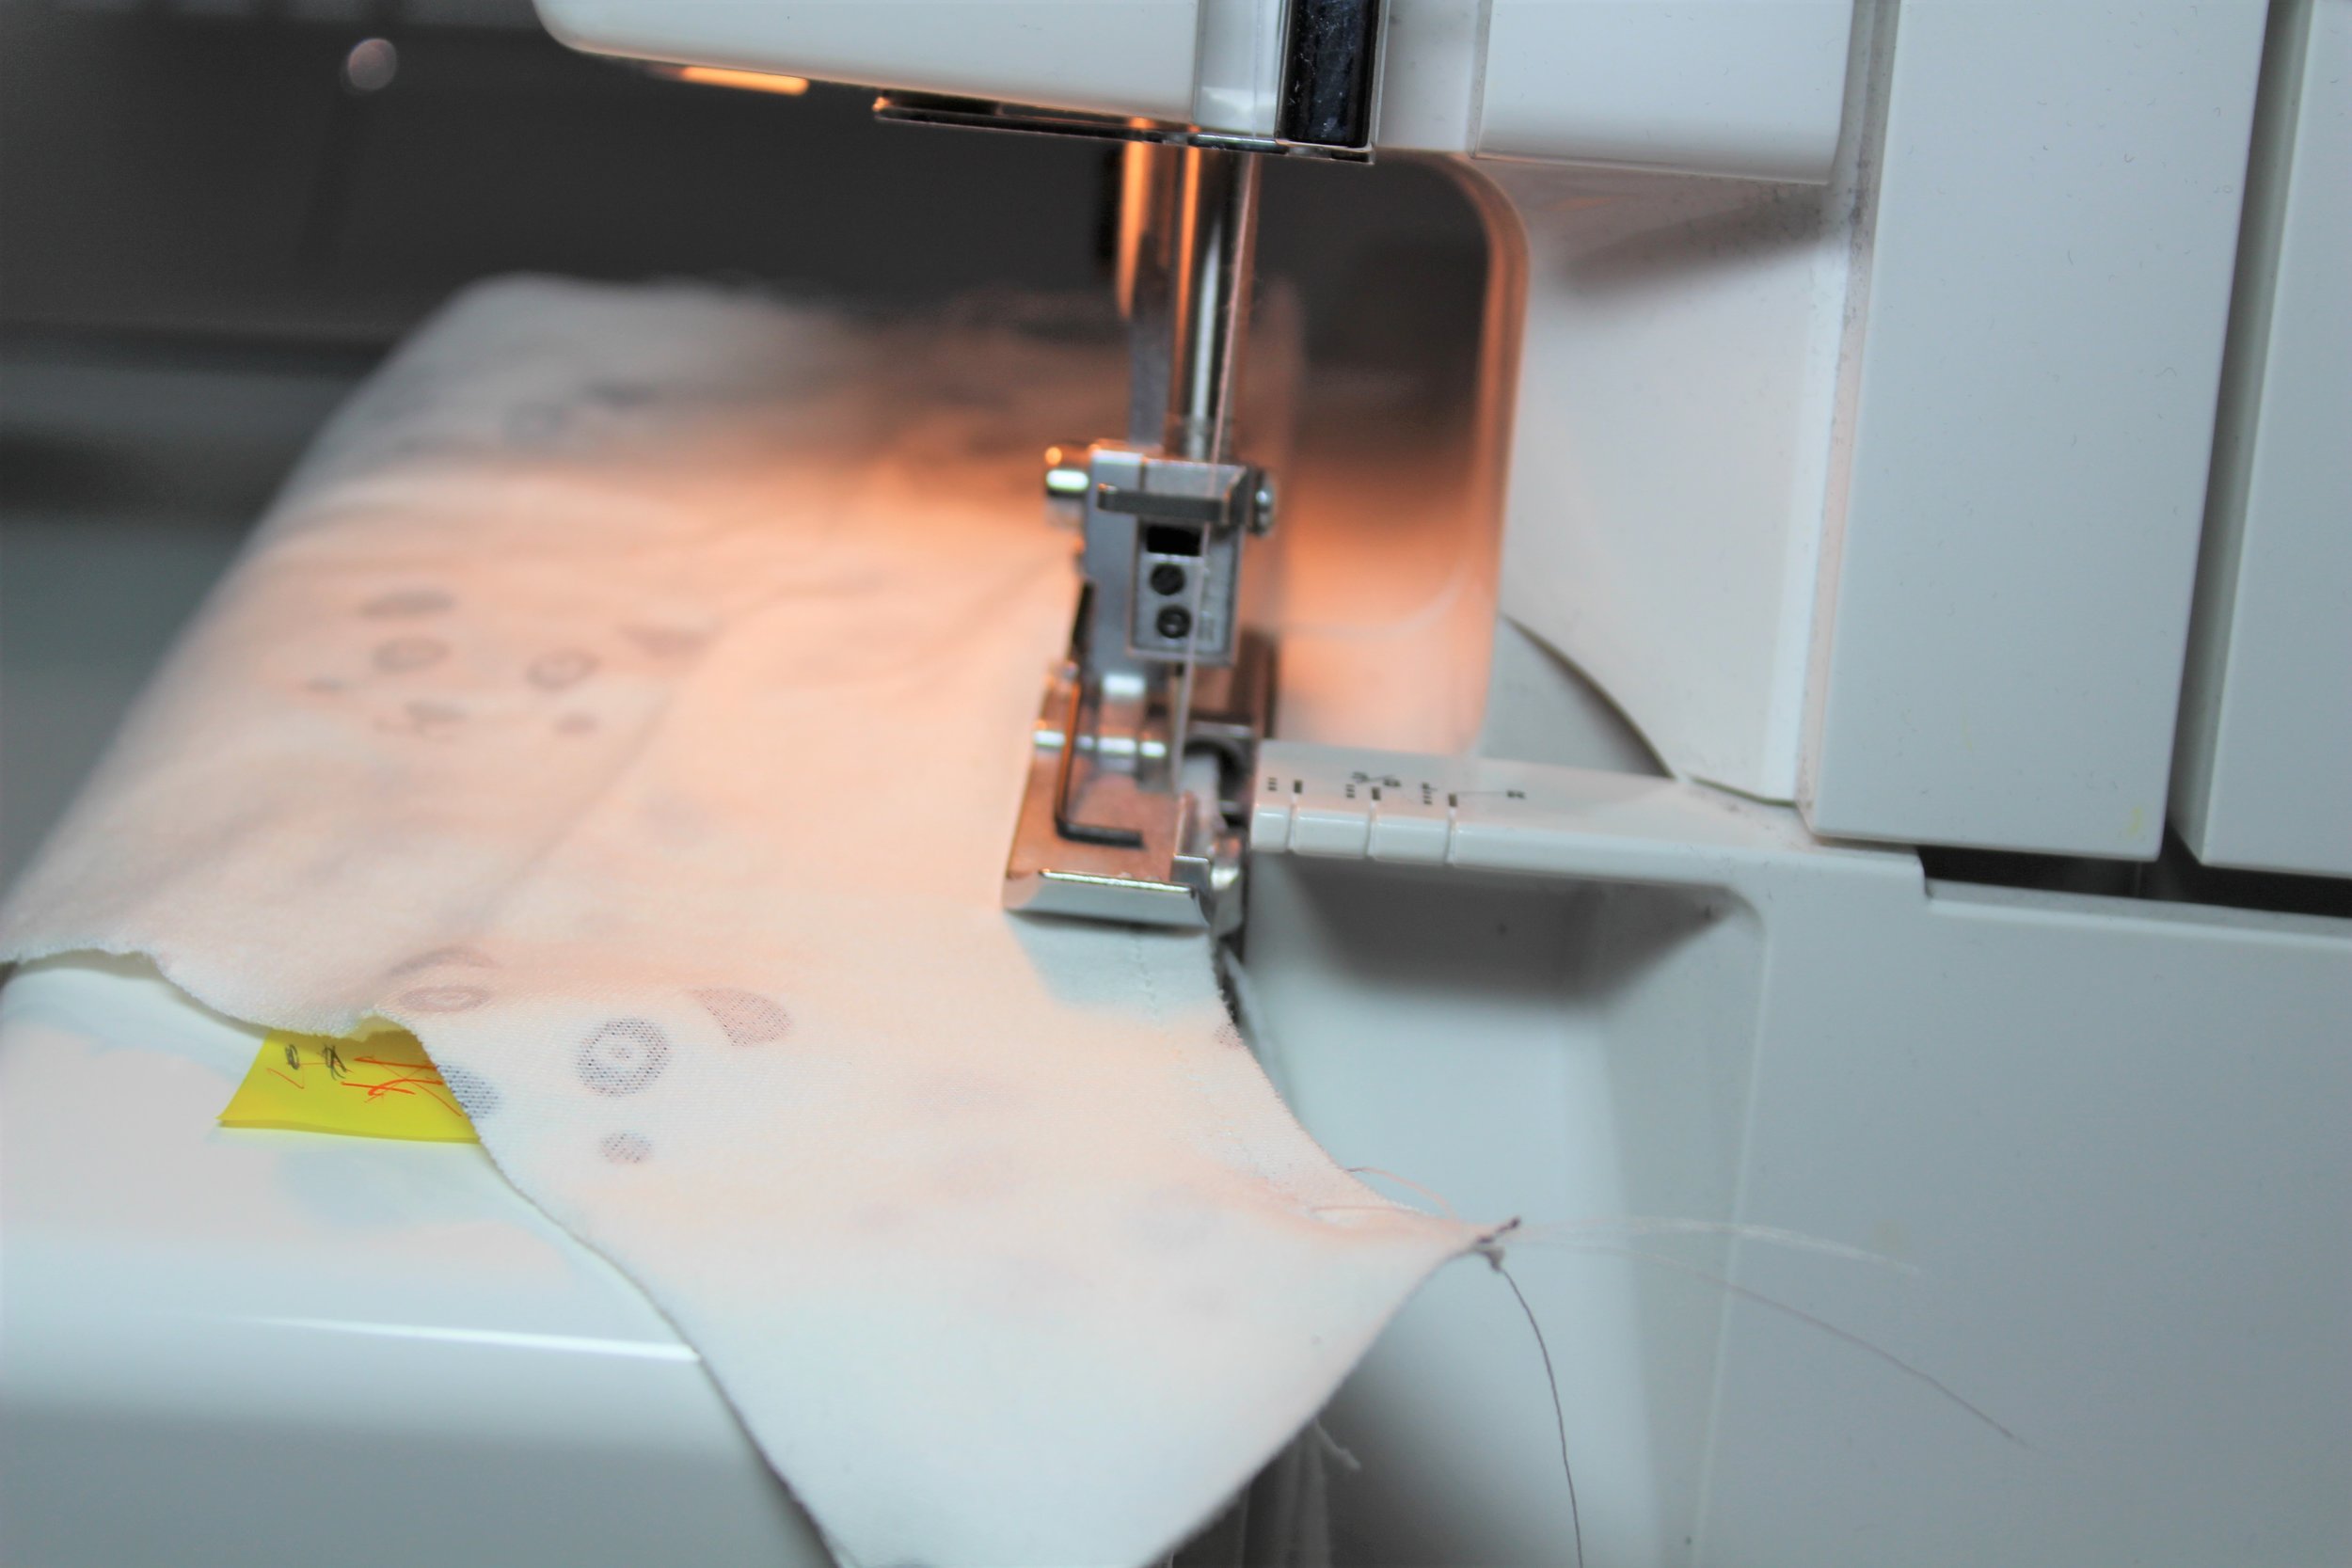
You can just serge the seams but with curves and 1/4 inch seams I always sew the seam first with a stretch stitch. I start with some stitch and tear when I sew stretch fabric to stop it being dragged into the machine.
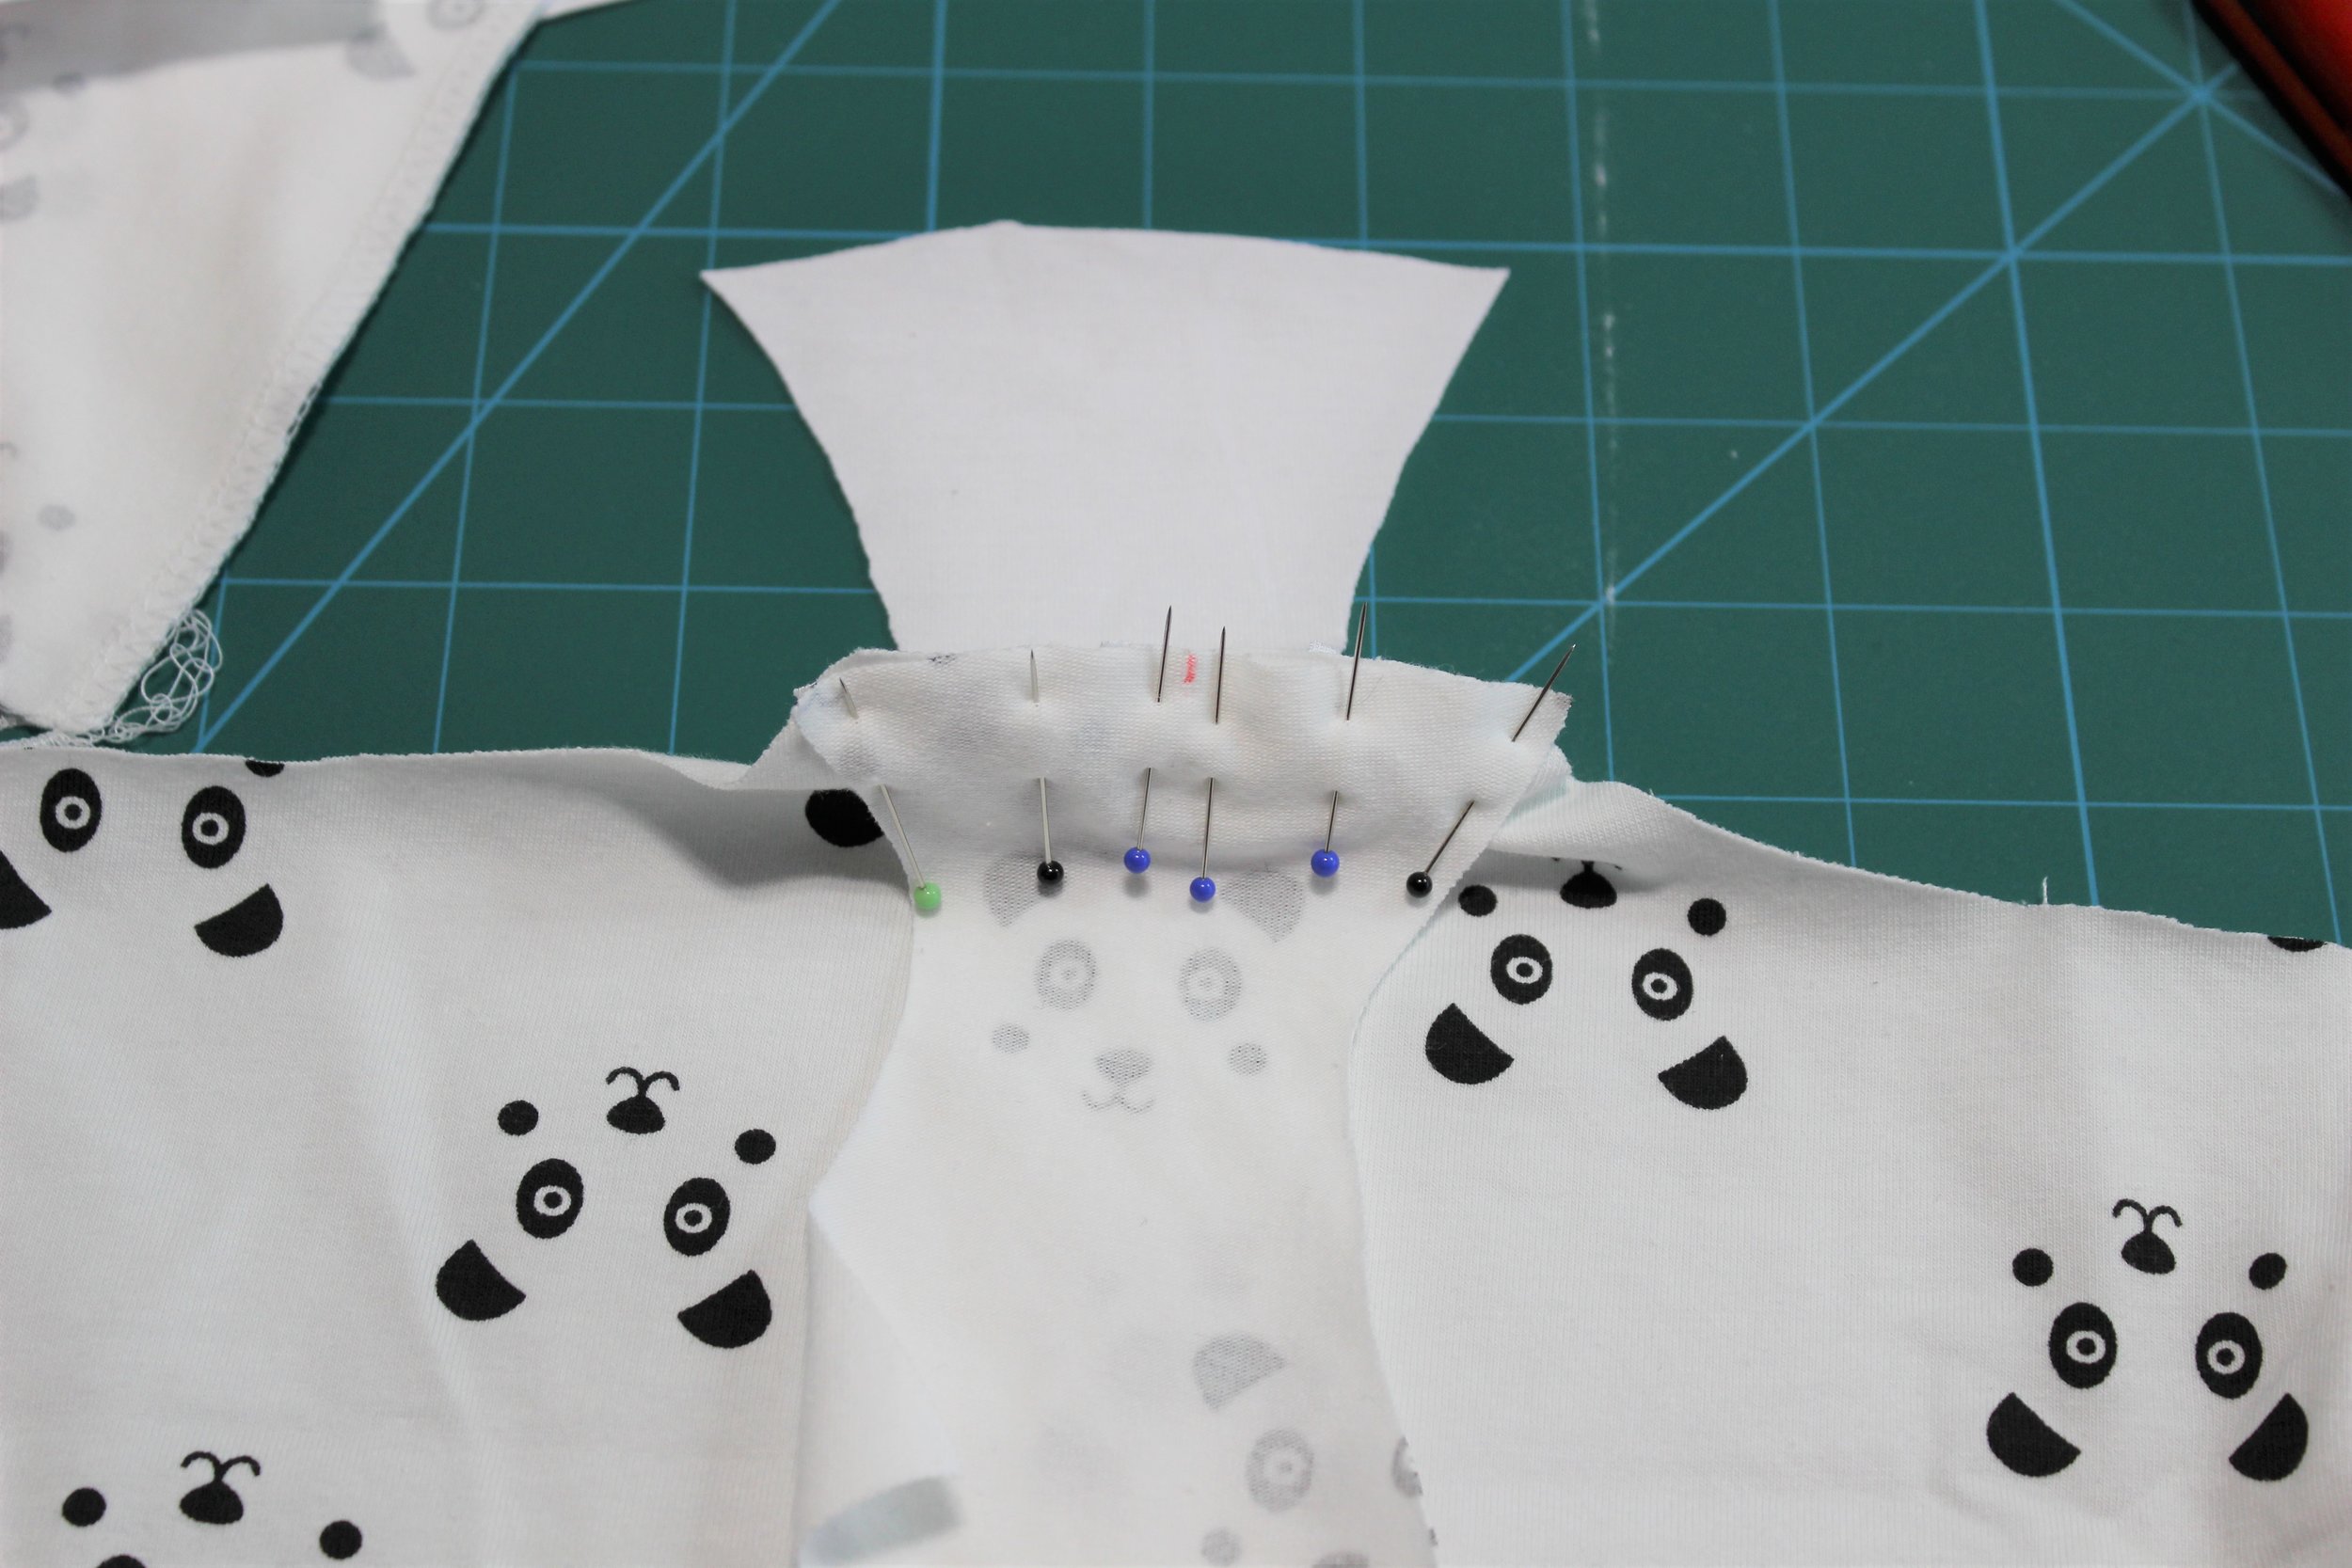
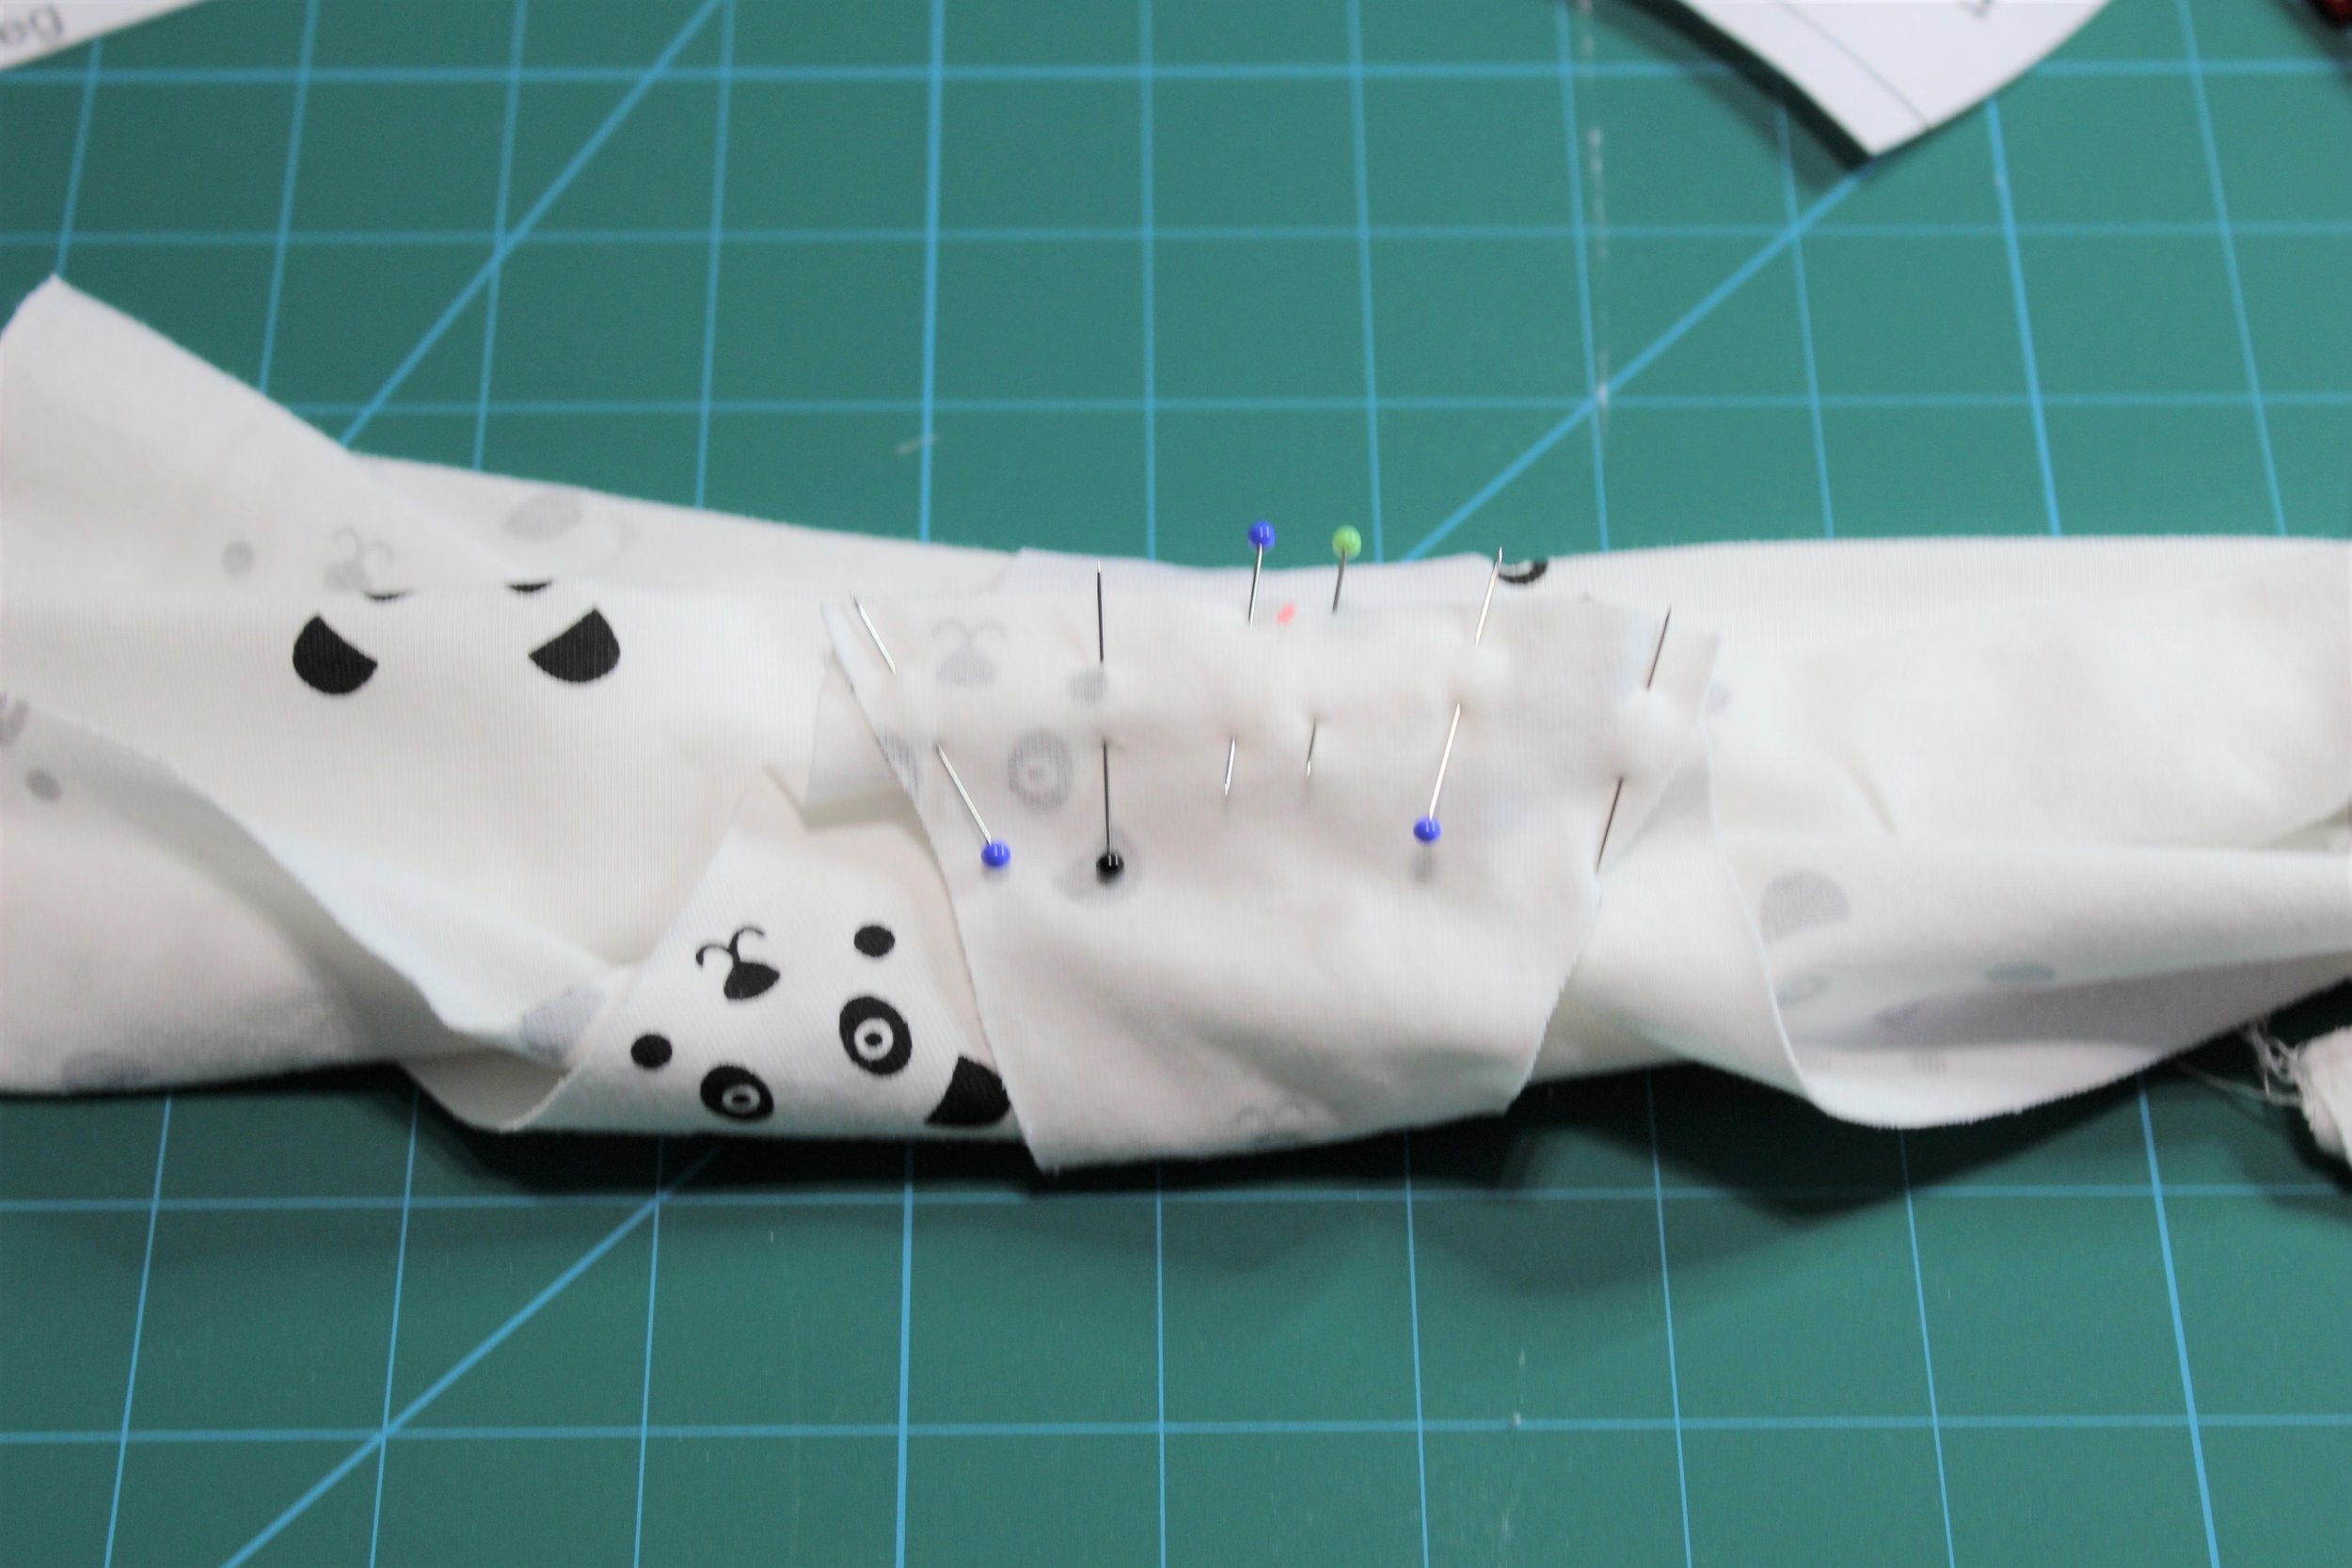
The classic front is straight forward sew with the gusset enclosed in the side seams only. The solid front has an enclosed gusset by using the "burrito" method.

Here are the two versions before the elastic went on. The size was spot on although my personal preference is the solid front.
So on to the Jordy. I started with the foam version and made paper versions to get an idea of the size.

This is a really quick make especially as I used straps cut off from another bra. Again if you are using fold elastic you need to remember to cut off the seam allowance.
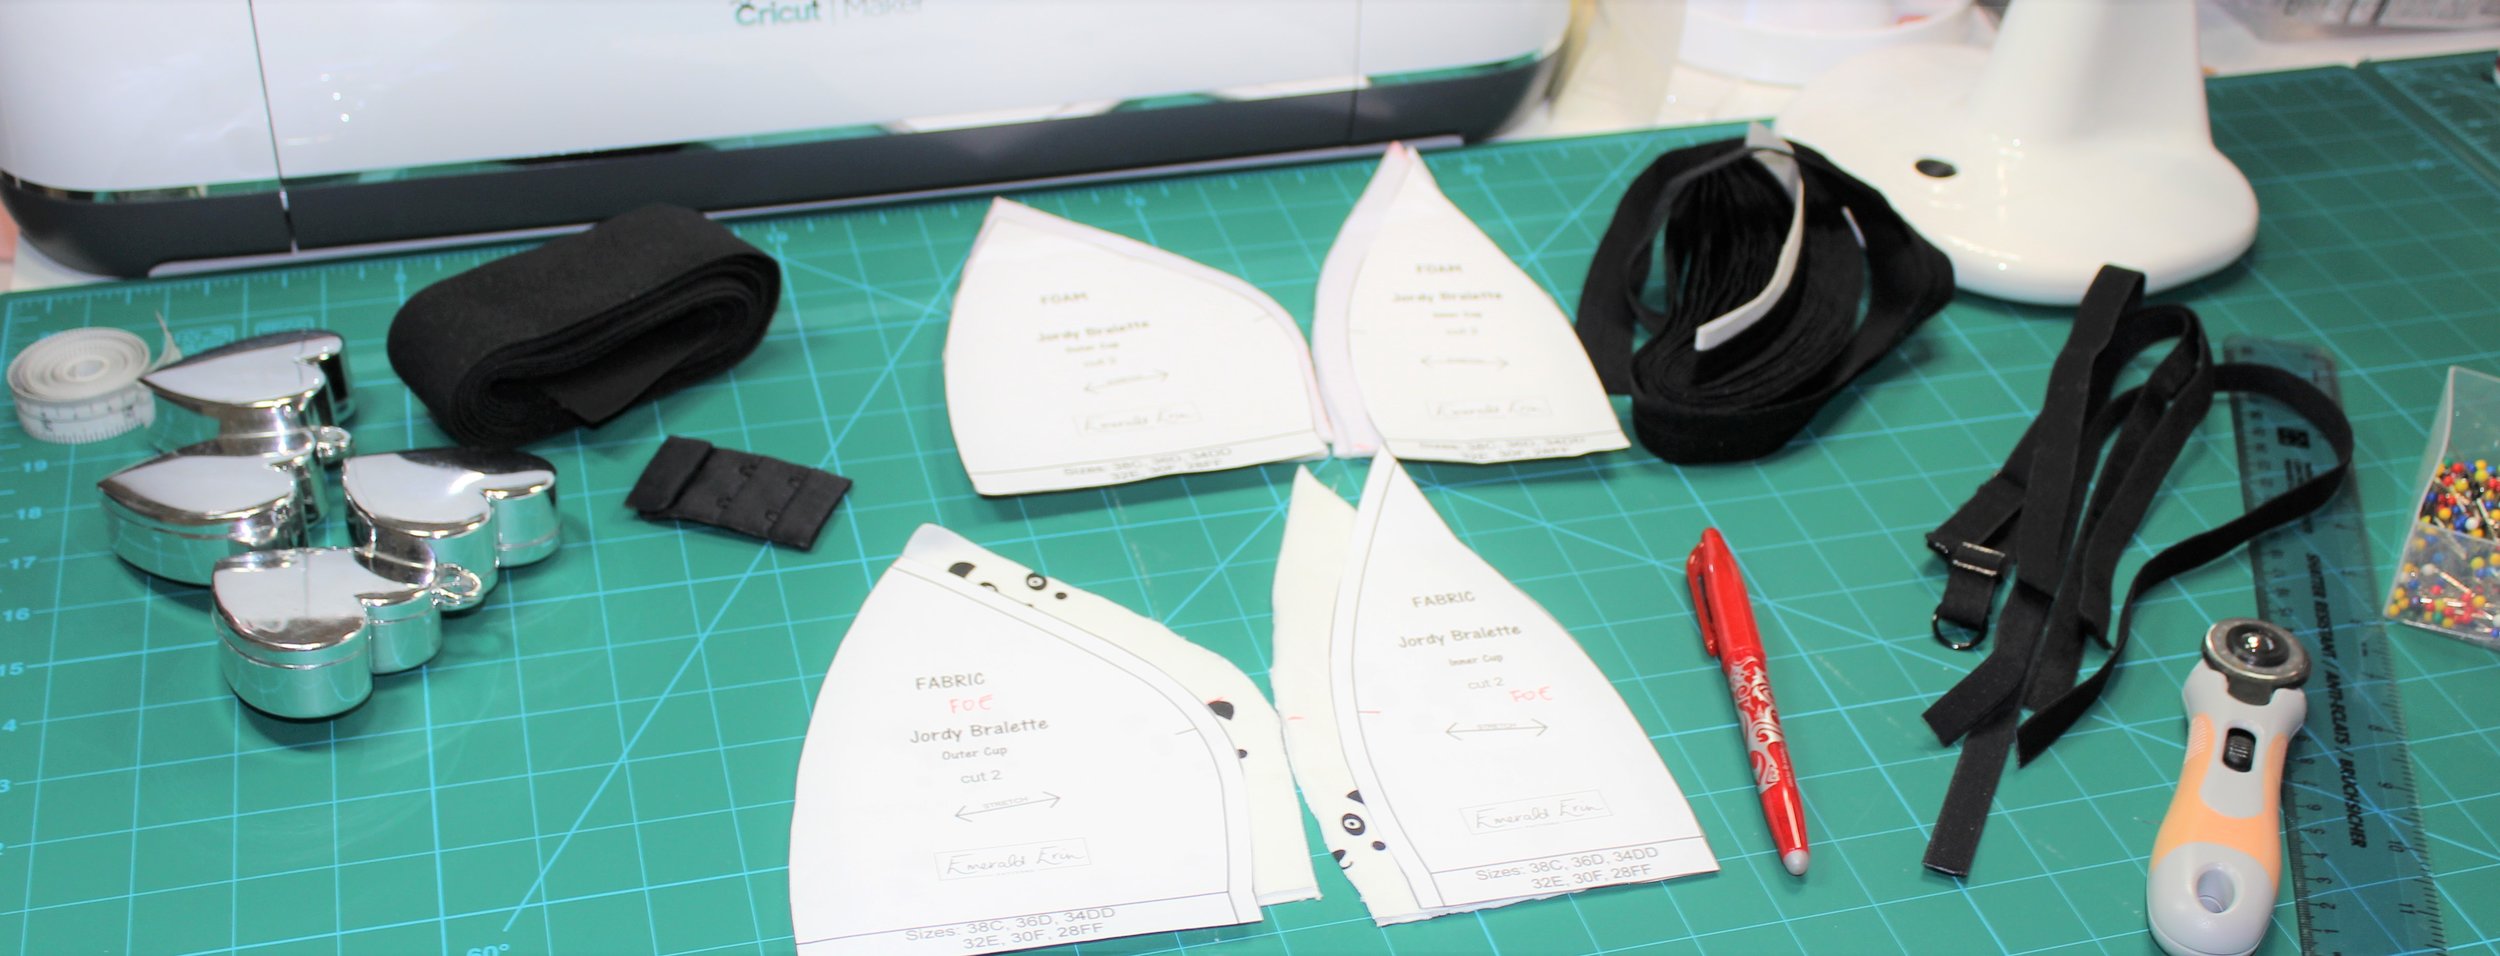
I prefer to draw around the foam and then cut out The foam cup has no seam allowance but you butt the edges together and I sew using a zigzag of length 4 and width 1 (as per Beverly Johnson) Perfect match!

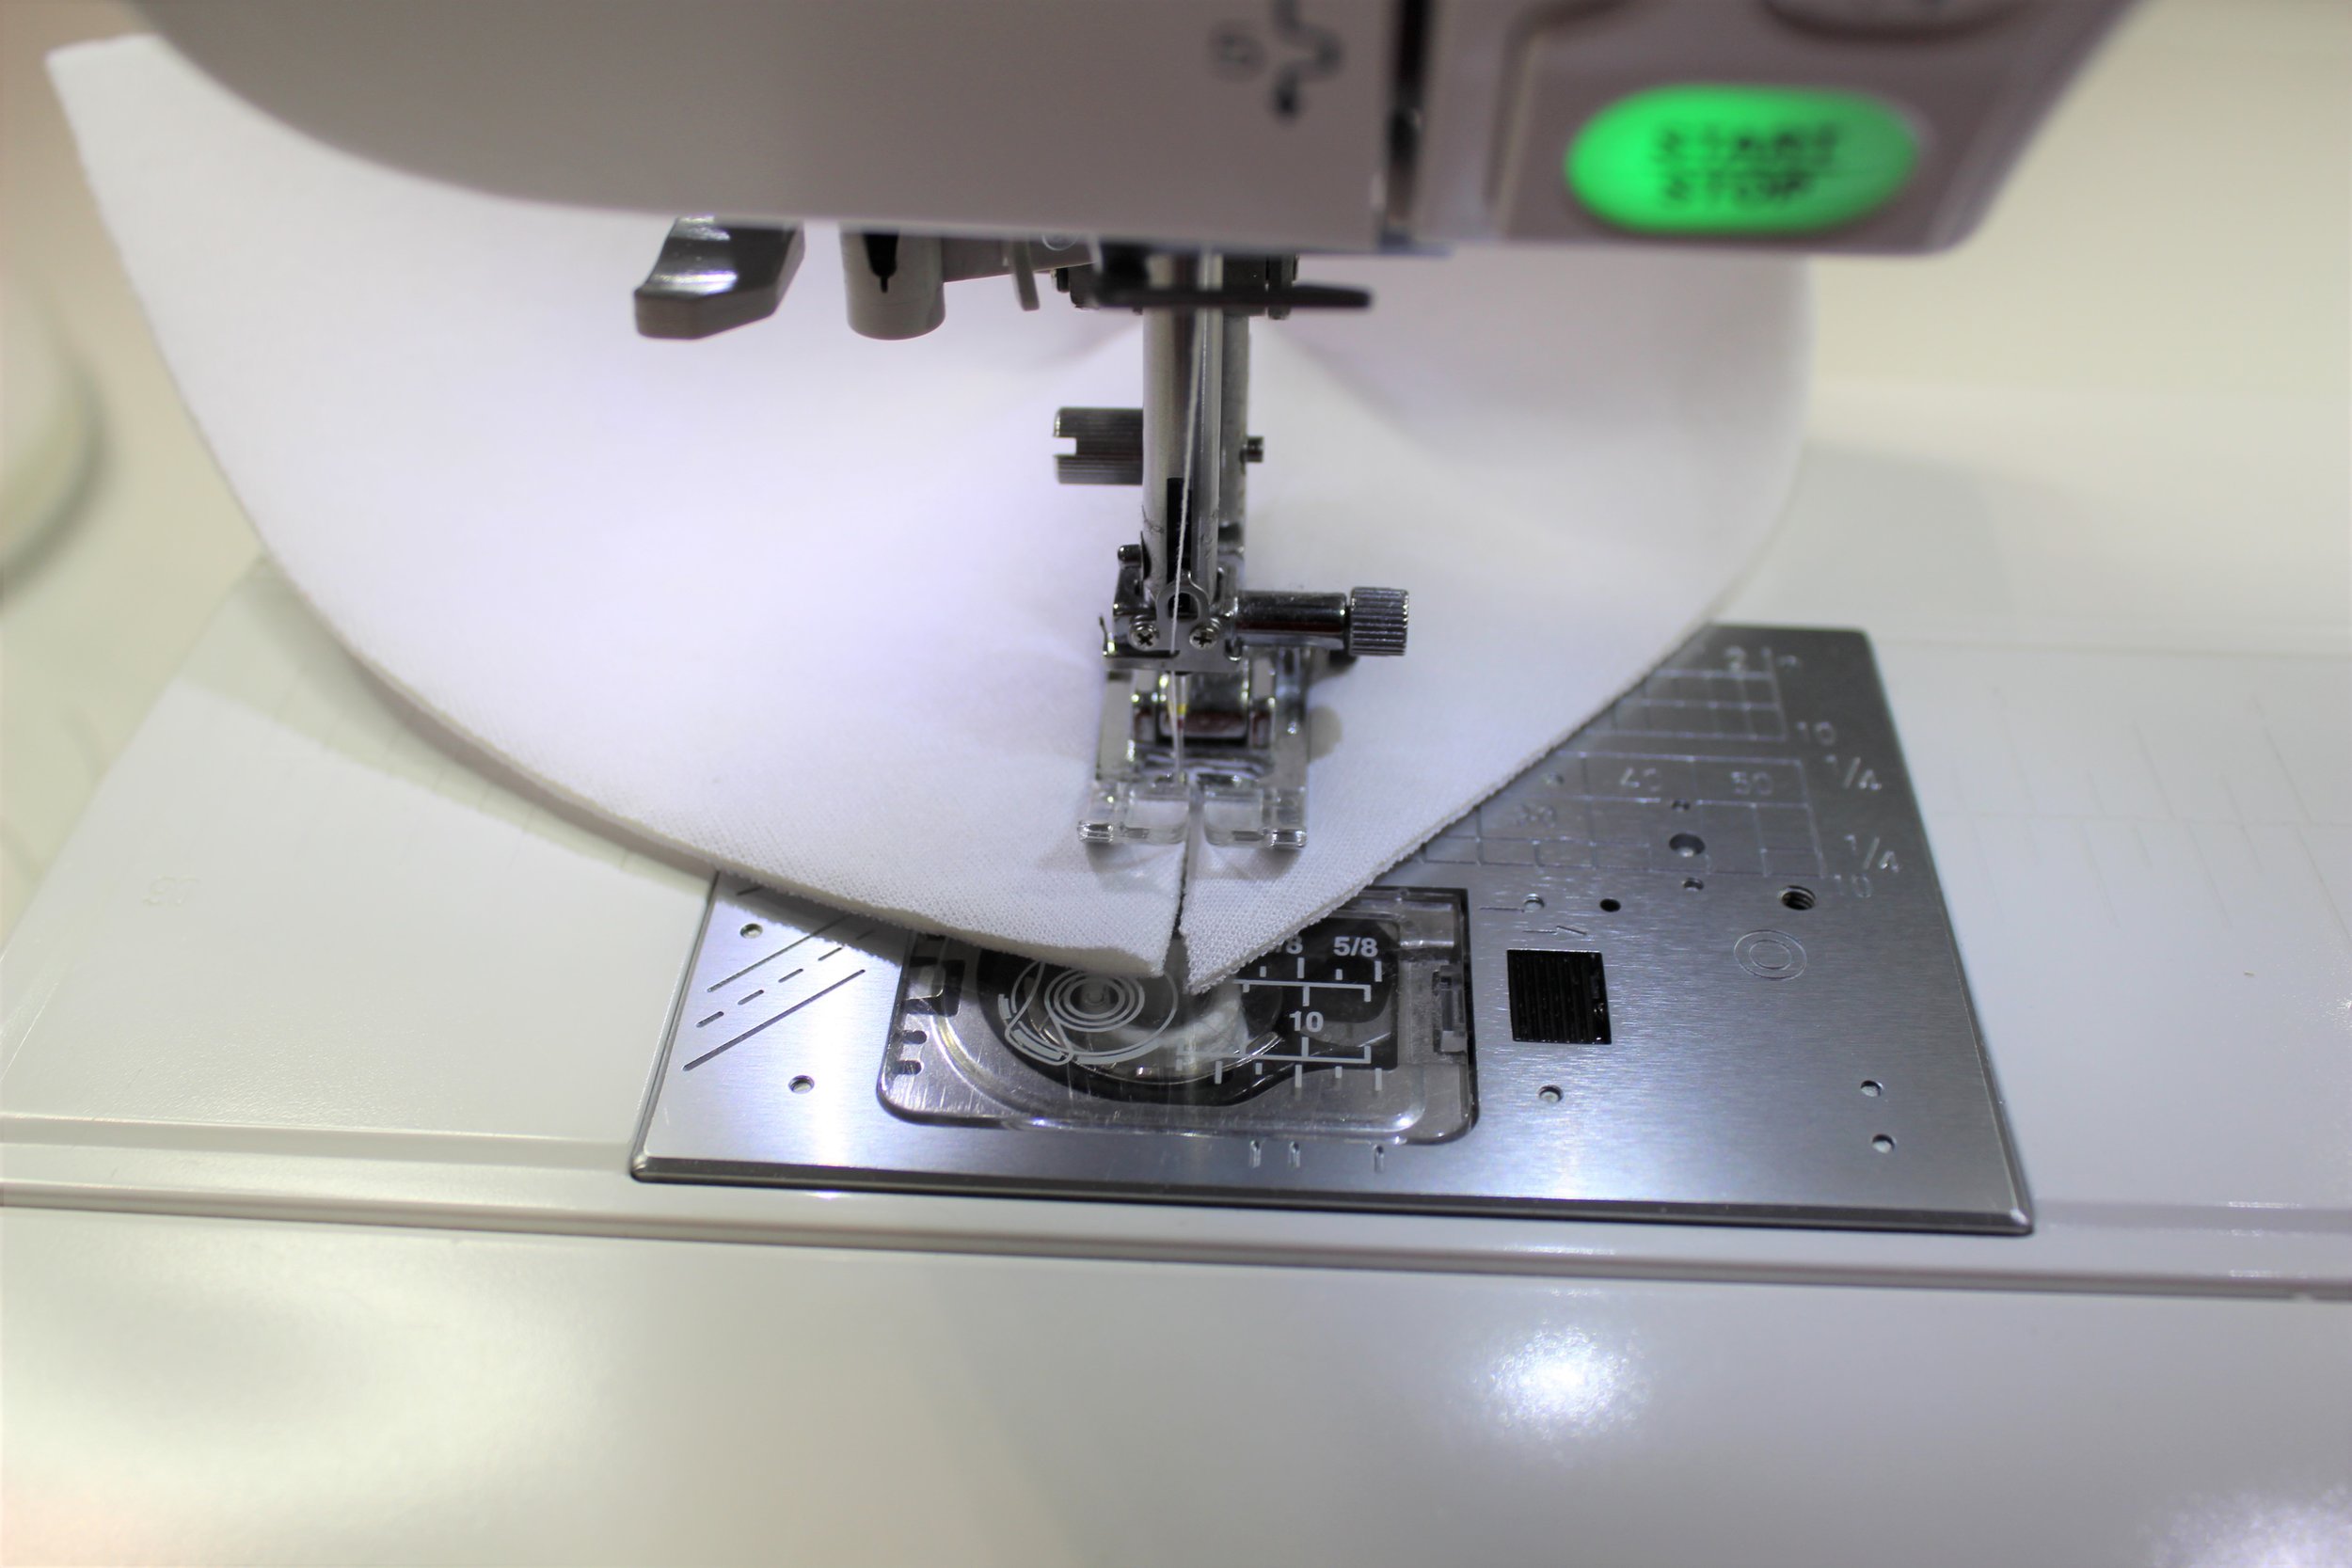
You baste the fabric to the foam and attach the fold over elastic before attaching to the band. I cut the band elastic to the size up just in case. I drew a line in chalk along the seam allowance to ensure the cups were straight and checked they were equal distance from the centre to ensure neither had stretched out of place. I attached the straps at the front and pinned at the back so I could gauge the size of the back band, Once I was happy with bank band I attached the hook and eye fastener. With the fastener on I checked the straps again before sewing them to the back band. For straps I always like to use a fabric glue pen to keep in place whilst I sew.

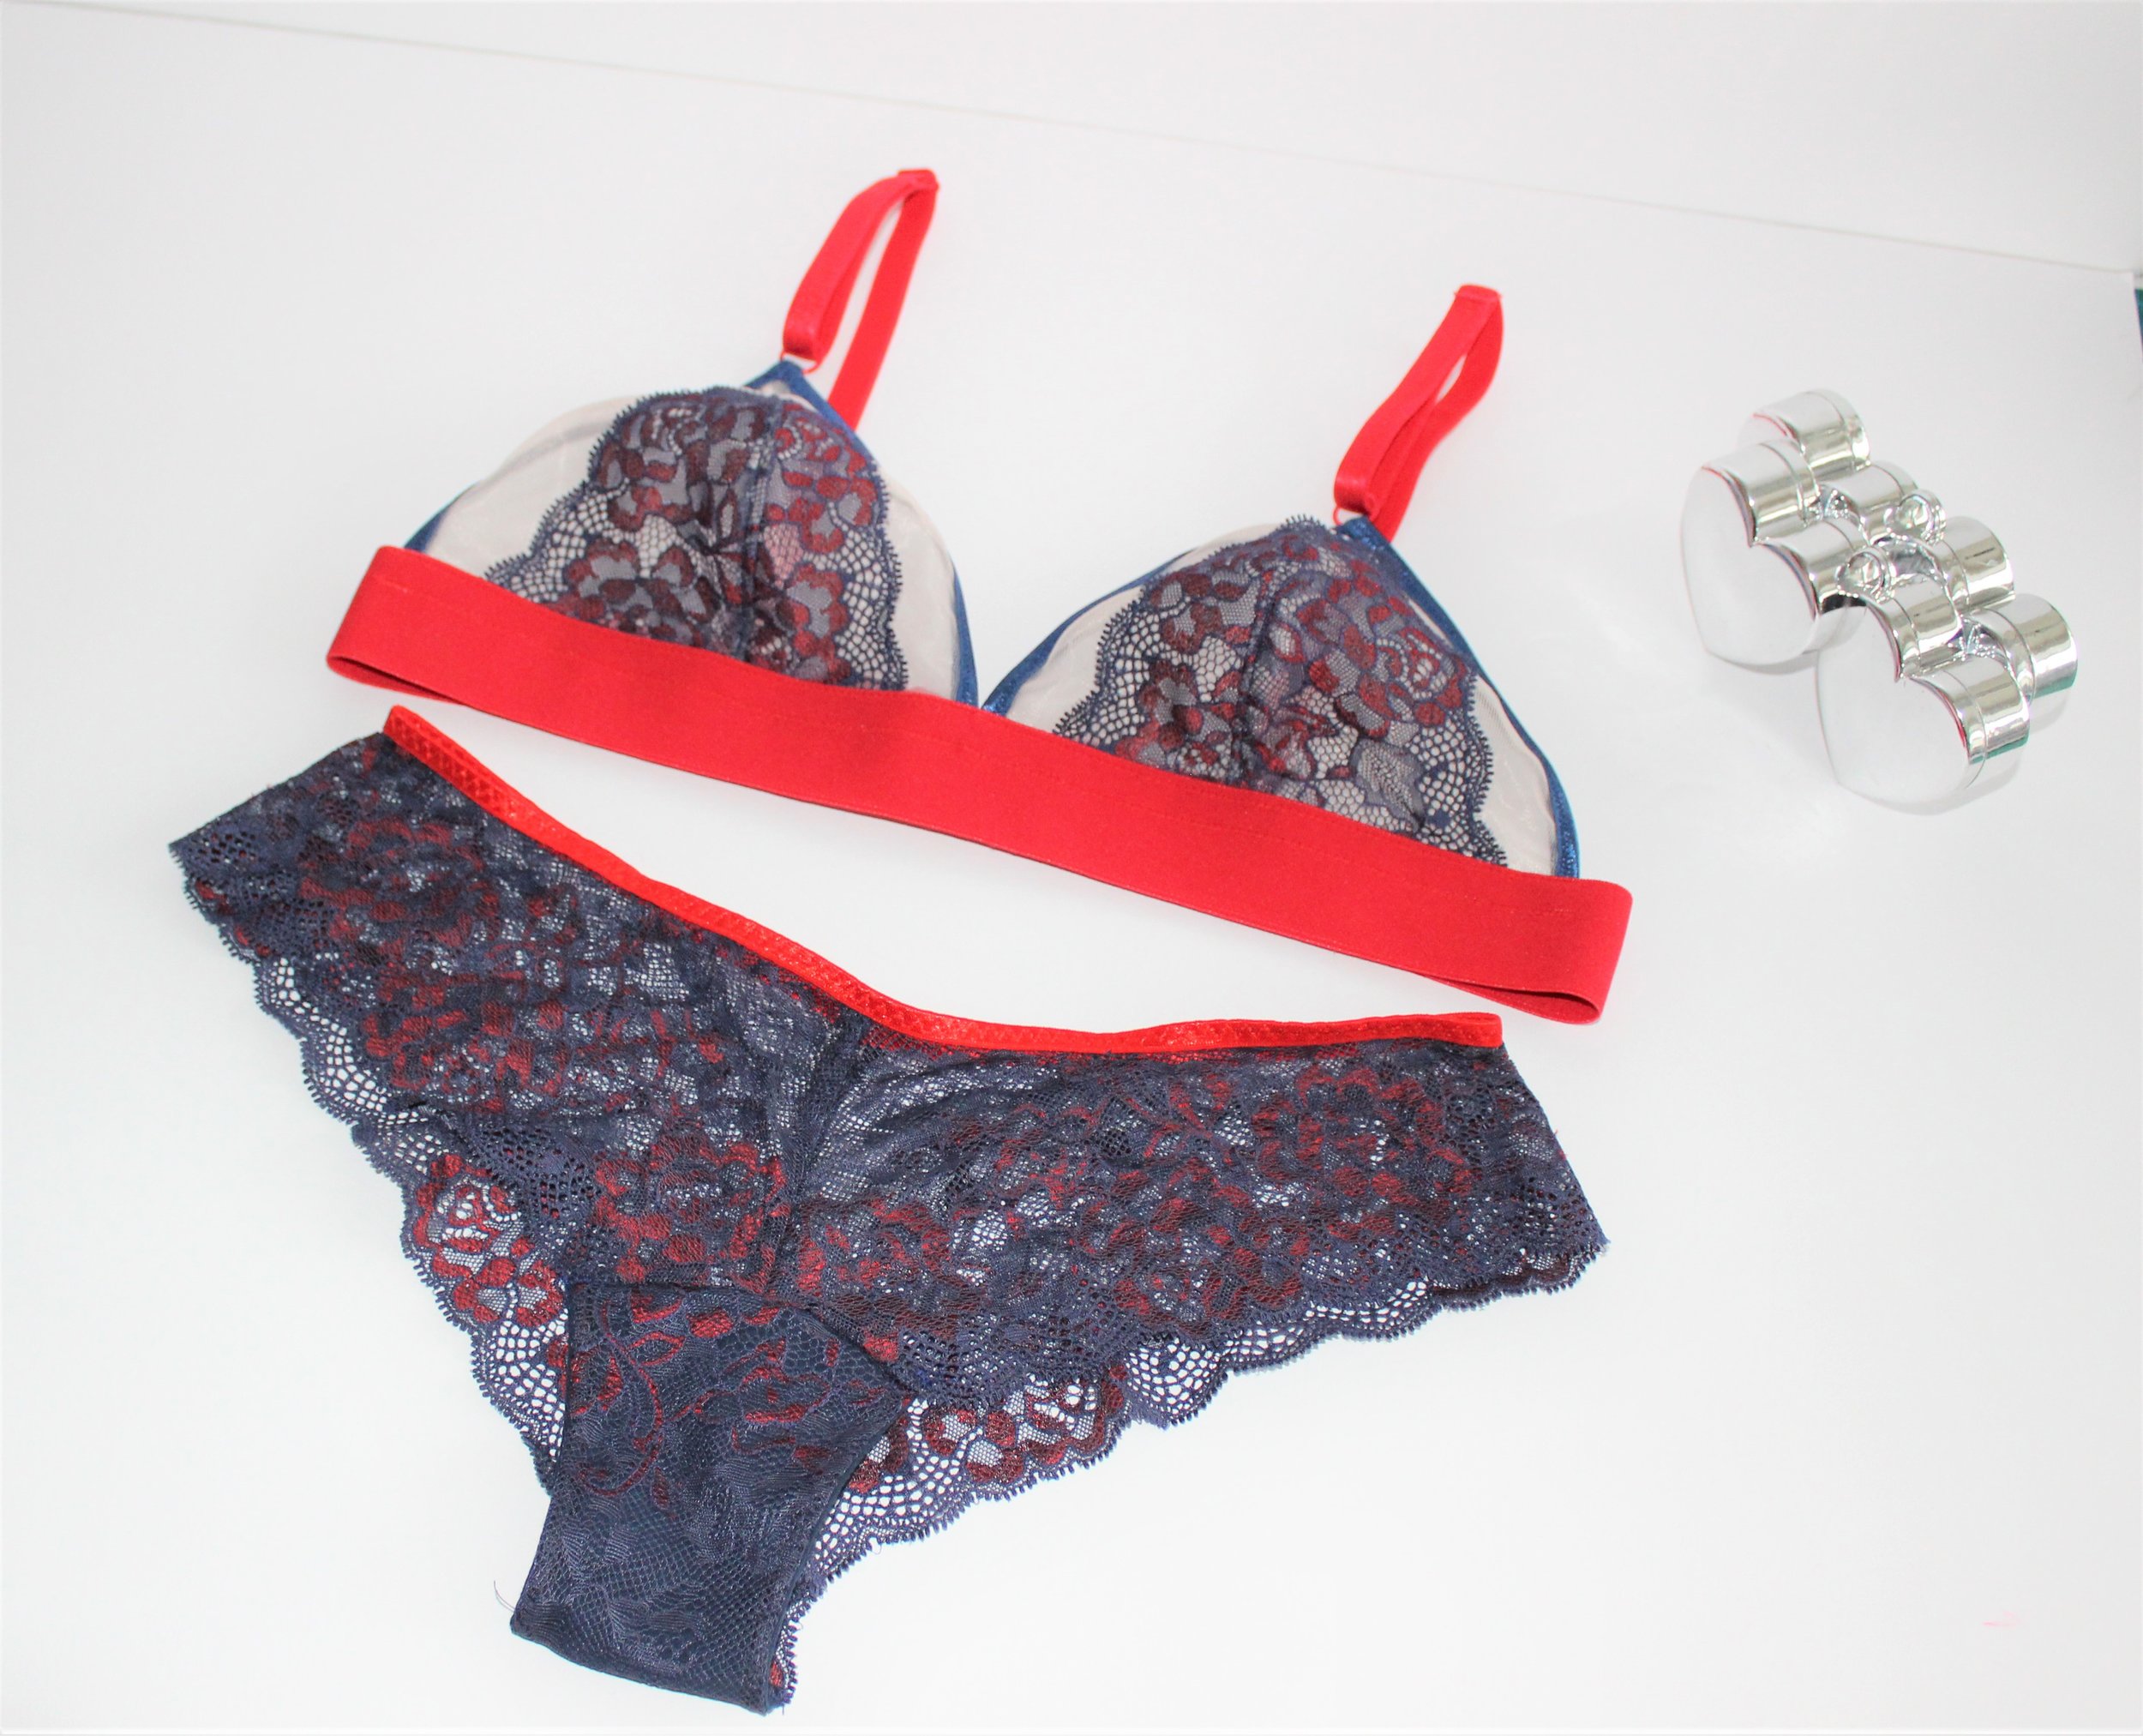
One to the next version with is the lace overlay. Used items from my stash mostly from leftovers from my Tailor Made kits, Such good value. The bralette looks great with the lace Bella pattern from Evie La Luve. Too much in a hurry to take pictures but will get some when I make the kit, Just love it when testers are good enough to wear.