More Bodysuits - The Hibou Pattern Release and a Black Beauty Hack
Never having had a bodysuit I now have another two beauties to show you. I’m going to start with the newly released Hibou from Small Bobbins (Hariito). I had been following the release date for this pattern and had a green stretch velvet kit on order. So whilst I waited for it to arrive I made a test size and it turned out to be one of my best makes this year.

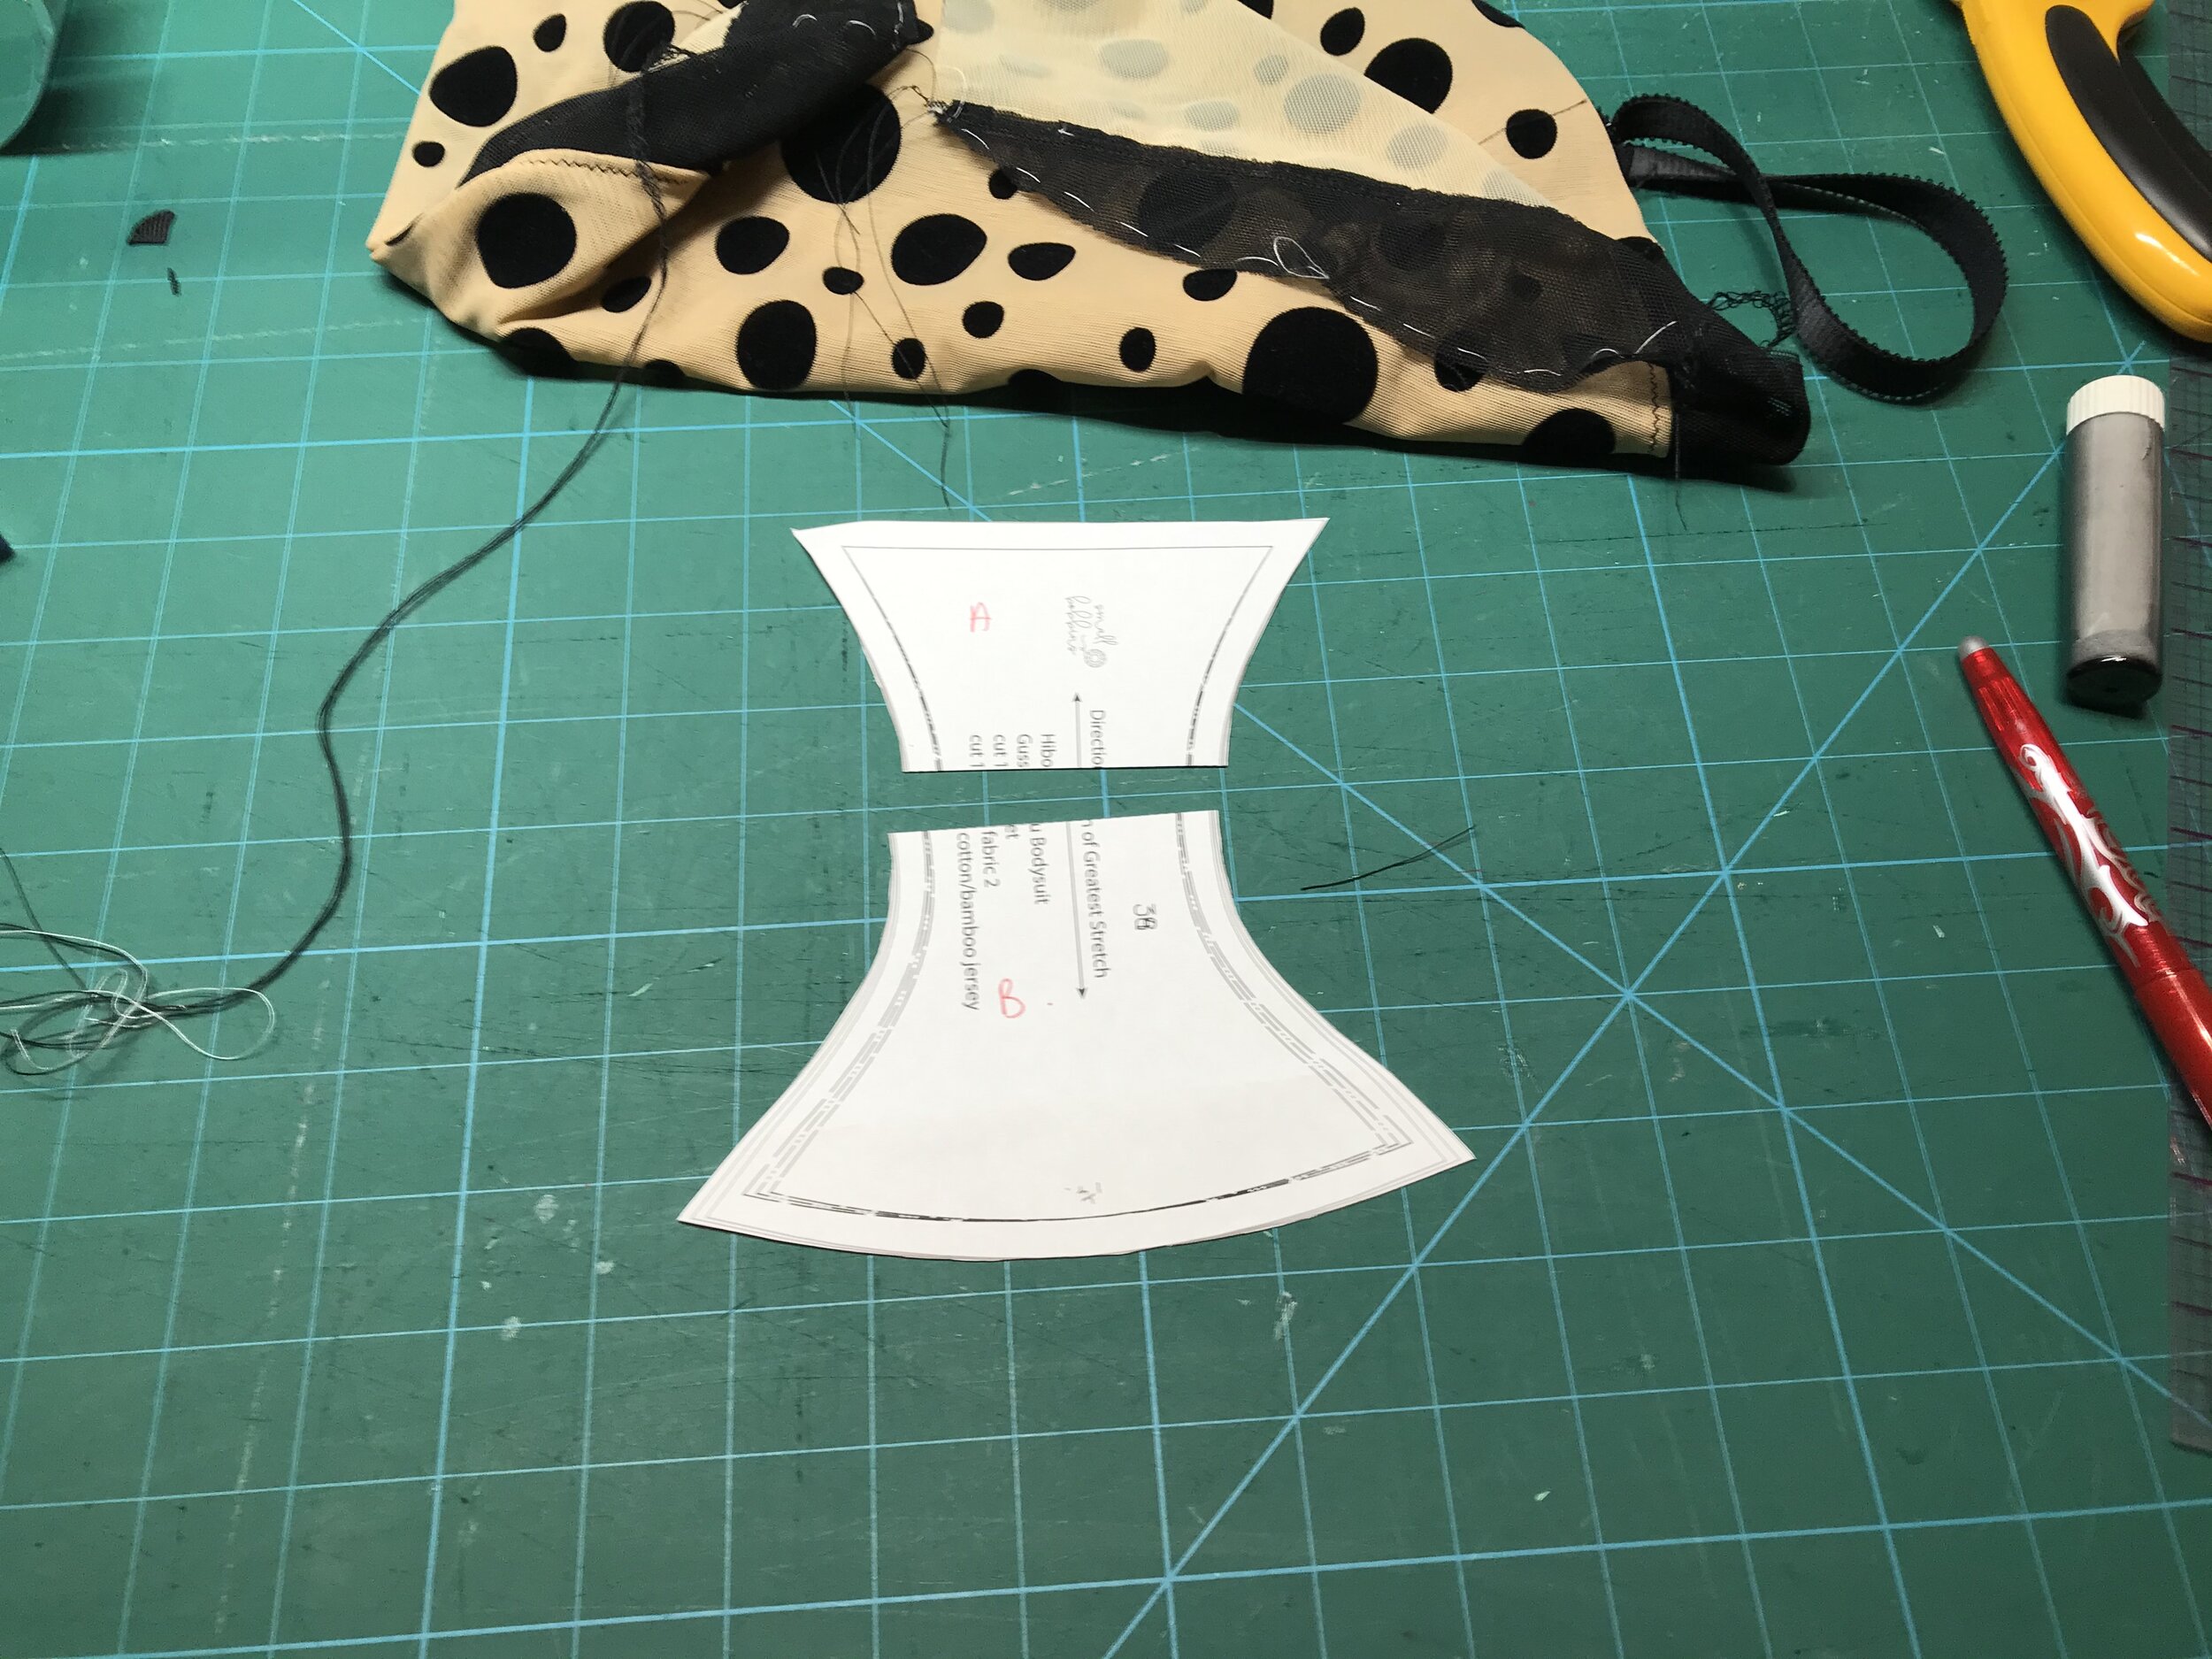
You get a lot of information with the pattern both in sizing and fabric guidance as well as detailed construction instructions except in one area which I will cover later. It is also size inclusive ranging from 32 to 56 with four cup options in each size. My measurements put me in a 38 bust down to 34 hips and b/c cup. With all those sizes it is helpful that the pattern pieces are in a layered file. I included the three sizes and both the b/c and d/e cups. I compared to the bodysuit patterns I have drafted and decided to go with the 38 as I could always take in at the hip and the bigger cup. I should point out that it is drafted for a 5ft8” person and I am a couple of inches shorter but I know I am longer from underbust to waist so I didn’t make any adjustments to the length.
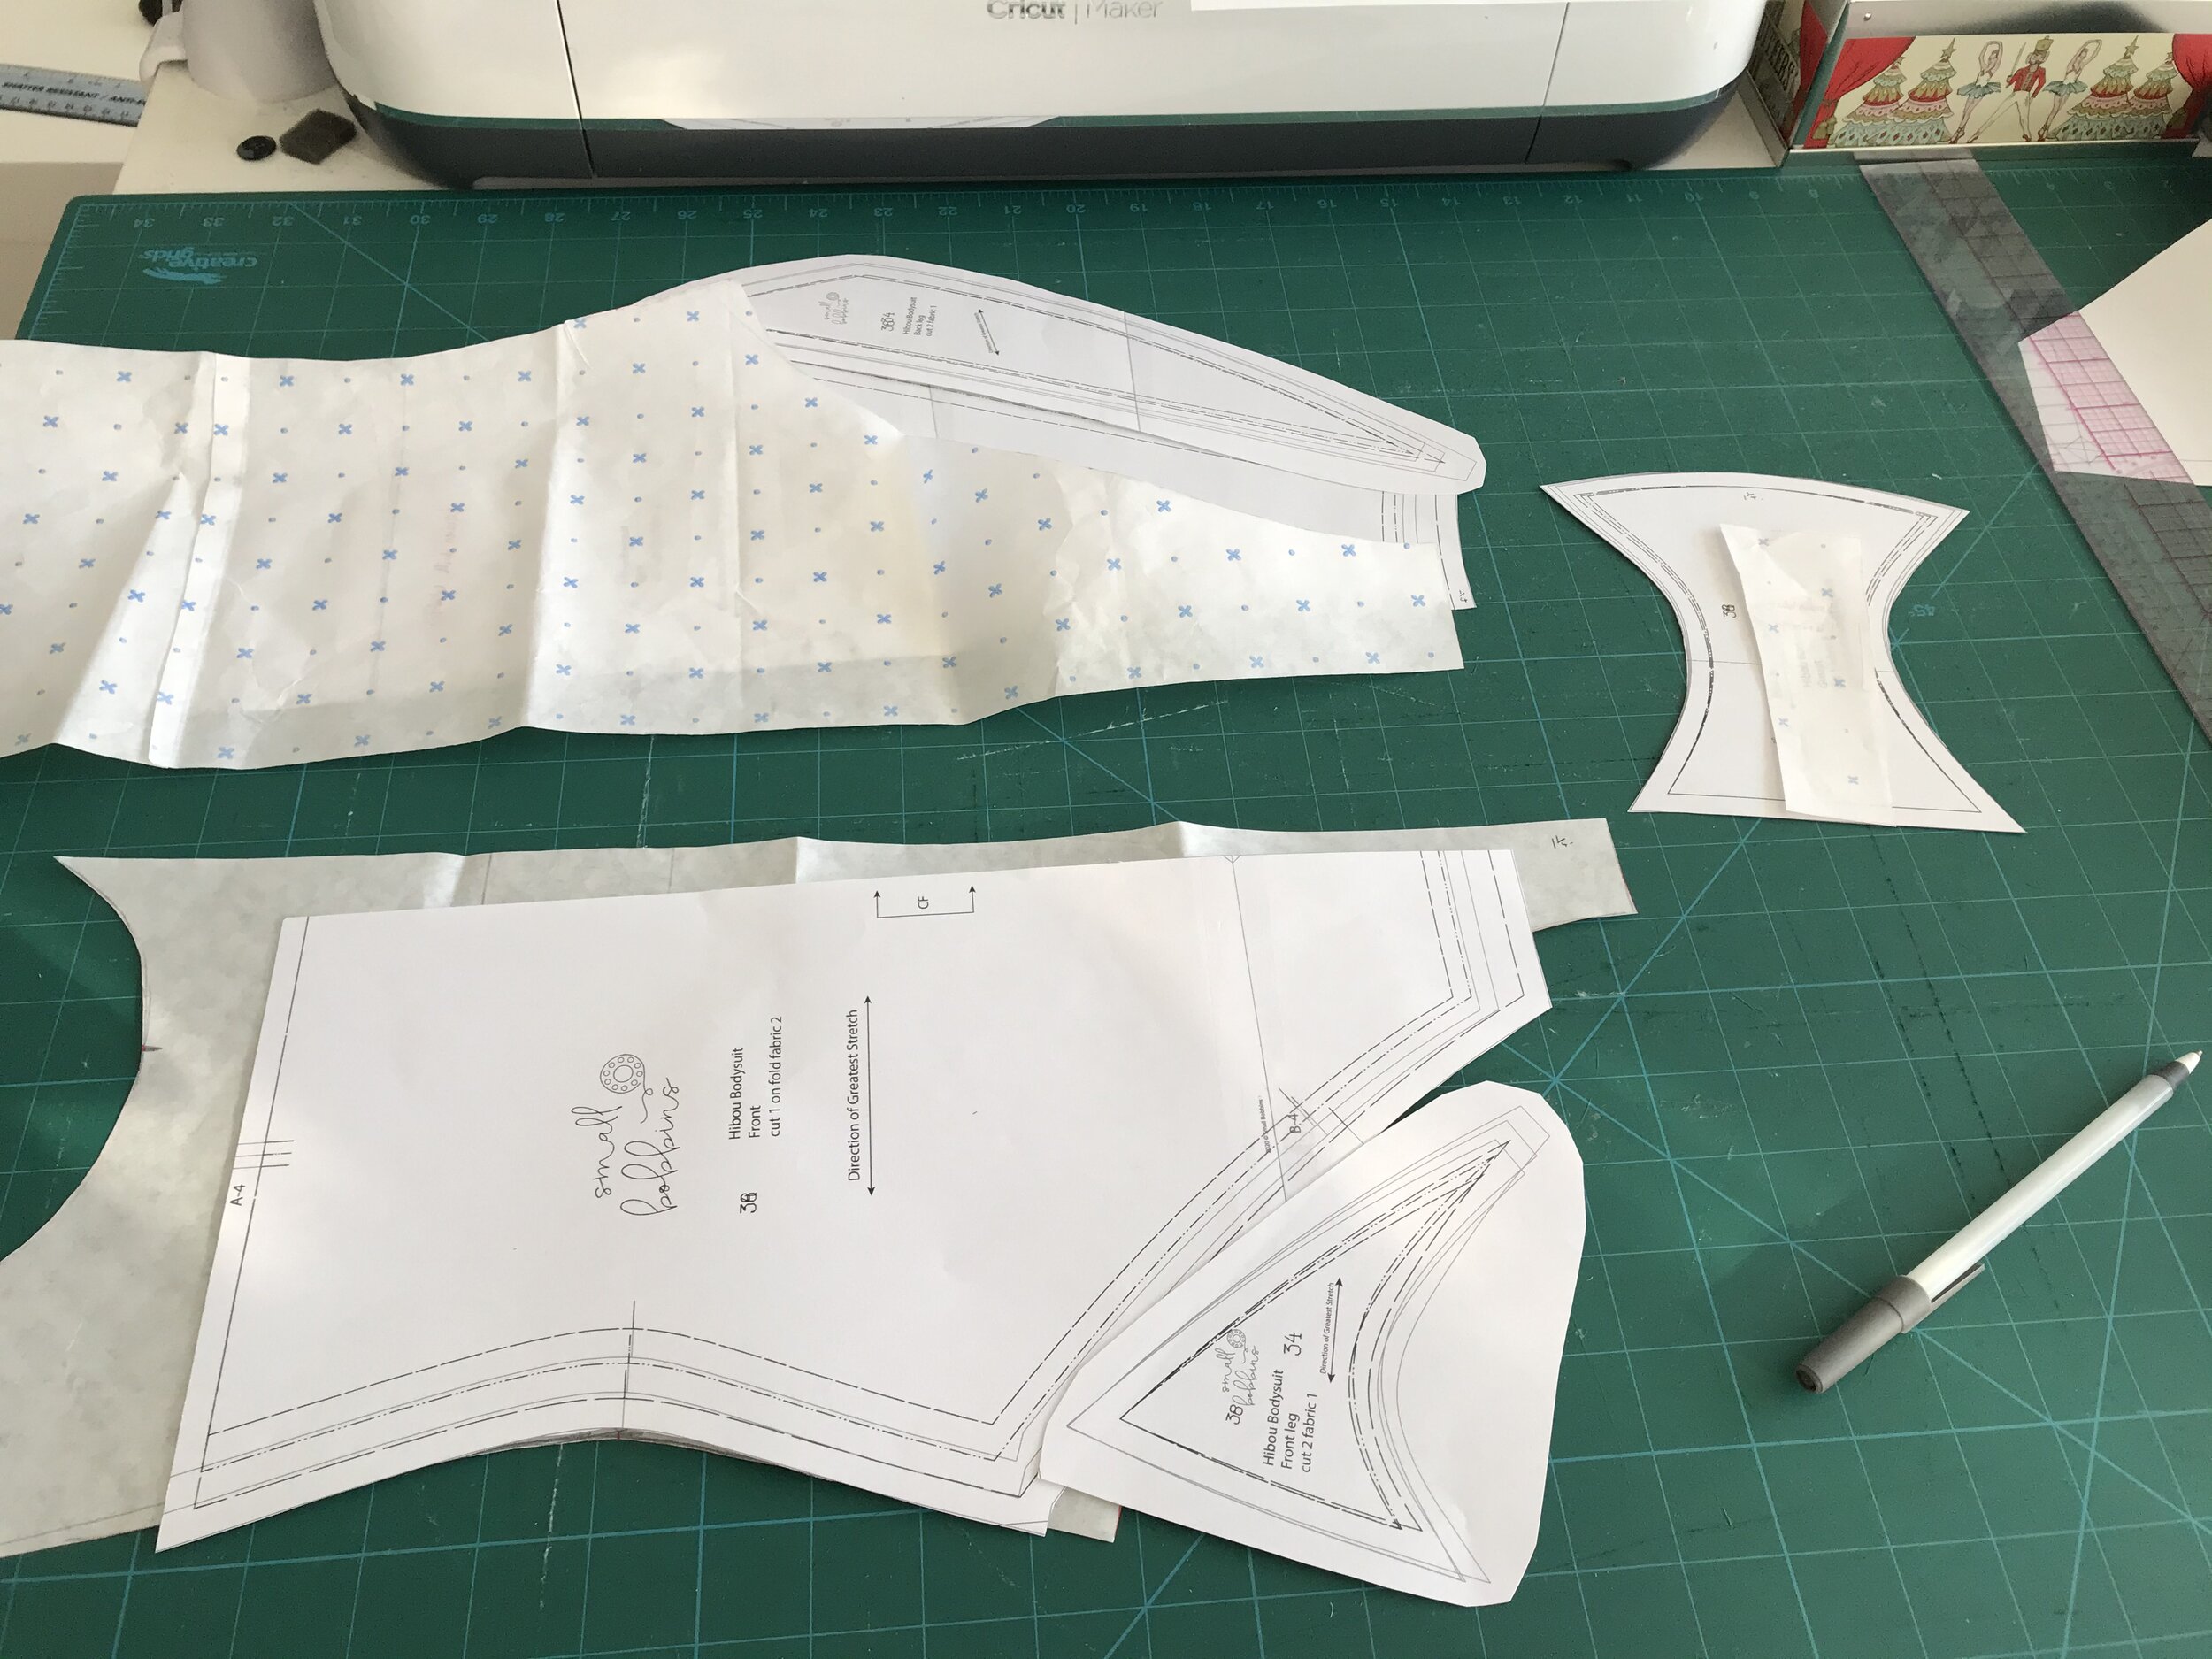
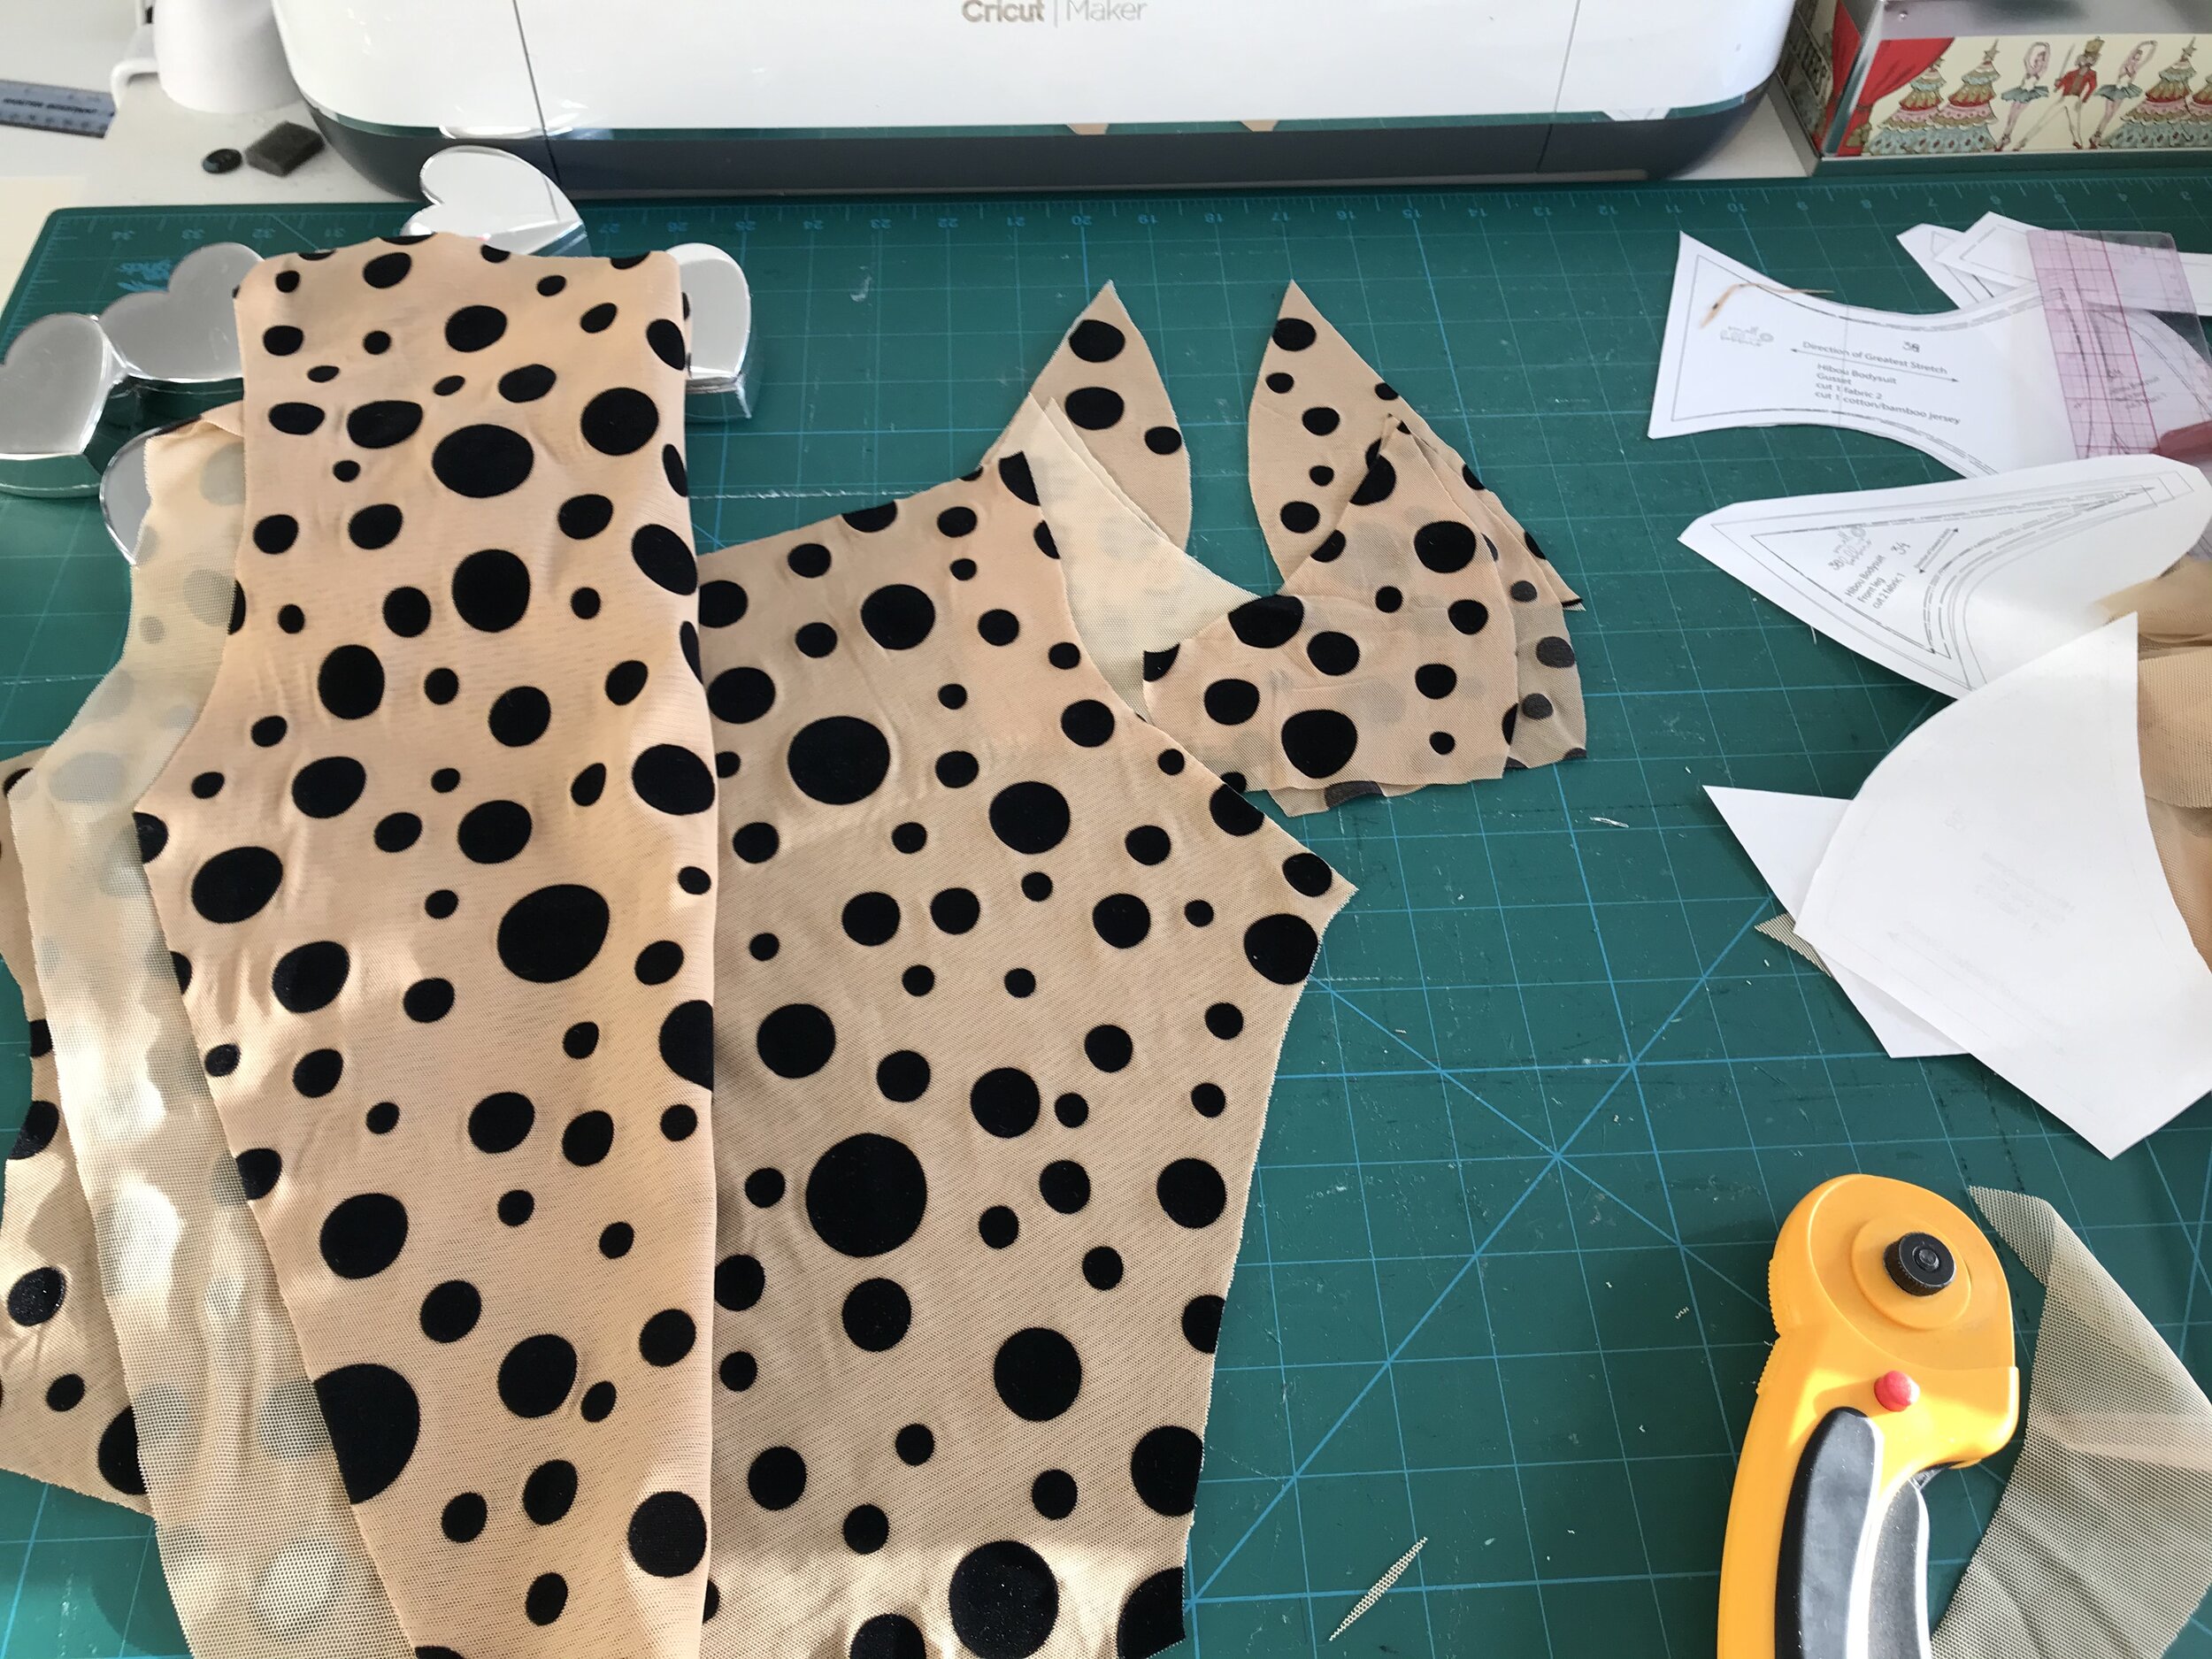
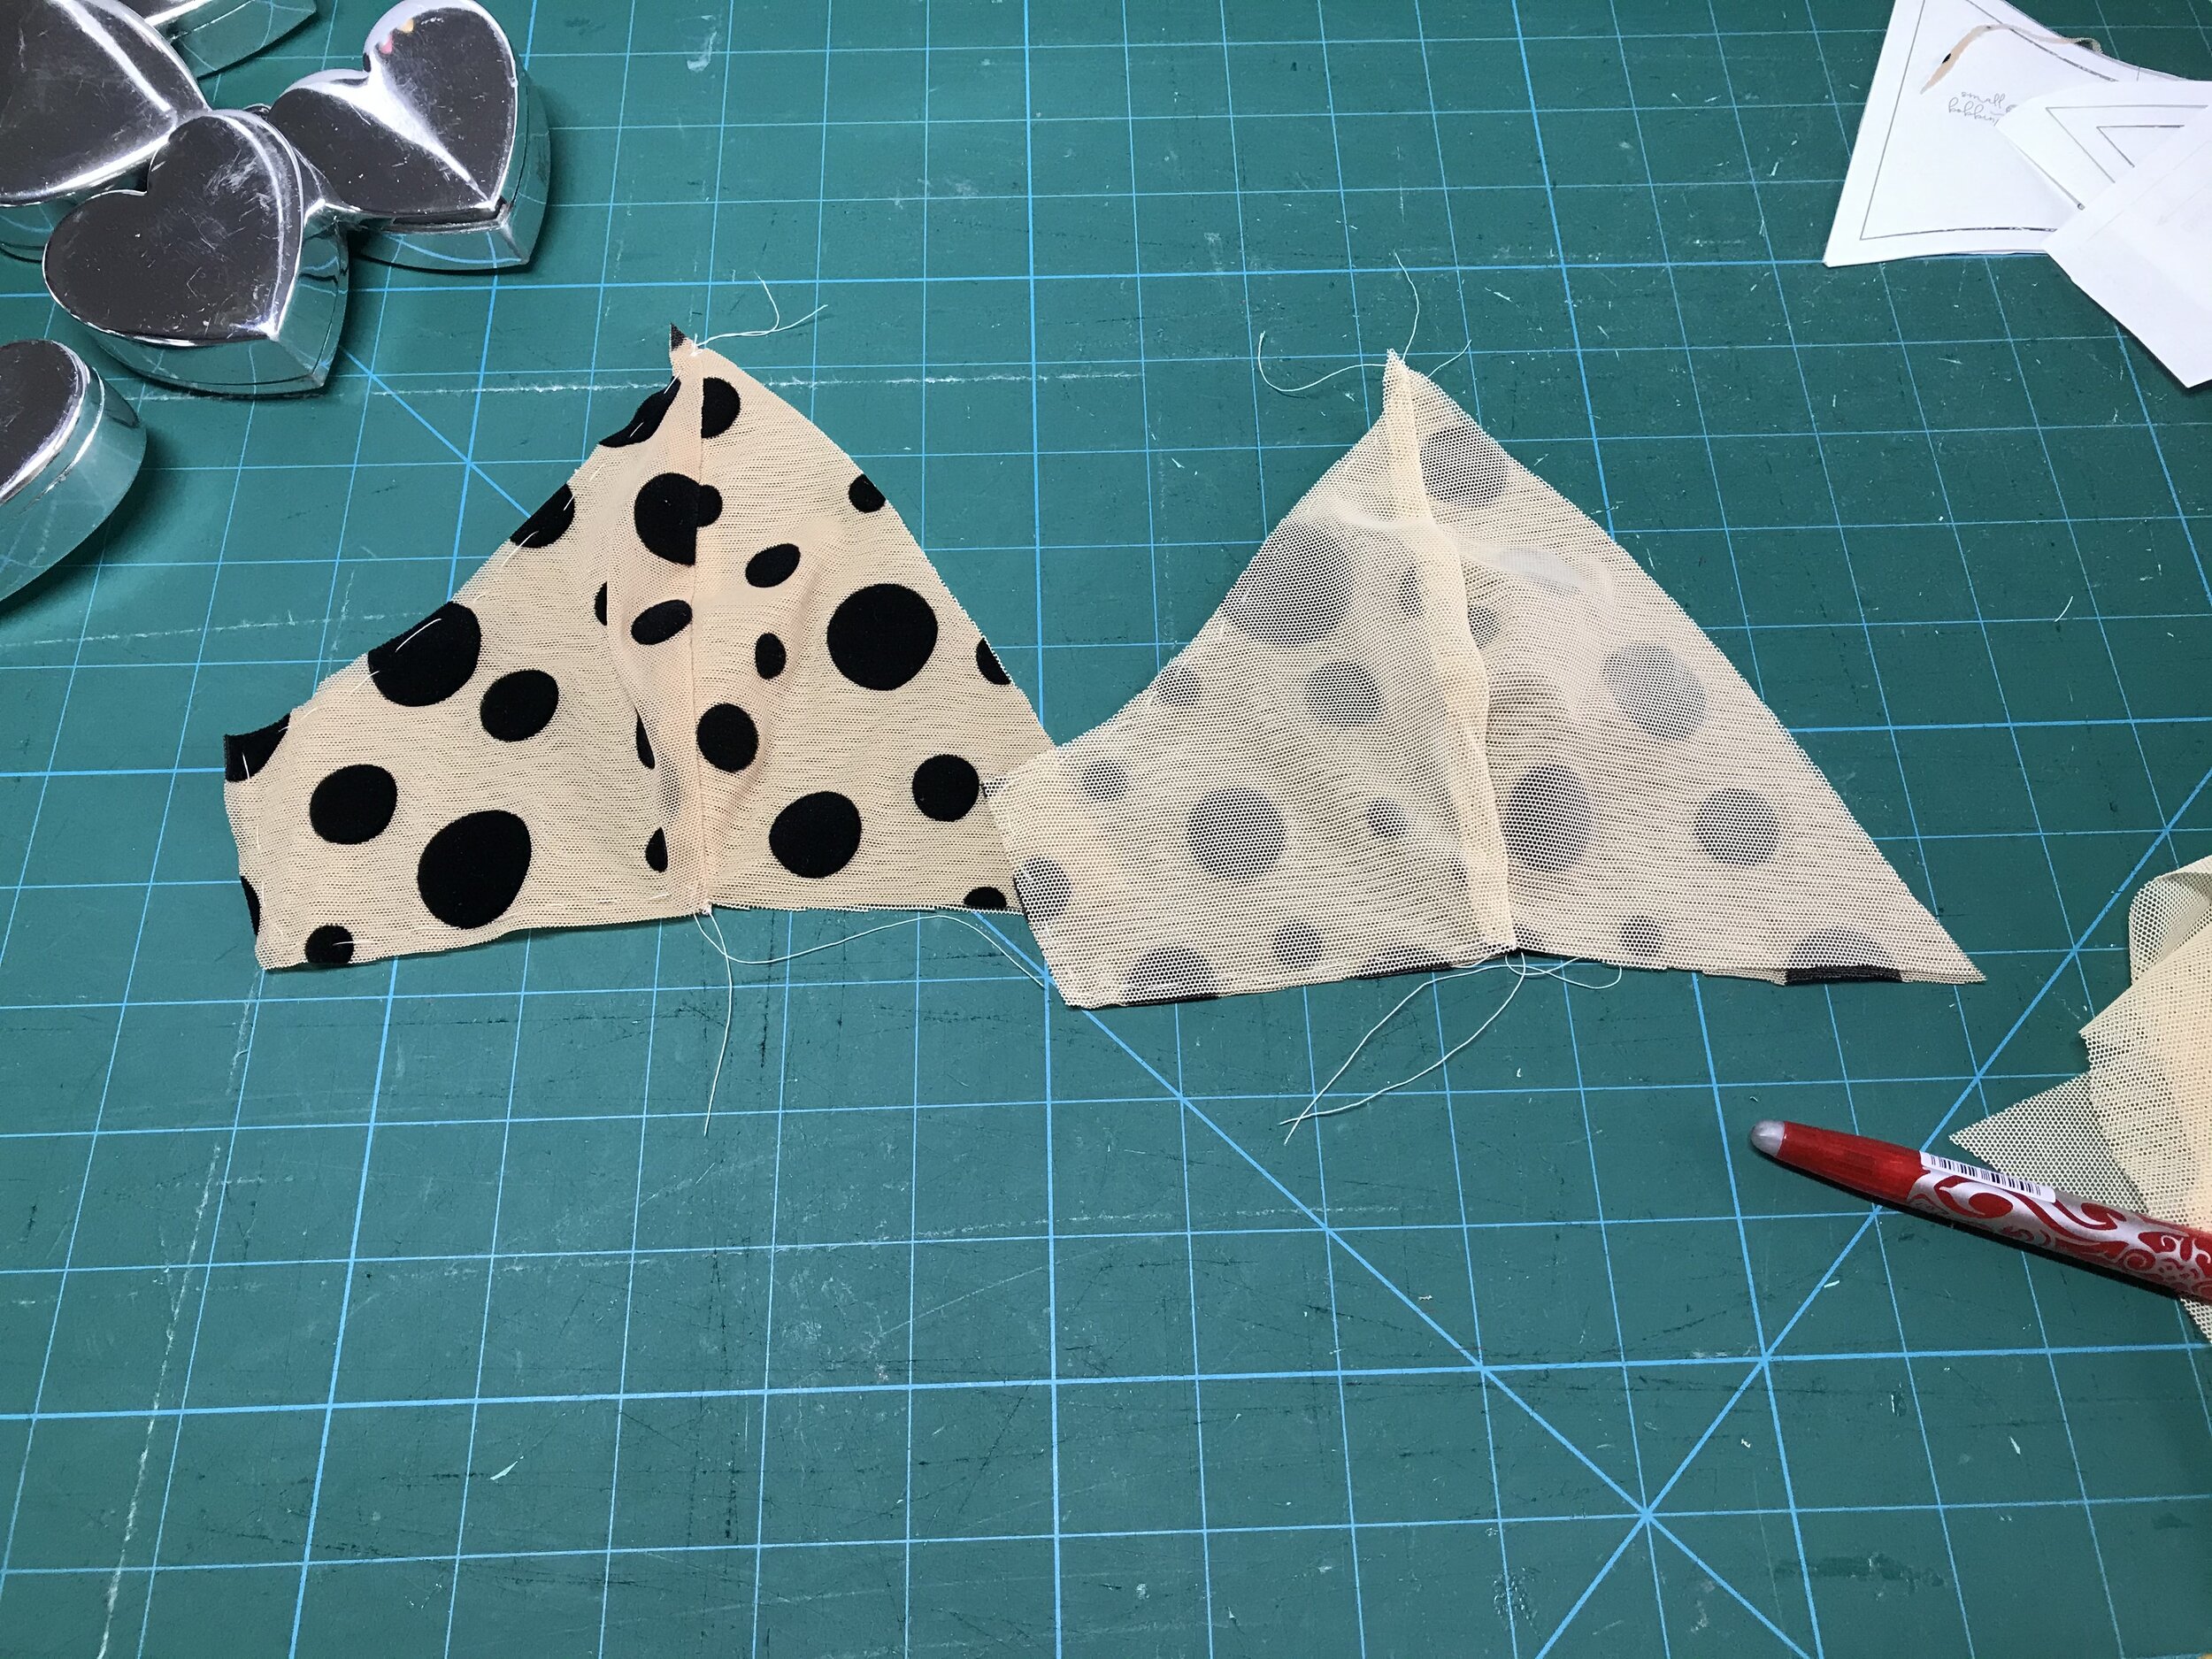
Then I had to choose which fabric to use. I know it was only a test but I was confident with the size so I used the gorgeous flock mesh from a Madalynne kit. I lined the body pieces and the inner cup using temporary adhesive spray before enclosing in the outer cup. Having made a number of bralettes with a mesh top I knew I would need either powernet or two layers of mesh for adequate support. I decided on the two layers of mesh for the sheer look. This time I basted the two layers together by hand as sometimes the spray can stay a little sticky on just mesh.

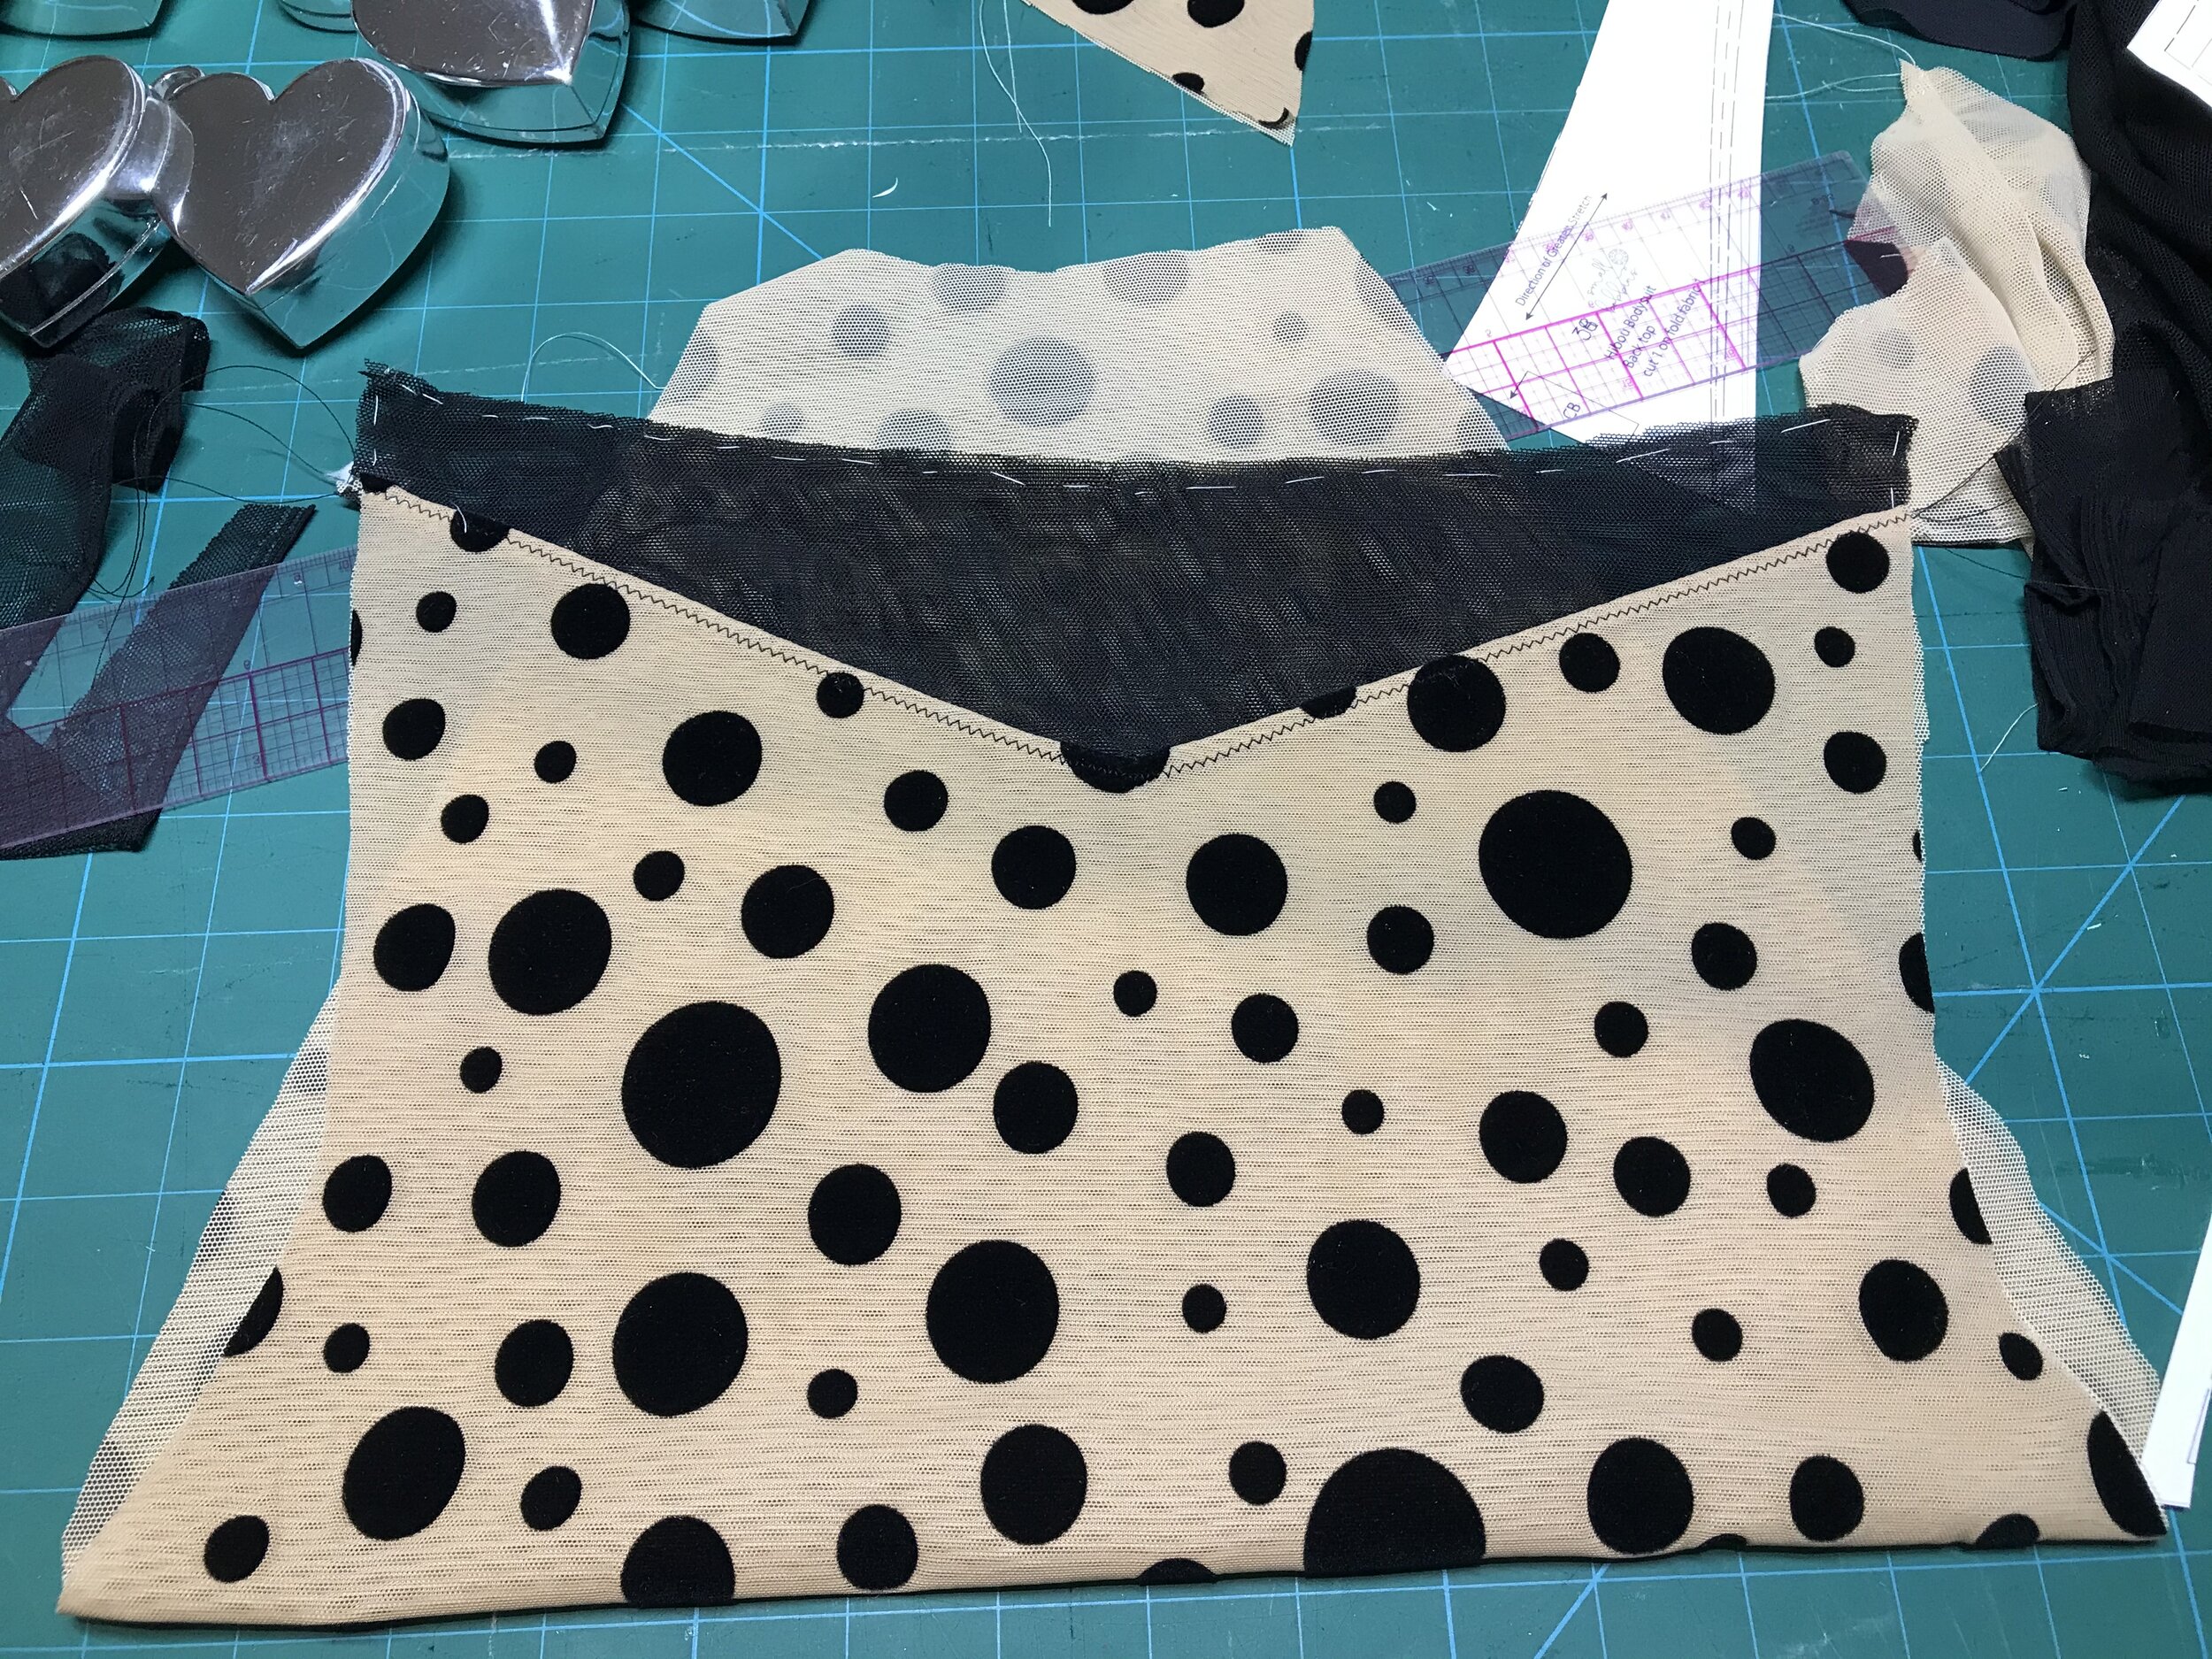

There a lot of V points on this pattern so I did the back first carefully marking the notch on both pieces. I used a lightning stitch and then top stitched down with a small zigzag and trimmed back to the stitching. Another pattern option is to overlock the seam but as the fabric is so fine I didn’t want to add bulk. The front centre is the one area I thought the pattern could be more detailed as only the centre cup top point is illustrated and not where you need to join the two cups. Once the front mesh is added it’s pretty much plain sailing. At this point you can add elastic to the underbust seam but I left this out for my test make and for me it turned our not to be necessary.

I did overlock the side seams but only after using the sewing machine first so I could make sure the front and back mesh panels lined up. Then just the elastic to add. The pattern pieces include the fold over allowance for plush picot so you need to cut this off if you are using fold over elastic. For the top I used some wider, stronger fold over elastic that I use for sports bras as I find this does not over stretch. Another tip I have picked up along the way is to add some sort of stabiliser where the elastic is folded over the ring. In this case I have used black grosgrain ribbon. For the legs I chose to use plush lingerie elastic as I find this a softer finish.
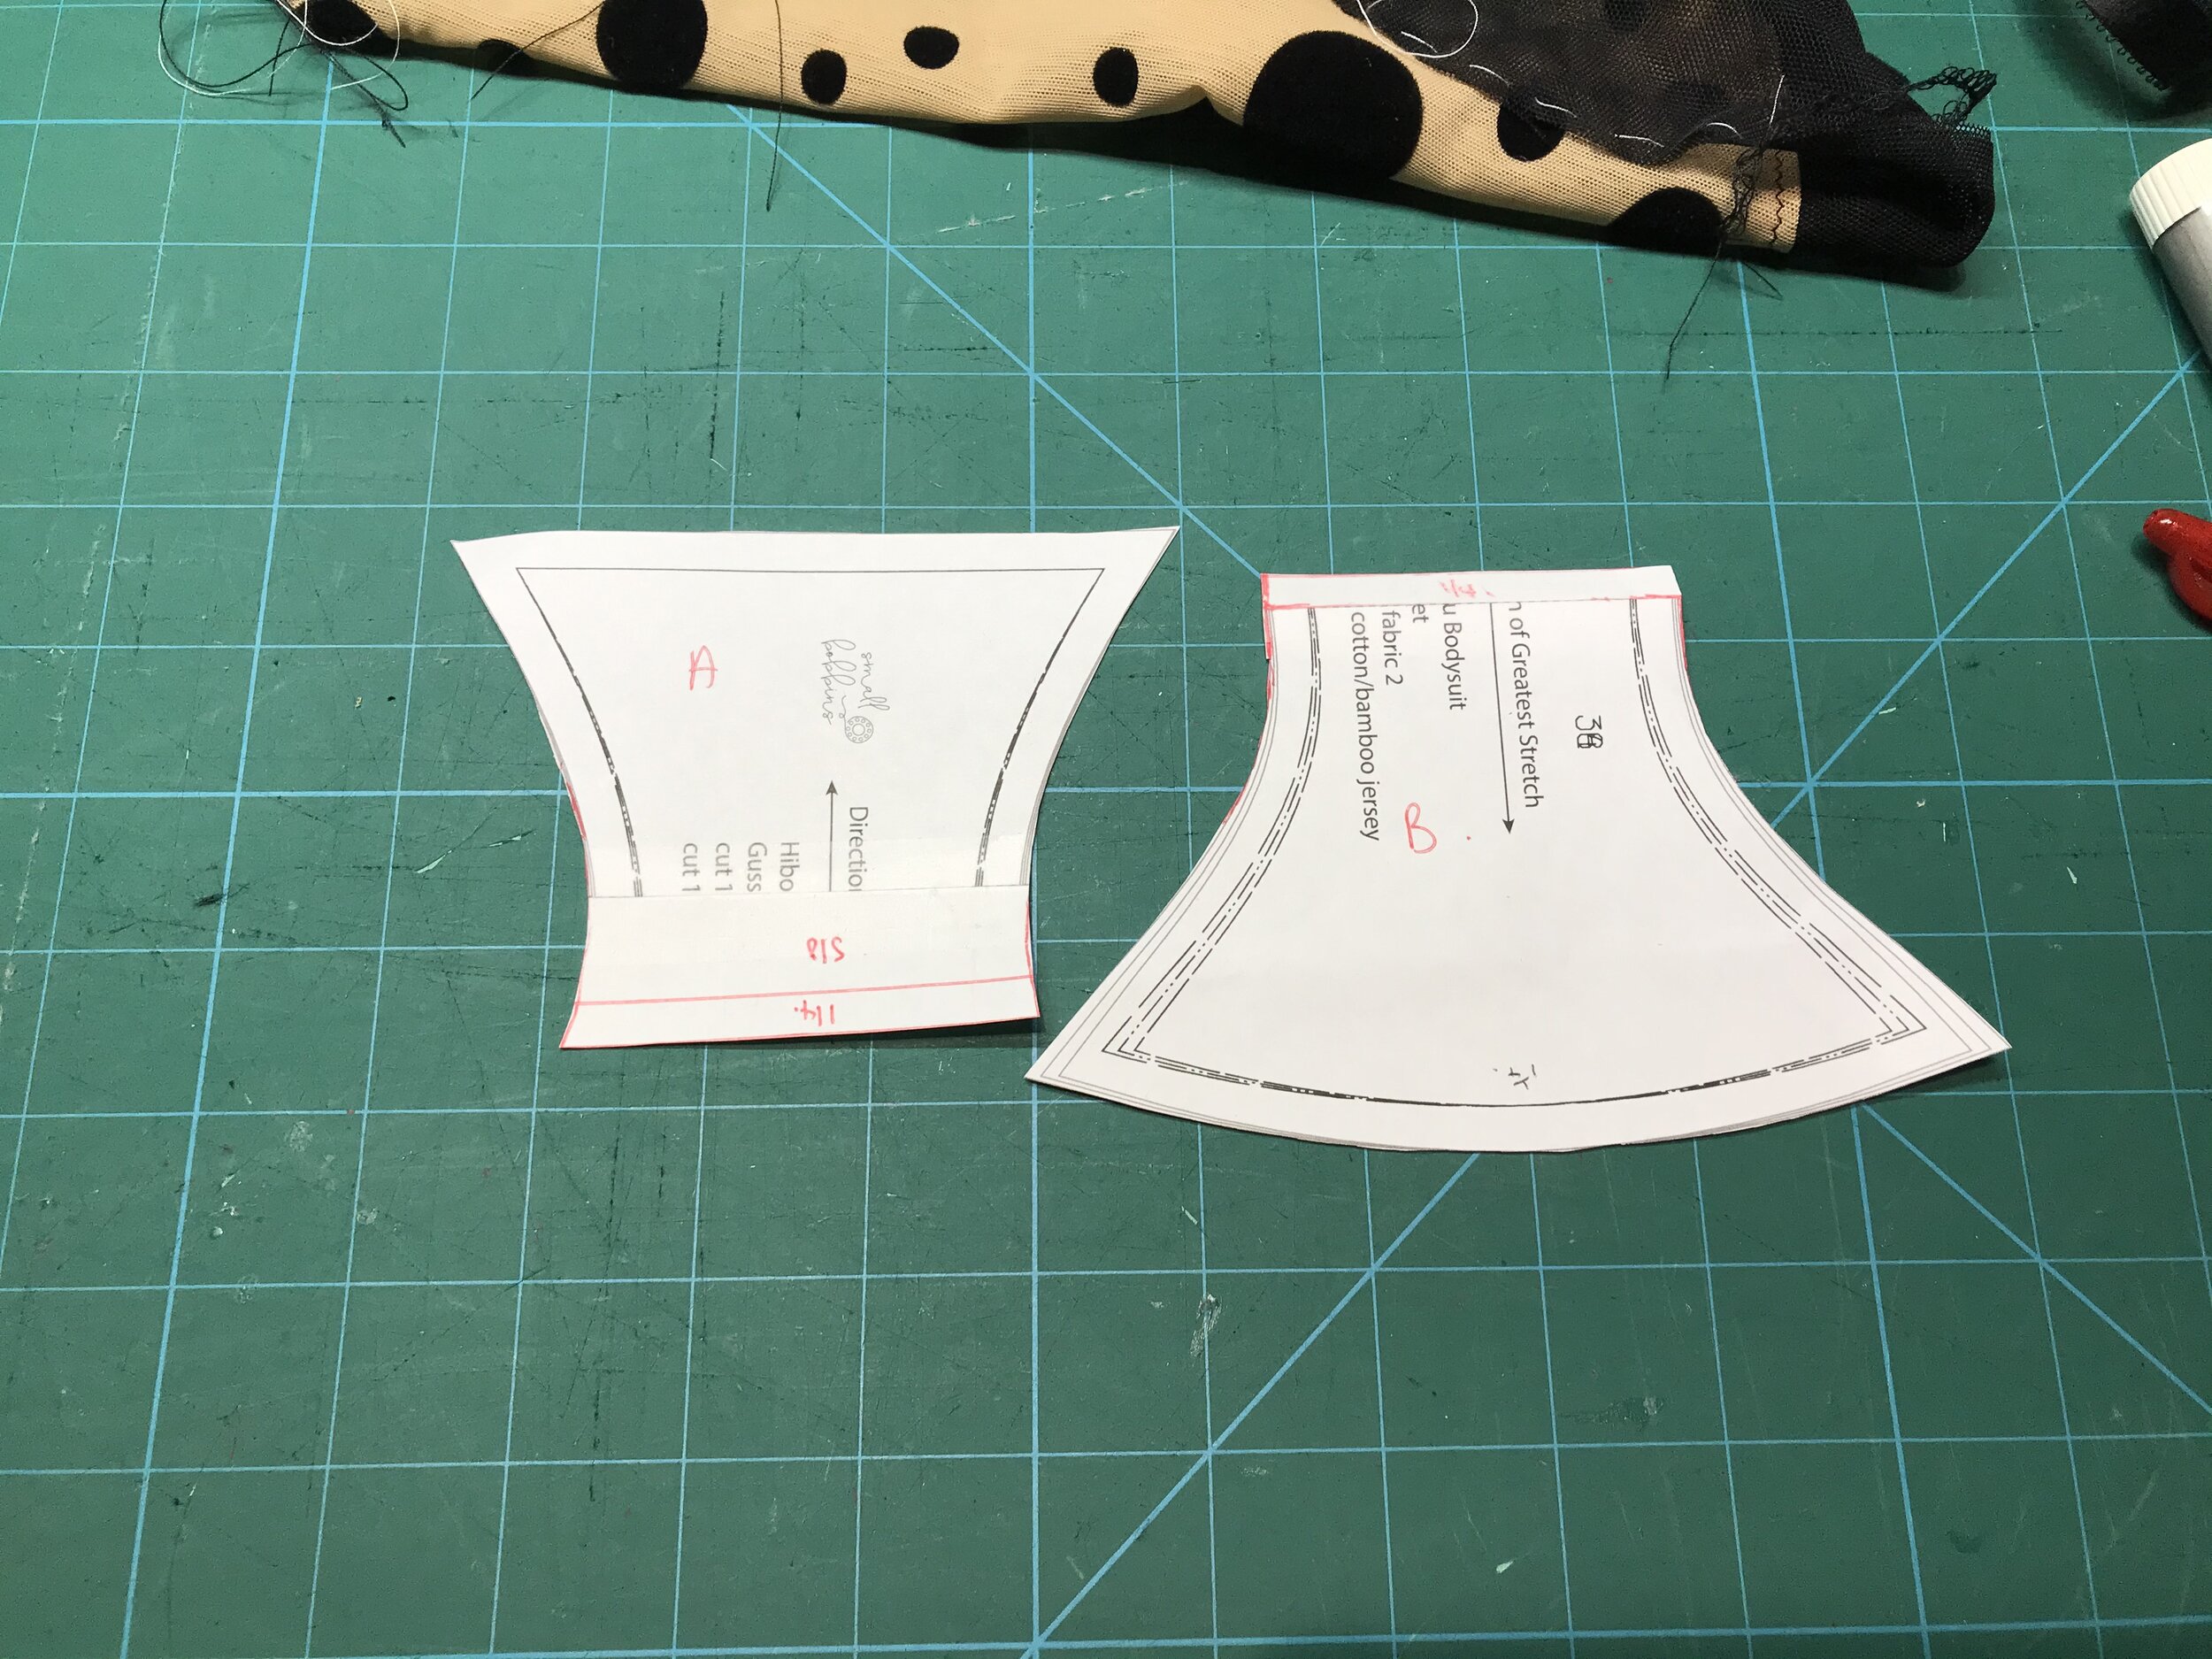
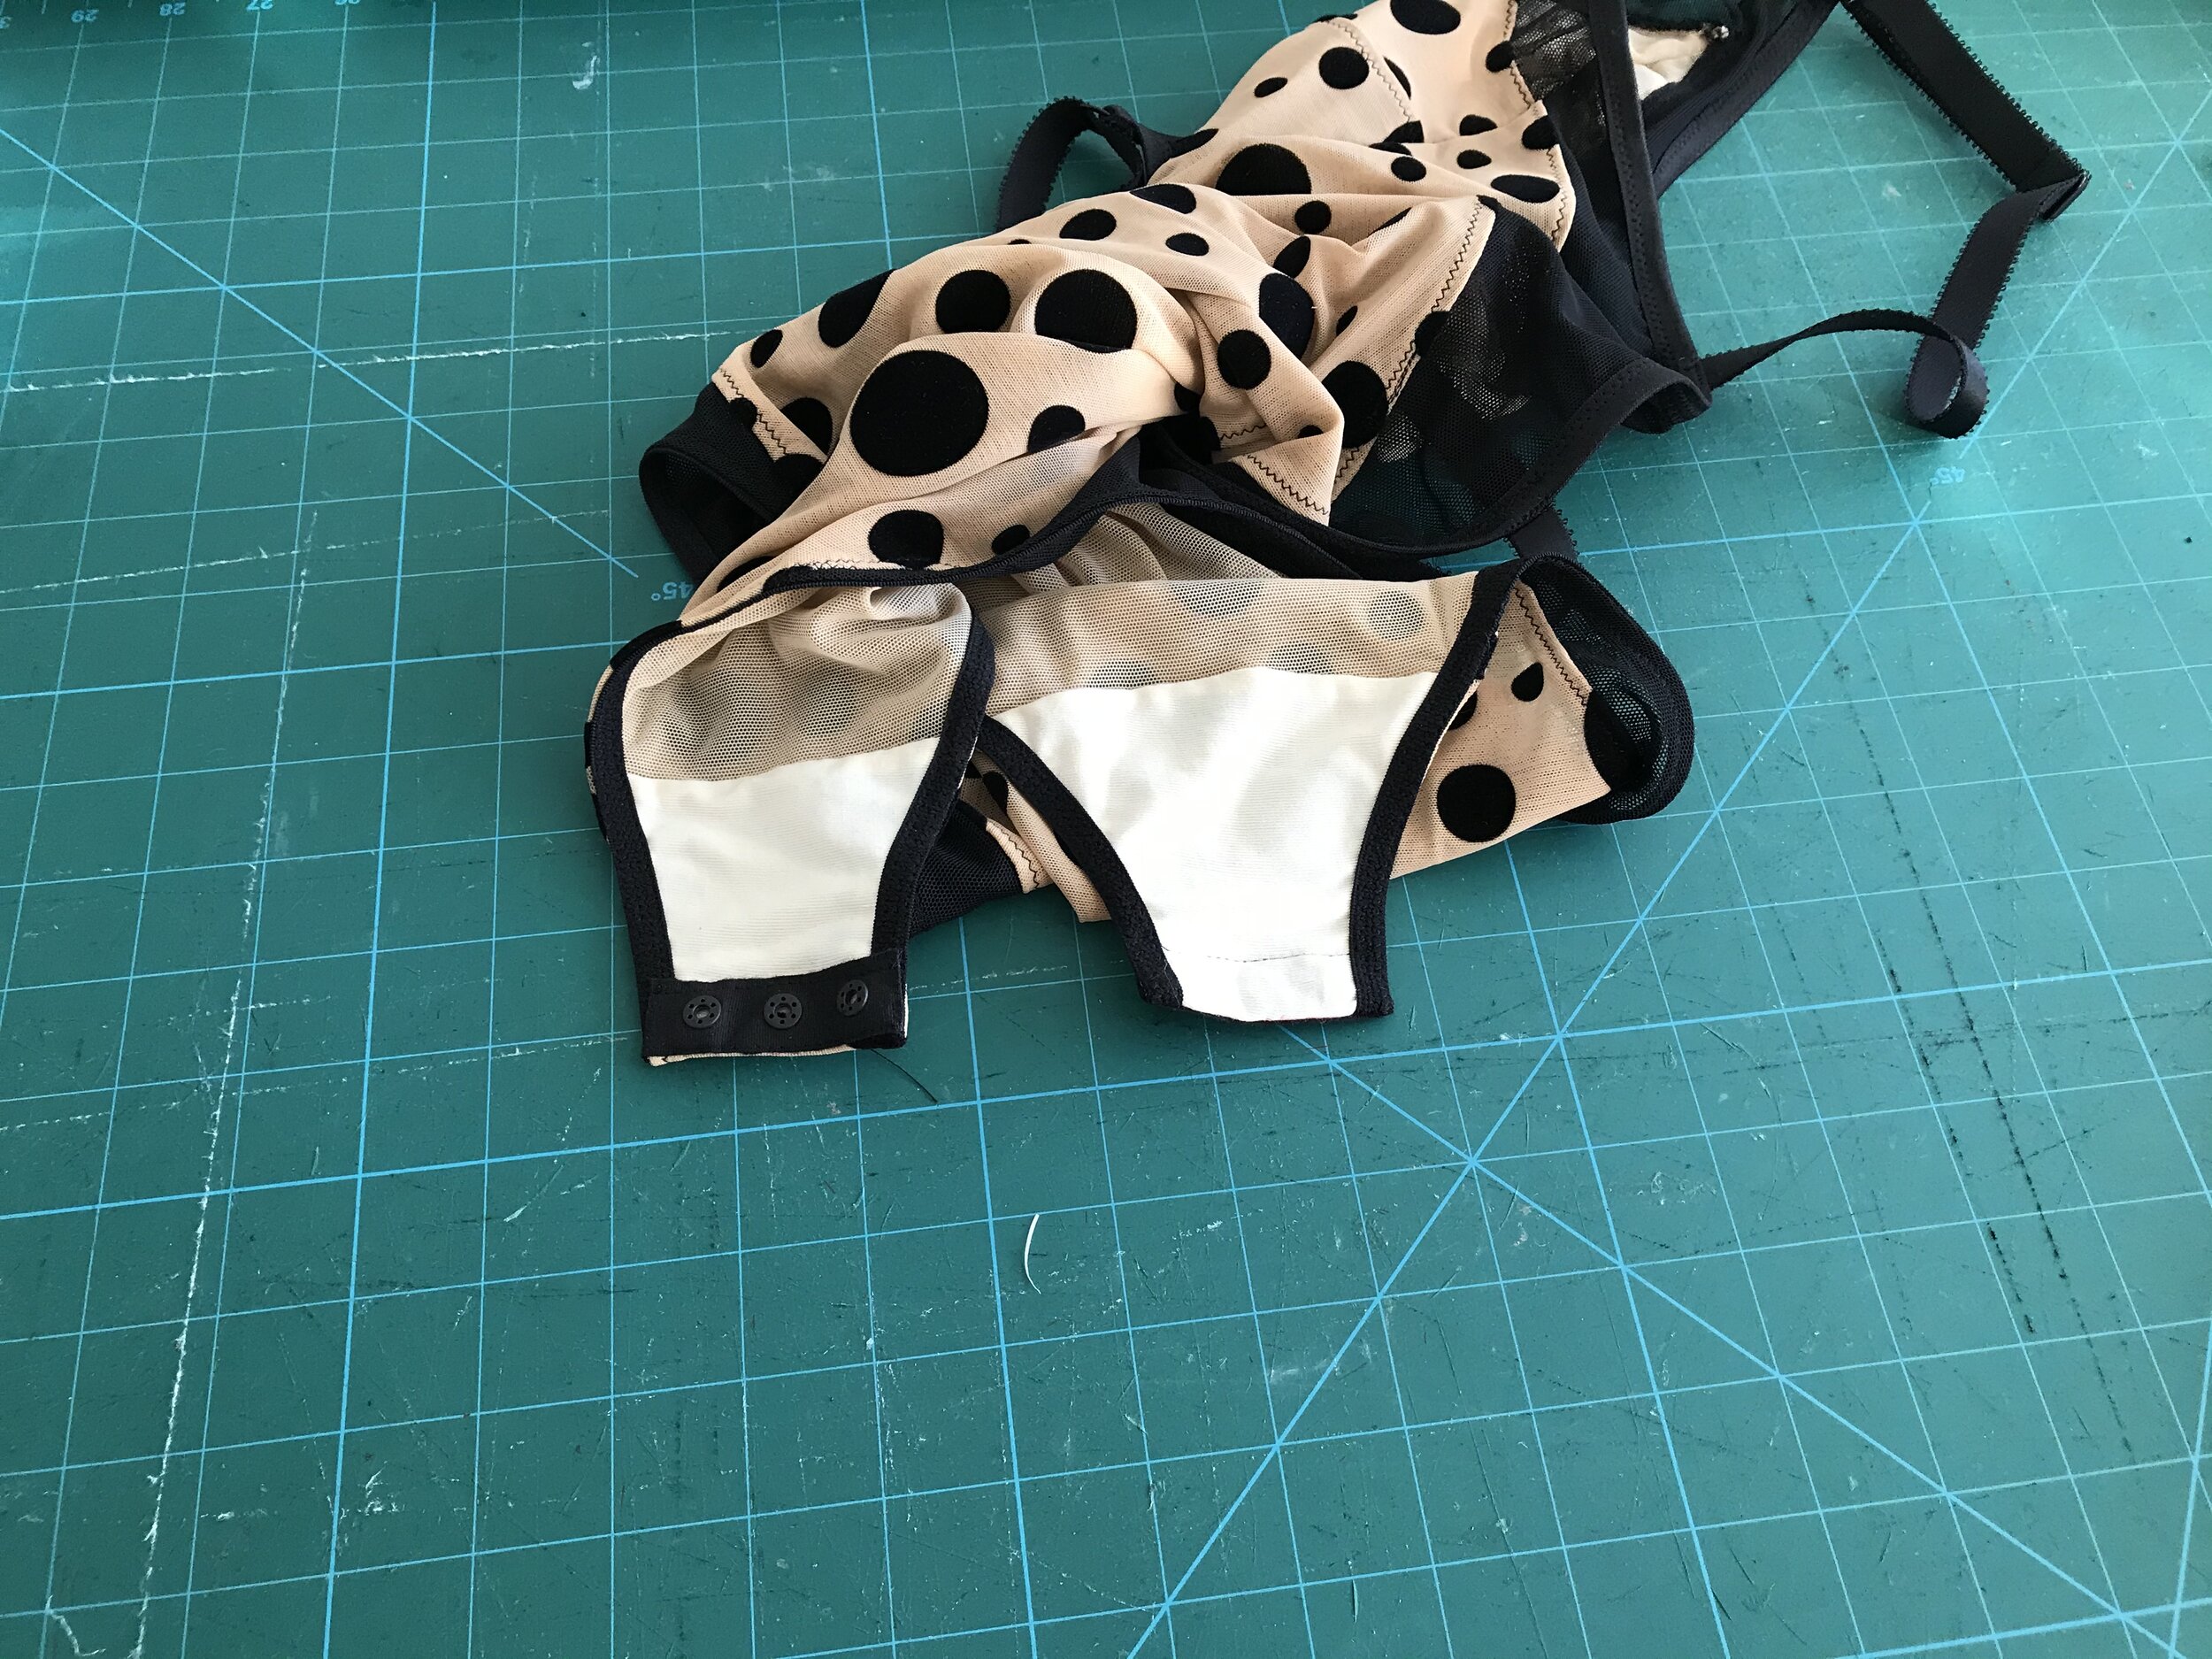
The pattern includes a gusset piece that you need to adapt for a snap closure. You start by splitting at the marked line and adding an overlap and seam allowance to the front and just the seam allowance to the back. Rather than use individual snaps I used the tape from Madalynne that I have used before.
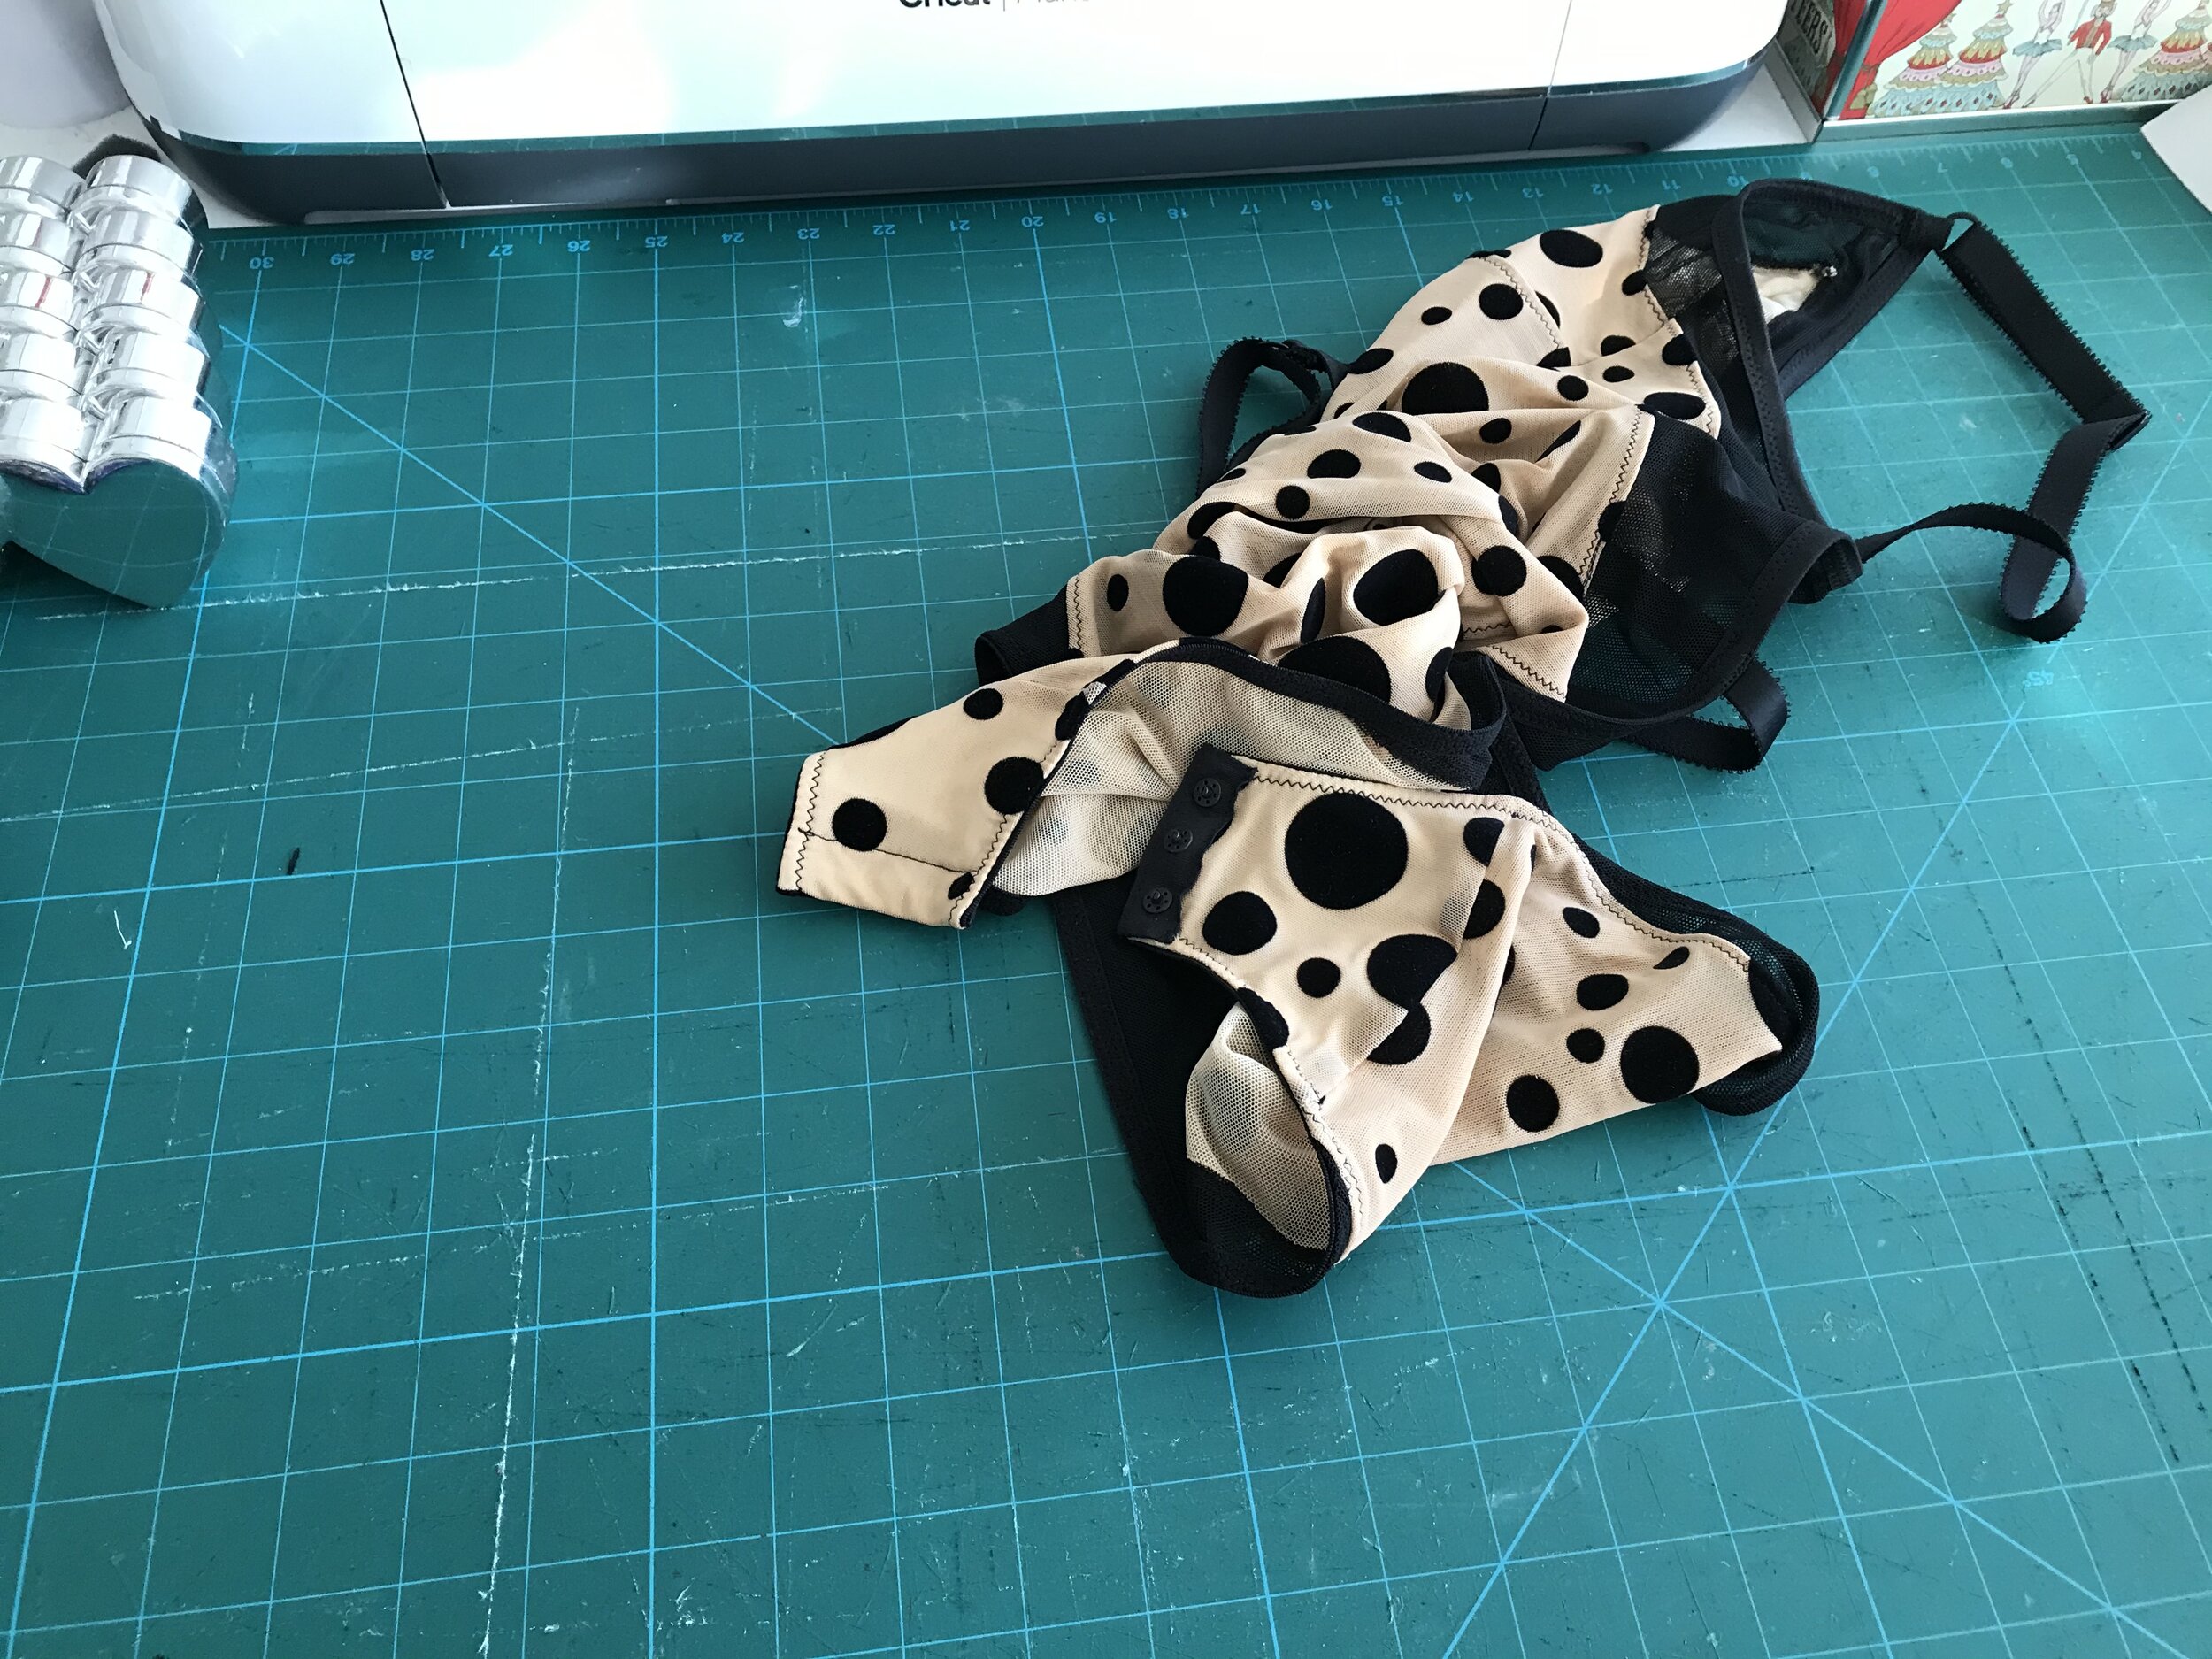
It looks absolutely stunning and the fit is just as good! So then we move on to the bodysuit I made using the Emerald Erin Black Beauty.

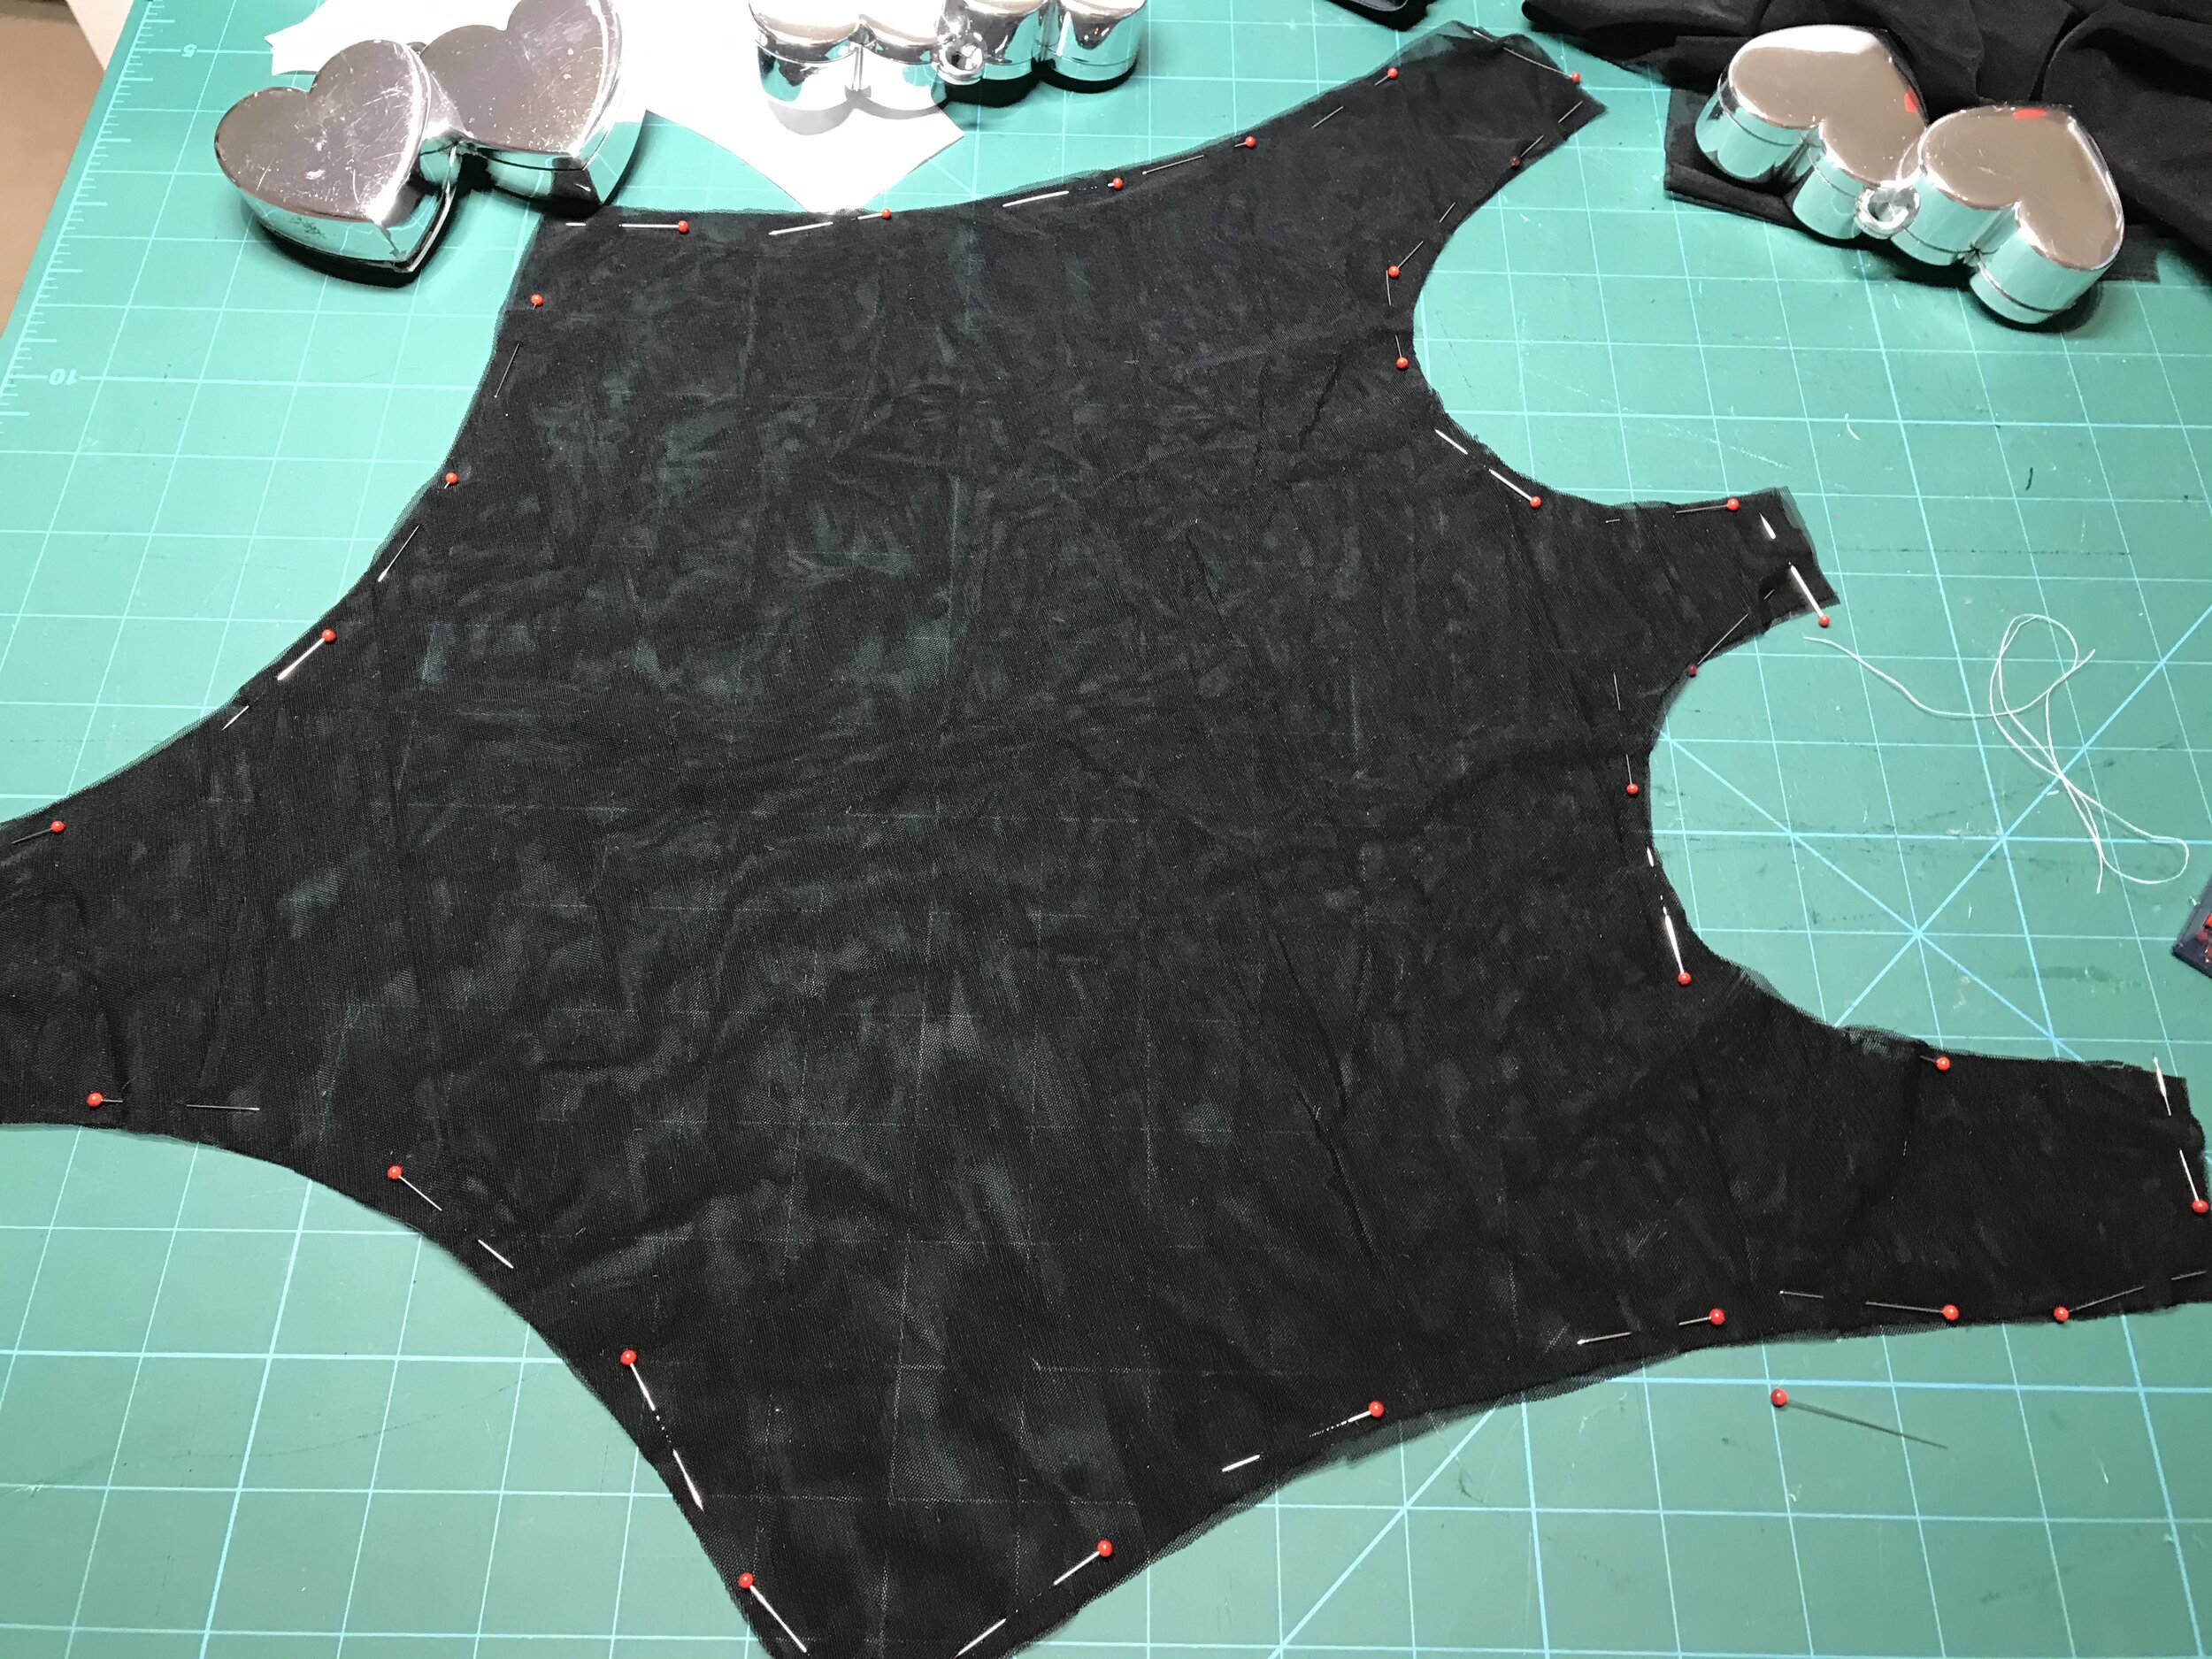
I made the front piece the same way as I did with my earlier Lawren/Watson combination. For the back I knew I would need to have a back closure so for this I blended the back band piece into a Jalie swimsuit pattern piece.
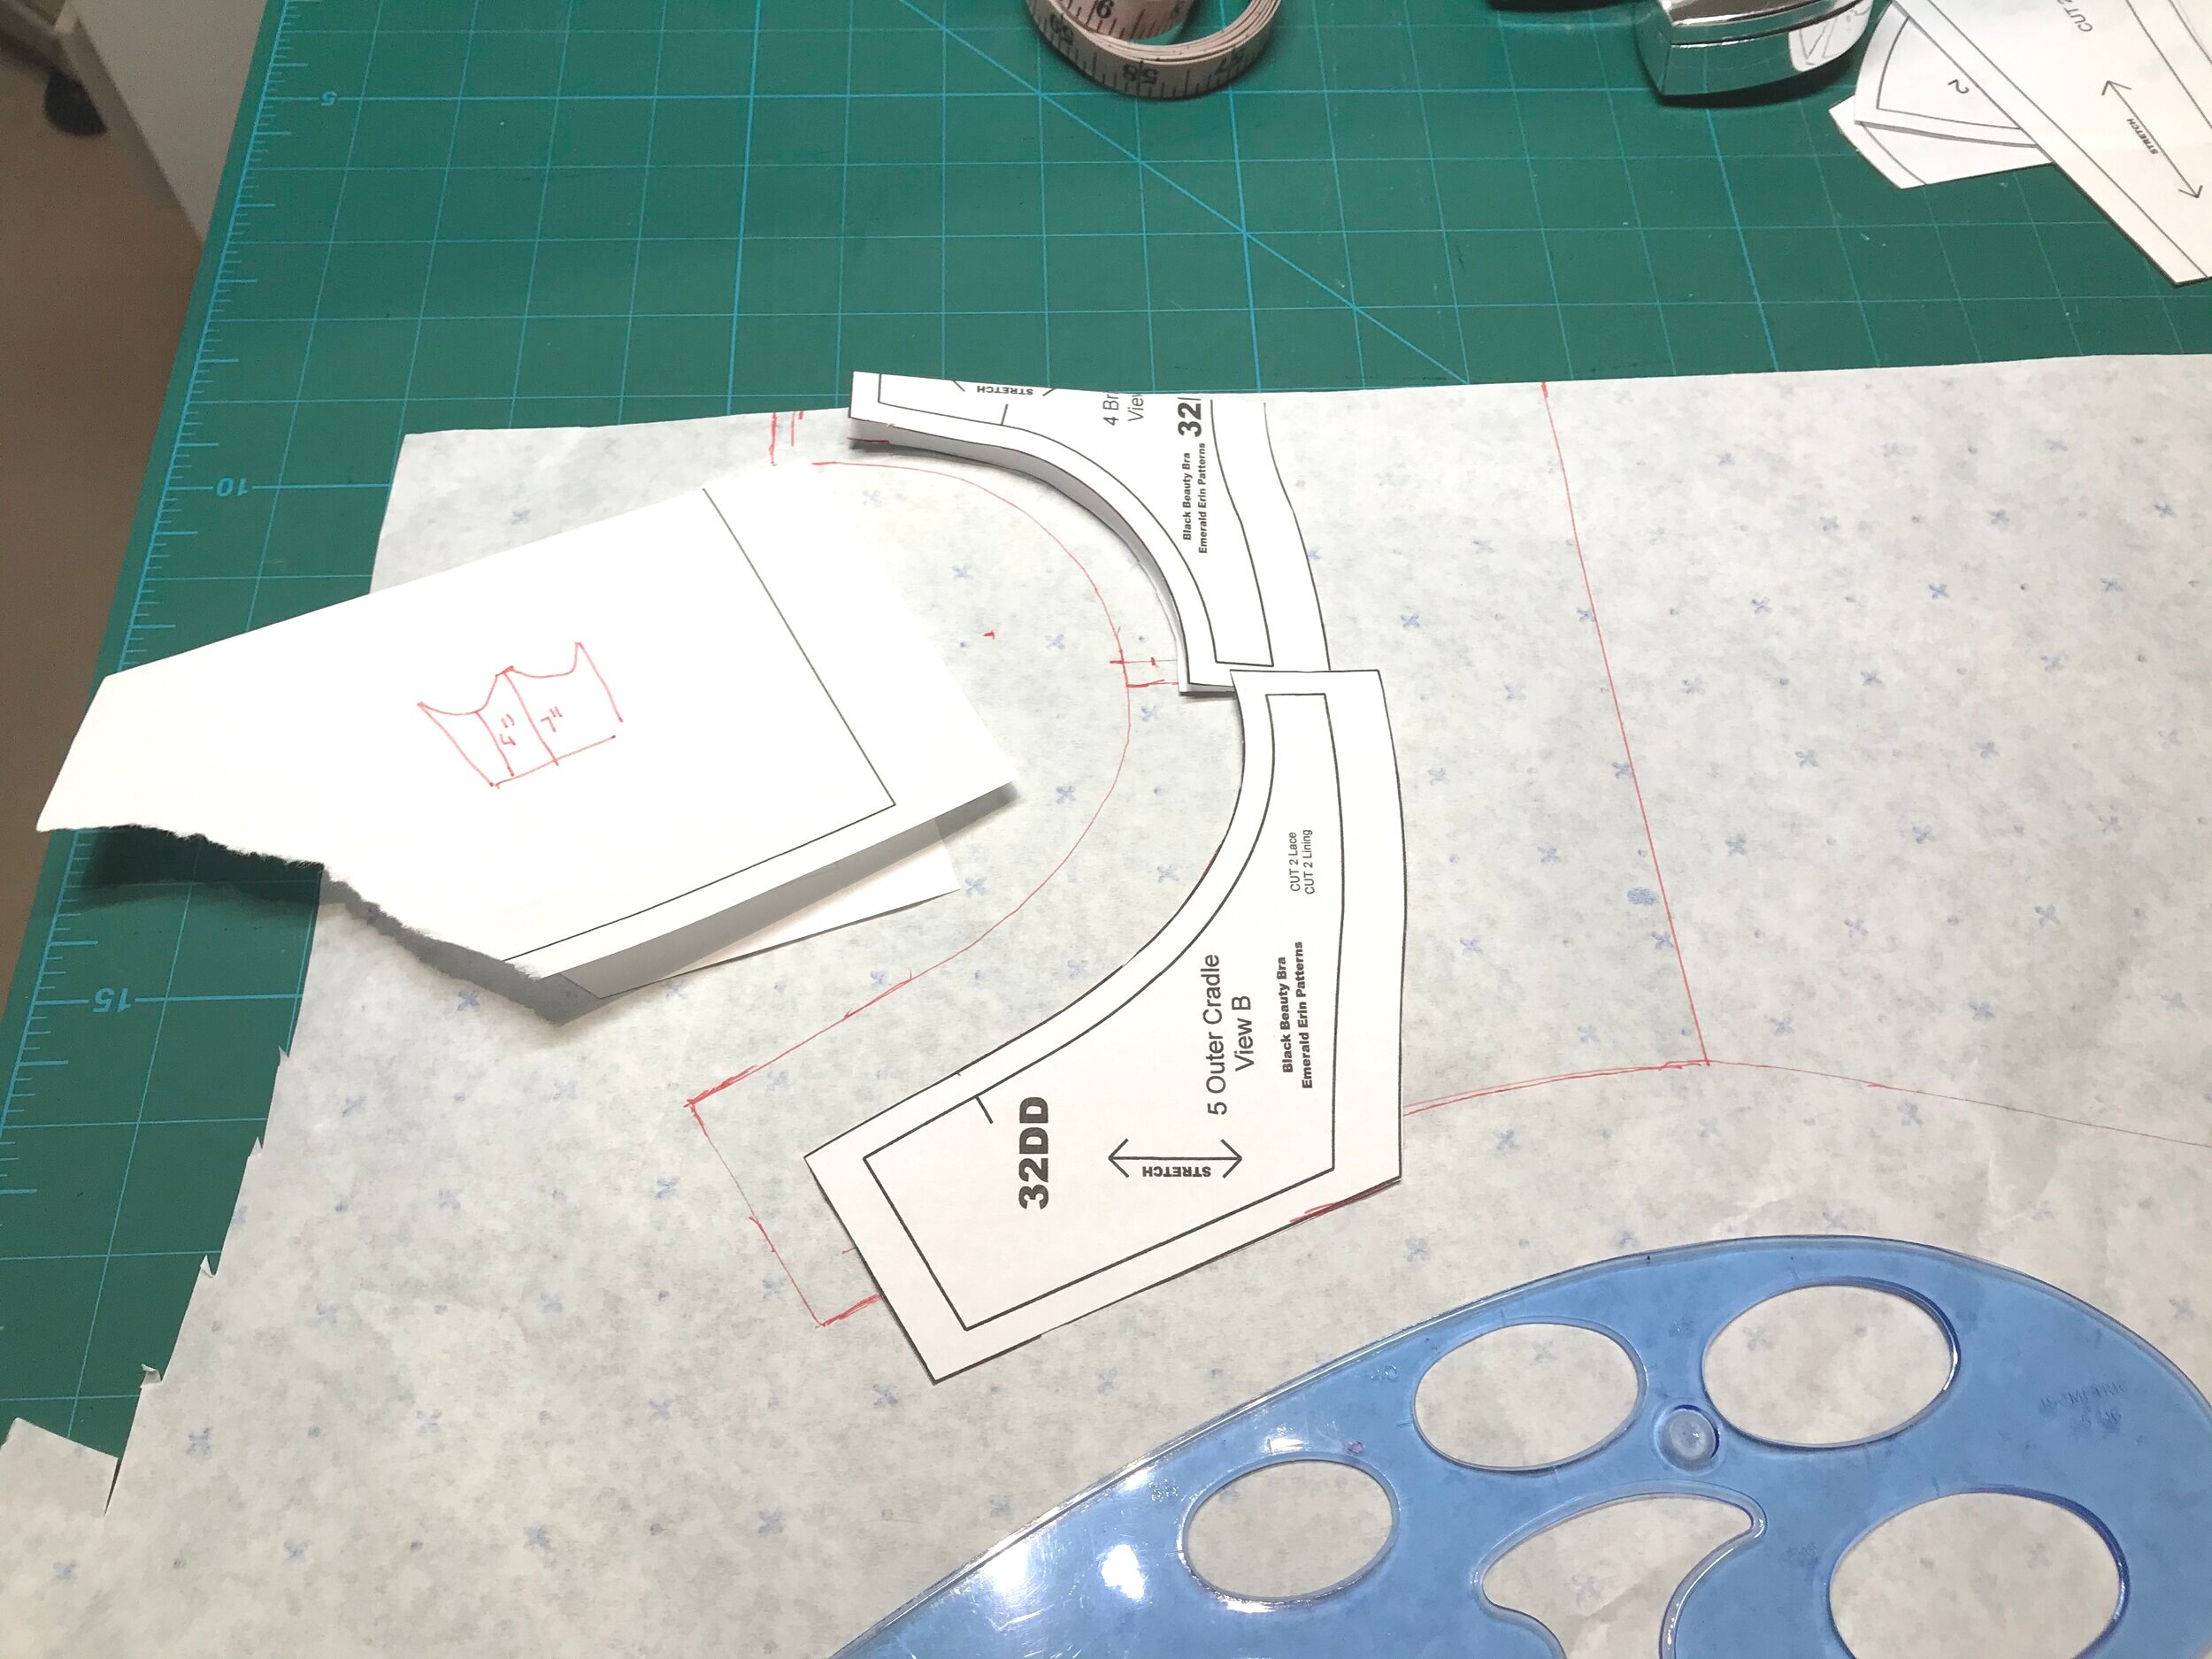

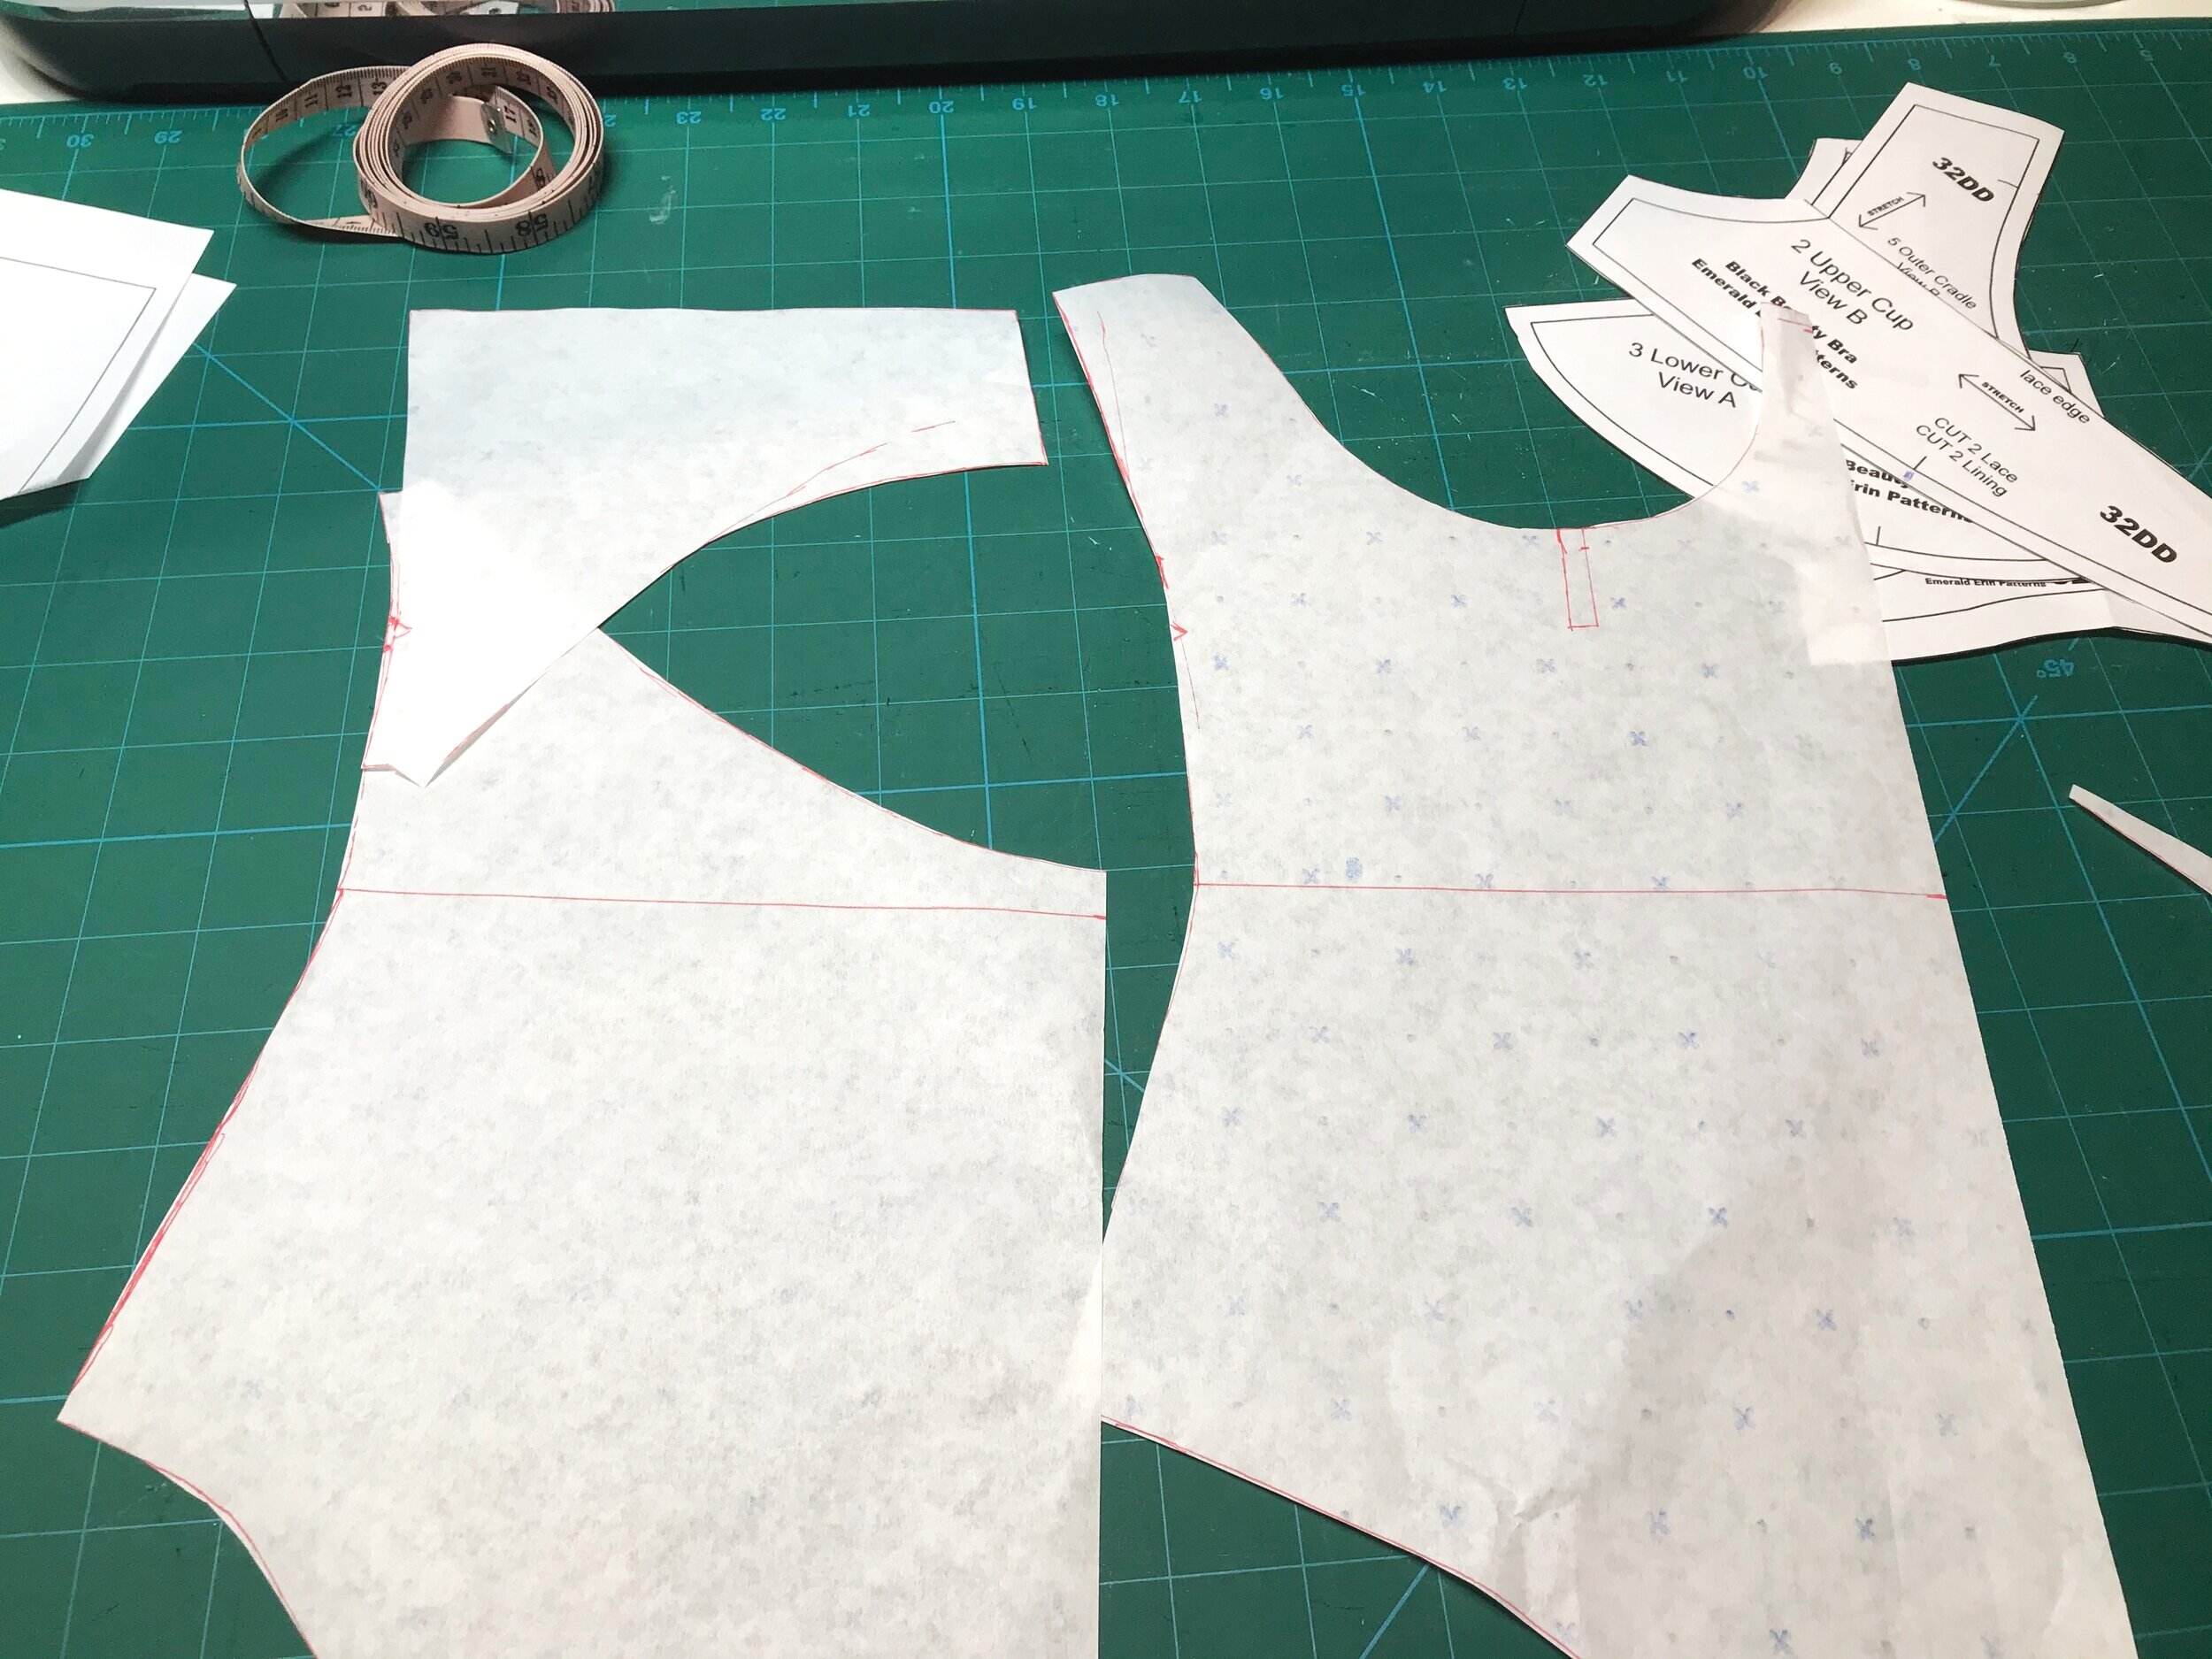
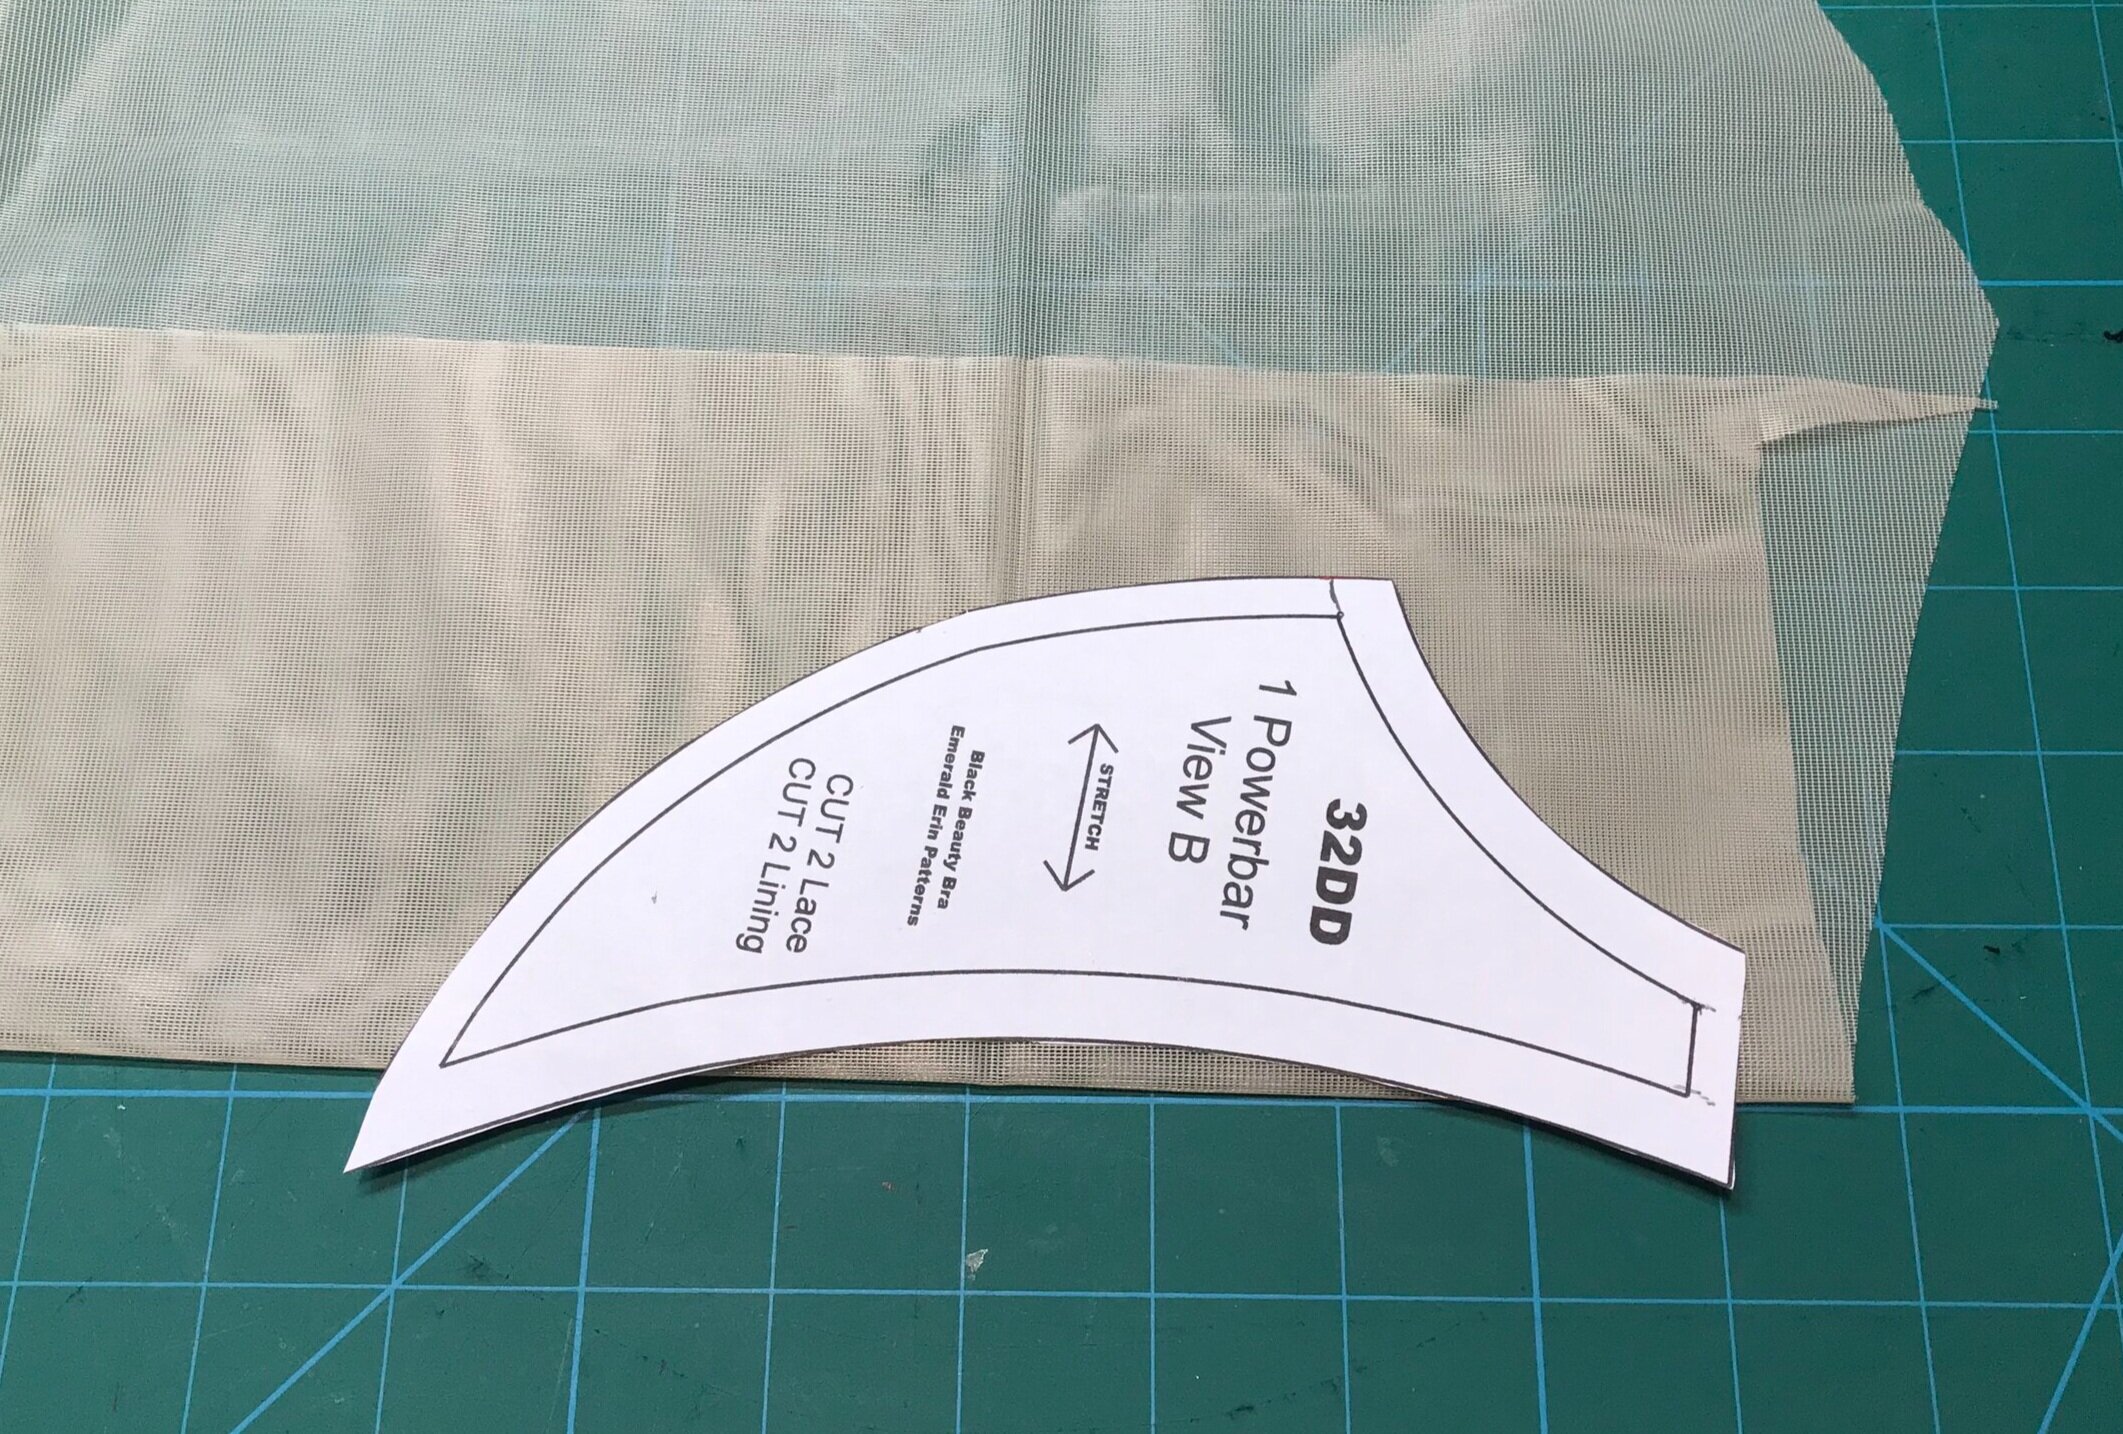
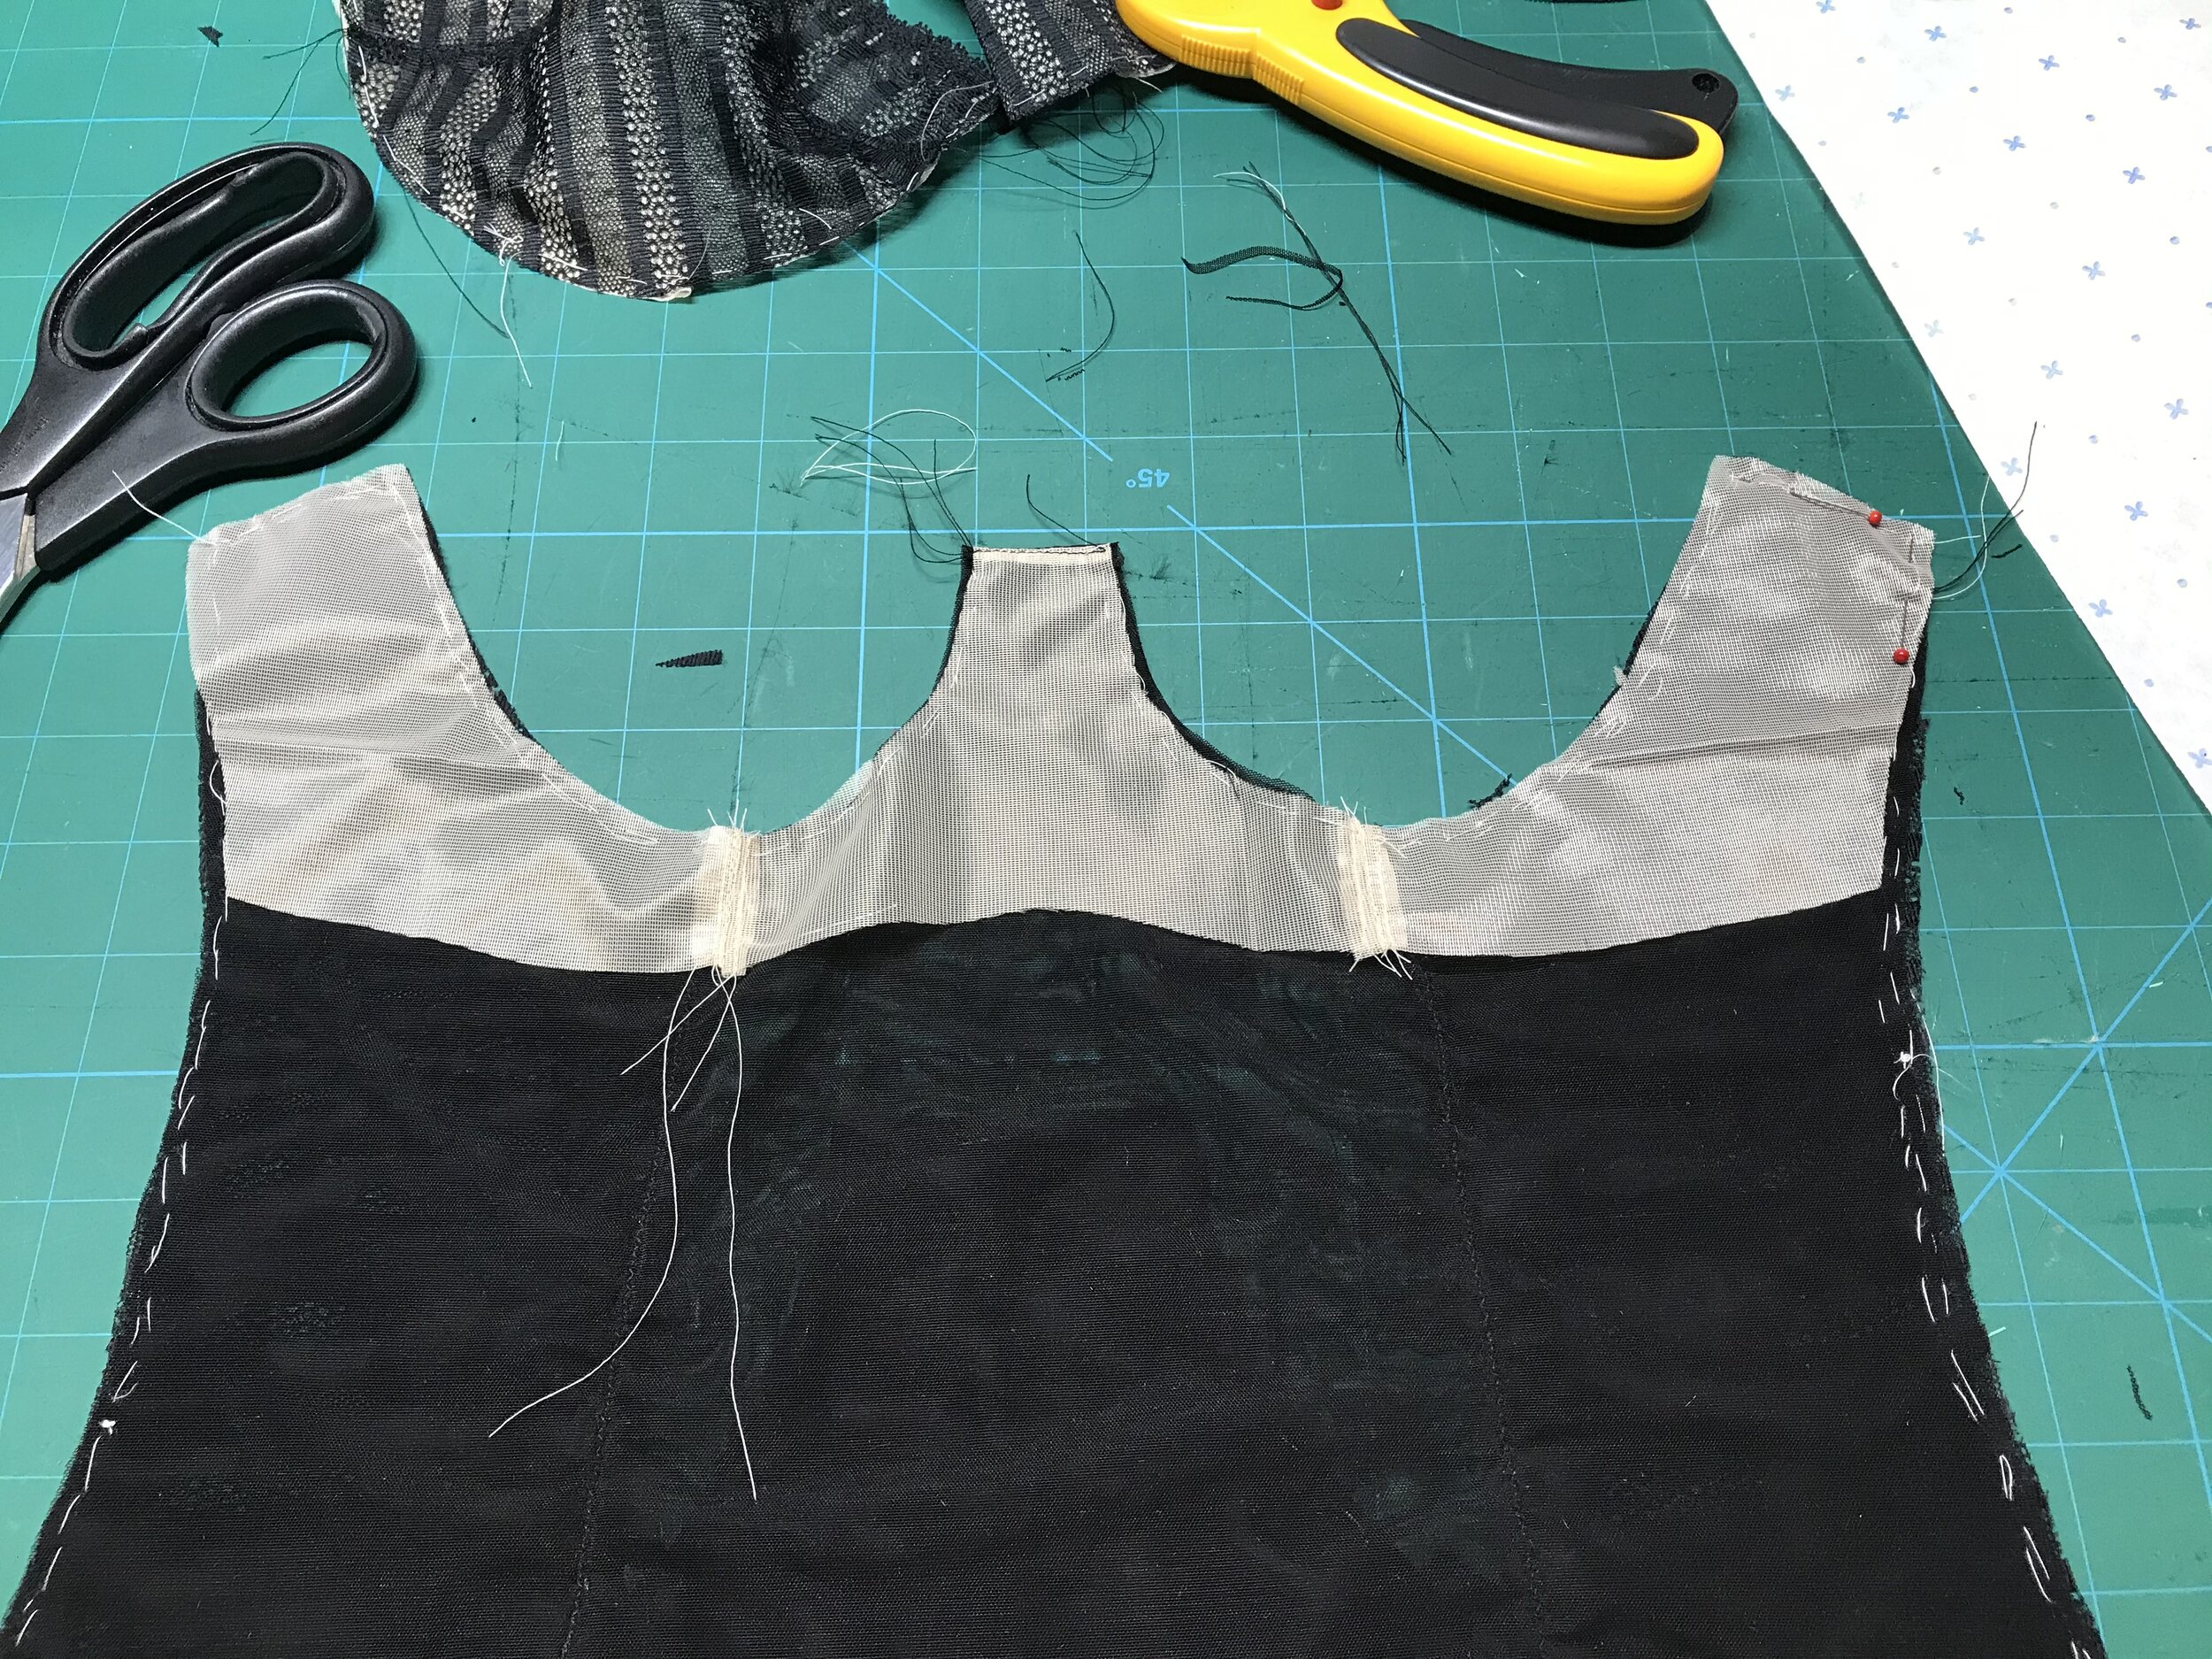
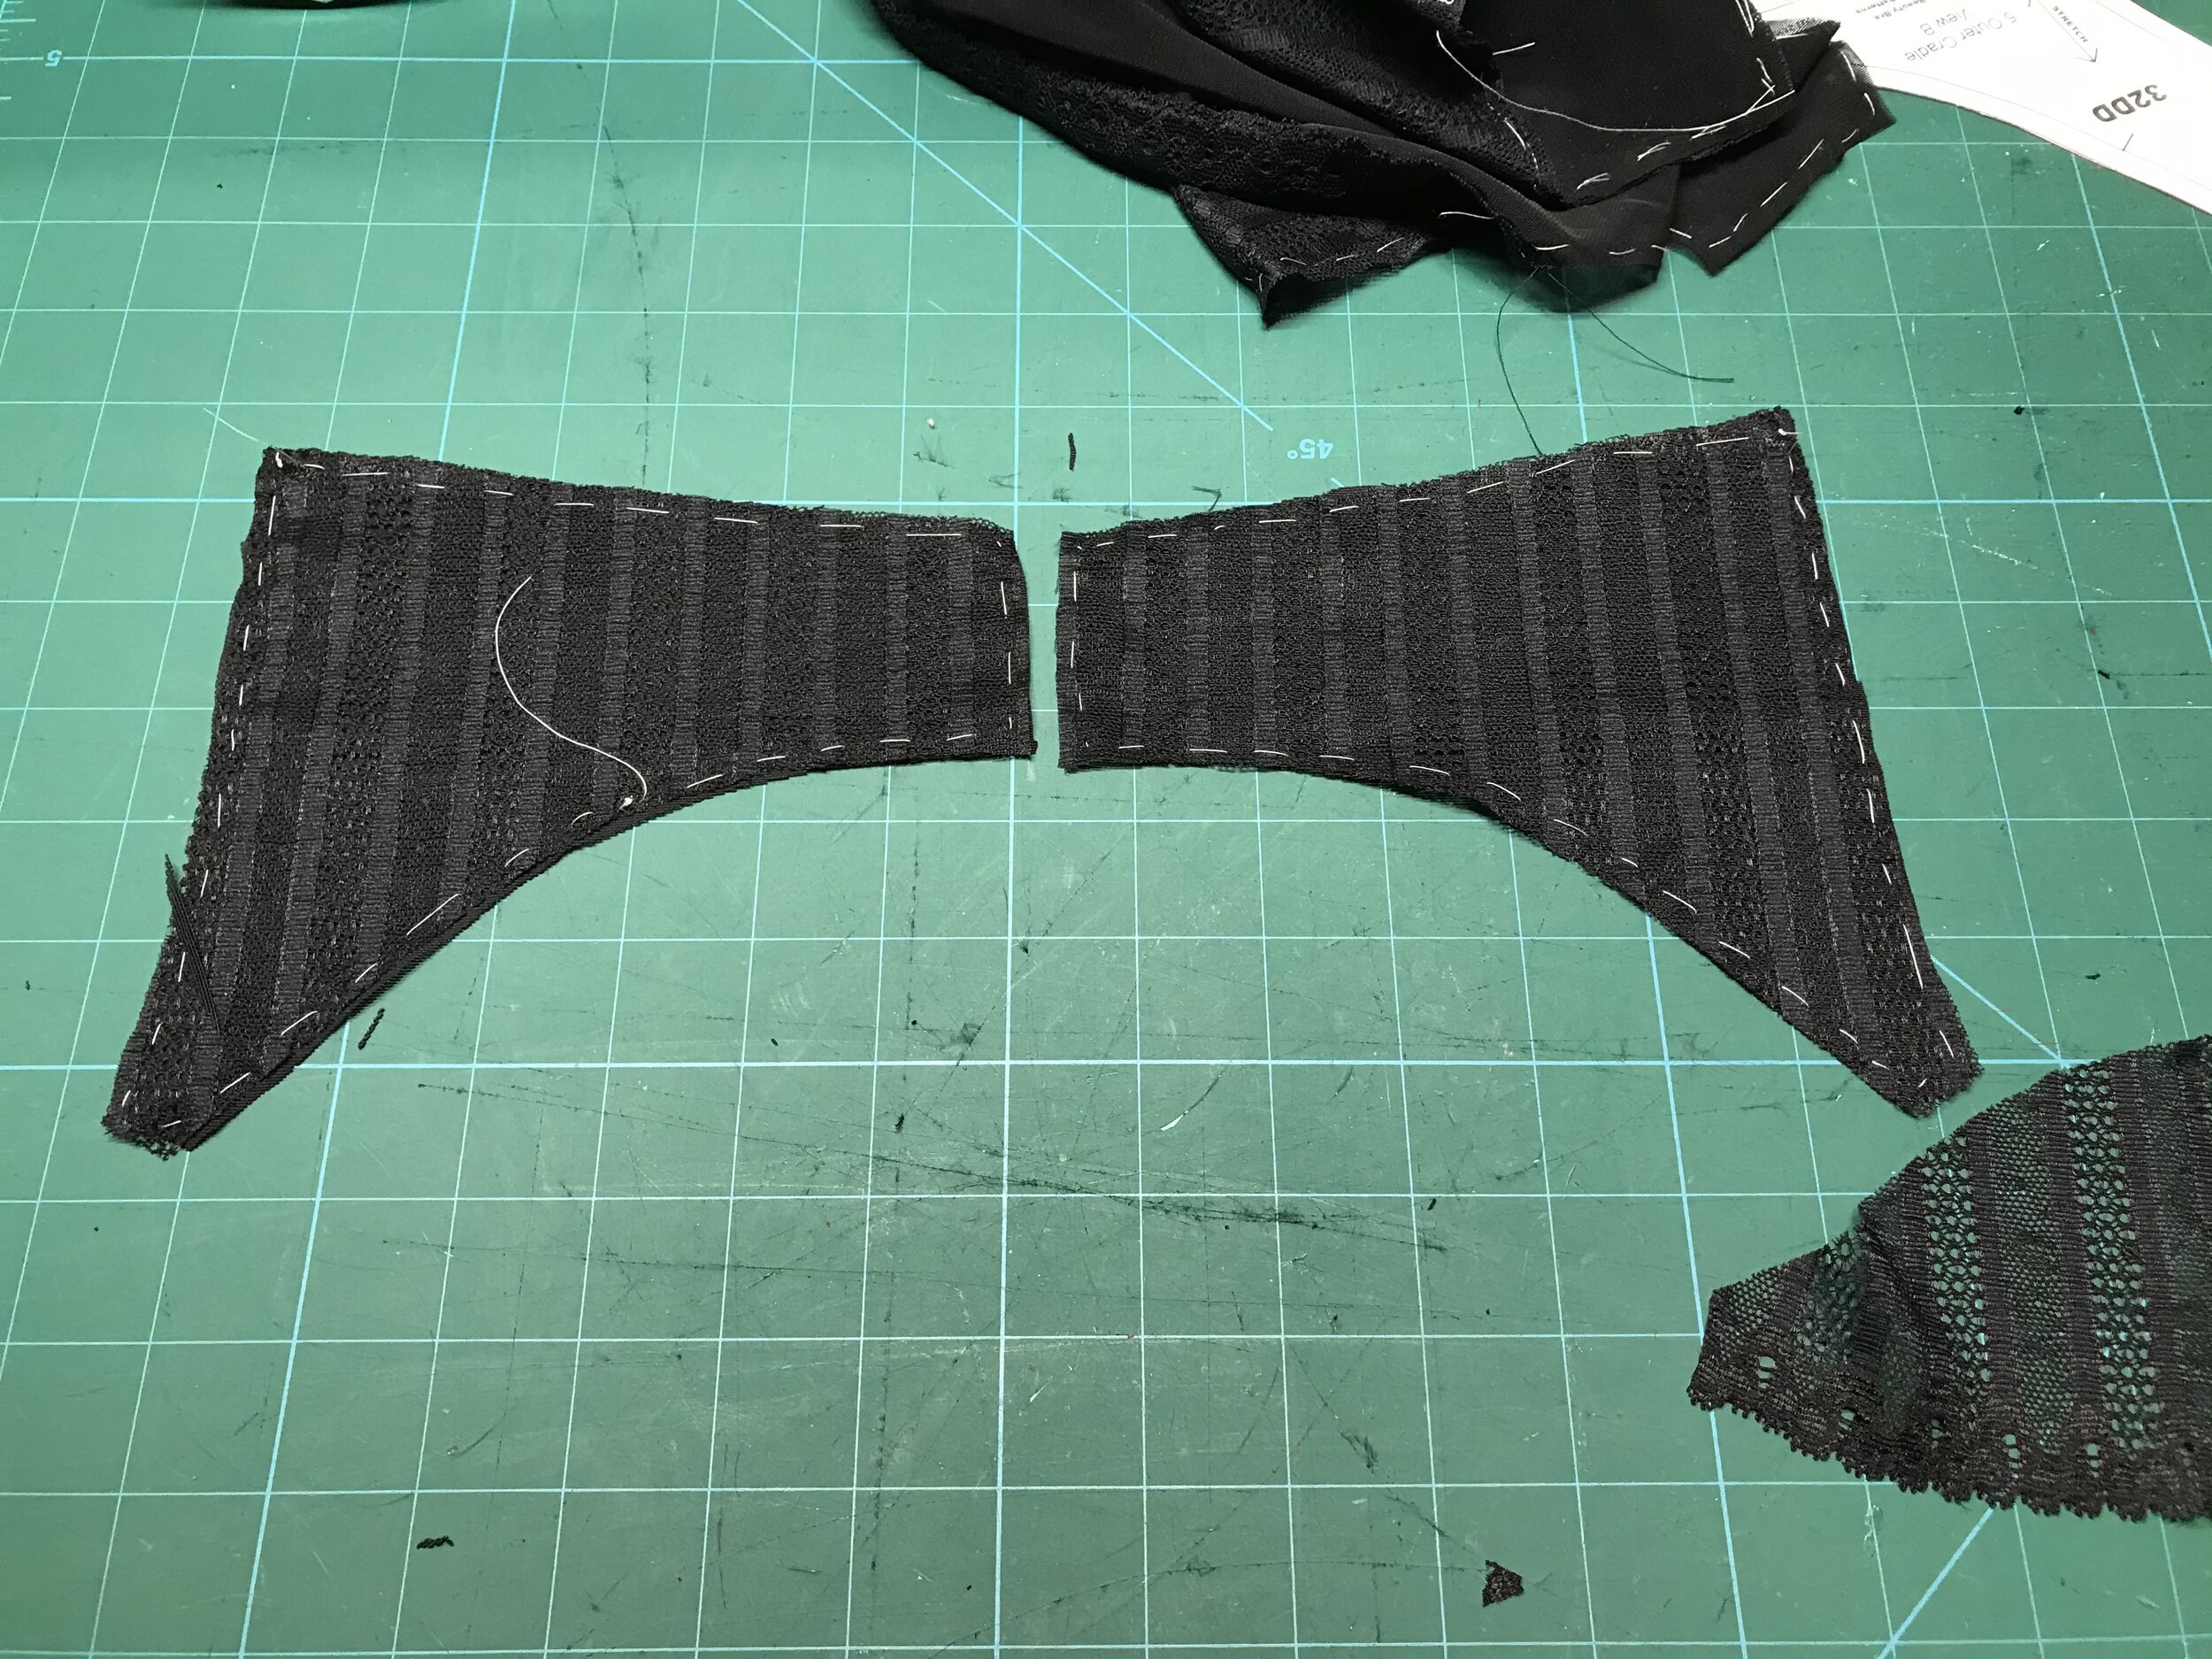
I already had a beautiful lace Black Beauty kit from Emerald Erin and I had bought some extra lace to make underwear so I thought this would be perfect. I started with the cups and had to work out how to match the stripes on a curve. I couldn’t match all the way around but manipulated the position of the pattern piece to cover most of the seam from the outer edge that became a chevron at the centre front. I wanted to keep the cup sheer so I cut out the powerbar on the fold of the sheer lining and added a strip of lace to the strap area so that I could stitch through the upper cup edge to secure.
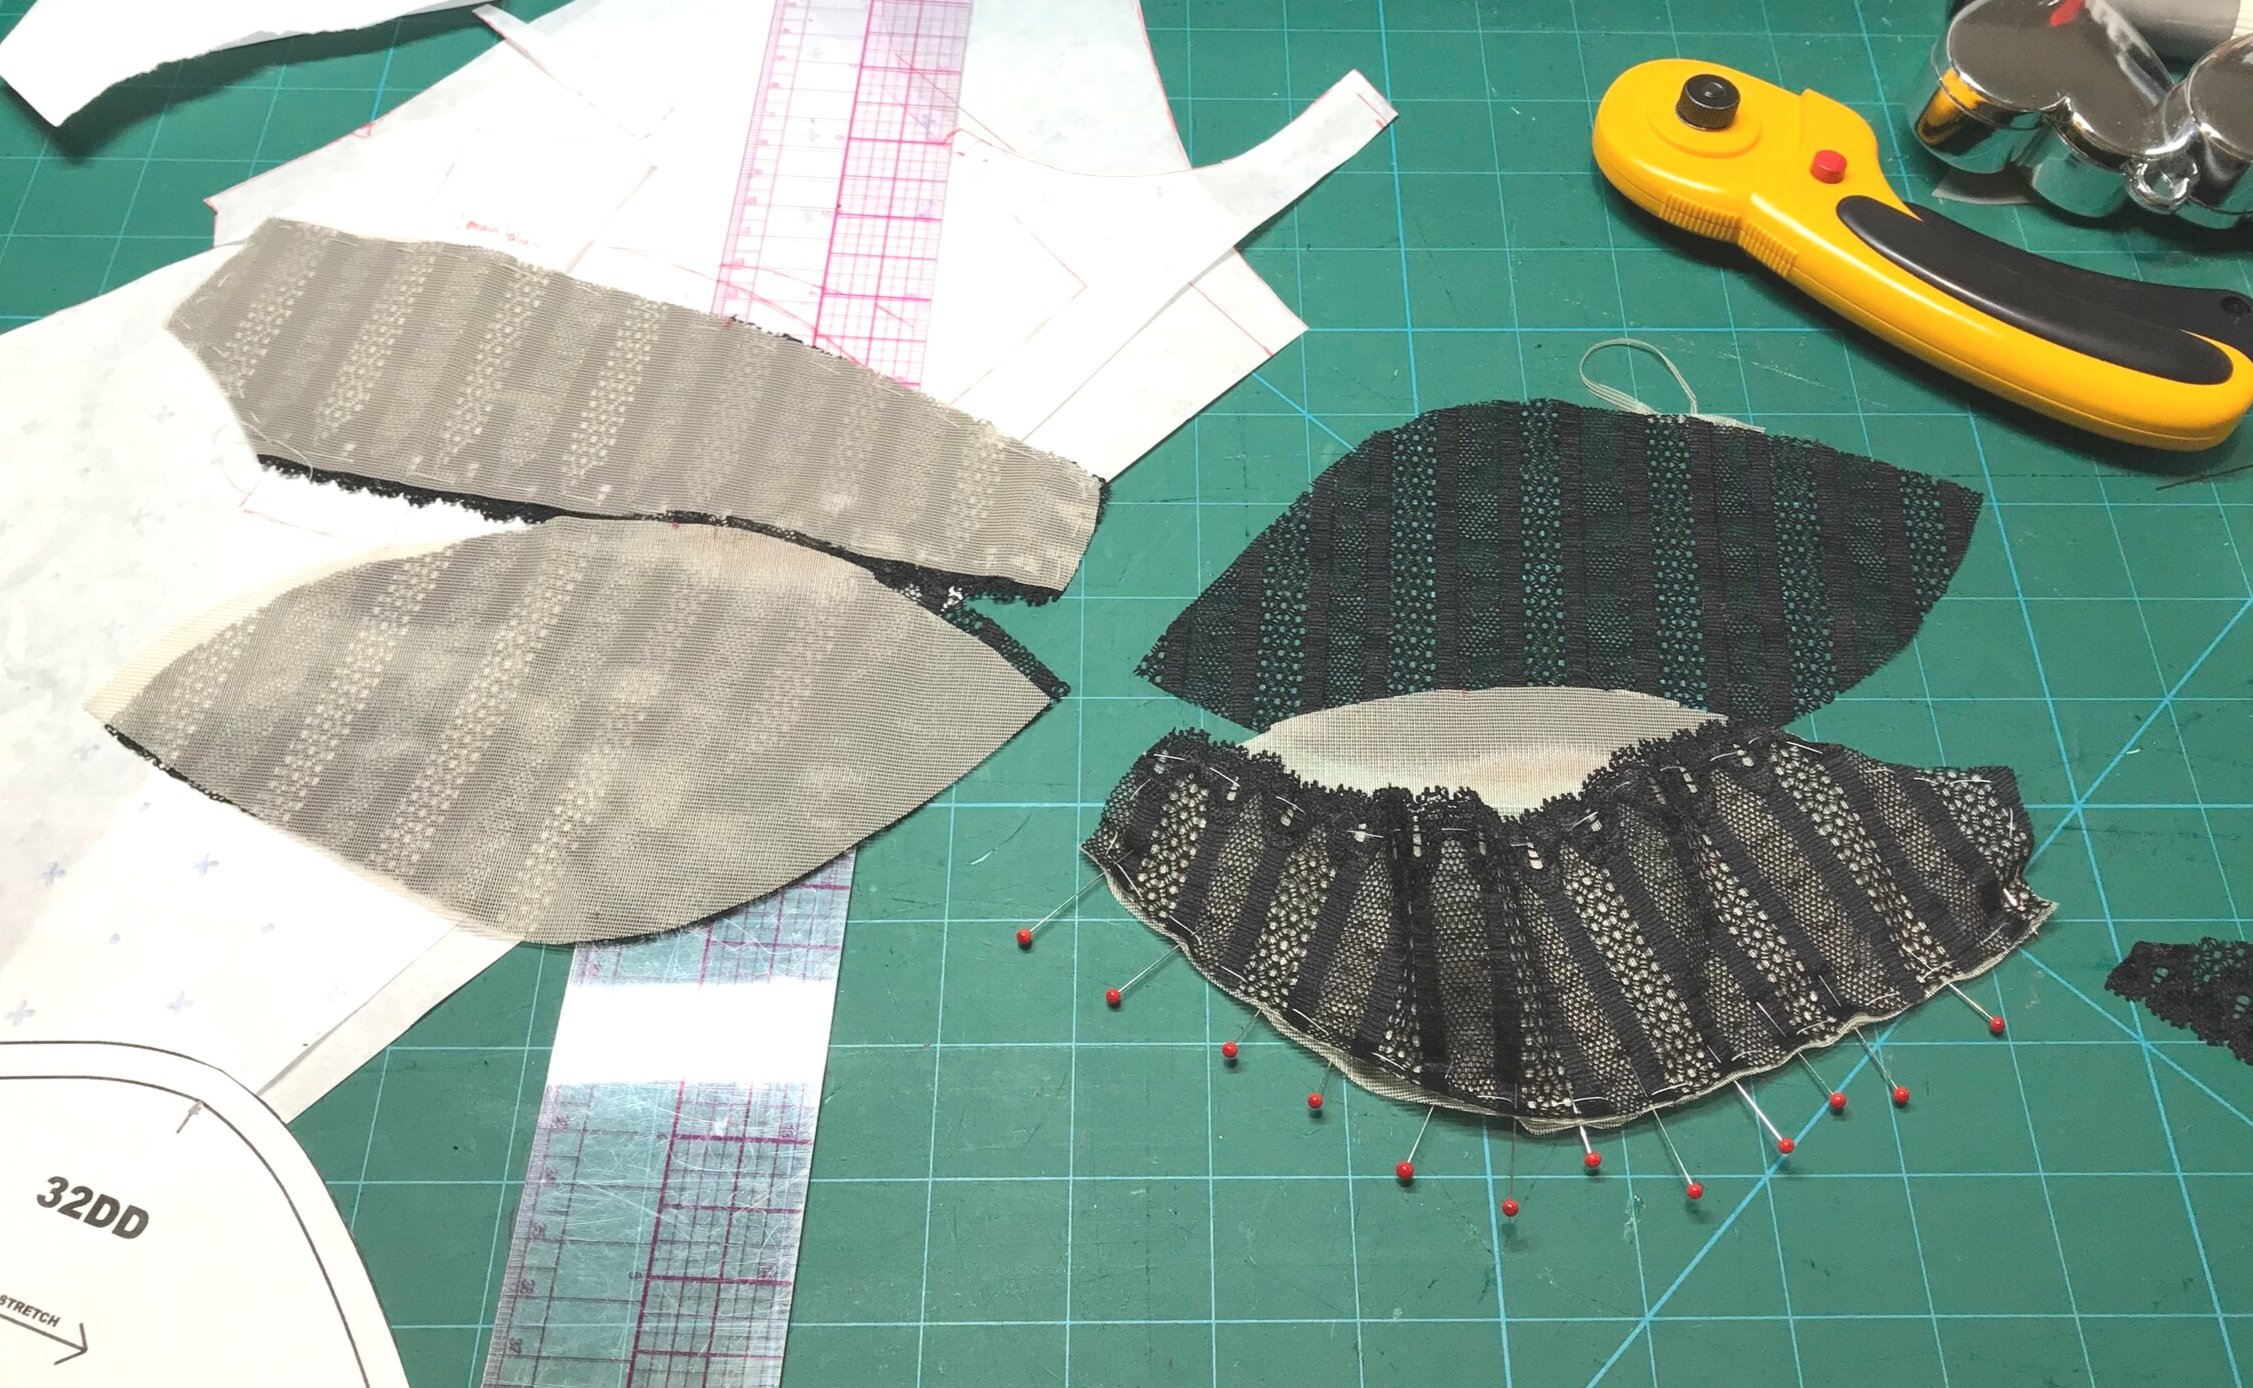
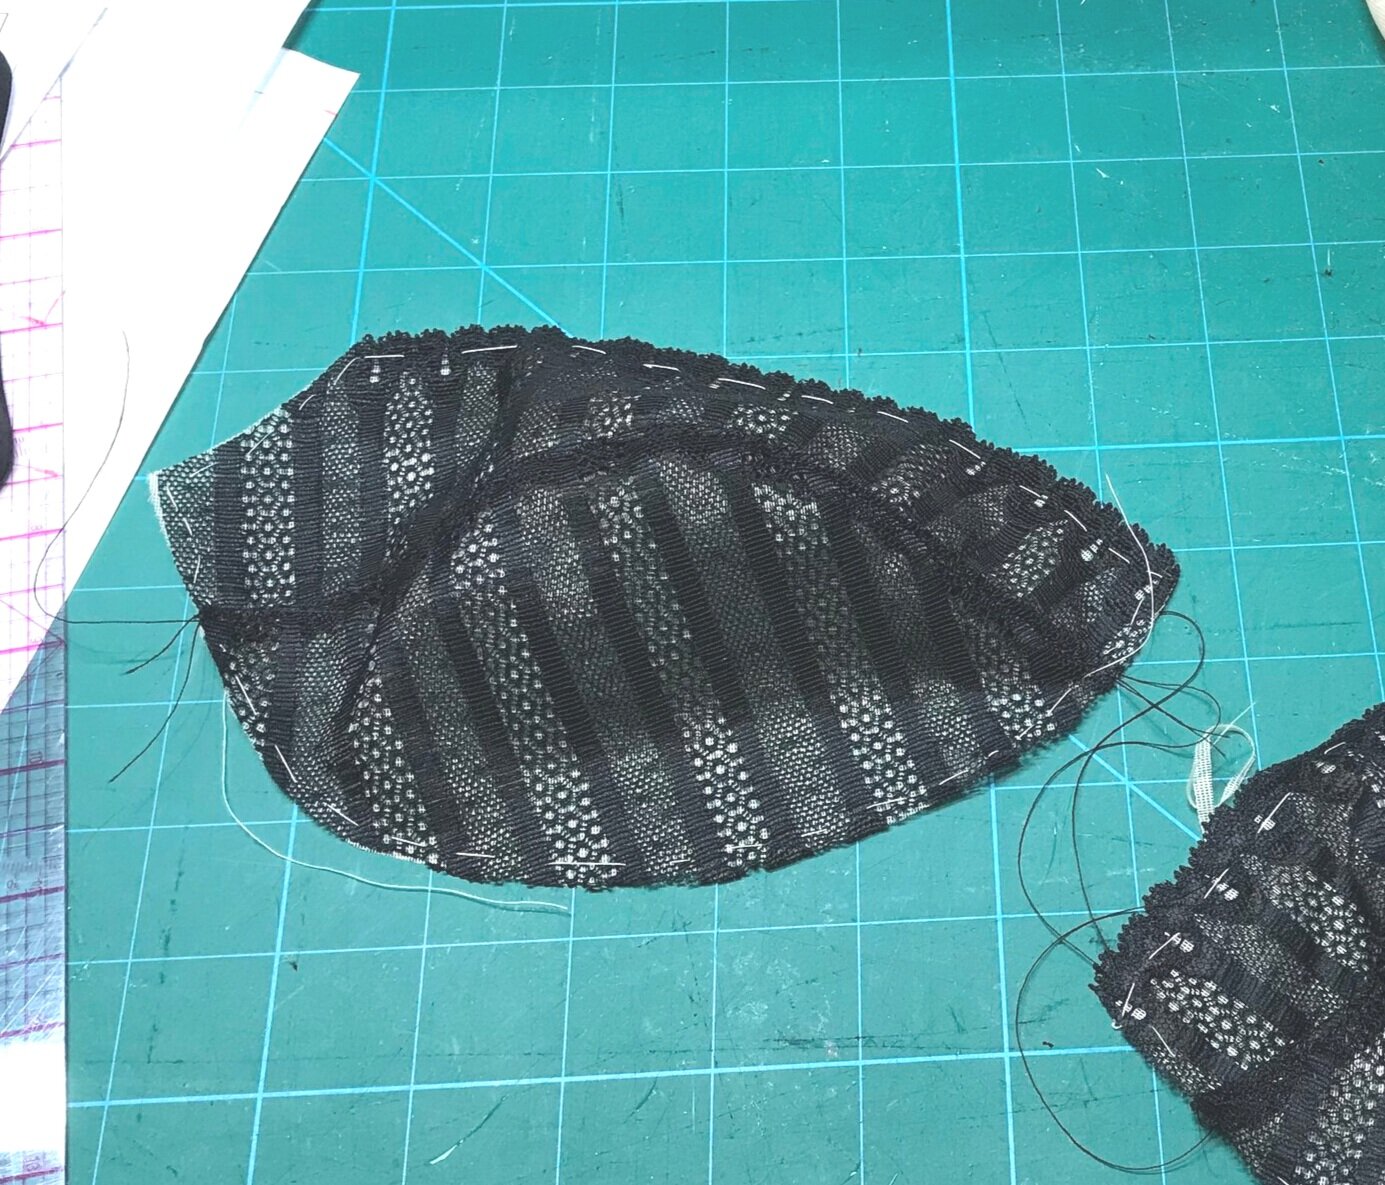

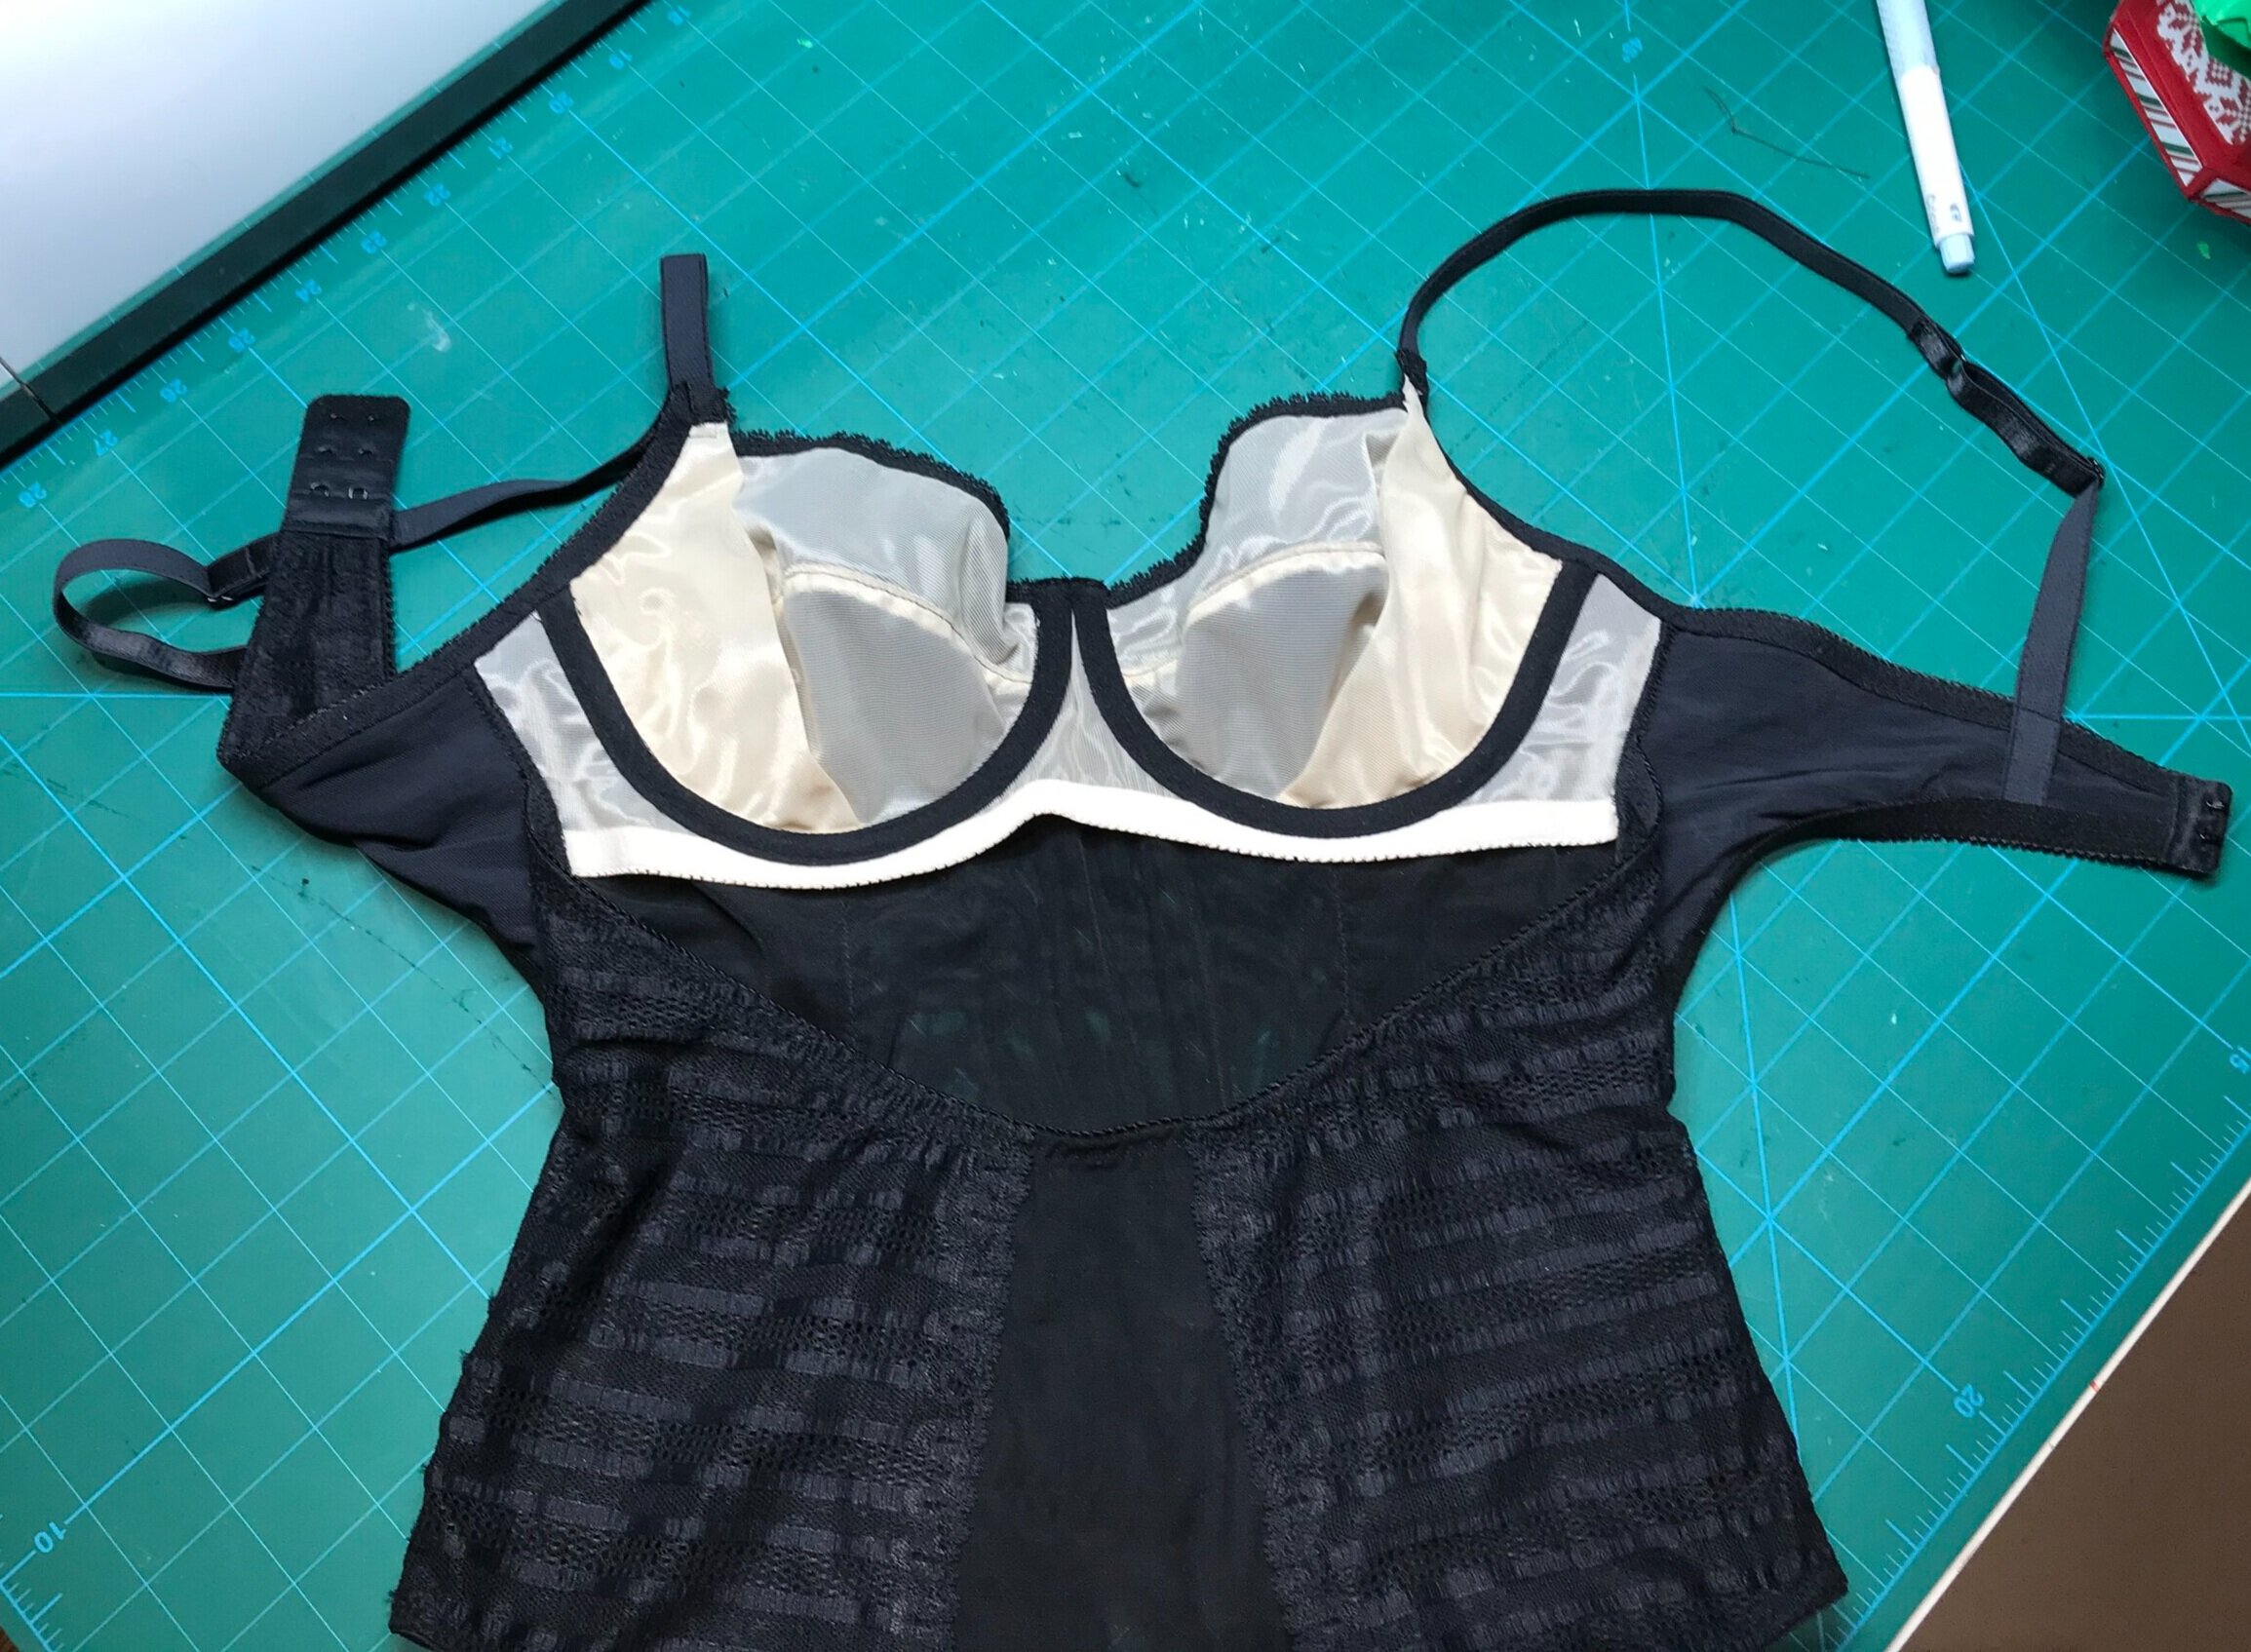
For the front I used two layers of super soft micro mesh again from Emerald Erin which I hand stitched together. I then laid the lace over the mesh and pinned in place to cover as much as possible before hand stitching in place before I cut around and secured in place down the centre front. I did the same for the other side making sure the stripes lined up all the way down. Next I made a frame in sheer lining and attached the band elastic to just this so it would be free floating keeping the sheer look from the front. Once joined at the bridge I flipped over and basted the remaining sides.
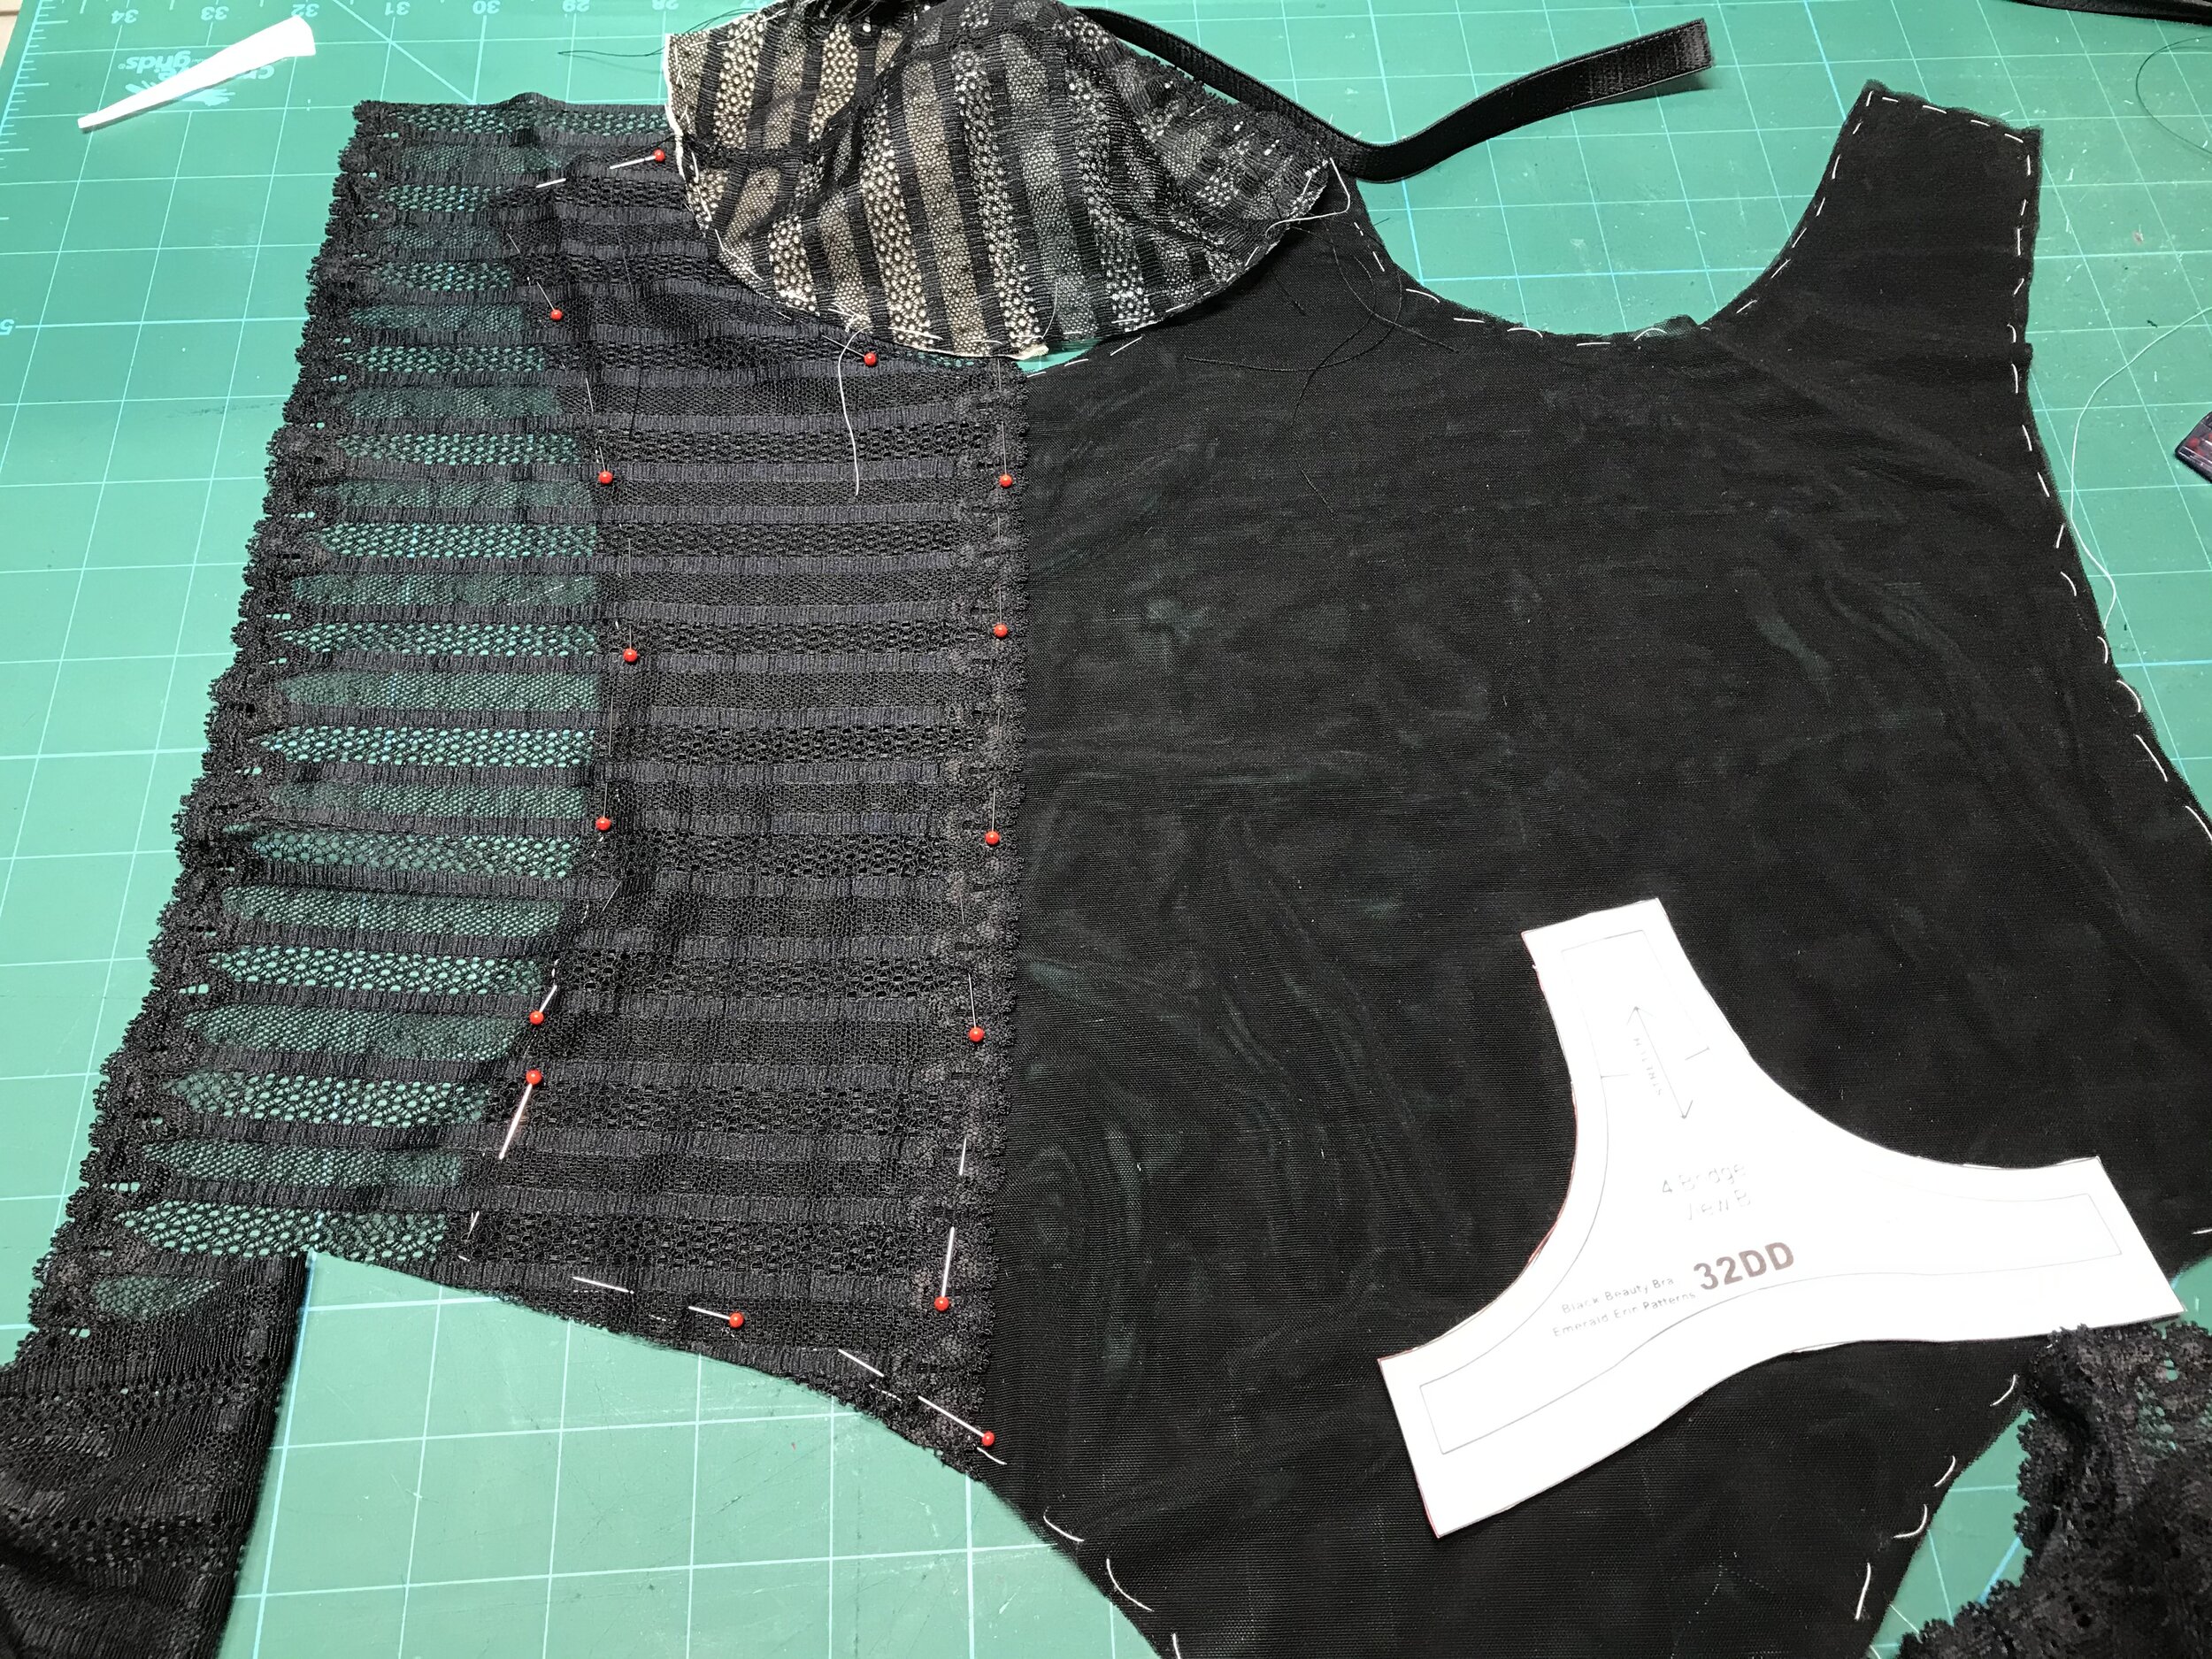
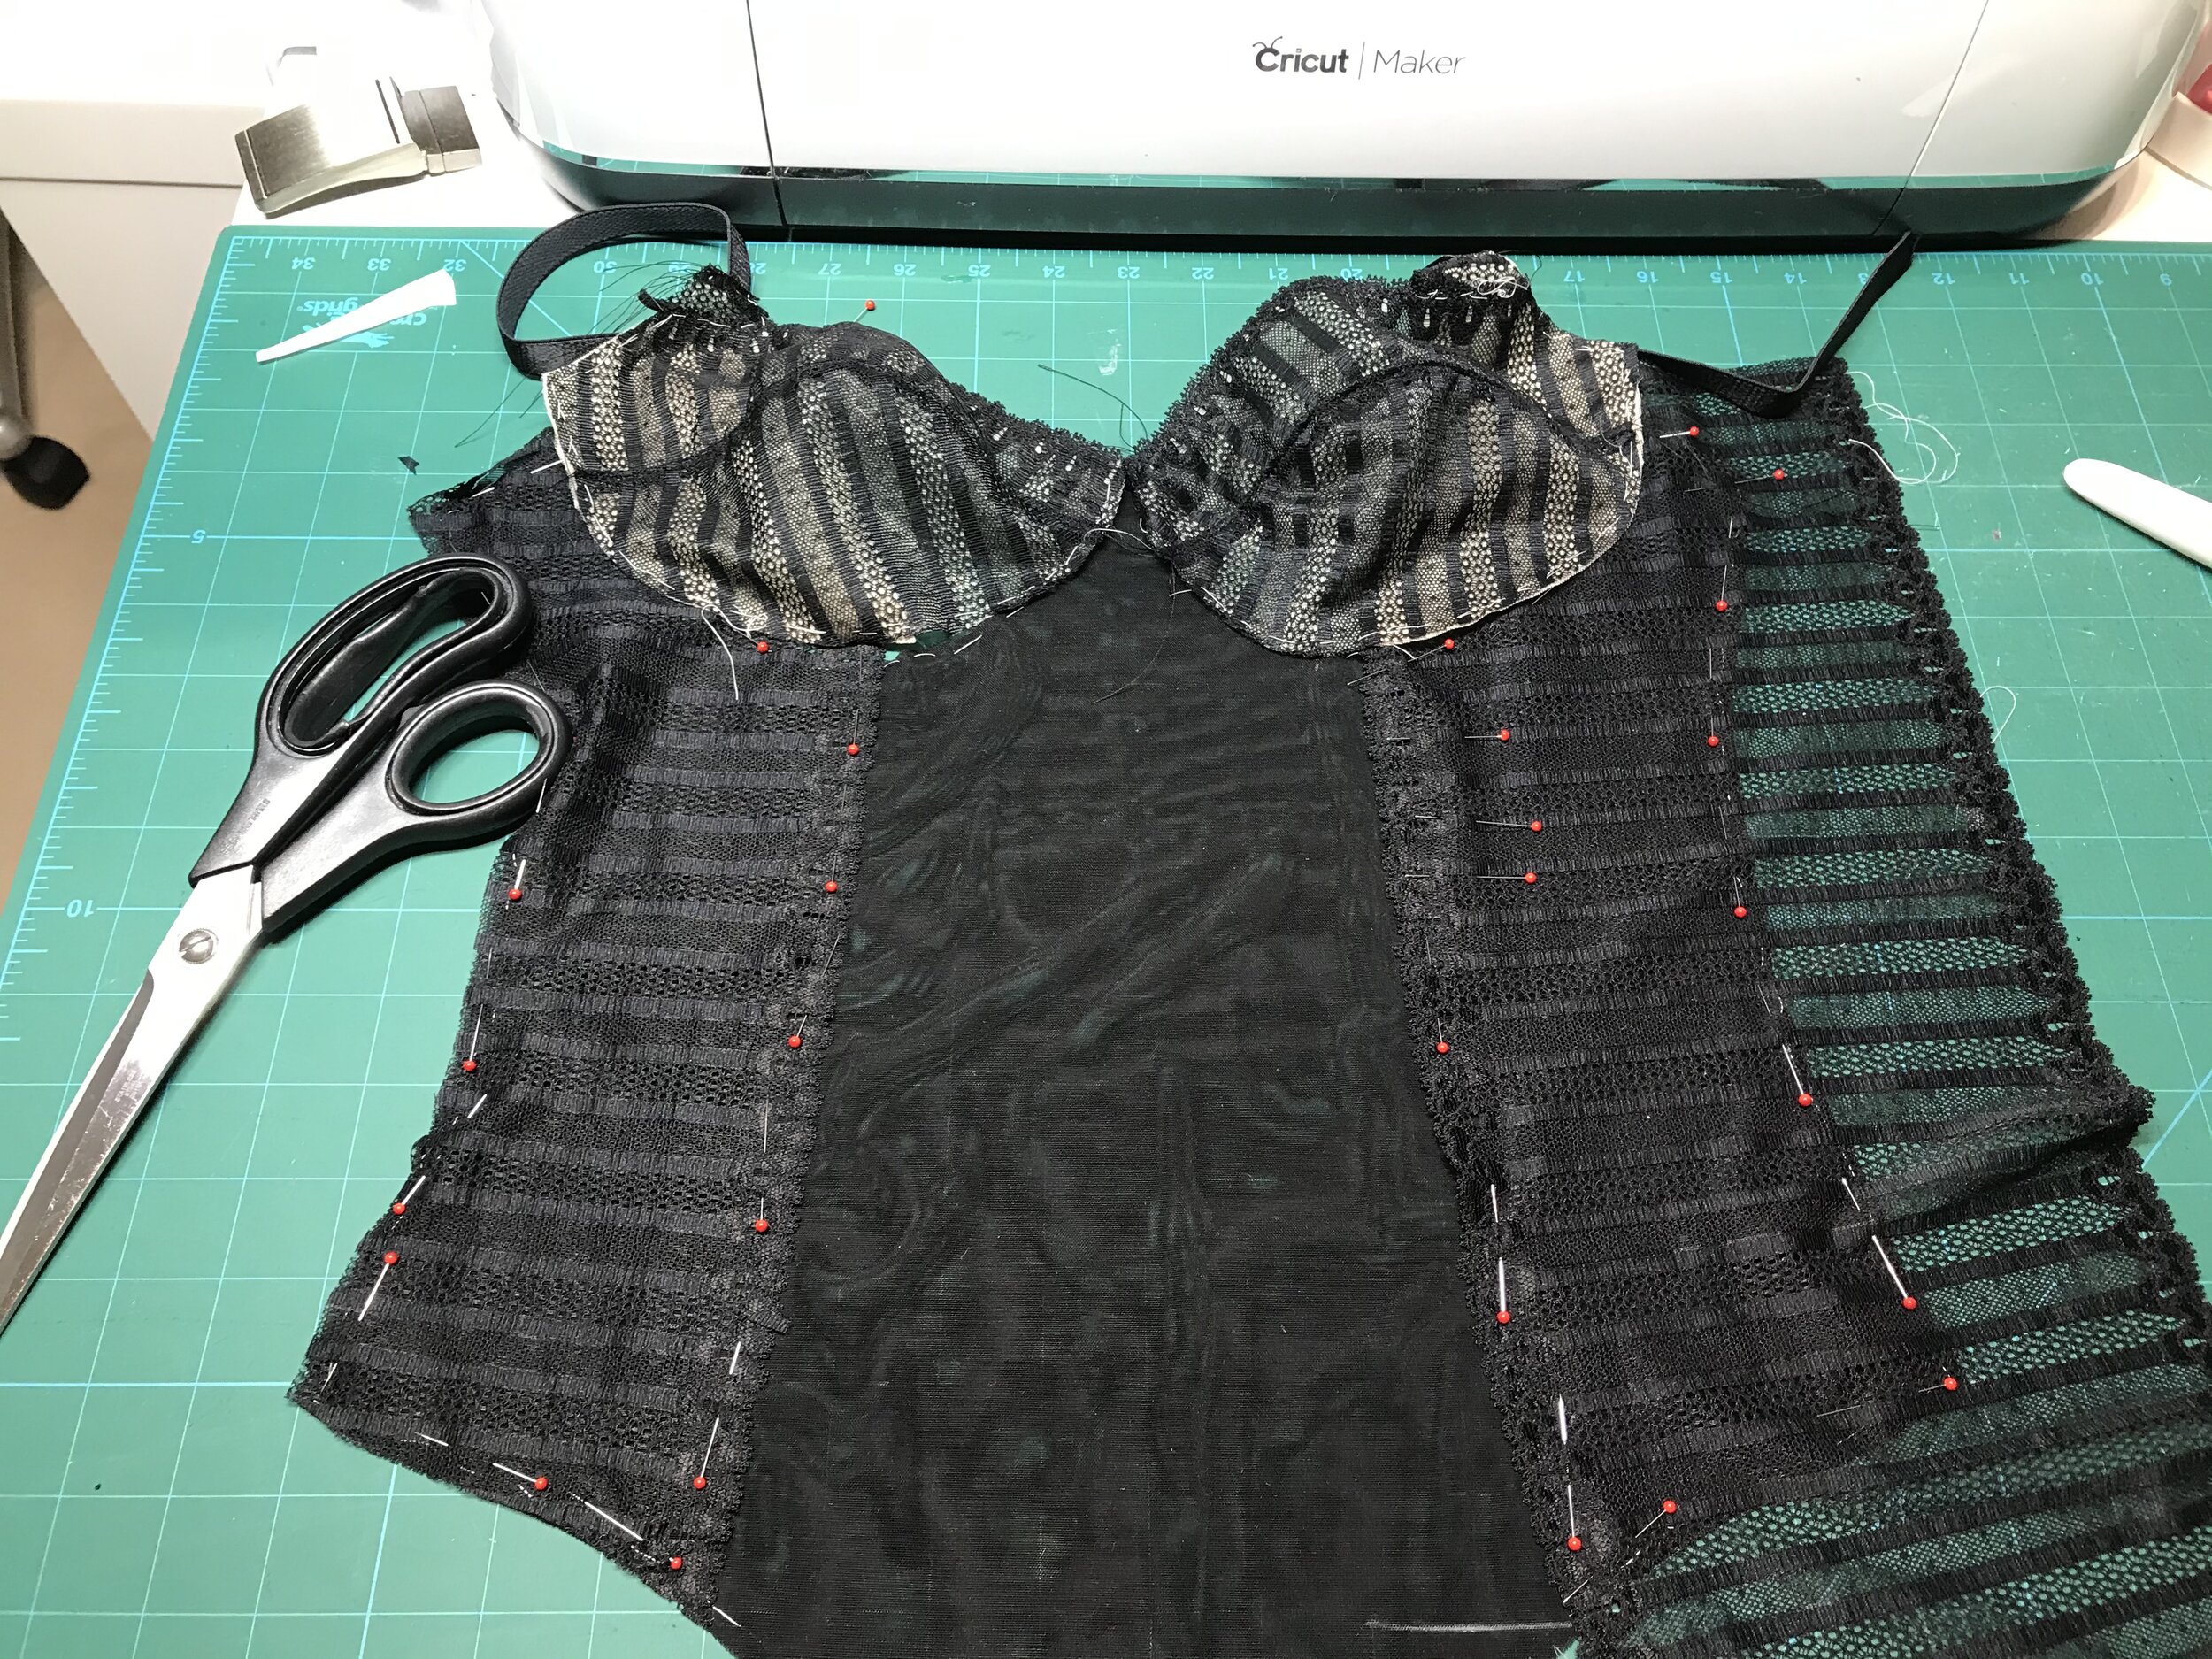
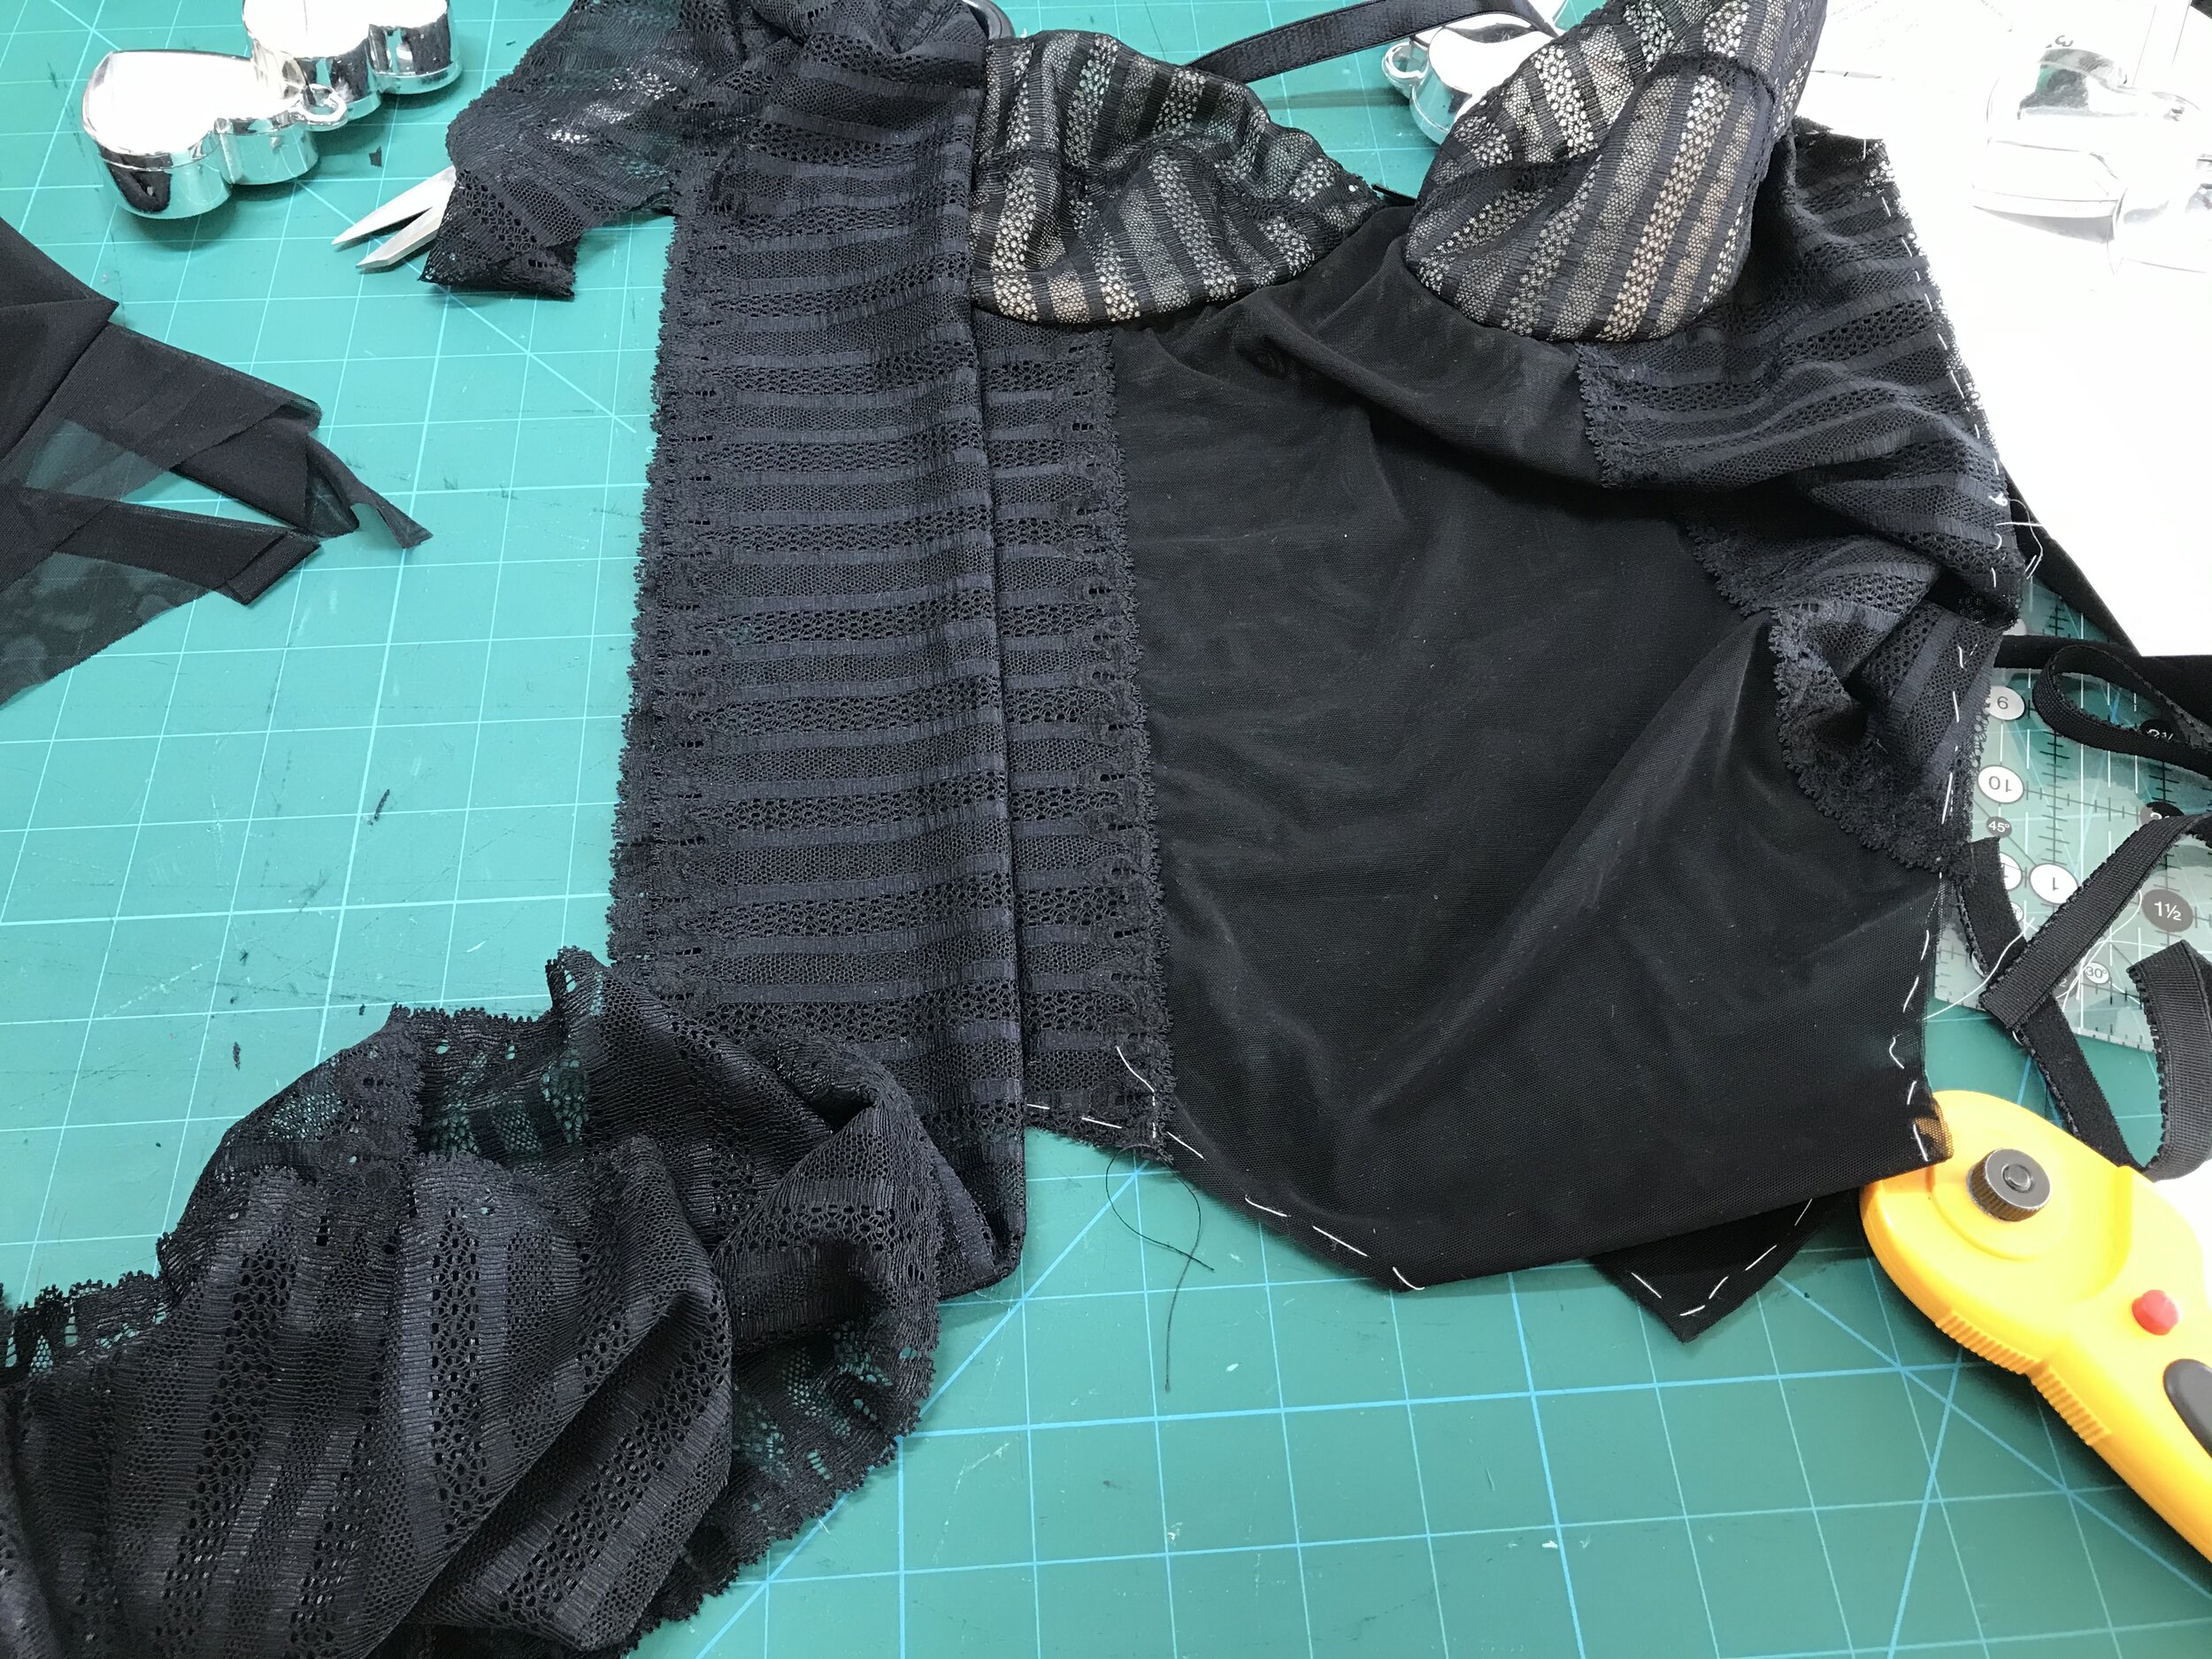
I made the back band with a layer of powernet and the lace making sure I had the stretch in the right direction. This means the stripes are vertical but the contrast with horizontal of lower back works well. I used a single layer of mesh for the lower back. To match the stripes on the side seam I placed the lace over the front and then placed the mesh on top of this and pinned from the back. Again I used the tape to create the closure this time using grosgrain ribbon on the front to stabilise the mesh.

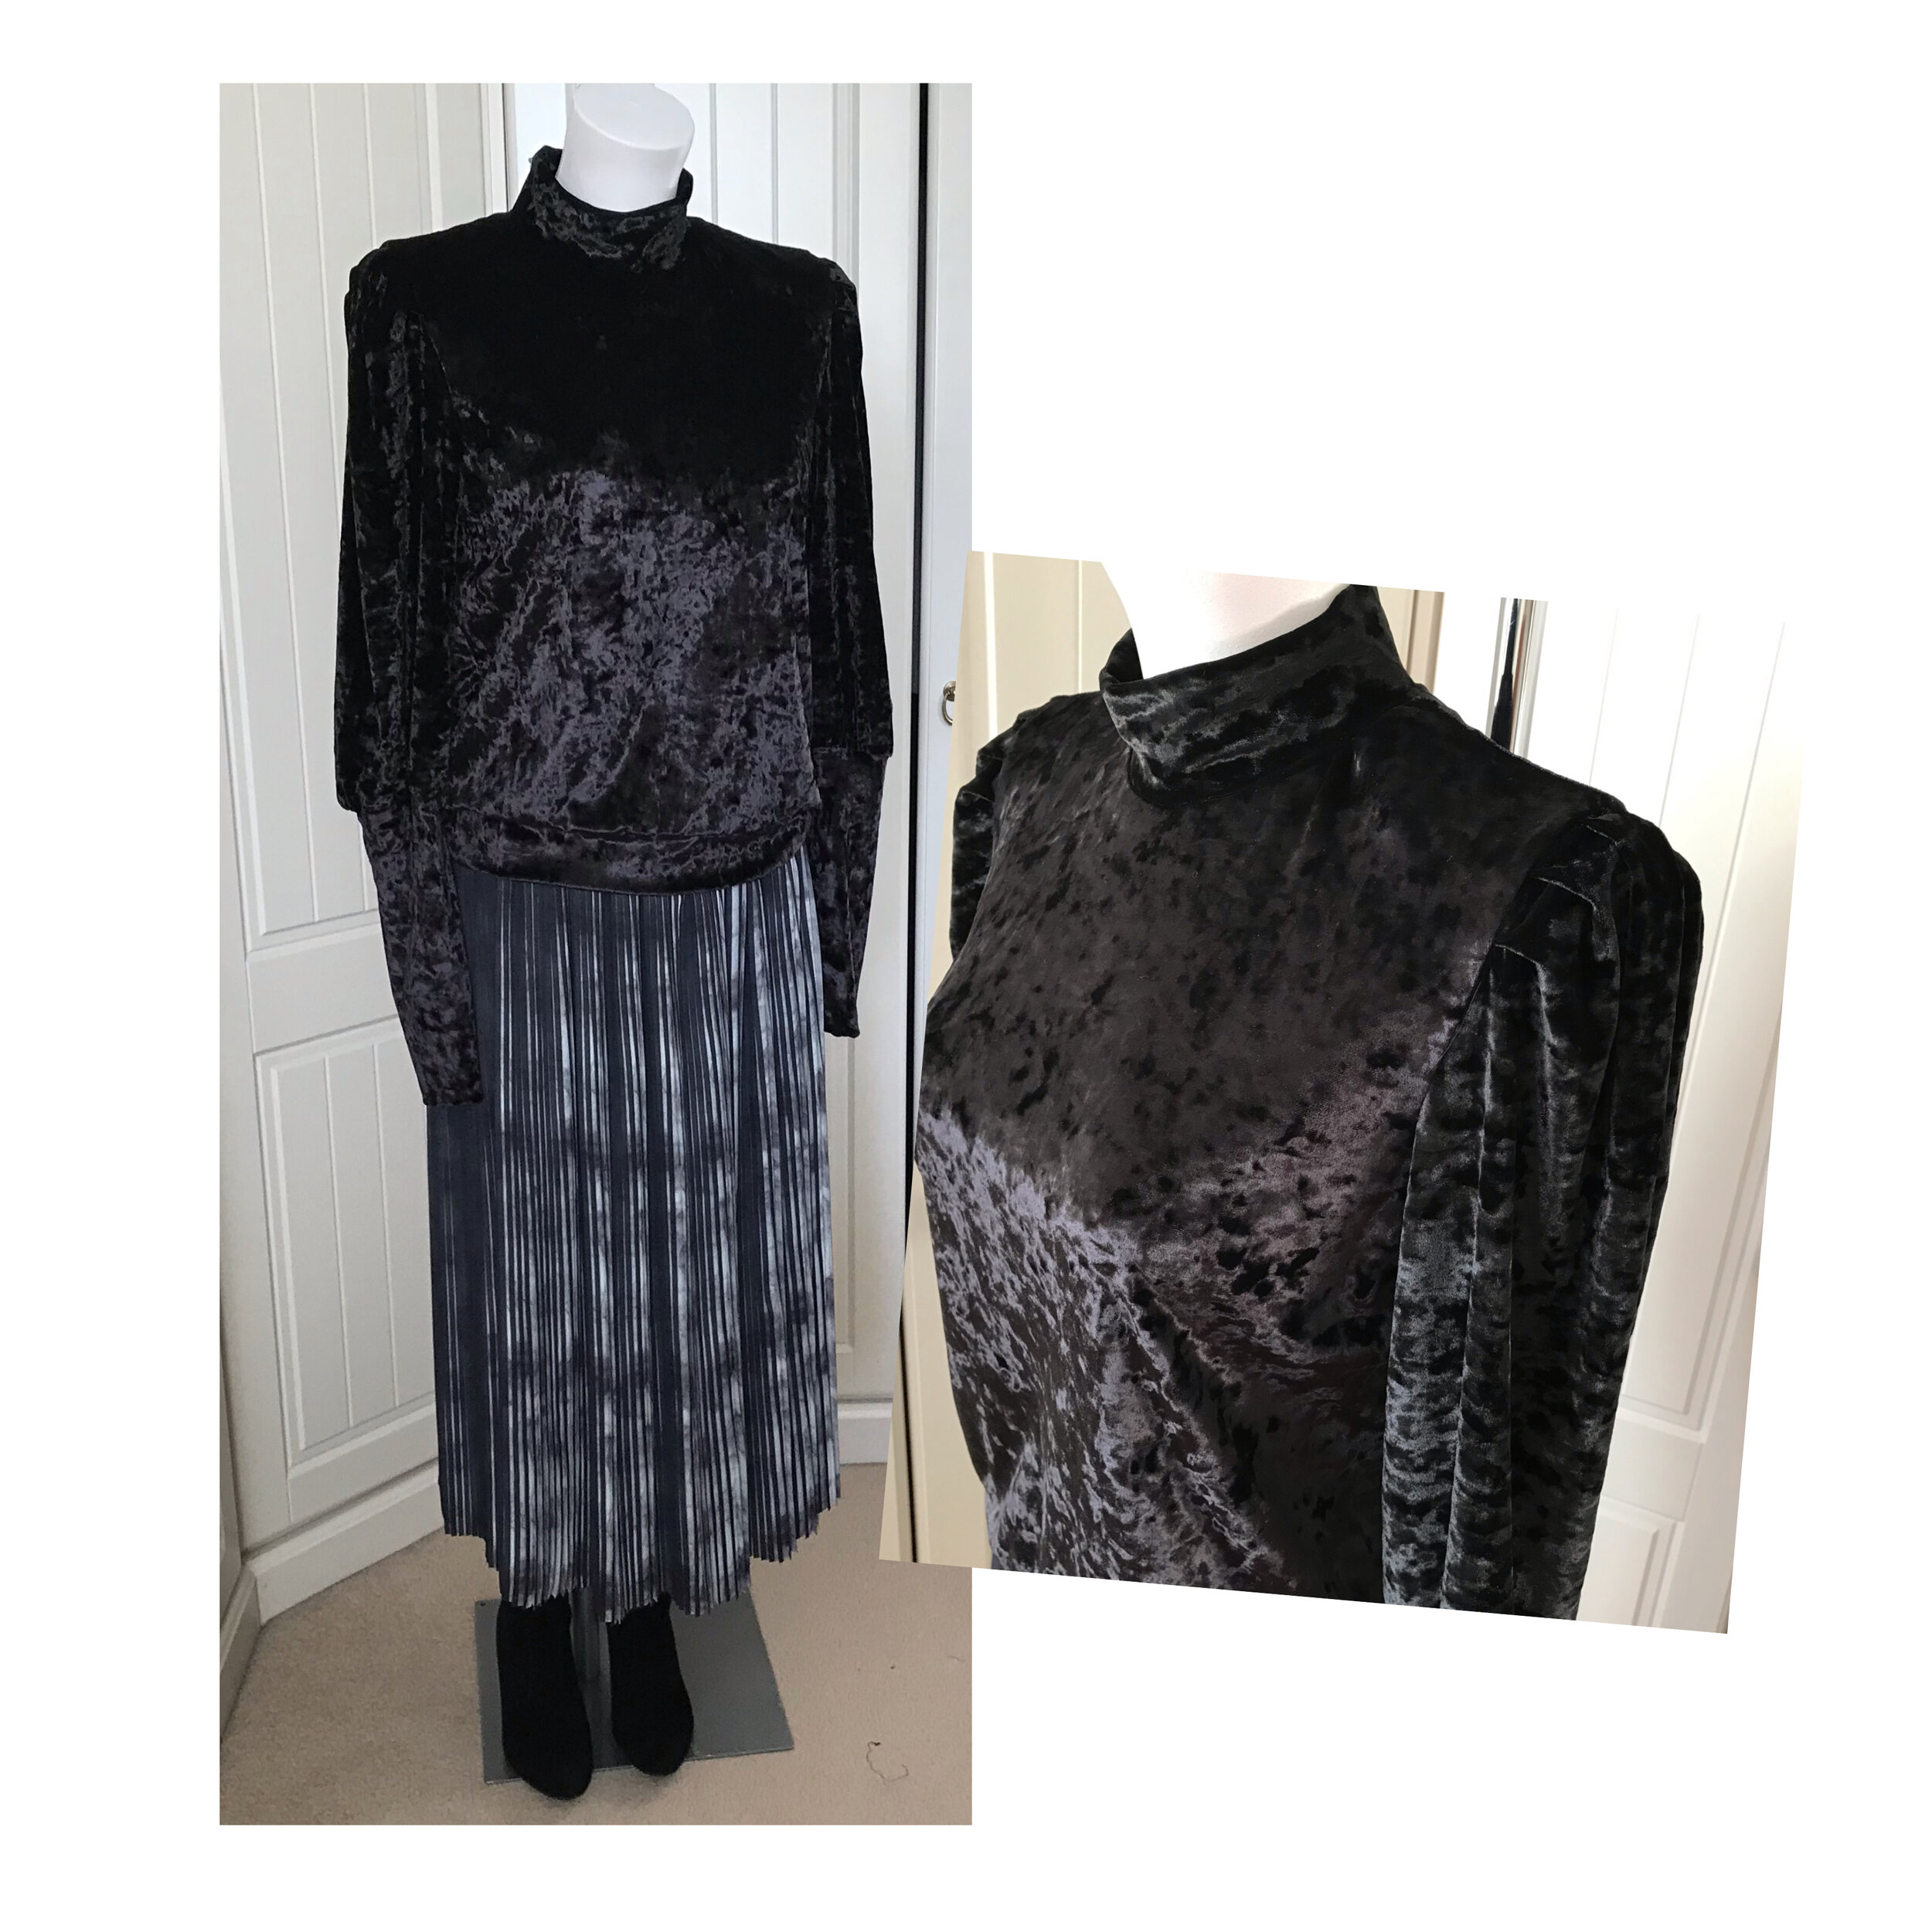
Another perfect fit so I thought I would finish with a look inside together with the outfit I have made to be worn with it on Christmas Day. The top is the Greenstyle recently released Cambria. A really versatile pattern with many options. I wanted something to sit on the hip over the skirt I had made. So this is the slimmer fit high hip length with hem band, pleated sleeve gathered into a long cuff, with mock turtle neck! The skirt is pleated fabric joined and attached to an elastic waistband. Both the stretch velvet and pleated fabric are from Sew Wardrobe.
And I think that’e enough bodysuits for 2020!