Meet the Vivien Bra - a stunning new pattern by Annie and Myras
The last few weeks have been very exciting as I have tried out some amazing new patterns. The first was the beautifully named Vivien Bra. Jennie, of Annie and Myras, kindly sent me the pattern pieces in my size to try out. So here we have both variations as I just had to make both.
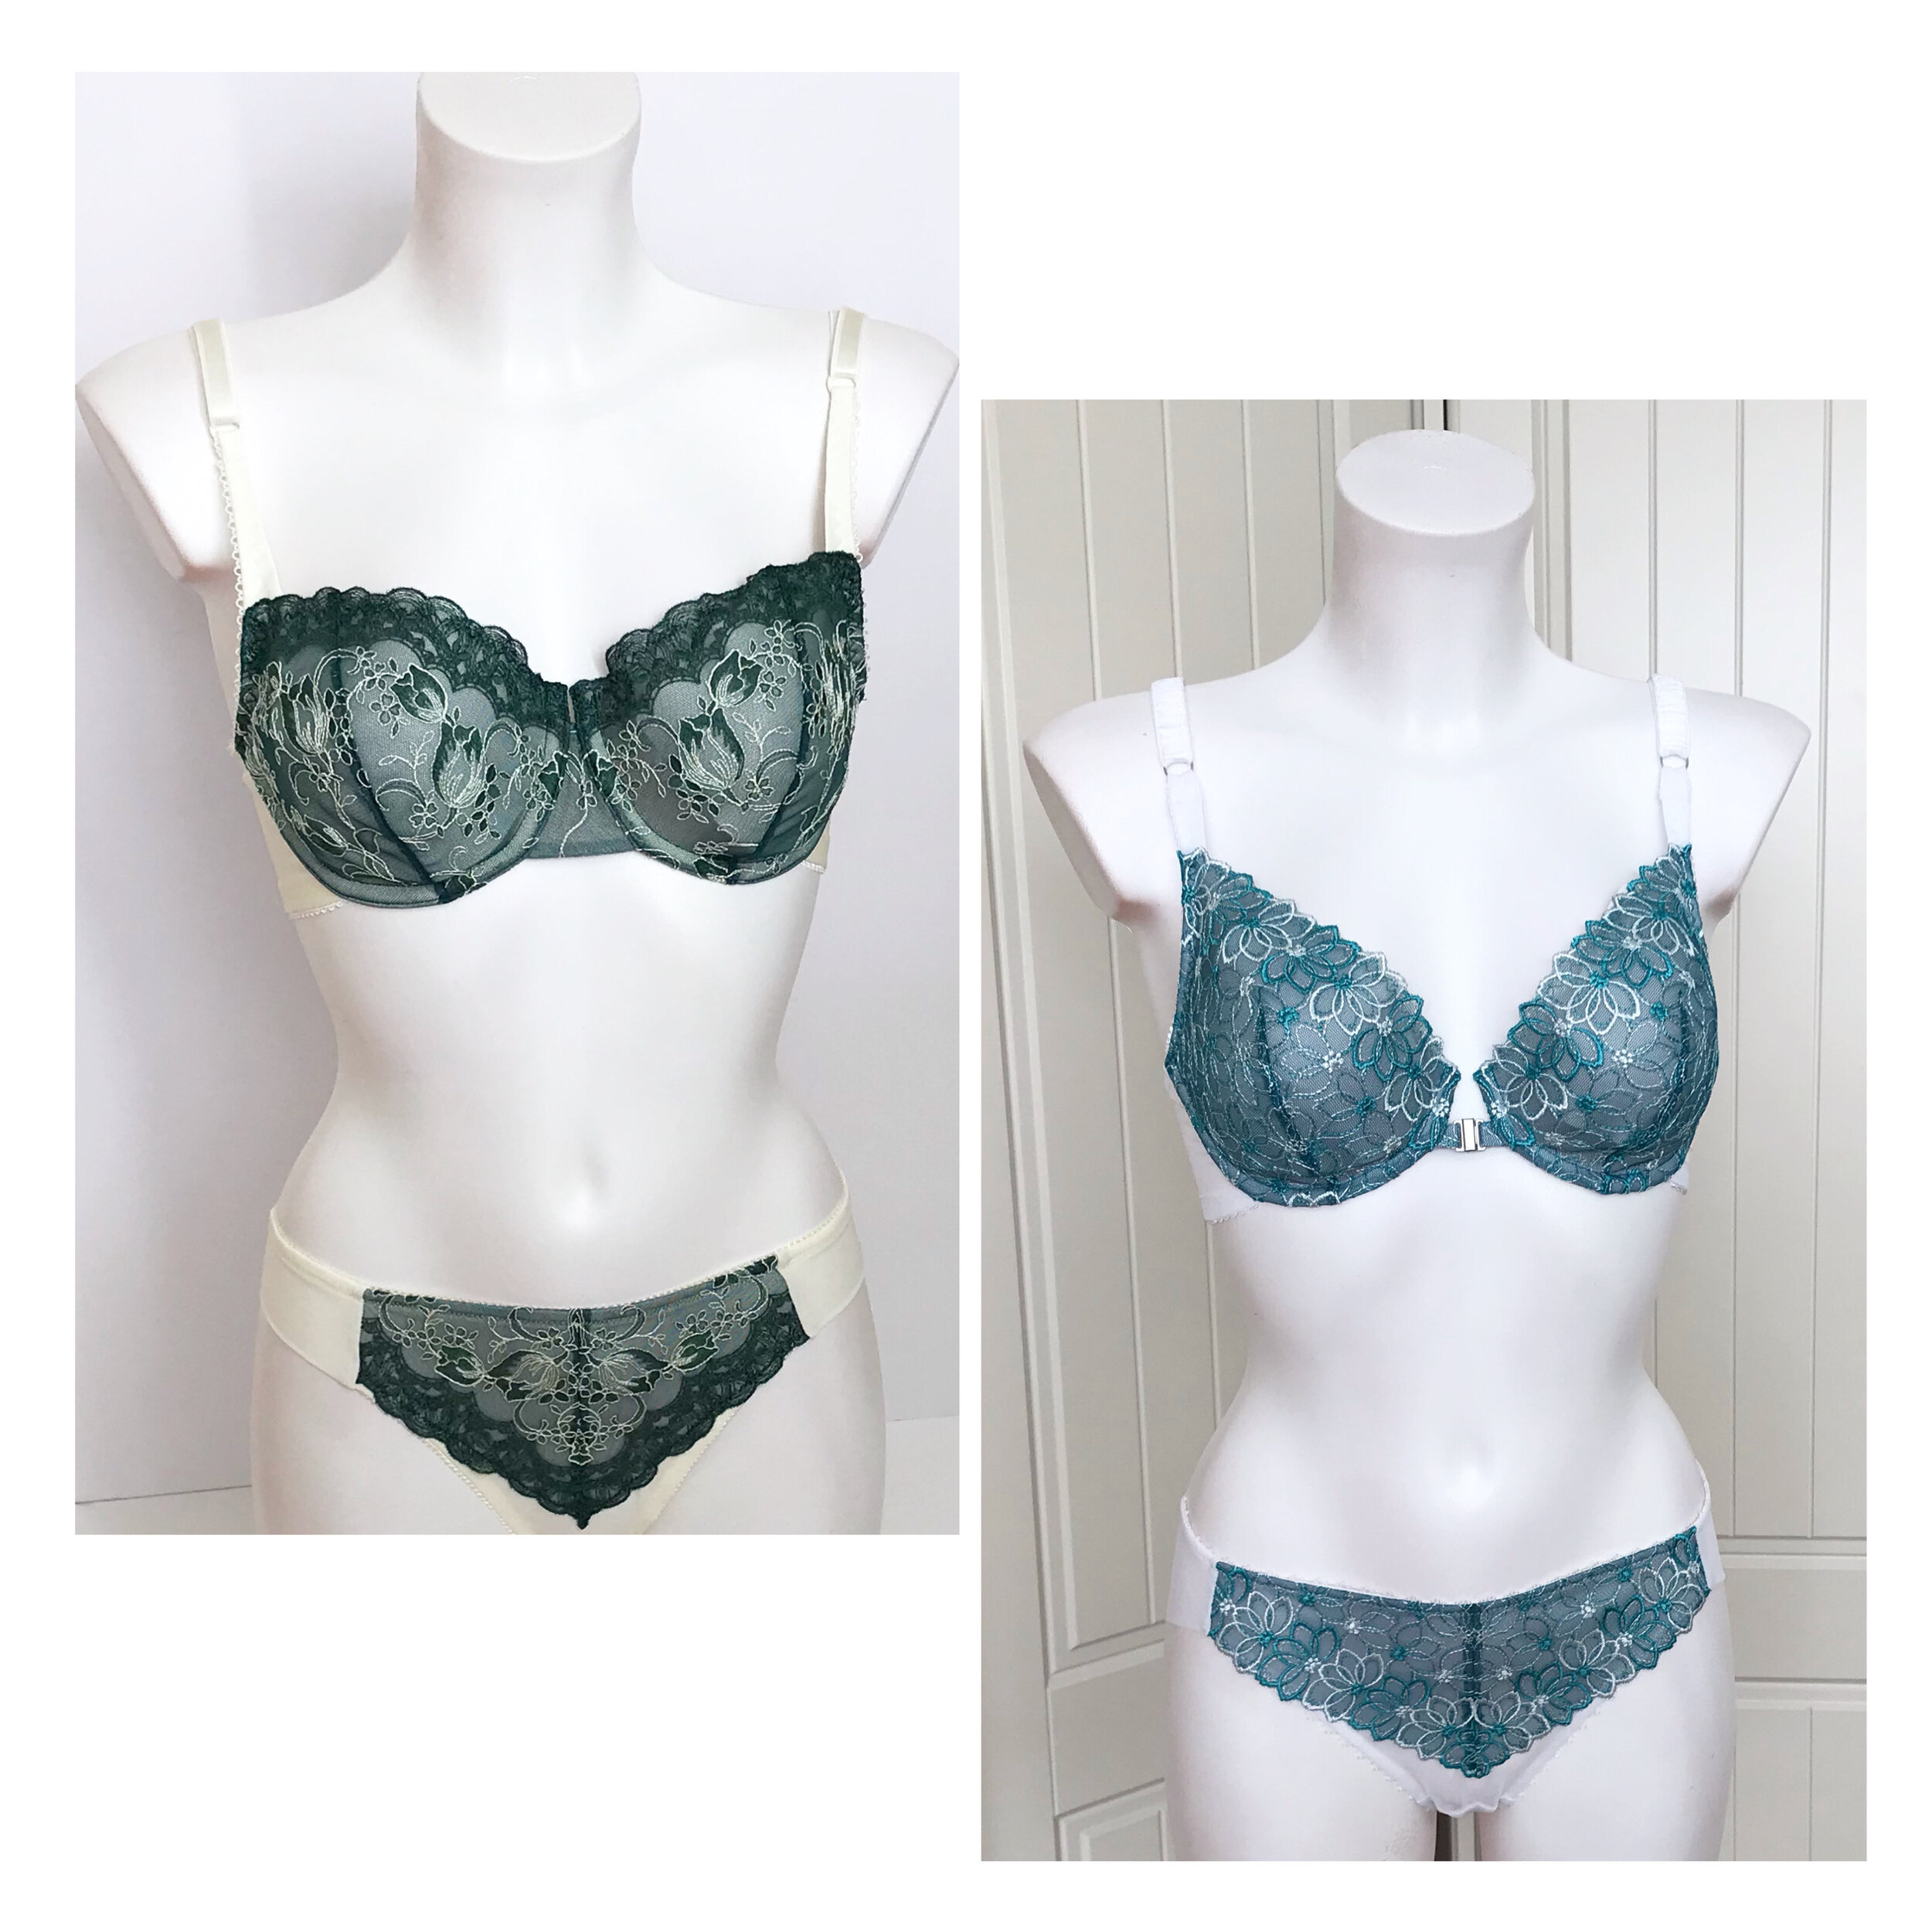
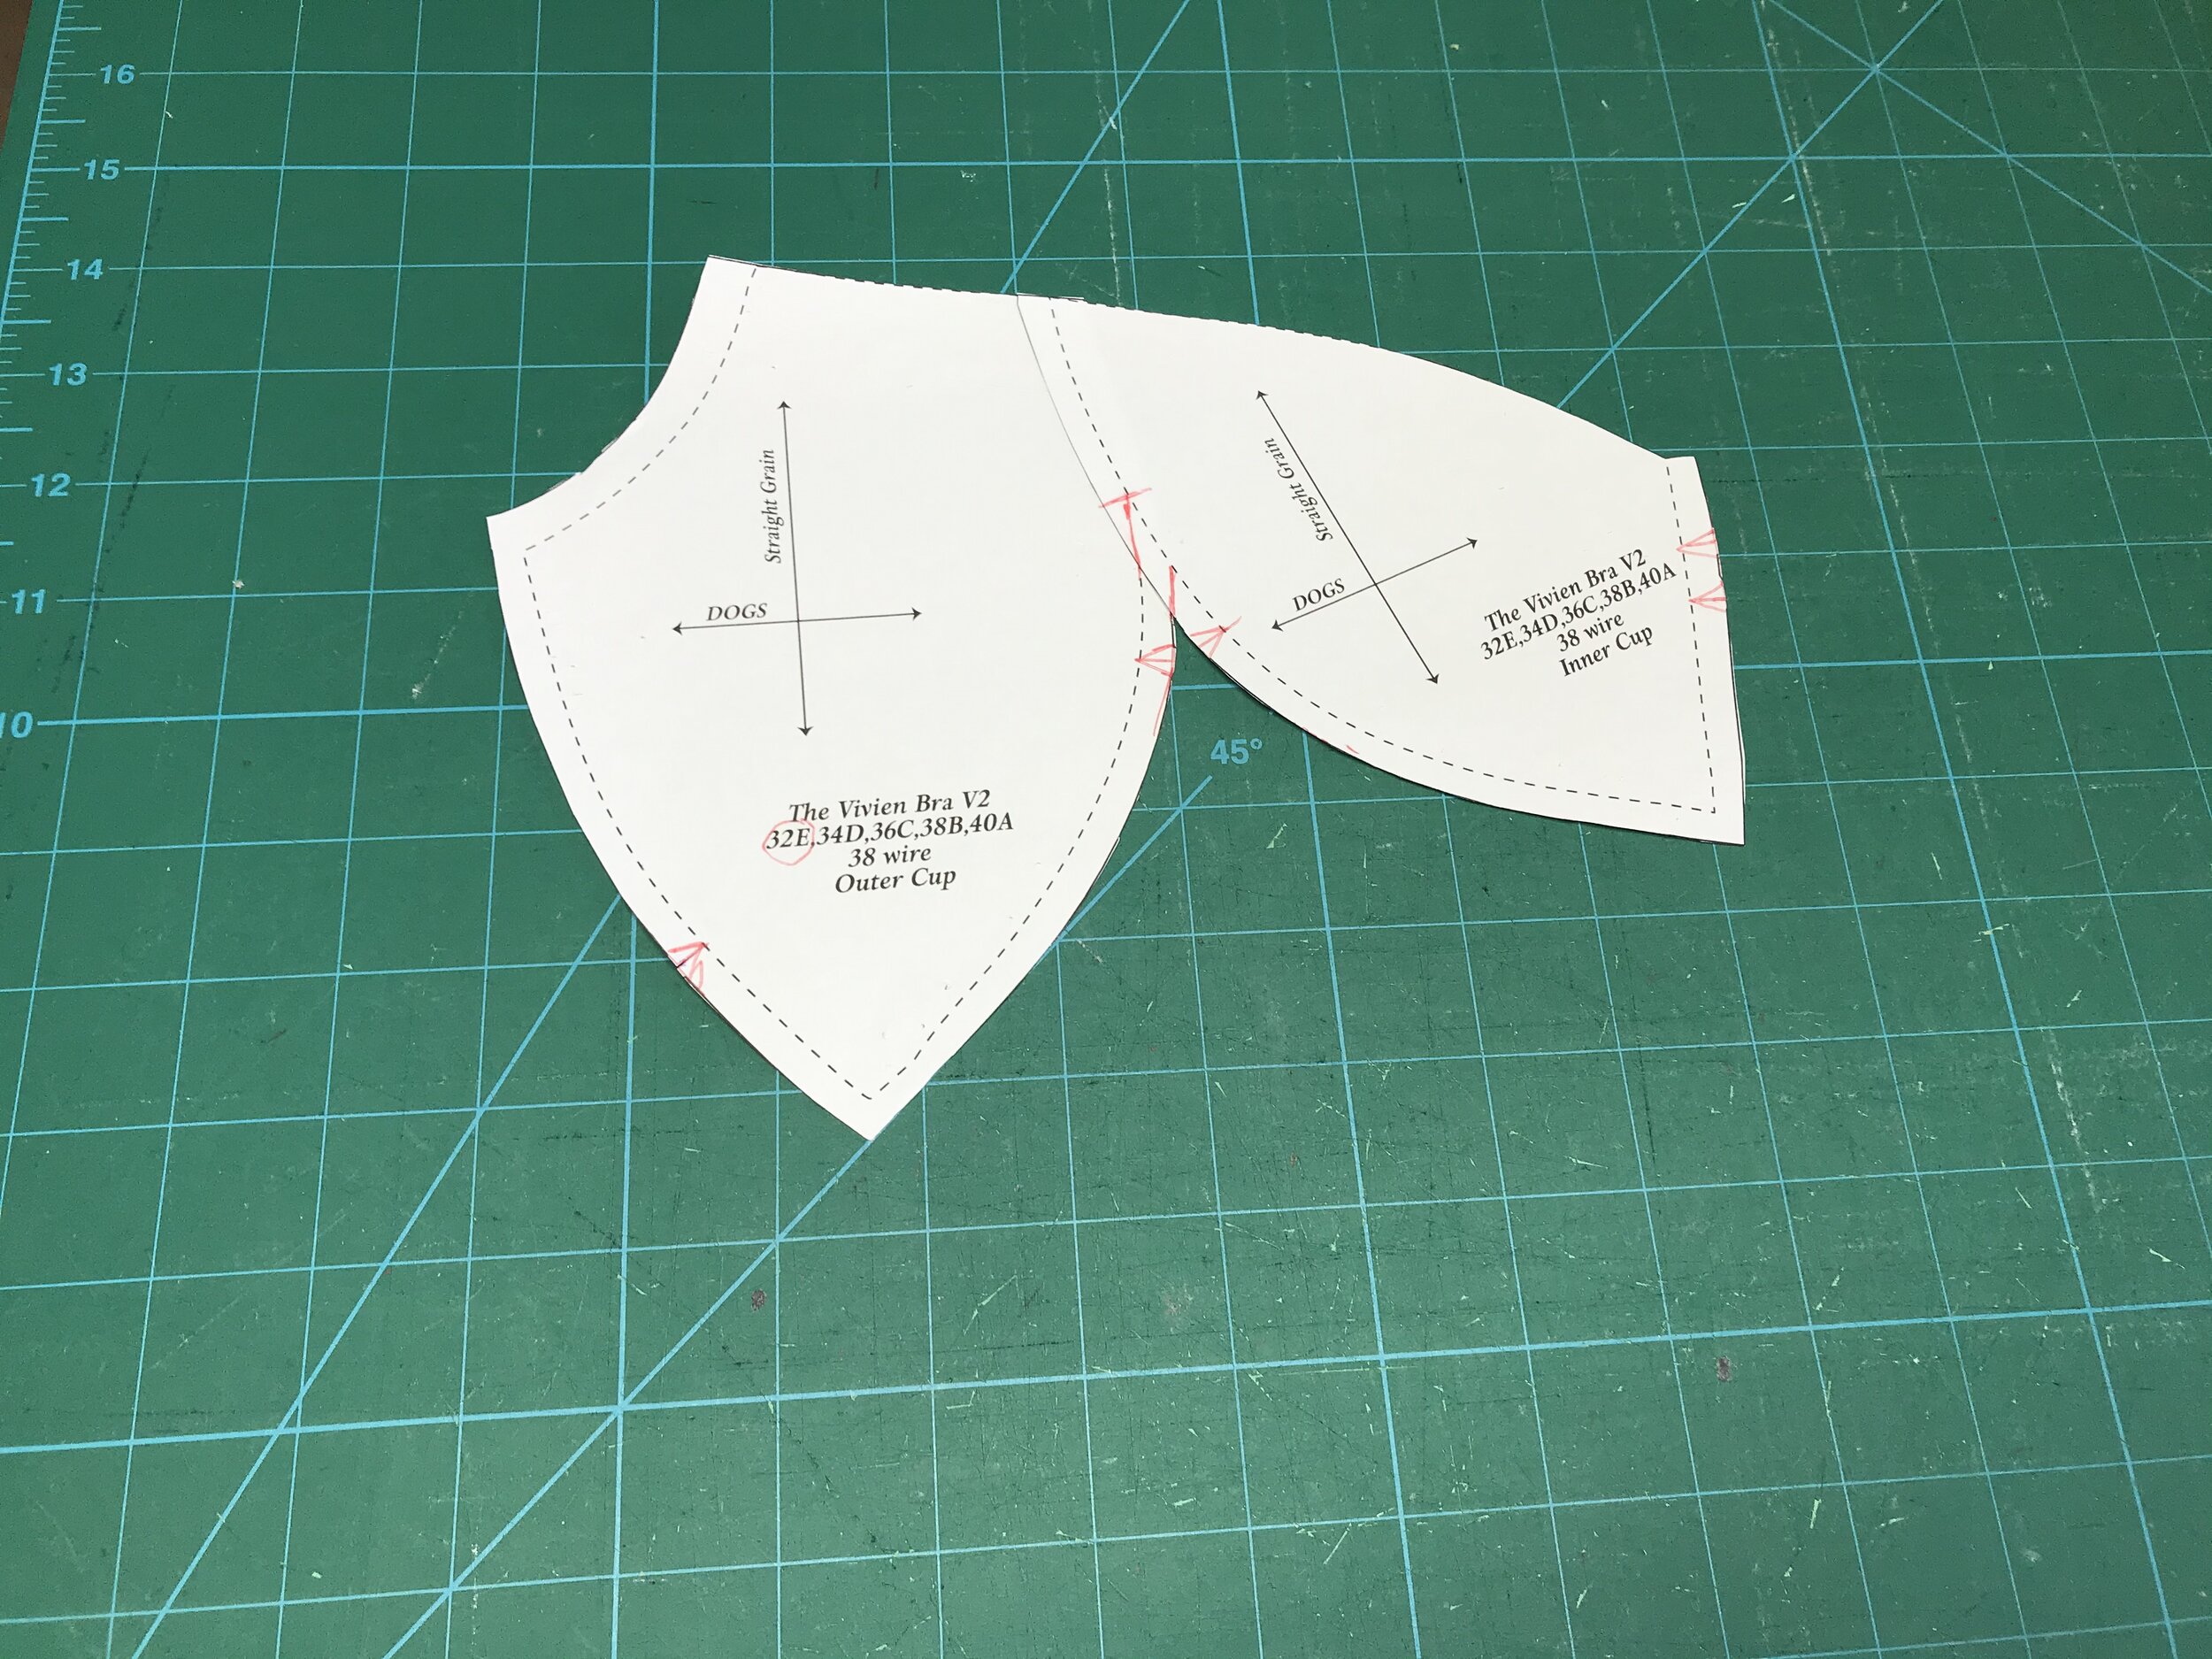
"Classy with a side order of danger!” is how Jennie describes the Vivien, “designed to create a pretty and feminine bra yet whilst still aiming to provide support for those with large cup volumes, and smaller back frames.” The main cup has a vertical centre seam and a power bar which can be placed under or over the main cup pieces. You buy the cups for each style separately with the band and instructions being another package.
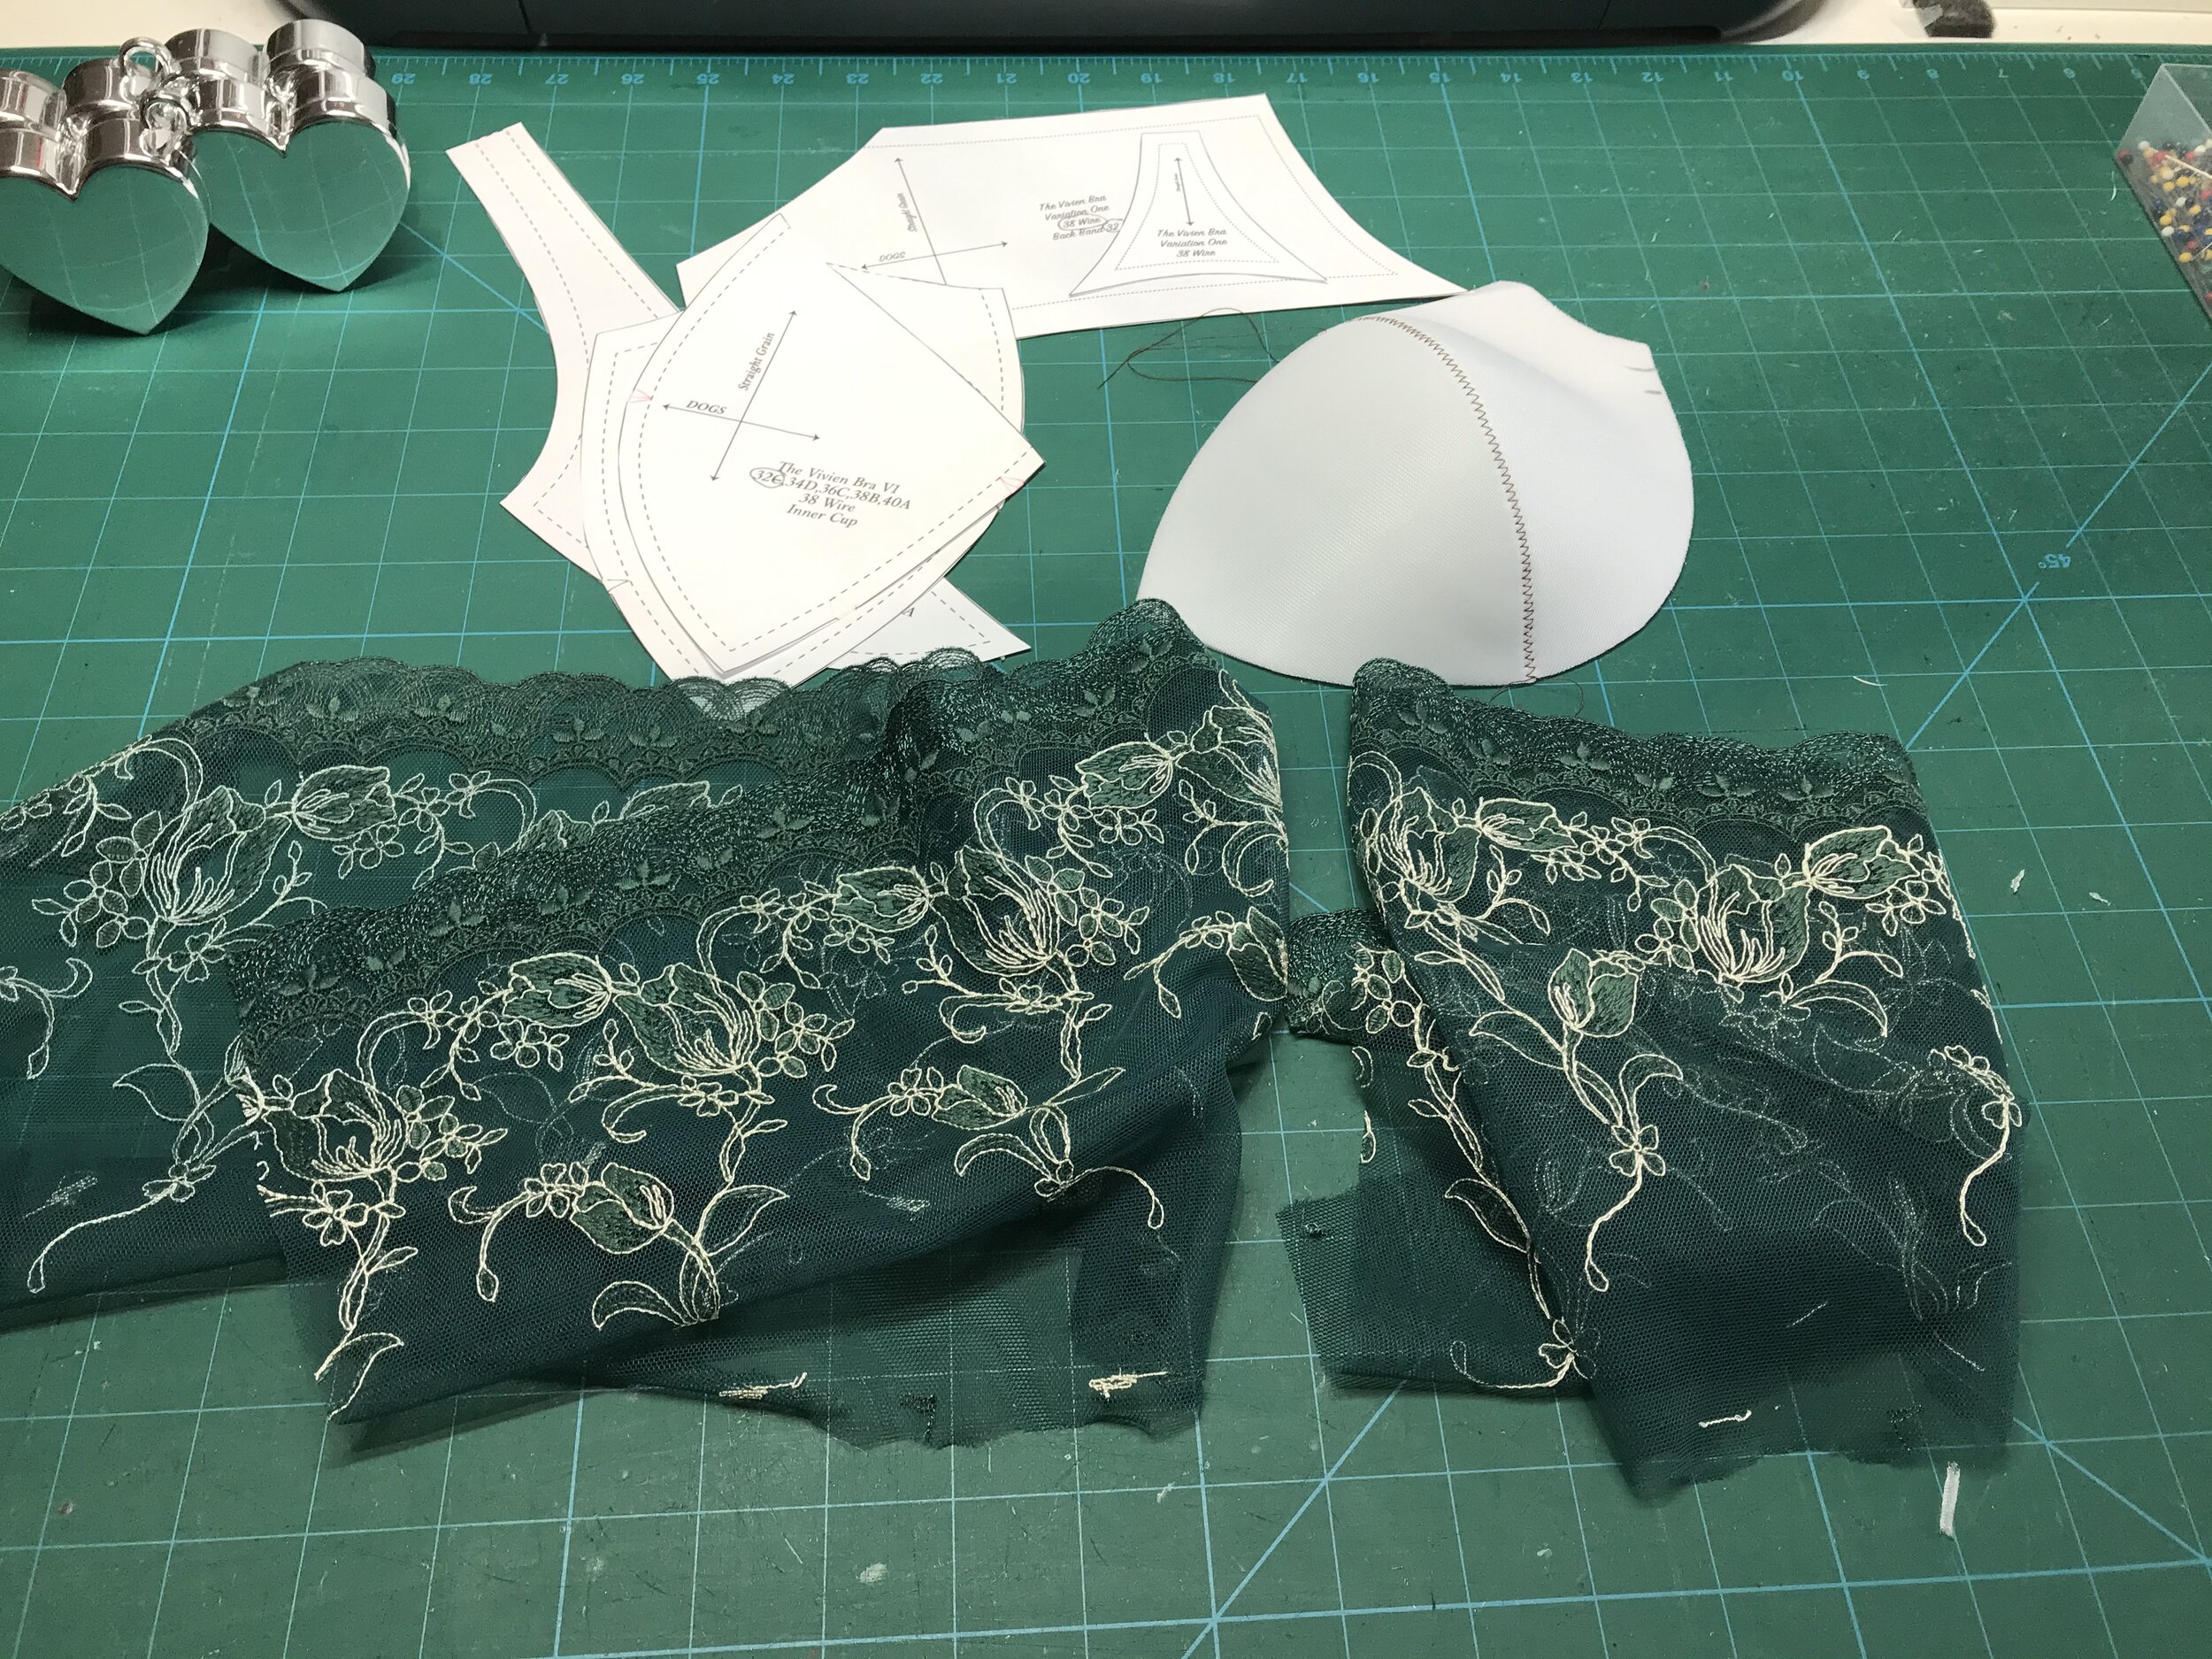
Variation 1 was released first so I will start with this. The frame size is the average of the full bust and underbust with the cup the difference between the frame and fullbust. At 30” underbust this was at the bottom end of the 34 frame size so, as the instructions suggested, I went with the 32 band and I was glad I did. The “Super Geeky” Wire Chart at the back of the instructions was really helpful and came up with the 32e for the band and my 38 wire size although the measuring system would have put me in a d cup. I made up a 32e cup in foam and decided to use this.
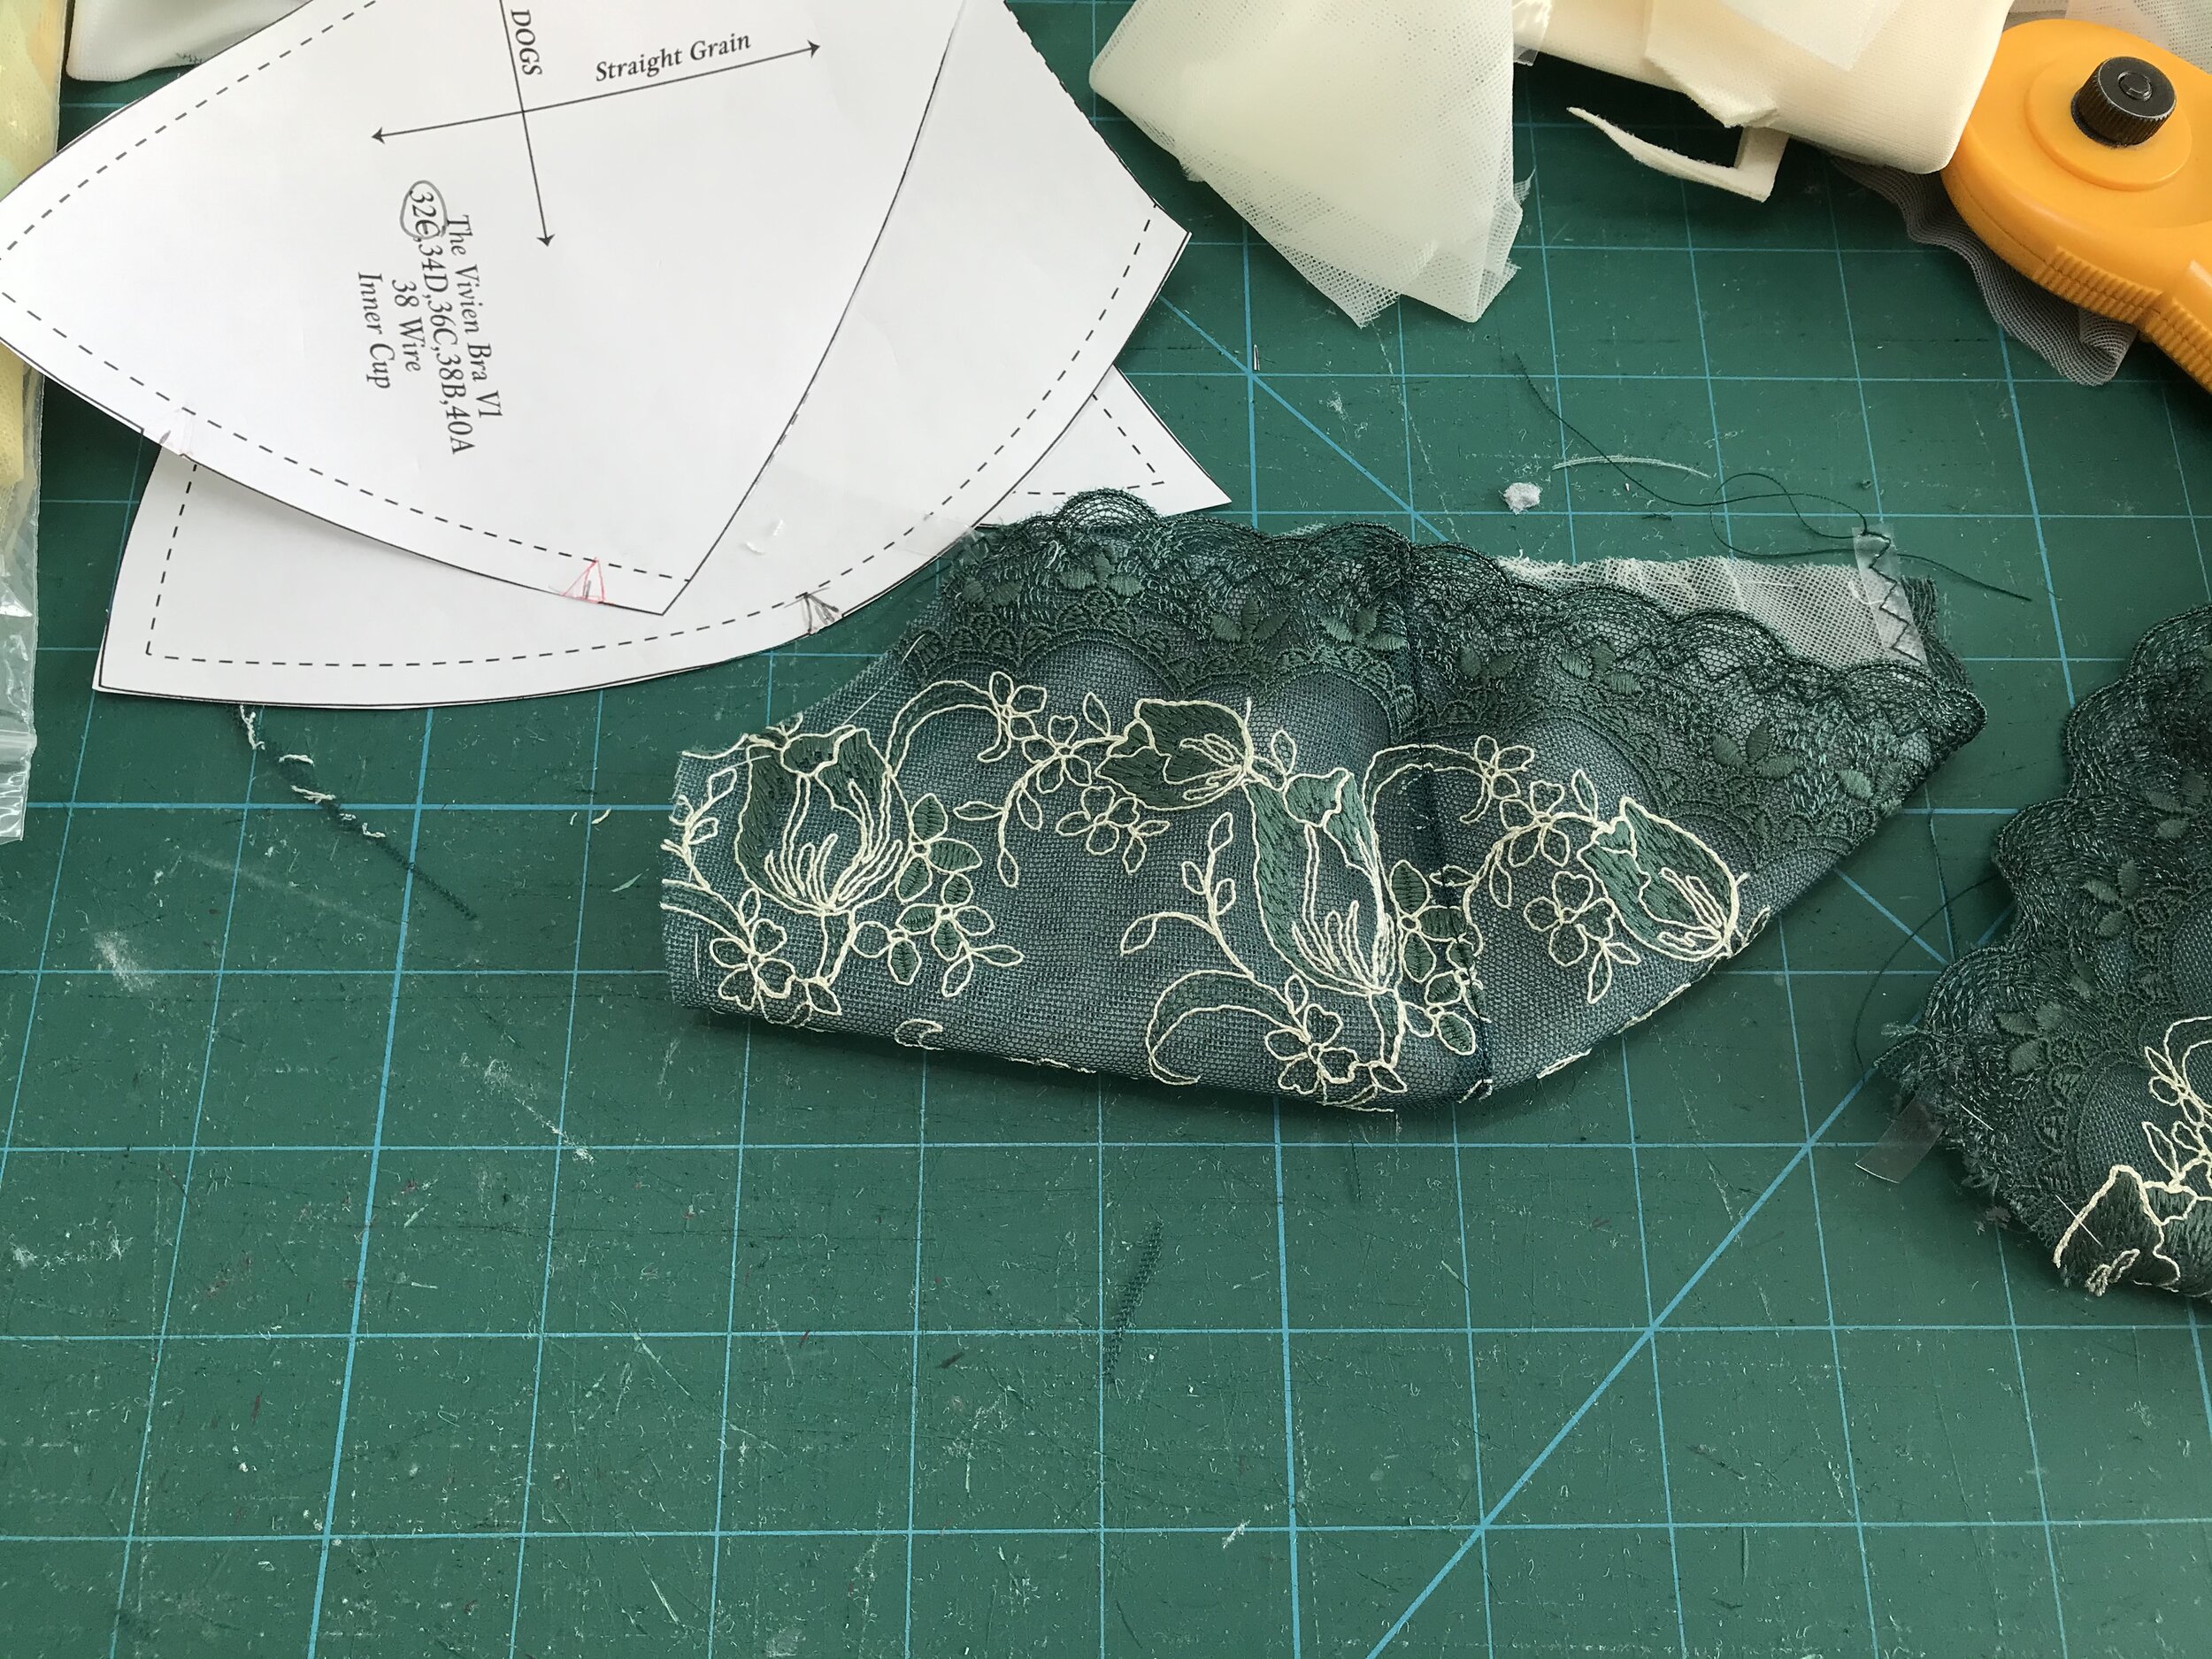
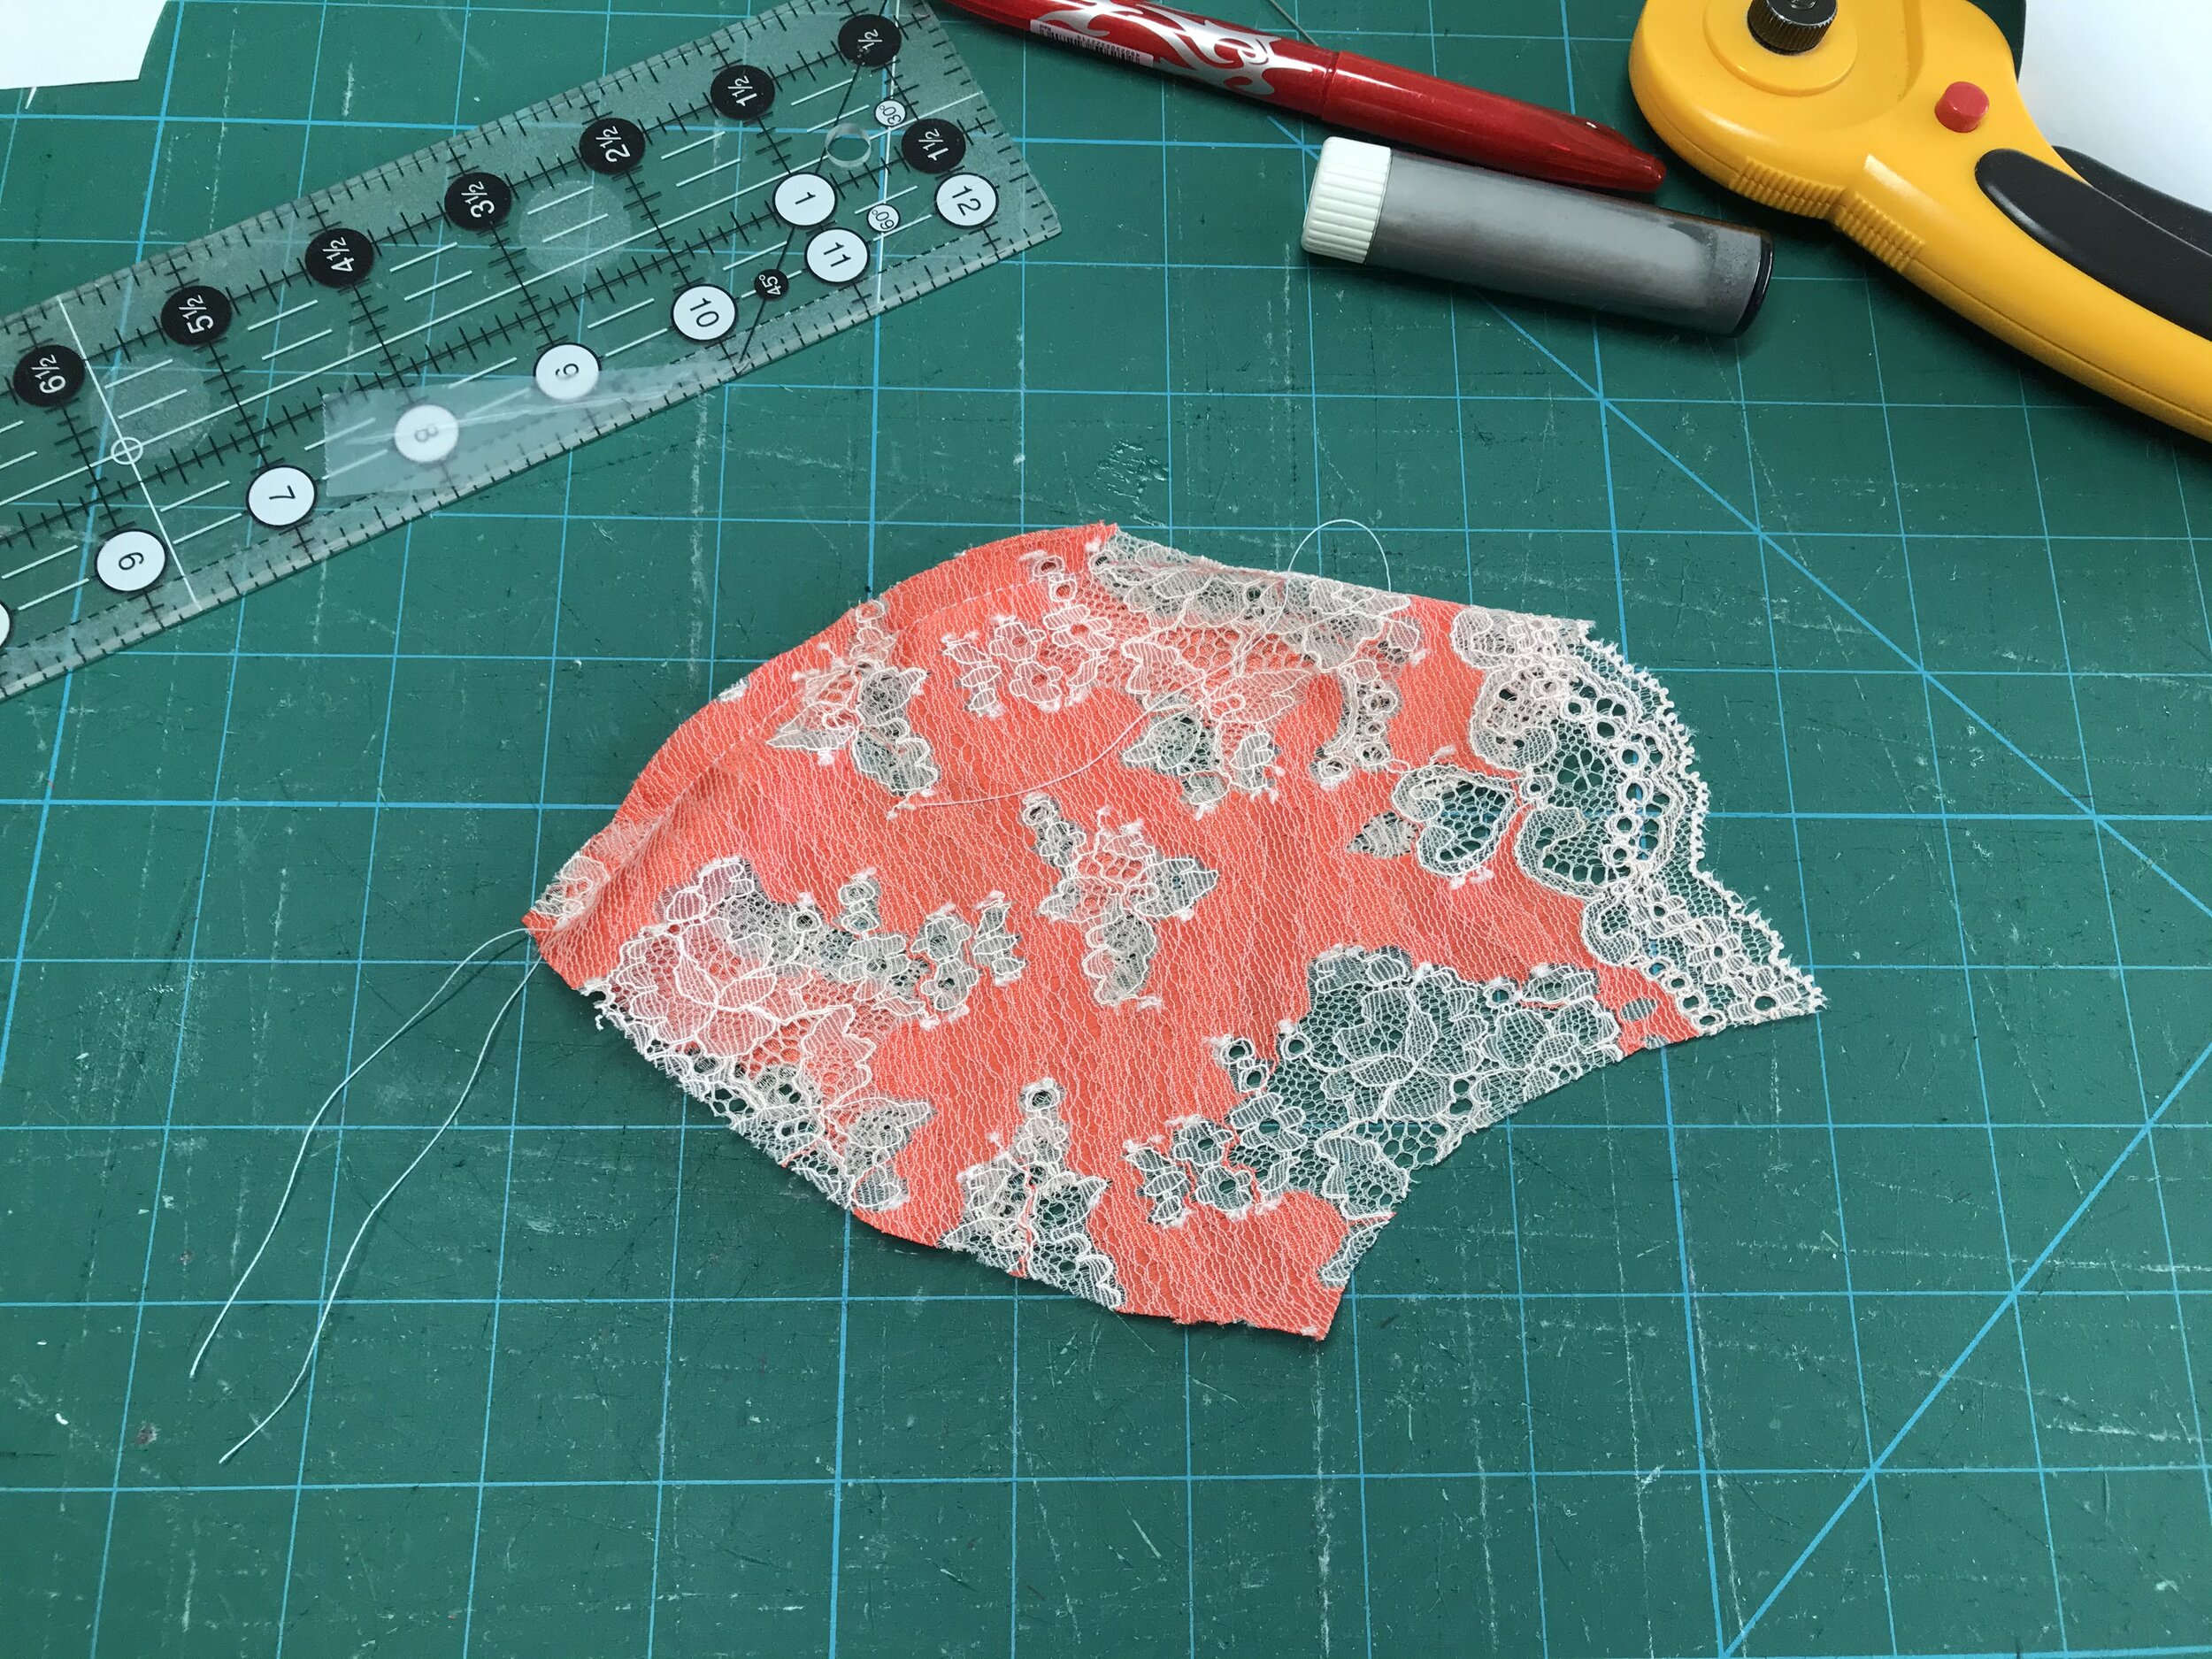
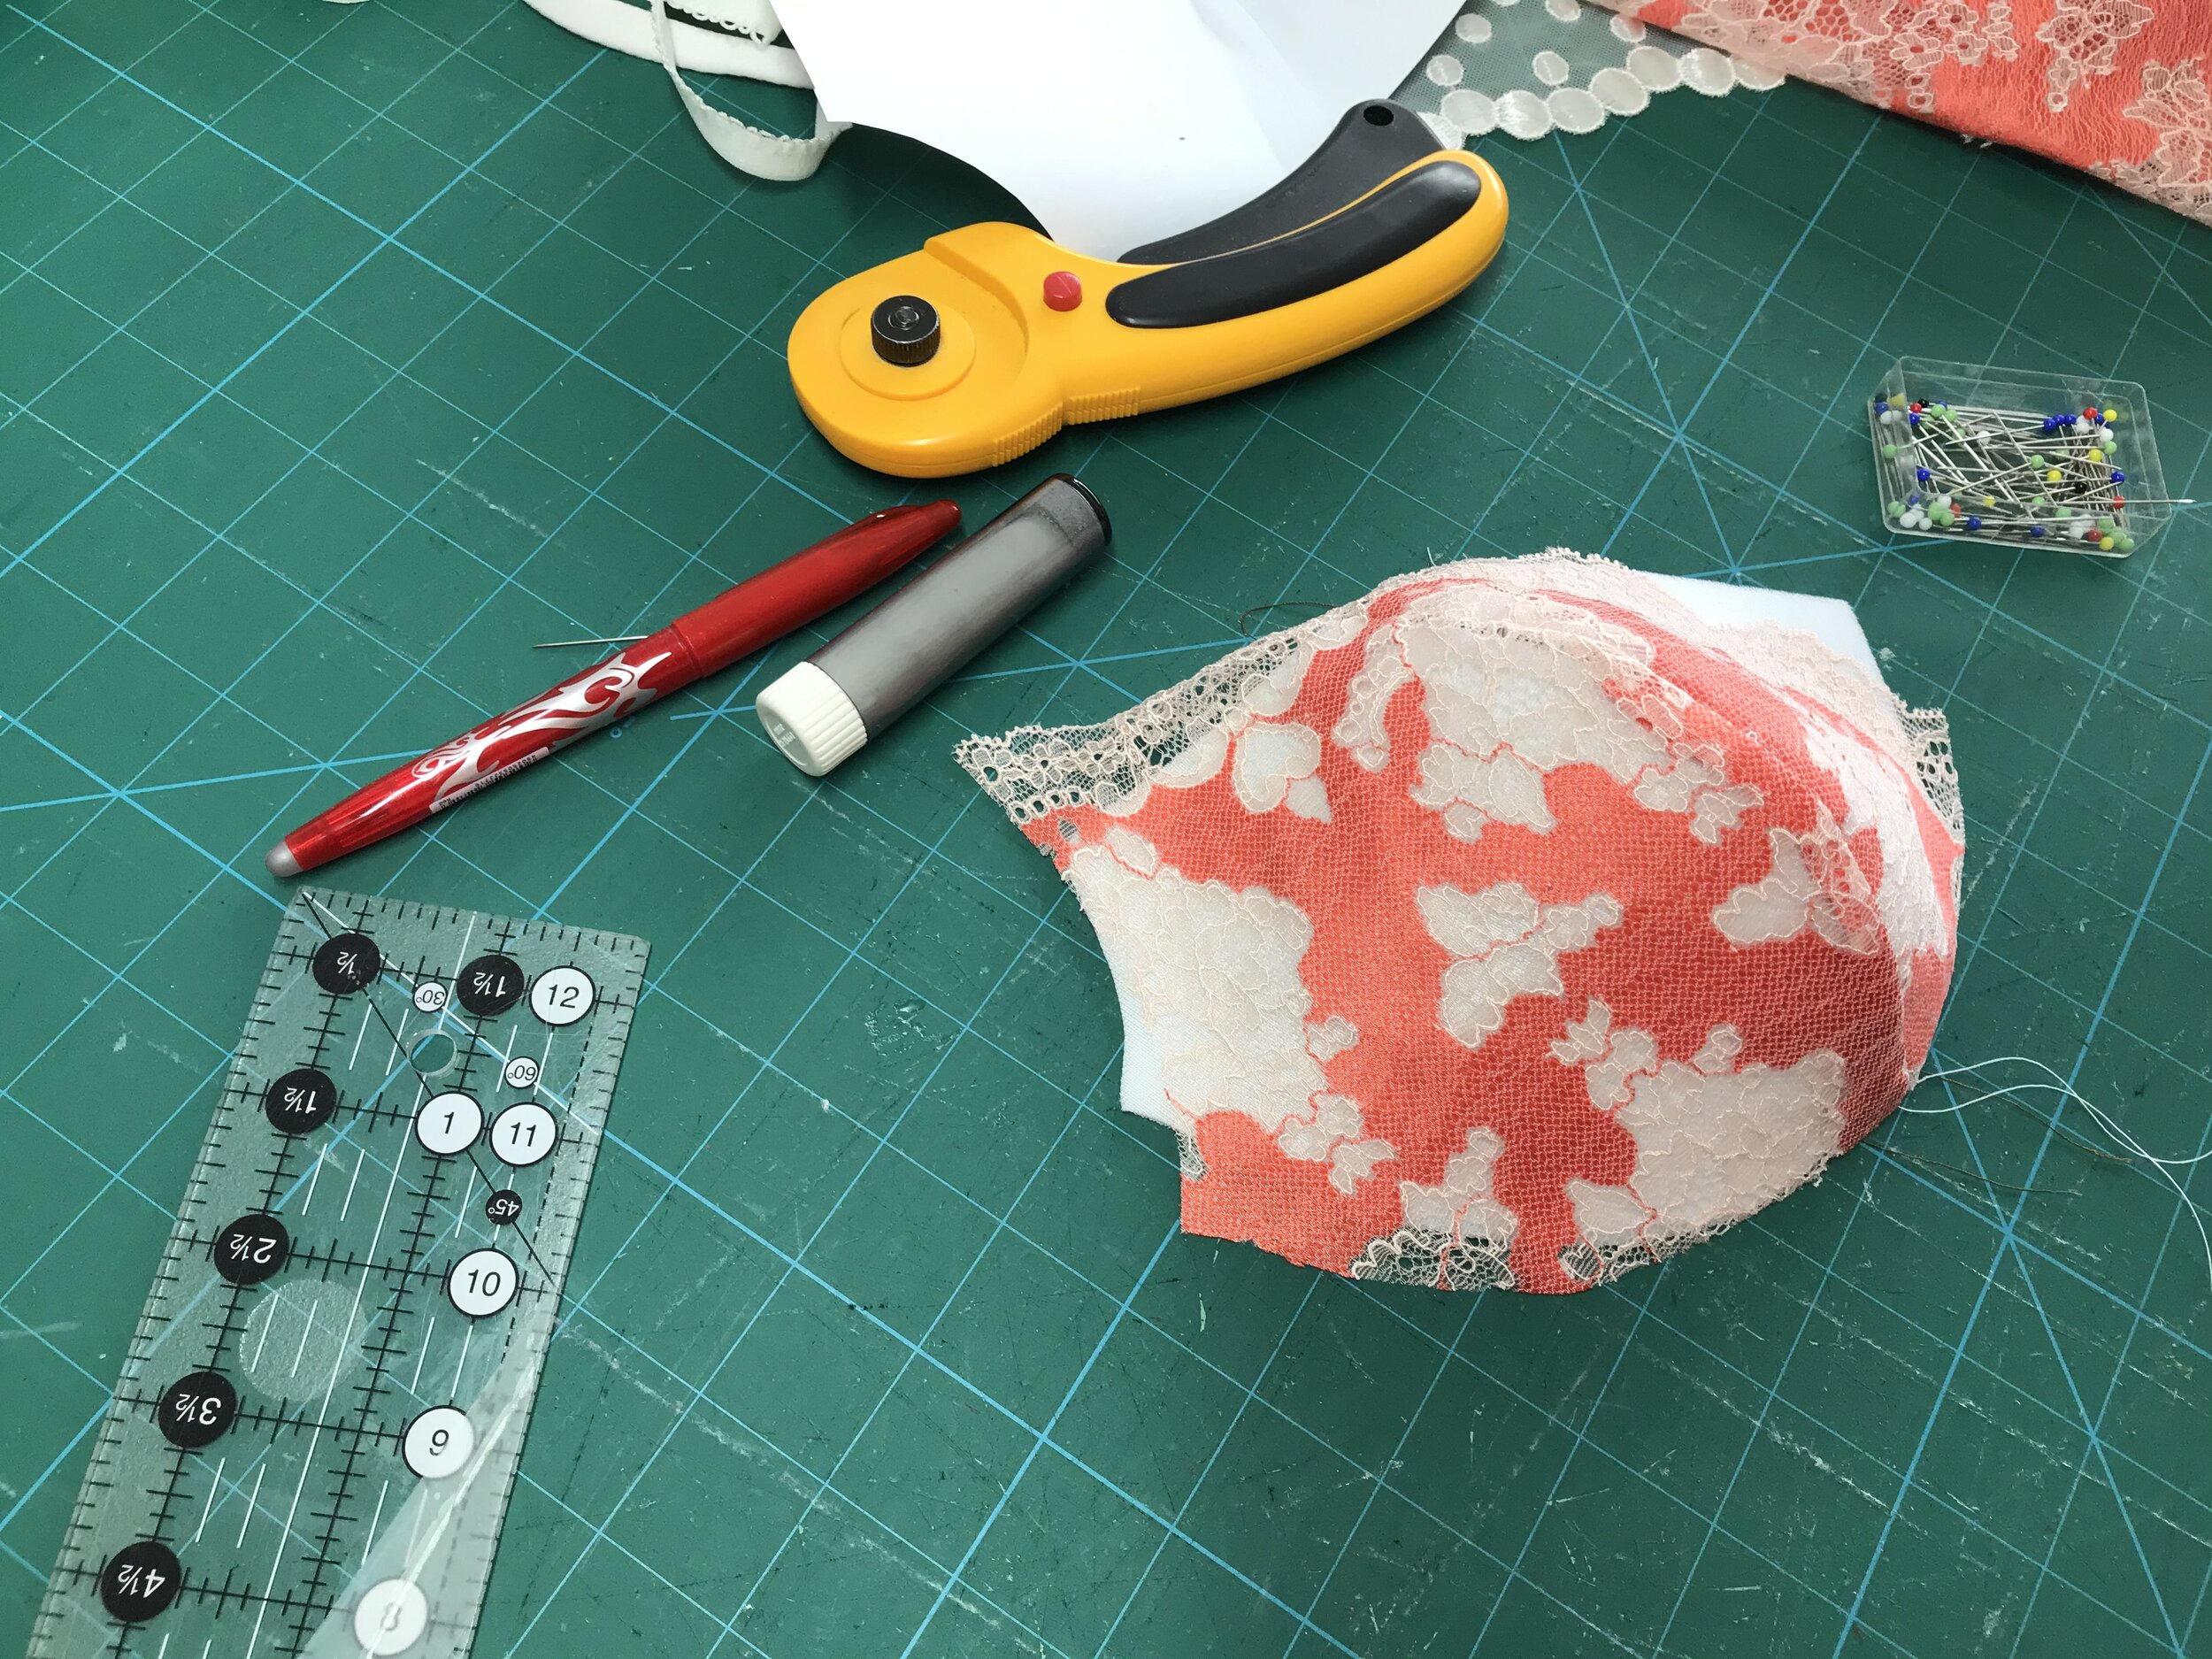
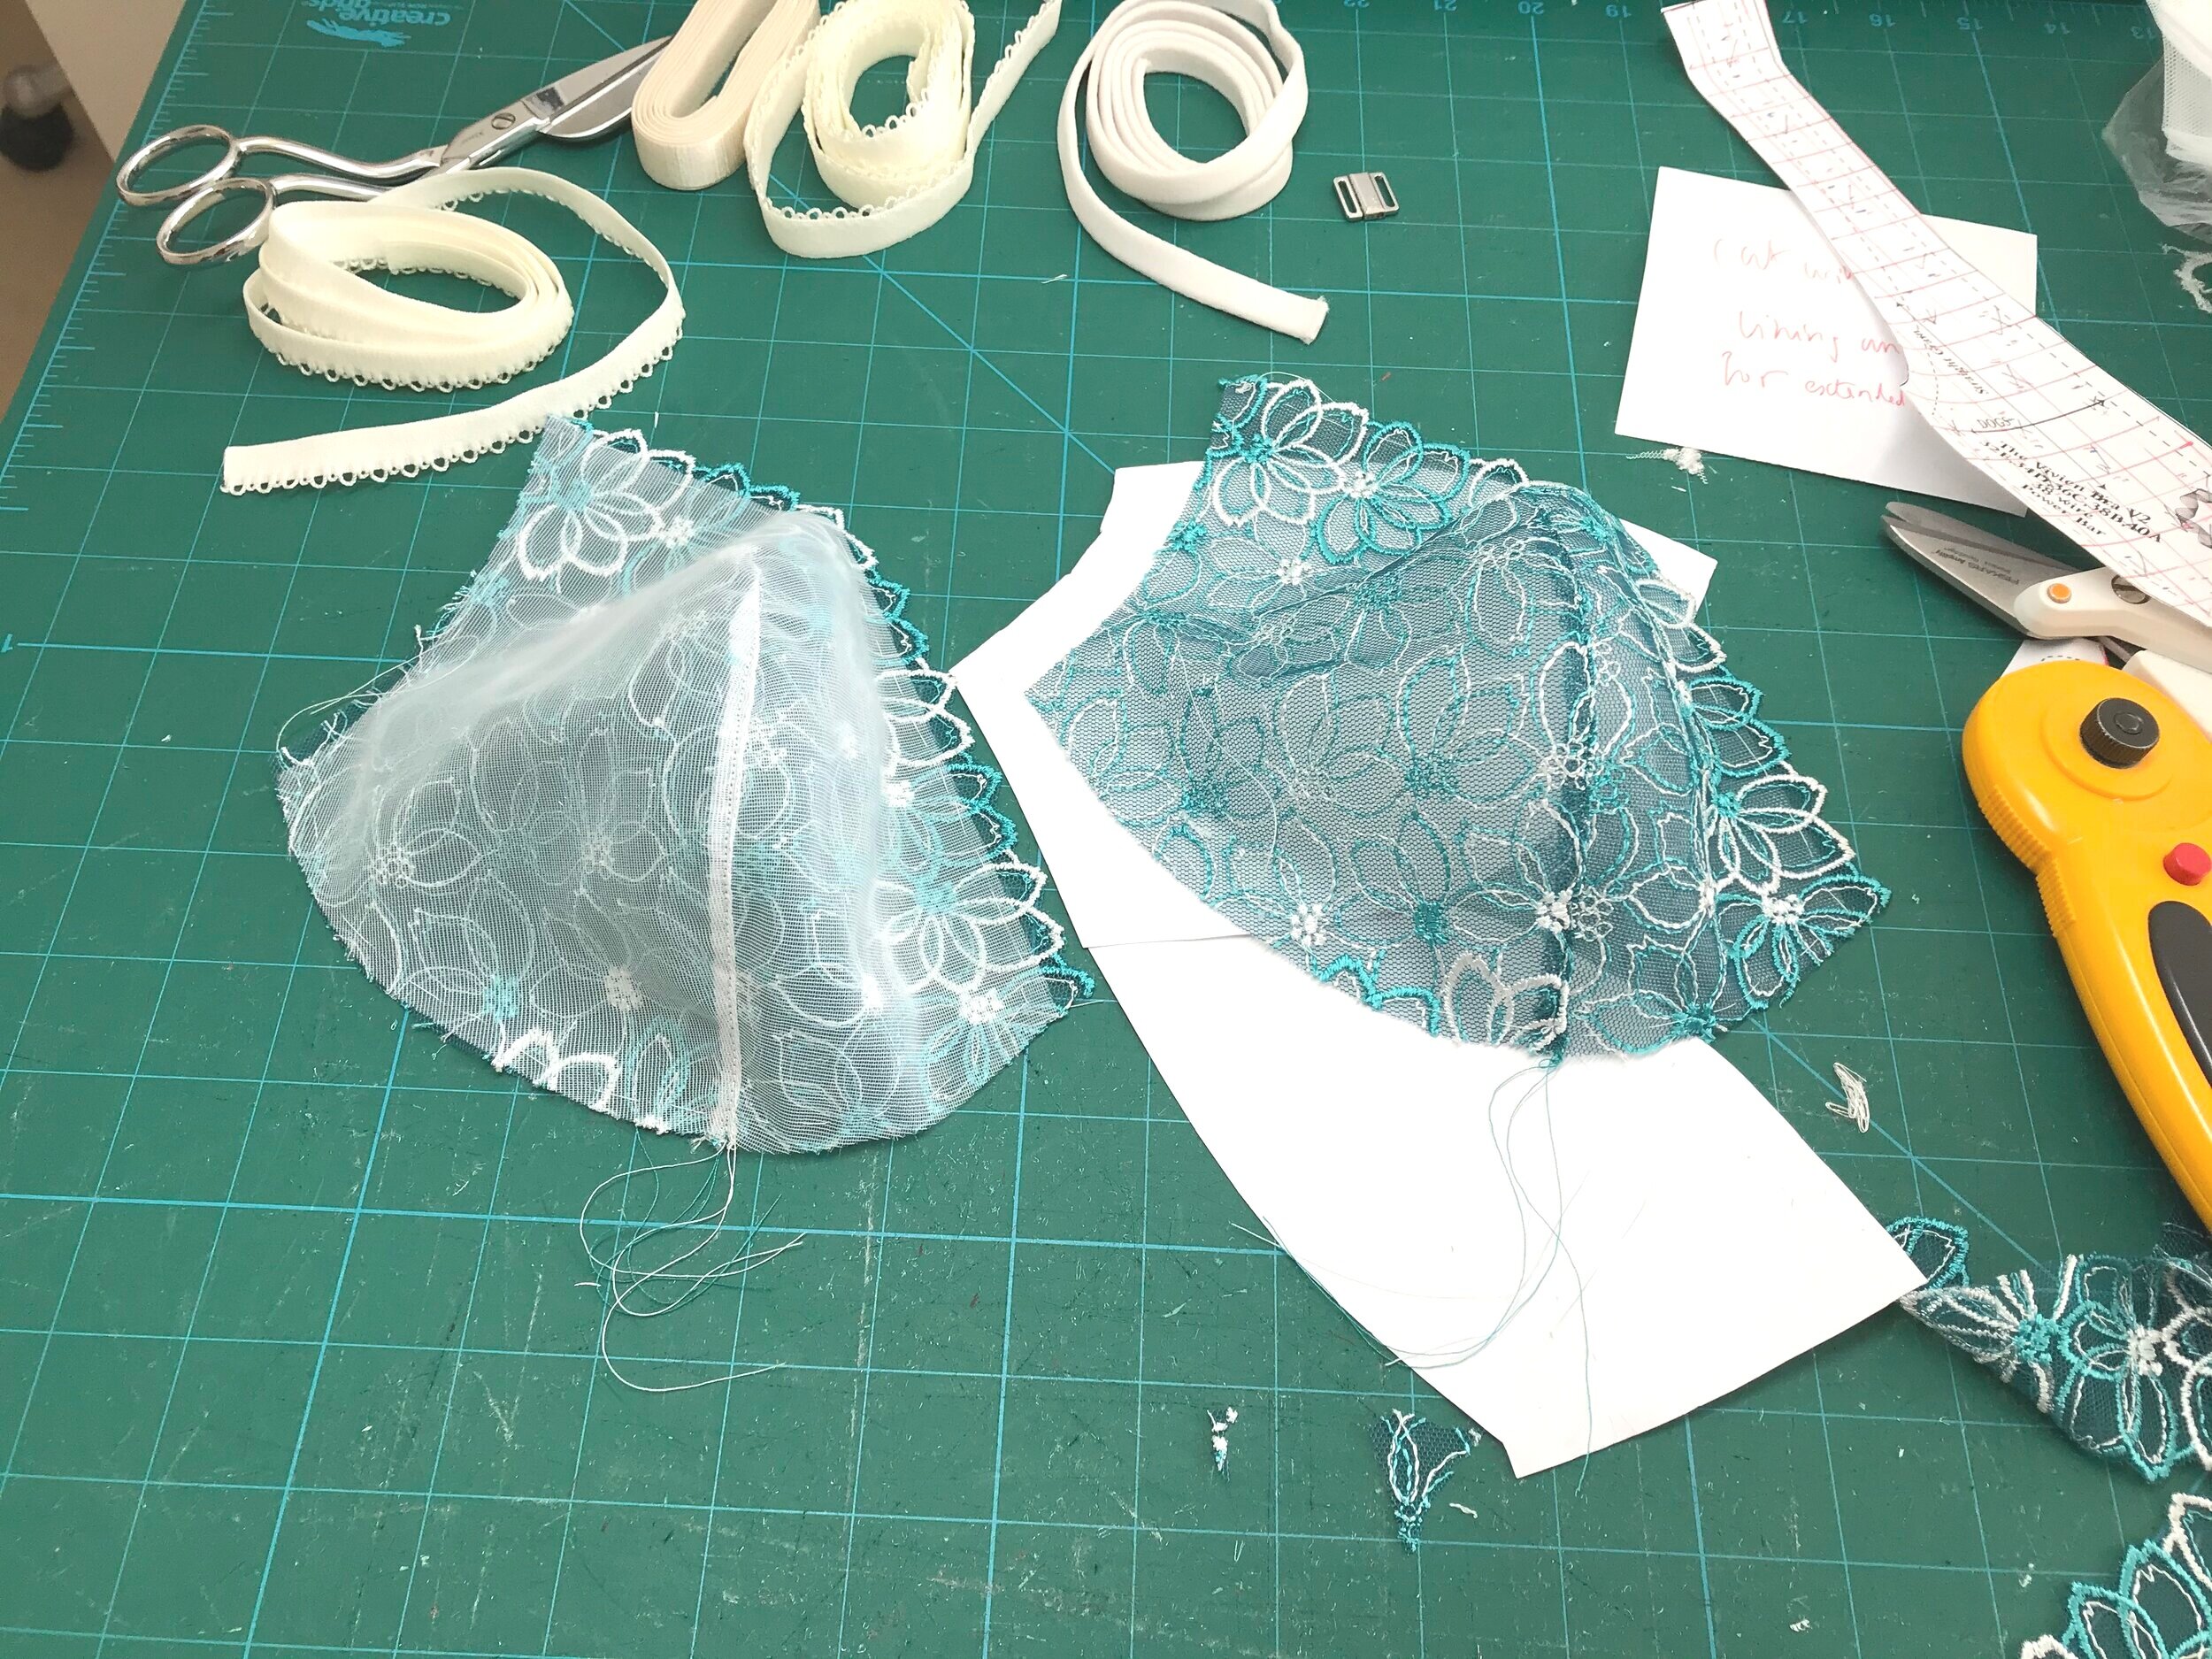
Included in my last order from BWear was this very pretty lace which comes in left and right pieces for mirroring and I thought it would be perfect for this pattern. As the top of the seam is pretty straight you can match your lace across the top which is very aesthetically pleasing. The instructions construct the cup by sewing the seams on the lace and lining separately and then putting wrong sides together, topstitching either side of the seam through all layers. I tried this but didn’t like how it looked with the sheer lace so I undid everything and enclosed the seam, topstitching and trimming back to the stitching for a uniform look from both sides.
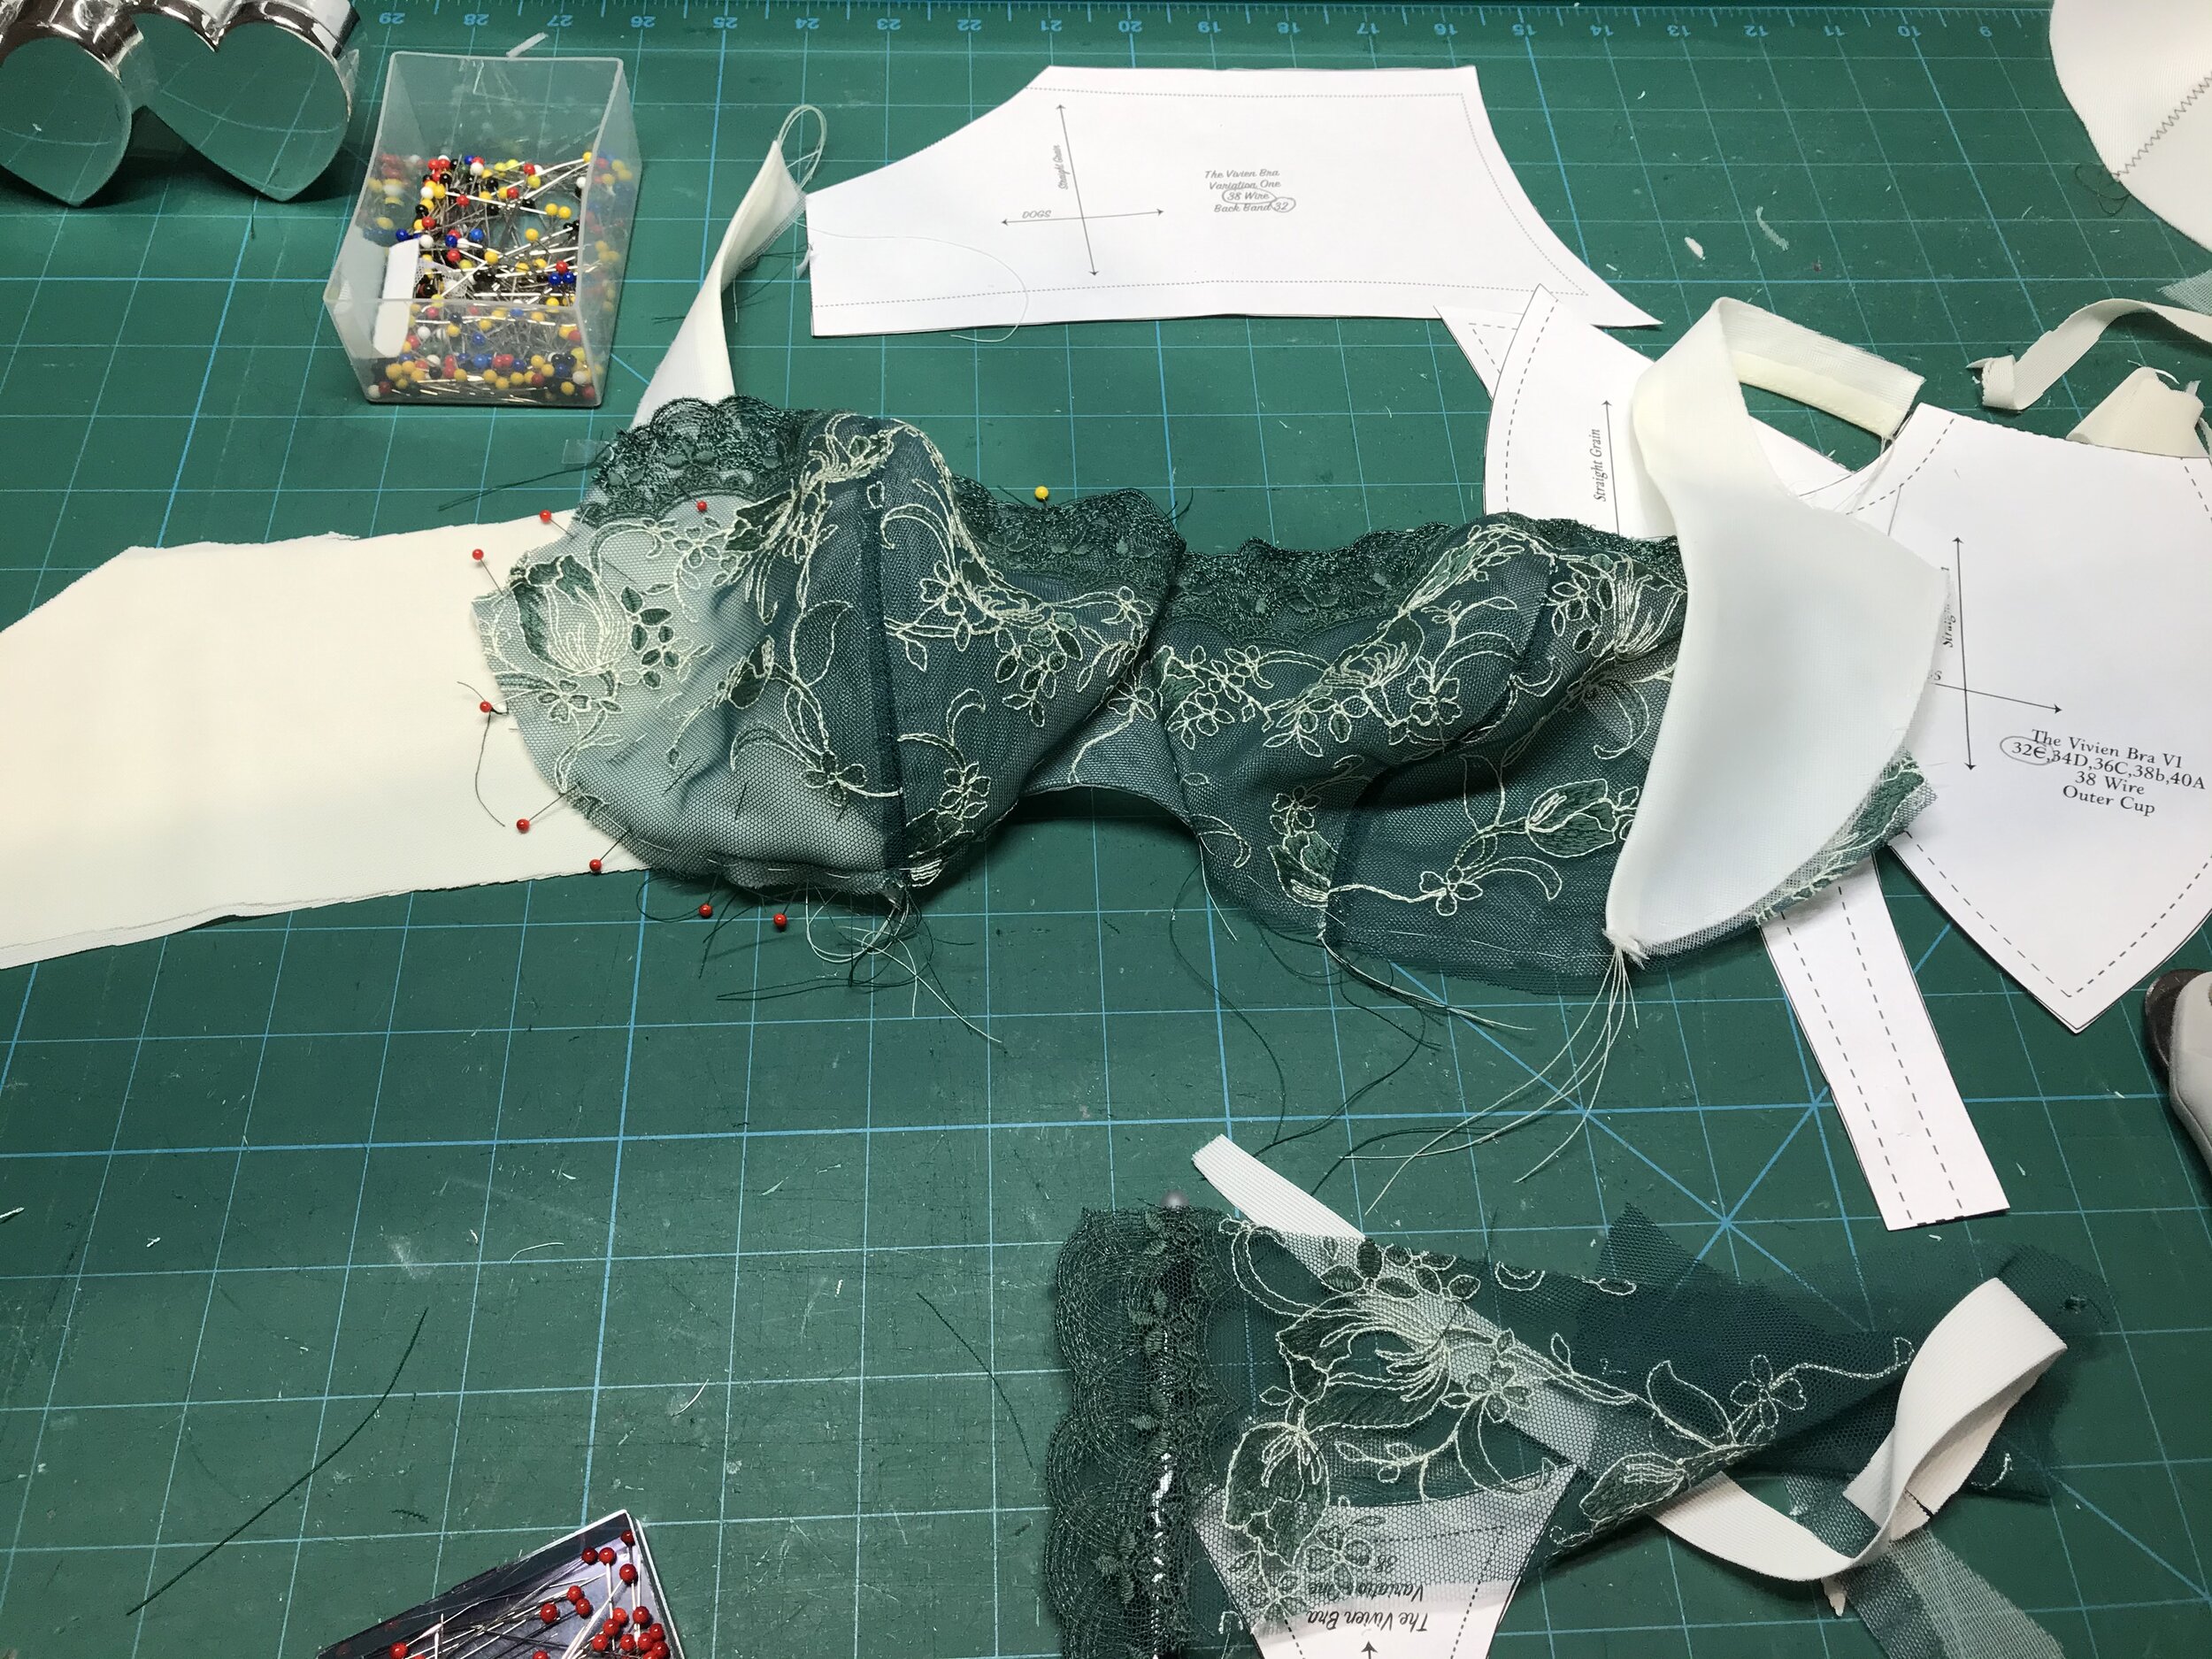
There are so many options for the bridge and powerbar but the pattern includes detailed instructions for every possibility. As my lace was directional I chose not to use the scalloped edge for the bridge but tried to find a section that would flow from one cup to the other. The next choice was to use duoplex for the powerbar on the inside of the cup rather than the lace as I thought that using here too would be too fussy for the delicate sheer look of the main lace cup.
I was blown away by the shape and fit of the bra although I had to fasten on the tightest hook to get the snug fit I prefer. For this reason I would definitely make this style first as I knew exactly what size to make the back for the front closing variation. Also, you can test the cup without having to worry about the front closure.
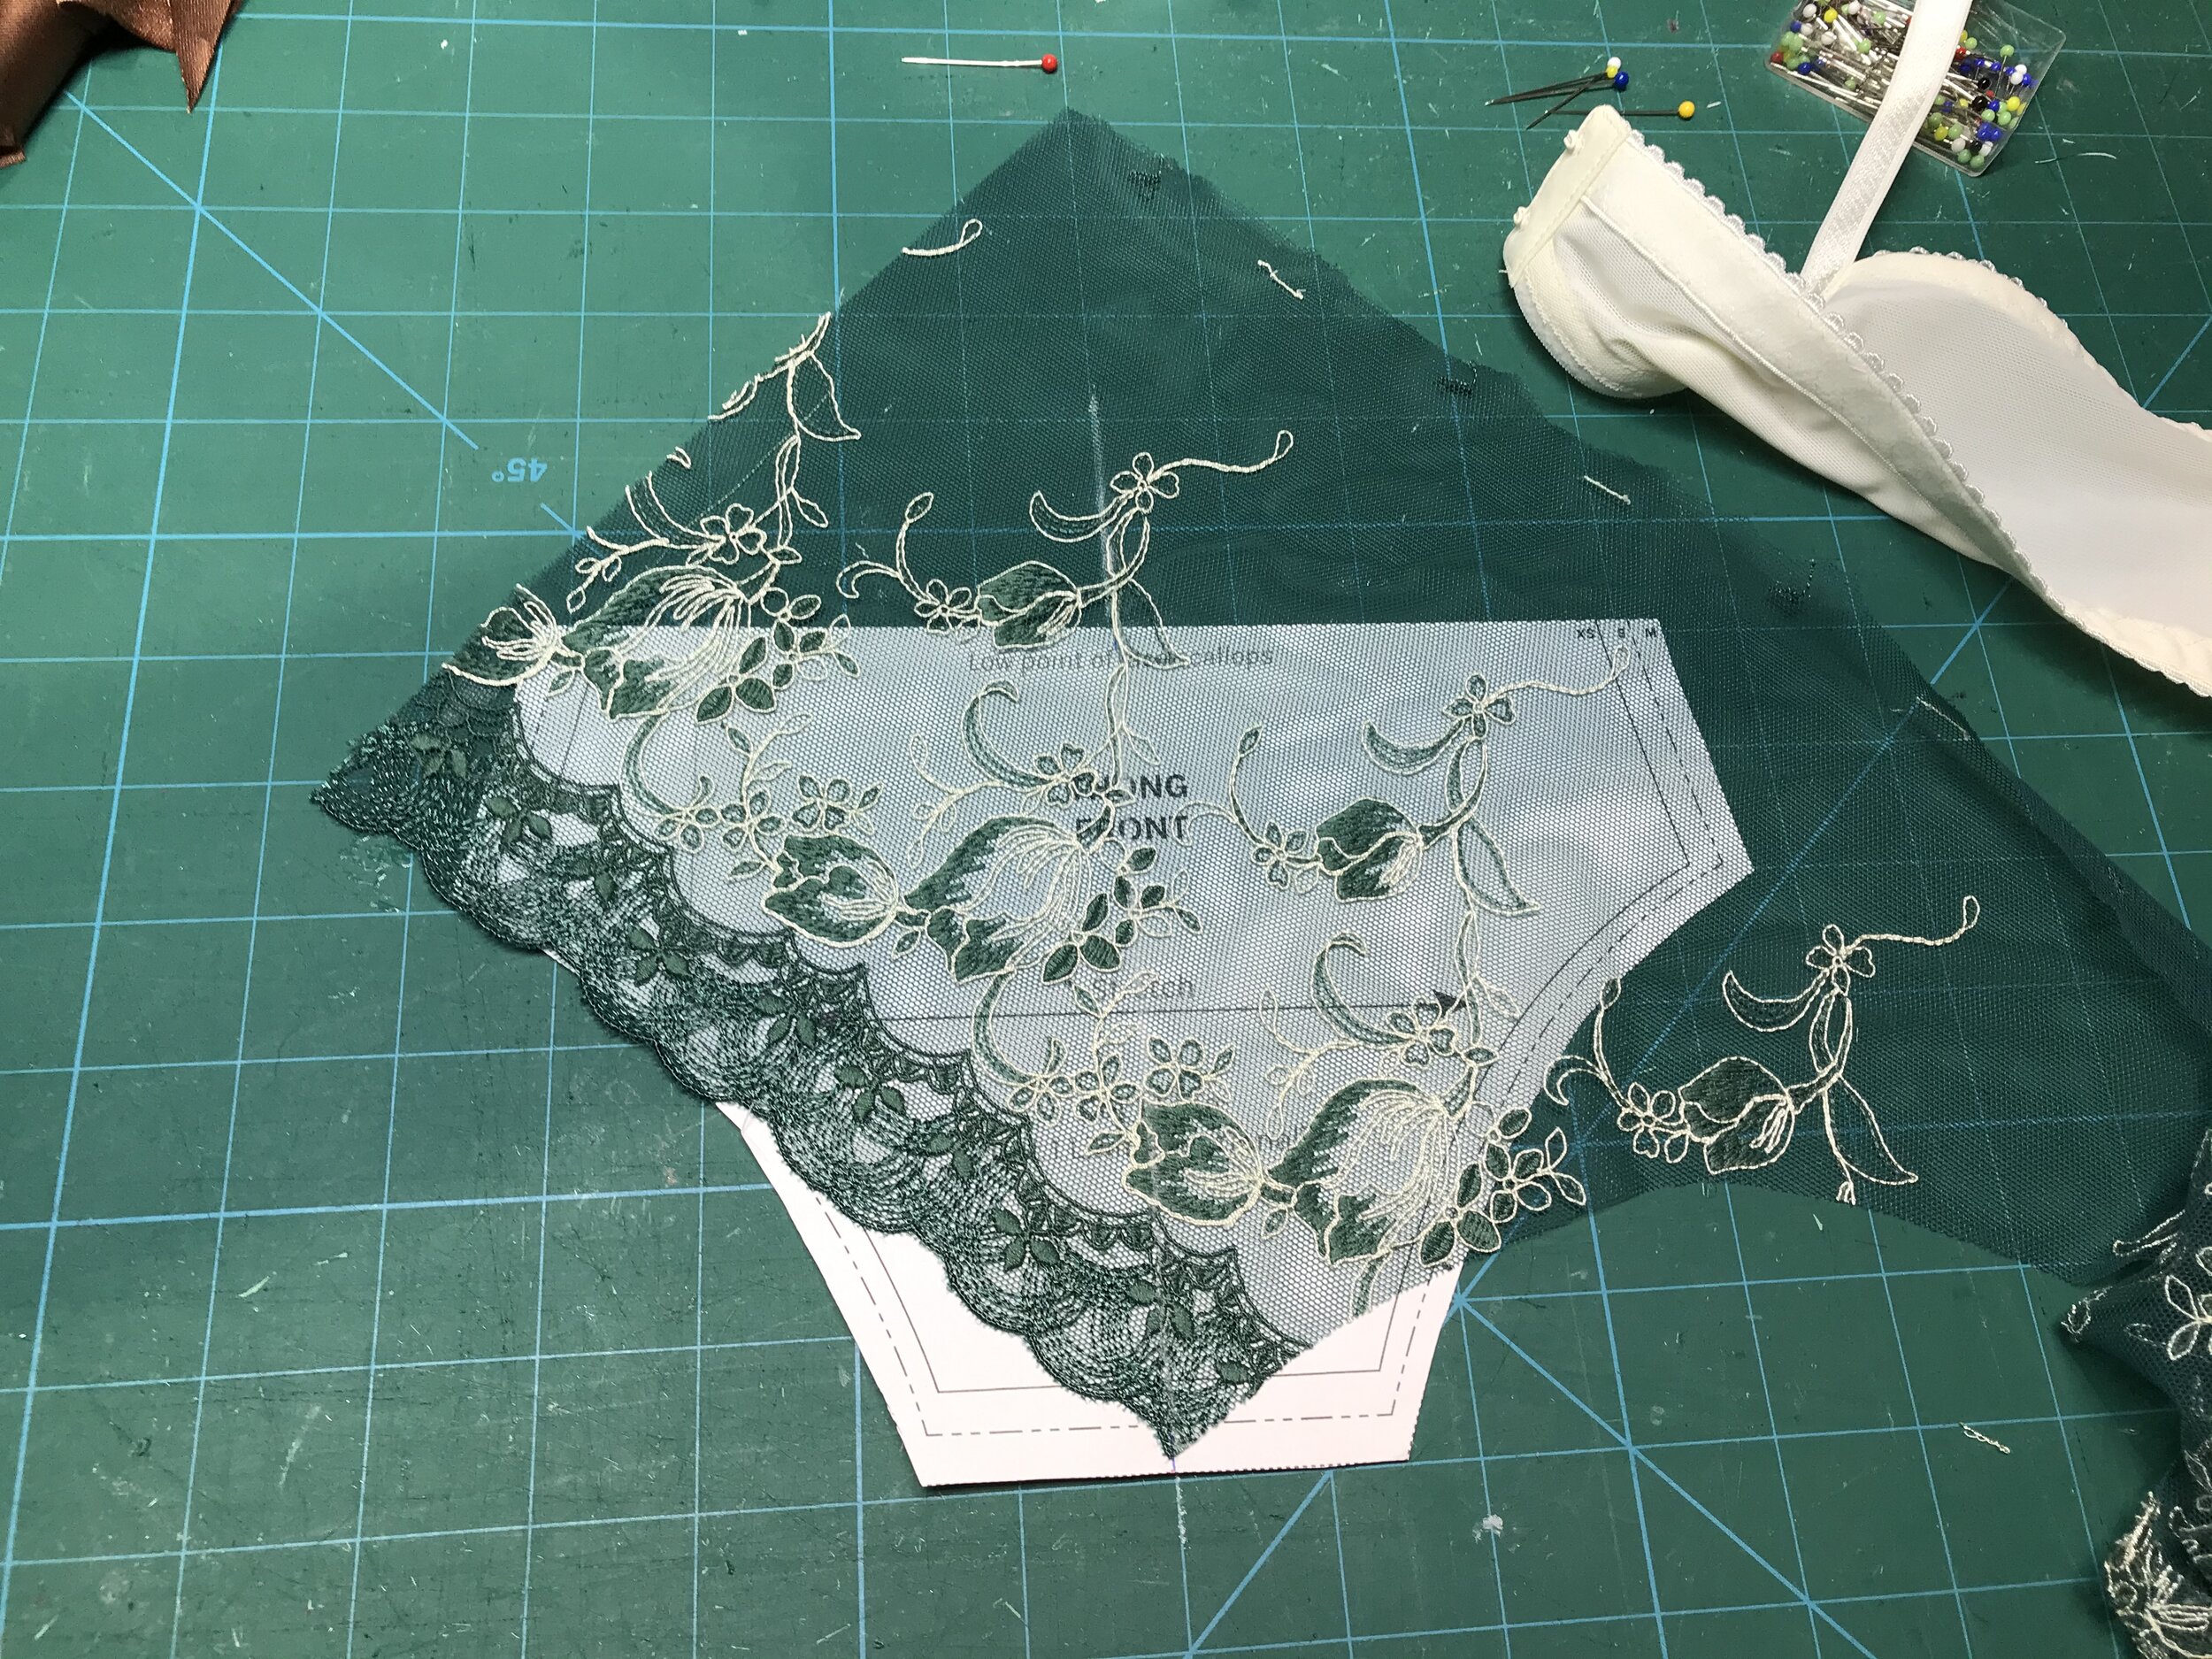
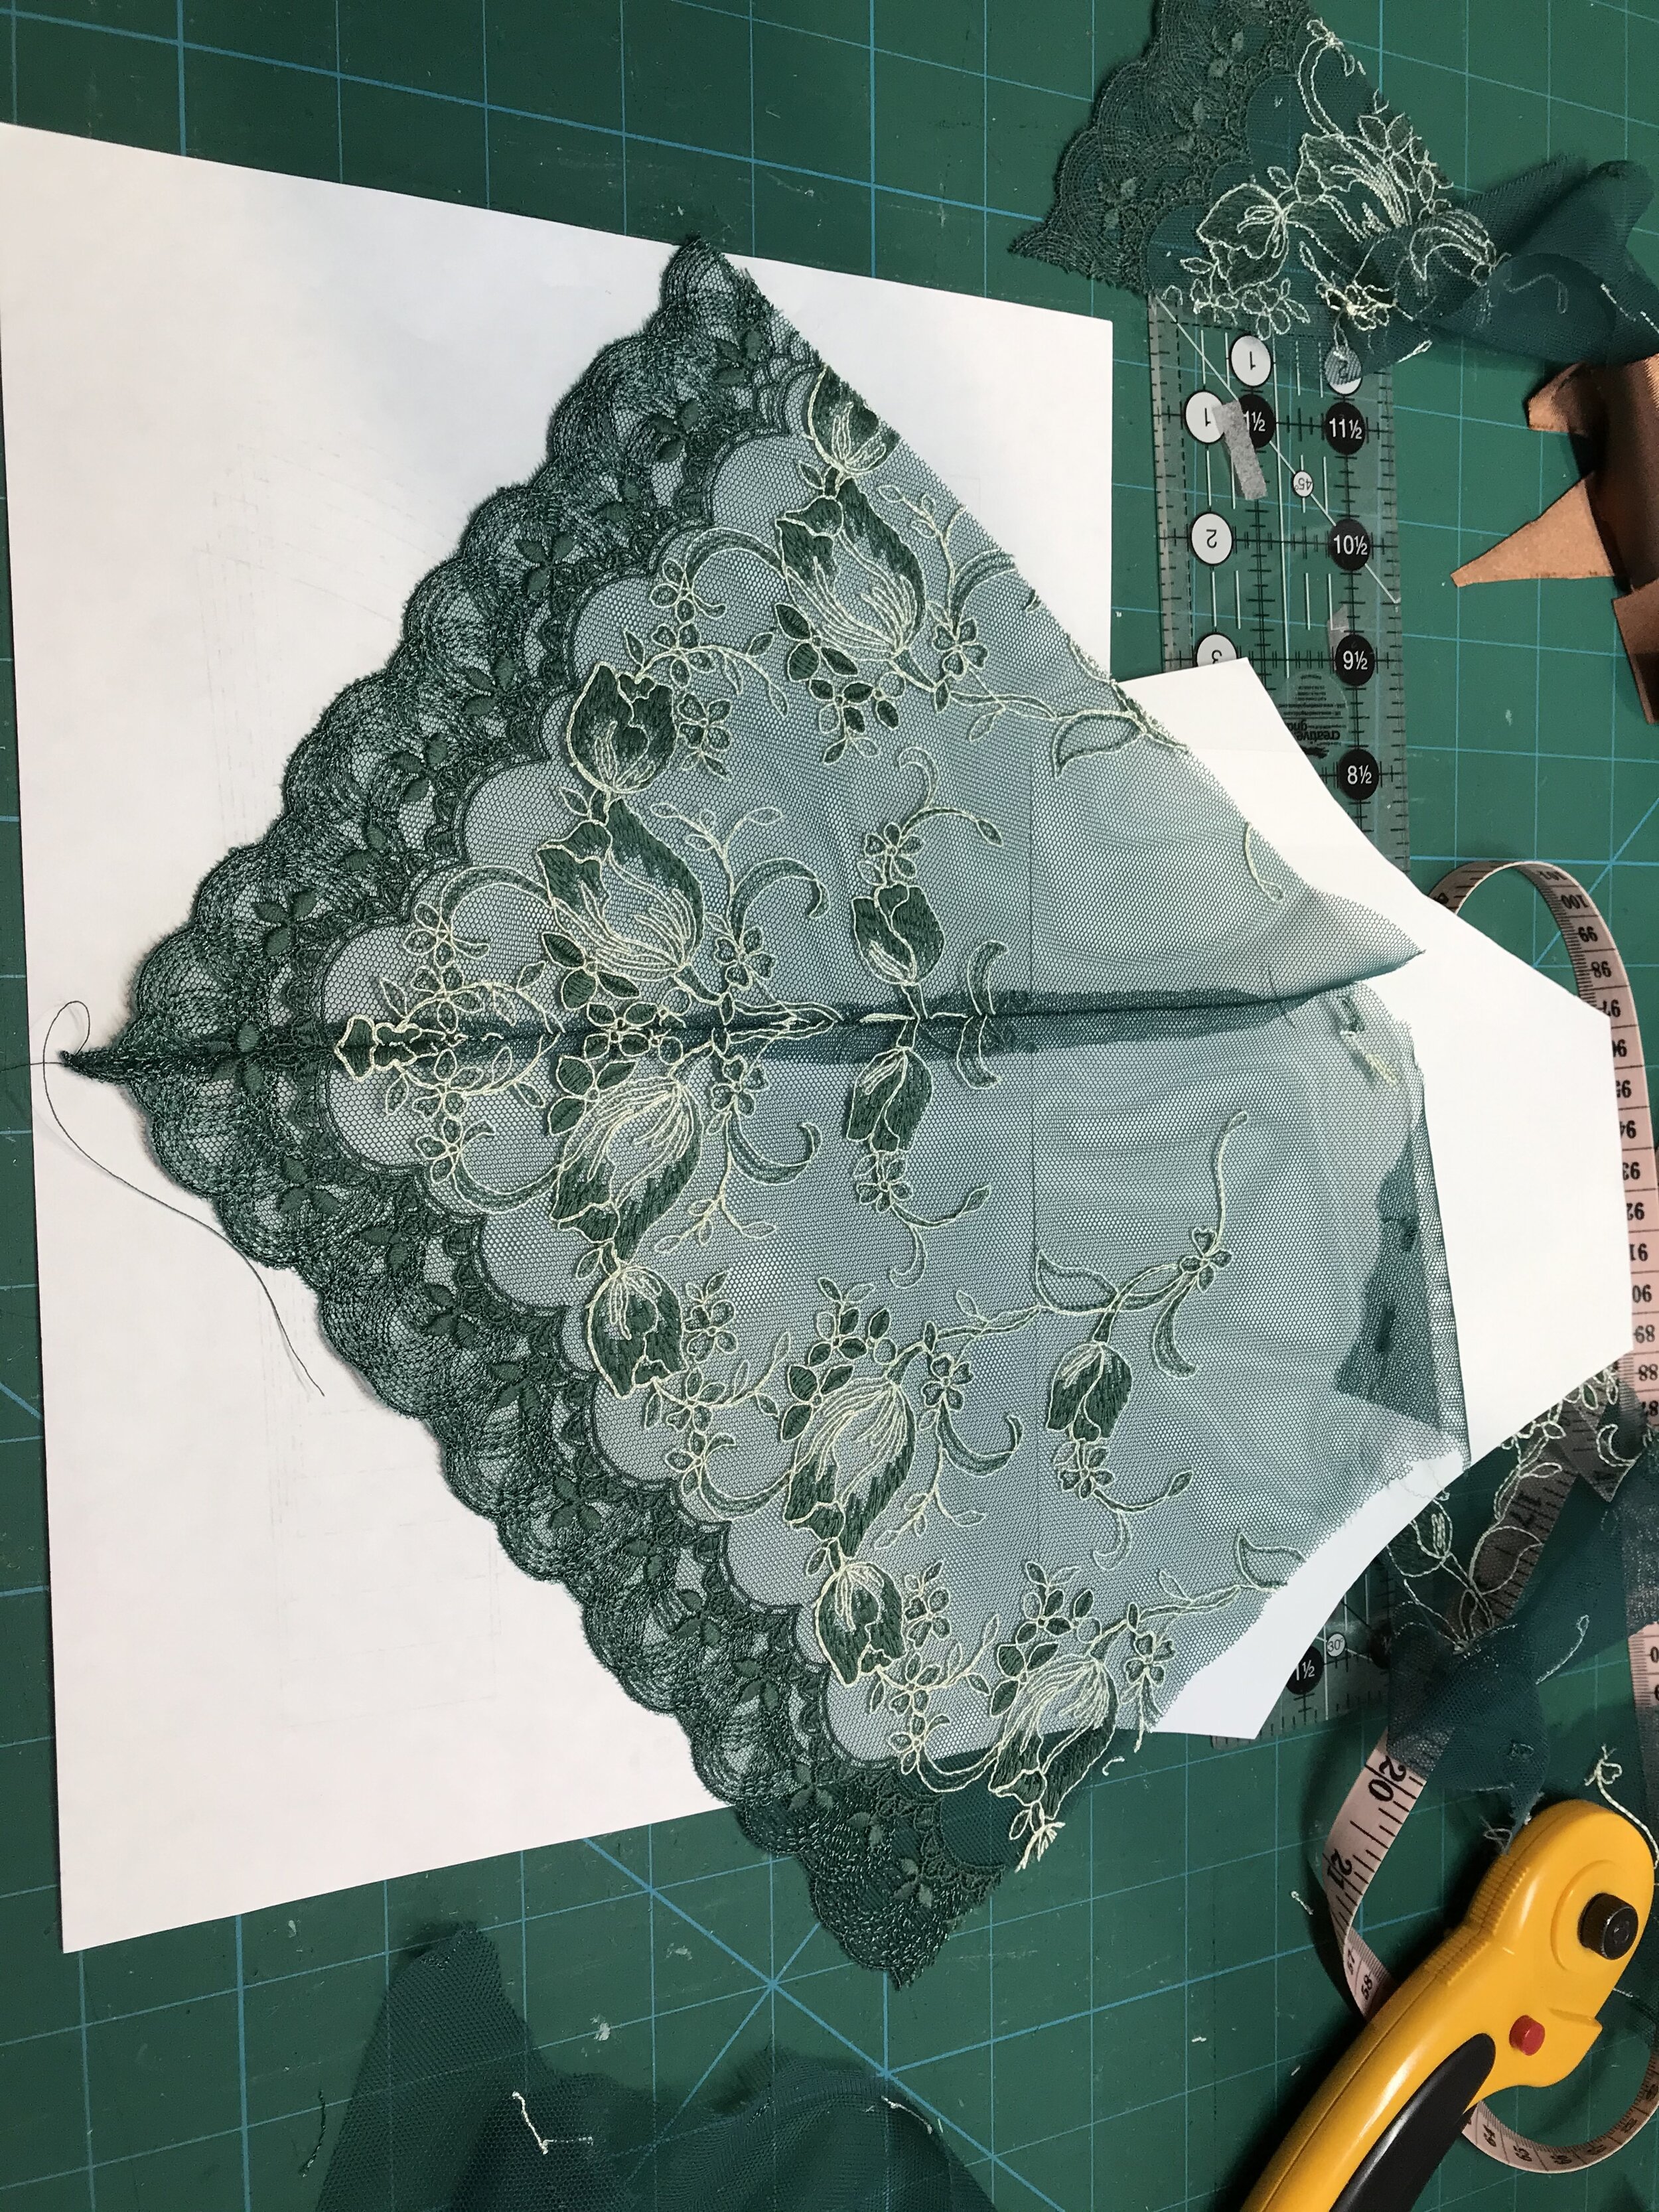
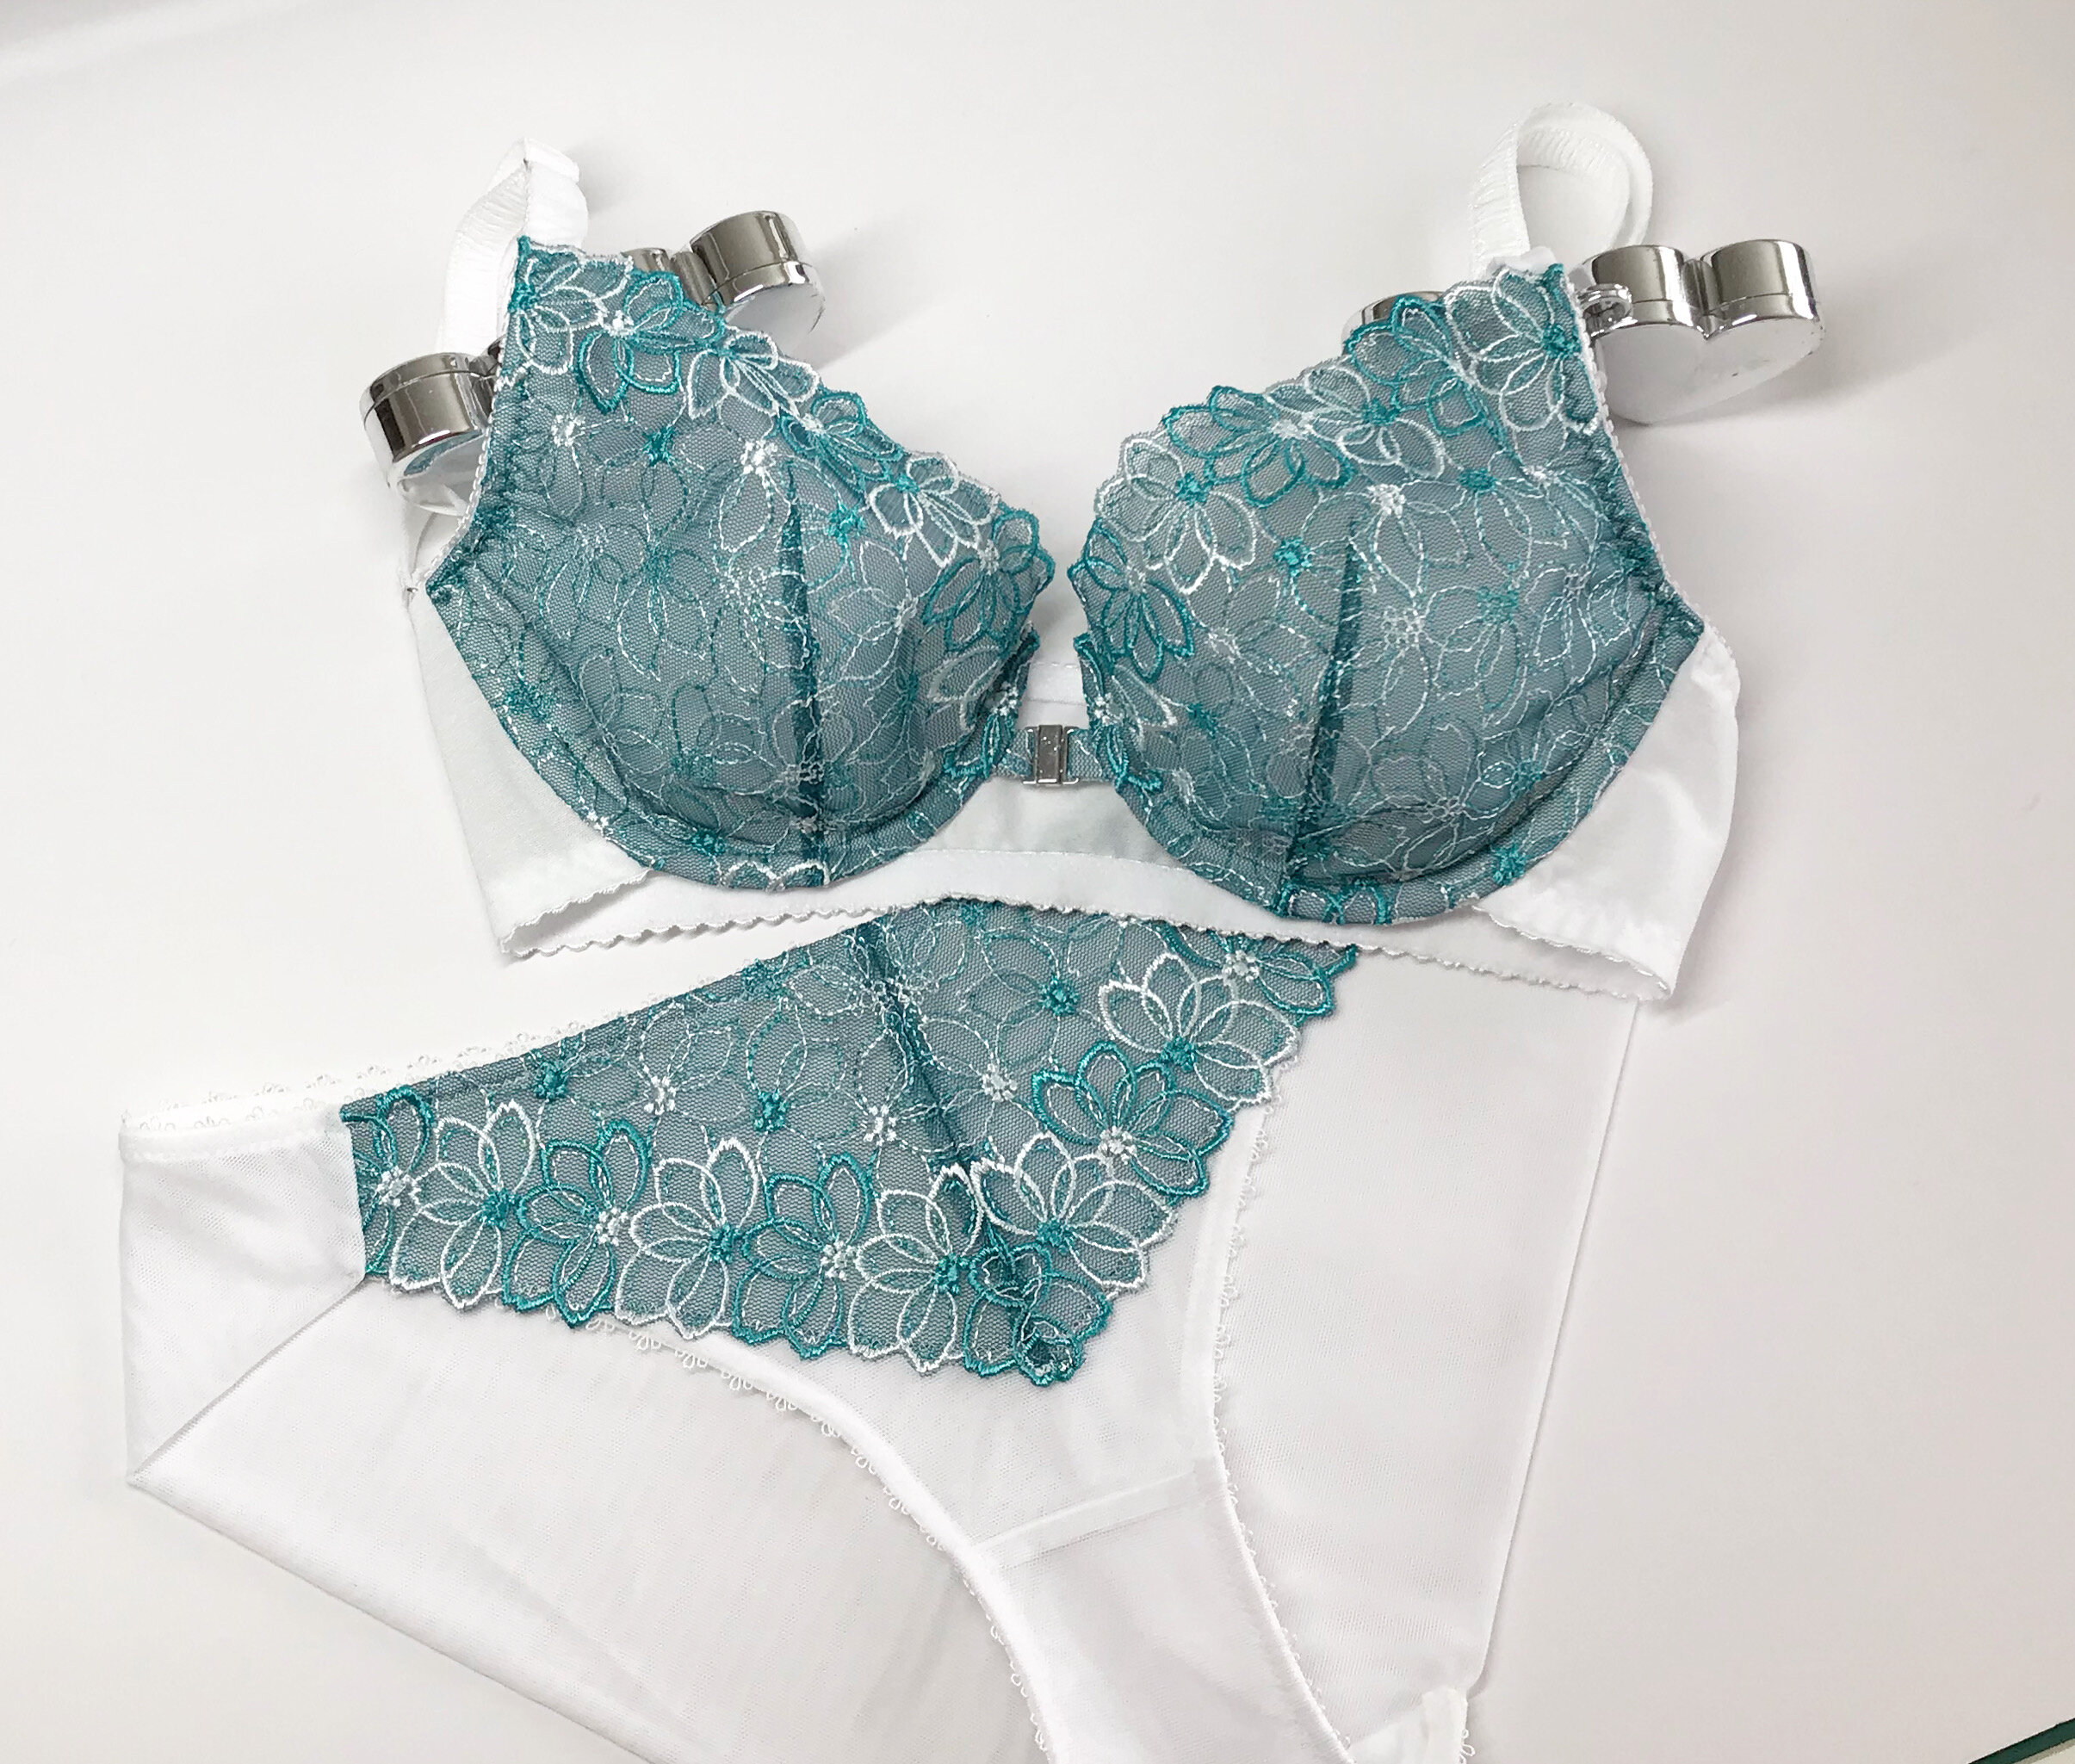
With just small pieces of the lace left I had to think carefully how I could make a matching set. I started with the smallest side to see how much I could cover the Orange Lingerie Kingston thong. I chalked a line down the centre, laid the other side on top to match and sewed down the chalk mark and this gave a piece to cut for an overlay. I cut out the front panel in mesh, attached to the gusset and finished the leg elastic. Then I placed the lace overlay so the scallop sat on the elastic, zigzagged down and finished as normal.
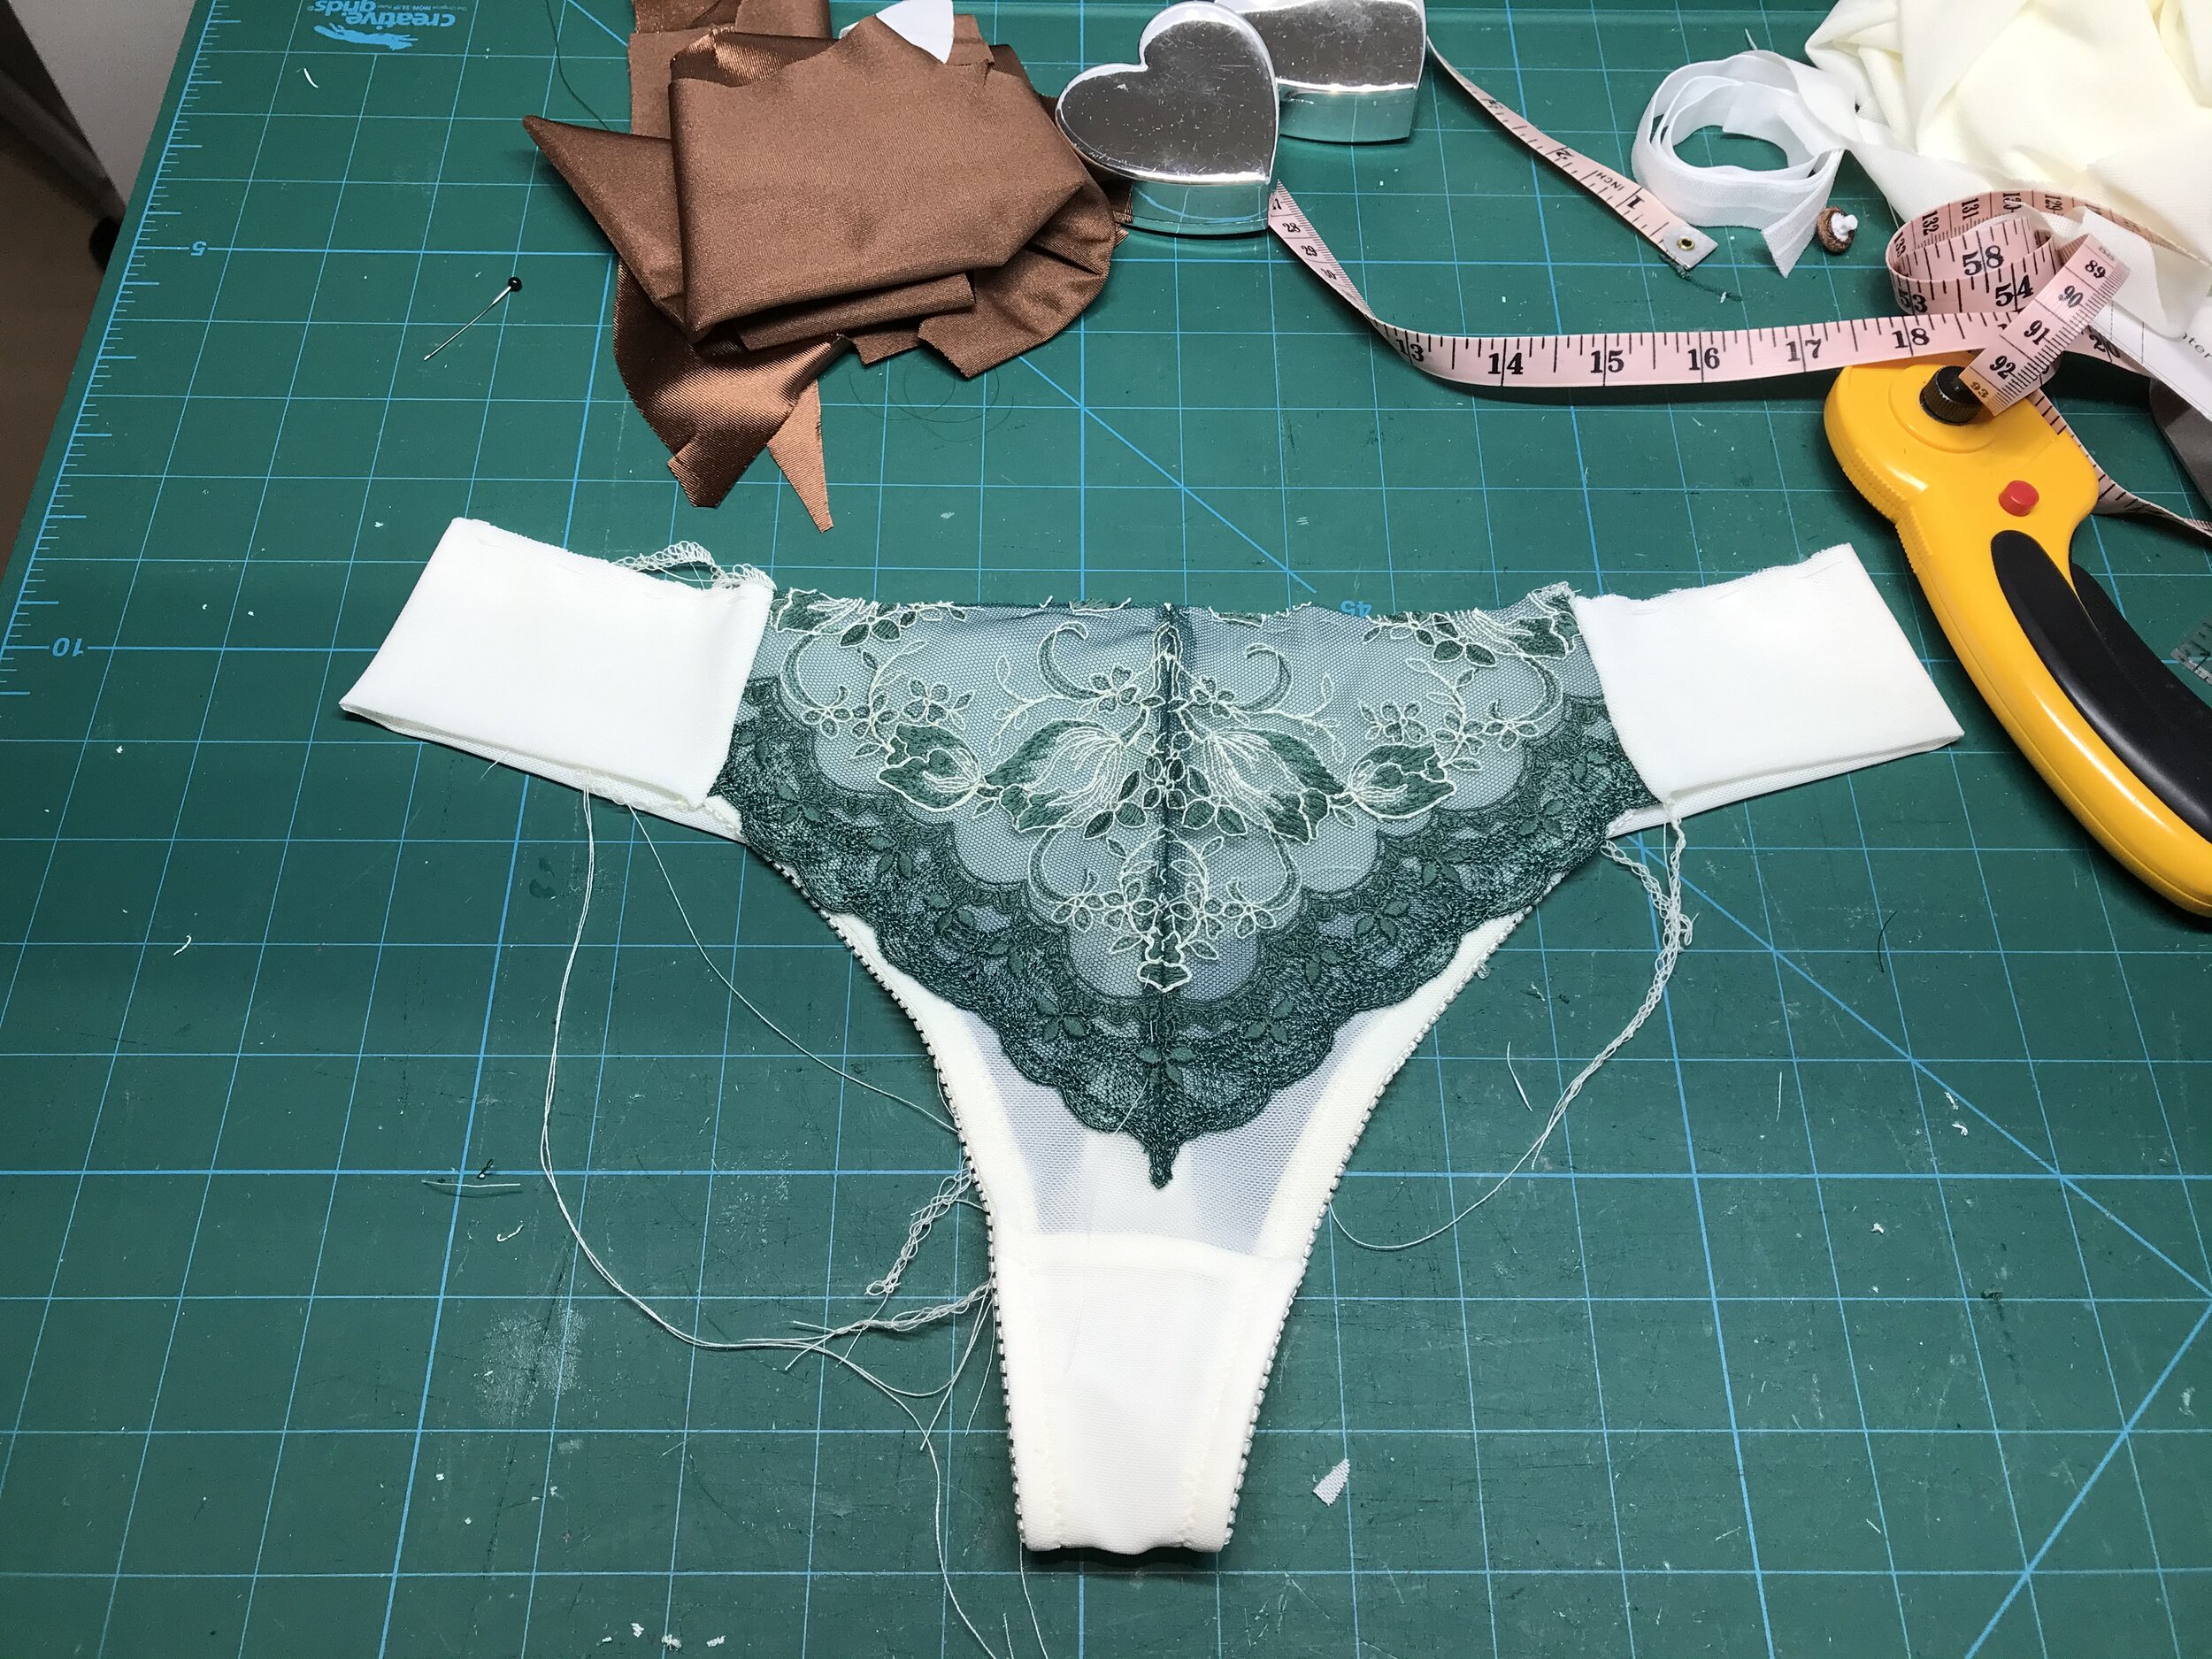
The Kingston is a perfect complement for the Vivien and one of my go to patterns for the non stretch lace used in a bra.
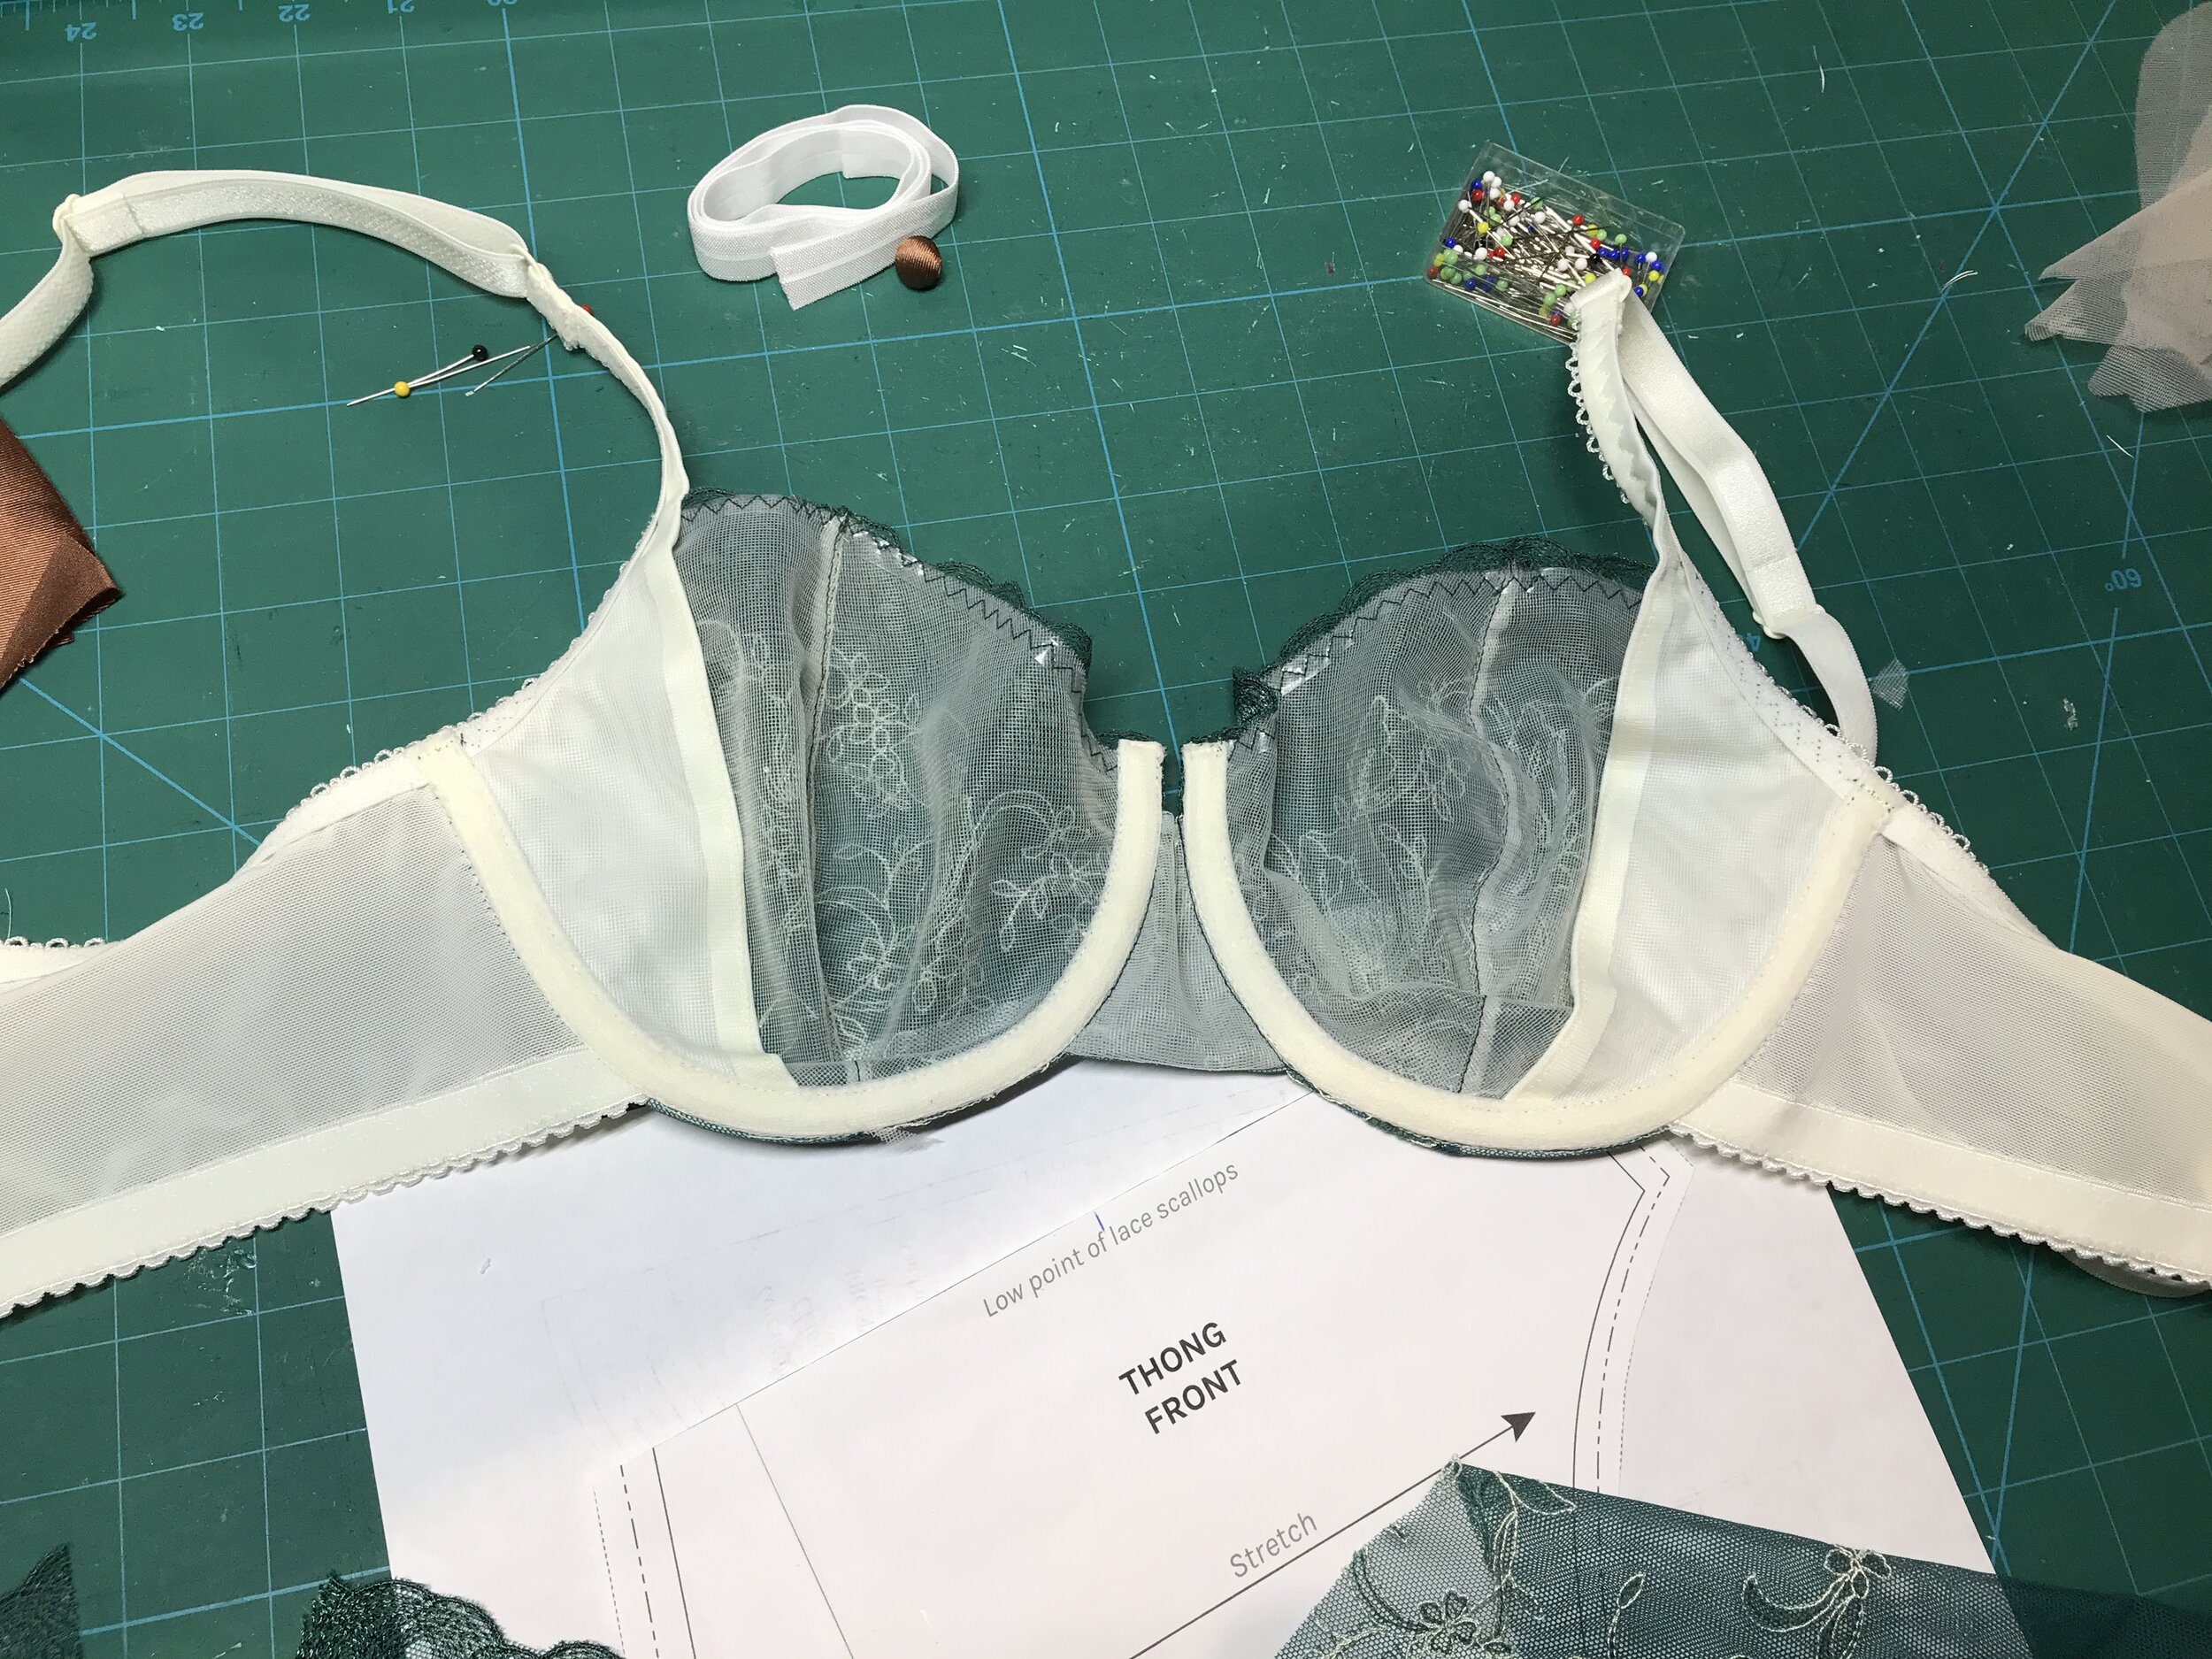
So moving on to Variation 2. I was just so excited to try this one as I have wanted to try a front closure for quite a while, as although I have used a front closure on a sports bra that was then covered with a zip up outer top. The plunge neckline adds to the drama. I also loved the idea of adapting to a one piece darted cup which looks better with lots of lace. Again, I have done this before but the plunge neckline requires a little thought as to the placement on the scallop and Jennie was kind enough to help. I tested out the cup on some scraps as you have to be careful not to end up with a pointy cup. I end the dart with a couple of stitches on the edge of the fabric. Then I pressed and placed over the foam cup I had made for the first bra to check the shape.
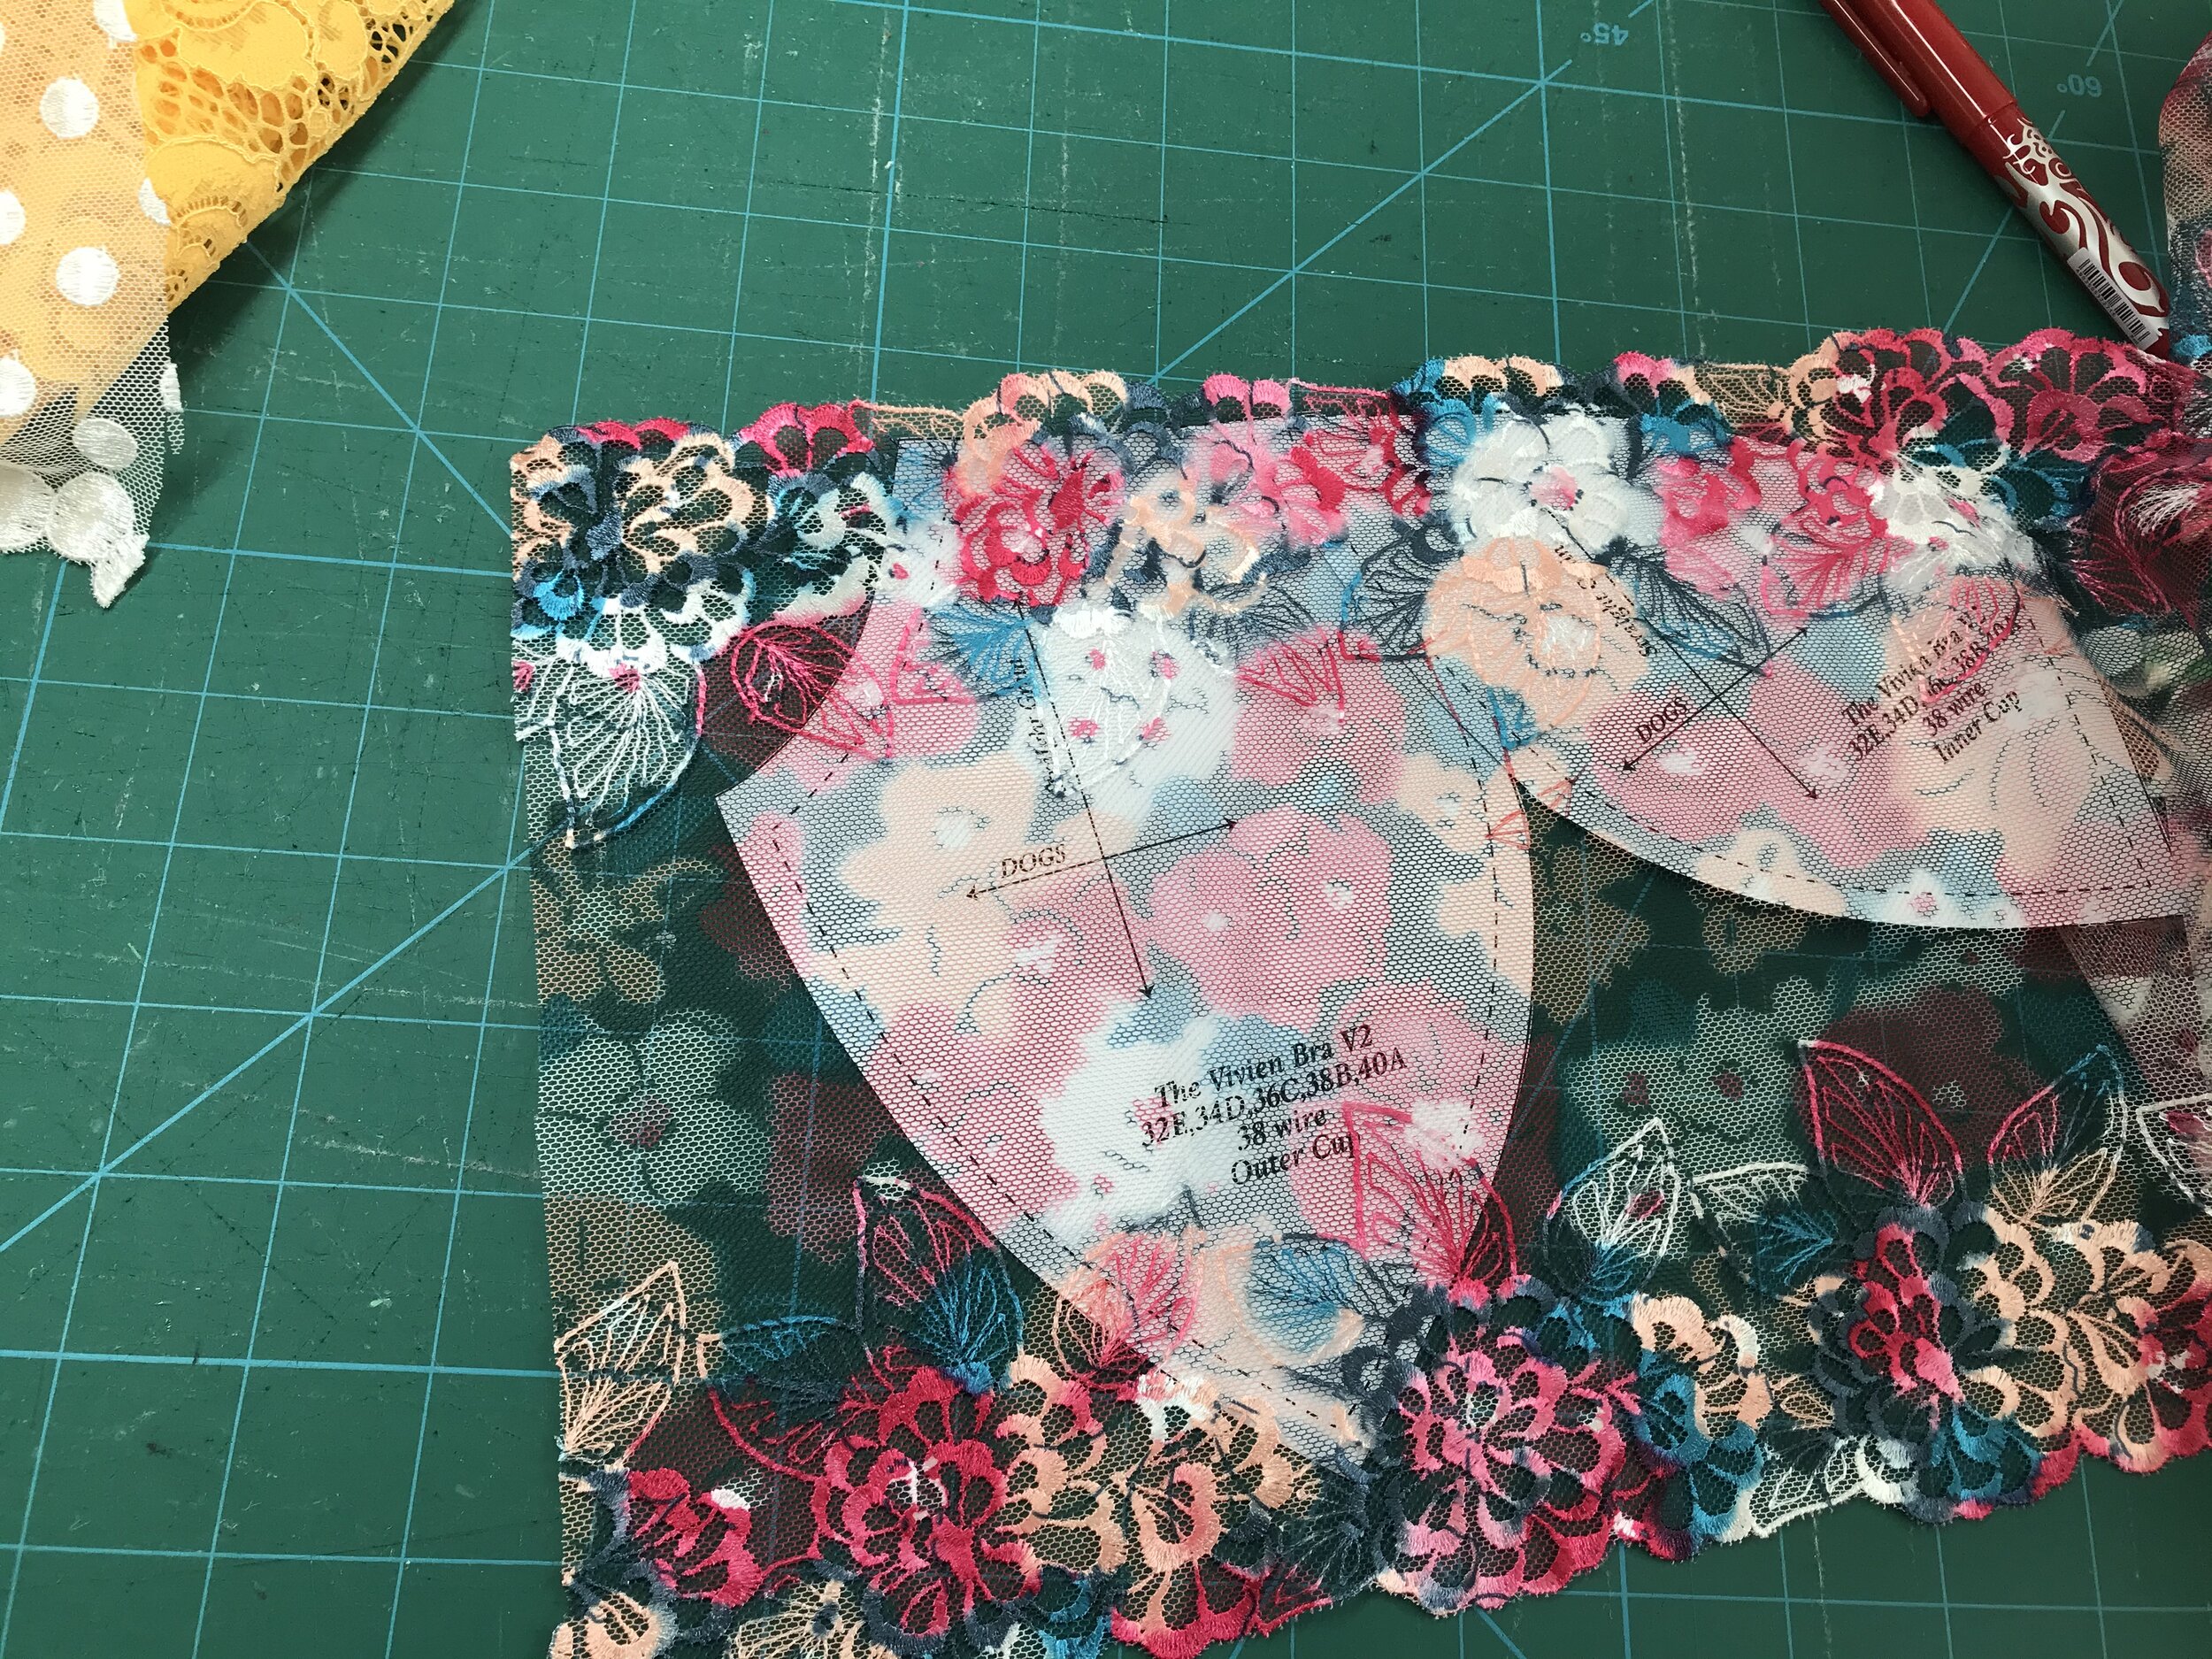
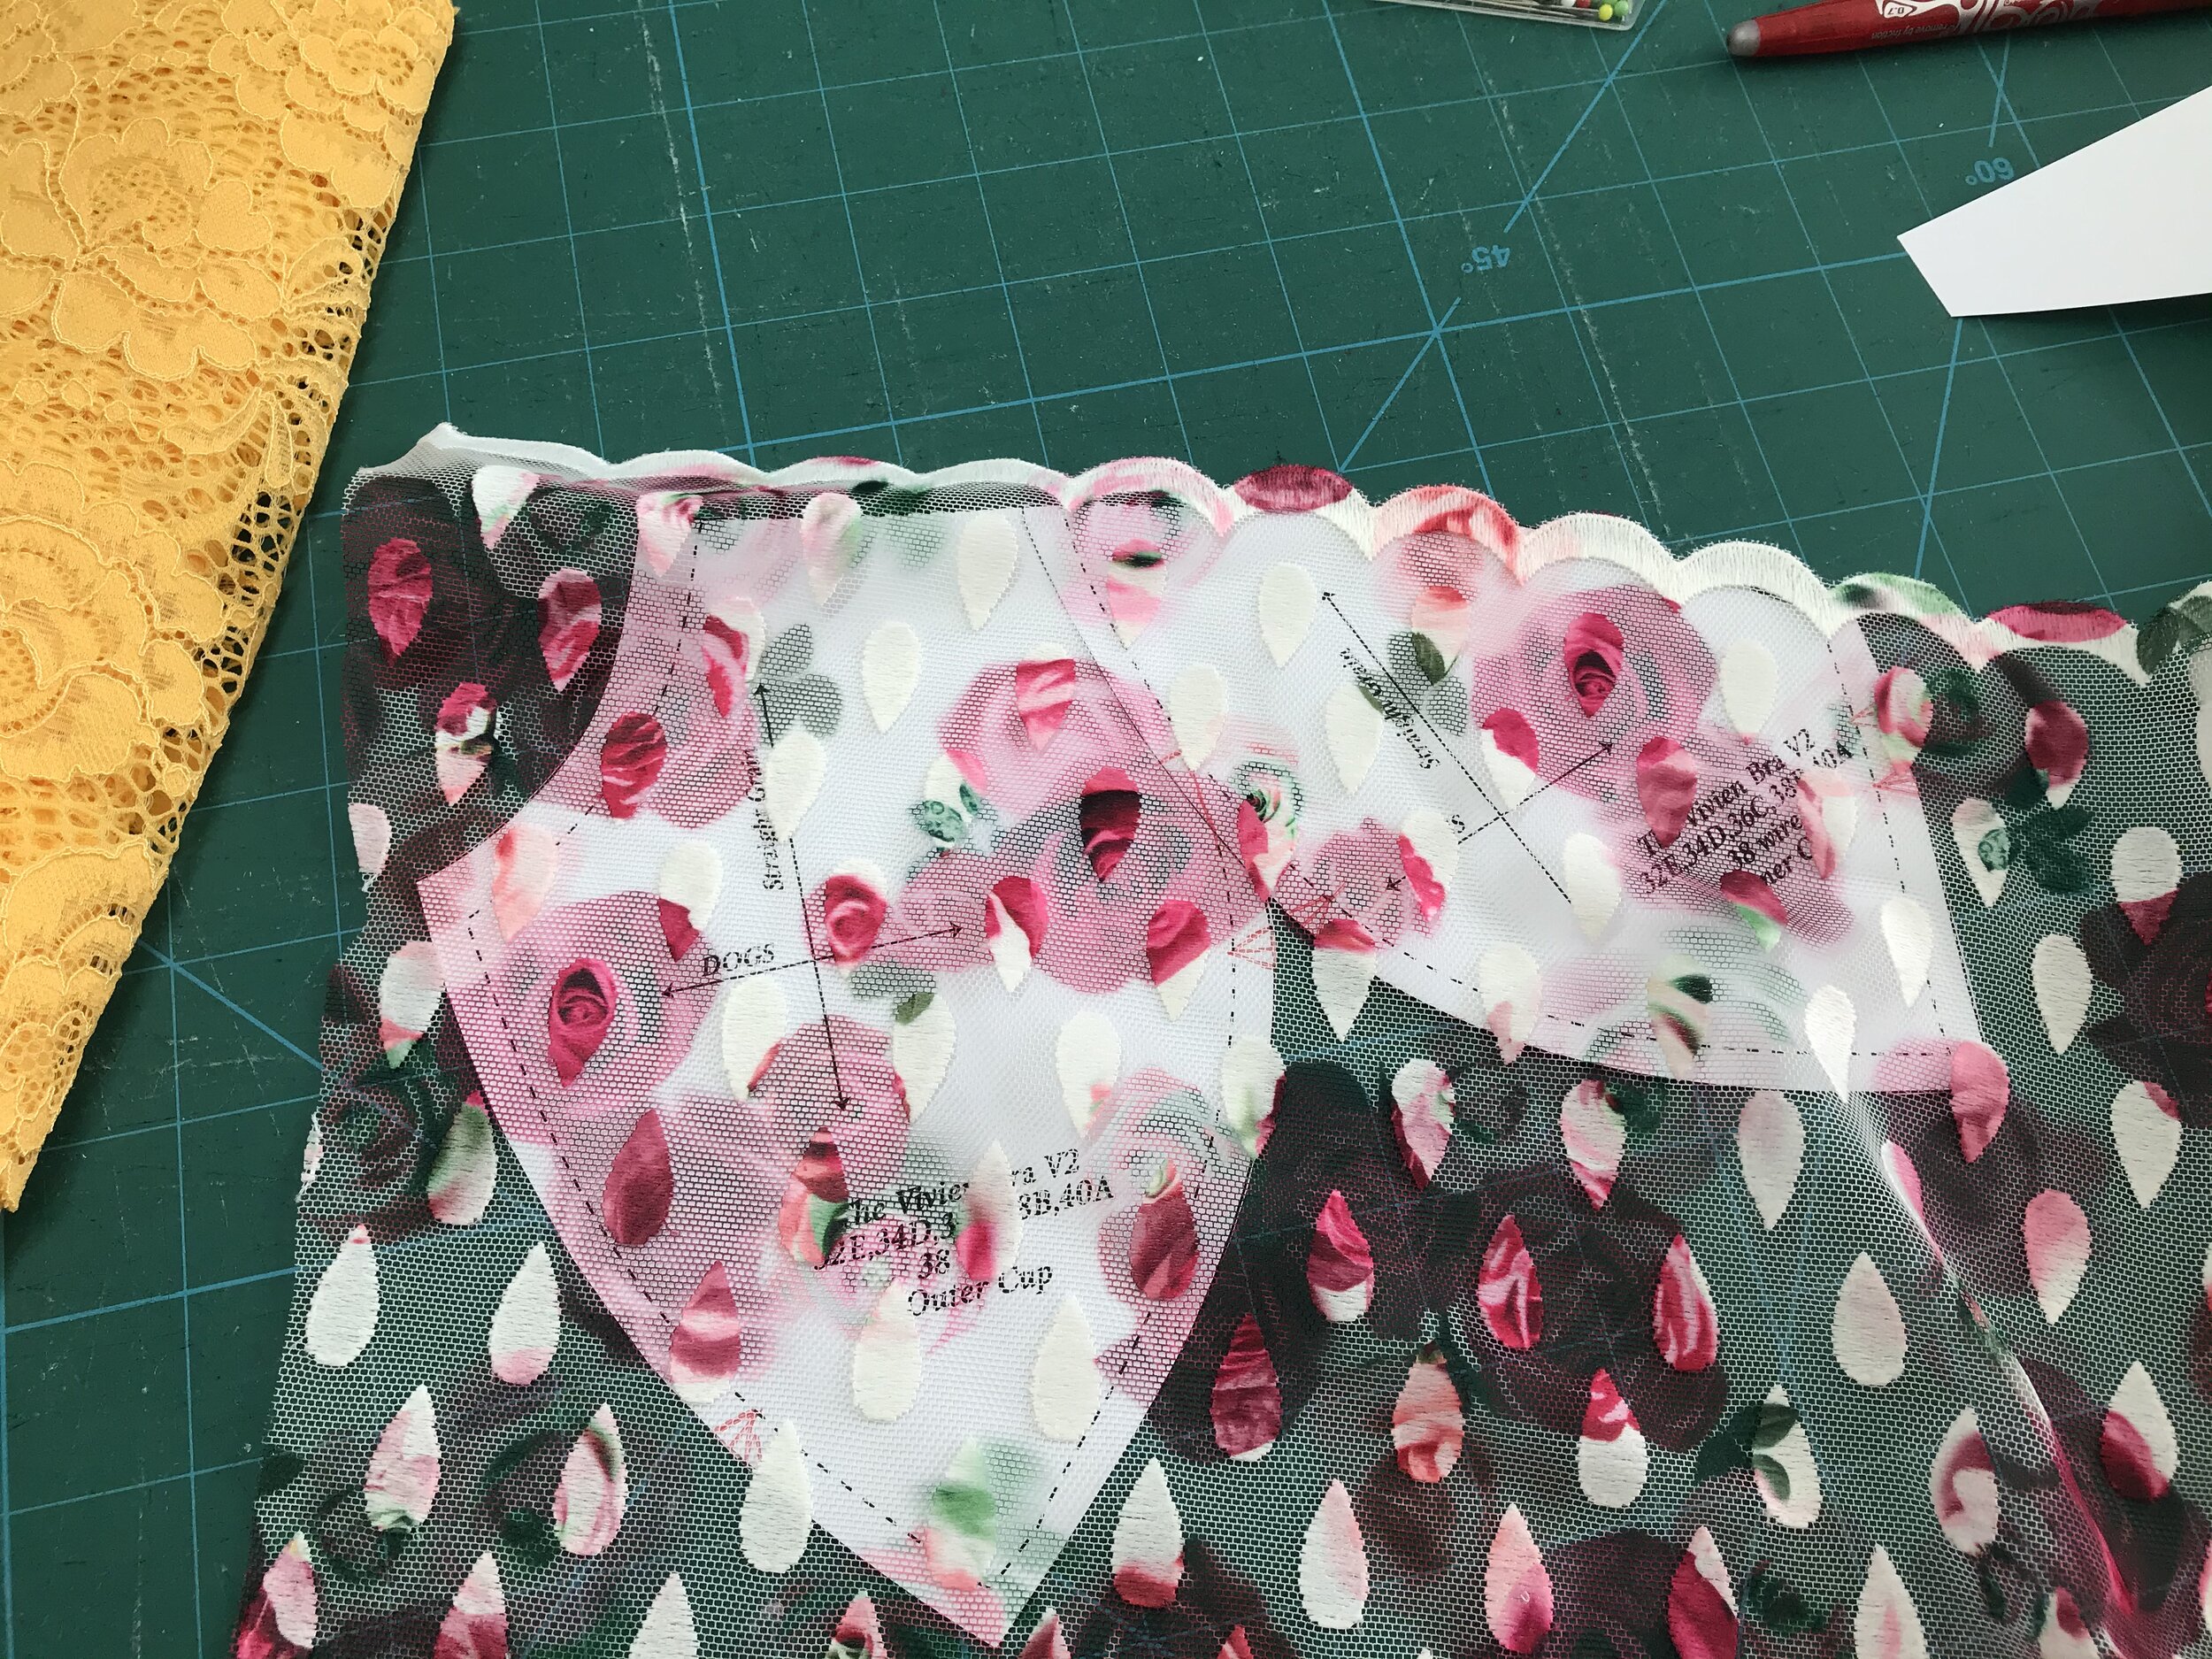
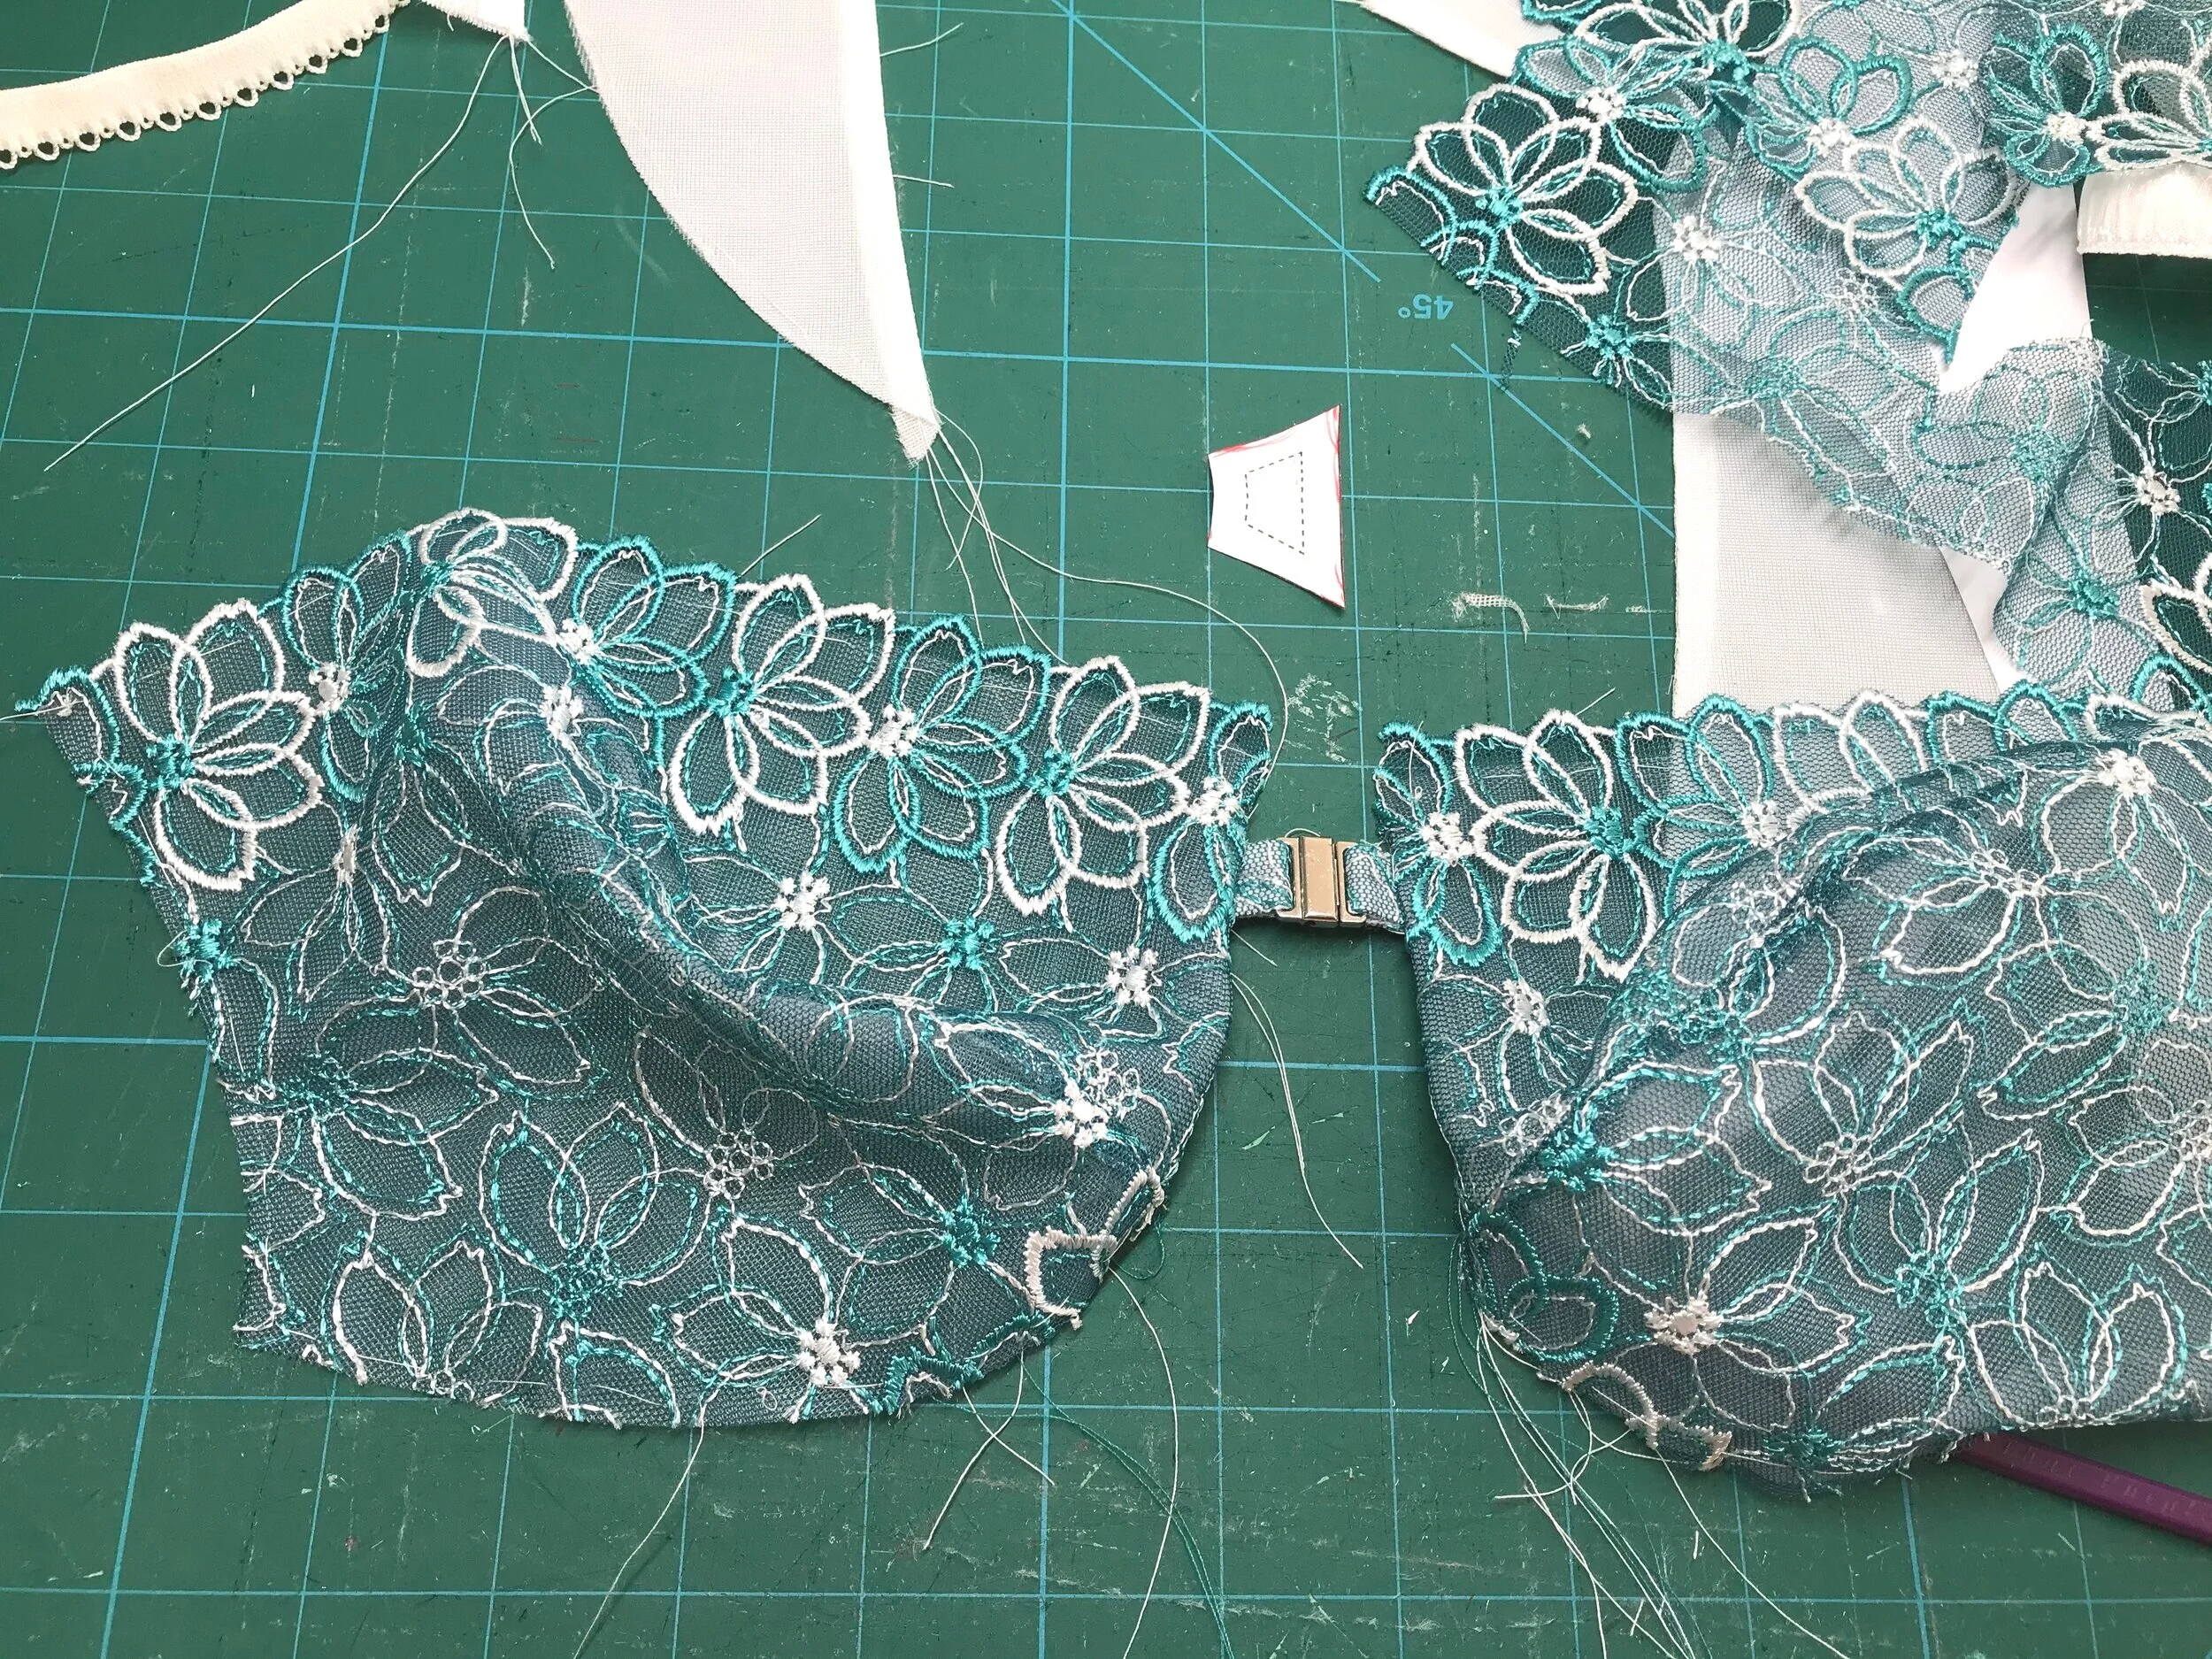
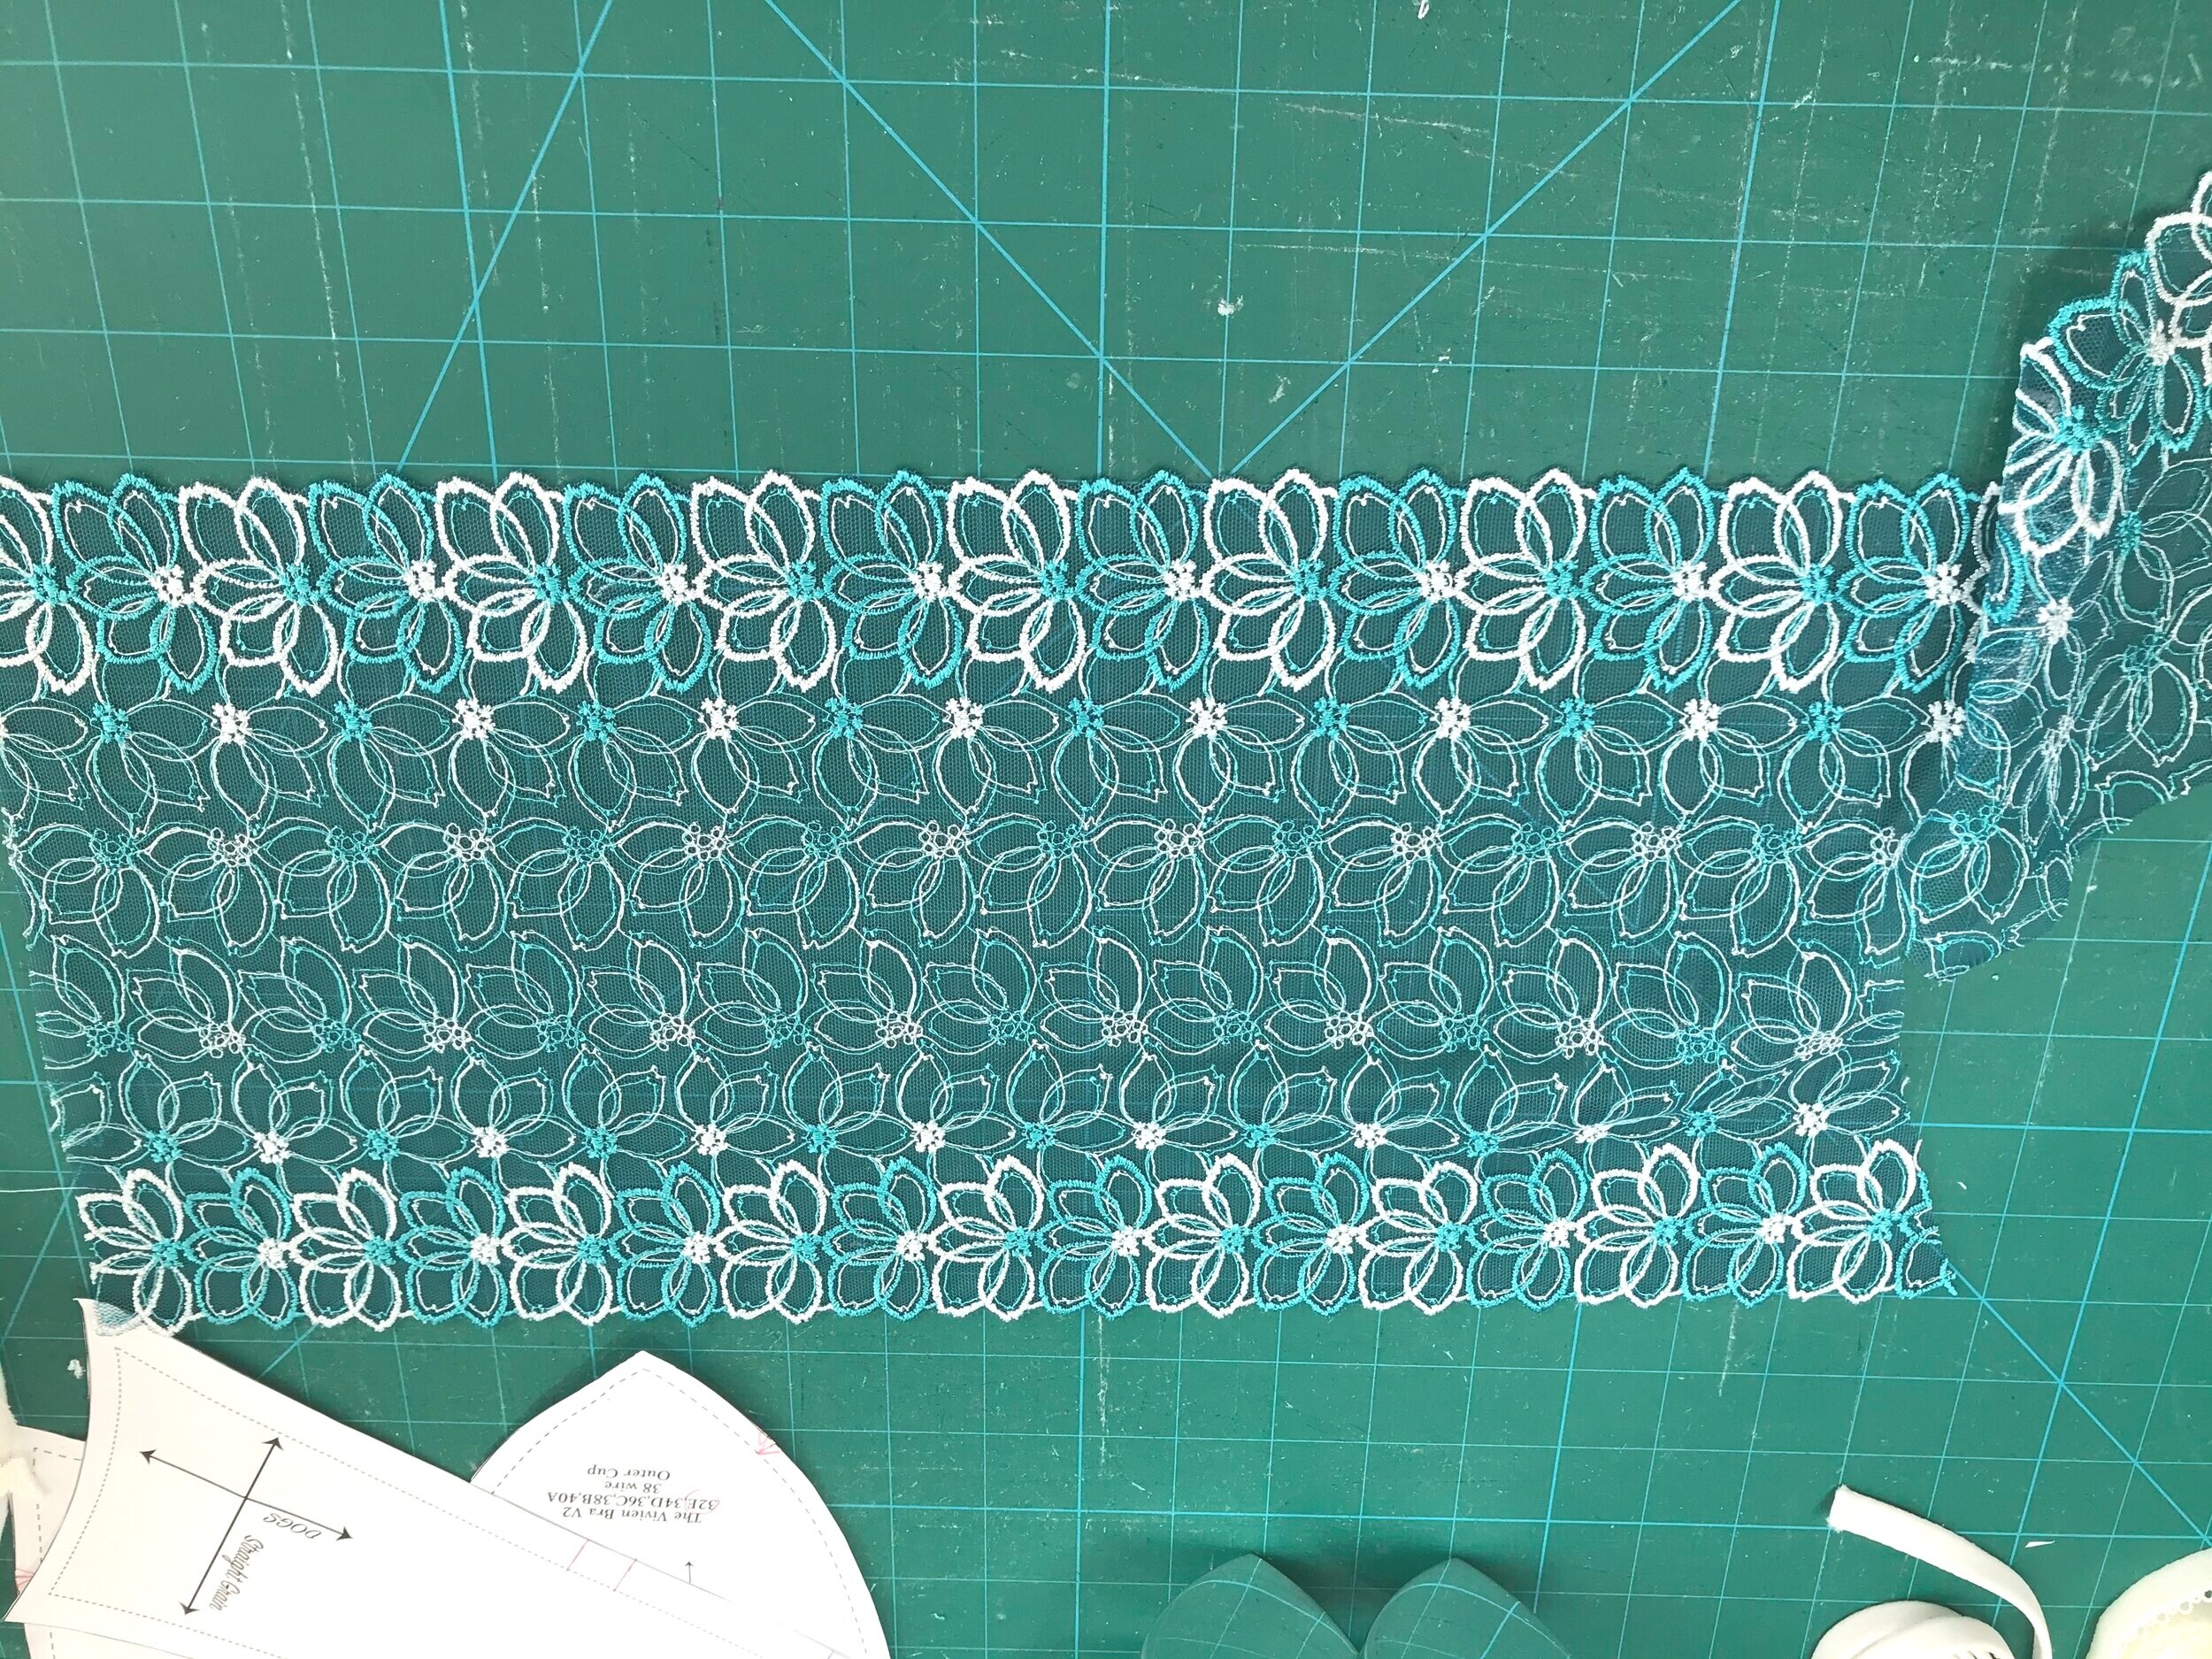
I was not expecting the choice of lace to be as problematic as it turned out to be. The outer cup in the size I was making is quite deep so some of the laces I had thought of using didn’t work as the opposite side of the embroidered tulle hit the bottom of the cup as in the first picture, below. For the second the teardrops are all in one direction so would be in different directions at the dart. This left the cream lace so I actually cut out the cups. Unfortunately the contrast between the sheer parts and the embroidered dots didn’t sew well on the dart and the seam allowance was too obvious. Then I tried basting the lining to the lace and using as one layer but I still didn’t like how it looked. So then I remembered some lace from another BWear kit.
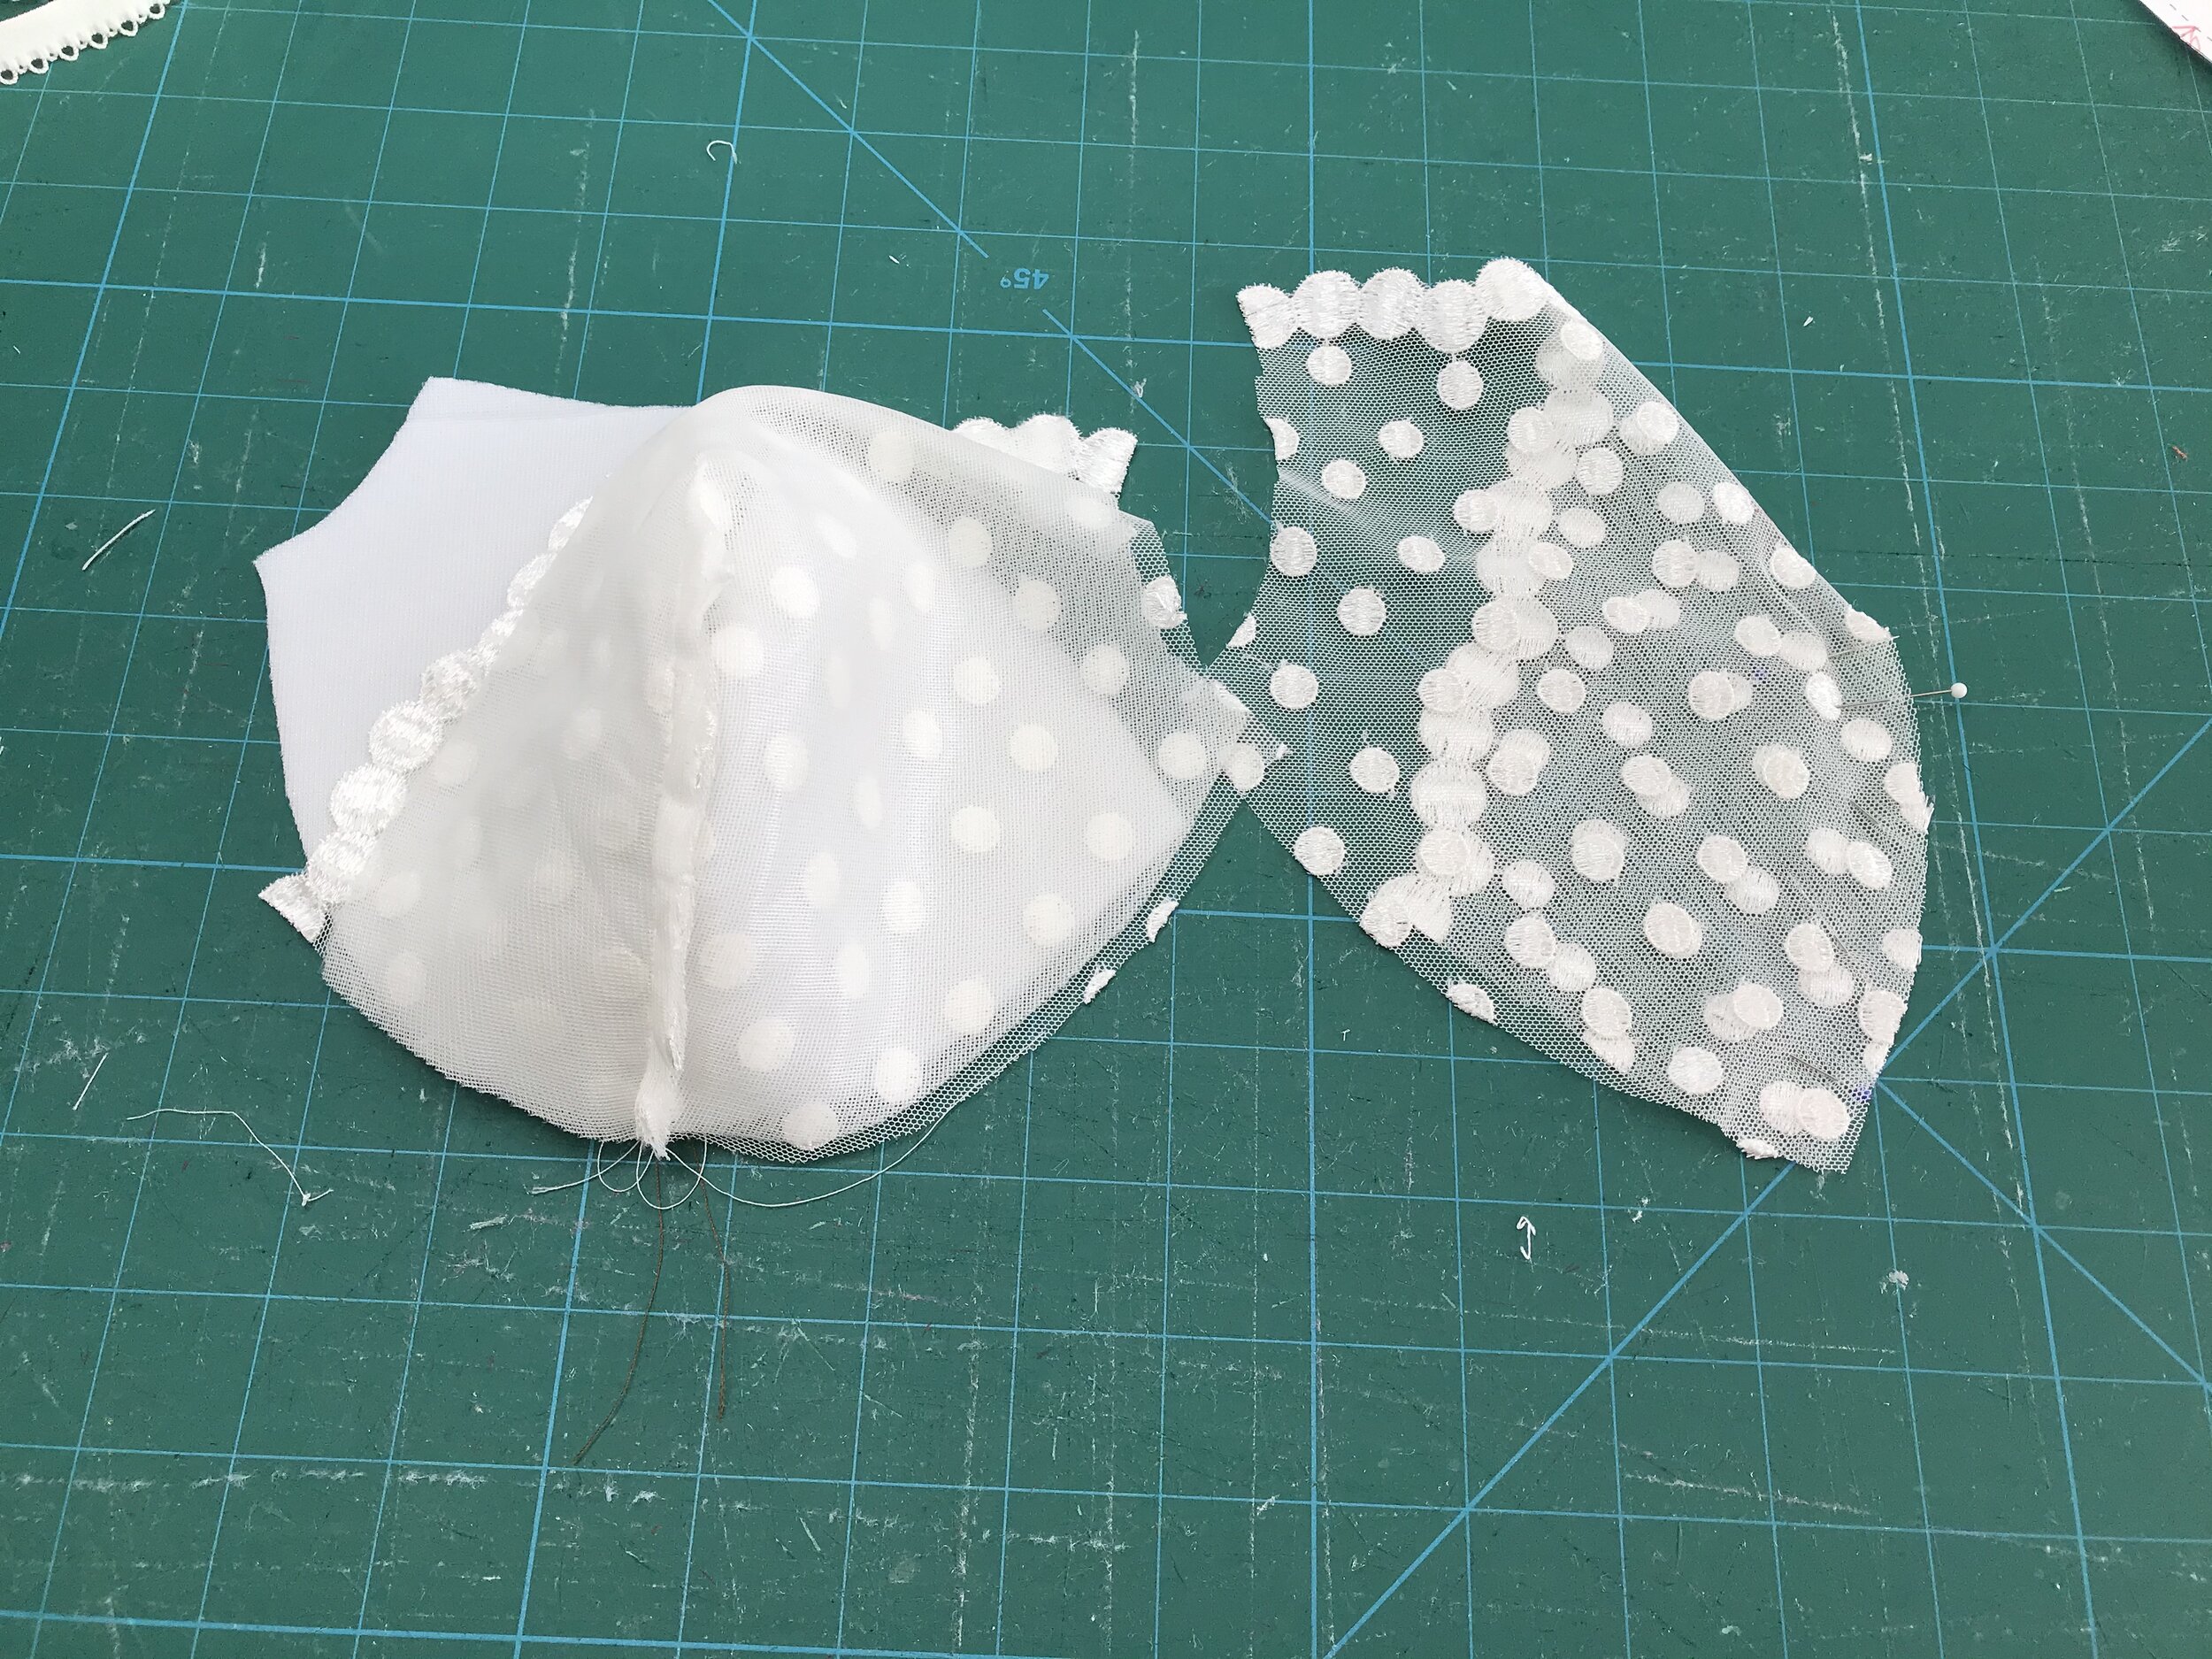
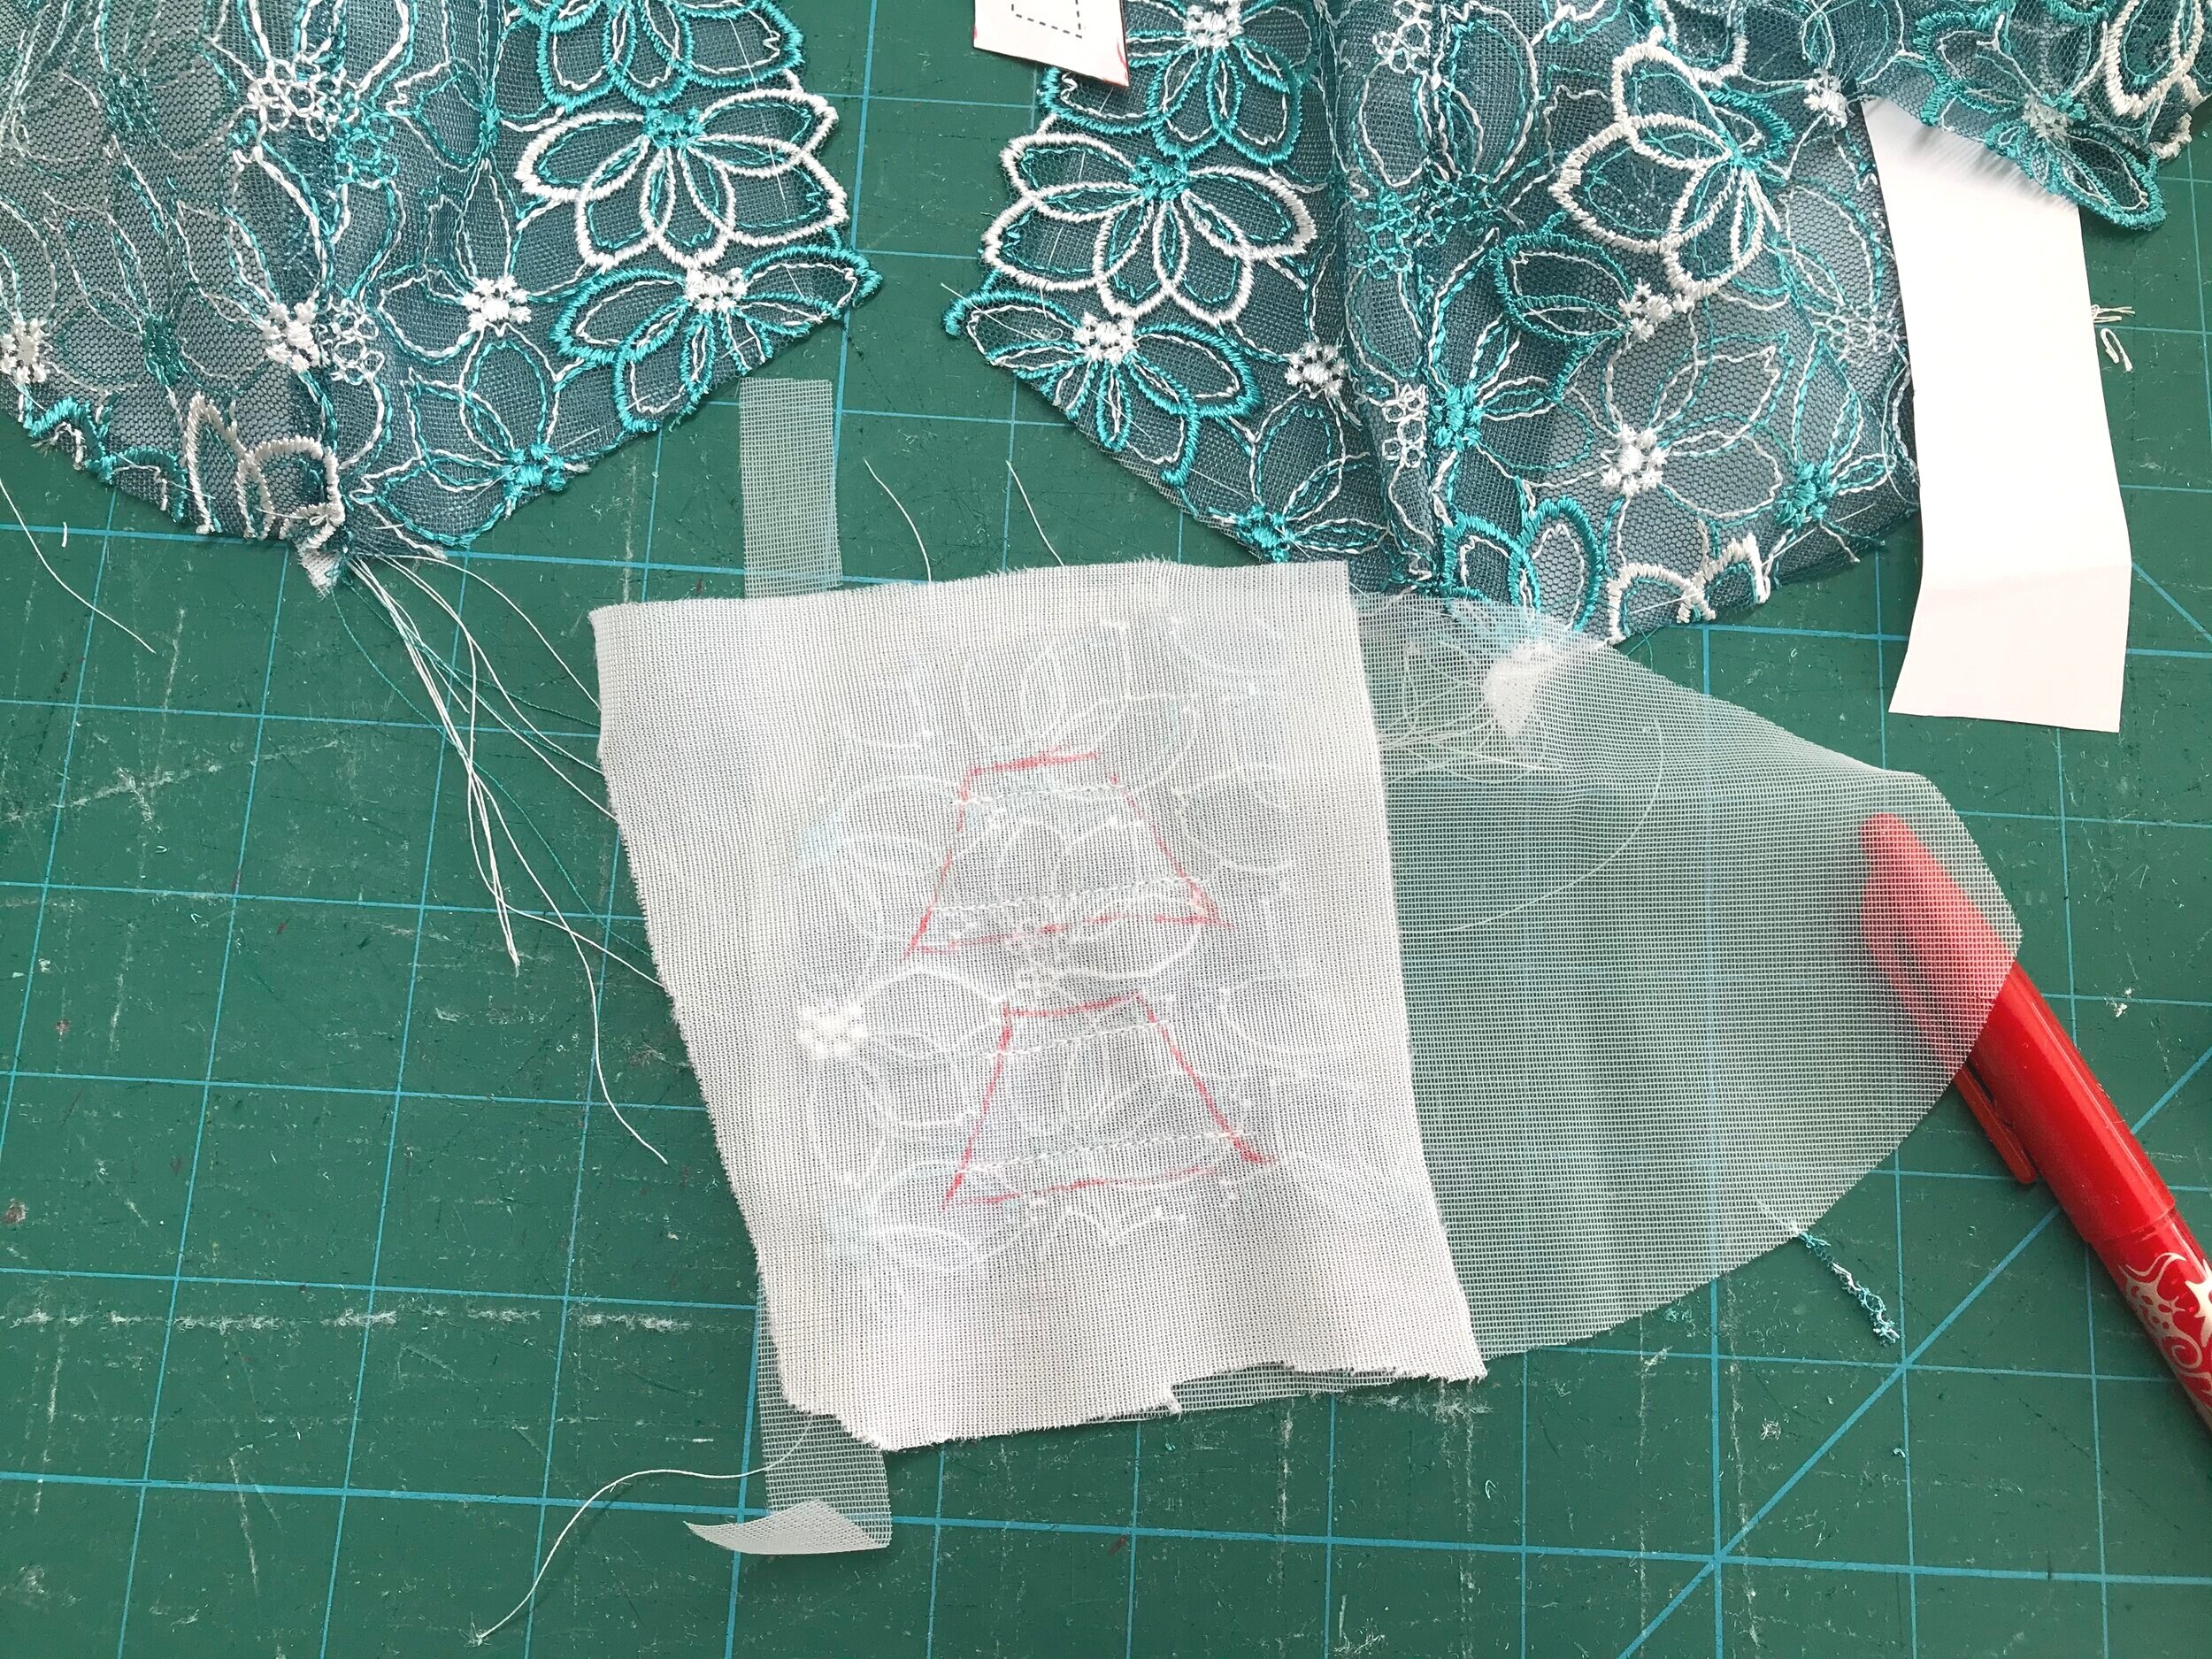
Completely sheer but with more of an overall lightly stitched embroidery design this lace is perfect. I made the cups up first just to check how the dart looked. I did topstitch down and trim back to the stitching for a uniform look on the right side. Next I tackled the closure. The instructions suggest ribbon for smaller sizes but I decided to use the lace. I used Misty Fuse to permanently adhere a piece of lace to a more opaque sheer lining and then lined with the one I used for the cup. I drew around the pattern piece and then stitched 1/4” in from the top and bottom lines, cut around the pattern piece and turned through to the right side.
Attaching to the cups was fiddly. Not only is there a lot of bulk in there but the fastener does get in the way of the foot. I did try with my zipper foot but there was no way it was going through the bulk. I handstitched them tightly in place after a couple of attempts to get both sides level.
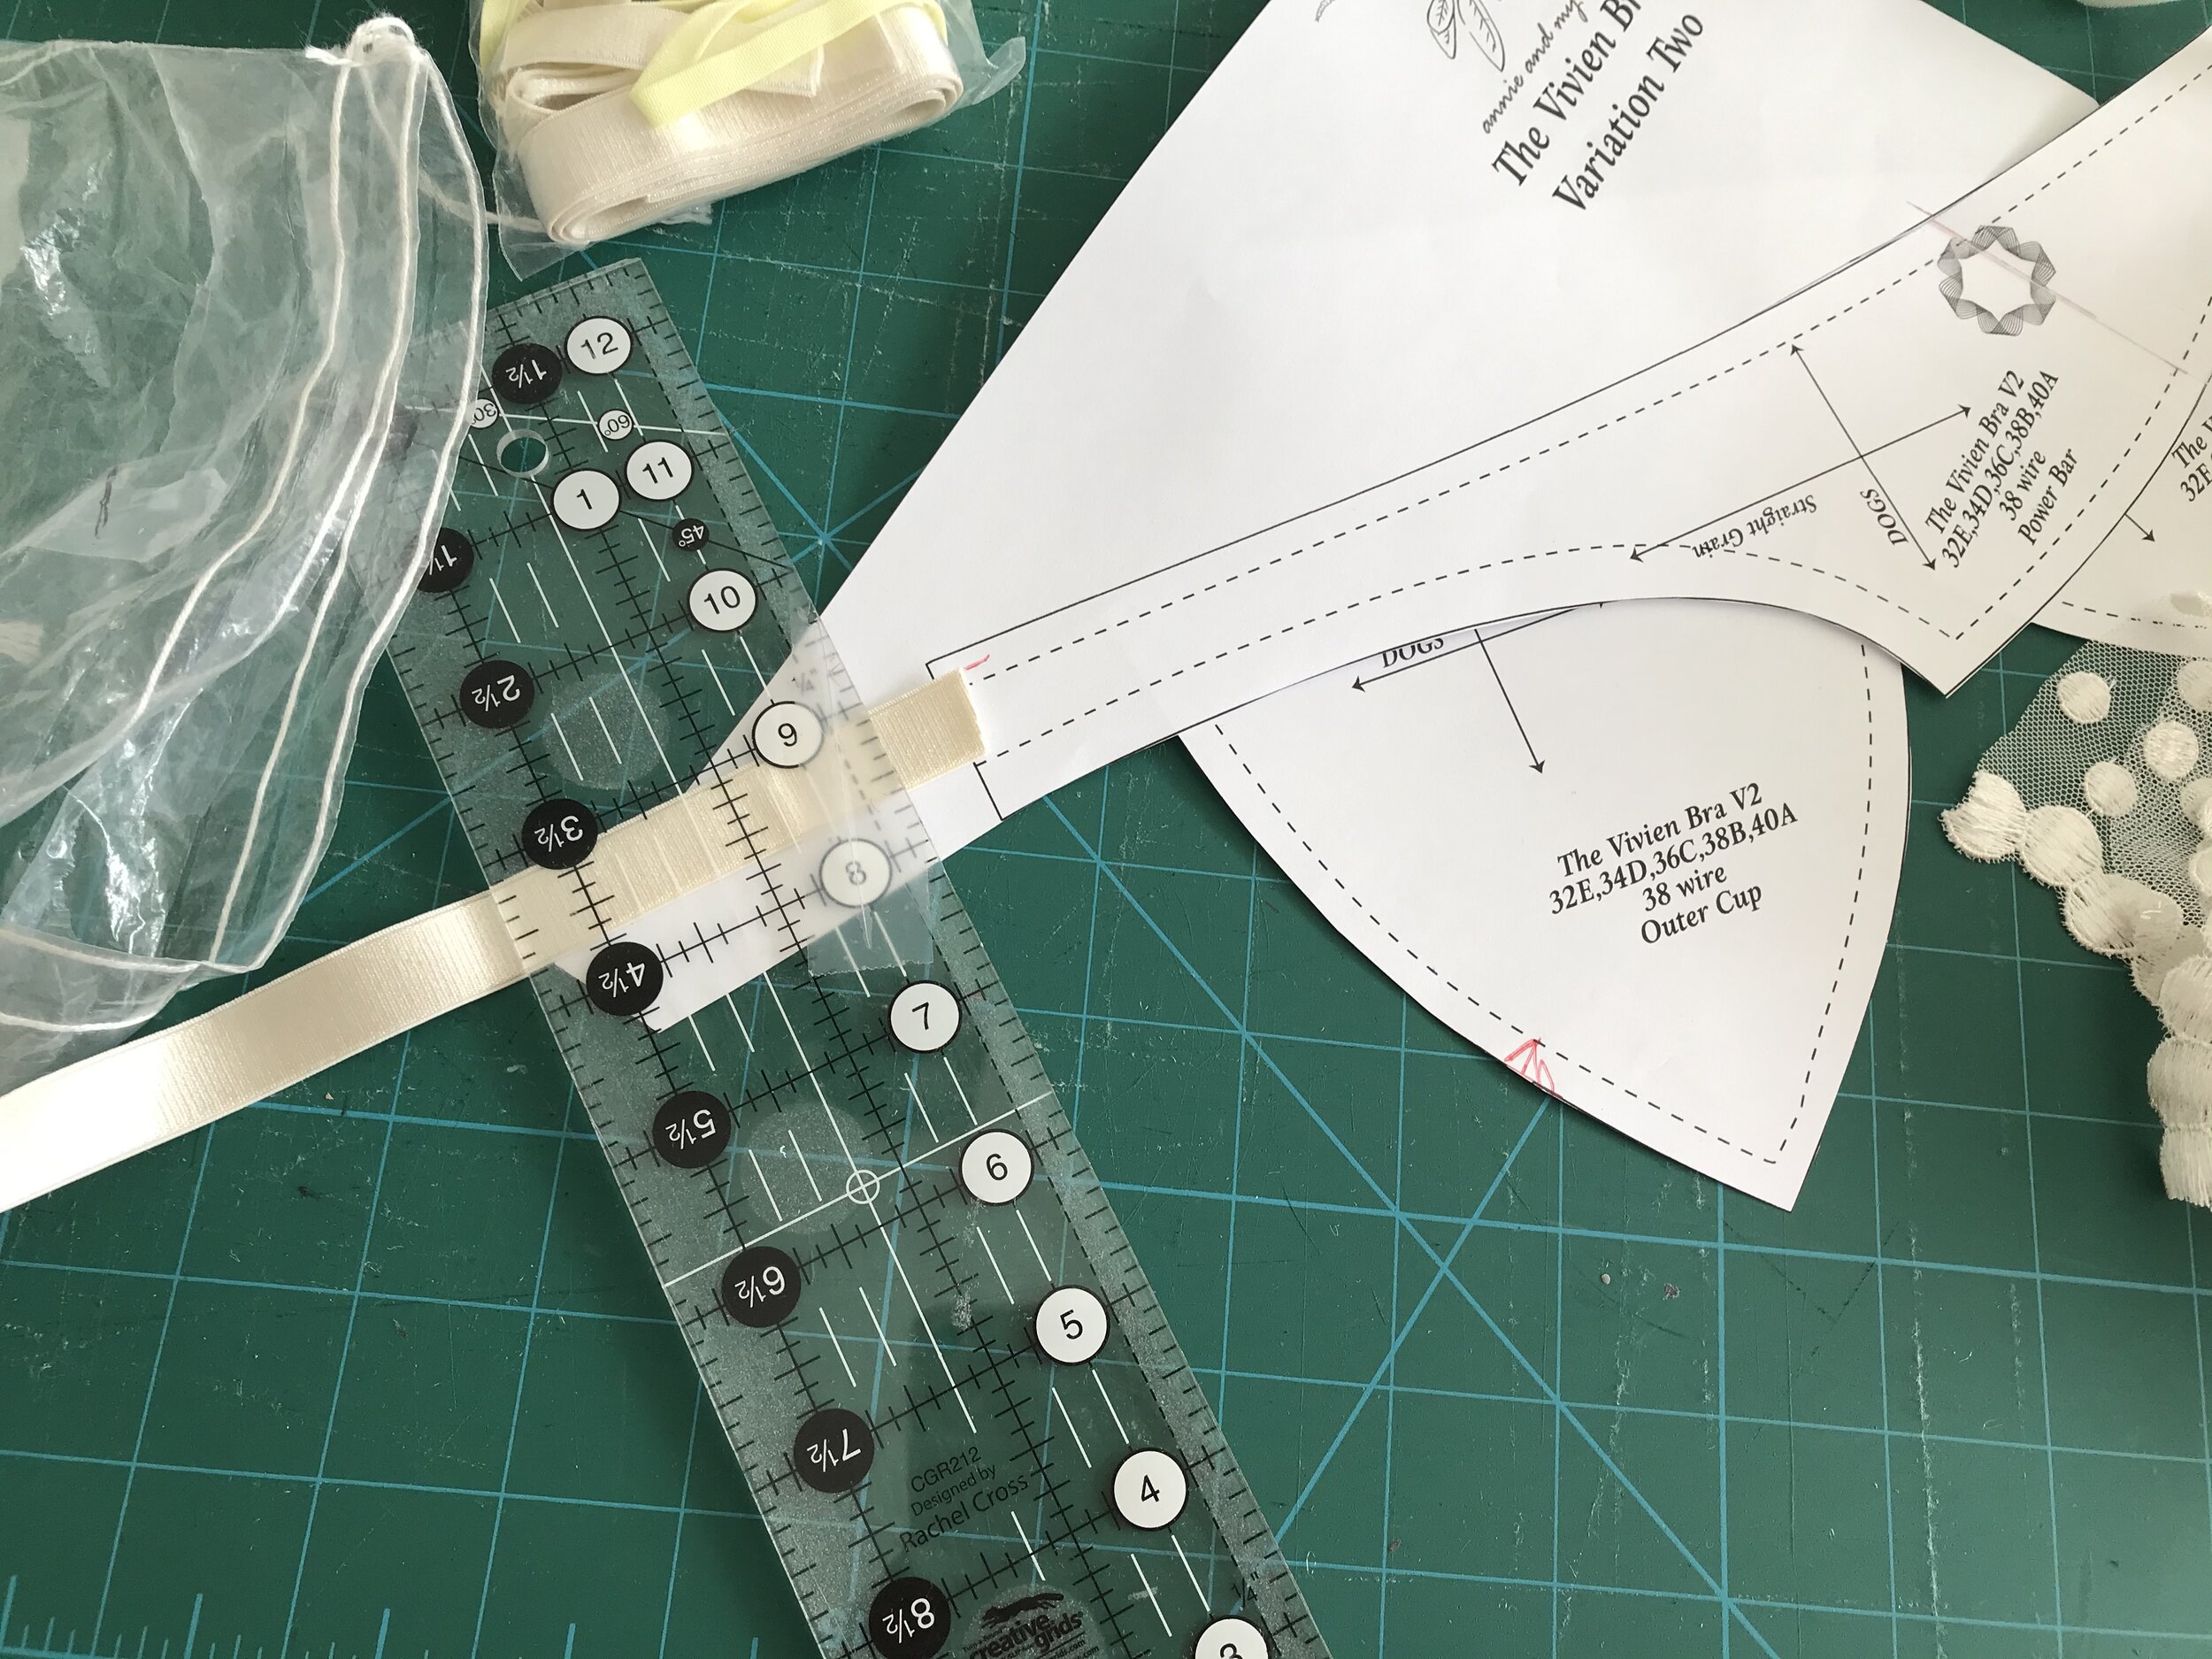
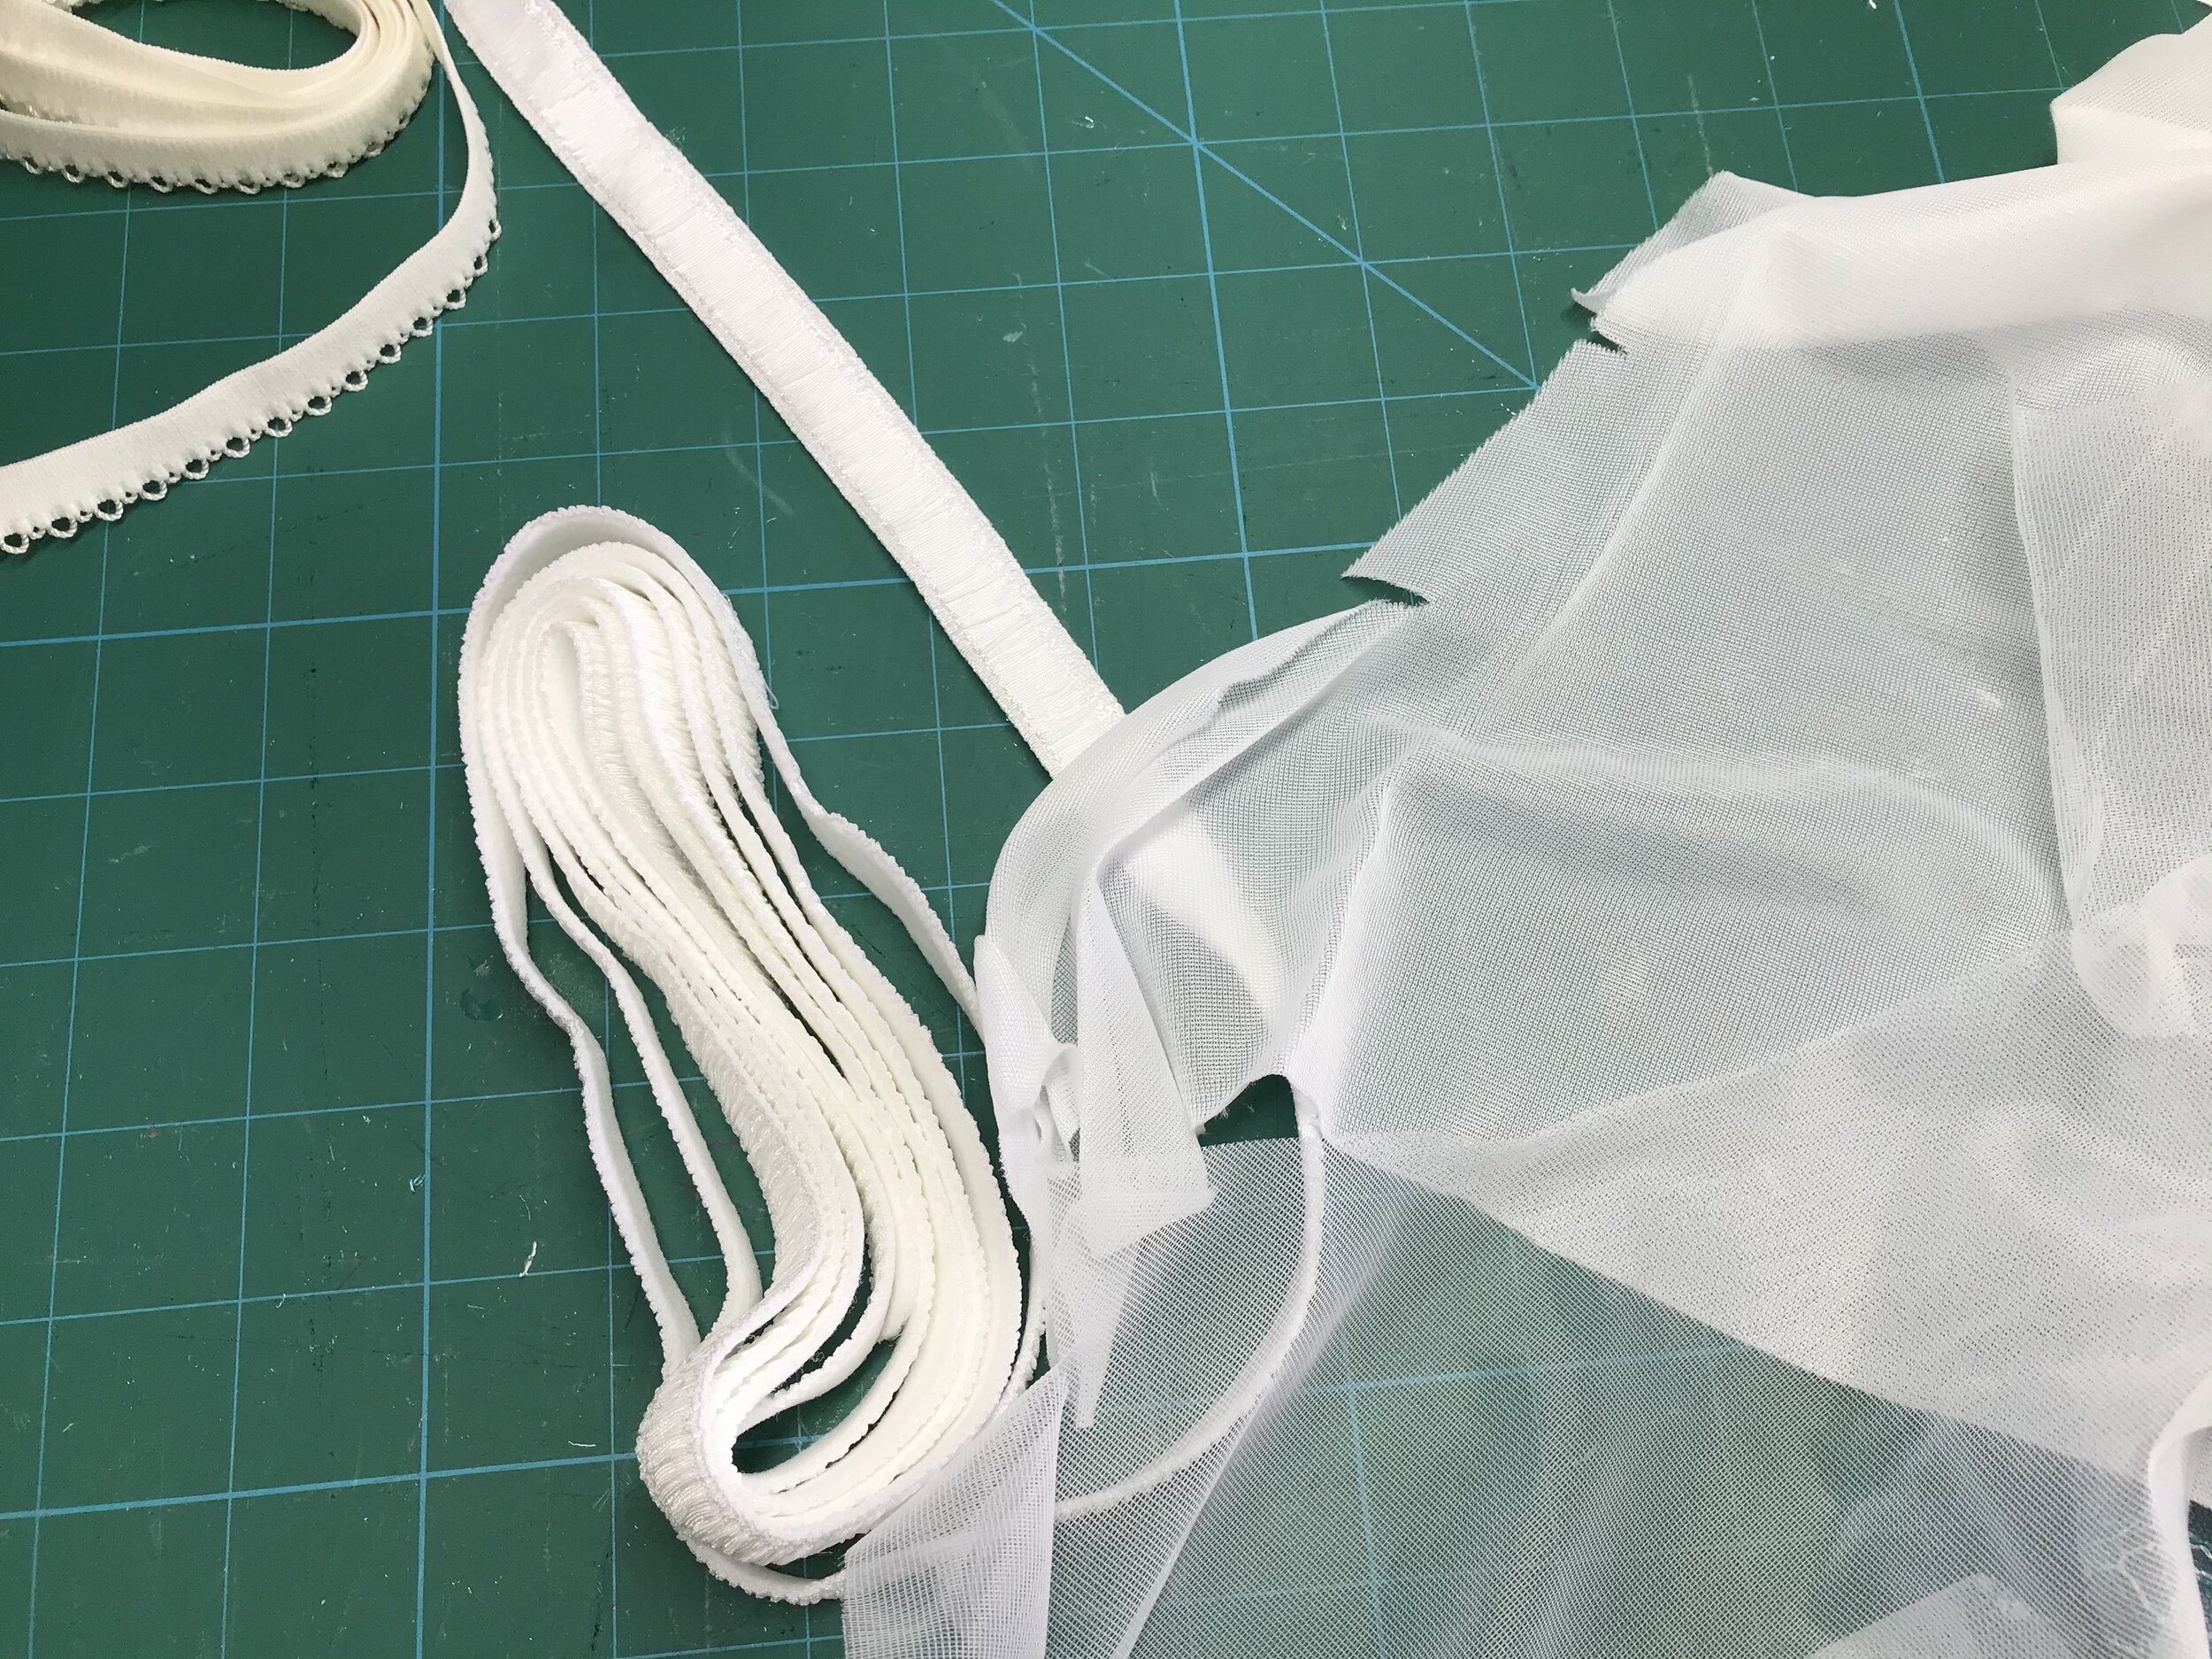
Moving on to the powerbar, I had already adjusted the pattern piece as I wanted to this to be the same width of the strap elastic I had chosen. It was only an 1/8” but it is something that annoys me. Again because the lace is so sheer I decided not to use it for the powerbar as well. Rather than duoplex I used the more opaque sheer lining as the right side, keeping the sheer look but not seeing the arm elastic too clearly. The ruffle strapping really suits the style of the bra.
With the bra done I had just a small piece of lace left and I decided to use the same overlay but this time on the Orange Lingerie Montgomery brief. The pattern has an enclosed front seam but the back is open and can be bulky when overlocked. So I decided to construct the same way as the Ohhhlulu Claudia.
Normally the front is enclosed between the gusset and lining and the leg elastic attached to this before sewing the back seam. Instead I enclosed the back before attaching the elastic. As you can see in the photo the gusset is wider by the width of the elastic. Then I attached the elastic to the leg. For the second pass I folded under the end and hand stitch down and pressed which reduces the bulk for sewing and ensures the elastic does not move out of place.
Another beautiful set completed. Having made V1 I was pretty sure V2 would fit perfect too but I have to say the plunge neckline with darted cup is my favourite but I will definitely be making more of both.
More pattern releases to come!