Fluorite Quilt and all things time saving
This was a class at Patchfinders all about an exploration of colour gradients. Something I really struggle with! The idea was to choose your own colours and design a crystal inspired quilt. Lucy, a designer on Sewing Quarter, shows you tips and tricks to create a unique pattern that can be made to any size.
The idea was to use a combination of random half square and quarter square triangles along with square blocks to create the crystal look using solid and ombre colour fabrics.
I found this quite challenging and I ended up unpicking some of the combinations that I thought didn't work and moving around until I got something I was happy with.
Having moved on to sewing clothing I had to reacquaint myself with patchwork techniques. I had forgotten how satisfying it was to cut up fabric into small pieces and put back together in a pattern.

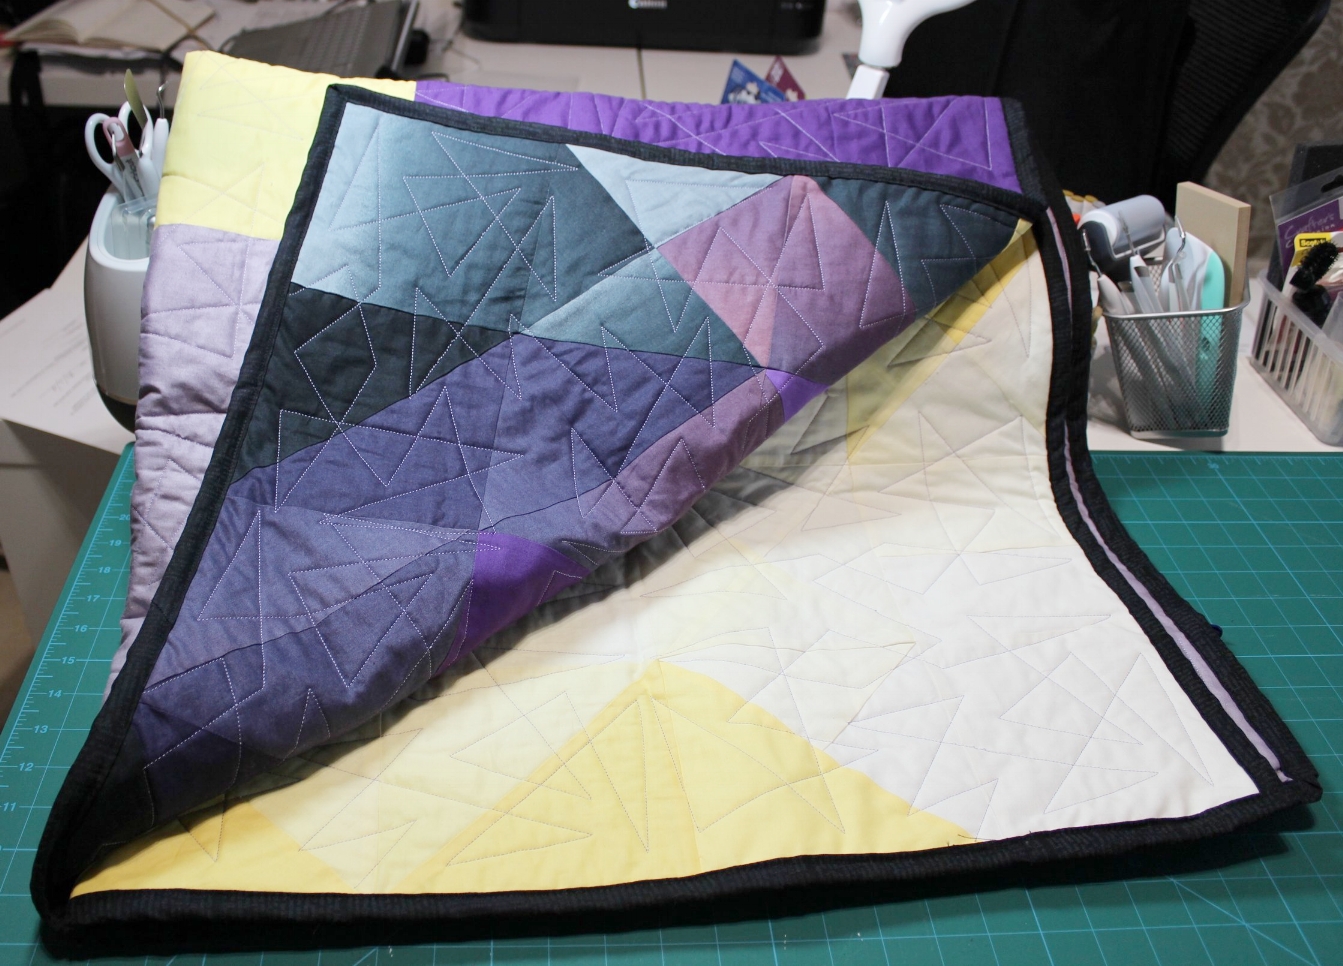
So what to back it with. This was also quite a hard choice because of the combination of light and dark fabric. So the backing would have to be light enough not to show through on the right side and dark enough that the dark fabric on the right side would not show through. Back to Patchfinders and went with a sort of mottled purple. Rather than buy two lengths I used the fabric left over to create a centre strip graduating in colour.

So now I would need to quilt! How to save time and effort? The first point I dread is the pinning the layers together. So I bought a micro stitch gun. Then I got out the Janome quilt binder set I bought just as I stopped making quilts. Needed a bit of practice. Free motion quilting not my thing and the thought of flinging the quilt around my machine got me thinking about using my embroidery machine. After scouring the internet for something suitable I finally found some continuous designs from Amelie Scott for use in the hoop.
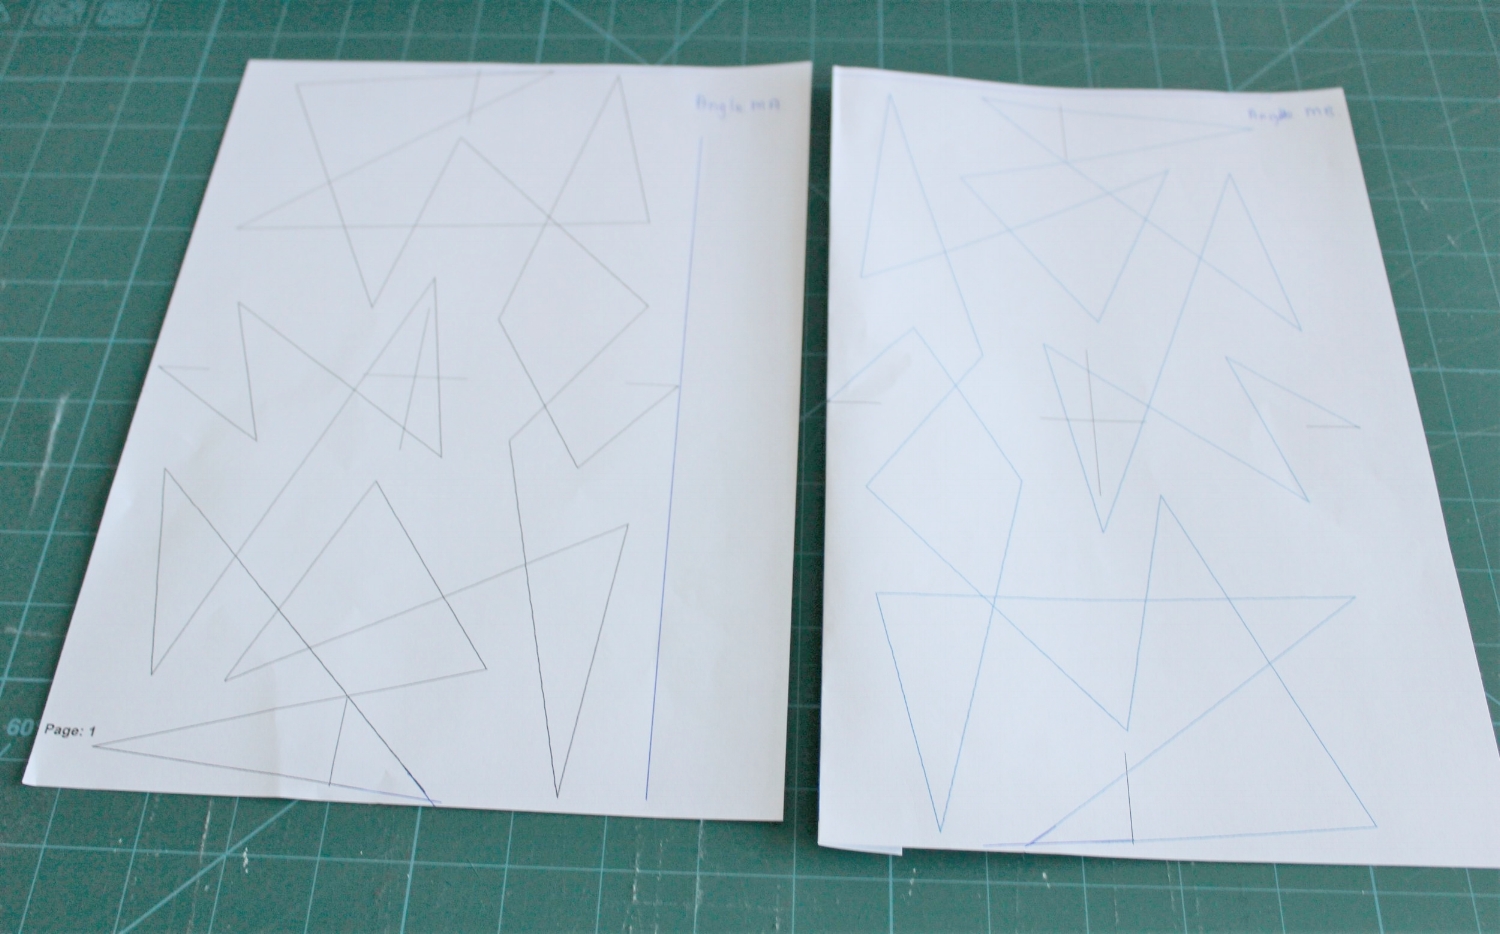
The angle design was part of an expansion pack of ten designs. Each comes in three sizes with an A and B file. The practice on a small scale went well.
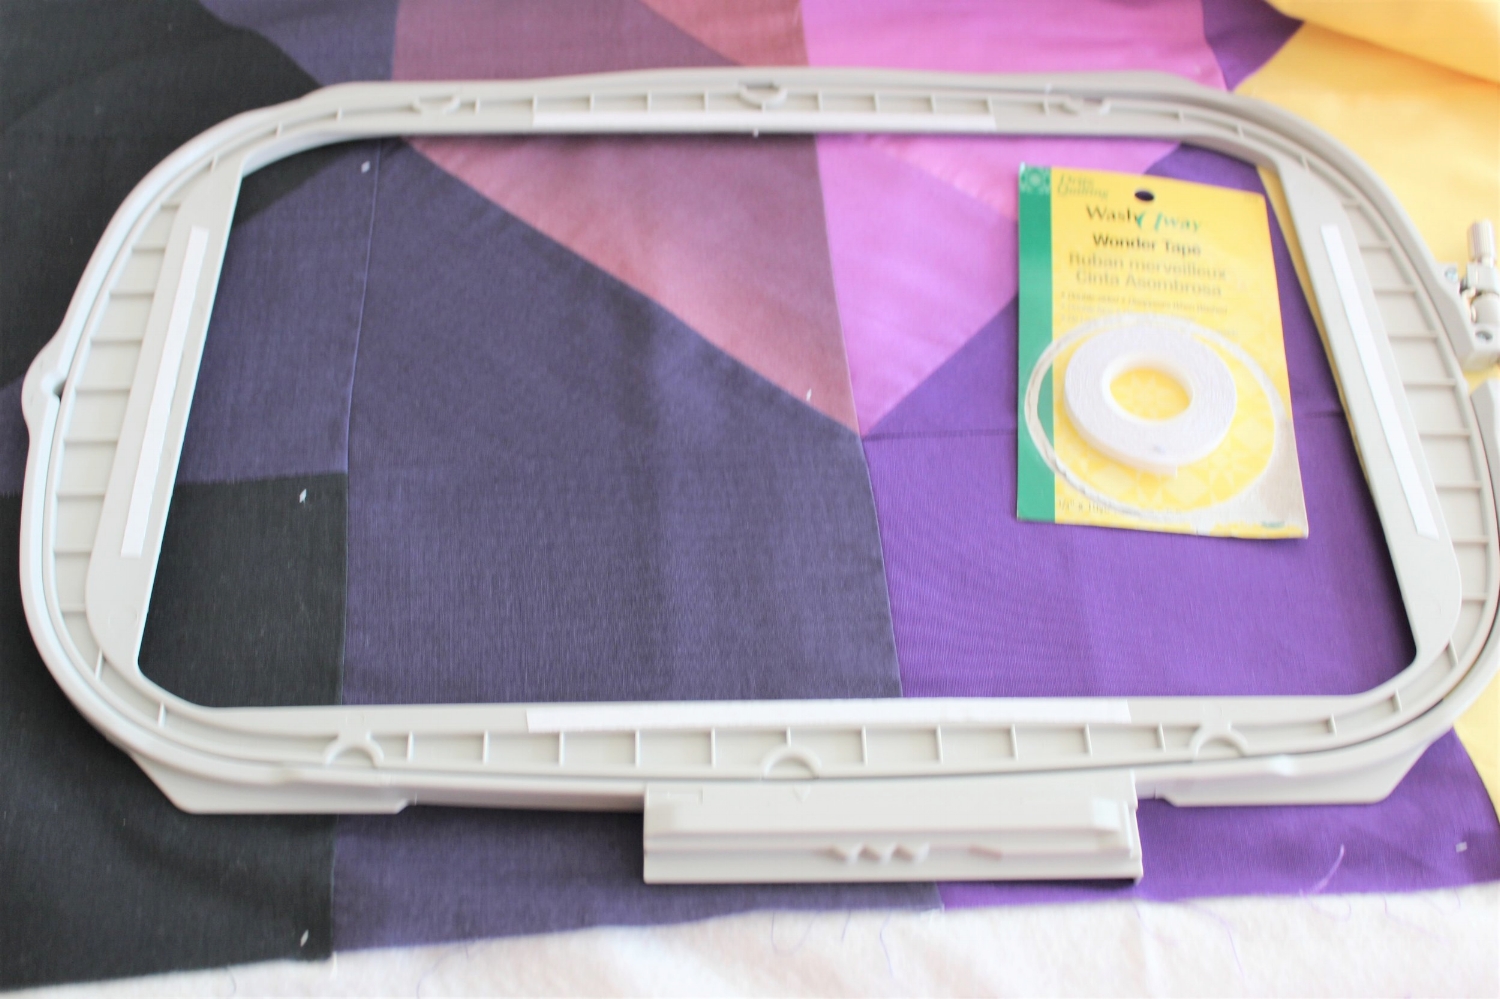

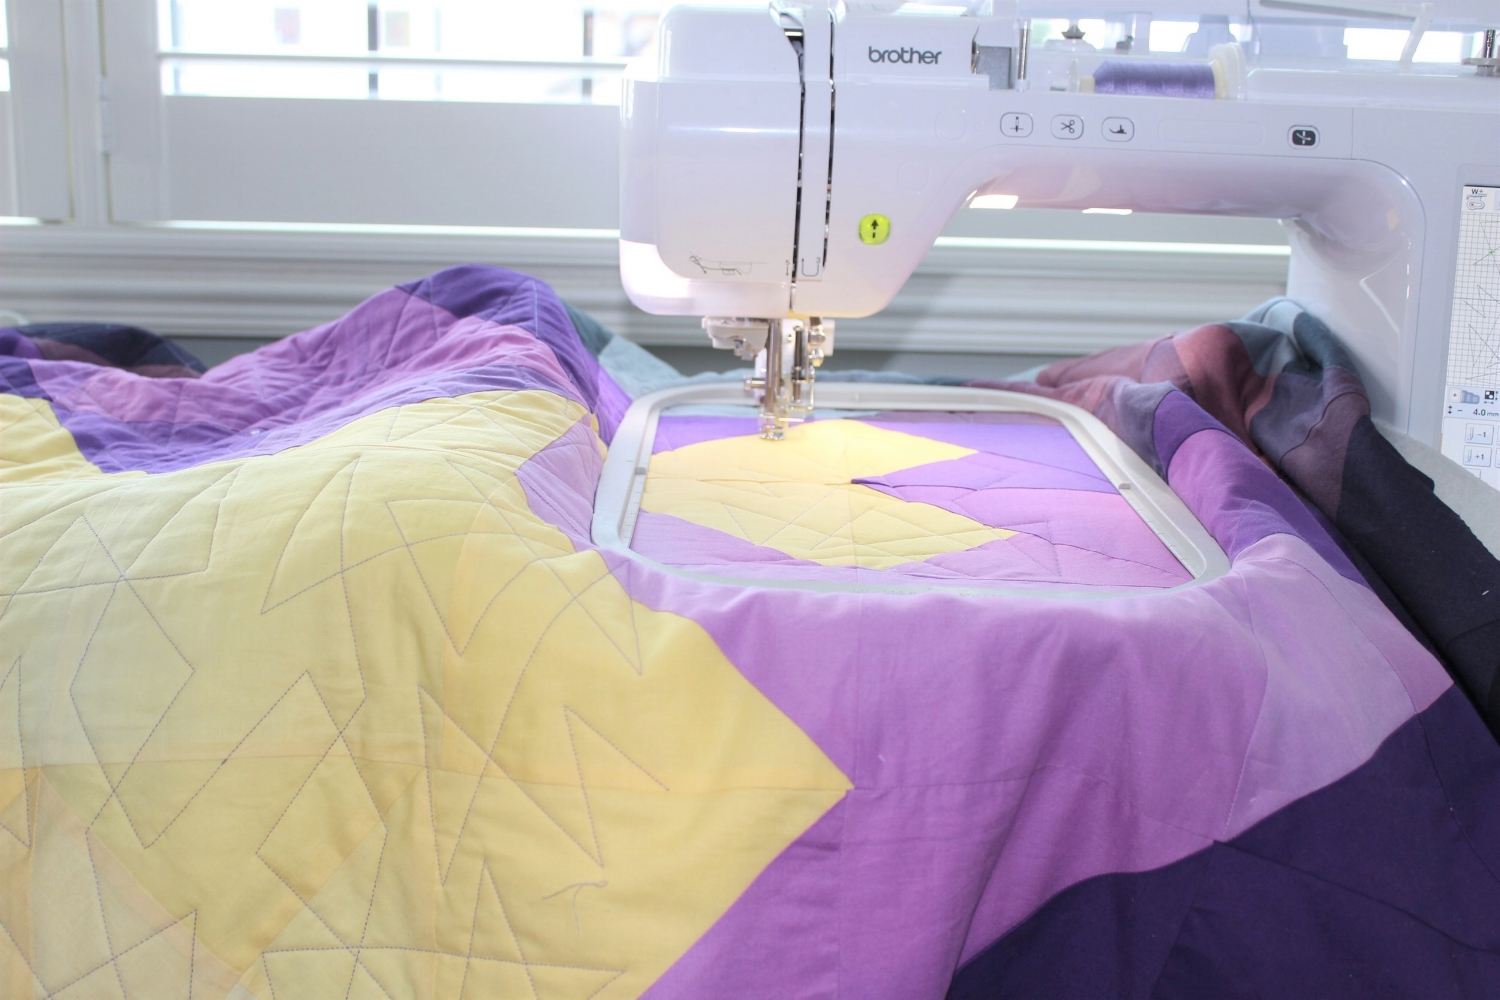
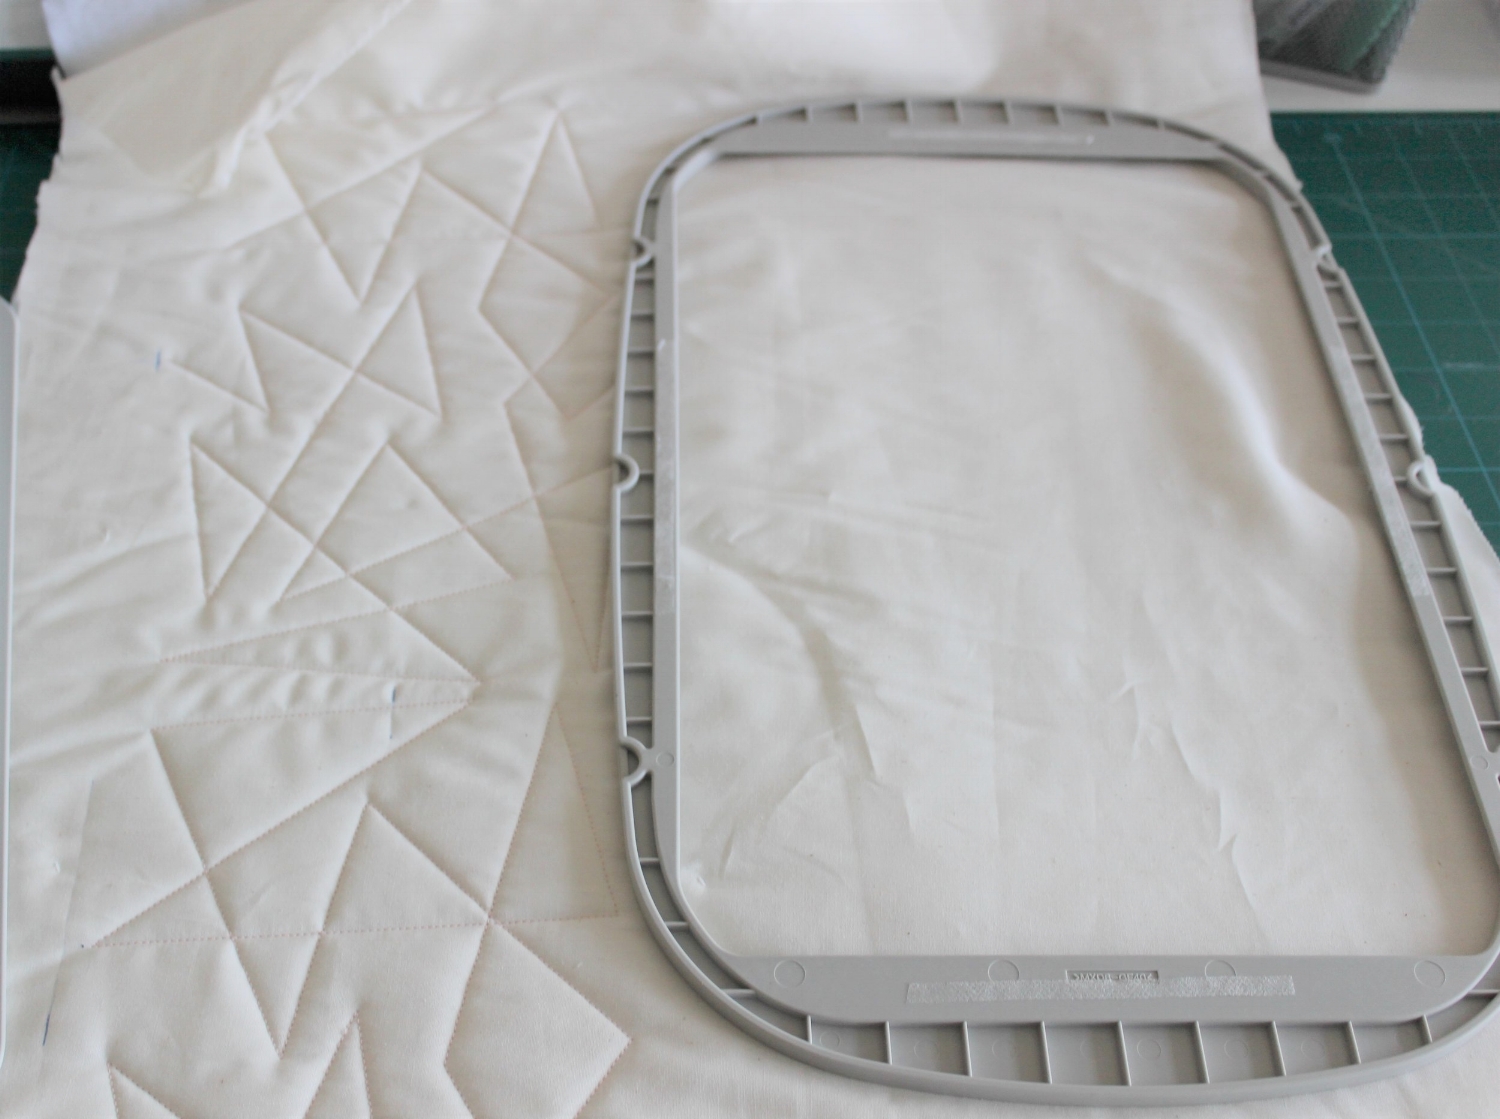
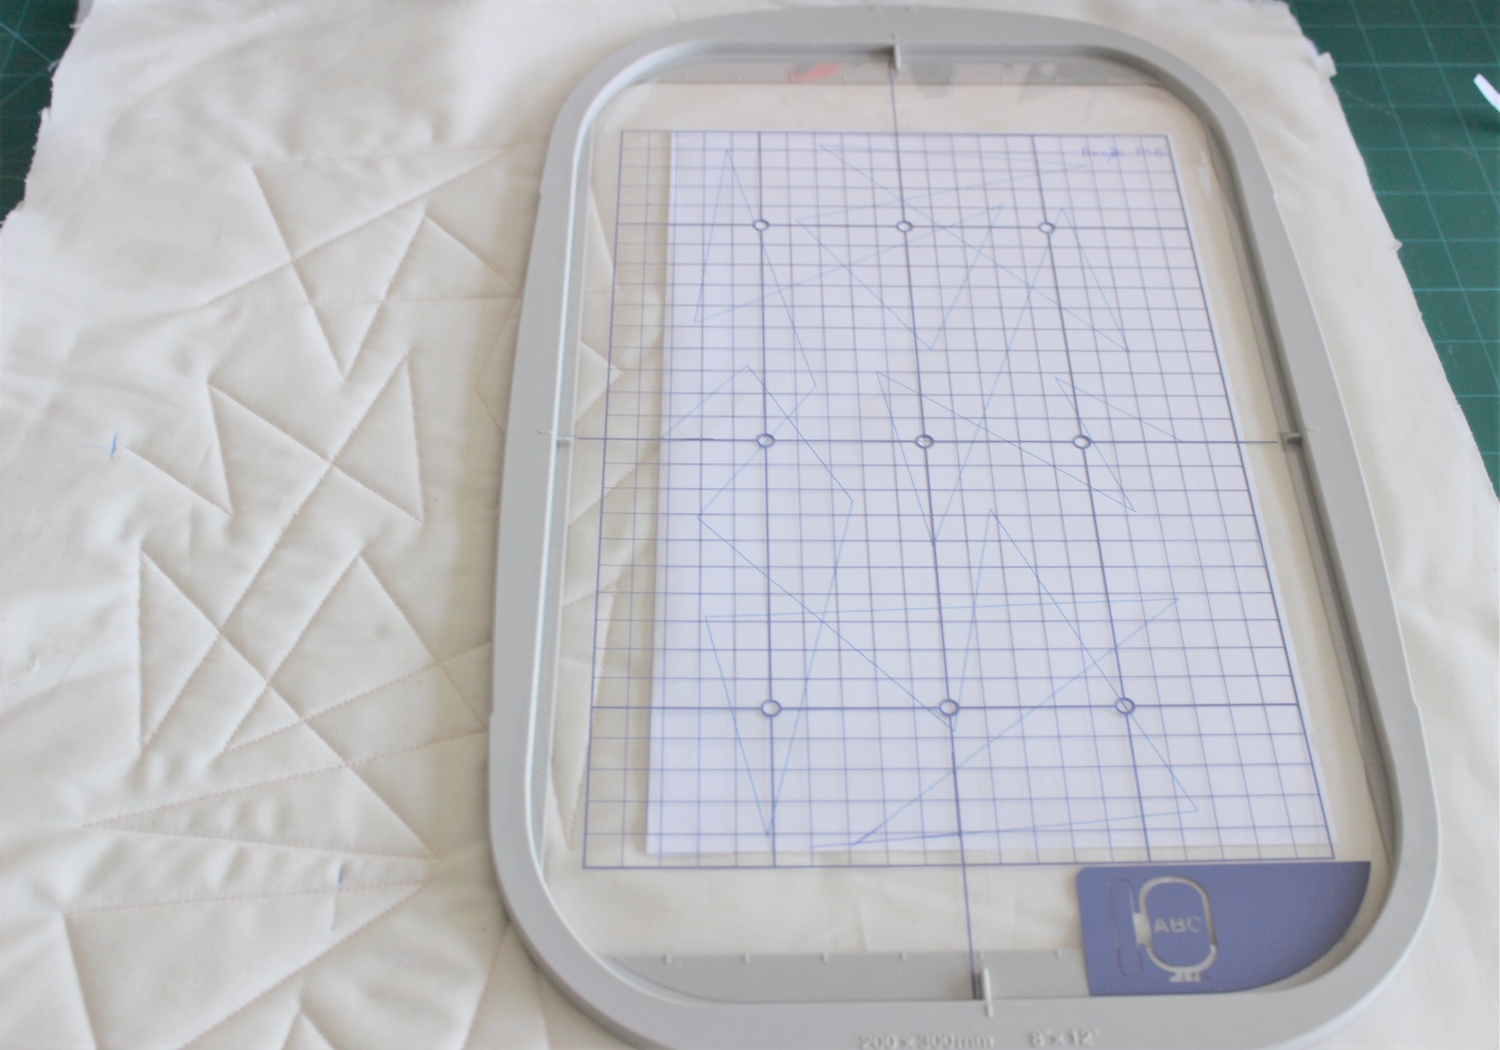
Using on a real quilt was more challenging. With my largest hoop it took 28 hoopings. The most difficult part for me was getting the hoop in the right place. I used double sided basting tape to keep in place but had to keep changing. Then the design was so large in the hoop there wasn't much room for moving the start point if it wasn't quite right. I really appreciated the LED pointer I had purchased. I also need practice in drawing up threads at the start and end. As the thread matched the backing fabric it looks fine except in the middle where I had patched in the leftover fabric.
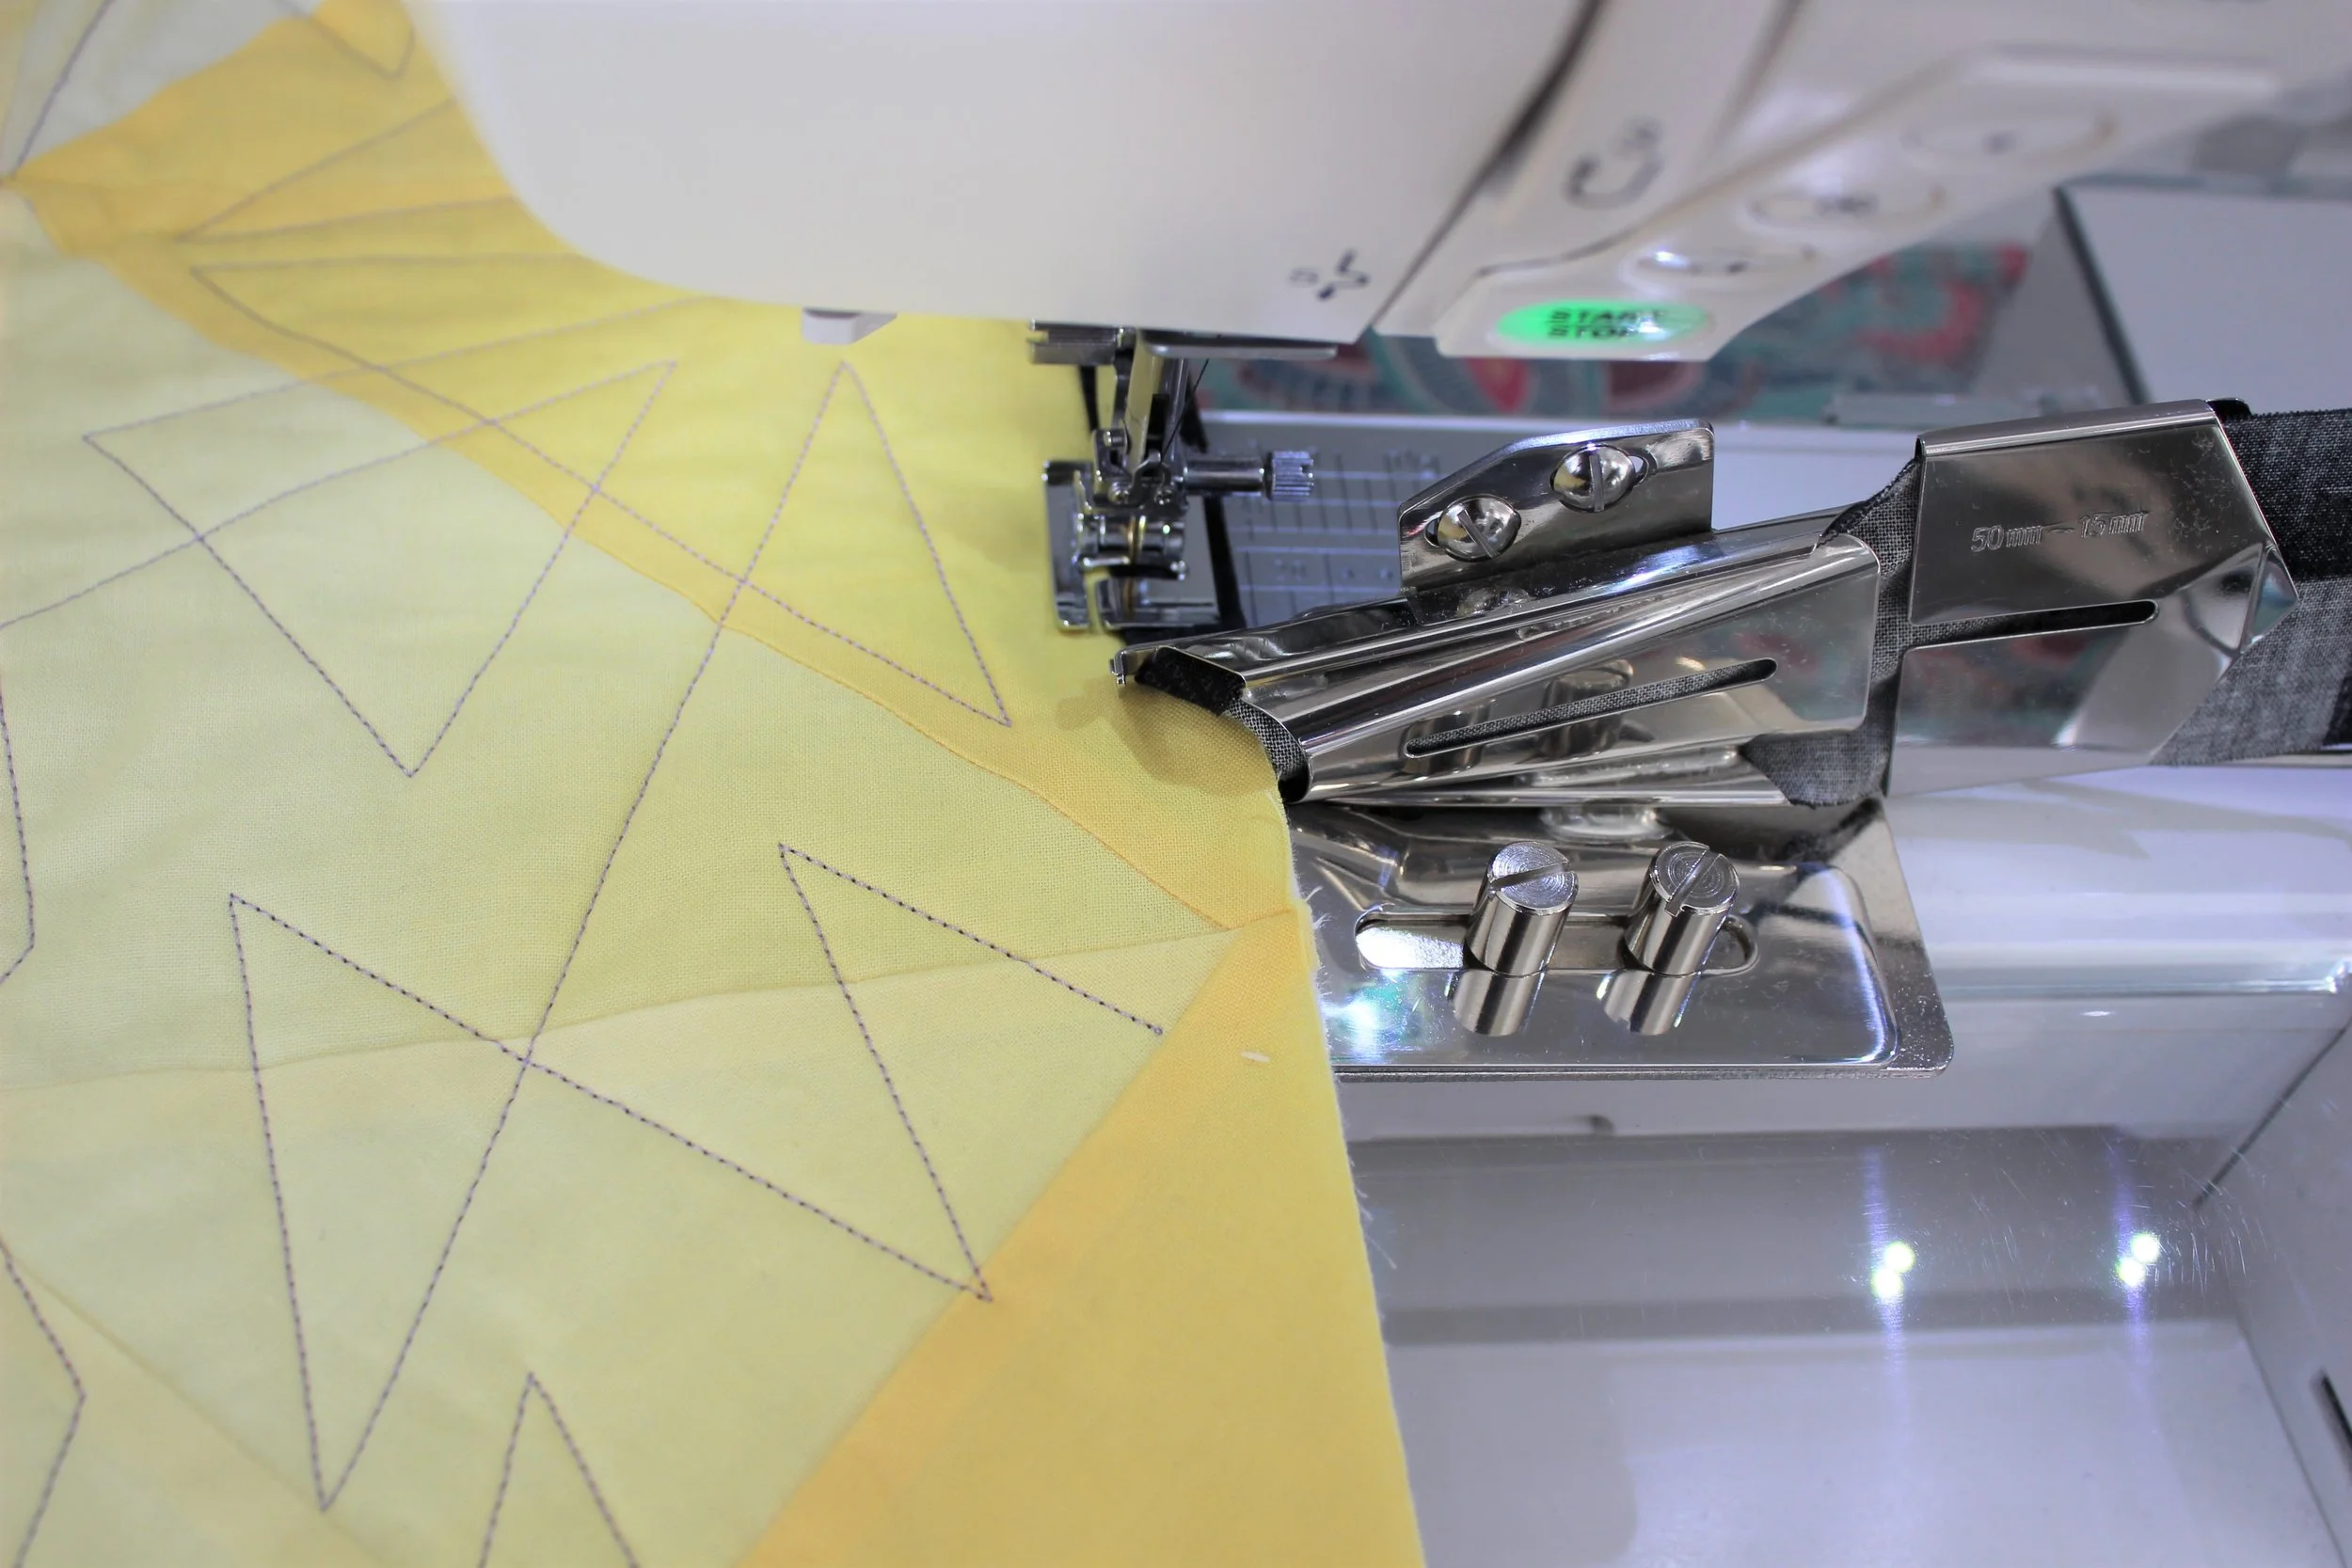
Quilting done it was time to bind. So then I had to practice using the binding set. A few You Tube videos later I had got the hang of it although the mitred corners weren't perfect. So impressed with the binding set. Just breezed through the quilt.
A good day for gadgets. Just not enough hours in the day to make all I want especially as I keep getting sidetracked!